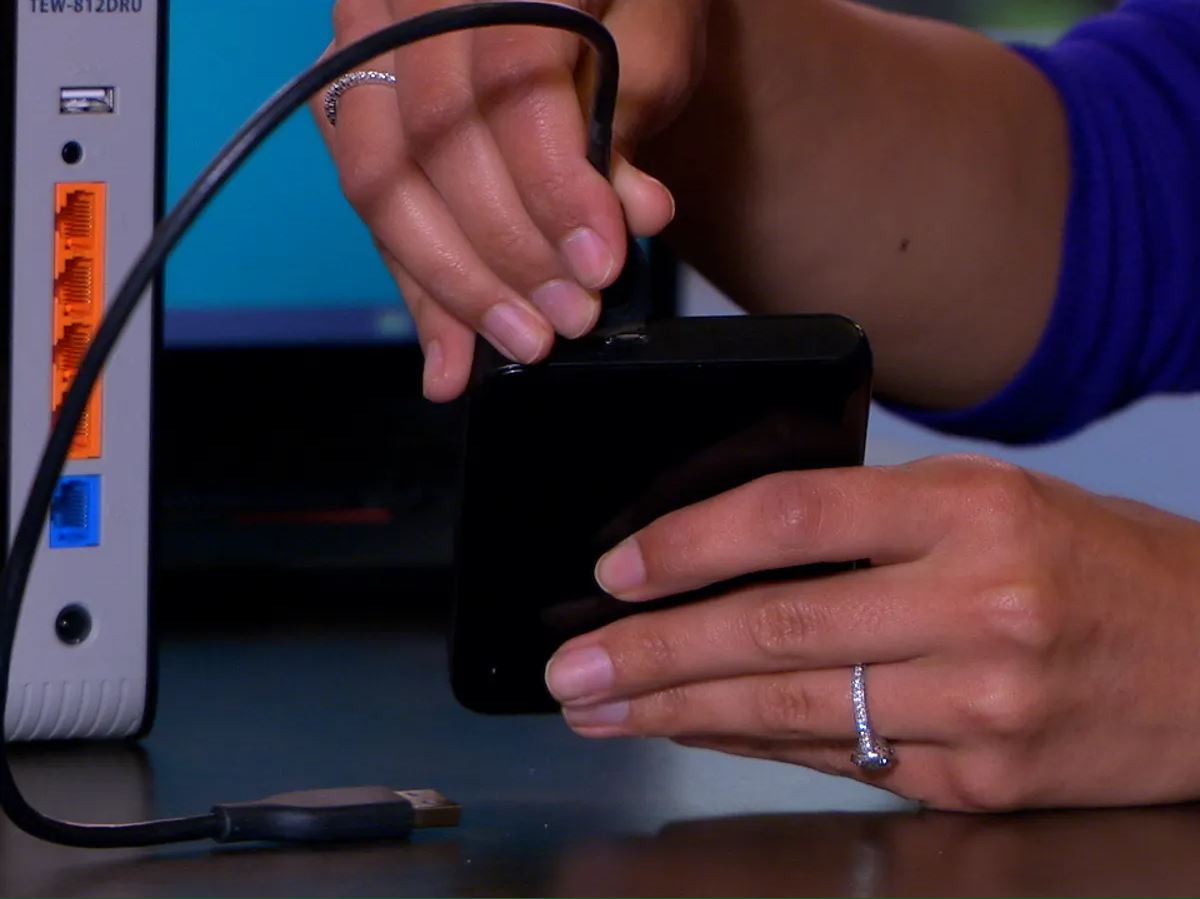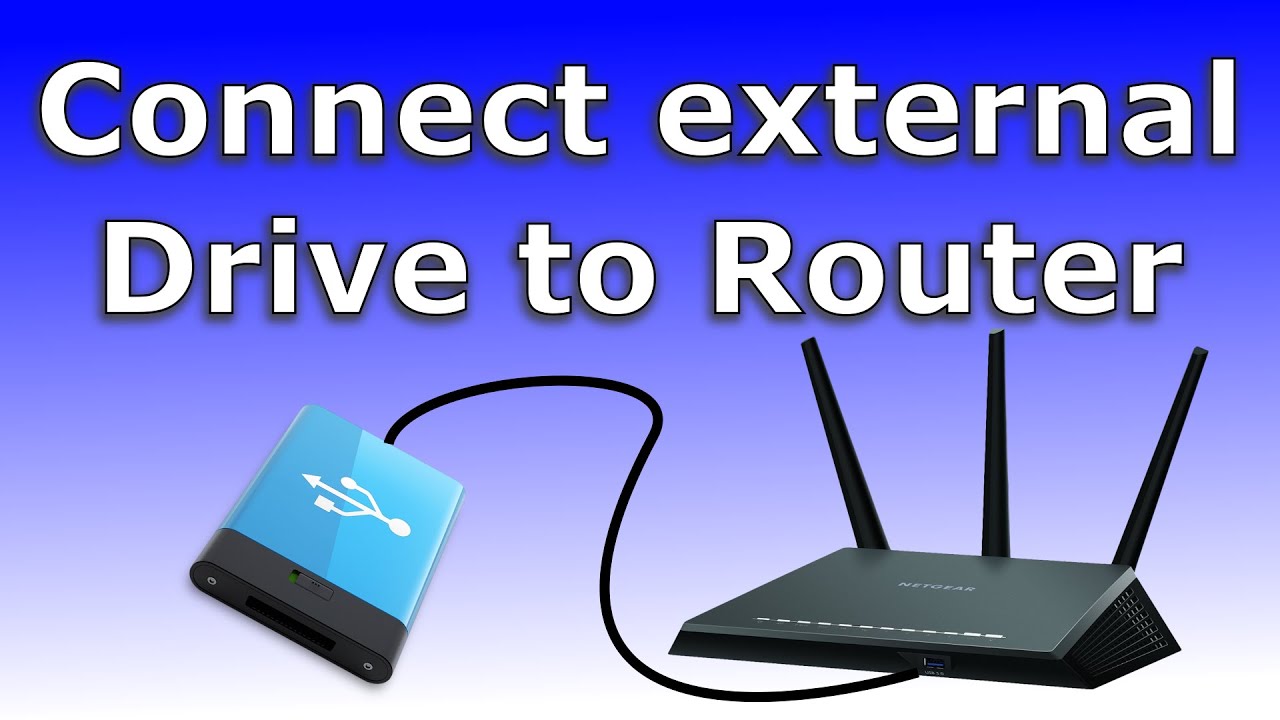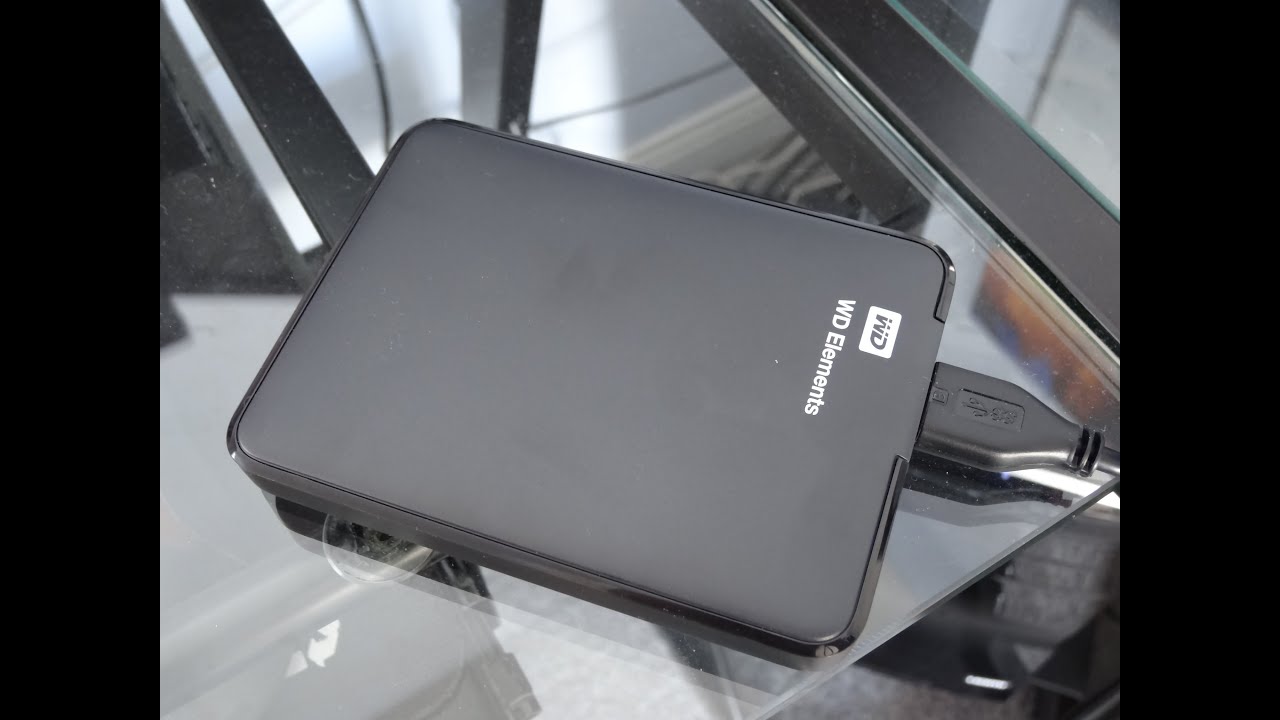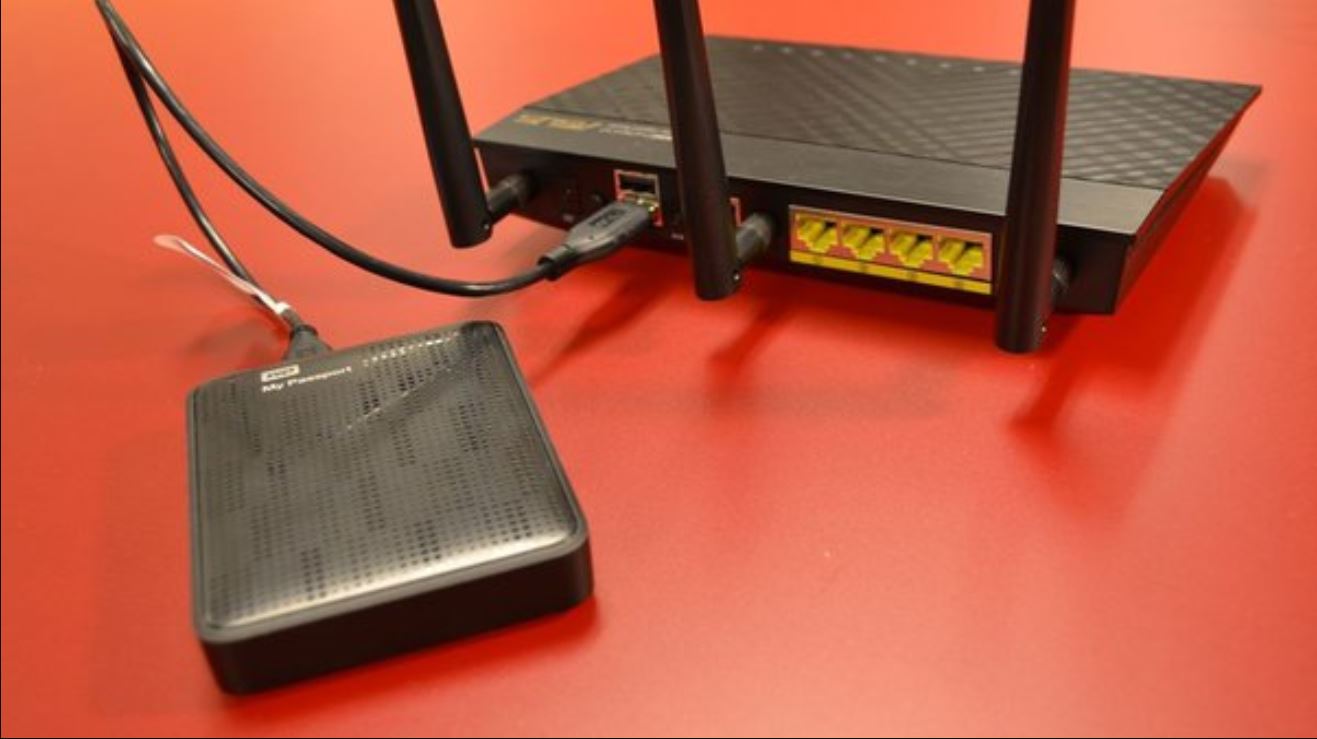
To connect external hard drive to router, plug the USB storage device into the USB port on your router. This turns a standard external drive into simple network-attached storage, letting you access and share files from any device on your home Wi-Fi without buying a dedicated NAS.
What you need to connect an external hard drive to your router
Before starting, gather the required hardware. You need a router with a USB port, a compatible external hard drive, a USB cable, and a computer or mobile device for setup. Some external hard drives require a separate power adapter, so check your drive's power requirements. Ensure your computer or mobile device is connected to the same network as the router via Wi-Fi or Ethernet.
Step 1: Check your router's compatibility and USB port
Verify your router supports USB storage by checking the manual or manufacturer's website for specifications about USB ports and external storage support. Look for a USB port on the back or side of the router. Ensure your router's firmware is up-to-date, as updates often improve compatibility with external storage devices. Not all routers support connecting external hard drives, and some may have limitations on supported storage capacity or file systems.
Step 2: Physically connect the hard drive to the router
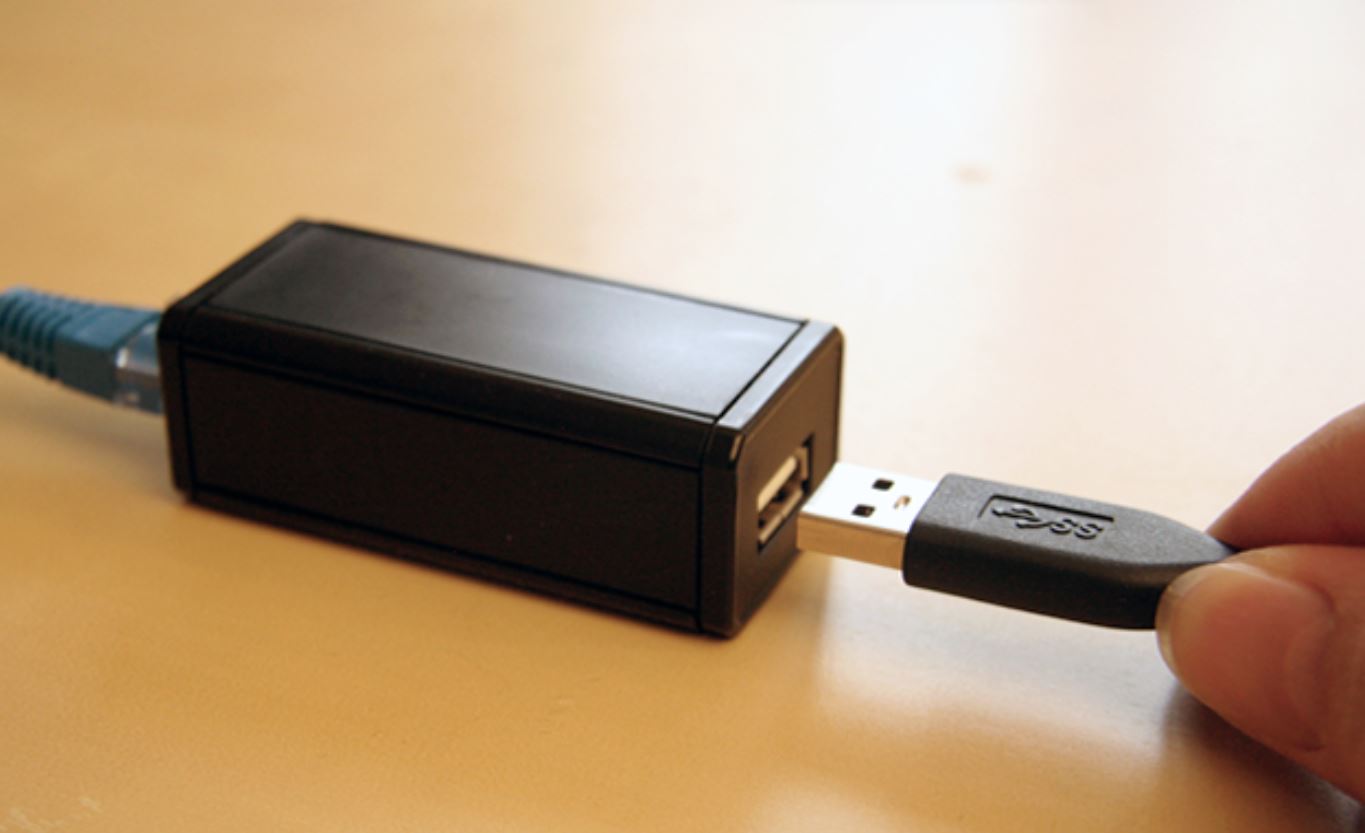
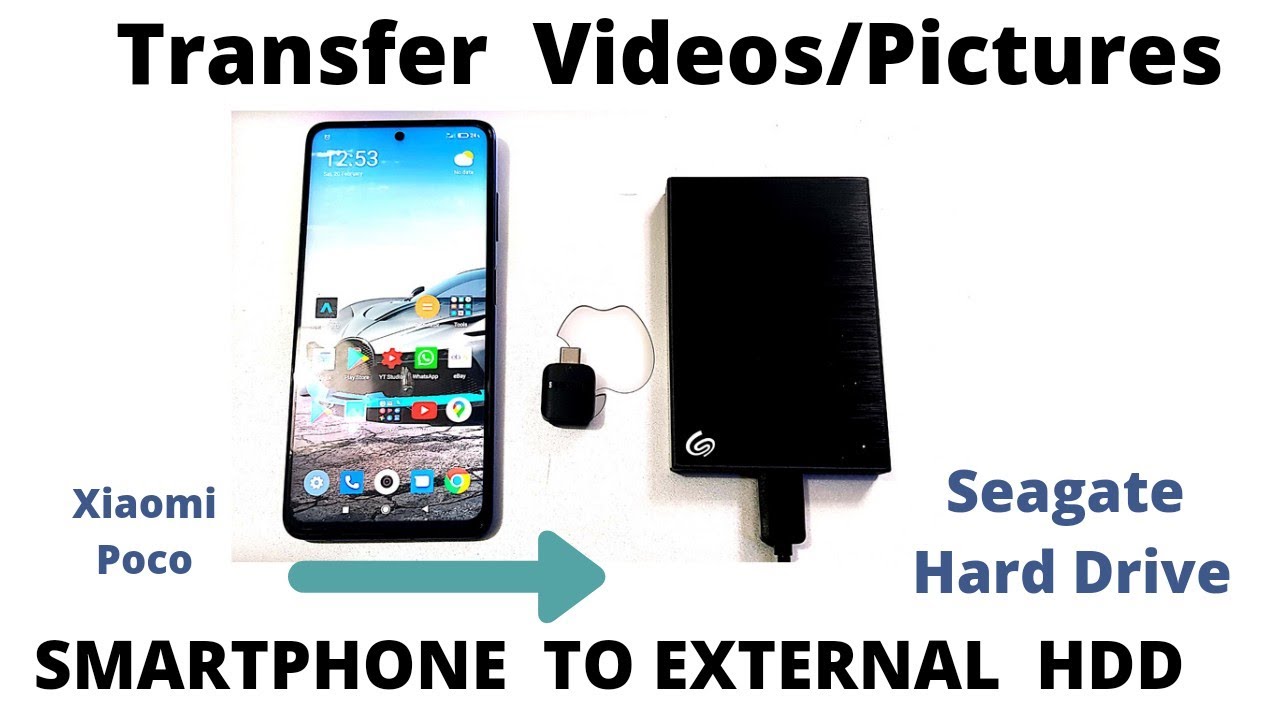
Take the USB cable from your external hard drive and plug one end into the hard drive. Plug the other end into the USB port on your router. If your external hard drive requires a separate power source, connect and turn it on. Give the router and hard drive a few moments to recognize each other.
Step 3: Log in to your router to enable file sharing
Connect a computer or mobile device to the router via Wi-Fi or Ethernet. Open a web browser and enter your router's default LAN IP address, such as 192.168.0.1 or 192.168.1.1, or a hostname like http://tplinkwifi.net/ (for TP-Link) or router.asus.com (for ASUS). Log in using your admin username and password. Navigate to the USB settings or storage settings, which may be labeled as "File sharing," "USB storage device," "Media sharing," "ReadySHARE," "USB Application," "External Storage," or "Server Center."
Step 4: Configure sharing and secure your drive
Enable the USB port and the file sharing feature, often referred to as Samba (SMB) for local network access. It is highly recommended to enable "Secure Sharing" or similar options and set a username and password to prevent unauthorized access to the shared drive. Save the settings in the router's admin panel.
Step 5: Access your files from Windows
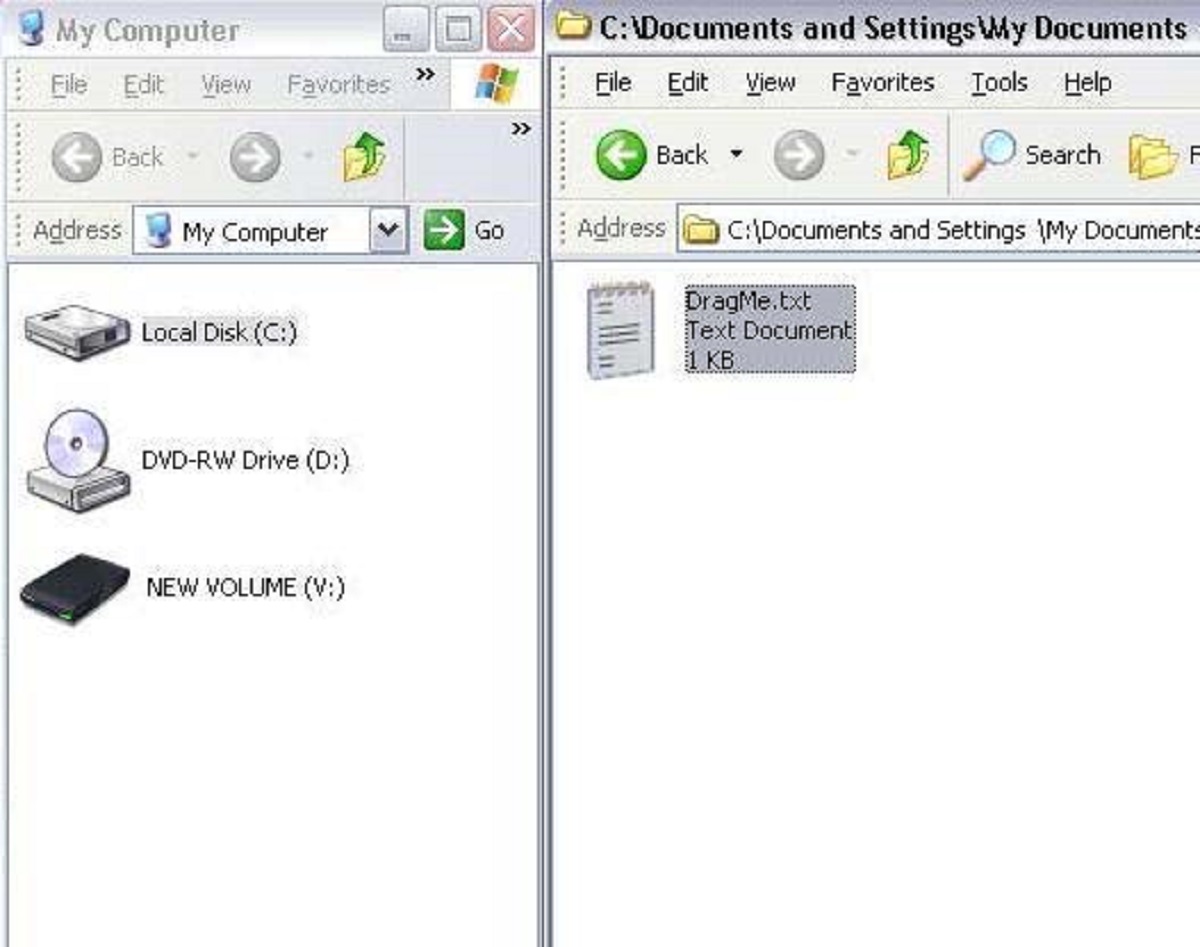
Open File Explorer on your Windows PC. In the address bar, type \\ followed by your router's LAN IP address (e.g., \\192.168.0.1) or hostname (e.g., \\tplinkwifi.net). Press Enter. If prompted, enter the sharing credentials you set. You will see the shared drive listed and can browse, open, and transfer files.
Step 6: Access your files from a Mac
Open Finder on your Mac. Select "Go" from the menu bar, then "Connect to Server." In the dialog box, type smb:// followed by your router's LAN IP address or hostname (e.g., smb://192.168.0.1). Click "Connect." Enter the sharing credentials if prompted. The shared drive will mount and appear in Finder under "Locations."
How to use your new network drive for backups and transfers
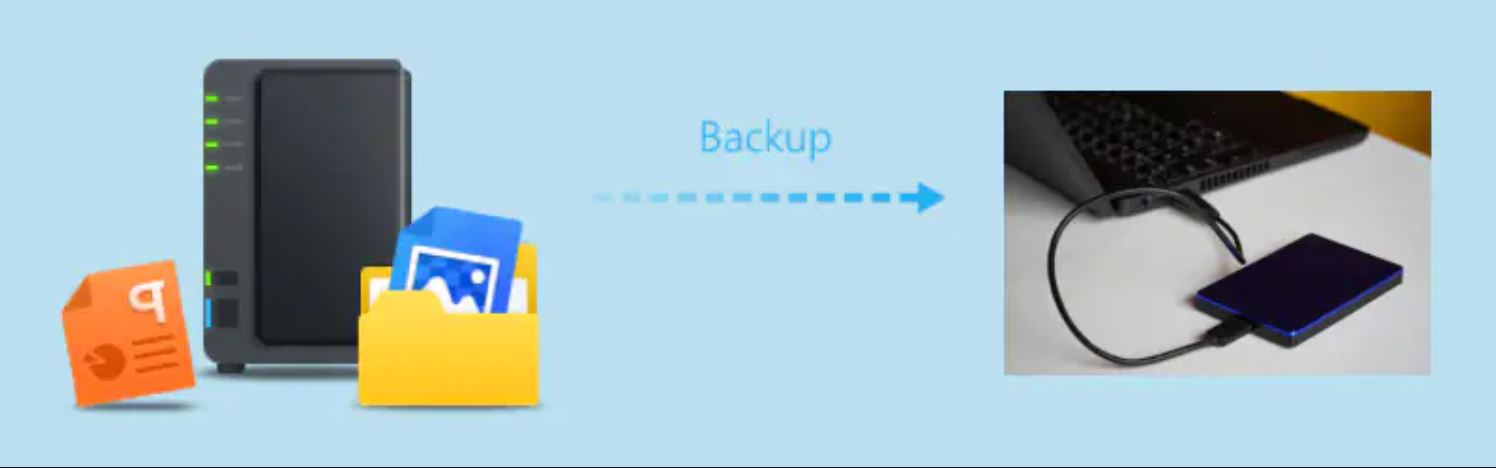
To set up automatic backups, configure your router's backup feature to schedule backups at specific intervals, specifying the external hard drive as the destination. For manual transfers, open your file manager, locate the files you want to copy, and drag or paste them to the shared drive location. You can also use a LaCie external hard drive with this setup by following the same steps. To connect an external hard drive to your home network, simply repeat the physical connection and configuration process. To set up an external hard drive on a network, enable Samba sharing in your router settings. To turn an external hard drive into cloud storage, enable FTP in your router settings for remote access, though this requires your router's WAN IP address and enabling "Internet FTP."
Troubleshooting common connection problems
If the drive is not recognized, check all hardware connections are secure. Restart your router and devices. Verify your router's firmware is updated. Check that file sharing and access permissions are properly configured in the router settings. Ensure all devices are connected to the same network and within Wi-Fi range. Confirm the file system format of the external hard drive is supported by your router (common formats include FAT32 or NTFS). If access permission errors occur, re-enter the sharing credentials or reset the username and password in the router settings. For slow speeds, check network connectivity and consider using a USB 3.0 port if available. If problems persist, consult your router manufacturer's support resources.