Introduction
Welcome to the world of networked storage! If you find yourself needing to access your files from multiple devices or share them with others on your network, setting up an external hard drive on your network is a convenient solution. By connecting your external hard drive to your home network, you can access your files seamlessly from any connected device, whether it’s a computer, laptop, smartphone, or even a smart TV.
In this article, we will guide you through the process of setting up an external hard drive on a network. Whether you’re a tech-savvy individual or a novice in networking, we’ve got you covered. We’ll walk you through each step, from gathering the necessary materials to accessing your files from any device connected to your network.
Gone are the days of having to transfer files manually or relying on cloud storage services. With an external hard drive on your network, you have the flexibility to store and retrieve your files locally, without the need for an internet connection. Plus, you’ll have complete control over your data’s security and privacy.
So, let’s dive in and get your external hard drive set up on your network. By following our step-by-step instructions, you’ll be enjoying the convenience and versatility of networked storage in no time.
Gather the necessary materials
Before you begin setting up your external hard drive on your network, it’s important to ensure that you have all the necessary materials at hand. Here’s a checklist of what you’ll need:
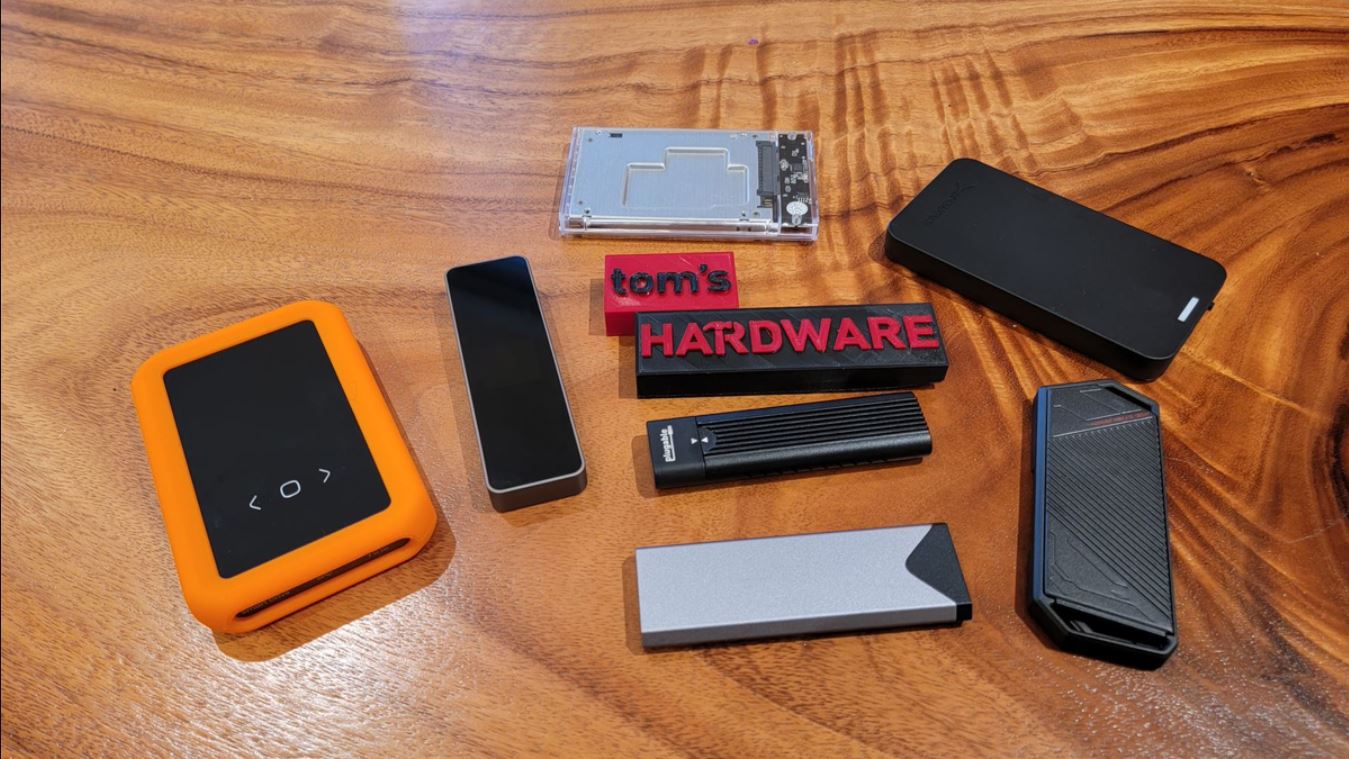
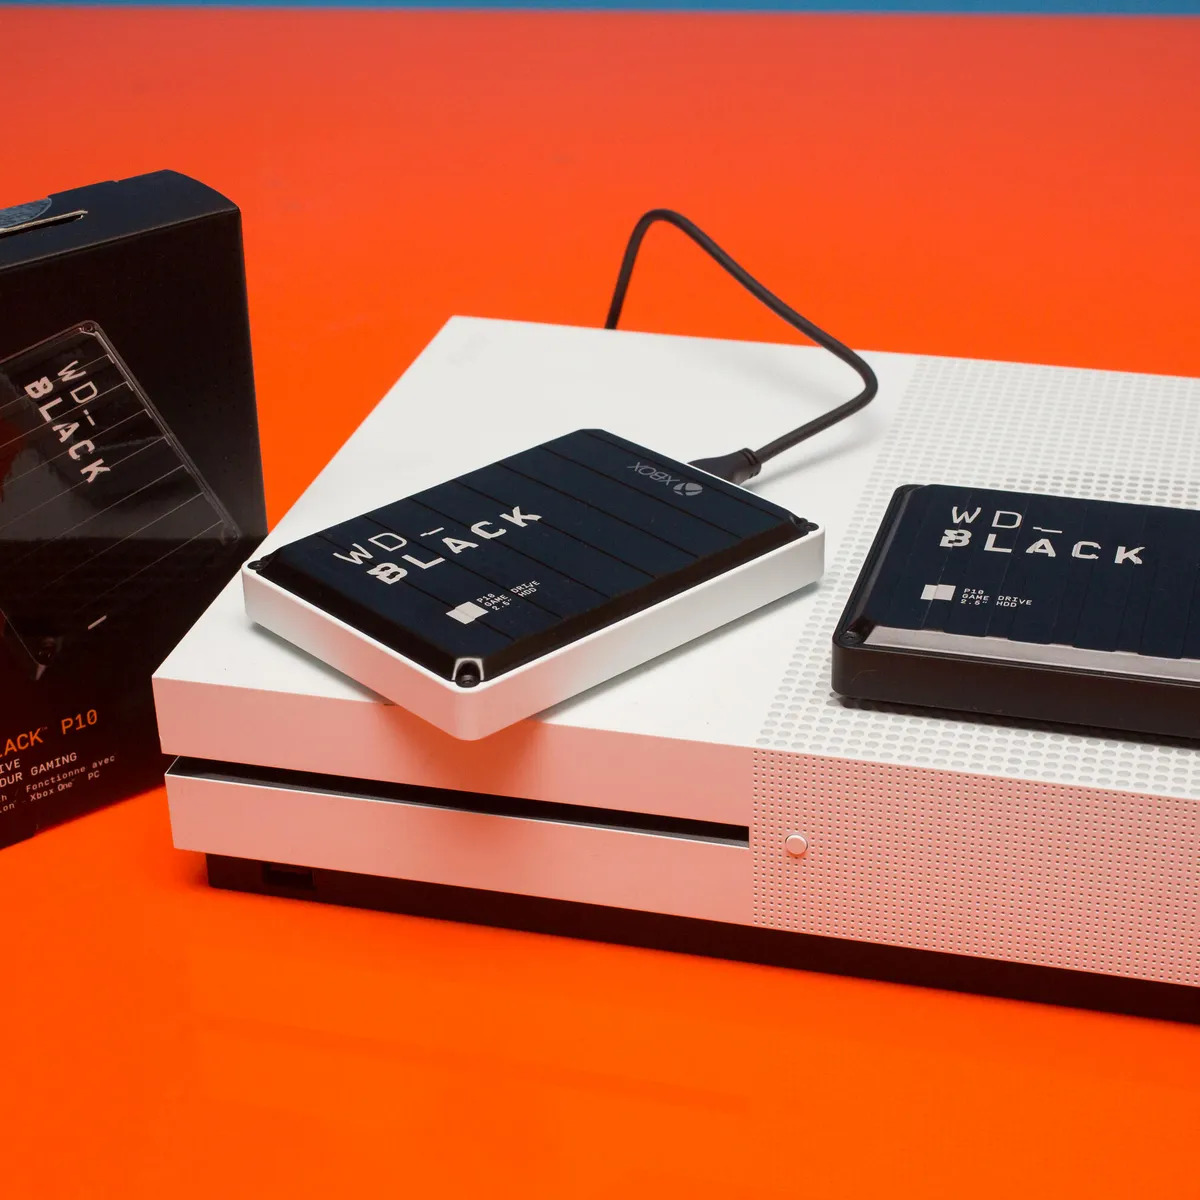
- An external hard drive: Make sure you have a reliable, high-capacity external hard drive that can be connected to your network. Ensure that it supports network connectivity, such as USB or Ethernet.
- A computer or laptop: You’ll need a computer or laptop to configure the network settings on your external hard drive and enable file sharing.
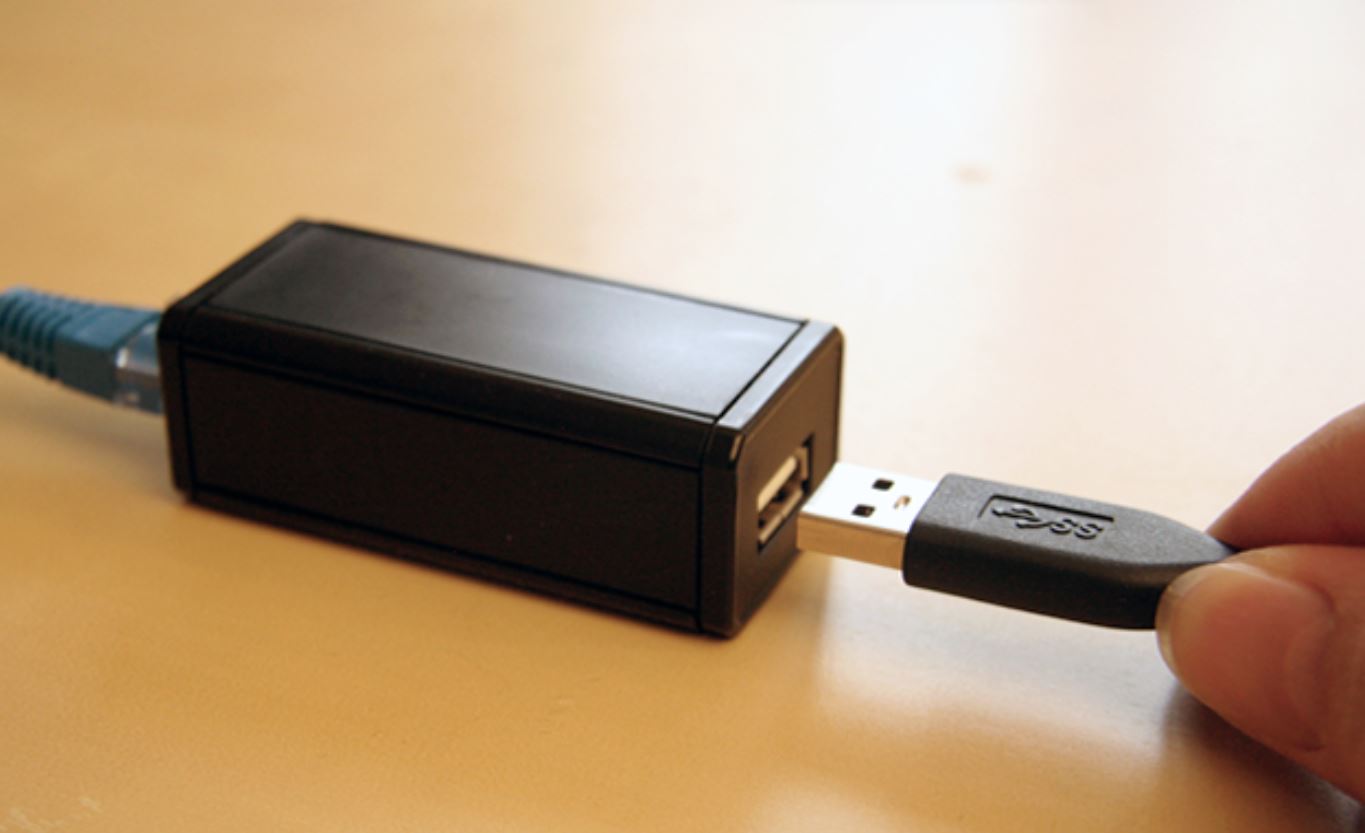
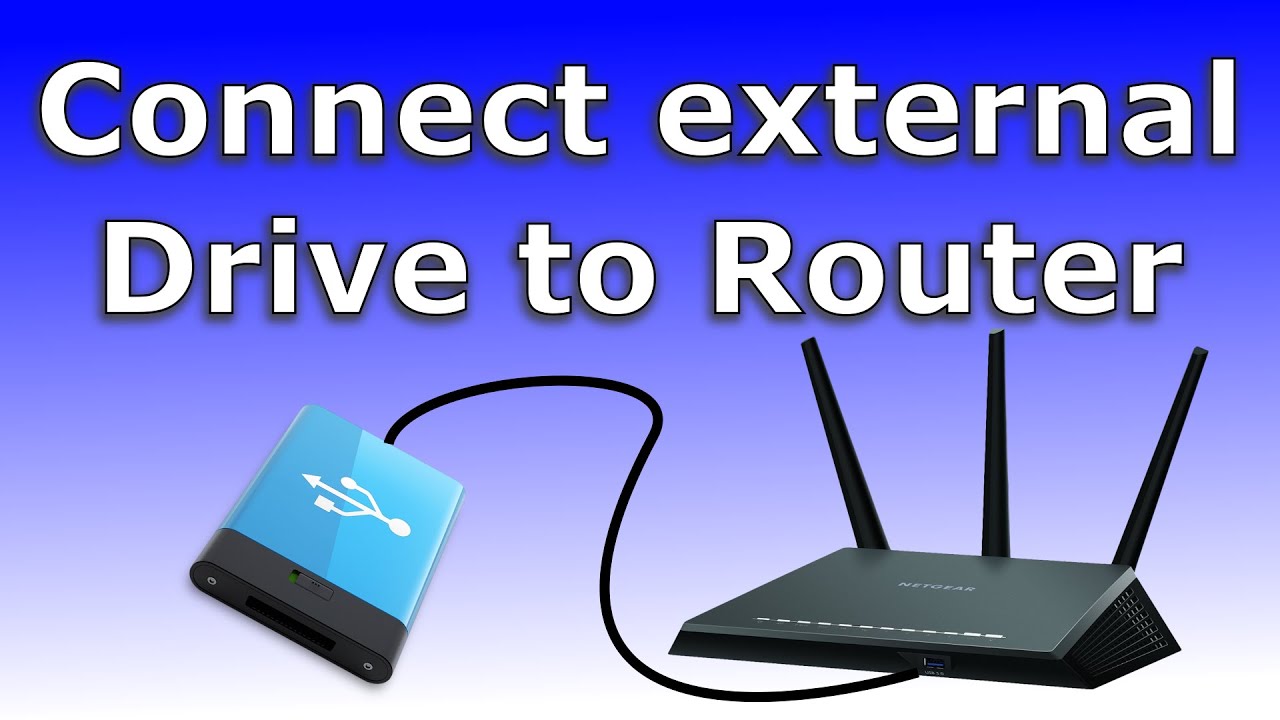
- An Ethernet cable: If your external hard drive has an Ethernet port, you’ll need an Ethernet cable to connect it to your router. Alternatively, if your drive connects via USB, make sure you have a USB cable.
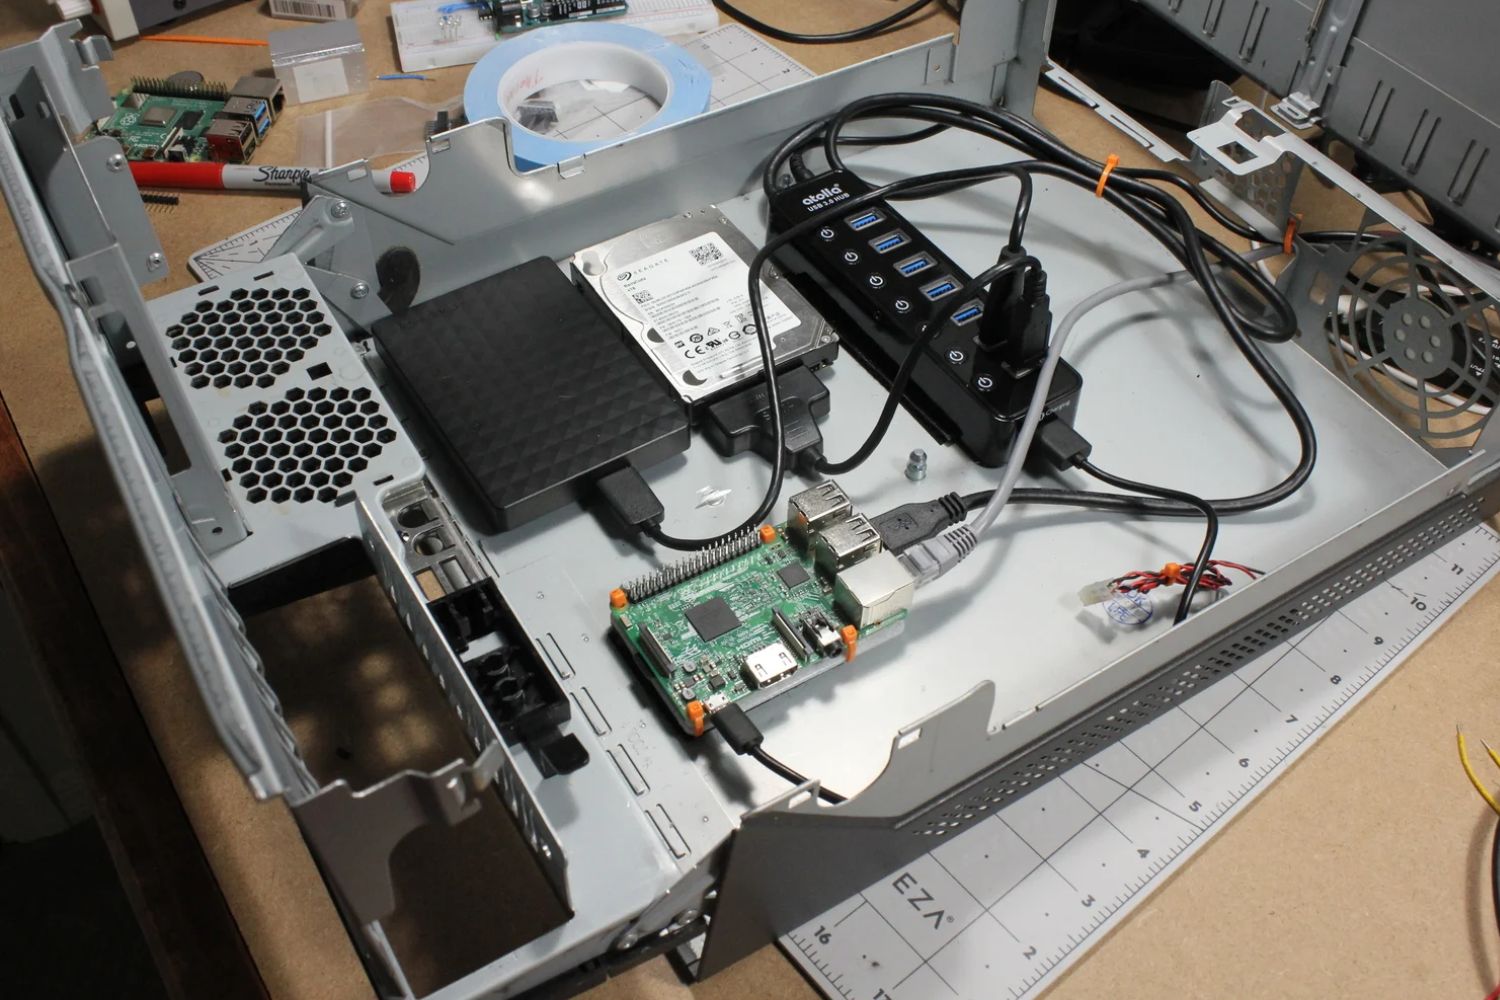
- A router: Your home network requires a router to facilitate communication between devices. Make sure your router has available Ethernet ports and supports file sharing.
- An internet connection: While not essential for setting up the external hard drive on your network, having an internet connection will enable you to download any necessary software or firmware updates for your drive.
By having all these materials ready, you’ll be well-prepared to begin the setup process. Take a moment to gather these items and ensure that you have everything in place before moving on to the next steps.
Once you have all these materials ready, you’re one step closer to enjoying the convenience and accessibility of having your external hard drive on your network. Let’s now proceed to the next section, where we’ll guide you through the process of connecting your external hard drive to your computer.
Connect the external hard drive to your computer
Now that you have gathered all the necessary materials, it’s time to connect your external hard drive to your computer. Follow these steps to establish the physical connection:
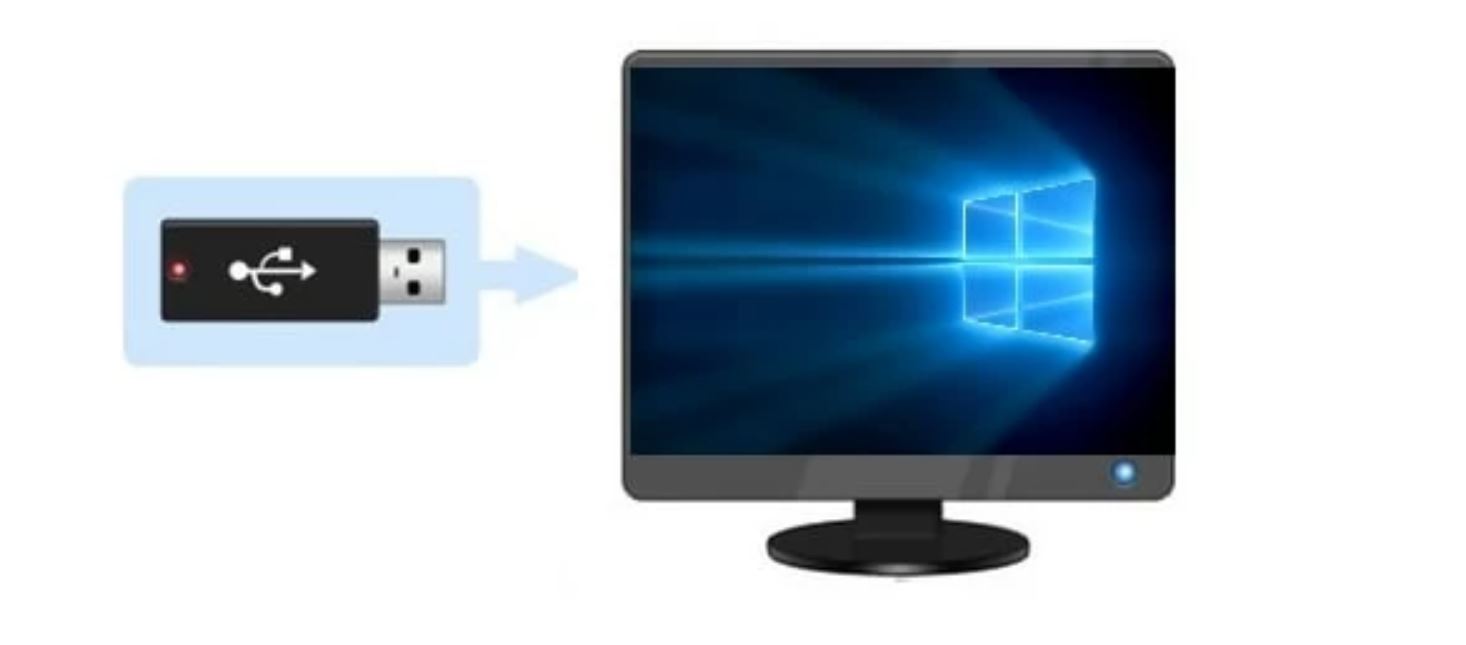
- Locate an available USB or Ethernet port on your computer. If your external hard drive supports USB connectivity, plug one end of the USB cable into the appropriate port on the drive, and the other end into a USB port on your computer. Alternatively, if your drive connects via Ethernet, connect one end of the Ethernet cable to the drive’s Ethernet port, and the other end to an available Ethernet port on your computer.
- Ensure that the connection is secure and snug. Make sure the cables are properly inserted and that there are no loose connections.
- If your external hard drive requires power, plug it into an electrical outlet or use any external power source provided by the manufacturer. Make sure the drive has sufficient power to operate.
- Power on your external hard drive and computer. Wait for both devices to fully start up.
- Once your computer has booted up, it should detect the external hard drive automatically. Depending on your operating system, it may prompt you to install any necessary drivers or software. Follow the on-screen instructions to install any required components.
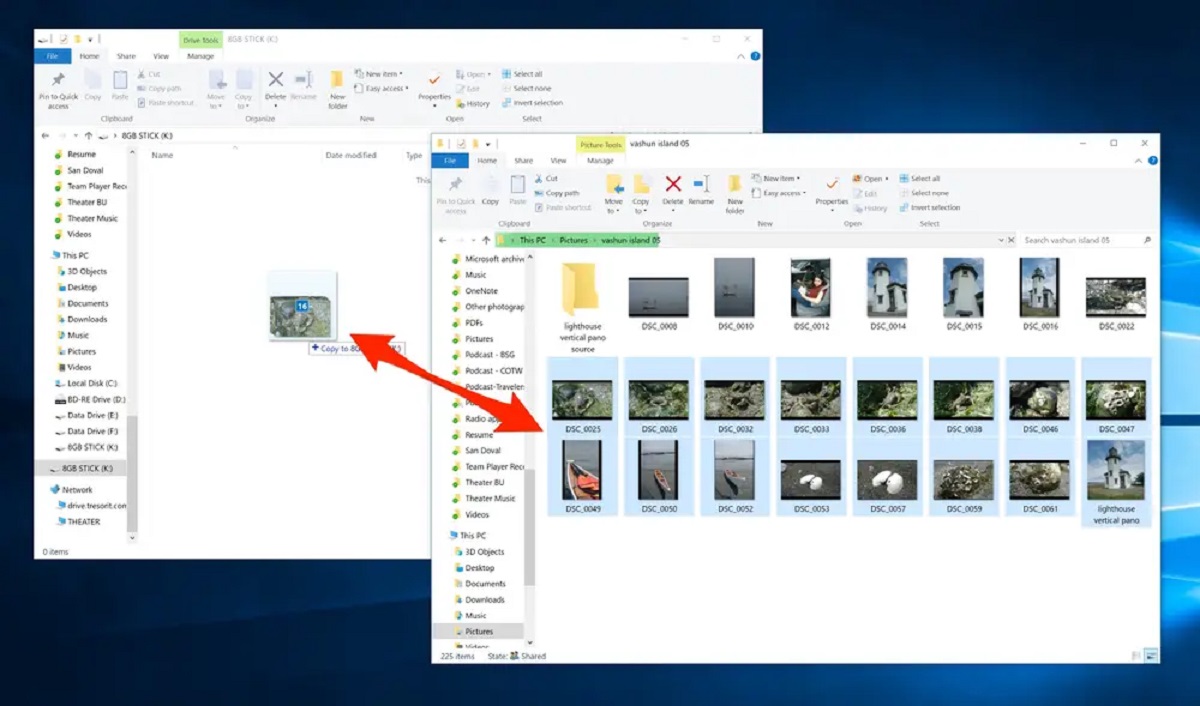
- After the installation process is complete, your computer should recognize the external hard drive. You can verify this by checking the File Explorer (Windows) or Finder (Mac) for the presence of the external hard drive under the list of connected devices.
Congratulations! You have successfully connected your external hard drive to your computer. In the next section, we will guide you through the process of setting up file sharing on your computer so that you can access the drive from other devices on your network.
Set up file sharing on your computer
Now that your external hard drive is connected to your computer, it’s time to set up file sharing so that you can access the drive from other devices on your network. Follow these steps to enable file sharing on your computer:
- On your computer, open the Control Panel (Windows) or System Preferences (Mac) and navigate to the Network and Sharing Center or Sharing options.
- Locate the option for File and Printer Sharing and ensure that it is enabled. This will allow other devices on your network to access files on your computer.
- Next, go to the settings specific to the external hard drive. Right-click on the drive or navigate to the properties menu.
- Within the properties menu, find the sharing or sharing options. Enable file sharing for the external hard drive.
- You may need to set permissions for the shared drive, specifying whether other devices have read-only access or full read and write access. Adjust the settings based on your preferences and network requirements.
- Save the changes and exit the settings menu.
- Now, your computer is ready to share files from the external hard drive with other devices on your network.
It’s worth mentioning that the precise steps may vary slightly depending on your operating system version. However, the general idea remains the same — enabling file sharing and configuring permissions.
With file sharing set up on your computer, you can now proceed to the next section, where we will guide you through the process of assigning a static IP address to your external hard drive, ensuring consistent accessibility on your network.
Assign a static IP address to your external hard drive
Assigning a static IP address to your external hard drive ensures that it always has the same address on your network, making it easier to locate and access. Follow these steps to assign a static IP address to your external hard drive:
- Open a web browser on your computer and enter your router’s IP address in the address bar. You can usually find the router’s IP address in the router’s manual or by checking the router itself.
- Log in to your router’s administration page using the username and password provided. If you haven’t changed the default credentials, they can often be found in the router’s manual.
- Navigate to the DHCP settings or LAN settings section of your router’s administration page.
- Locate the list of connected devices or client list. Look for the entry representing your external hard drive. Note down its current IP address.
- Once you have identified the IP address of your external hard drive, choose an IP address that is outside the DHCP range of your router. This ensures that it remains static and doesn’t conflict with other devices on the network.
- Enter the chosen IP address into the static IP address field for your external hard drive in the router’s administration page. Save the changes.
- Now, your external hard drive has a static IP address assigned to it on your network.
Assigning a static IP address to your external hard drive ensures that it always has the same IP address when connected to your network. This makes it easier for other devices on the network to locate and access the drive. It also prevents the IP address from being automatically assigned to another device by the router’s DHCP server.
In the next section, we will guide you through the process of configuring network settings on your external hard drive to establish seamless communication with other devices on your network.
Configure network settings on your external hard drive
Configuring the network settings on your external hard drive is essential to ensure proper communication and accessibility on your network. Follow these steps to configure the network settings on your external hard drive:
- Access the settings or configuration interface of your external hard drive. This is typically done through a web browser by entering the drive’s IP address in the address bar.
- Log in to the drive’s administration panel using the username and password provided by the manufacturer. If you haven’t changed the default credentials, they can usually be found in the drive’s manual or on a label attached to the device.
- Navigate to the network settings section of the administration panel.
- Choose the network connection type for your external hard drive. This can be Ethernet if your drive is connected directly to the router via an Ethernet cable, or Wi-Fi if your drive supports wireless connectivity.
- Enter the necessary network details, such as the IP address, subnet mask, and gateway. These can often be found in your router’s administration page or acquired automatically if your drive supports DHCP.
- If applicable, configure any additional network settings, such as DNS server addresses or proxy settings, as per your network requirements.
- Save the changes and restart your external hard drive if prompted.
- Wait for the drive to establish the network connection. This may take a few moments, during which the drive may restart and obtain the configured IP address.
- Once the network connection is established, your external hard drive is now ready to communicate with other devices on your network.
Properly configuring the network settings on your external hard drive ensures seamless communication and accessibility across your network. By entering the correct network details, your drive can connect to other devices and share files effortlessly.
In the next section, we will guide you through the process of testing the connection and accessing the files on your external hard drive from other devices on your network.
Test the connection and access the external hard drive
Now that you have set up and configured your external hard drive on your network, it’s time to test the connection and ensure that you can access the drive from other devices. Follow these steps to test the connection and access your external hard drive:
- Ensure that all devices you want to access the external hard drive from are connected to the same network.
- On the device you want to access the drive from (e.g., another computer, laptop, smartphone, or smart TV), open the file explorer or file manager.
- Look for the external hard drive under the list of available network devices or connected servers. It might be listed by its name or IP address. If you’re unsure of the drive’s name or IP address, you can usually find it in the drive’s documentation or in the router’s list of connected devices.
- Click or tap on the external hard drive’s name or IP address to establish a connection to it.
- If required, enter any login credentials (e.g., username and password) to access the drive. This will depend on the drive’s settings and the permissions you have configured.
- Once connected, you should be able to browse and access the files and folders stored on the external hard drive, just like you would with any other local drive.
- Test different file operations, such as opening files, copying, pasting, or deleting, to ensure that the connection and access to the drive are working correctly.
If you can successfully access and work with the files on your external hard drive from other devices, congratulations! Your network setup is complete, and you can now enjoy the convenience of accessing your files from multiple devices.
If you encounter any issues during this testing process, double-check your network and drive settings, as well as the permissions you have configured. Ensure that all devices are connected to the same network and that the drive is powered on and accessible.
With the connection and accessibility verified, you have successfully completed the setup of your external hard drive on your network. In the final section, we will summarize the key points and offer some closing thoughts.
Conclusion
Congratulations on successfully setting up your external hard drive on your network! By following the steps outlined in this guide, you have now gained the convenience and flexibility of accessing your files from any device connected to your network. You no longer need to rely on transferring files manually or relying on cloud storage services. Your networked storage solution provides you with complete control over your data’s security and privacy.
Throughout this process, you have learned how to gather the necessary materials, connect the external hard drive to your computer, set up file sharing, assign a static IP address, configure network settings, and test the connection to ensure seamless access to your drive. These steps have empowered you to create a network storage solution that meets your specific needs.
Remember to keep your external hard drive and network configuration up to date by staying informed about firmware updates or software patches released by the manufacturer. Regularly backing up your important files is highly recommended to prevent any data loss.
We hope this guide has been informative and helpful in setting up your external hard drive on your network. With your new networked storage solution, you can enjoy the convenience of accessing your files from anywhere within your network. Whether you’re working on a project, streaming media, or sharing files with family and friends, your networked external hard drive will be a valuable asset.
If you have any further questions or need additional support, don’t hesitate to consult the documentation provided by the manufacturer or seek assistance from their customer support team. Now go ahead and enjoy the benefits of having your external hard drive on your network!