Introduction
Setting up a network attached storage (NAS) system with a Raspberry Pi is a cost-effective and efficient way to create a centralized storage solution for your home or small business. With the Raspberry Pi's compact size and low power consumption, it serves as an ideal platform for building a NAS that can store and manage your files, media, and backups.
In this guide, we will walk you through the process of setting up a network attached storage with a Raspberry Pi. We will cover the hardware and software requirements, the installation of the operating system, the connection of the hard drive, and the configuration of the NAS. Additionally, we will explore how to access and utilize the network attached storage once it's up and running.
By the end of this tutorial, you will have a fully functional network attached storage system that provides a convenient and secure way to store and access your data. Whether you want to create a media server for streaming content, set up a backup solution for your devices, or simply centralize your file storage, the Raspberry Pi NAS offers a customizable and budget-friendly option.
Let's dive into the details of what you'll need to get started with this exciting project.
What You Will Need
Before embarking on the setup of a network attached storage (NAS) with a Raspberry Pi, it’s essential to gather the necessary components and software. Here’s a comprehensive list of what you’ll need to get started:
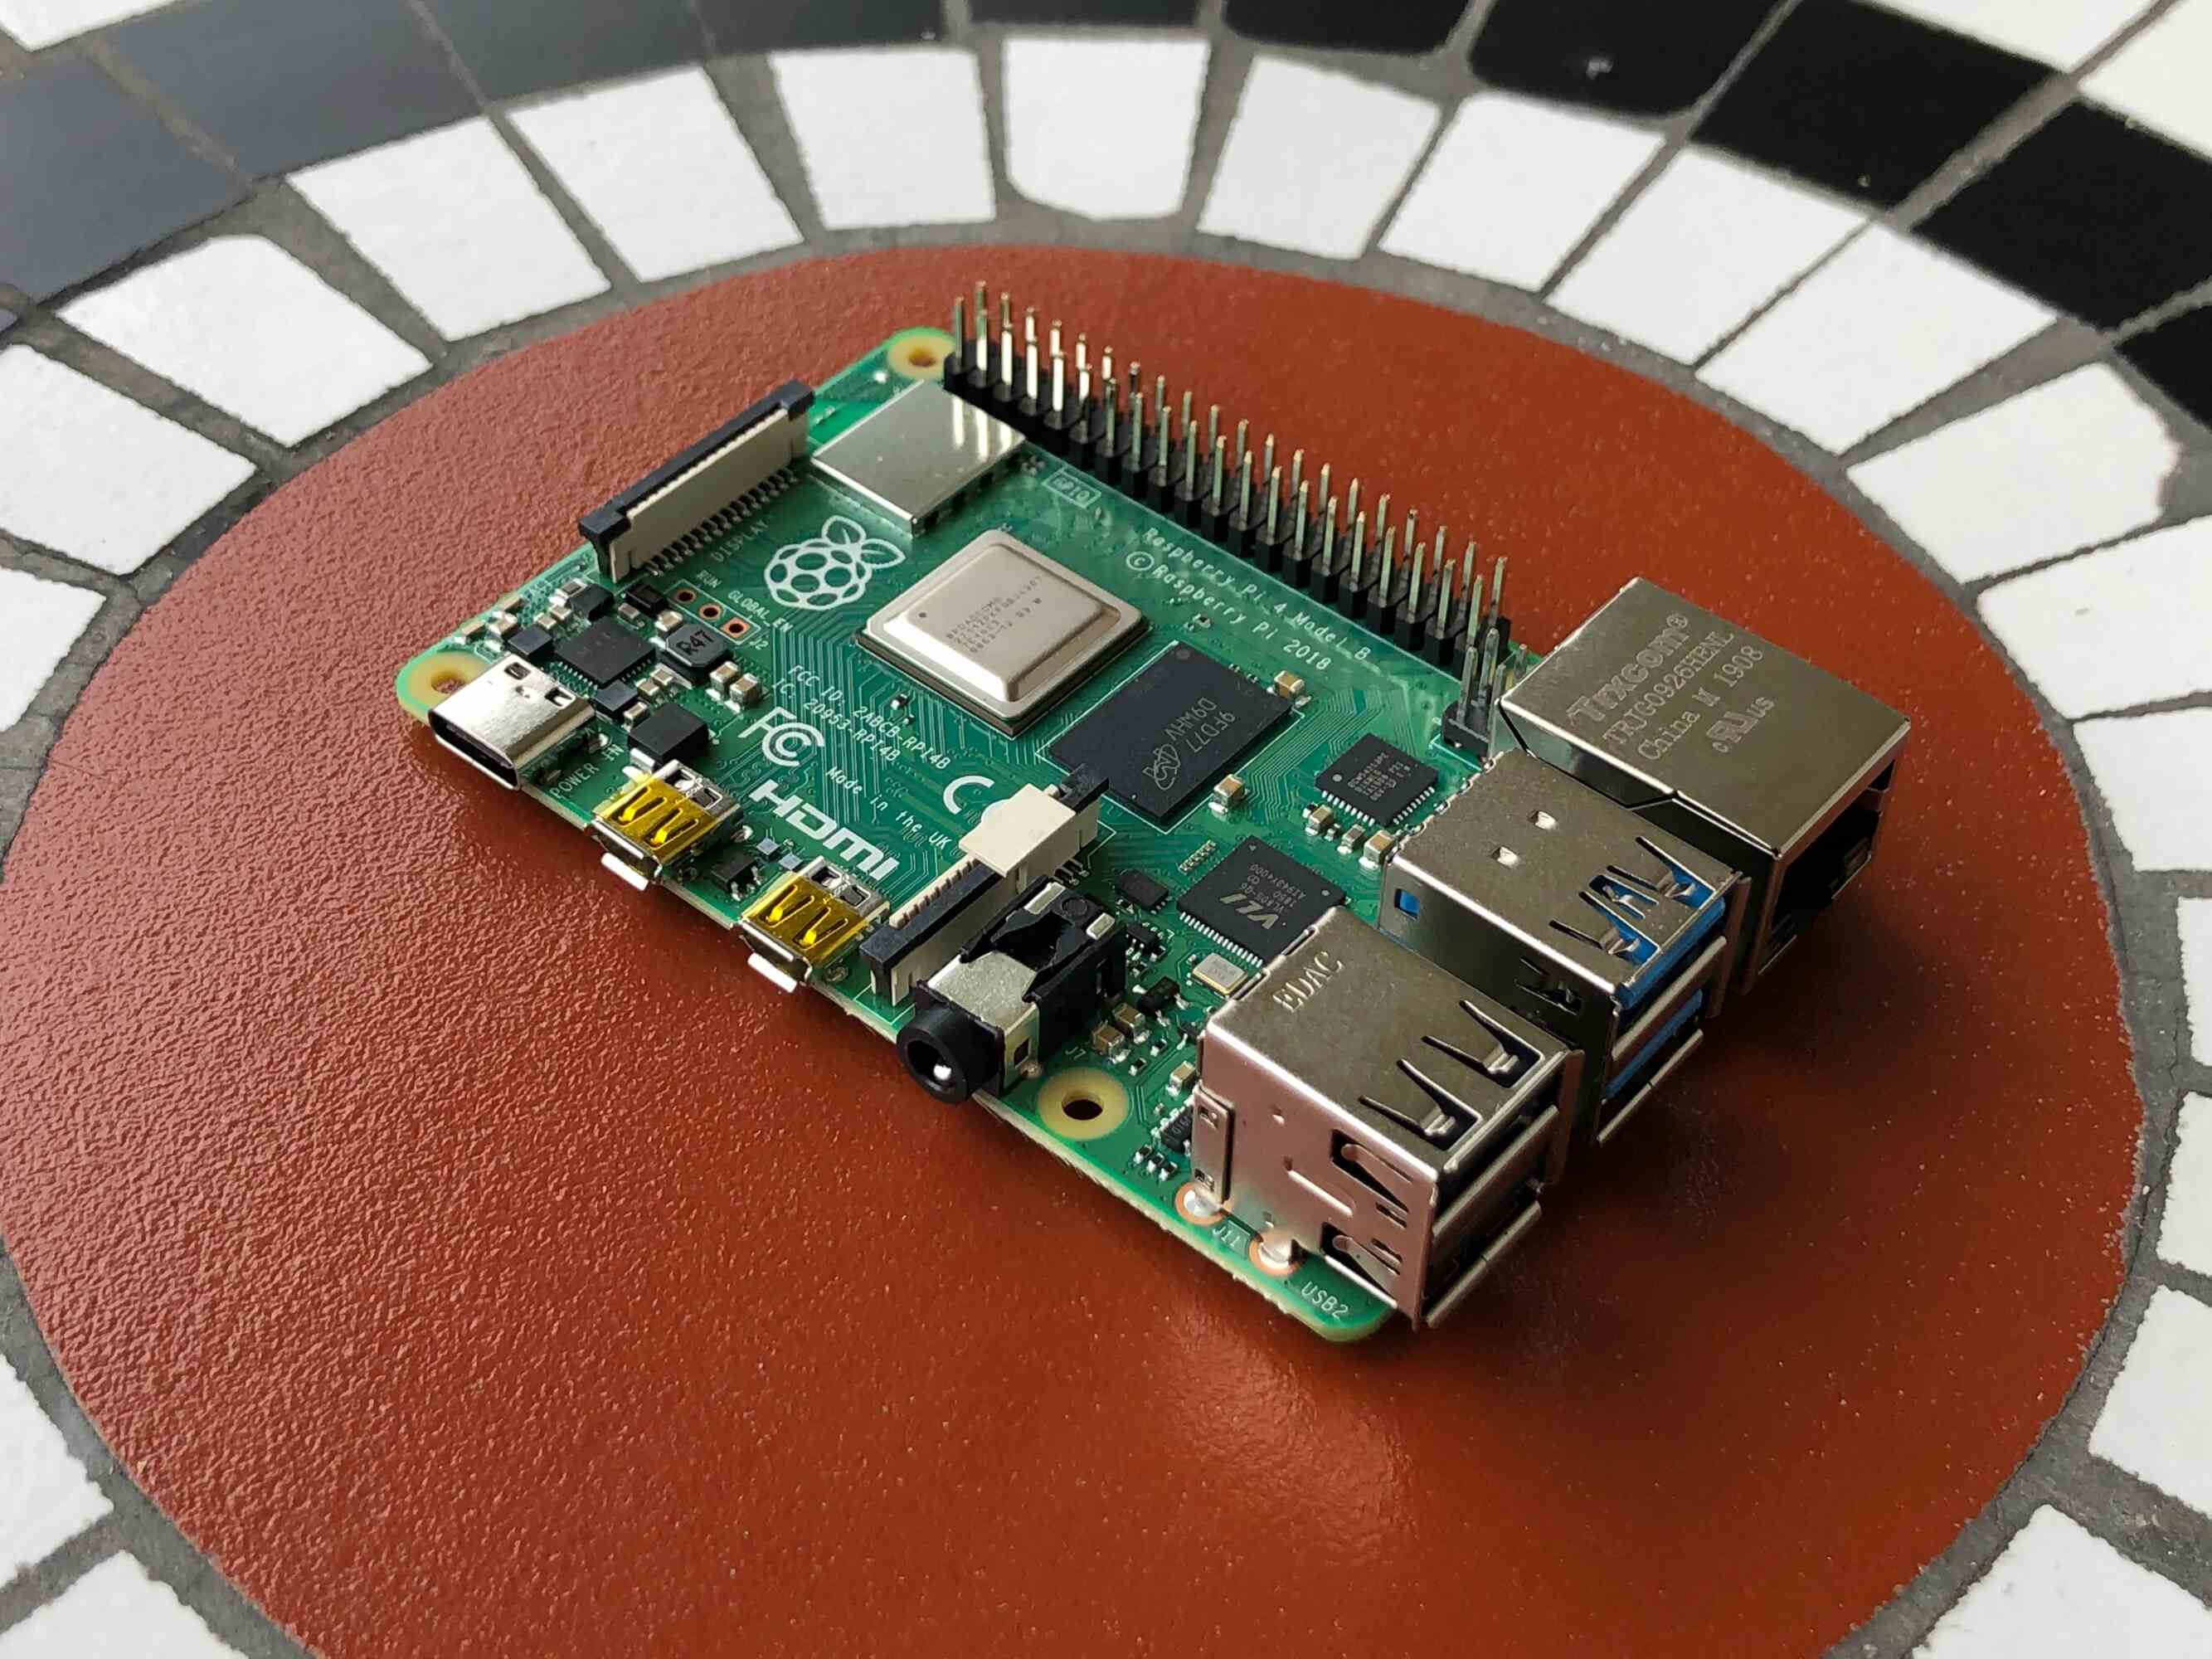
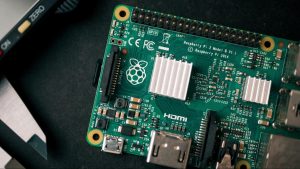
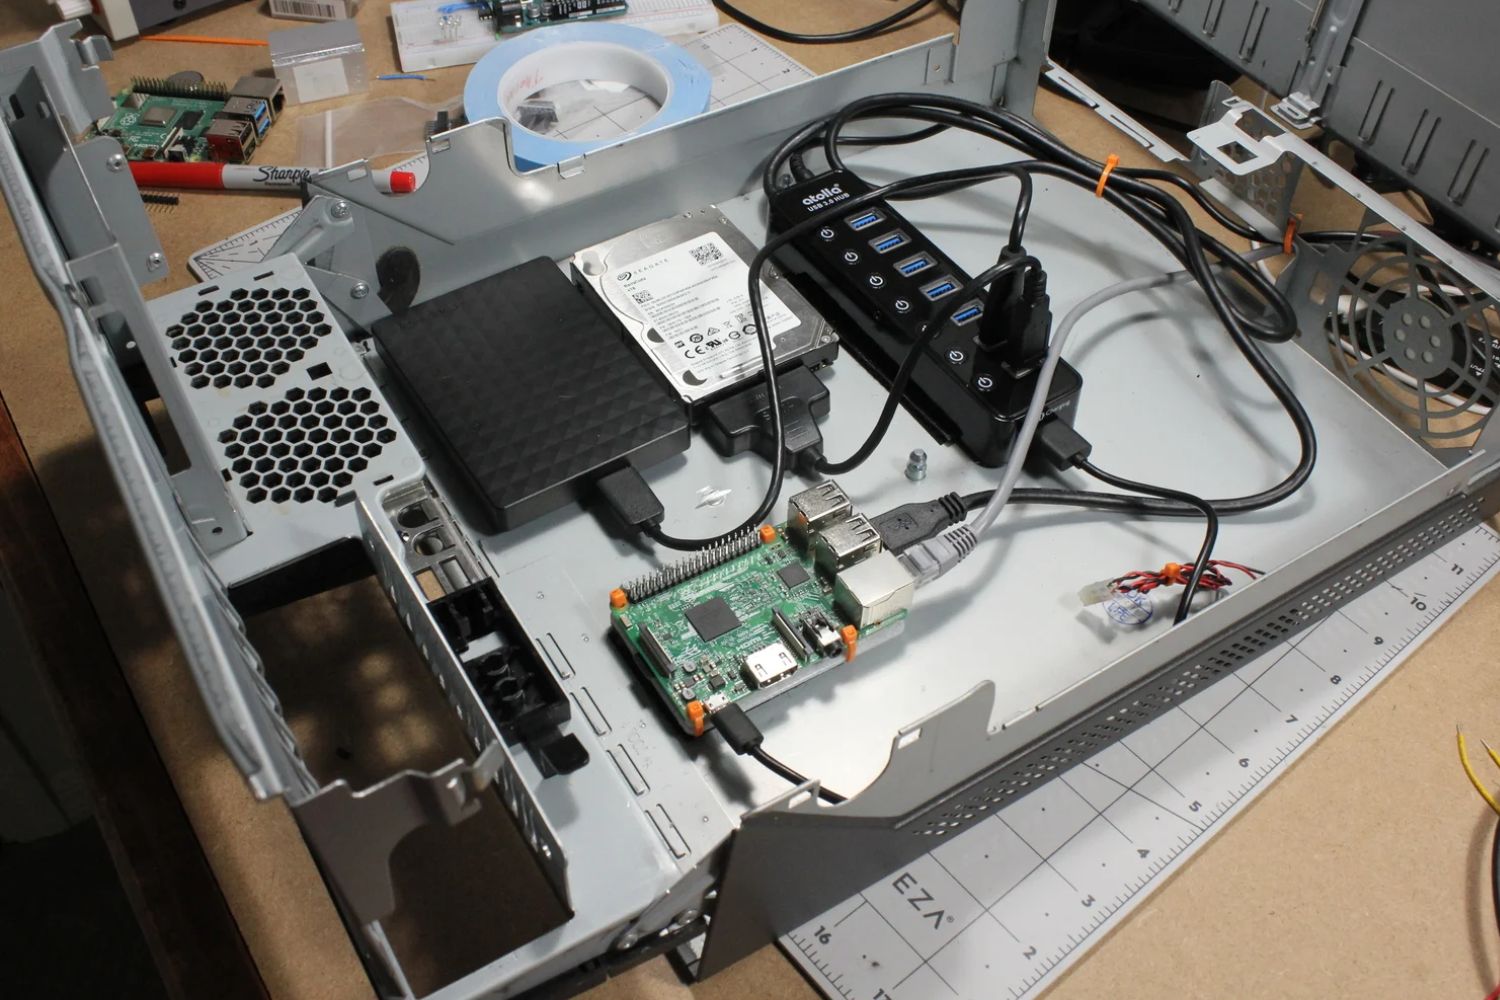
- Raspberry Pi: The heart of your NAS system, the Raspberry Pi serves as the central computing unit. Ensure you have a compatible model, such as the Raspberry Pi 3 or 4, along with a power supply and a microSD card for the operating system.
- External Hard Drive: Select a high-capacity external hard drive to store your files. Make sure it’s compatible with the Raspberry Pi and has sufficient storage space for your needs.
- Network Connection: You’ll need a reliable network connection, either through an Ethernet cable or a Wi-Fi adapter, to connect the Raspberry Pi to your local network.
- Operating System: Choose a suitable operating system for the Raspberry Pi. Raspbian, the official Raspberry Pi OS, is a popular choice and will be used in this guide.
- Router: A functioning router with available Ethernet ports is necessary to connect the Raspberry Pi to your local network.
- Computer or Laptop: You’ll require a computer or laptop to set up the Raspberry Pi, install the operating system, and configure the NAS.
These essential components form the foundation for creating a robust and functional network attached storage system with a Raspberry Pi. Once you have gathered these items, you’re ready to proceed with setting up your Raspberry Pi NAS.
Setting Up the Raspberry Pi
Before diving into the intricacies of creating a network attached storage (NAS) with your Raspberry Pi, it’s crucial to set up the Raspberry Pi itself. Follow these steps to ensure your Raspberry Pi is ready for the NAS installation:
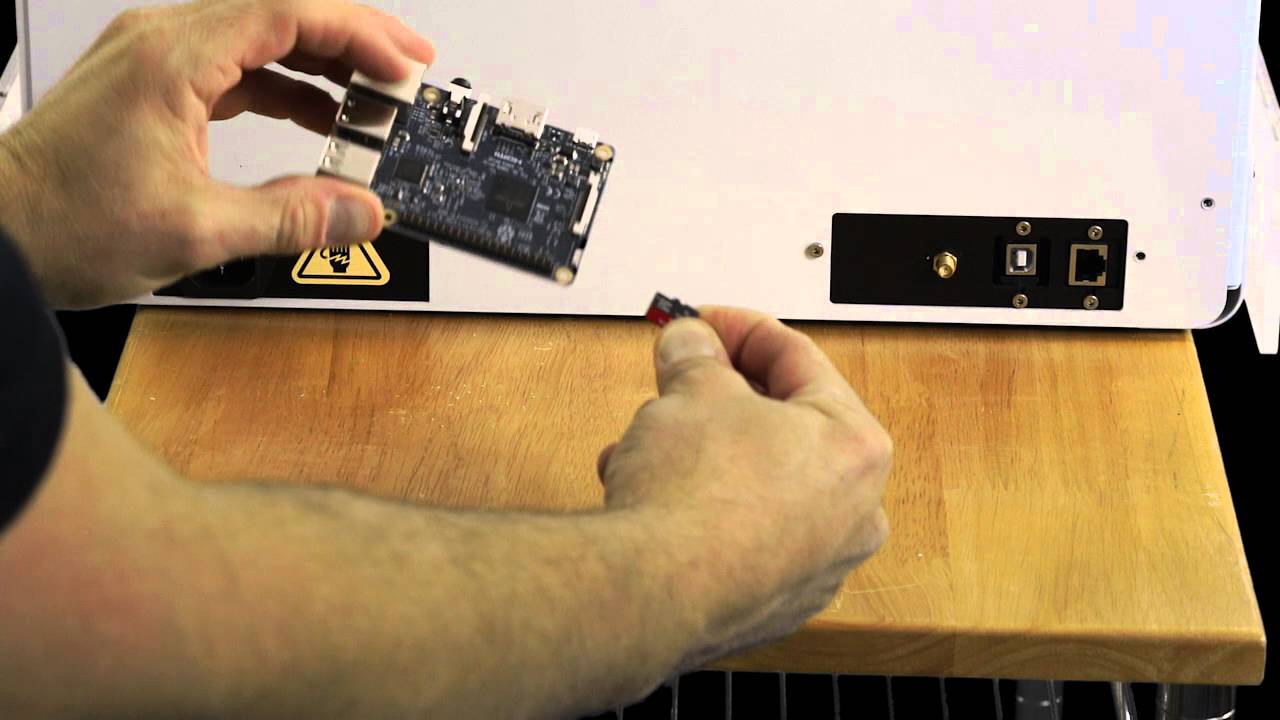
- Assemble the Raspberry Pi: Connect the Raspberry Pi to a monitor, keyboard, and mouse. If you’re using a Raspberry Pi 4, ensure that you have the appropriate cables and adapters for the micro HDMI and USB-C ports.
- Insert the microSD Card: Prepare the microSD card with the Raspbian operating system. Insert the microSD card into the Raspberry Pi to boot the system.
- Power Up the Raspberry Pi: Connect the power supply to the Raspberry Pi to turn it on. The system will boot up, and you will be guided through the initial setup process.
- Configure the Operating System: Follow the on-screen prompts to set up the Raspbian operating system. This includes configuring the language, time zone, and password for the default user account.
- Update the System: Once the initial setup is complete, it’s recommended to update the system to ensure that you have the latest software and security patches. Open a terminal window and run the following commands:
sudo apt update
sudo apt upgrade
By completing these steps, you will have successfully set up the Raspberry Pi and prepared it for the installation of the NAS software. With the Raspberry Pi configured and running the Raspbian operating system, you’re now ready to move on to the next phase: installing the operating system for the network attached storage.
Installing the Operating System
Once your Raspberry Pi is set up and running, the next step in creating a network attached storage (NAS) is to install the operating system. In this guide, we will focus on using Raspbian, the official Raspberry Pi operating system, to build our NAS. Follow these steps to install Raspbian on your Raspberry Pi:
- Download Raspbian: Visit the official Raspberry Pi website and download the latest version of Raspbian. You can choose between the full version with a desktop environment or the Lite version for a headless setup.
- Prepare the microSD Card: Use a tool like Etcher to flash the Raspbian image onto the microSD card. Insert the microSD card into your computer and follow the instructions provided by Etcher to write the Raspbian image.
- Boot the Raspberry Pi: Insert the microSD card into the Raspberry Pi and power it up. The system will boot into Raspbian, and you will be guided through the initial setup process, including expanding the file system and setting up the network.
- Update Raspbian: After the initial setup, it’s essential to update Raspbian to ensure that you have the latest software and security patches. Open a terminal window and run the following commands:
sudo apt update
sudo apt upgrade
With Raspbian installed and updated on your Raspberry Pi, you have laid the foundation for building the network attached storage. The next steps will involve connecting the external hard drive and configuring the NAS software to transform your Raspberry Pi into a functional storage server.
Connecting the Hard Drive
With the Raspberry Pi set up and the operating system installed, the next crucial step in creating a network attached storage (NAS) is to connect the external hard drive that will serve as the storage repository. Follow these steps to connect the hard drive to your Raspberry Pi:
- Power Off the Raspberry Pi: Before connecting the hard drive, ensure that the Raspberry Pi is powered off to avoid any potential damage to the hardware.
- Identify the USB Port: Locate an available USB port on the Raspberry Pi where you will connect the external hard drive. If you’re using a USB 3.0 hard drive, prioritize using a USB 3.0 port for optimal performance.
- Connect the Hard Drive: Plug the external hard drive into the chosen USB port on the Raspberry Pi. Ensure that the connection is secure and that the hard drive receives power, either through its own power adapter or via the USB connection.
- Power On the Raspberry Pi: Once the hard drive is connected, power on the Raspberry Pi. The system will recognize the external hard drive and make it available for configuration as part of the NAS setup.
- Verify the Connection: After the Raspberry Pi has booted up, you can verify that the external hard drive is detected by running the following command in a terminal window:
lsblkThis command will list all block devices, including the connected hard drive. You should see the external hard drive listed as a block device, typically labeled as <code>/dev/sda</code> or similar.
By following these steps, you have successfully connected the external hard drive to your Raspberry Pi, laying the groundwork for configuring it as the primary storage for the network attached storage. The next phase will involve configuring the NAS software to recognize and utilize the connected hard drive for file storage and sharing.
Configuring the Network Attached Storage
With the Raspberry Pi set up, the operating system installed, and the external hard drive connected, the next critical step in creating a network attached storage (NAS) is to configure the software that will enable file storage and sharing. In this guide, we will utilize Samba, a popular open-source software suite that provides seamless file and print services to SMB/CIFS clients.
Follow these steps to configure the network attached storage using Samba on your Raspberry Pi:
- Install Samba: Open a terminal window on the Raspberry Pi and run the following command to install Samba:
sudo apt install samba - Configure Samba: Once Samba is installed, you will need to configure the software to define the shared directories and set access permissions. Open the Samba configuration file in a text editor by running:
sudo nano /etc/samba/smb.conf - Define Shared Directories: Within the Samba configuration file, specify the directories on the external hard drive that you want to share. You can create multiple shared directories for different types of files, such as “Documents,” “Music,” or “Photos.”
- Set Access Permissions: Configure the access permissions for the shared directories to define who can read, write, and execute files within each shared folder. You can set specific user permissions or create guest access for public sharing.
- Restart Samba: After making the necessary configuration changes, restart the Samba service to apply the new settings. Run the following command in the terminal:
sudo systemctl restart smbd
By following these steps, you have successfully configured the network attached storage using Samba on your Raspberry Pi. The external hard drive is now accessible as a shared resource, allowing you to store, organize, and access files from any device within your local network. The final phase of this guide will focus on accessing and utilizing the network attached storage that you have set up.
Accessing the Network Attached Storage
Now that the network attached storage (NAS) system has been set up and configured on your Raspberry Pi, it’s time to explore how to access and utilize the shared storage from other devices within your local network. Whether you want to access files from a computer, a laptop, or a media player, the NAS provides a convenient and centralized storage solution. Here’s how you can access the network attached storage:
- Discover the NAS: On your computer or laptop, open the file explorer or file manager and navigate to the network or shared devices section. The Raspberry Pi NAS should appear as a network location or a shared device.
- Access the Shared Directories: Once the Raspberry Pi NAS is visible, you can access the shared directories by clicking on the NAS icon. You may be prompted to enter your credentials if access restrictions have been configured.
- Transfer and Manage Files: Within the shared directories, you can transfer, organize, and manage files just like you would with any local storage. Copy files to and from the NAS, create new folders, and organize your data as needed.
- Stream Media: If you have set up the NAS for media storage, you can stream music, videos, and other media files directly from the shared directories. This turns your Raspberry Pi NAS into a versatile media server for your home network.
- Set Up Backup Solutions: Utilize the NAS for automated backups of your devices. You can configure backup software to store regular backups on the network attached storage, providing an extra layer of data protection.
By following these steps, you can seamlessly access and utilize the network attached storage that you have set up with your Raspberry Pi. Whether it’s for file storage, media streaming, or backup solutions, the NAS offers a flexible and accessible platform for managing your data within your local network.
Conclusion
Setting up a network attached storage (NAS) with a Raspberry Pi presents an affordable and versatile solution for centralized file storage and sharing. By following the steps outlined in this guide, you have transformed your Raspberry Pi into a capable storage server that can accommodate a variety of needs, from media streaming to data backup. With the NAS in place, you have created a convenient and accessible platform for managing your files within your local network.
Through careful consideration of the hardware and software requirements, you have assembled the necessary components and installed the Raspbian operating system to serve as the foundation for the NAS. Connecting an external hard drive and configuring the network attached storage using Samba has enabled seamless file sharing and access across your devices.
Accessing the NAS from other devices within your network provides a user-friendly and efficient means of interacting with your stored data. Whether you’re transferring files, streaming media, or setting up automated backups, the Raspberry Pi NAS offers a customizable and reliable solution for your storage needs.
As you continue to explore the capabilities of your Raspberry Pi NAS, consider expanding its functionality by integrating additional features such as remote access, security enhancements, or specialized applications. With the flexibility and scalability of the Raspberry Pi platform, the potential for your NAS system is virtually limitless.
By embarking on this NAS setup journey, you have not only created a practical storage solution but also gained valuable experience in configuring and managing a network attached storage system. As you further refine and personalize your NAS, you are harnessing the power of the Raspberry Pi to enhance your digital lifestyle and streamline your data management processes.