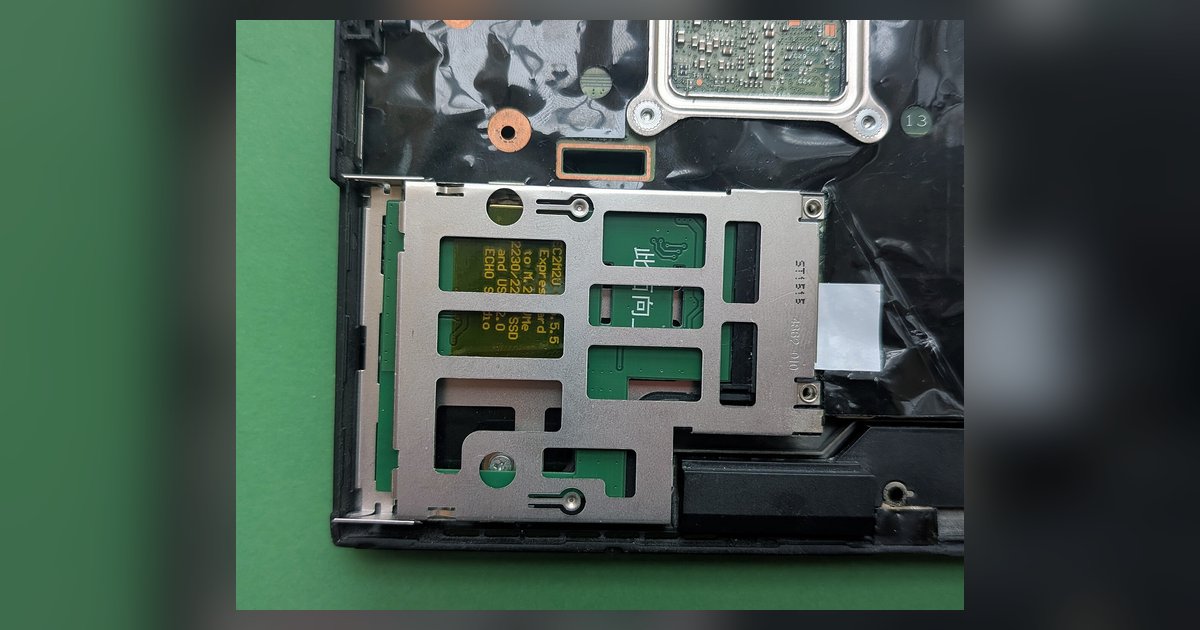
Physical fit does not guarantee compatibility—an M.2 slot can be wired for NVMe (PCIe), SATA, or both, and an NVMe drive will not be detected in a SATA-only M.2 slot. You must check your motherboard manual or BIOS to confirm which protocol your specific M.2 slot supports.
The NVMe boot support trap everyone falls into
The M.2 connector is just a shape, a 22mm-wide slot with a variable number of pins. It tells you nothing about the language the slot speaks. The common confusion comes from keying: an M-key slot (one notch) usually supports PCIe, a B-key slot (two notches) often supports SATA, and a B+M-key slot (both notches) can support either. But keying is not a guarantee. Many budget boards use a B-key slot that is wired exclusively for SATA, and an NVMe drive with an M-key notch will physically fit but have no electrical connection to the PCIe lanes. Similarly, some M-key slots on older chipsets (like H110 or B150) are wired for SATA only. The notch tells you the shape of the card, not the protocol running through the pins. This is why you can shove an NVMe drive into a SATA-only slot, it clicks in, screws down, and then vanishes from the system.
If you bought an NVMe drive and your motherboard’s M.2 slot only speaks SATA, the drive will remain invisible no matter how many times you reseat it.
How to check what your slot actually speaks
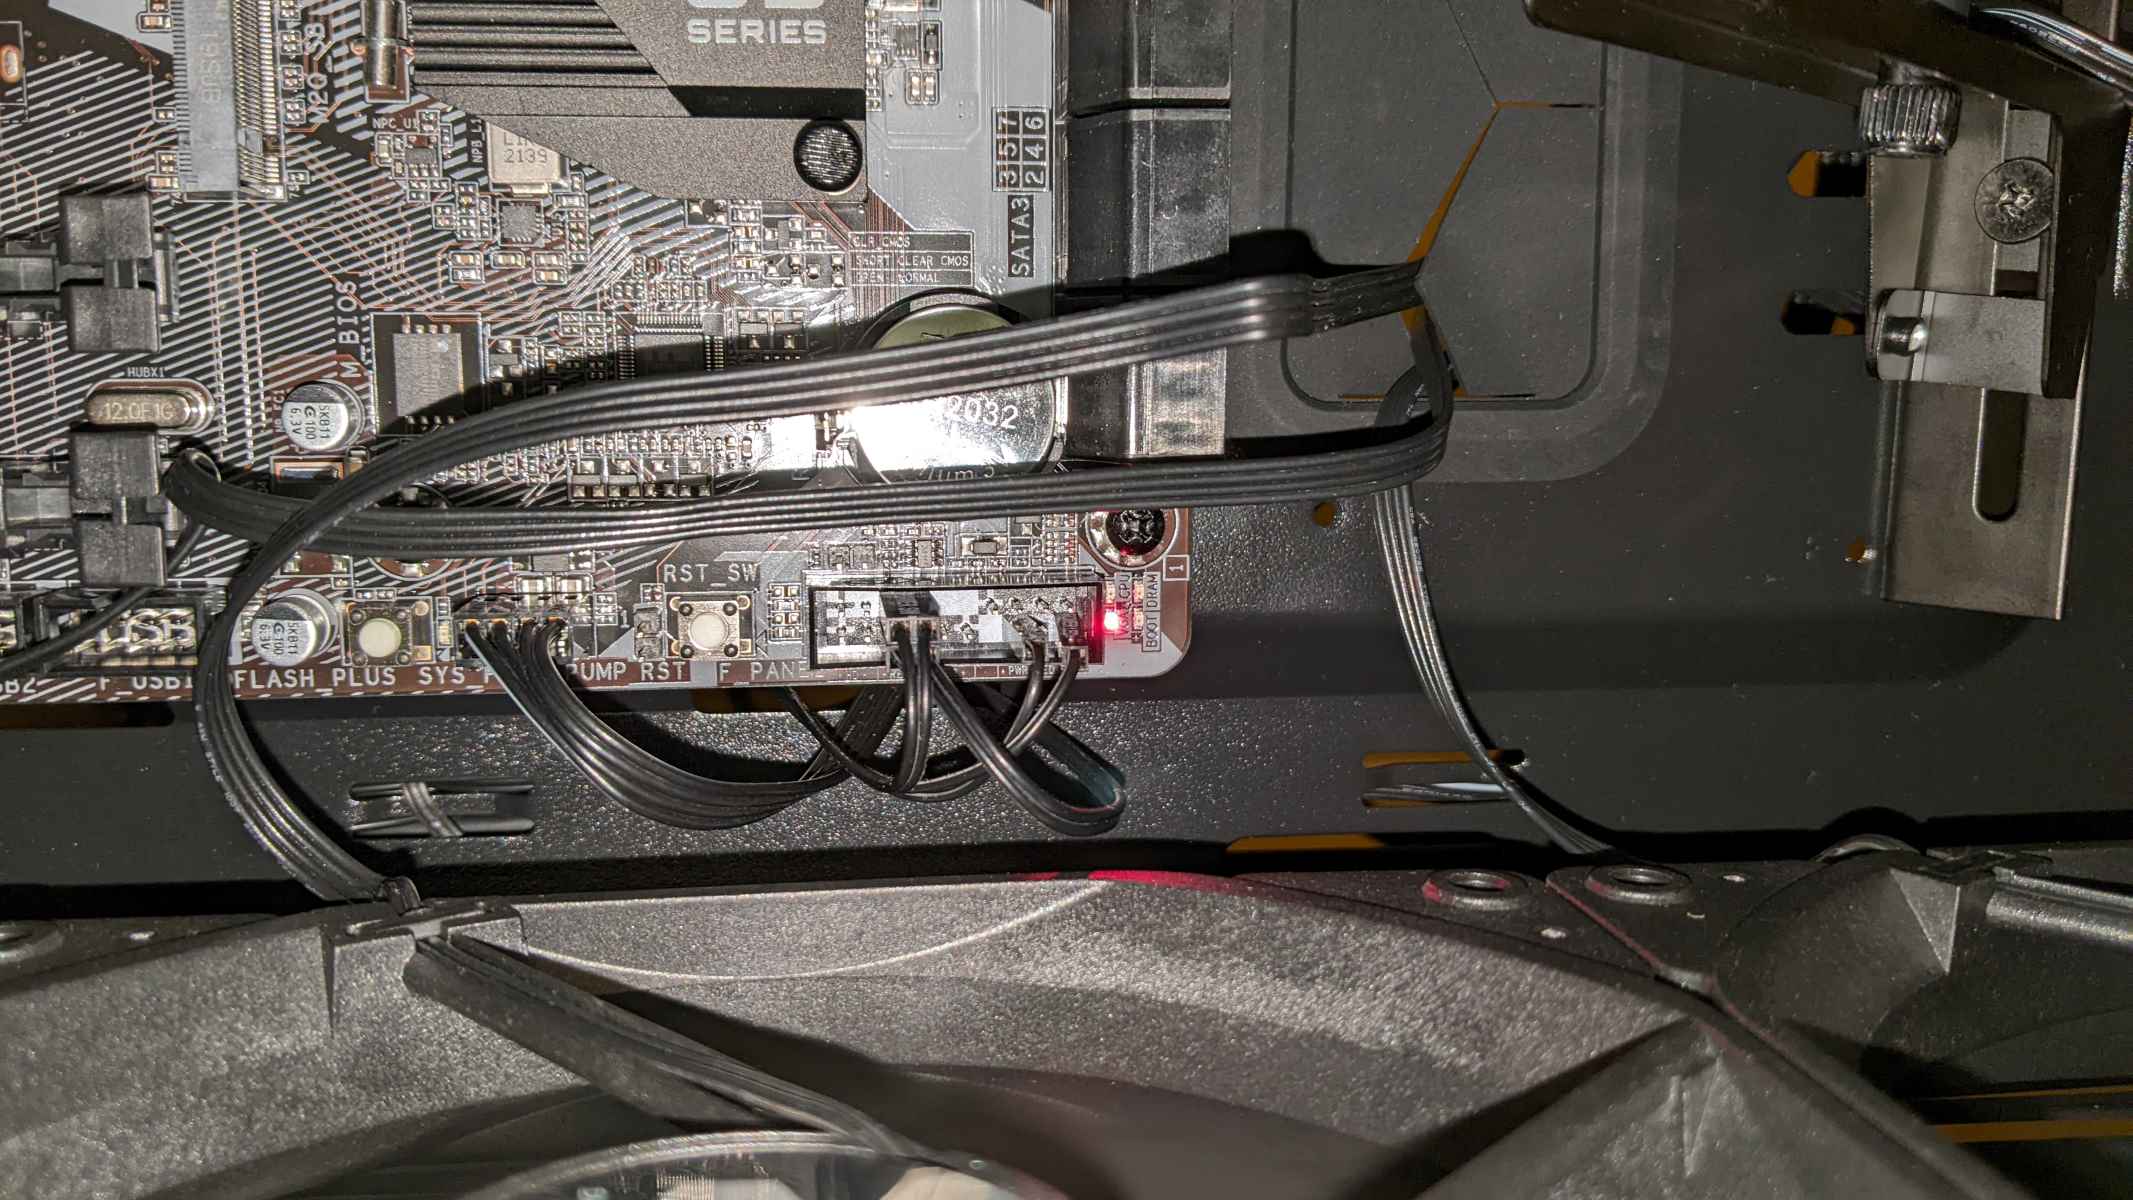
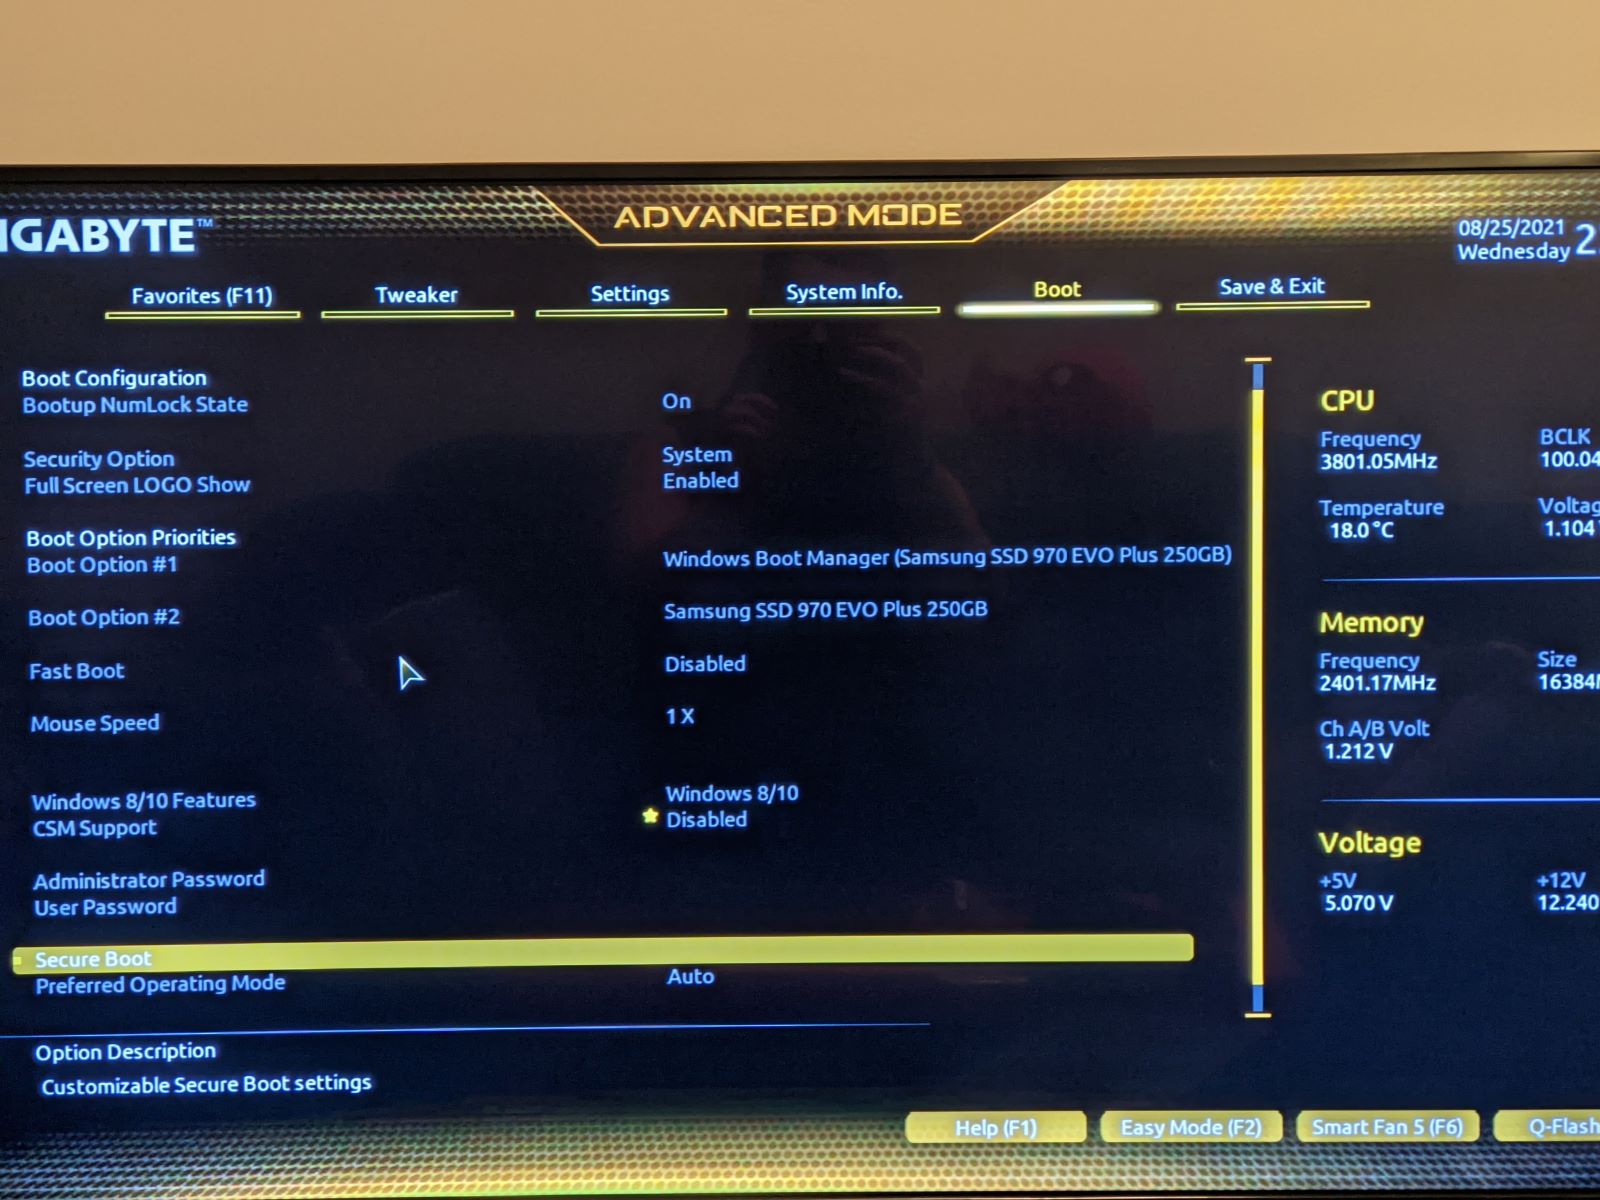
Three concrete methods will settle the question. First, open your motherboard manual and turn to the storage section. Look for a table labeled “M.2 slot configuration” or “M.2 connector support.” It will explicitly say “PCIe” (NVMe), “SATA,” or “PCIe + SATA.” If it says “SATA only,” your NVMe drive is dead on arrival in that slot. Second, examine the motherboard itself. Next to the M.2 slot, the PCB often has silkscreened text like “M2_1 (SATA)” or “M2_2 (PCIe x4).” If you see “SATA” printed there, the slot cannot see an NVMe drive. Third, enter the BIOS setup (usually by pressing Del or F2 during boot). Navigate to the boot order or drive list. If the slot is NVMe-capable, you will see the drive listed under “NVMe Configuration” or “PCIe SSD.” If the slot is SATA-only, the NVMe drive will not appear at all, even in the SATA port list, because the slot is not connected to the SATA controller. If you need to configure SSD in BIOS for an NVMe drive, the BIOS must first detect it; no detection means the slot is the wrong protocol.
When the answer is no
If you confirm your M.2 slot is SATA-only, an NVMe drive will never be recognized. The slot may also physically disable a SATA port when occupied, check the manual for “SATA port sharing.” For example, populating M.2_1 on some H310 boards disables SATA port 0, but that still won’t make the slot speak PCIe. Your options are limited. You can return the NVMe drive and buy a SATA M.2 model (same physical size, different controller). Or you can use a PCIe adapter card: plug the NVMe drive into a x4 or x8 PCIe slot on your motherboard. The card costs about $10-15, and the drive will boot if your motherboard supports NVMe boot from a PCIe slot, most boards from 2015 onward do. If you plan to install Linux on SSD, this adapter works fine; the OS treats the drive as a standard NVMe device. To check number of SSD slots, count the M.2 slots on the board and the free PCIe slots; the adapter uses one PCIe slot, so you lose expansion capability but gain NVMe speed. Do not attempt firmware hacks or BIOS mods, they rarely work and can brick the board. The cleanest solution is a return or an adapter.