Introduction
Have you ever noticed a VGA light illuminated on your motherboard and wondered what it means? If you’re experiencing this, don’t worry – you’re not alone. The VGA light is an indicator that something is amiss with your graphics card or its connection to your display. Understanding the meaning behind this light is crucial for troubleshooting and resolving the issue efficiently.
In modern computers, the VGA light is often found alongside other diagnostic LEDs on the motherboard. Its purpose is to provide users with a quick visual reference to identify potential problems related to the graphics subsystem. While it may seem like a minor issue, neglecting the VGA light could lead to a lack of display output or subpar graphics performance. Therefore, it is essential to address the issue promptly.
In this article, we will explore the possible causes behind the VGA light illumination, as well as provide troubleshooting steps to help resolve the issue. Whether you’re a seasoned computer user or a novice, with a little guidance, you can often solve the problem without the need for professional assistance or costly repairs.
What is the VGA light on the motherboard?
The VGA light on the motherboard is a small LED indicator that specifically refers to the Video Graphics Array (VGA) subsystem. The VGA subsystem is responsible for generating and outputting the video signal to your monitor or display. When the VGA light illuminates, it is an indication that there may be an issue with either the graphics card or its connection to the display.
Modern motherboards often include diagnostic LEDs, and the VGA light is one of them. These LEDs provide a quick and convenient way to identify potential problems during the boot process or during system operation. The VGA light is typically located near the graphics card slot or near the rear I/O panel of the motherboard. Its purpose is to let users know that there is an issue related to the VGA subsystem that needs attention.
It’s important to note that the VGA light may have different names depending on the motherboard manufacturer. Some common alternative names for the VGA light include GPU light, Display light, or Video light. Regardless of the name, the function remains the same – to alert the user to potential problems with the graphics card or its connection.
Understanding the significance of the VGA light can be helpful when troubleshooting graphics-related issues. By paying attention to this indicator and taking appropriate action, you can potentially resolve problems such as no display output, distorted graphics, or freezing during gaming or graphics-intensive tasks. In the following sections, we will explore the possible reasons why the VGA light is illuminated and discuss how to troubleshoot and fix the issue.
Possible causes of the VGA light on the motherboard
When the VGA light illuminates on the motherboard, it indicates that there is an issue with the graphics card or its connection. Here are some possible causes for the VGA light to come on:
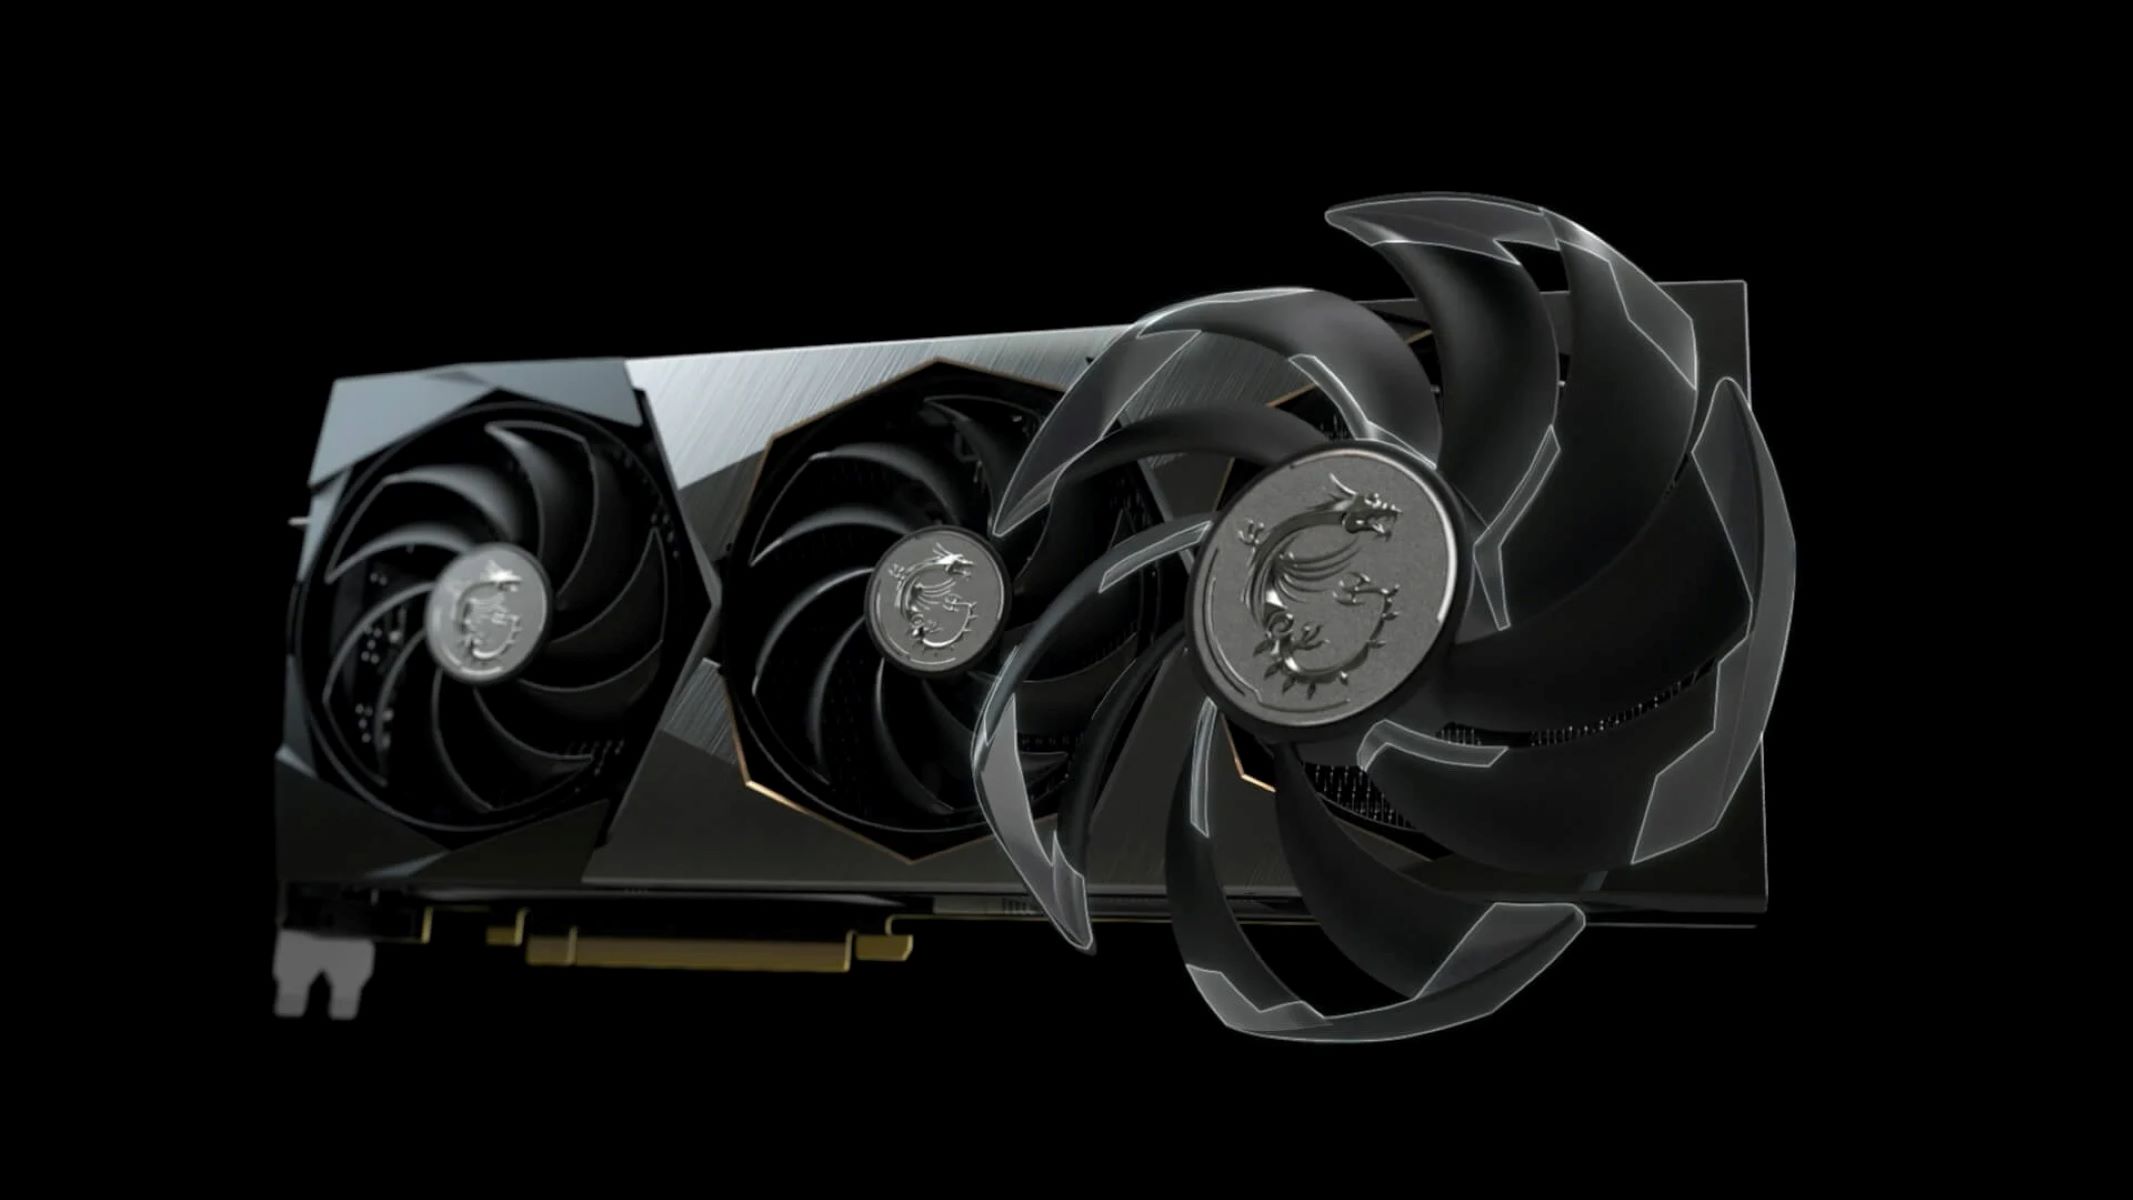
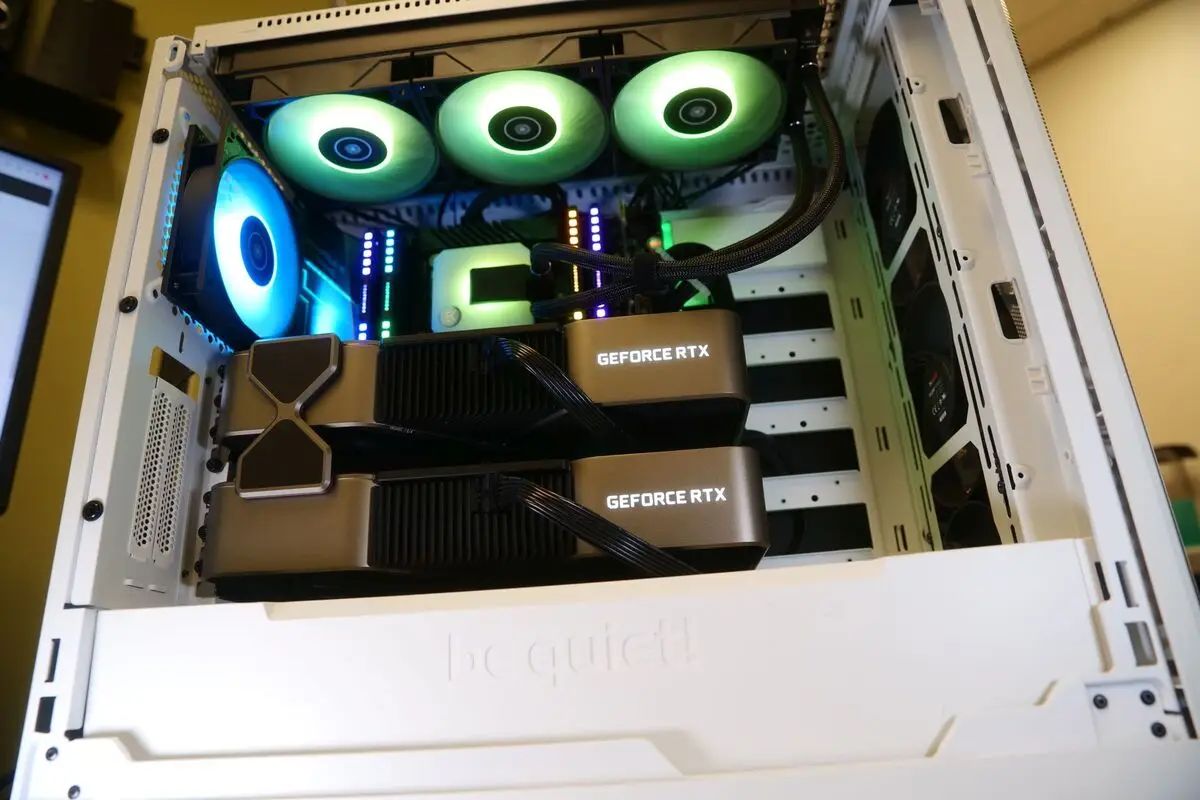
- Faulty graphics card: One common cause is a faulty or malfunctioning graphics card. This can occur due to manufacturing defects, overheating, or physical damage. In such cases, the graphics card may fail to communicate effectively with the motherboard, triggering the VGA light.
- Missing or outdated graphics drivers: Incorrect or outdated graphics drivers can cause conflicts or compatibility issues between the graphics card and the operating system. This can result in the VGA light illuminating as the system struggles to establish a proper connection.
- Loose or improperly connected display cables: Sometimes, a loose or improperly connected display cable can cause the VGA light to come on. Ensure that the cables connecting the graphics card to the monitor or display are securely plugged in on both ends.
- Incompatible display resolution or refresh rate: If the resolution or refresh rate settings of the display exceed the capabilities of the graphics card, it may not be able to establish a proper connection. This can trigger the VGA light and lead to display issues.
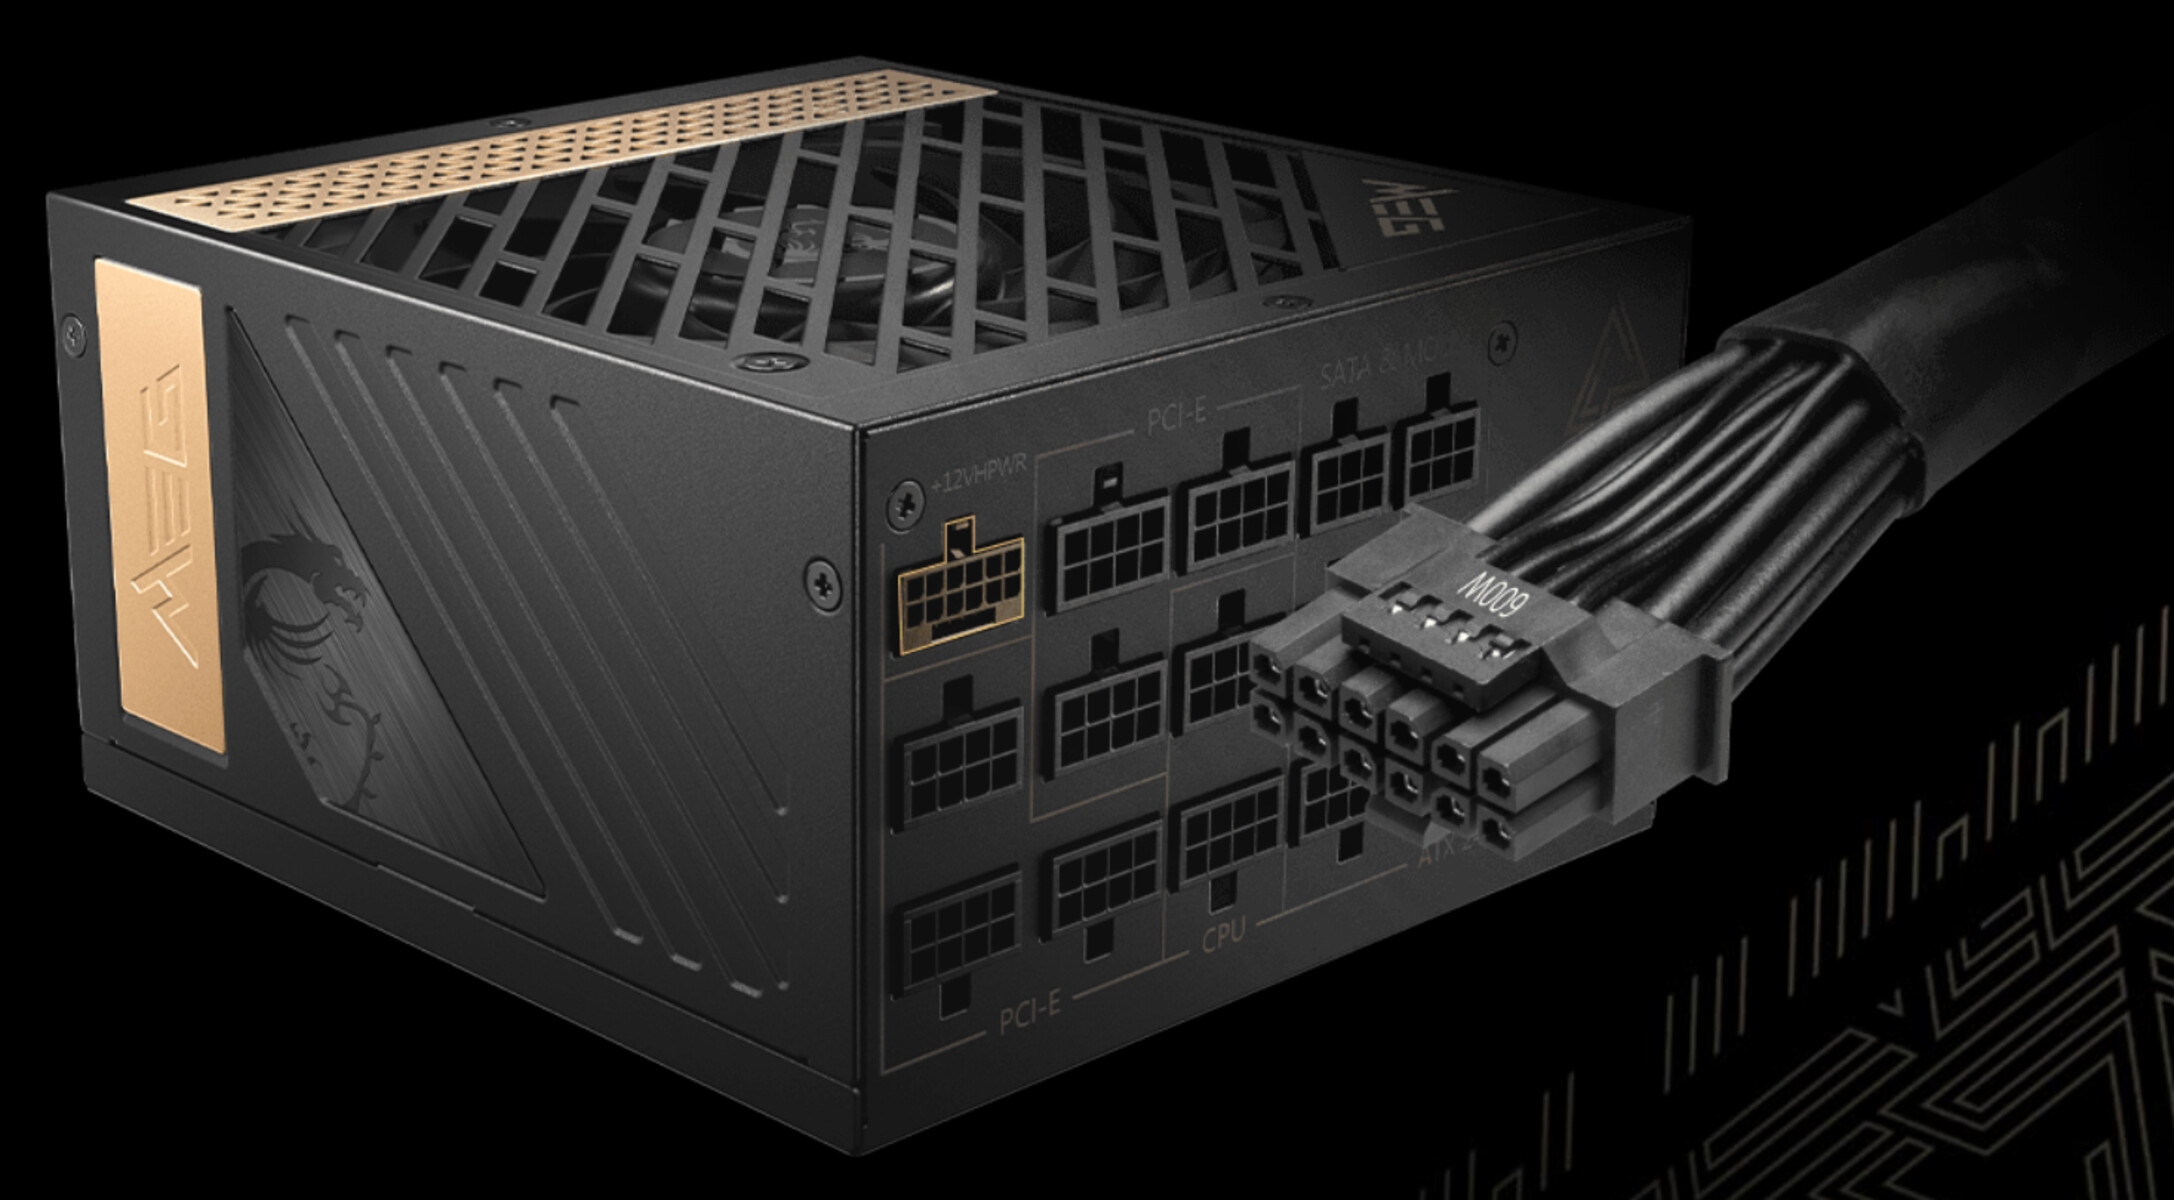
- Inadequate power supply: Insufficient power supply to the graphics card can cause instability and trigger the VGA light. Make sure that the power supply connected to the graphics card is capable of providing enough power for its operation.
- Compatibility issues between the graphics card and the motherboard: In some cases, compatibility issues between the graphics card and the motherboard can lead to the VGA light coming on. This can occur if the graphics card is not fully compatible with the motherboard’s chipset or expansion slot.
These are just a few possible causes for the VGA light illumination. It is important to investigate each potential cause and rule out the ones that do not apply to your specific situation. By identifying the underlying issue, you can take the necessary steps to resolve the problem and restore proper graphics functionality on your system.
How to troubleshoot the VGA light on the motherboard
When the VGA light on your motherboard is illuminated, it’s time to roll up your sleeves and start troubleshooting. Here are some steps you can take to diagnose and resolve the issue:
- Update graphics drivers: Start by updating your graphics drivers to the latest version. Visit the website of your graphics card manufacturer or the official website of your computer’s manufacturer to download and install the appropriate drivers. Outdated or incompatible drivers can often cause issues with the VGA subsystem.
- Check the display connection: Ensure that the display cables are properly connected to both the graphics card and the display. Disconnect and reconnect the cables to make sure they are securely attached. If using multiple display connections, try using a different port to see if that resolves the issue.
- Reset the CMOS battery: Resetting the CMOS battery can help resolve certain issues related to the motherboard’s settings. Refer to your motherboard’s manual for instructions on how to reset the CMOS battery. This can often reset any conflicting settings related to the VGA subsystem.
- Check the power supply: Verify that the power supply connected to the graphics card is providing adequate power. Insufficient power supply can cause instability and trigger the VGA light. Consider using a power supply with a higher wattage if necessary.
- Troubleshoot the graphics card: If the above steps do not resolve the issue, it’s possible that the graphics card itself is faulty. Test the graphics card in a different system or try using a different graphics card in your current system to determine if the problem lies with the graphics card.
Remember to power off your system and disconnect the power supply before making any hardware changes or adjustments. It’s also a good idea to consult the documentation and support resources provided by your motherboard and graphics card manufacturers for specific troubleshooting instructions and recommendations.
By following these troubleshooting steps, you can often identify and resolve the issue causing the VGA light on the motherboard. However, if you are unable to solve the problem or if the VGA light persists, it may be necessary to seek assistance from a professional or contact the customer support of your motherboard or graphics card manufacturer for further guidance.
Updating graphics drivers
One common cause of the VGA light on the motherboard is outdated or incompatible graphics drivers. These drivers serve as a bridge between the graphics card and the operating system, enabling proper communication and functionality. Here’s how you can update your graphics drivers:
- Identify your graphics card: Determine the make and model of your graphics card. You can find this information in the device manager or by checking the documentation or packaging that came with your computer.
- Visit the manufacturer’s website: Go to the website of your graphics card manufacturer (such as NVIDIA, AMD, or Intel) or the official website of your computer’s manufacturer.
- Download the latest drivers: Look for the section or page on the website that offers driver downloads. Locate the appropriate drivers for your operating system and graphics card model and download them.
- Install the drivers: Once the drivers are downloaded, run the installer program. Follow the on-screen instructions to install the drivers on your system. It’s a good idea to close any unnecessary programs during the installation process.
- Restart your computer: After the installation is complete, restart your computer to ensure that the changes take effect.
- Test the system: Once your computer has rebooted, check if the VGA light on the motherboard is still illuminated. Additionally, verify if the display performance and functionality have improved. If the issue persists, move on to further troubleshooting steps.
Updating your graphics drivers can often resolve issues related to the VGA light on the motherboard. The new drivers may offer bug fixes, performance enhancements, or compatibility improvements that can help establish a stable connection between your graphics card and the display.
If you have difficulty finding the appropriate drivers or if the issue persists after updating the drivers, consider seeking assistance from the customer support of your graphics card manufacturer or consulting online forums and communities dedicated to computer hardware troubleshooting.
Checking the display connection
One of the possible causes of the VGA light on the motherboard is a loose or improperly connected display cable. Here’s how to check the display connection and ensure it is properly established:
- Power off your computer: Before inspecting the display connection, make sure to power off your computer and disconnect the power supply to avoid any potential electrical hazards.
- Inspect the display cables: Take a close look at the display cables connecting your graphics card to the monitor or display. Ensure that the cables are not damaged, frayed, or pinched. If you find any issues with the cables, consider replacing them.
- Reconnect the cables: Disconnect and then reconnect both ends of the display cables. Make sure they are securely plugged into the correct ports on both the graphics card and the monitor. Apply gentle pressure to ensure a snug connection without forcing it.
- Test the system: Once the cables are reconnected, power on your computer and check if the VGA light on the motherboard is still illuminated. Additionally, verify if the display output and functionality have been restored.
- Try different display cables or ports: If the issue persists, consider using different display cables or trying a different port on the graphics card or monitor. This helps determine if the problem lies with the cables or specific ports.
- Inspect the monitor: If possible, connect the monitor to a different computer or use a different monitor to rule out any issues with the display itself.
By checking the display connection and ensuring a secure and proper connection between your graphics card and display, you can often resolve issues related to the VGA light on the motherboard. Loose or faulty cables can disrupt the communication between the graphics card and the display, resulting in the VGA light being illuminated.
If you have multiple display connections, such as HDMI, DVI, or DisplayPort, make sure to check all the respective cables and connectors. If the issue persists after checking the display connection, proceed to other troubleshooting steps to identify the underlying cause and find a solution.
Resetting the CMOS battery
In some cases, resetting the CMOS battery can help resolve issues related to the VGA light on the motherboard. The CMOS battery is a small battery located on the motherboard that powers the CMOS (Complementary Metal-Oxide-Semiconductor) chip, which stores the system’s BIOS settings. Here’s how you can reset the CMOS battery:
- Power off your computer: Make sure to shut down your computer and disconnect the power supply from the wall socket.
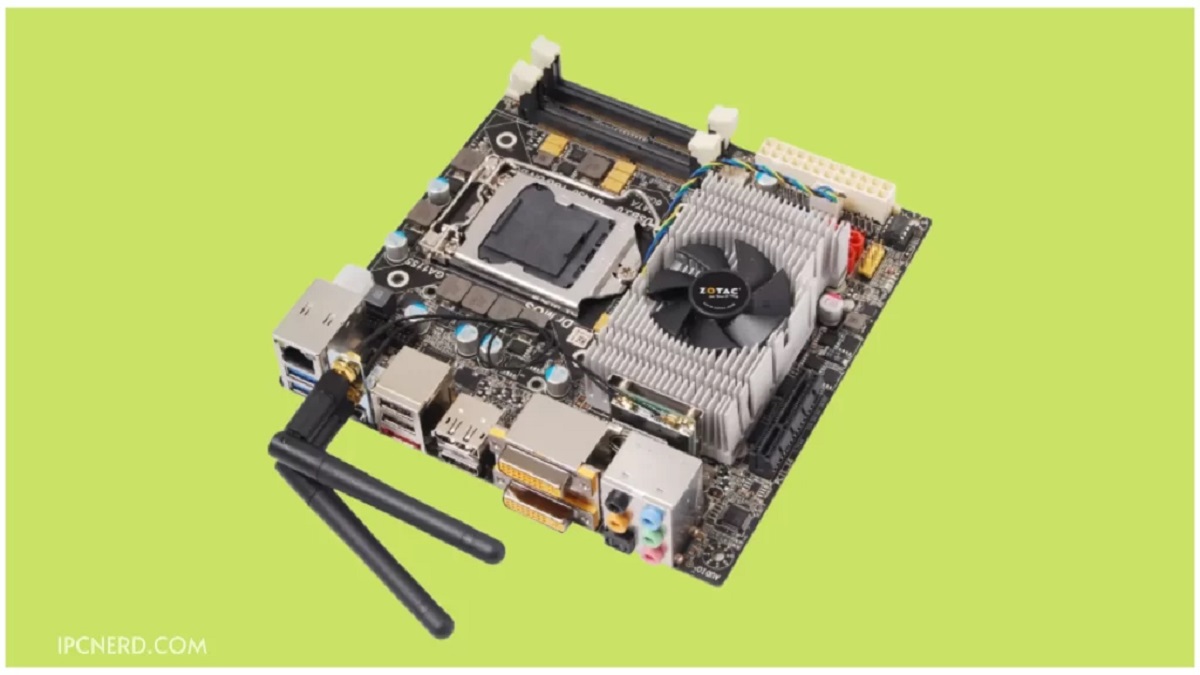
- Locate the CMOS battery: On the motherboard, look for a small battery, usually round and silver in color. It is typically located near the CPU socket or the expansion slots.
- Remove the CMOS battery: Gently remove the CMOS battery from its socket using your fingers or a small tool, such as a flat-head screwdriver. Be careful not to damage any surrounding components.
- Reset the CMOS: After removing the CMOS battery, press and hold the power button on your computer for 10-15 seconds. This helps discharge any stored electrical charge in the system.
- Reinsert the CMOS battery: Carefully place the CMOS battery back into its socket, ensuring it is properly aligned. Make sure it is firmly seated in place.
- Reconnect the power supply: Plug the power supply back into the wall socket, and power on your computer.
- Test the system: Once your computer has rebooted, check if the VGA light on the motherboard is still illuminated. Additionally, verify if the display output and functionality have been restored.
Resetting the CMOS battery can help restore the BIOS settings to their default values, which can be beneficial if incorrect settings were causing the VGA light issue. However, keep in mind that resetting the CMOS will also reset any customized BIOS settings, so be prepared to reconfigure them if necessary.
If resetting the CMOS battery does not resolve the issue, consider exploring other troubleshooting steps to identify the root cause of the VGA light on the motherboard. It’s also helpful to consult the motherboard’s manual or visit the manufacturer’s website for specific instructions on resetting the CMOS battery on your particular model.
Checking the power supply
Inadequate power supply to the graphics card can cause instability and trigger the VGA light on the motherboard. Here’s how to check the power supply and ensure it is providing the necessary power:
- Power off your computer: Before inspecting the power supply, make sure to shut down your computer and unplug it from the wall socket.
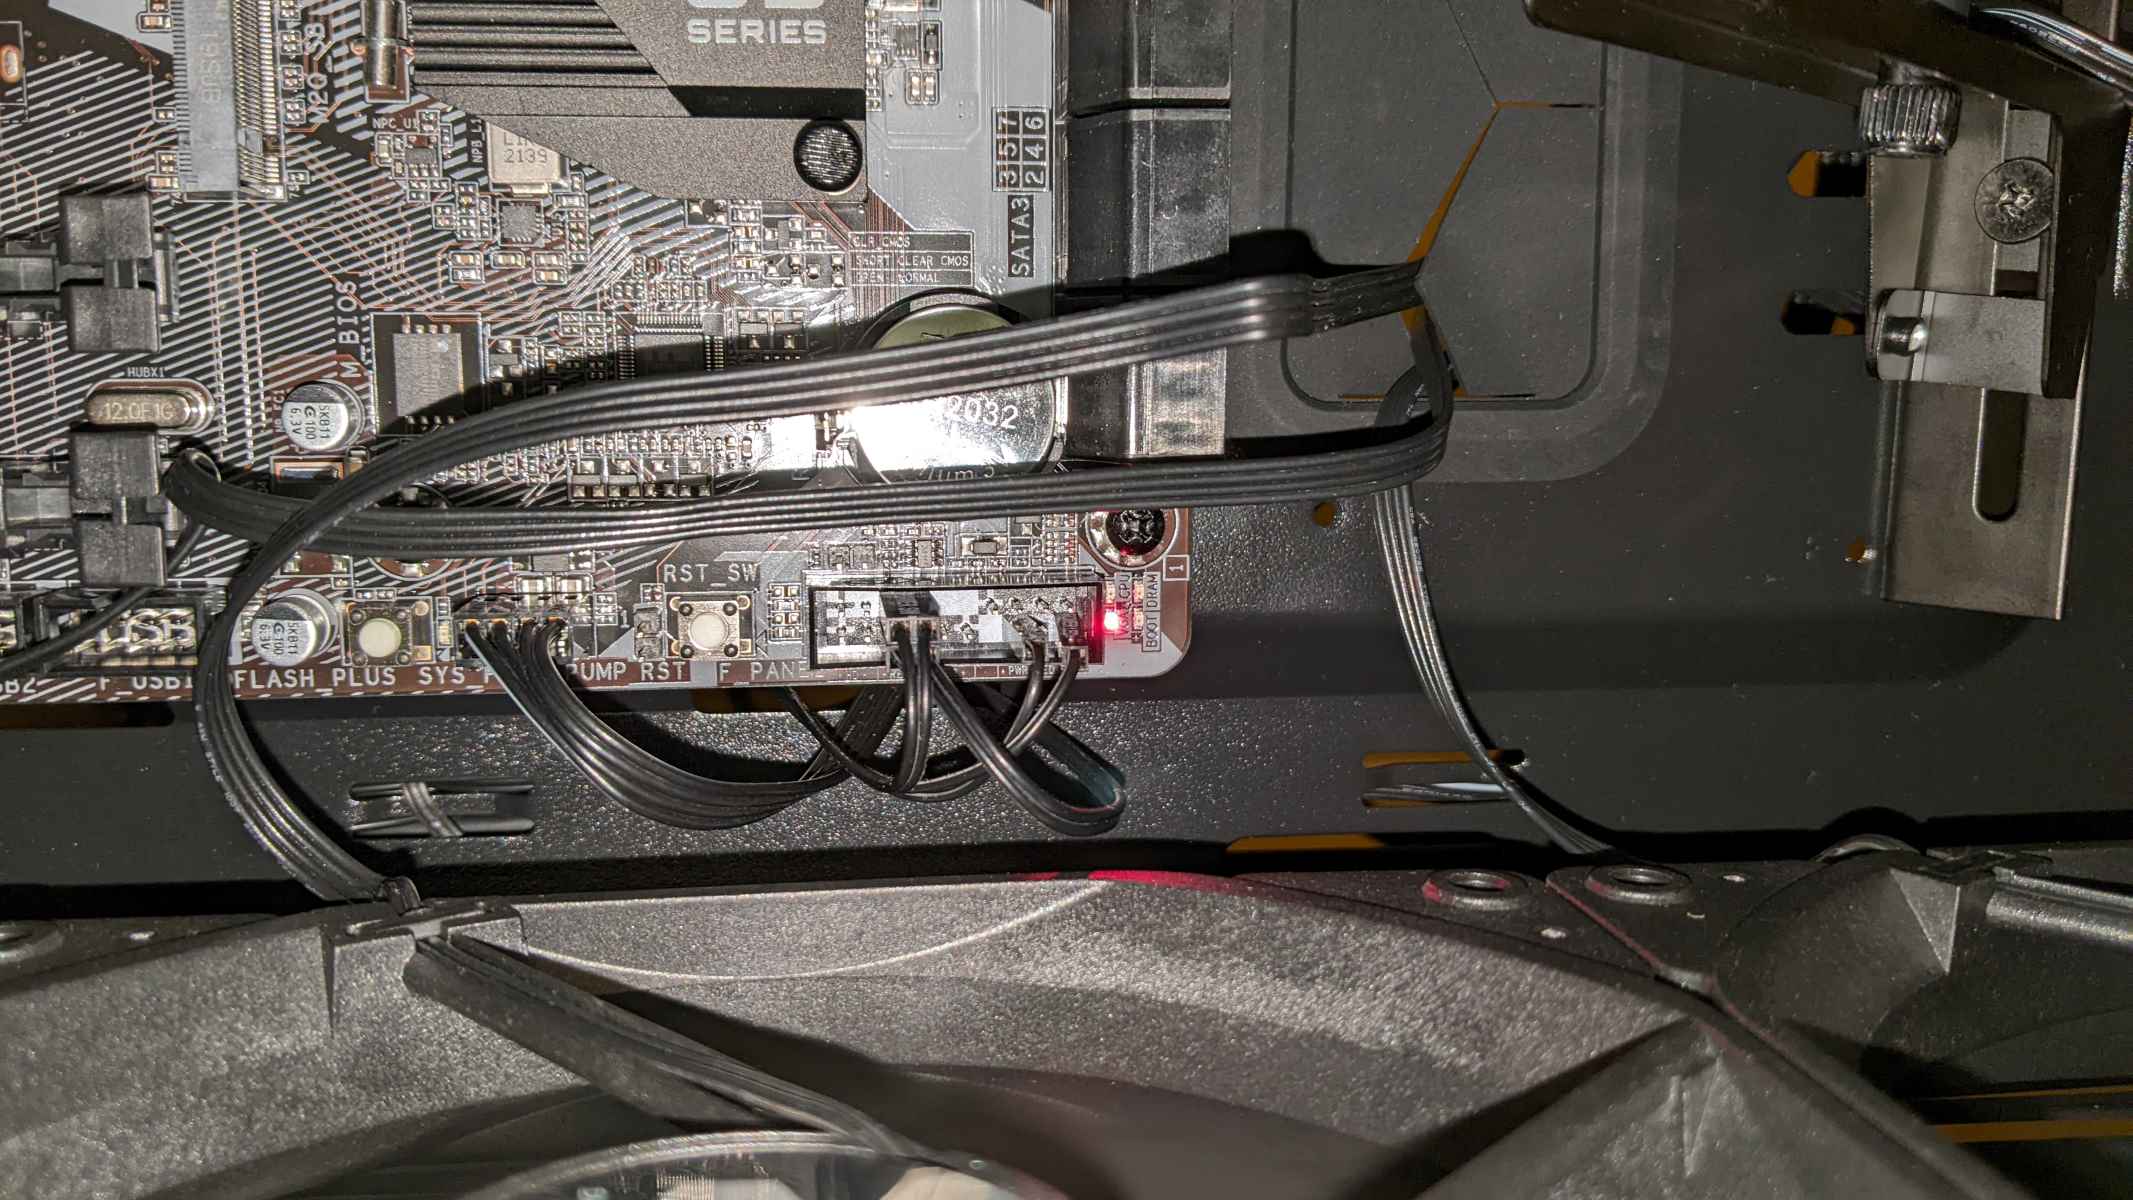
- Inspect the power connectors: Examine the power connectors that are connected to the graphics card. These connectors are typically located on the side or top of the graphics card. Ensure that the connectors are firmly inserted into the graphics card and are not loose.
- Check the power supply unit (PSU): Verify if your power supply unit is providing adequate power for your graphics card. Refer to the specifications of your graphics card and compare it to the wattage output of your PSU. If the PSU does not meet the recommended power requirements, consider upgrading to a higher wattage PSU.
- Test the power supply: If you suspect there might be an issue with the power supply, you can test it using a power supply tester or a multimeter. A power supply tester can help identify any potential faults or abnormalities in the power output.
- Use a different power supply: If possible, try using a different power supply to see if the VGA light issue persists. This helps determine if the power supply itself is the source of the problem.
Ensuring that the power supply is providing sufficient and stable power to the graphics card is crucial for its proper functioning. Inadequate power supply can cause the VGA light to come on and lead to display issues and instability.
If you find that the power supply is the culprit, consider replacing it with a higher-quality unit that meets the recommended power requirements of your graphics card. A reliable and stable power supply is essential for optimal performance and longevity of your system.
If the VGA light on the motherboard continues to illuminate despite checking and ensuring proper power supply, you may need to explore other troubleshooting steps to identify and resolve the underlying cause of the issue.
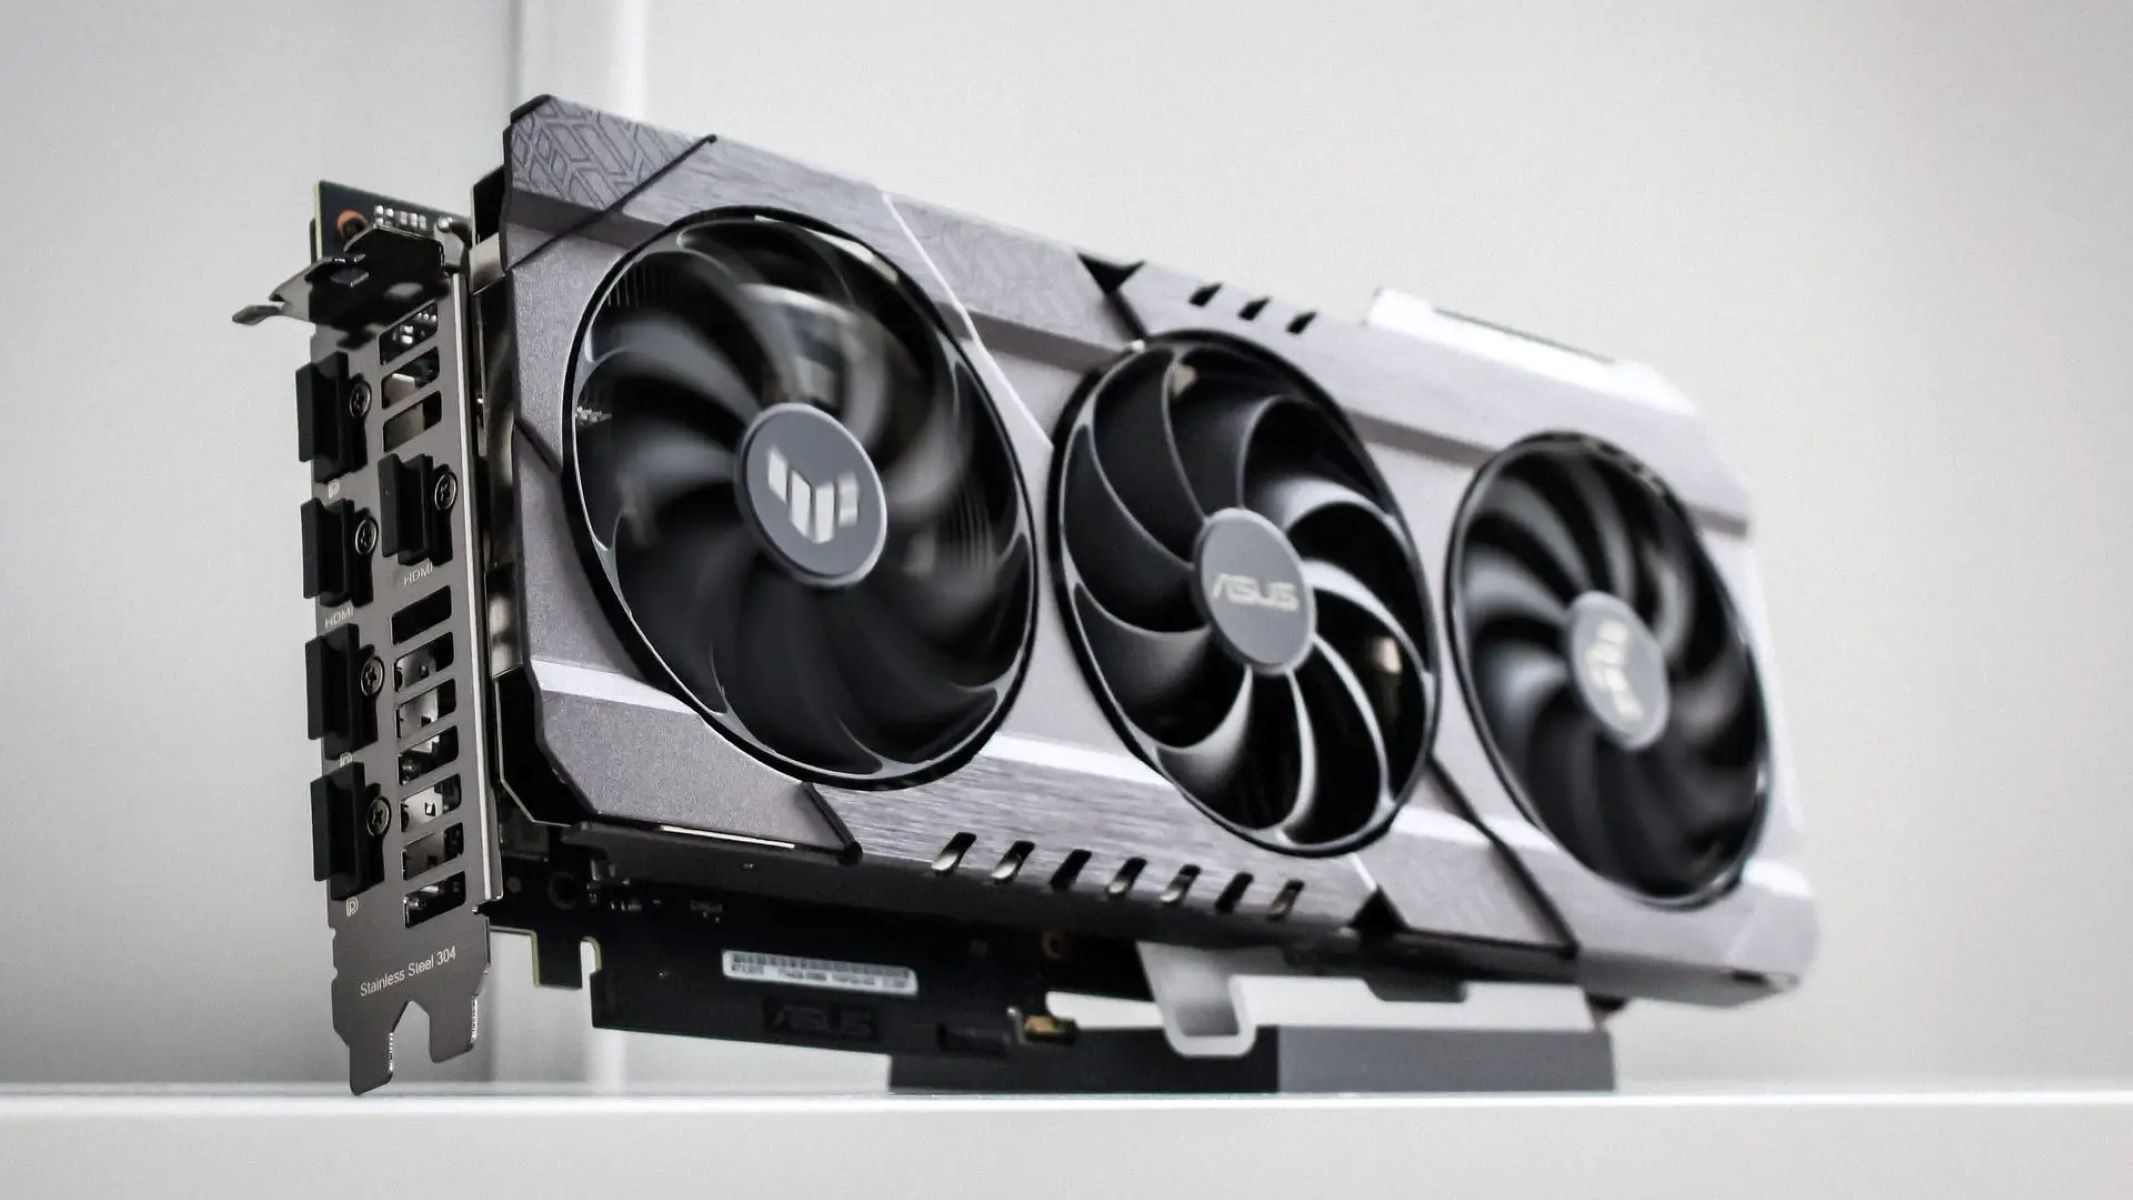
Troubleshooting the graphics card
If the previous steps did not resolve the issue and the VGA light on the motherboard continues to illuminate, it’s time to focus on troubleshooting the graphics card itself. Here are some steps to help troubleshoot the graphics card:
- Remove and reseat the graphics card: Power off your computer, disconnect the power supply, and carefully remove the graphics card from its slot. Clean the gold contacts with a soft, lint-free cloth and reinsert the card, ensuring it is fully seated and secured in the slot.
- Try a different PCIe slot: If your motherboard has multiple PCIe slots, try moving the graphics card to a different slot. This can help rule out any issues related to the specific slot on the motherboard.
- Test the graphics card in a different system: If possible, install the graphics card in a different computer to see if the VGA light persists. This can help determine if the issue is specific to the graphics card or if it’s related to other components in your system.
- Consider using a different graphics card: If you have access to a spare graphics card, try using it in your current system. This can help determine if the problem lies with your graphics card or if it’s caused by other factors.
- Contact technical support: If the issue persists and you are unable to resolve it, consider reaching out to the technical support of your graphics card manufacturer. They may provide further troubleshooting steps or recommend sending in the graphics card for repair or replacement if it is still under warranty.
Troubleshooting the graphics card can be a bit more involved and may require some technical knowledge. It’s essential to handle the graphics card with care and follow proper procedures to avoid damage. If you’re uncertain, consider seeking assistance from a professional or a knowledgeable friend.
By systematically troubleshooting the graphics card, you can identify whether it is the source of the issue causing the VGA light on the motherboard. Once you determine the root cause, you can take appropriate action to either repair or replace the graphics card to restore proper graphics functionality.
Conclusion
The VGA light on the motherboard serves as a helpful indicator when troubleshooting graphics-related issues. By understanding its significance and following the appropriate troubleshooting steps, you can identify the underlying cause and resolve the issue efficiently.
In this article, we explored the meaning of the VGA light and discussed the possible causes behind its illumination. We also provided detailed steps to troubleshoot the VGA light, including updating graphics drivers, checking the display connection, resetting the CMOS battery, examining the power supply, and troubleshooting the graphics card itself.
It’s important to note that not all VGA light issues have the same solution. The cause of the problem may vary depending on several factors, including the specific hardware configuration of your system. It’s always recommended to consult the documentation and support resources provided by your motherboard and graphics card manufacturers for more precise instructions.
If you are still unable to resolve the issue after attempting the troubleshooting steps, it may be necessary to seek professional assistance or contact customer support for further guidance. Sometimes, complex hardware problems require specialized knowledge and expertise.
By staying patient and methodical during the troubleshooting process, you can increase the chances of successfully resolving the issue with the VGA light on the motherboard. Remember to prioritize safety, follow proper procedures, and seek assistance when needed.
With determination and the right approach, you can overcome technical difficulties and enjoy the full potential of your graphics card and display setup once again.