Introduction
Welcome to this guide on how to boot from a USB drive on an HP All-In-One PC. The ability to boot from a USB drive is essential in various scenarios. Whether you want to install a new operating system, run diagnostics, or recover data, being able to boot from a USB drive gives you the flexibility to accomplish these tasks.
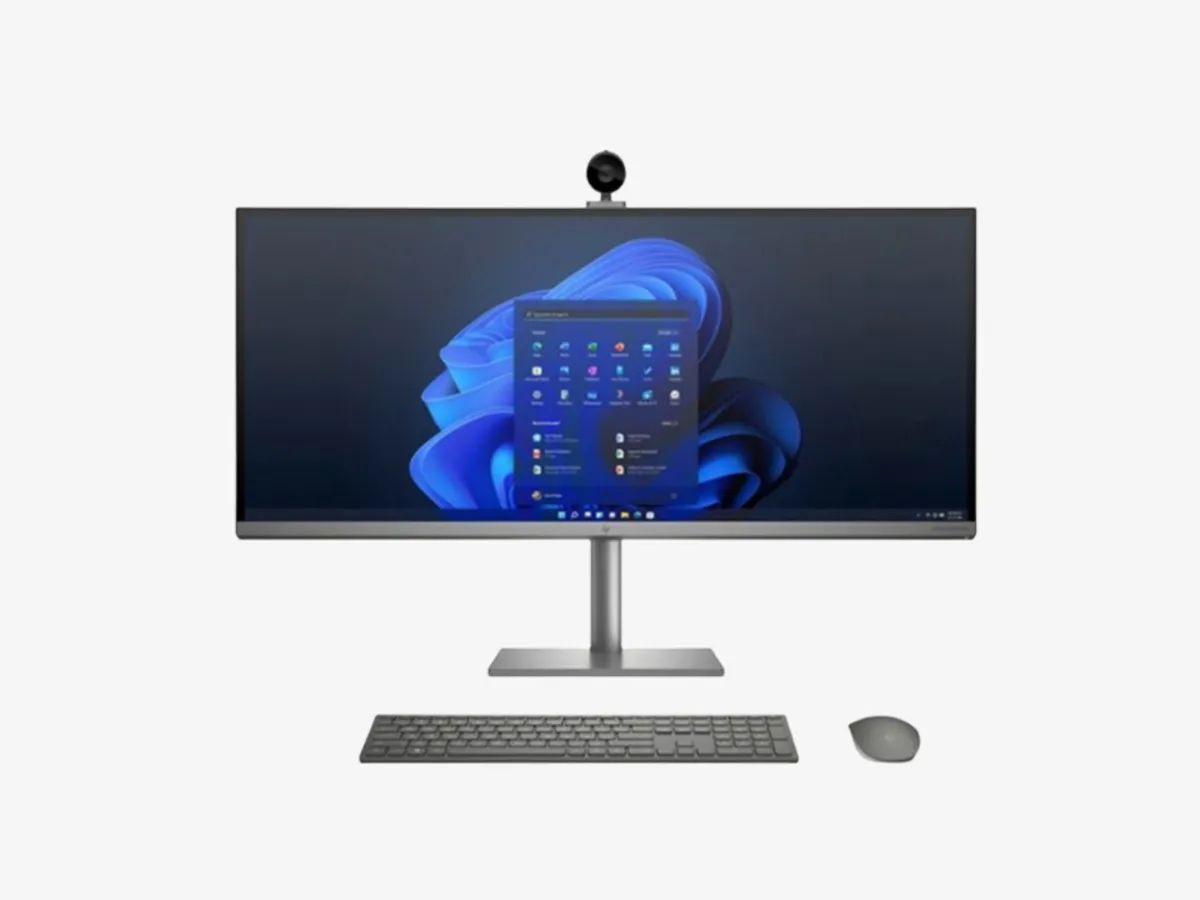
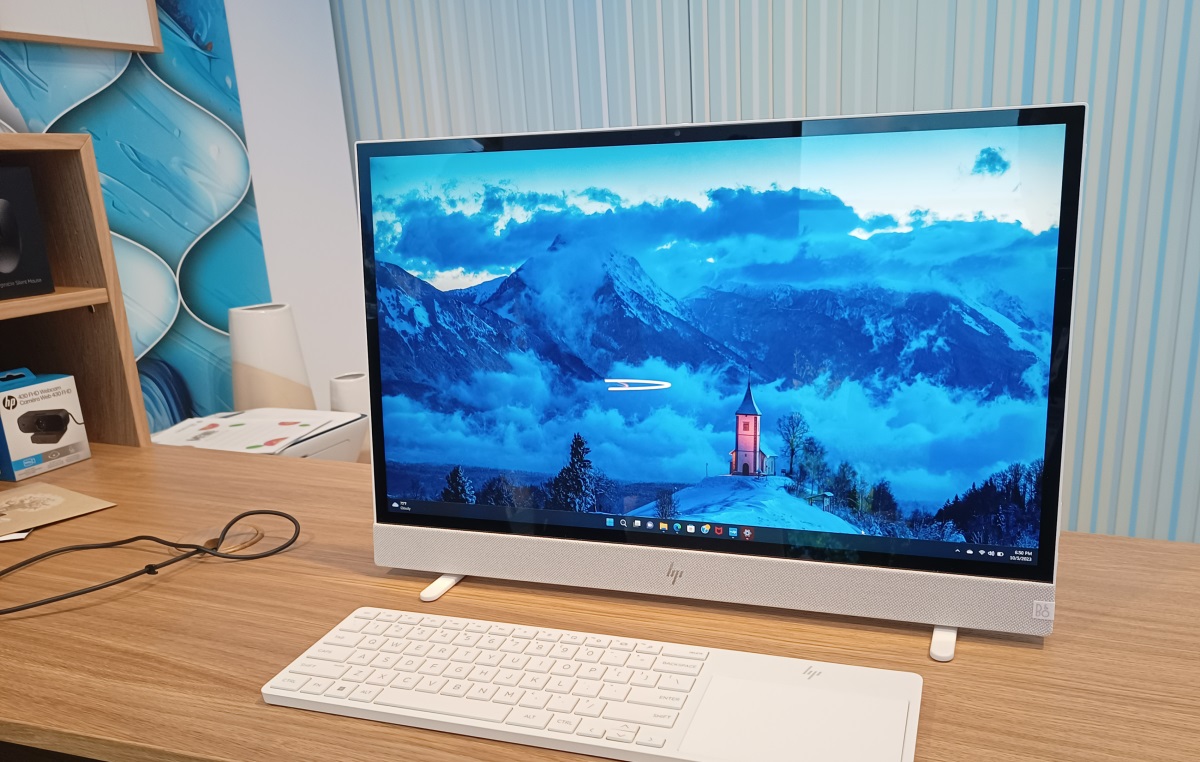
An HP All-In-One PC combines the power of a traditional desktop with the sleekness and convenience of a single unit. These compact machines are designed to save space while still delivering excellent performance. However, due to their unique hardware configuration, booting from a USB drive may require a slightly different approach compared to traditional desktop or laptop computers.
In this guide, we will walk you through the step-by-step process to boot from a USB drive on an HP All-In-One PC. We will cover how to prepare the USB drive, access the BIOS settings, change the boot order, and finally, how to boot from the USB drive. By following these instructions, you will be able to successfully boot from a USB drive and unlock the full potential of your HP All-In-One PC.
Please note that the specific steps and options may slightly vary depending on the model and firmware version of your HP All-In-One PC. However, the general process remains the same, and this guide will provide you with a solid foundation to work from.
Now that you understand the importance of being able to boot from a USB drive and the purpose of this guide, let’s dive into the step-by-step instructions. Get ready to unlock new possibilities and take full control of your HP All-In-One PC!
Step 1: Prepare the USB drive
Before you can boot from a USB drive on your HP All-In-One PC, you need to ensure that the USB drive is properly prepared. Here’s how you can do it:
- Select a suitable USB drive: Make sure you have a USB drive with sufficient storage capacity to accommodate the files you want to boot from. It’s recommended to use a USB 3.0 drive for faster data transfer speeds.
- Backup any important data: Before you proceed, it’s crucial to back up any important data that you have on the USB drive. The process of booting from a USB drive involves formatting the drive, which will erase all existing data.
- Create a bootable USB drive: To make the USB drive bootable, you need to create a bootable image file. There are several software options available that can help you achieve this, such as Rufus or the Windows USB/DVD Download Tool. Follow the software’s instructions to create the bootable USB drive.
- Verify the bootable USB drive: Once the bootable USB drive is created, it’s a good practice to verify its integrity. Most bootable USB drive creation software offers an option to verify the created bootable drive. Run the verification process to ensure that the USB drive is correctly configured for booting.
- Label the USB drive: To avoid confusion, it’s a good idea to label the USB drive accordingly. You can use a permanent marker or label maker to clearly indicate that it is a bootable USB drive.
By following these steps, you will have a properly prepared USB drive that is ready to be used for booting on your HP All-In-One PC. The next step is to access the BIOS settings and make the necessary changes to enable USB booting.
Step 2: Access the BIOS settings
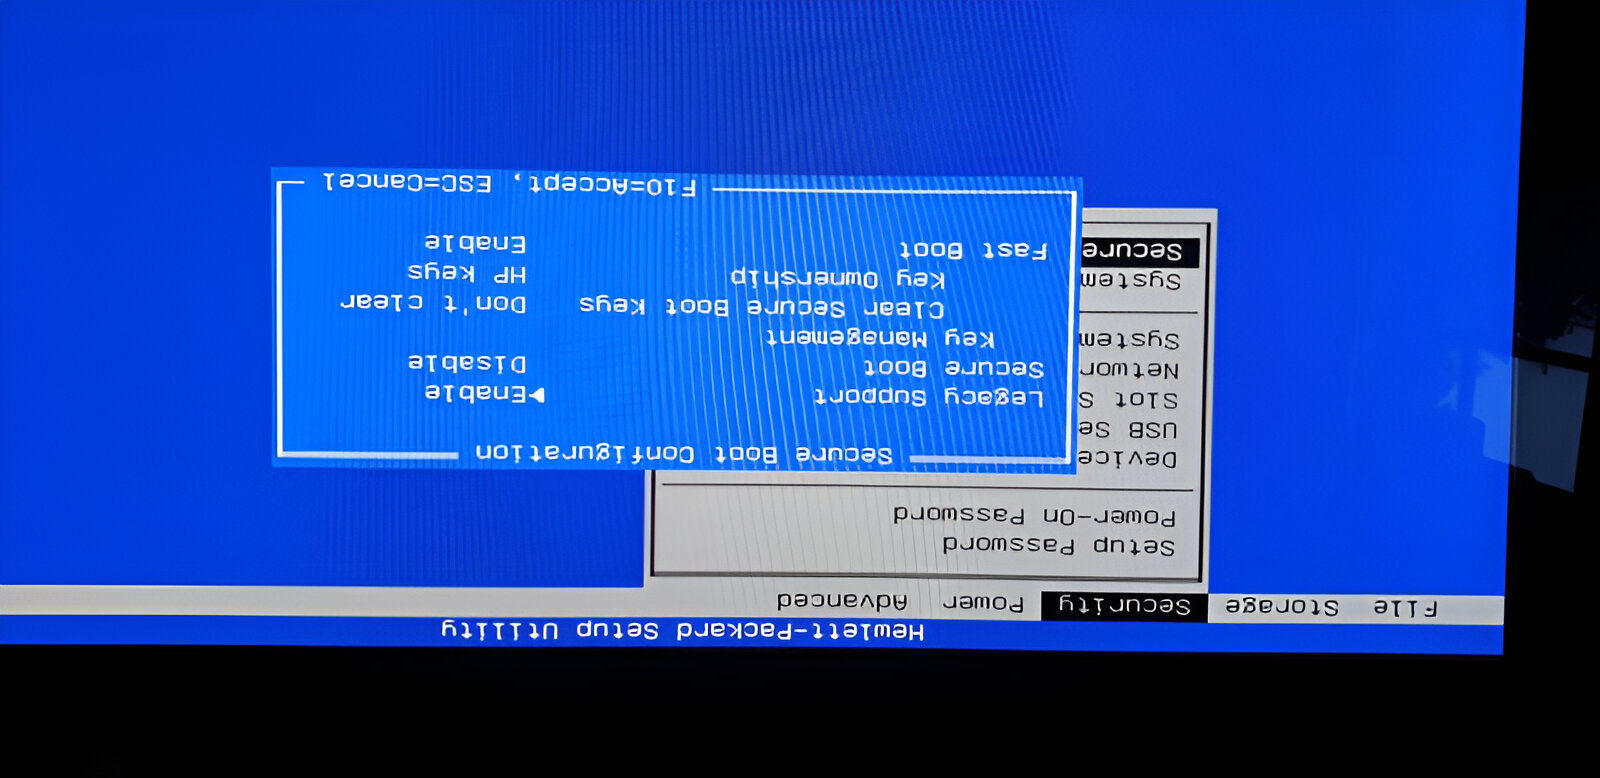
To boot from a USB drive on your HP All-In-One PC, you need to access the BIOS settings. The BIOS (Basic Input/Output System) is a firmware that allows you to configure various hardware settings, including the boot order. Here’s how you can access the BIOS settings:
- Start or restart your HP All-In-One PC: Make sure your computer is powered on or restart it if it’s already running.
- Press the appropriate key: During the startup process, you will need to press a specific key or combination of keys to access the BIOS settings. The key may vary depending on your HP All-In-One PC model. Common keys to access the BIOS include F2, F10, or Del. Look for a brief message on the screen during startup that indicates which key to press.
- Enter the BIOS settings: Once you press the designated key, your HP All-In-One PC will enter the BIOS settings screen. It might take a few moments to load, so be patient.
Now that you have successfully accessed the BIOS settings, you are ready to proceed to the next step: changing the boot order.
Note that the steps provided here are a general guideline, and the exact key or combination of keys to access the BIOS settings may differ based on your specific HP All-In-One PC model. If you are unsure about the key to press or encounter any difficulties, consult the user manual or HP support resources for your specific model.
With the BIOS settings now accessible, let’s move on to the next step, where we will change the boot order to prioritize the USB drive.
Step 3: Change the boot order
In order to successfully boot from a USB drive on your HP All-In-One PC, you need to change the boot order in the BIOS settings. By changing the boot order, you will prioritize the USB drive, allowing the computer to recognize it as the primary boot device. Here’s how you can change the boot order:
- Navigate to the Boot Options: Within the BIOS settings, look for a tab or section labeled “Boot” or “Boot Options”. This is where you can configure the boot order.
- Select the USB drive as the first boot device: Once you are in the Boot Options section, examine the list of available devices. Locate the USB drive that you prepared in the previous steps. Use the instructions provided on the screen to move the USB drive to the top of the boot order. This means it will be the first device the computer tries to boot from.
- Save the changes: After you have changed the boot order to prioritize the USB drive, you need to save the changes. Look for an option within the BIOS settings to save the configuration. This is typically done by pressing a key such as F10 or by selecting the “Save and Exit” option.
Once you have saved the changes, your HP All-In-One PC is now configured to boot from the USB drive. However, before you can proceed, it’s important to exit the BIOS settings and restart the computer.
At this point, you are one step away from booting from the USB drive and accessing its contents. In the next step, we will guide you on how to finally boot from the USB drive.
Step 4: Save and exit BIOS
After changing the boot order in the BIOS settings of your HP All-In-One PC, you need to save the changes and exit the BIOS. This will ensure that the new boot order settings are applied and allow your computer to boot from the USB drive. Here’s how you can save and exit the BIOS:
- Verify the changes: Before proceeding, take a moment to verify that the boot order has been correctly changed to prioritize the USB drive. Ensure that the USB drive is listed as the first boot device.
- Save the changes: To save the changes made to the BIOS settings, look for an option within the BIOS interface that allows you to save the configuration. This is typically done by pressing a key like F10 or selecting the “Save and Exit” option.
- Confirm the changes: Upon selecting the save option, a confirmation prompt may appear asking if you want to save the changes and exit the BIOS. Confirm by selecting “Yes” or “Save and Exit”.
Once you have saved and confirmed the changes, your HP All-In-One PC will exit the BIOS settings and restart. The computer will now attempt to boot from the USB drive according to the new boot order configuration.
It’s important to note that the specific steps and options within the BIOS settings may vary depending on the model and firmware version of your HP All-In-One PC. However, the general concept of saving and exiting the BIOS remains the same.
Now that you have successfully saved and exited the BIOS, let’s move on to the final step: booting from the USB drive.
Step 5: Boot from USB drive
Now that you have properly configured the BIOS settings on your HP All-In-One PC, it’s time to boot from the USB drive. By following these steps, you will be able to access the contents of the USB drive and perform the desired tasks. Here’s how to boot from the USB drive:
- Restart your HP All-In-One PC: After saving and exiting the BIOS, your computer will automatically restart.
- Observe the startup process: As your PC restarts, pay close attention to the startup screen. Look for a message that indicates a key or combination of keys to press in order to access the boot menu. This key may vary depending on your HP All-In-One PC model.
- Access the boot menu: Press the designated key or combination of keys to access the boot menu. This menu allows you to temporarily change the boot device without altering the BIOS settings permanently.
- Select the USB drive: Within the boot menu, locate the USB drive from the available devices. Use the instructions on the screen to select the USB drive as the boot device.
- Begin booting from the USB drive: After you have selected the USB drive as the boot device, press the corresponding key to start booting from the USB drive. Your HP All-In-One PC will now load the operating system or utility present on the USB drive.
Congratulations! You have successfully booted from the USB drive on your HP All-In-One PC. Depending on the purpose of the bootable USB drive, you can now perform various tasks such as installing an operating system, running diagnostics, or recovering data.
Remember, the boot menu option is temporary, and the boot order will return to its original configuration once the computer is restarted. If you frequently need to boot from the USB drive, you can revisit the BIOS settings and permanently change the boot order.
With this final step completed, you can now take full advantage of the capabilities of your HP All-In-One PC. Utilize the power of booting from a USB drive to enhance your computer experience and accomplish your computing goals.
Conclusion
Congratulations! You have successfully learned how to boot from a USB drive on your HP All-In-One PC. By following the comprehensive steps outlined in this guide, you can now take full control of your computer and harness the potential that booting from a USB drive offers.
Through the various steps we covered, you have learned how to prepare a USB drive, access the BIOS settings, change the boot order, and finally, boot from the USB drive. These skills are invaluable in situations where you need to install a new operating system, run diagnostics, or recover data.
Remember that while the specific steps and options may vary depending on your HP All-In-One PC model, the general process remains the same. Take some time to familiarize yourself with your computer’s specific BIOS settings and consult the user manual or HP support resources if you encounter any difficulties.
Now that you are equipped with the knowledge to boot from a USB drive, you have unlocked a new level of flexibility and versatility with your HP All-In-One PC. Whether you are a tech enthusiast, a professional, or a curious user, exploring the possibilities offered by bootable USB drives can greatly enhance your computing experience.
Continue to experiment, learn, and make the most out of your HP All-In-One PC. Explore new operating systems, test software, or recover lost data by booting from USB drives. The ability to seamlessly switch between different systems or utilities can greatly optimize your workflow and productivity.
Thank you for using this guide. We hope that it has provided you with the necessary tools to successfully boot from a USB drive on your HP All-In-One PC. Enjoy exploring new possibilities, and feel free to refer back to this guide whenever you need a refresher or encounter any challenges along the way.


