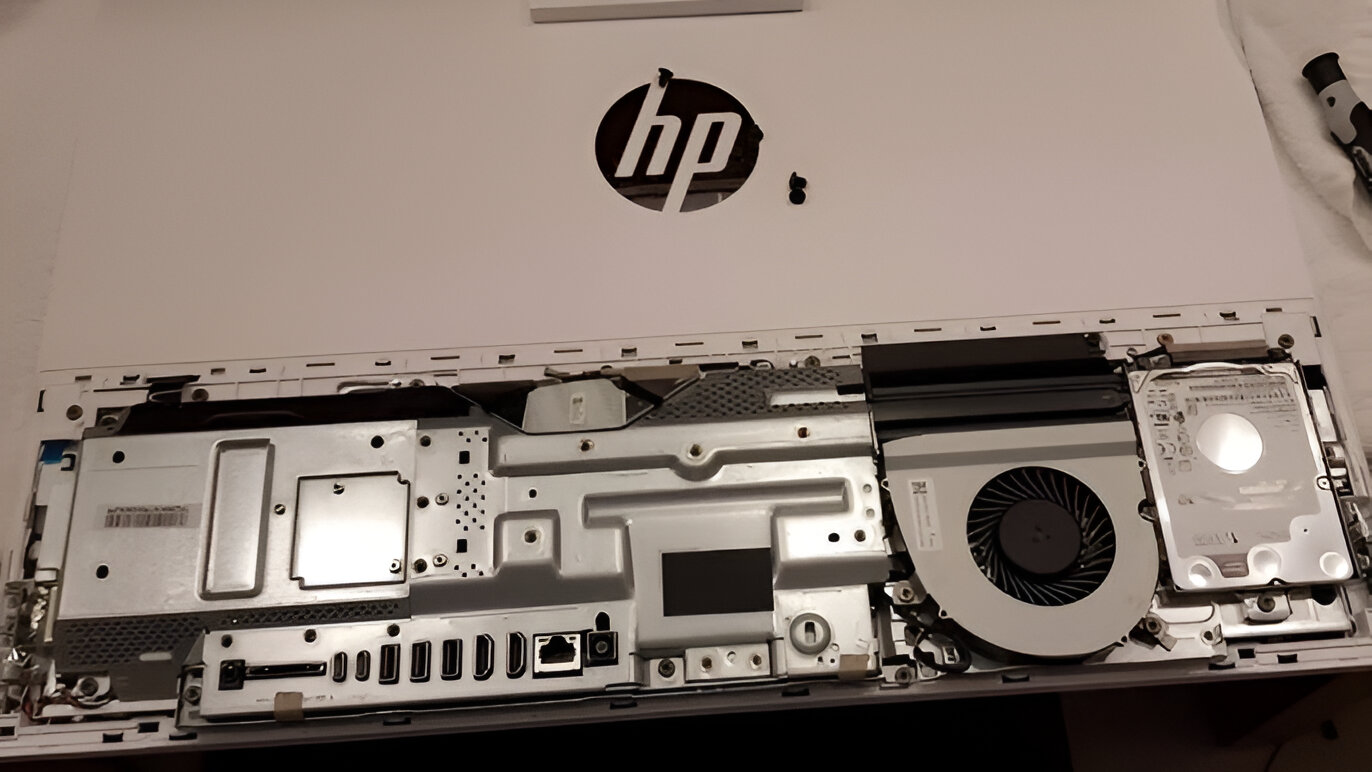
To remove the back of an HP all-in-one PC, you must first disconnect all cables, lay the machine face-down on a soft surface, and then remove the stand before extracting the screws and prying open the internal clips that secure the rear panel. This guide provides the verified, step-by-step method for safely opening your HP all-in-one to clean dust, upgrade RAM or storage, or perform basic repairs, while also explaining the warranty implications of doing so. If you need to handle a fragile transparent side panel on a different build, you can remove glass from PC case without shattering it. If you would rather repurpose the machine than open it, you can make my all-in-one PC a screen only for laptop use instead.
Before you begin: tools and safety for removing the back of an HP all-in-one PC
Gathering the correct tools and taking mandatory safety precautions is the first step to successfully removing the back cover without damaging your HP all-in-one. The essential tools required for this disassembly are a Phillips-head (crisscross) screwdriver, typically a #2 (P2) size. Some models may also require a hexagon screwdriver for the stand screws. You will also need a set of plastic prying tools (spudgers) to safely disengage the internal clips without scratching or cracking the plastic housing. A flathead screwdriver can be used as a substitute for prying but should be wrapped in tape to avoid marring the surface.
Electrostatic discharge (ESD) is a critical risk when working inside any computer. To prevent damaging sensitive components like the motherboard or memory modules, you must wear an anti-static wrist strap attached to the PC's metal chassis and work on an anti-static mat. If you do not have a wrist strap, touch a grounded metal object (such as an unpainted radiator or the metal frame of a plugged-in appliance) before touching any internal component. Additionally, ensure the PC is powered off, unplugged from the wall outlet, and that all external cables (USB devices, monitor cables, Ethernet, etc.) are completely disconnected before you begin.
Before you start, you must understand the warranty implications. Removing the back cover or performing unauthorized disassembly can potentially void your HP product warranty, especially if damage occurs during the process or internal components are tampered with. HP's standard warranty covers hardware malfunctions resulting from manufacturing issues or faulty materials but explicitly excludes damage from unauthorized fixes and replacements. If warranty service is required after you have opened the PC, you may be asked to return the computer to its original configuration, including reinstalling the original stand, screws, and any replaced parts. If you are uncomfortable with these terms, consult HP's official service manual for your specific model or seek professional assistance.
Remove the stand to access the back panel
For many HP all-in-one models, removing the stand is a mandatory preliminary step before the back cover can be accessed or removed. The stand is not simply a separate base; it often houses screws or covers that secure the rear panel. Begin by locating the small cover on the back of the computer directly behind the stand. Use a flathead screwdriver to gently pry open this cover, which is typically a snap-fit plastic piece.
Once the cover is open, you will see the screws securing the stand to the computer. Using a Phillips screwdriver, remove the three screws that hold the stand assembly in place. After these screws are extracted, slide the stand assembly downward and out of its slot to detach it completely. Set the stand and its screws aside in a safe place. This step is verified in HP service manuals and is essential because the stand's mounting bracket often overlaps the back cover, preventing its removal.
Remove the screws securing the back cover
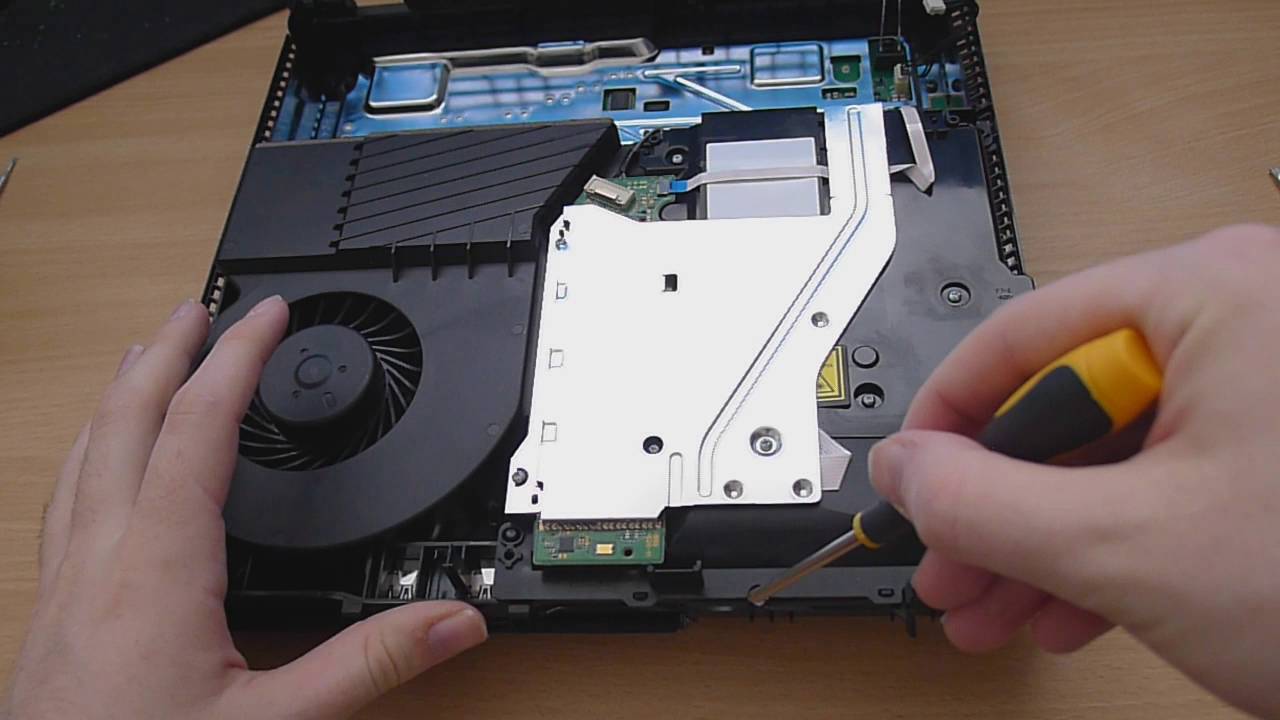
With the stand removed, turn your attention to the back panel of the HP all-in-one. The back cover is commonly secured by multiple Phillips-head screws located around the perimeter. Examine the back of the PC closely; you will typically see screws along the top edge, bottom edge, and sides. Use your Phillips screwdriver to remove each screw, working systematically from one corner to the other to ensure none are missed.
Some HP all-in-one models have additional screws hidden under rubber feet or plastic covers on the back. Carefully inspect the back cover for any removable rubber pads, stickers, or small plastic caps. Use gentle pressure with a plastic pry tool or your fingernail to lift these covers and reveal the screws beneath. Remove all hidden screws as well. It is critical to keep track of every screw you remove, as missing a screw can make the cover difficult to remove or cause damage when you attempt to pull it off. Store the screws in a labeled container or magnetic tray to ensure they are all accounted for during reassembly.
Release the internal clips and separate the back cover
After all screws are removed, the back cover is still held in place by internal plastic clips that snap into the chassis. Do not attempt to force the cover off by pulling directly outward, as this can break the clips. Instead, insert a plastic prying tool into the seam between the back cover and the main body of the PC. Start at one corner and carefully work the tool along the edge, applying gentle outward pressure to disengage each clip.
Work your way around the entire perimeter of the cover, releasing the clips one by one. You will hear a soft "click" or "pop" as each clip disengages. Once all clips are released, the cover will be loose but may still be attached by internal ribbon cables (e.g., for the power button, LED indicators, or touch screen). This is the critical warning: do not yank the cover off. Slowly slide the cover upward or outward (depending on your model) while checking for any attached cables. If you see a ribbon cable or wire, gently disconnect it from its connector on the motherboard or the cover itself before proceeding. Once all connections are detached, you can lift the back cover completely off and set it aside on a clean, static-free surface.
Reattach the back cover and stand when finished
After you have completed your cleaning, upgrade, or repair, reattaching the back cover is the reverse of the removal process. First, ensure that any ribbon cables or wires you disconnected are reconnected to their proper sockets. Press them in firmly until they click into place. Then, position the back cover over the chassis, aligning the plastic clips with their corresponding slots on the frame. Starting at one edge, press down gently along the perimeter until each clip snaps back into place. You should hear a series of clicks as the cover seats correctly.
Once the cover is fully seated, reinstall all the screws you removed earlier, including any hidden ones under rubber feet or plastic covers. Tighten the screws in a clockwise motion, starting with the corners and working your way around. Do not over-tighten, as this can strip the threads or crack the plastic. Finally, slide the stand assembly back into its slot and reinstall the three screws that secure it. Replace the small cover behind the stand by pressing it firmly until it snaps shut. Your HP all-in-one PC is now fully reassembled and ready to be powered on.
Opening a PC case
Understanding how to open a PC case, specifically an HP all-in-one, is a fundamental skill for any DIY computer maintenance. Unlike standard desktop towers that may have thumb screws or a single side panel, all-in-one PCs require a more delicate approach due to their integrated design and use of plastic clips and hidden screws. The process involves not just removing visible screws but also carefully prying apart internal latches and disconnecting ribbon cables that connect the back cover to the motherboard. Always refer to your specific HP model's service manual if available, as the exact location of screws and clips can vary. By following the steps outlined above, removing the stand, extracting all screws, releasing clips, and handling cables with care, you can safely access the internal components for dust removal, hard drive replacement, or memory upgrades, ensuring your HP all-in-one continues to run efficiently for years to come.
For the wider topic, see opening a PC case.