Getting the PC case open
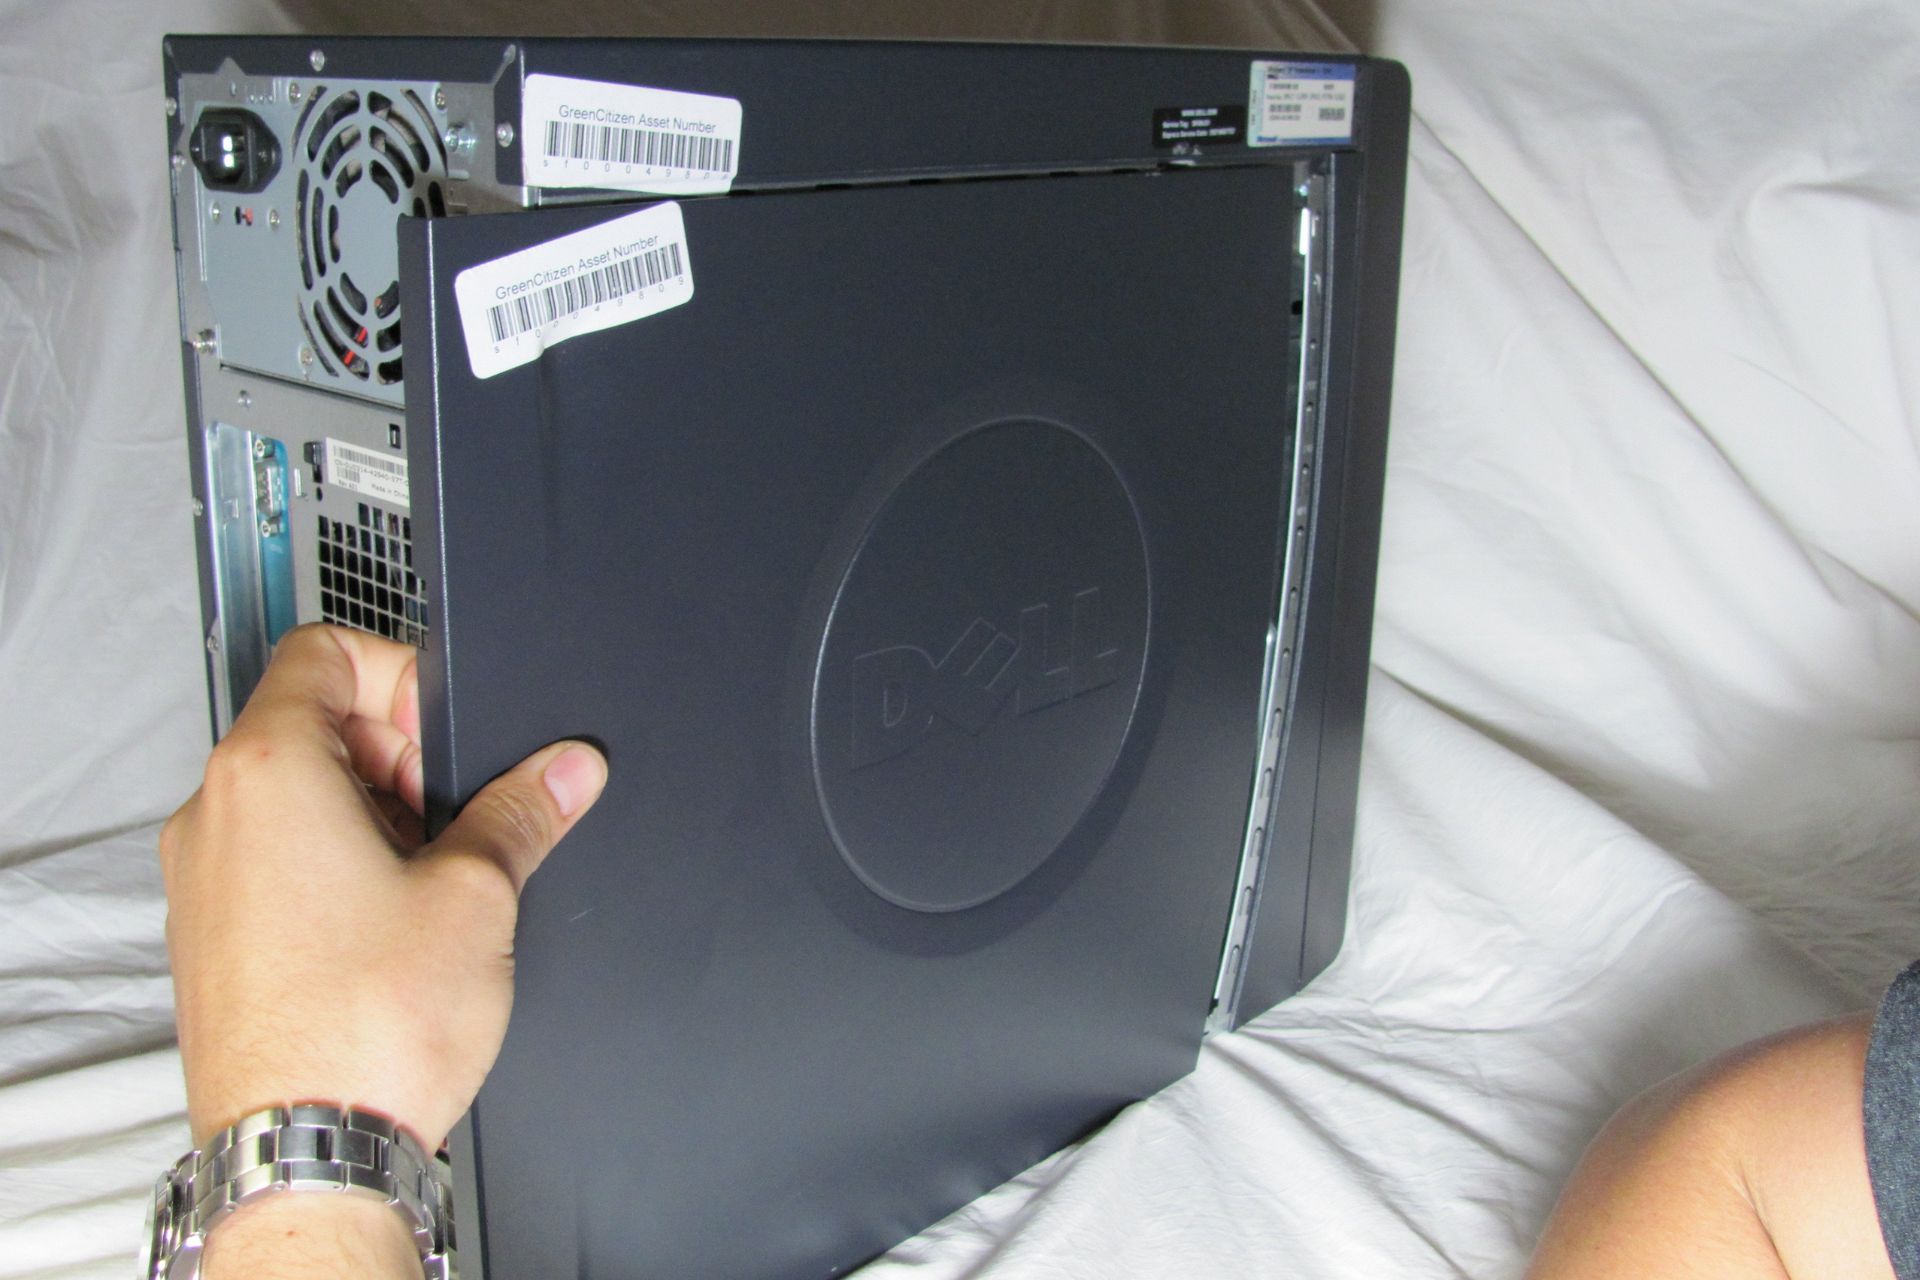
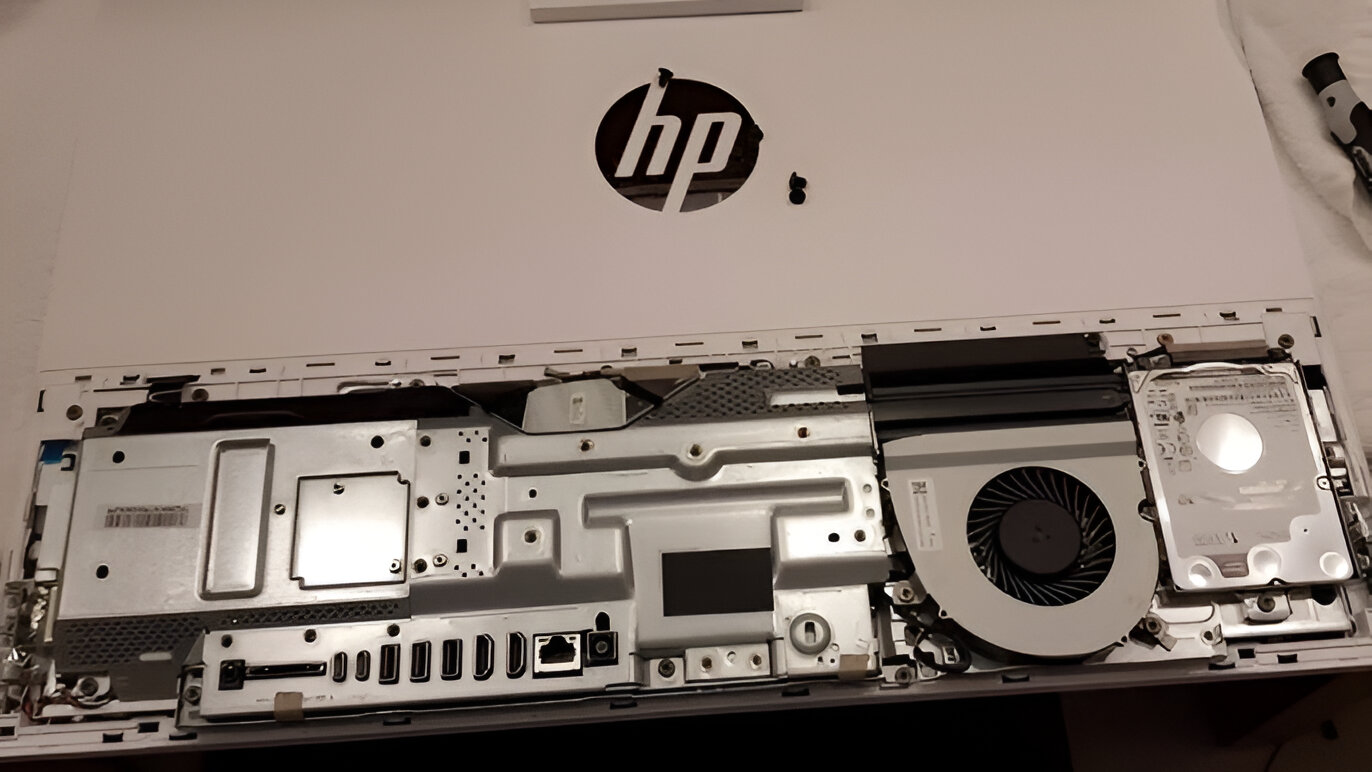
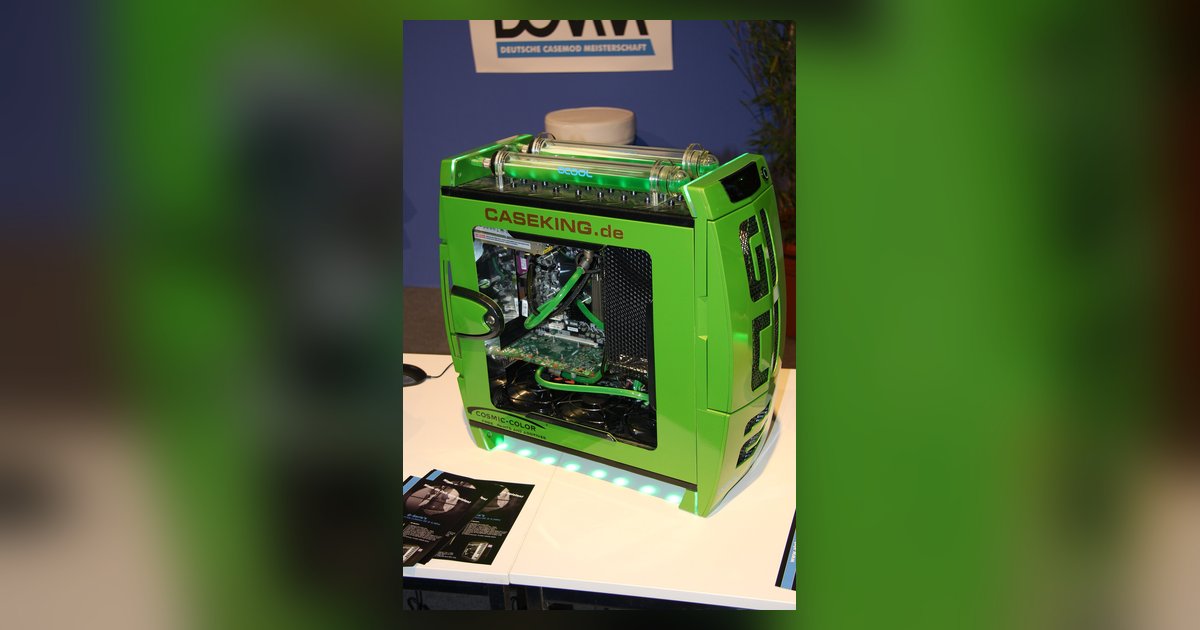
To open a PC case safely, start by placing the tower on a stable, non-slip surface with enough room to work. Look at the back edge of the side panel. Most modern cases have thumbscrews that you can turn by hand. If the screws feel tight, use a screwdriver, but be gentle. Overtightening or prying at the wrong angle is a common way to end up with shards when you remove glass from PC case. For panels held by push-pins, press the pin in and slide the panel toward the rear of the case. For sliding latches, pull the latch outward until it clicks, then lift the panel away. If you are trying to open a PC case dell, check whether the side panel has a small release button near the top edge. Dell often uses a spring-loaded latch rather than screws. Set the panel aside on a soft cloth, leaning it against something stable so it does not tip over. If you are working on an all-in-one desktop, stop here: the process is entirely different. You will need to remove the back of an hp all-in-one PC by first unclipping the stand and then working a plastic spudger around the seam to release the internal clips. Do not force anything. If a panel does not budge, re-check for hidden screws under rubber feet or behind a plastic cover.
Taking out the hard drive
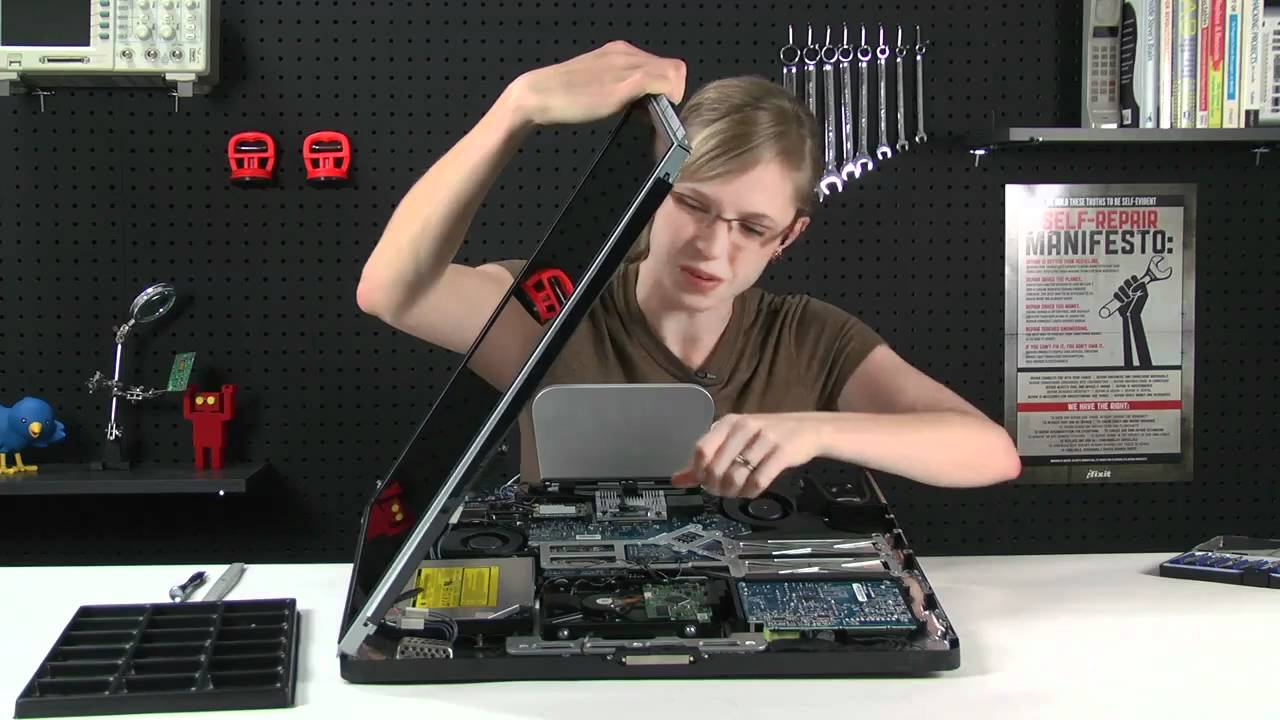
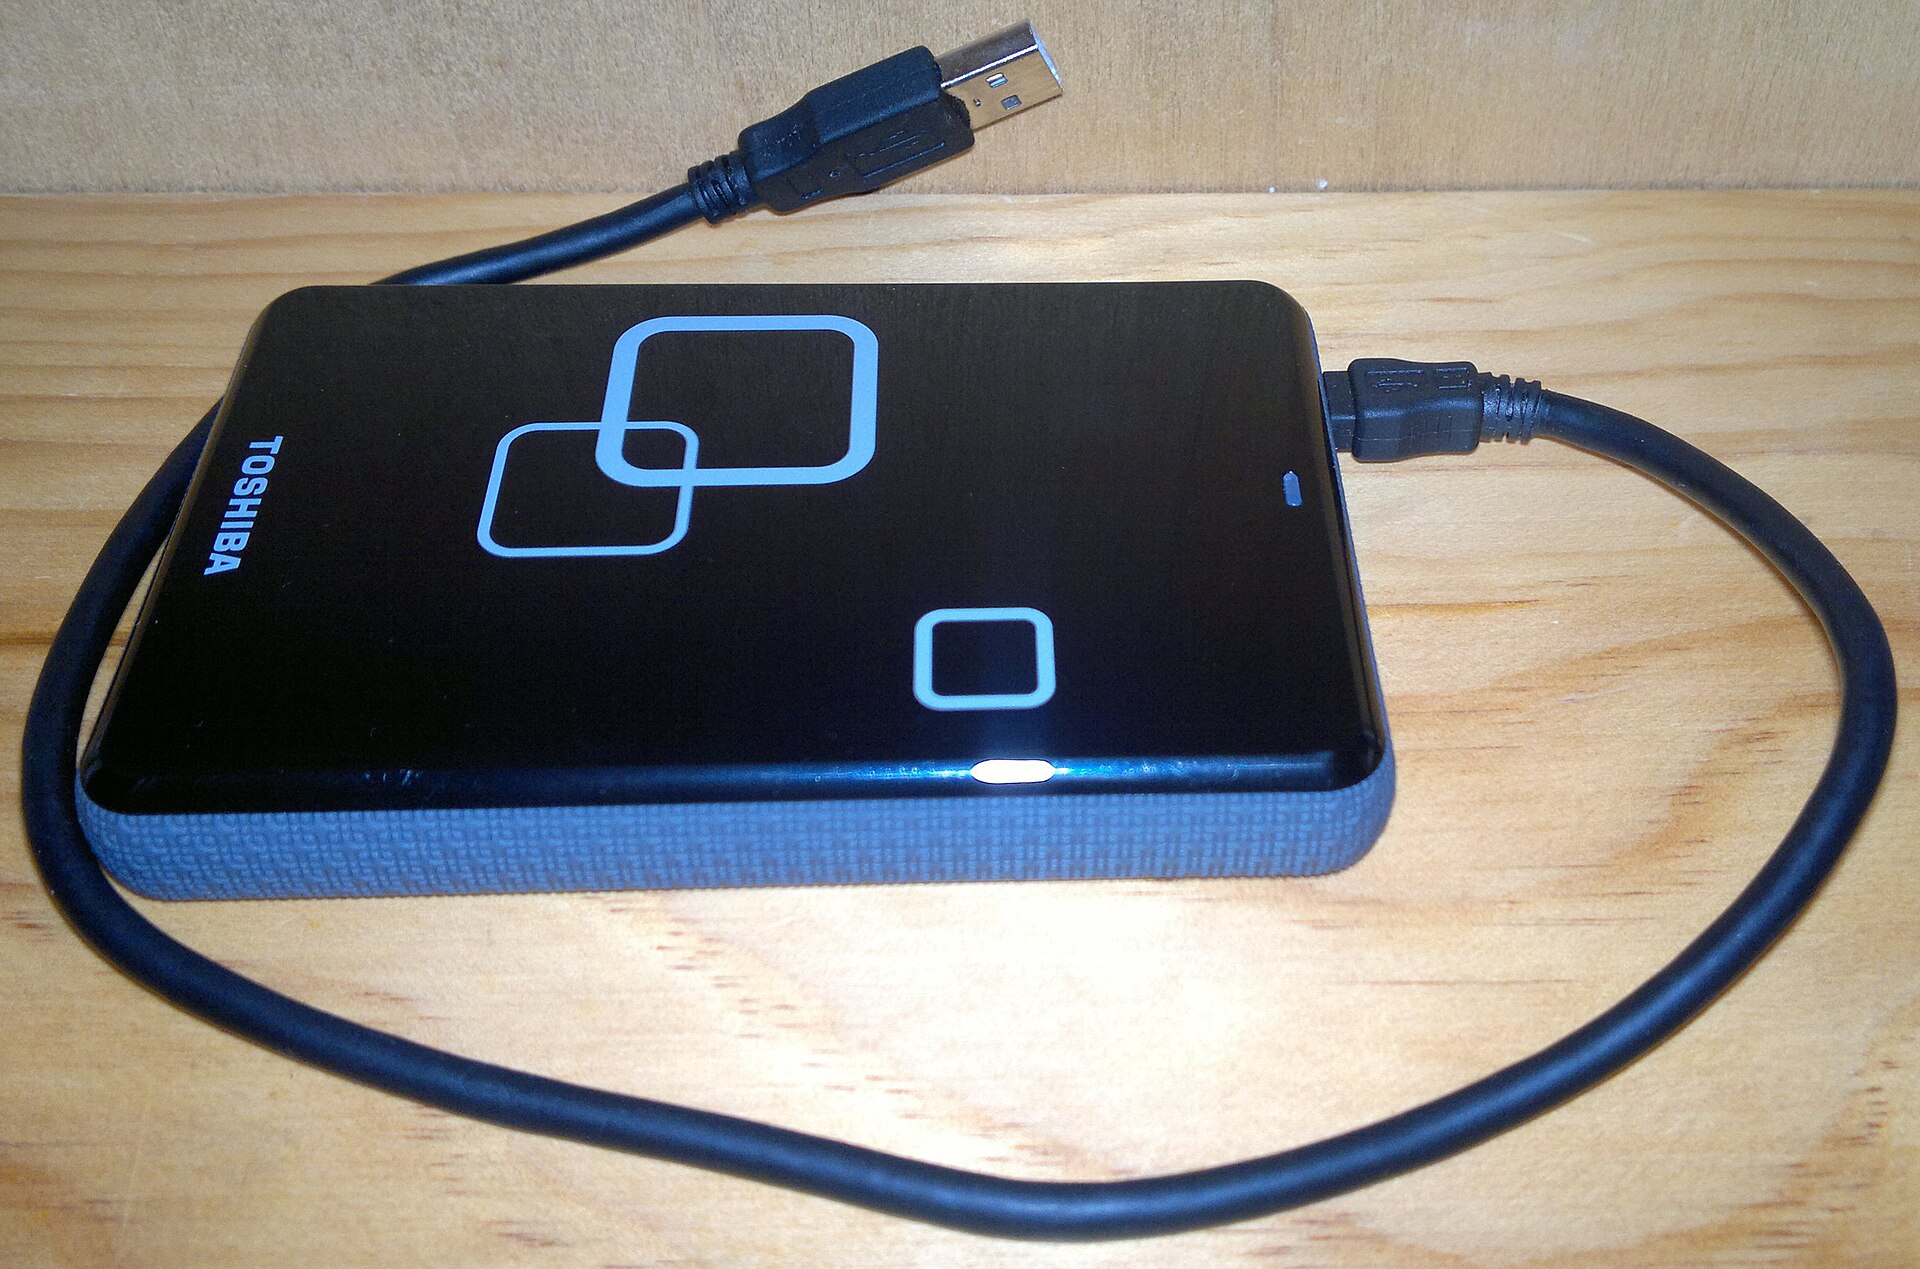
With the side panel off and the case lying flat on its side, locate the drive bay that holds the hard drive. Most standard desktop towers use a 3.5-inch bay secured by screws, mounting brackets, or tool-less trays on the side of the drive. Use a Phillips-head screwdriver to remove those screws. Then gently pull the drive straight back toward the rear of the case to slide it free. If you need to remove a hard drive from a dell desktop, the process is nearly identical. Some Dell models use a plastic sled that releases with a squeeze or a latch. Before you disconnect anything, note the orientation of the SATA data cable and the power cable. Both are keyed and only fit one way. Squeeze the metal clip on the SATA cable and pull it straight out. The power connector should be disconnected by gently pulling it straight back, away from the drive. For an all-in-one, the procedure is entirely different. You must remove the entire rear panel and often disconnect a proprietary ribbon cable to remove hard disk drive on iMac. In a standard tower, once the cables are off and the screws are out, the drive slides forward or backward out of the bay without any prying. Set it on an anti-static surface, and keep the screws nearby if you plan to reinstall the drive later.
Handling the glass panel afterward
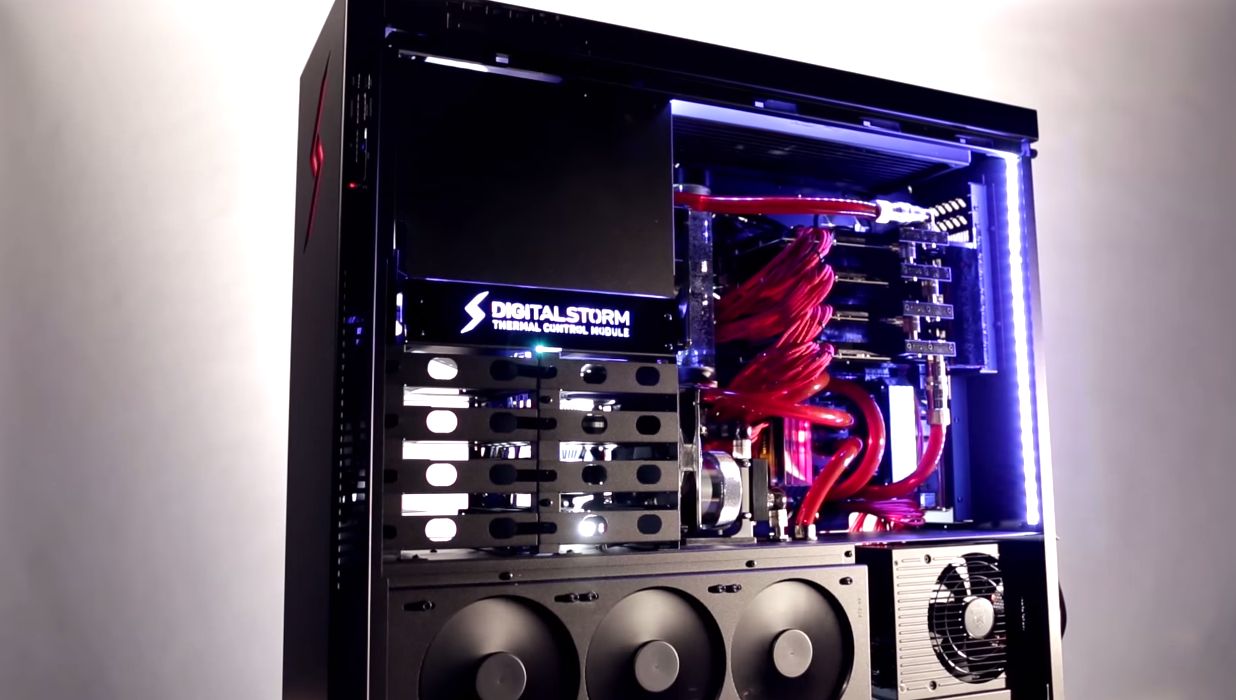
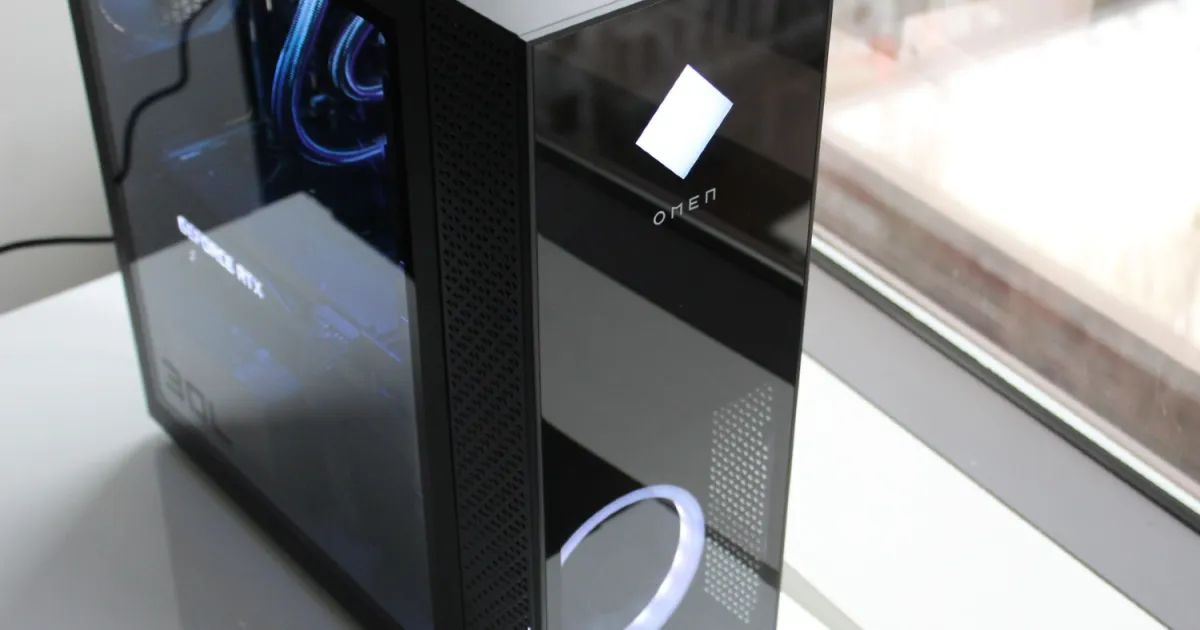
Once the tempered glass panel is off, set it on a soft, flat surface like a towel or the foam insert it shipped in. Never place it on a tile floor or metal table where a single grain of grit can cause a stress fracture. The edge where the glass meets the case frame is the most fragile part. Handle it by the corners and keep the inner side facing up to avoid fingerprints on the visible surface. If you plan to put it back, line up the bottom edge first. Check that the thumbscrews or push-pins are fully retracted before you apply any pressure. The goal is to never force it into place when it feels tight, so you can reinstall a tempered glass side panel without shattering it. If the original panel is cracked or you simply want a spare, you will need a panel that matches your case model exactly when you go to buy a replacement tempered glass side panel. Generic panels rarely fit the mounting holes or latch slots. For better airflow during testing or temporary repairs, you can also consider running a PC without the glass side panel. Keep the case away from pets, children, and dust sources. Never power it on with the panel leaning against the case because vibration can tip it onto the motherboard.