Introduction
Welcome to this guide on how to remove the glass panel from a PC case. Whether you’re looking to clean the panel, replace it with a different material, or perform any other maintenance or modification tasks, knowing how to safely remove the glass is crucial.
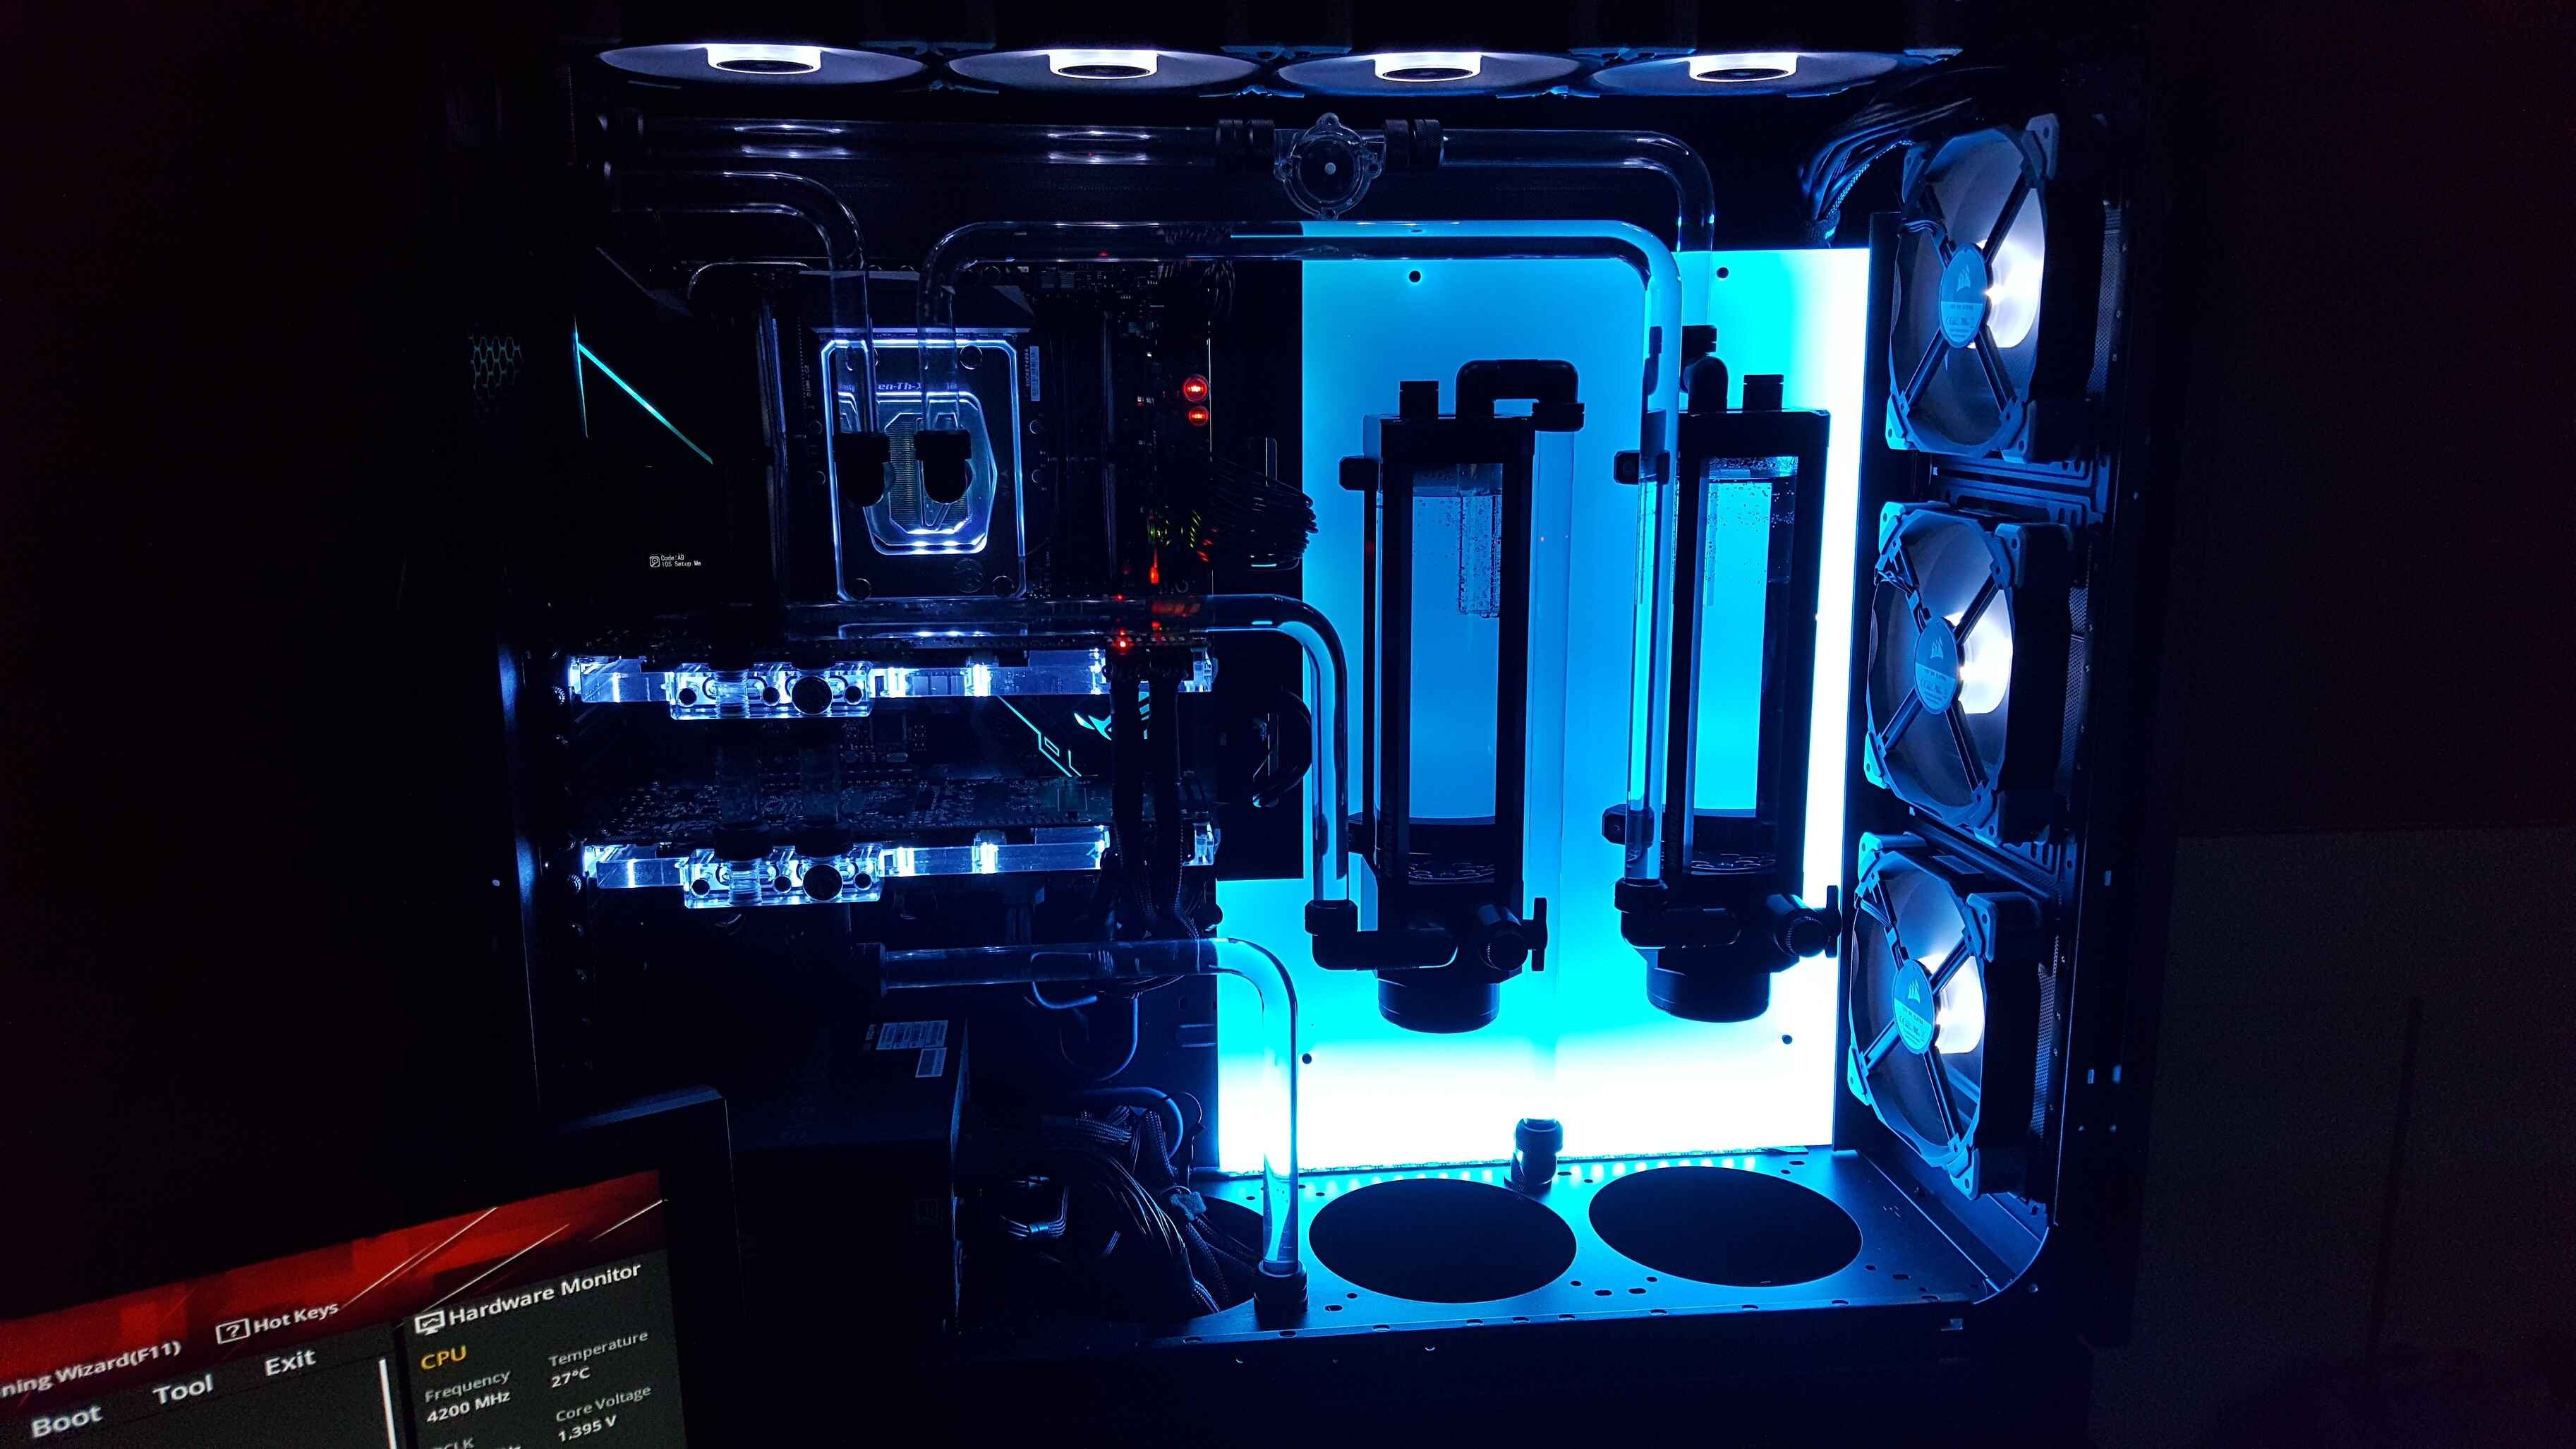
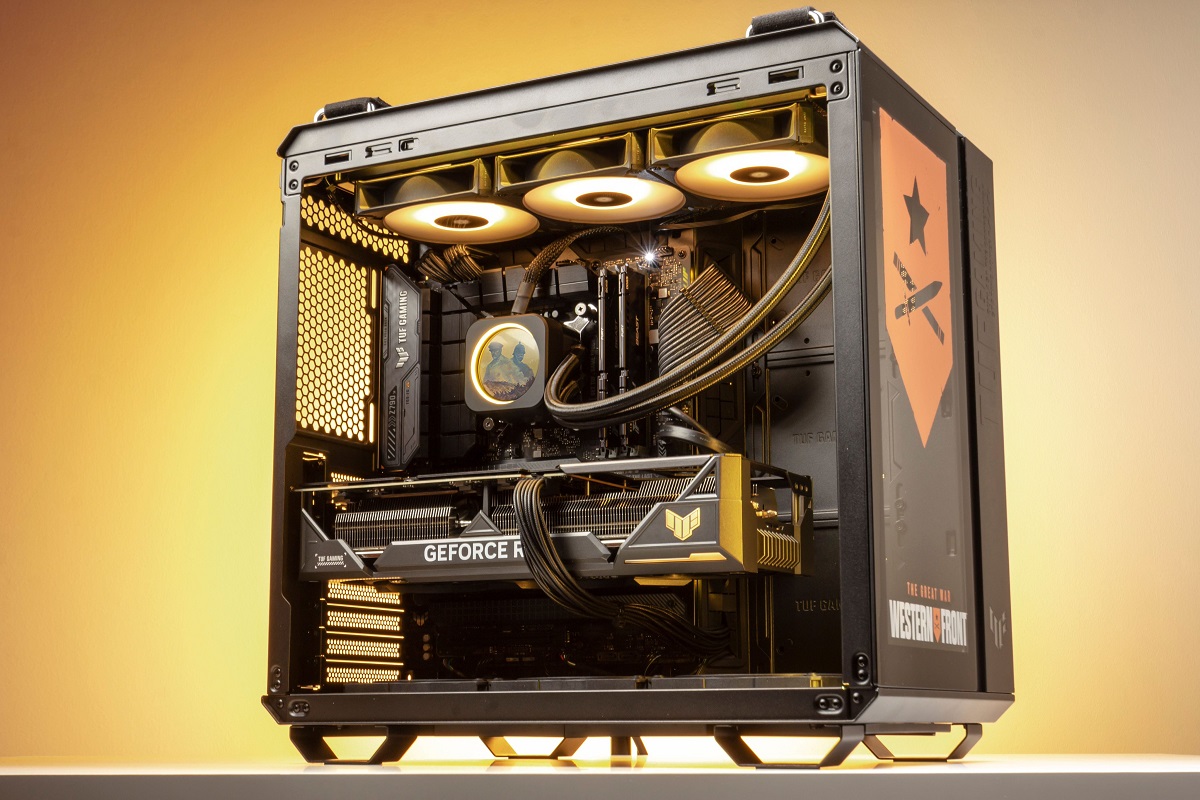
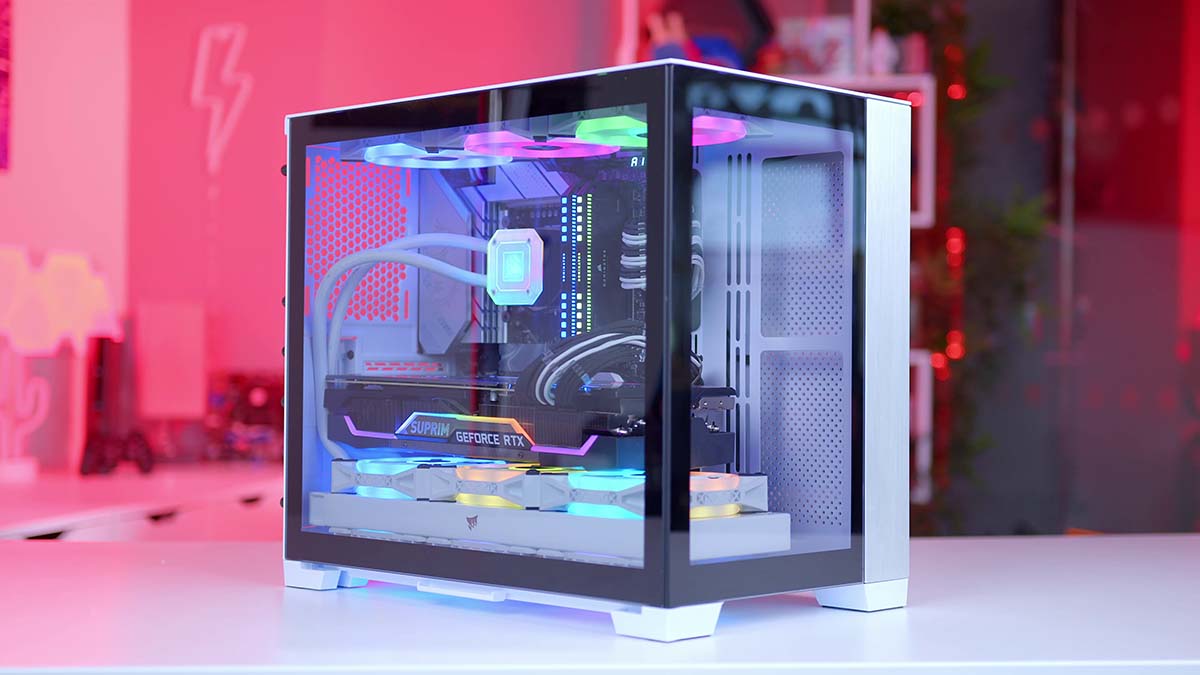
Many modern PC cases feature tempered glass panels, which provide a sleek and stylish look while also showcasing the components inside. However, removing the glass panel can be a bit intimidating for those who haven’t done it before. But fear not! With the right tools and a step-by-step approach, you’ll be able to remove the glass panel from your PC case with ease.
In this guide, we’ll walk you through the necessary steps to safely remove the glass panel from your PC case. We’ll also provide some tips on how to clean the glass and reinstall it properly. By following this guide, you’ll be able to complete the task successfully and with confidence.
Please note that the specific steps may vary depending on the make and model of your PC case. It’s always a good idea to consult the manufacturer’s instructions or user manual for any specific guidelines related to your case. With that said, let’s dive into the steps required to remove the glass panel from your PC case.
Materials Needed
Before getting started, gather the following materials to ensure a smooth and successful process:
- Phillips screwdriver
- Anti-static wrist strap (optional, but recommended)
- Clean microfiber cloth
- Glass cleaner solution or isopropyl alcohol
- Cotton swabs or soft-bristled brush
The Phillips screwdriver will be used to loosen the screws or clips that hold the glass panel in place. Make sure to use the correct size screwdriver that fits the screws on your PC case.
An anti-static wrist strap is not essential, but it can help prevent any static electricity discharge that could potentially damage sensitive PC components. If you have one available, it’s a good idea to wear it during the process.
A clean microfiber cloth is ideal for wiping down the glass panel to remove any fingerprints, smudges, or dust particles that may have accumulated. Avoid using paper towels or abrasive materials that could scratch the glass surface.
You will also need a glass cleaner solution or isopropyl alcohol to clean the glass panel. If using a glass cleaner, make sure it’s safe for use on electronics. Isopropyl alcohol can be an affordable alternative and is also effective at removing any stubborn dirt or residue.
Cotton swabs or a soft-bristled brush will be handy for reaching into small crevices or corners of the glass panel. They can help remove any dirt or grime that may be difficult to reach with a cloth alone.
With these materials on hand, you’ll be well-prepared to tackle the glass removal process and ensure a smooth and efficient result.
Step 1: Prepare the Work Area
Before starting to remove the glass panel from your PC case, it’s important to create an organized and safe work area. Follow these steps to prepare the work area:
- Power off your PC: Make sure to shut down your computer properly and unplug the power cord from the wall outlet. This will ensure your safety during the glass removal process.
- Select a clean and well-lit space: Find a suitable area where you can comfortably work on your PC case, preferably a clean and well-lit table or desk. This will help you see the components clearly and minimize the risk of accidents or damage.
- Use an anti-static mat: If you have one available, place an anti-static mat on the work surface. This will further protect the internal components of your PC from static electricity discharges.
- Wear an anti-static wrist strap (optional): If you have an anti-static wrist strap, connect it to a grounded metal surface or wear it on your wrist. This will discharge any static electricity from your body, reducing the risk of damaging sensitive PC components.
- Gather the necessary tools: Ensure that you have all the required materials, including the Phillips screwdriver, clean microfiber cloth, glass cleaner solution or isopropyl alcohol, and cotton swabs or a soft-bristled brush, as mentioned in the previous section.
- Organize the workspace: Arrange all the tools and materials within easy reach. This will save time and minimize the chances of misplacing any crucial components.
- Remove any magnetic objects: Magnetic objects can interfere with sensitive computer components, so remove any nearby magnets or magnetic devices to prevent any potential damage or data loss.
By following these steps, you will create a safe and well-prepared work area for removing the glass panel from your PC case. Now that you’ve set up the work environment, you’re ready to proceed to the next step.
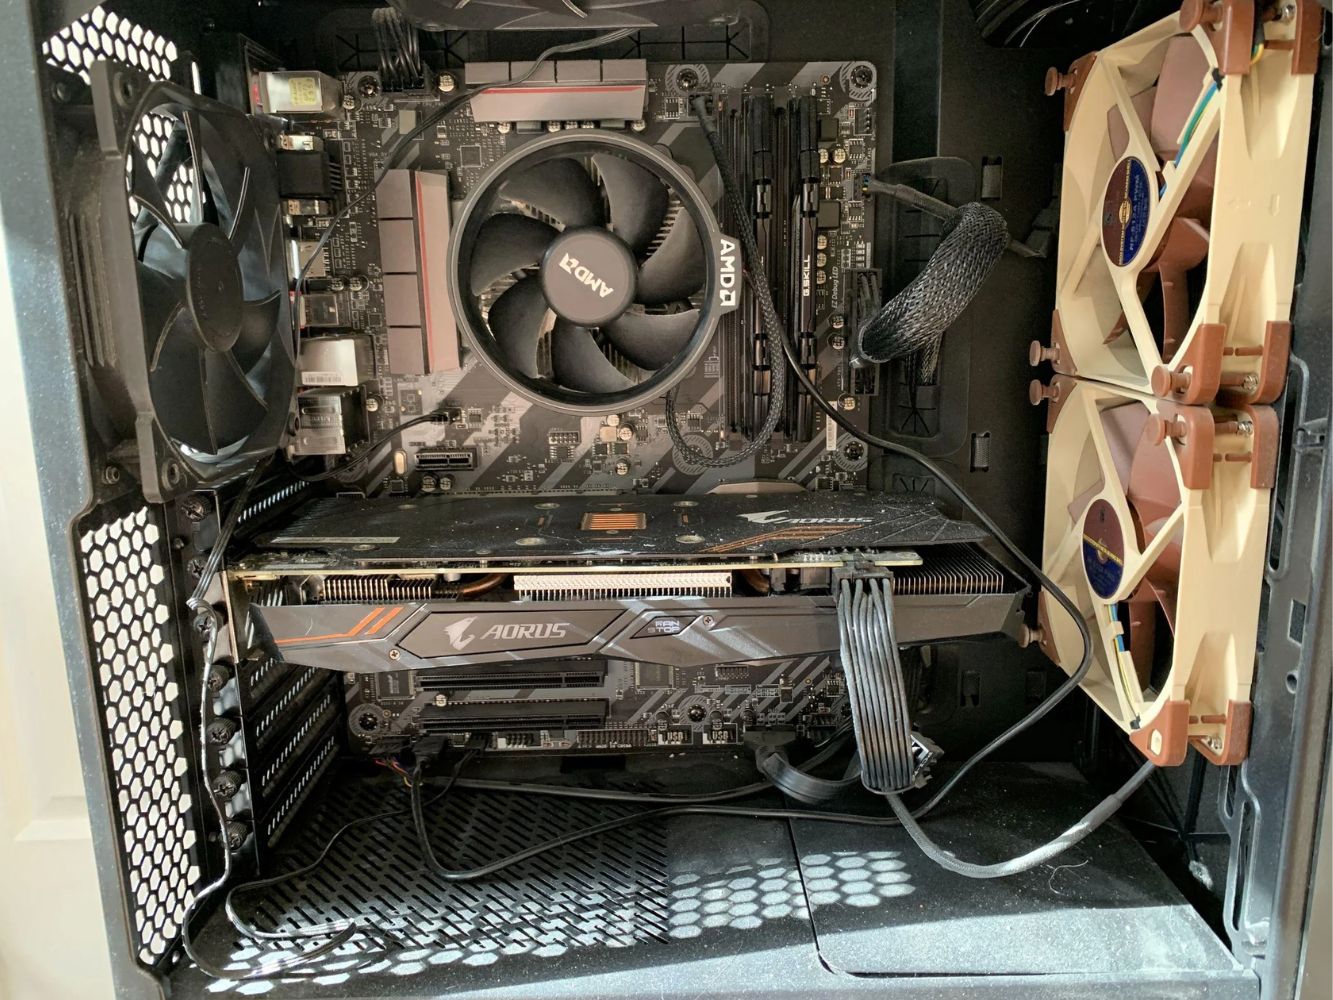
Step 2: Remove Any External Components
Before attempting to remove the glass panel, it’s important to remove any external components that may obstruct the access or pose a risk of damage. Follow these steps to remove any external components:
- Disconnect peripherals: Remove any connected peripherals such as USB devices, headphones, or external hard drives. This will prevent any accidental damage to these devices during the glass removal process.
- Remove the side panels: If your PC case has removable side panels, take this opportunity to remove them. This will provide easier access to the interior of the case and facilitate the glass panel removal.
- Clear the workspace: Remove any loose cables, obstructions, or clutter from inside the case. This will allow you to maneuver more easily and avoid accidentally snagging or damaging any components.
- Disconnect power cables: Carefully detach the power cables from the internal components. Take note of their positions and connections so that you can properly reconnect them later.
- Remove any other attached components: If you have any custom additions or modifications, such as RGB lighting strips or additional fans, remove them by following the manufacturer’s instructions. This will ensure that they won’t interfere with the glass removal process.
- Check for any screws or clips: Inspect the corners or edges of the glass panel to determine if there are any screws or clips holding it in place. If there are, take note of their locations for the next step.
By removing the external components and clearing the workspace, you’ll have a clear path to proceed with the glass panel removal. It also reduces the risk of accidental damage to any peripheral devices or internal components. Now that you’ve completed this step, let’s move on to the next one.
Step 3: Loosen the Screws or Clips
Now that you’ve prepared the work area and removed any external components, it’s time to loosen the screws or clips that hold the glass panel in place. Follow these steps to loosen the screws or clips:
- Identify the screws or clips: Carefully inspect the corners or edges of the glass panel to locate the screws or clips that secure it to the PC case. These are typically found on the backside or inside of the case.
- Use the appropriate tools: Depending on the design of your PC case, you may need to use a Phillips screwdriver to loosen the screws, or release the clips by applying gentle pressure with your fingers or a small tool. Refer to the manufacturer’s instructions if you’re unsure about the specific method.
- Loosen the screws or unclip the panel: If there are screws, use the appropriate screwdriver to loosen them counterclockwise. Be careful not to overtighten or strip the screws. If there are clips, push or release them gently to free the glass panel from the case.
- Keep track of the screws: As you remove the screws or release the clips, place them in a secure location, such as a small container or a magnetic tray, to prevent them from getting lost.
- Avoid excessive force: If you encounter resistance when loosening the screws or clips, double-check that you have identified all the securing elements and are using the correct method. Applying excessive force can cause damage to the case or the glass panel.
By following these steps, you will safely loosen the screws or clips that hold the glass panel in place. Take your time and be patient to avoid any accidents or damage. Once you’ve completed this step, you’re ready to proceed to the next one.
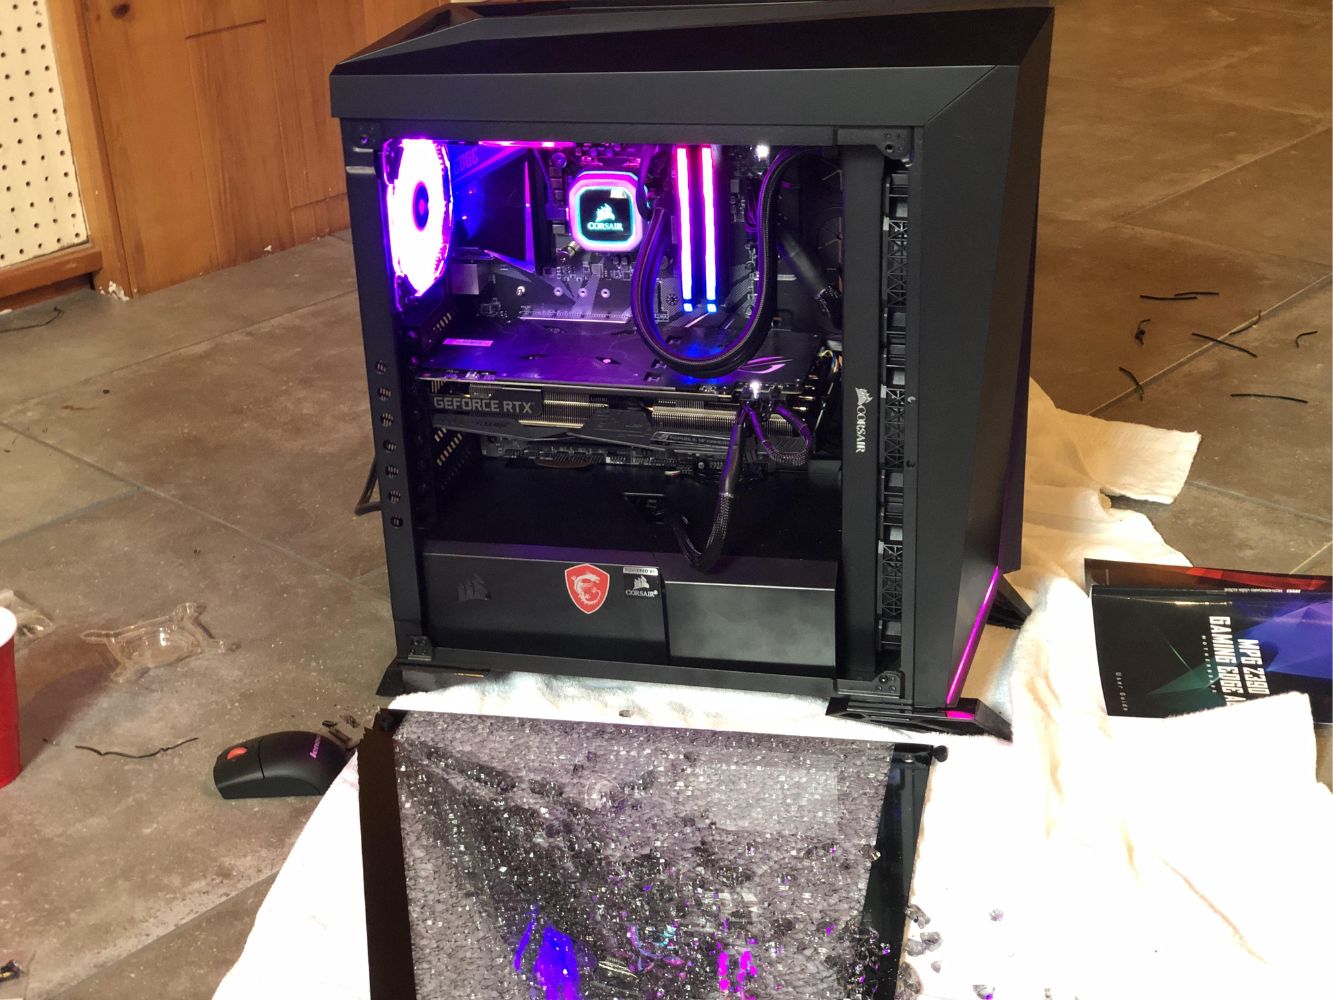
Step 4: Carefully Lift Off the Glass Panel
Now that you’ve loosened the screws or clips, it’s time to remove the glass panel from your PC case. Follow these steps to carefully lift off the glass panel:
- Ensure a firm grip: Before lifting the glass panel, make sure that you have a firm grip and that your hands are clean and dry. This will prevent accidental drops or smudges on the glass surface.
- Support the panel with your other hand: If the glass panel is large or heavy, use your other hand to provide additional support while lifting it. This will help prevent any excessive strain or potential damage to the panel.
- Lift off the panel straight up: Slowly and evenly lift the glass panel straight up, making sure that it clears any remaining screws, clips, or obstructions. Avoid tilting or twisting the panel, as this can increase the risk of dropping or damaging it.
- Place the glass panel in a safe location: Once the glass panel is completely removed, place it on a soft and clean surface, such as a microfiber cloth or a padded mat. This will prevent scratches or cracks from accidental contact with hard surfaces.
- Inspect the panel for any damage: Take a moment to inspect the glass panel for any signs of damage, such as cracks or chips. If you notice any issues, it’s best to address them before cleaning or reinstalling the panel.
By following these steps, you will be able to safely lift off the glass panel from your PC case. Remember to handle the panel with care and take your time to ensure that it is removed smoothly. Now that you’ve completed this step, let’s move on to the next one.
Step 5: Clean the Glass Panel
Now that you have removed the glass panel from your PC case, it’s time to give it a thorough cleaning. Follow these steps to clean the glass panel:
- Remove any loose debris: Use a clean, dry microfiber cloth or a soft-bristled brush to gently remove any loose dust, dirt, or debris from the glass surface. Be careful not to scratch the glass while doing so.
- Prepare the cleaning solution: If you have a glass cleaner solution specifically designed for electronics, follow the instructions on the bottle to prepare the solution. If not, you can use isopropyl alcohol. Dilute it with a small amount of water if necessary.
- Dampen a clean cloth: Moisten a clean microfiber cloth with the glass cleaner solution or isopropyl alcohol. Make sure the cloth is damp, not soaked, to avoid dripping any liquid onto the glass or other PC components.
- Wipe the glass panel: Gently wipe the glass panel using the damp cloth, moving in straight lines or circular motions. Pay attention to any fingerprints, smudges, or stubborn stains, and apply light pressure if needed.
- Target stubborn spots: For any stubborn spots or smudges, dampen a cotton swab with the cleaning solution and carefully rub the area. If necessary, use a soft-bristled brush to reach into corners or crevices.
- Dry and polish the glass: Once you have wiped the glass panel thoroughly, use a clean and dry microfiber cloth to dry and polish it. This will help remove any residual streaks or moisture and leave the glass looking clean and shiny.
By following these steps, you will successfully clean the glass panel and remove any fingerprints, smudges, or dirt that may have accumulated. Remember to handle the glass panel with care during the cleaning process to avoid any accidental drops or damage. With a clean glass panel, you’re ready to move on to the final step.
Step 6: Reinstall the Glass Panel
After cleaning the glass panel, it’s time to reinstall it back onto your PC case. Follow these steps to properly reinstall the glass panel:
- Align the panel: Hold the glass panel in the correct orientation and align it with the appropriate slots or mounting points on the PC case. Ensure that the panel sits evenly and snugly without any gaps.
- Insert the panel: Carefully slide the glass panel back into place, making sure that any screw holes or clips align with the corresponding openings on the case. Be patient and avoid forcing the panel if it doesn’t fit; adjust the position if necessary.
- Tighten the screws or secure the clips: Once the glass panel is properly aligned, tighten the screws by turning them clockwise using a Phillips screwdriver. If your case uses clips, ensure that they securely hold the glass panel in place.
- Double-check the fit: After securing the panel, give it a gentle wiggle to ensure that it is firmly and securely attached to the case. This will help prevent any rattling or accidental dislodging during use.
- Reconnect external components: Now that the glass panel is back in place, it’s time to reconnect any external components that you previously removed, such as peripherals, side panels, power cables, and any custom additions or modifications.
- Power on your PC: Finally, plug in the power cord and turn on your computer to ensure that everything is functioning as expected. Check for any unusual noises, vibrations, or errors that could indicate a problem with the reinstalled glass panel.
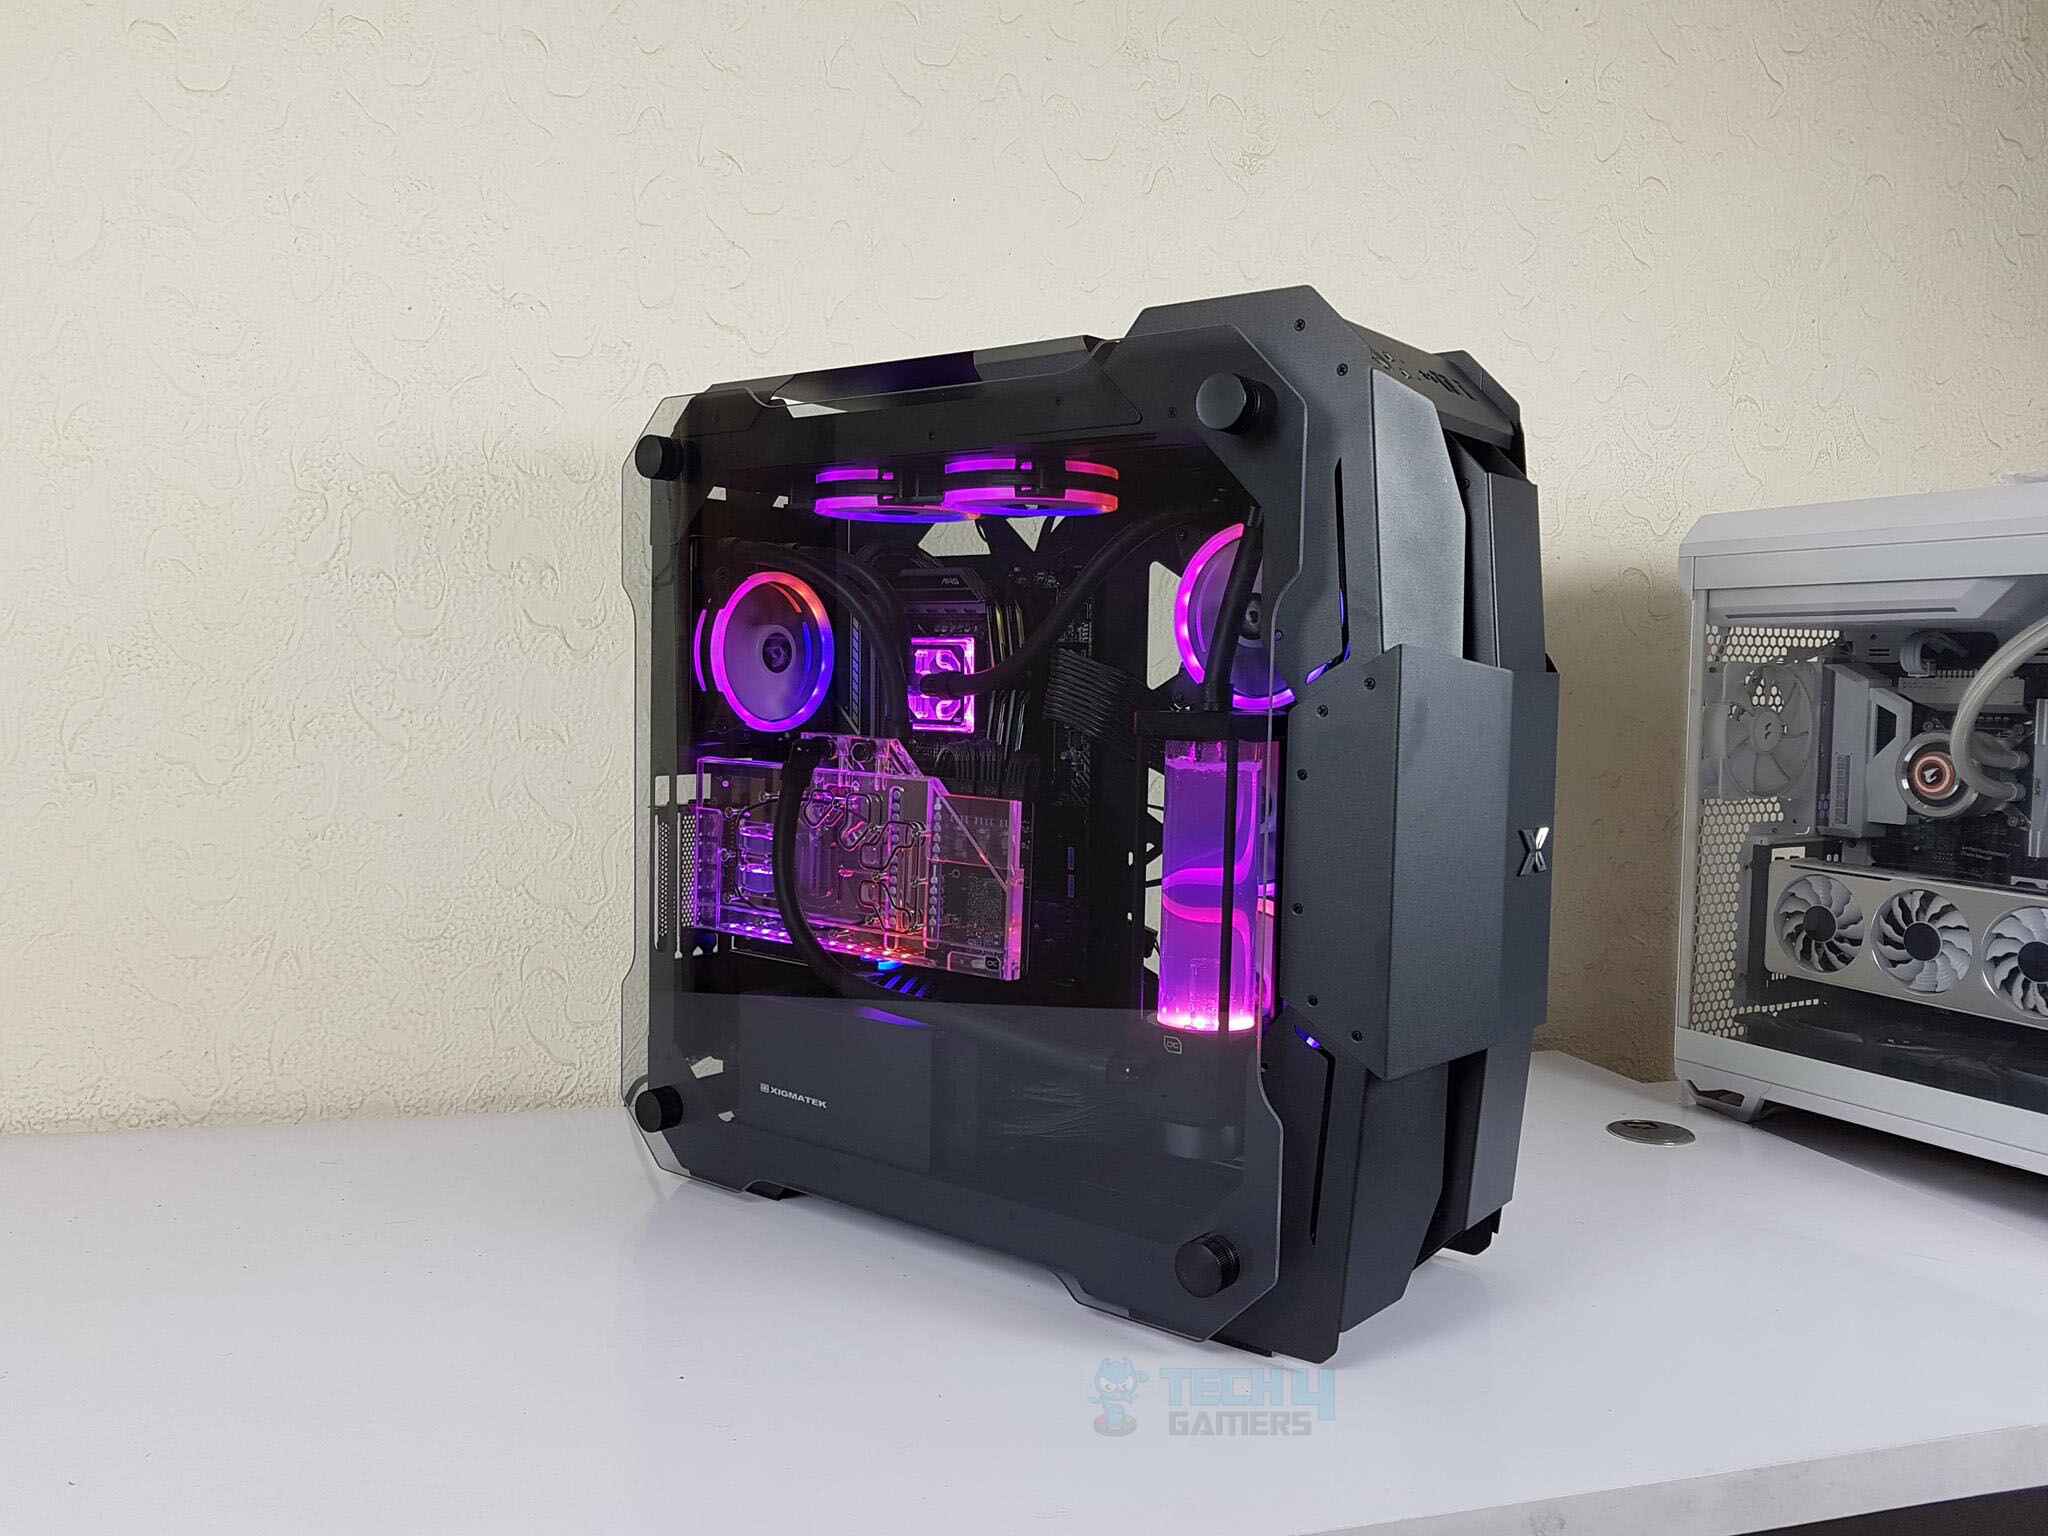
By following these steps, you will successfully reinstall the glass panel onto your PC case. Take your time to ensure that the panel is properly aligned and secured, and double-check all the connections before powering on your computer. With the glass panel back in place, you can now enjoy the aesthetic appeal and showcase your PC components with confidence.
Conclusion
Removing the glass panel from your PC case may seem like a daunting task, but with the right tools and careful steps, it can be a straightforward process. By following this guide, you have learned how to safely remove the glass panel, clean it, and reinstall it back onto your PC case.
Remember to prepare your work area and gather the necessary tools before starting. Take your time to loosen the screws or clips, lift off the glass panel carefully, clean it thoroughly, and reinstall it securely. Pay attention to details, such as avoiding excessive force and properly aligning the panel, to ensure a successful outcome.
Regular cleaning and maintenance of your PC’s glass panel not only enhance the aesthetics of your setup but also prevent dust accumulation and keep your components visible and cool. Removing the glass panel also allows for easier access to perform any necessary maintenance or upgrades in the future.
As always, make sure to consult the manufacturer’s instructions or user manual specific to your PC case for any additional guidance or precautions. Each case may have slight variations in the removal and installation process.
Now that you have the knowledge and confidence to remove and clean your PC case’s glass panel, you can enjoy a clean and visually appealing setup. Whether you’re a computer enthusiast or a casual user, maintaining your PC case will contribute to the longevity and functionality of your system.
Happy cleaning and modifying your PC case, and enjoy the beautiful view!