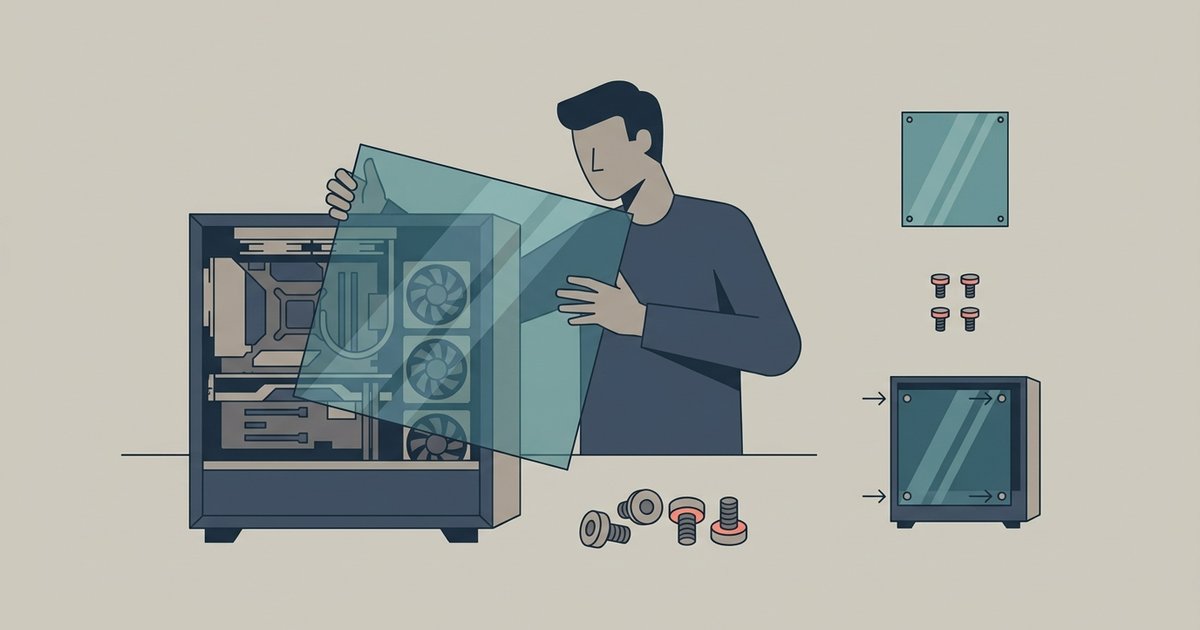
Place the case on its side so the glass drops vertically into the frame, ensure the rubber grommets are seated, and tighten the thumbscrews only with your fingers until you feel the slightest resistance—never use a screwdriver.
Why tempered glass panels explode during reinstallation
Tempered glass is under immense internal tension. Its surface is compressed while the core is in tension, giving it strength against blunt impacts but making it hypersensitive to point loads. When you reinstall a panel, the most common failure trigger is direct screw-to-glass contact. If a thumbscrew’s metal threads or its shoulder presses against the glass edge instead of the rubber grommet, that microscopic pressure point creates a stress concentration far beyond the glass’s limit. Overtightening compounds the problem by bending the steel frame inward, which transmits a twisting force across the entire panel. Because tempered glass cannot flex, that twist creates a shear load that instantly propagates a crack network, the “spontaneous shattering” you’ve heard about. Even a crooked panel that you try to correct by pushing on a corner can introduce a torque that the glass cannot absorb. Understanding that the glass is not “strong” in the way metal is, it is brittle and unforgiving of misaligned forces, is the first step to a safe reinstall.
The horizontal method
Lay the PC case flat on its side on a stable, non-slip surface, with the open side facing up. This orientation lets gravity do the alignment work. You simply lower the tempered glass panel straight down into the frame’s channel, allowing its own weight to seat it evenly against the rubber grommets. No pushing, no tilting, no holding the panel in place with one hand while you fumble for a screw. With the case horizontal, the glass cannot slide out of square or pinch against a metal tab, because the frame’s bottom edge acts as a natural guide. Begin by placing the panel’s bottom edge into the channel first, then gently tilt the top edge down. The glass will settle into position with zero manual force. This method is especially critical when you need to remove the glass panel later for cleaning or upgrades, because the same horizontal orientation prevents the panel from falling forward when you unscrew it. While you wait for a replacement, running a PC without the glass side panel is perfectly safe for short-term use. If the worst happens and the glass does break, you can find to buy a replacement tempered glass side panel that matches your case model.
The fingertip-tight rule
Once the panel is seated, pick up each thumbscrew between your thumb and index finger and turn it clockwise until the screw head just touches the rubber grommet, then stop. You are looking for the moment you feel the slightest increase in resistance, not the moment you can’t turn further. A properly tightened thumbscrew compresses the grommet slightly without deforming the frame. Any more than that, and you are beginning to bend the frame. Never use a screwdriver or a tool of any kind, because the mechanical advantage of a handle multiplies your torque, easily crushing the grommet and driving the screw shoulder into the glass. This is the single most common catastrophic mistake, and it is entirely avoidable by keeping your tools away from the case. If you must remove the back of an HP all-in-one PC for internal access, you will use a screwdriver on that metal back panel, but never on tempered glass. The same logic applies when you remove a hard drive from a Dell desktop: metal screws into metal brackets can be torqued down, but glass screws are only finger-tight.
When the panel still won't sit flush
If the glass refuses to seat flush after you’ve followed the horizontal method and the fingertip-tight rule, do not force it. Stop immediately and inspect the case frame for three common culprits: bent metal tabs that once held the panel, swollen rubber grommets that have absorbed moisture or deformed over time, or a cable that has been pushed into the panel’s channel during reassembly. Check each corner of the frame for a tab that is bent inward. Even a small bend is enough to prevent the glass from dropping fully. If a grommet feels hard or bulging, replace it with a new one from the case manufacturer. Also verify that no SATA cable or fan wire is trapped between the glass and the frame. A single pinched wire creates a gap that makes the panel sit crooked. Forcing the thumbscrew in this situation is the point of no return. The moment the glass is under uneven tension, one more quarter-turn will shatter it. If you need to open a Dell PC case that uses a different latch mechanism, you can apply the same troubleshooting logic: never push, pull, or twist a panel that resists; instead, find the obstruction. Patience here saves you a broken panel and a mess of glass shards.
This single procedure eliminates the two primary forces that cause tempered glass to explode: uneven pressure and metal-to-glass contact. Follow the steps below to reinstall your panel safely, and you will avoid the common pitfalls that turn a routine task into a costly cleanup. For the broader topic of opening a PC case and removing a hard drive, begin by opening a PC case with the same care to avoid glass breakage.