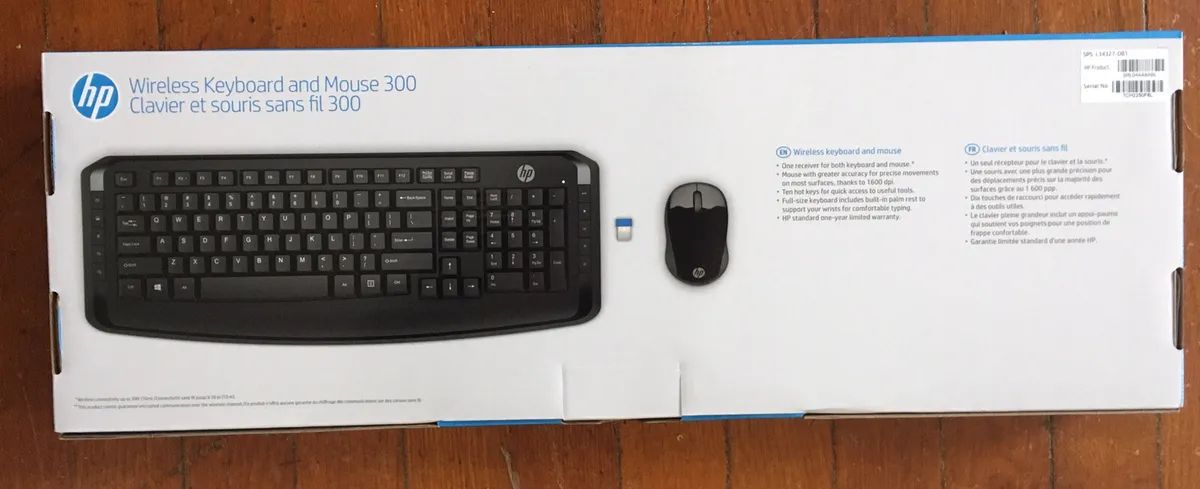
Introduction
In today’s technology-driven world, wireless keyboards have become incredibly popular due to their convenience and flexibility. If you own an HP wireless keyboard, you have the freedom to work or play from a distance without worrying about tangled cords. However, if you are new to using wireless keyboards, you may be wondering how to turn on your HP wireless keyboard. Fortunately, the process is simple and straightforward.
In this guide, we will walk you through the step-by-step process of turning on your HP wireless keyboard. Whether you plan to use it for work, gaming, or casual browsing, these instructions will help you get started quickly and effortlessly.
Before we dive into the steps, it’s important to mention that the instructions may vary slightly depending on the model of your HP wireless keyboard. Therefore, it’s a good idea to consult the user manual that came with your specific keyboard for any model-specific instructions. Nonetheless, the general steps outlined in this guide should apply to most HP wireless keyboard models and will serve as a solid foundation for you to begin.
Step 1: Check the Power
Before diving into the process of turning on your HP wireless keyboard, it’s crucial to ensure that it has sufficient power. Most wireless keyboards run on batteries, so the first step is to check if your keyboard has power or if the batteries need to be replaced.
To do this, locate the battery compartment on the back or bottom of your HP wireless keyboard. Depending on the model, you may need to use a coin or a small screwdriver to open the compartment. Once open, check the battery level or remove and replace the batteries altogether with fresh ones.
It’s worth noting that some HP wireless keyboards come with rechargeable batteries. If this is the case, check to see if the keyboard needs to be connected to a power source for charging. If it does, make sure to charge the keyboard fully before attempting to turn it on.
By ensuring that your HP wireless keyboard has a reliable power source, you’ll avoid any potential issues with connectivity and maximize its performance.
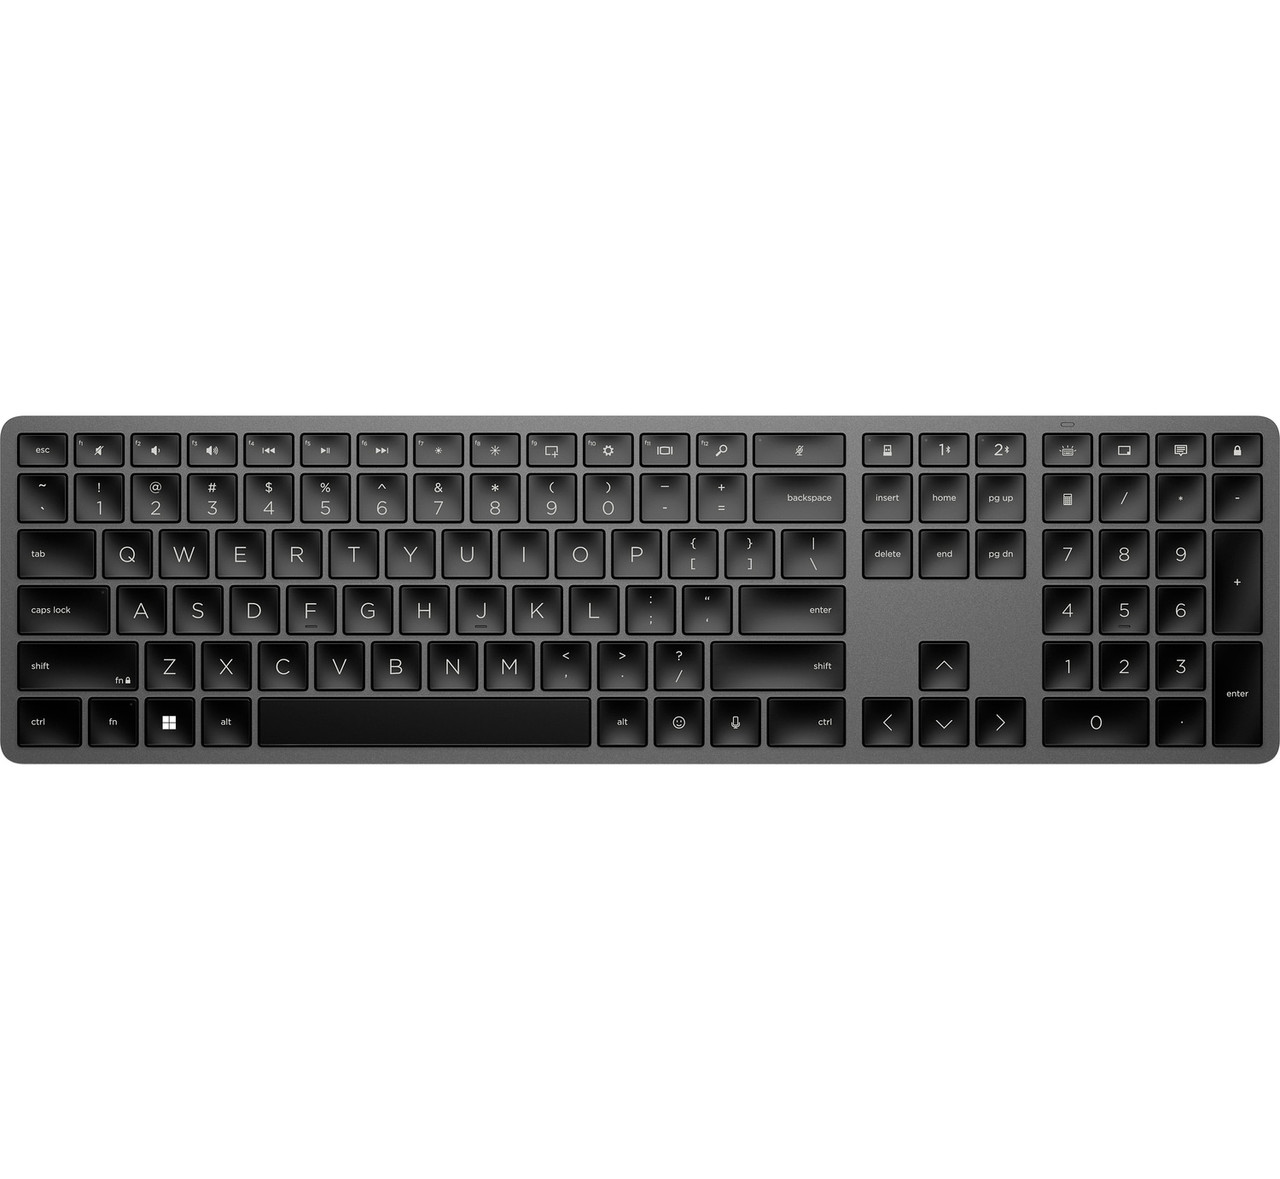
Step 2: Locate the Power Button on the Keyboard
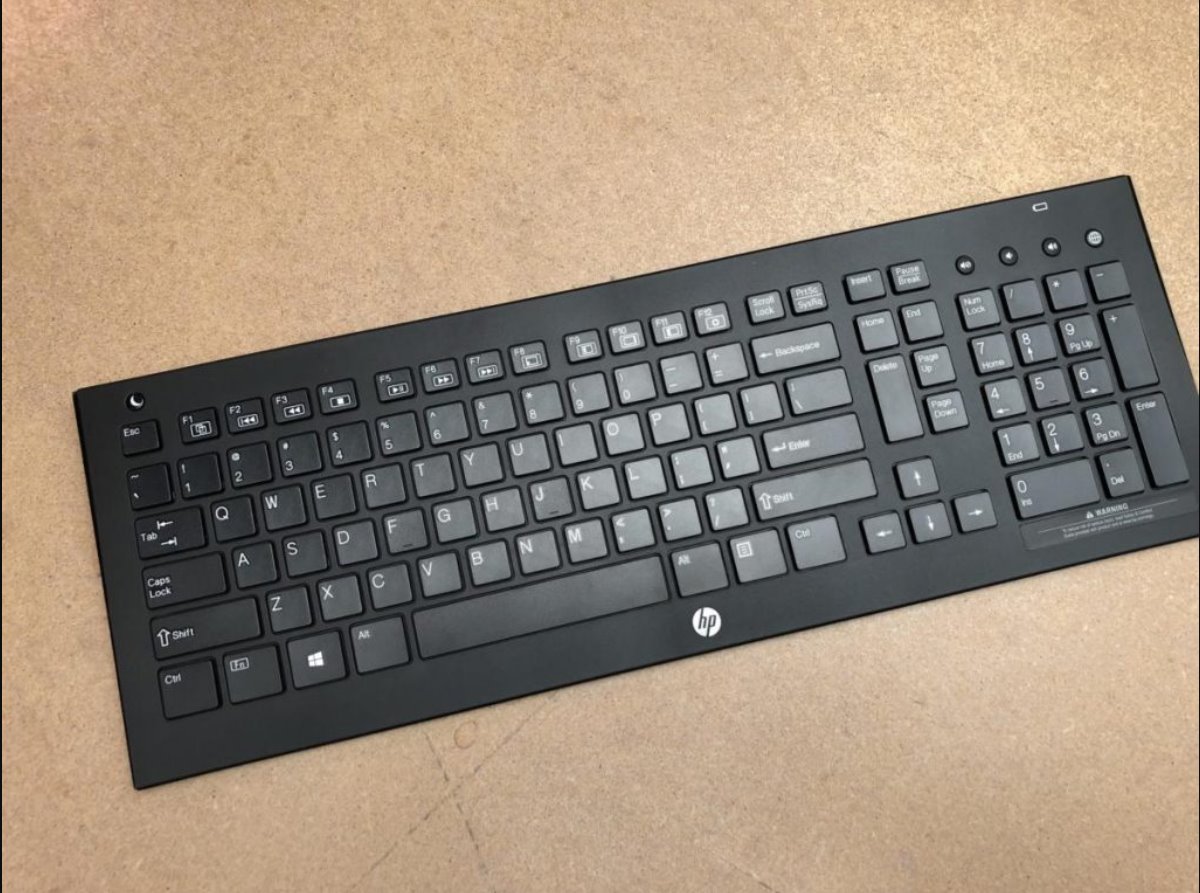
Once you have confirmed that your HP wireless keyboard has power, the next step is to locate the power button. The power button is usually located on the top or side of the keyboard, but its exact placement may vary depending on the model.
Take a moment to examine your keyboard and look for a small button with a power symbol (often represented by a circle with a vertical line inside it) or a dedicated switch labeled “ON/OFF.” This is the power button that you will need to press to turn on the keyboard.
If you are having trouble locating the power button, consult the user manual that came with your keyboard. The manual will provide specific instructions and illustrations to help you locate the power button for your particular model.
Once you have identified the power button, you are ready to move on to the next step and turn on your HP wireless keyboard.
Step 3: Press and Hold the Power Button
Now that you have located the power button on your HP wireless keyboard, it’s time to turn it on. To do this, simply press and hold the power button for a few seconds. The exact duration may vary, but typically, holding the button for around 3 to 5 seconds should be sufficient.
While holding the power button, you may notice an LED indicator light up on the keyboard. This light indicates that the keyboard is receiving power and is in the process of turning on. Keep holding the power button until the LED light remains steadily illuminated or until your computer recognizes the keyboard.
It’s important to note that some HP wireless keyboards may have a slightly different power-on process. For instance, instead of holding the power button, you may need to press it once or perform an additional action, such as simultaneously pressing a specific key combination. Refer to your keyboard’s user manual for detailed instructions.
Once your HP wireless keyboard is powered on and ready for use, you can proceed to the next step of pairing it with your computer.
Step 4: Pairing with the Computer
After successfully turning on your HP wireless keyboard, the next step is to pair it with your computer or device. Pairing allows your keyboard to establish a secure wireless connection with your computer, enabling you to input commands and type seamlessly.
To begin the pairing process, make sure that your computer’s Bluetooth or wireless connectivity is turned on. Then, activate the Bluetooth or wireless scanning on your computer, typically by accessing the settings or system preferences.
On your HP wireless keyboard, look for a dedicated pairing button or a combination of keys that initiates the pairing mode. The specific key combination varies depending on the model, but it’s often indicated by a Bluetooth symbol or the word “pairing.” Refer to your keyboard’s user manual for the correct key combination.
Once in pairing mode, your computer should detect the HP wireless keyboard and display it as an available device for connection. Select the keyboard from the list of available devices and follow any on-screen prompts to complete the pairing process.
After successful pairing, your HP wireless keyboard should now be connected to your computer, and you can start using it to type, navigate, and perform other functions.
If you encounter any difficulties during the pairing process, ensure that your keyboard is within range of your computer and that there are no obstructions or interference hindering the connection. Additionally, consult the user manual or contact HP support for further assistance.
Step 5: Troubleshooting Tips
While turning on and pairing your HP wireless keyboard should be a smooth process, sometimes you may encounter issues or difficulties. In this step, we will provide you with a few troubleshooting tips to help you overcome common problems and ensure the optimal functioning of your keyboard.
1. Check connectivity: If your HP wireless keyboard is not connecting to your computer, double-check that the keyboard is within range and that there are no obstacles blocking the wireless signal. Additionally, verify that your computer’s Bluetooth or wireless connectivity is turned on.
2. Restart your devices: If you are experiencing connectivity issues, try restarting both your HP wireless keyboard and your computer. Sometimes, a simple restart can resolve temporary glitches.
3. Replace batteries: If your keyboard is not turning on or is experiencing intermittent power issues, replace the batteries with fresh ones. Ensure that the batteries are inserted correctly and have enough charge.
4. Update drivers: Outdated or incompatible drivers can cause keyboard connectivity problems. Visit the HP support website and check for any available driver updates for your specific keyboard model. Install the latest drivers to ensure compatibility and optimal performance.
5. Unpair and re-pair: If your HP wireless keyboard is already paired but not functioning correctly, try unpairing it from your computer and then re-pairing it. This can help establish a fresh and stable connection.
6. Reset the keyboard: Some HP wireless keyboards have a reset button or a specific key combination to reset the keyboard to its default settings. Refer to the user manual for instructions on how to perform a reset, if necessary.
If you have tried the troubleshooting tips mentioned above and are still facing issues with your HP wireless keyboard, it’s recommended to reach out to HP support for further assistance.
Conclusion
Turning on your HP wireless keyboard is a straightforward process that allows you to enjoy the convenience and flexibility of wireless connectivity. By following the steps outlined in this guide, you can power on your keyboard, pair it with your computer, and start using it for all your typing needs.
Remember to check the power source of your keyboard and ensure that it has sufficient battery charge or is connected to a power source for charging. Locate the power button on your keyboard and press and hold it to turn on the keyboard. Once powered on, initiate the pairing process with your computer to establish a wireless connection.
If you encounter any issues during the process, try troubleshooting by checking connectivity, replacing batteries, updating drivers, or performing a reset. If the problem persists, don’t hesitate to seek assistance from HP support.
Now that you have successfully turned on your HP wireless keyboard, you can enjoy the freedom of a wire-free workspace and enhance your productivity and comfort while typing. So go ahead, start typing, and enjoy the convenience of a wireless keyboard!