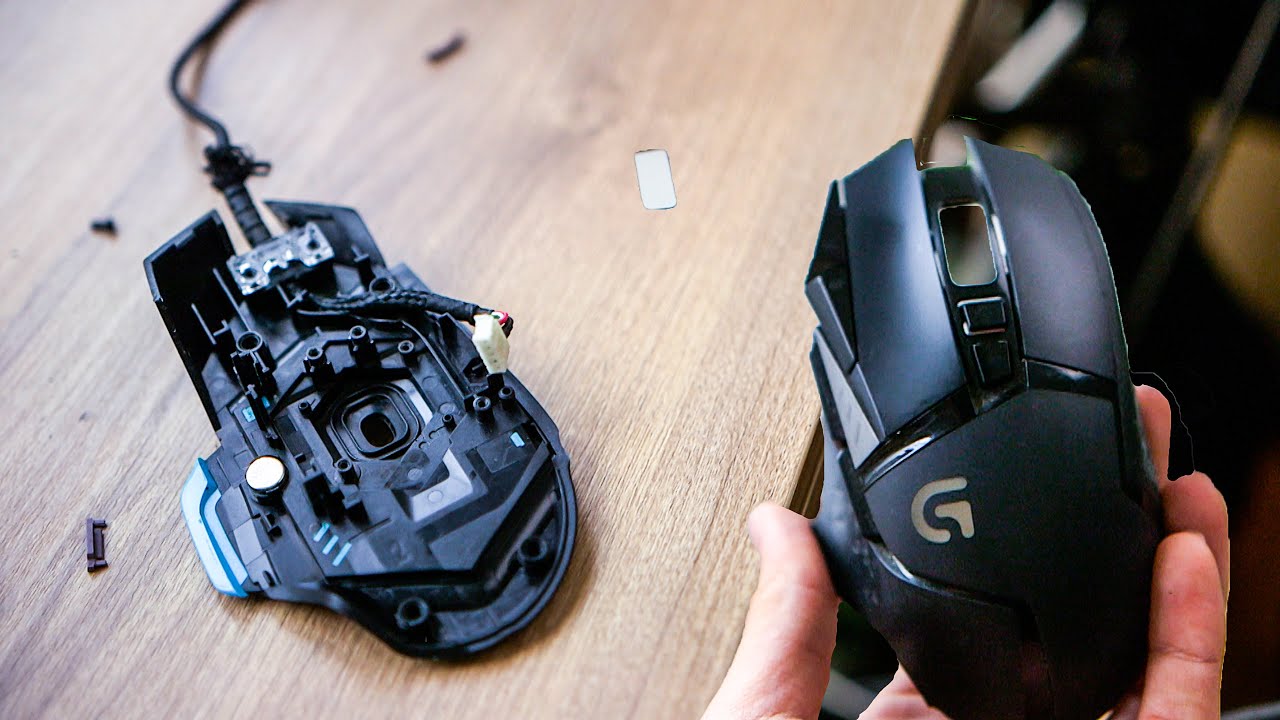
To disassemble a Logitech mouse, you must first locate and remove all hidden screws, then carefully separate the casing without damaging internal ribbon cables. This step-by-step guide will walk you through the safe process of opening your mouse for cleaning or basic repair, whether you are setting up a Logitech mouse for maintenance or need to take apart a Logitech g502 to fix a sticky scroll wheel.
Before You Disassemble Your Logitech Mouse: Warranty and Official Guides
Disassembly of a Logitech hardware product, including unauthorized repair or modification, typically voids the limited hardware warranty. Before you proceed, check your warranty status. For battery-related issues, Logitech has partnered with iFixit to provide detailed instructions for battery replacement, which would involve disassembly. Users can access these instructions and purchase replacement batteries directly from the iFixit platform. Supported countries for replaceable batteries via iFixit include Austria, Belgium, Bulgaria, Croatia, Czech Republic, Denmark, Estonia, Finland, Greece, Ireland, Italy, Latvia, Lithuania, Luxembourg, Netherlands, Norway, Poland, Portugal, Romania, Slovak Republic, Slovenia, Spain, Sweden, Hungary, Iceland, United Kingdom, Germany, Switzerland, France, Canada, Australia, New Zealand, and United States. This official route is the safer first step for battery issues and preserves your ability to get a professionally guided repair.
Tools You'll Need to Disassemble a Logitech Mouse
Having the right tools on hand before you begin prevents damage to the delicate internal components. You will need:
- Small Phillips head screwdriver
- Plastic opening tools
- Tweezers
- Isopropyl alcohol (90% or higher concentration)
- Cotton swabs
- Lint-free cloth
Work in a clean, well-lit area to avoid losing small screws or damaging components.
Step 1: Find Your Mouse Model and Locate All Screws
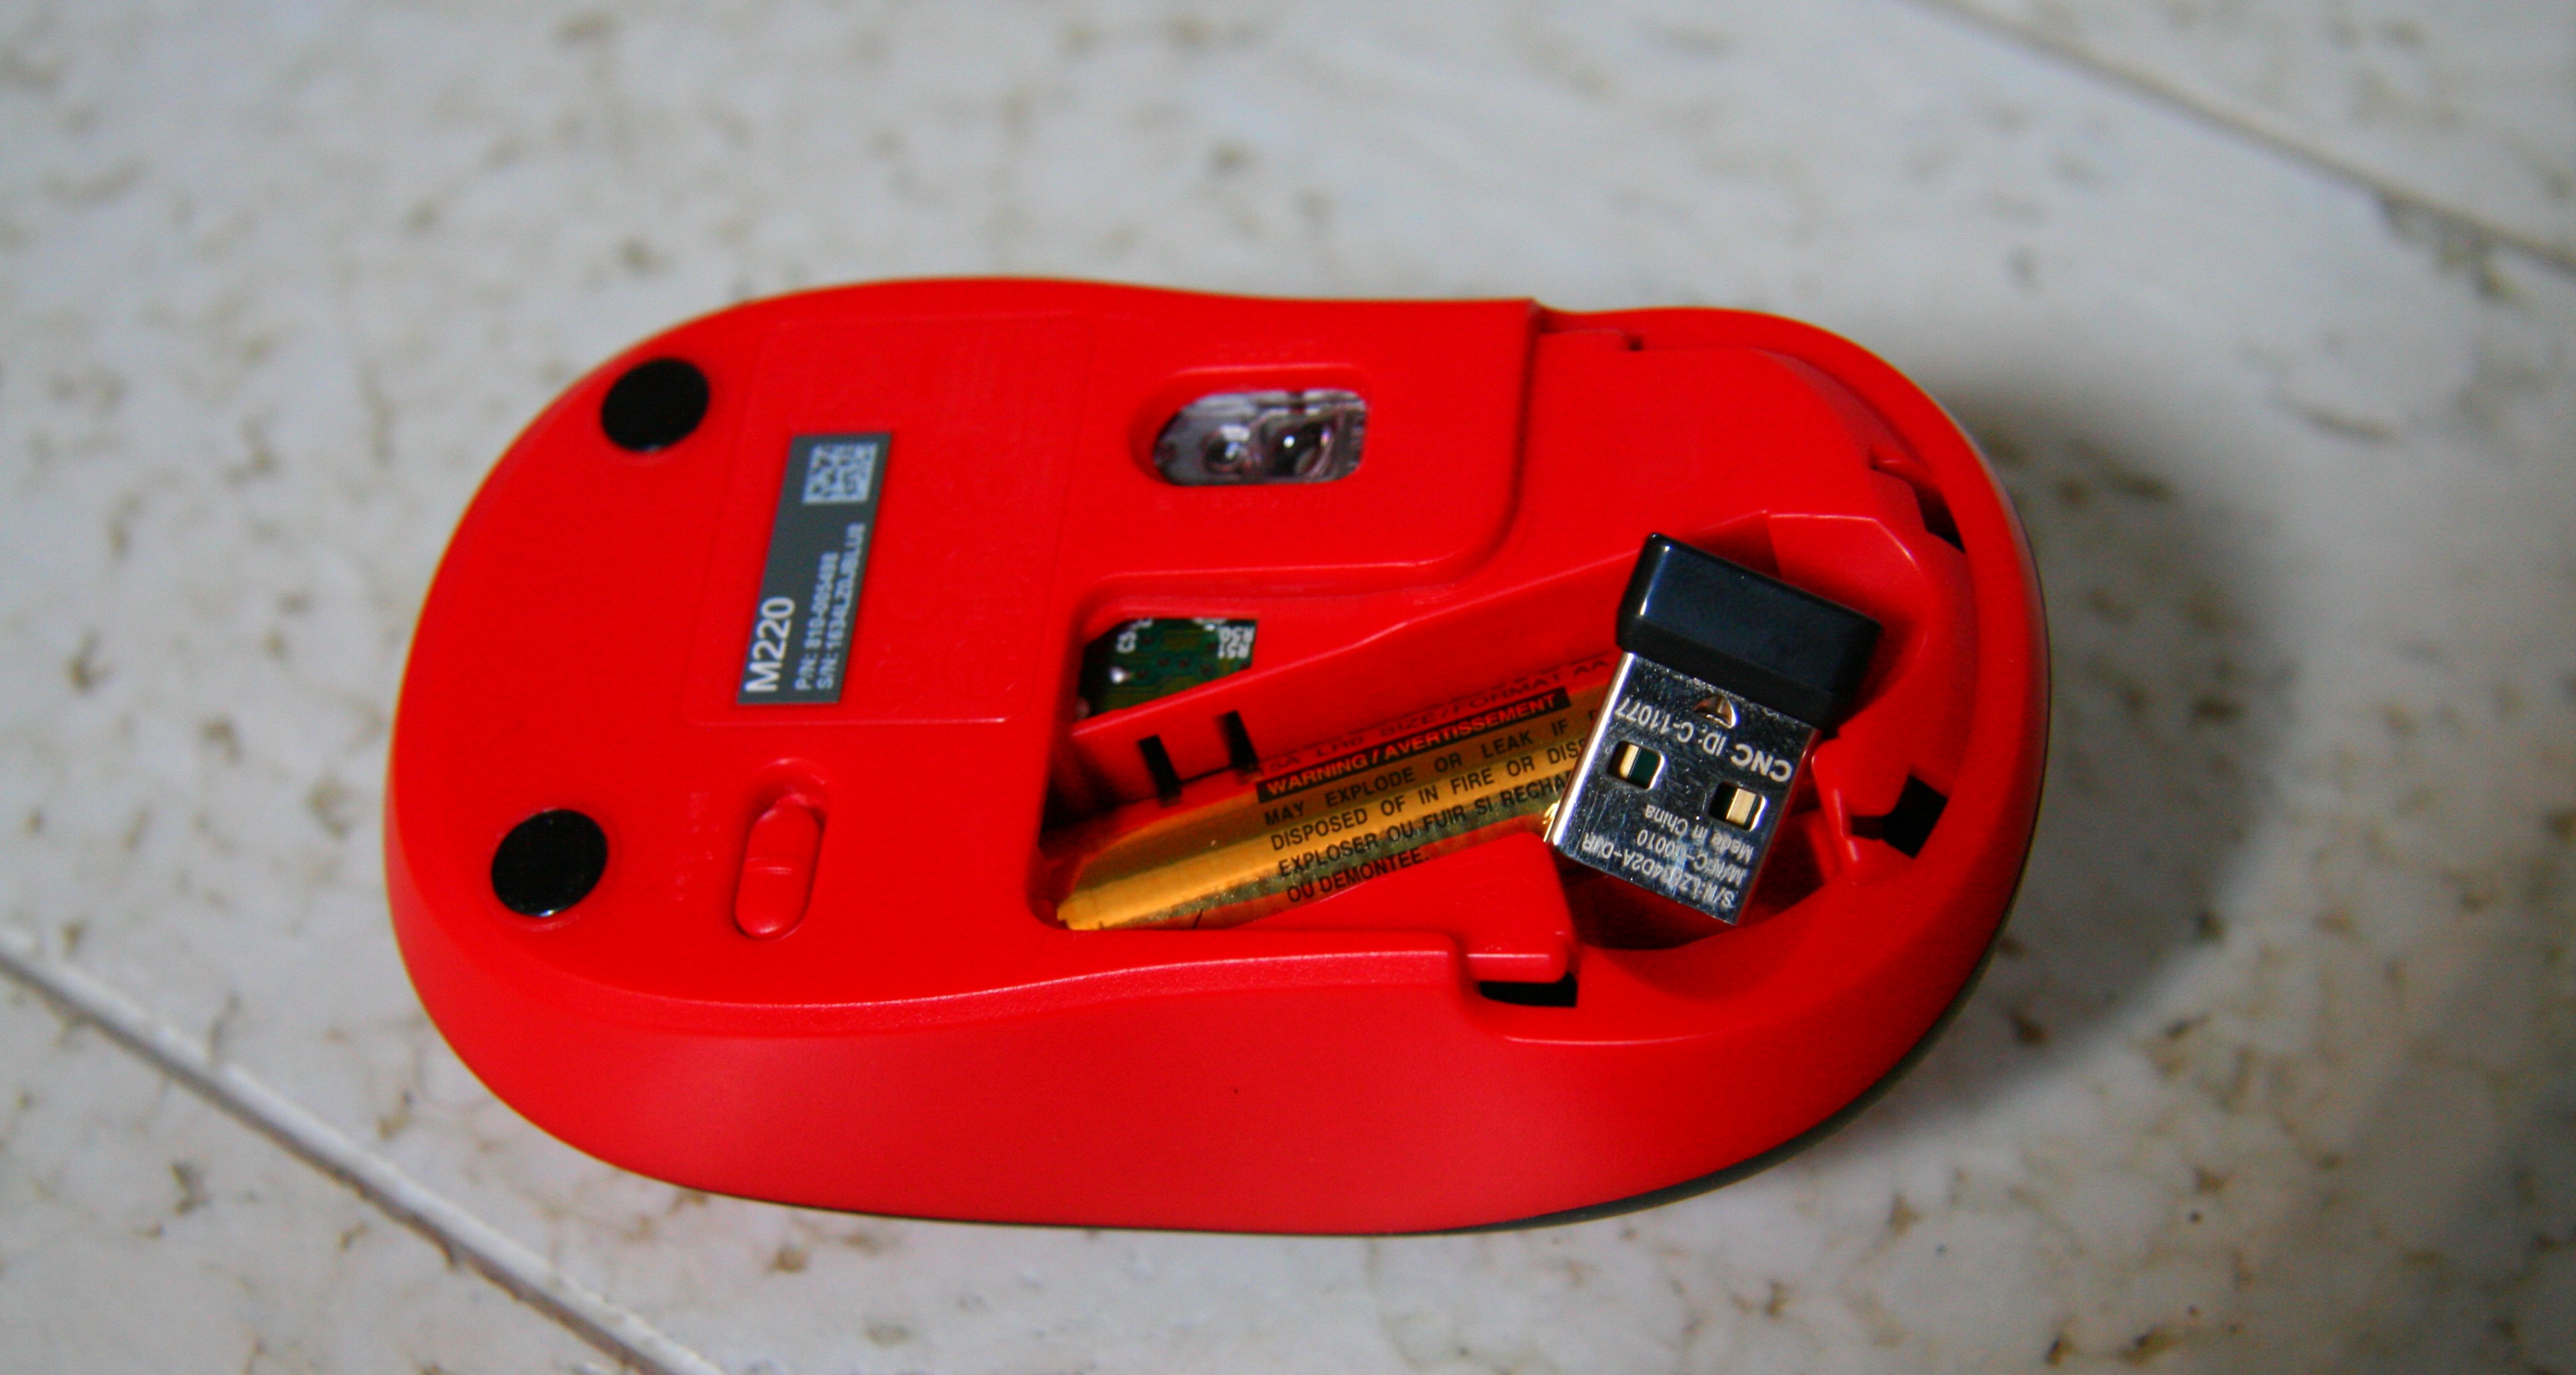
The critical first step is identifying your specific mouse model and locating all hidden screws before any prying occurs. Examine the underside of your Logitech mouse. Screws are often hidden under the glide feet or beneath the battery or sticker label. Use a flashlight to check for small indentations or covers. Knowing exactly where every screw is located prevents you from snapping a plastic clip or cracking the casing when you attempt to separate it. If you are trying to open a Logitech mouse for the first time, consult a teardown specific to your model number to verify screw locations. If you're disassembling to fix a suddenly unresponsive device, first know if my Logitech mouse battery is low to avoid an unnecessary teardown.
Step 2: Remove the Screws and Separate the Mouse Casing
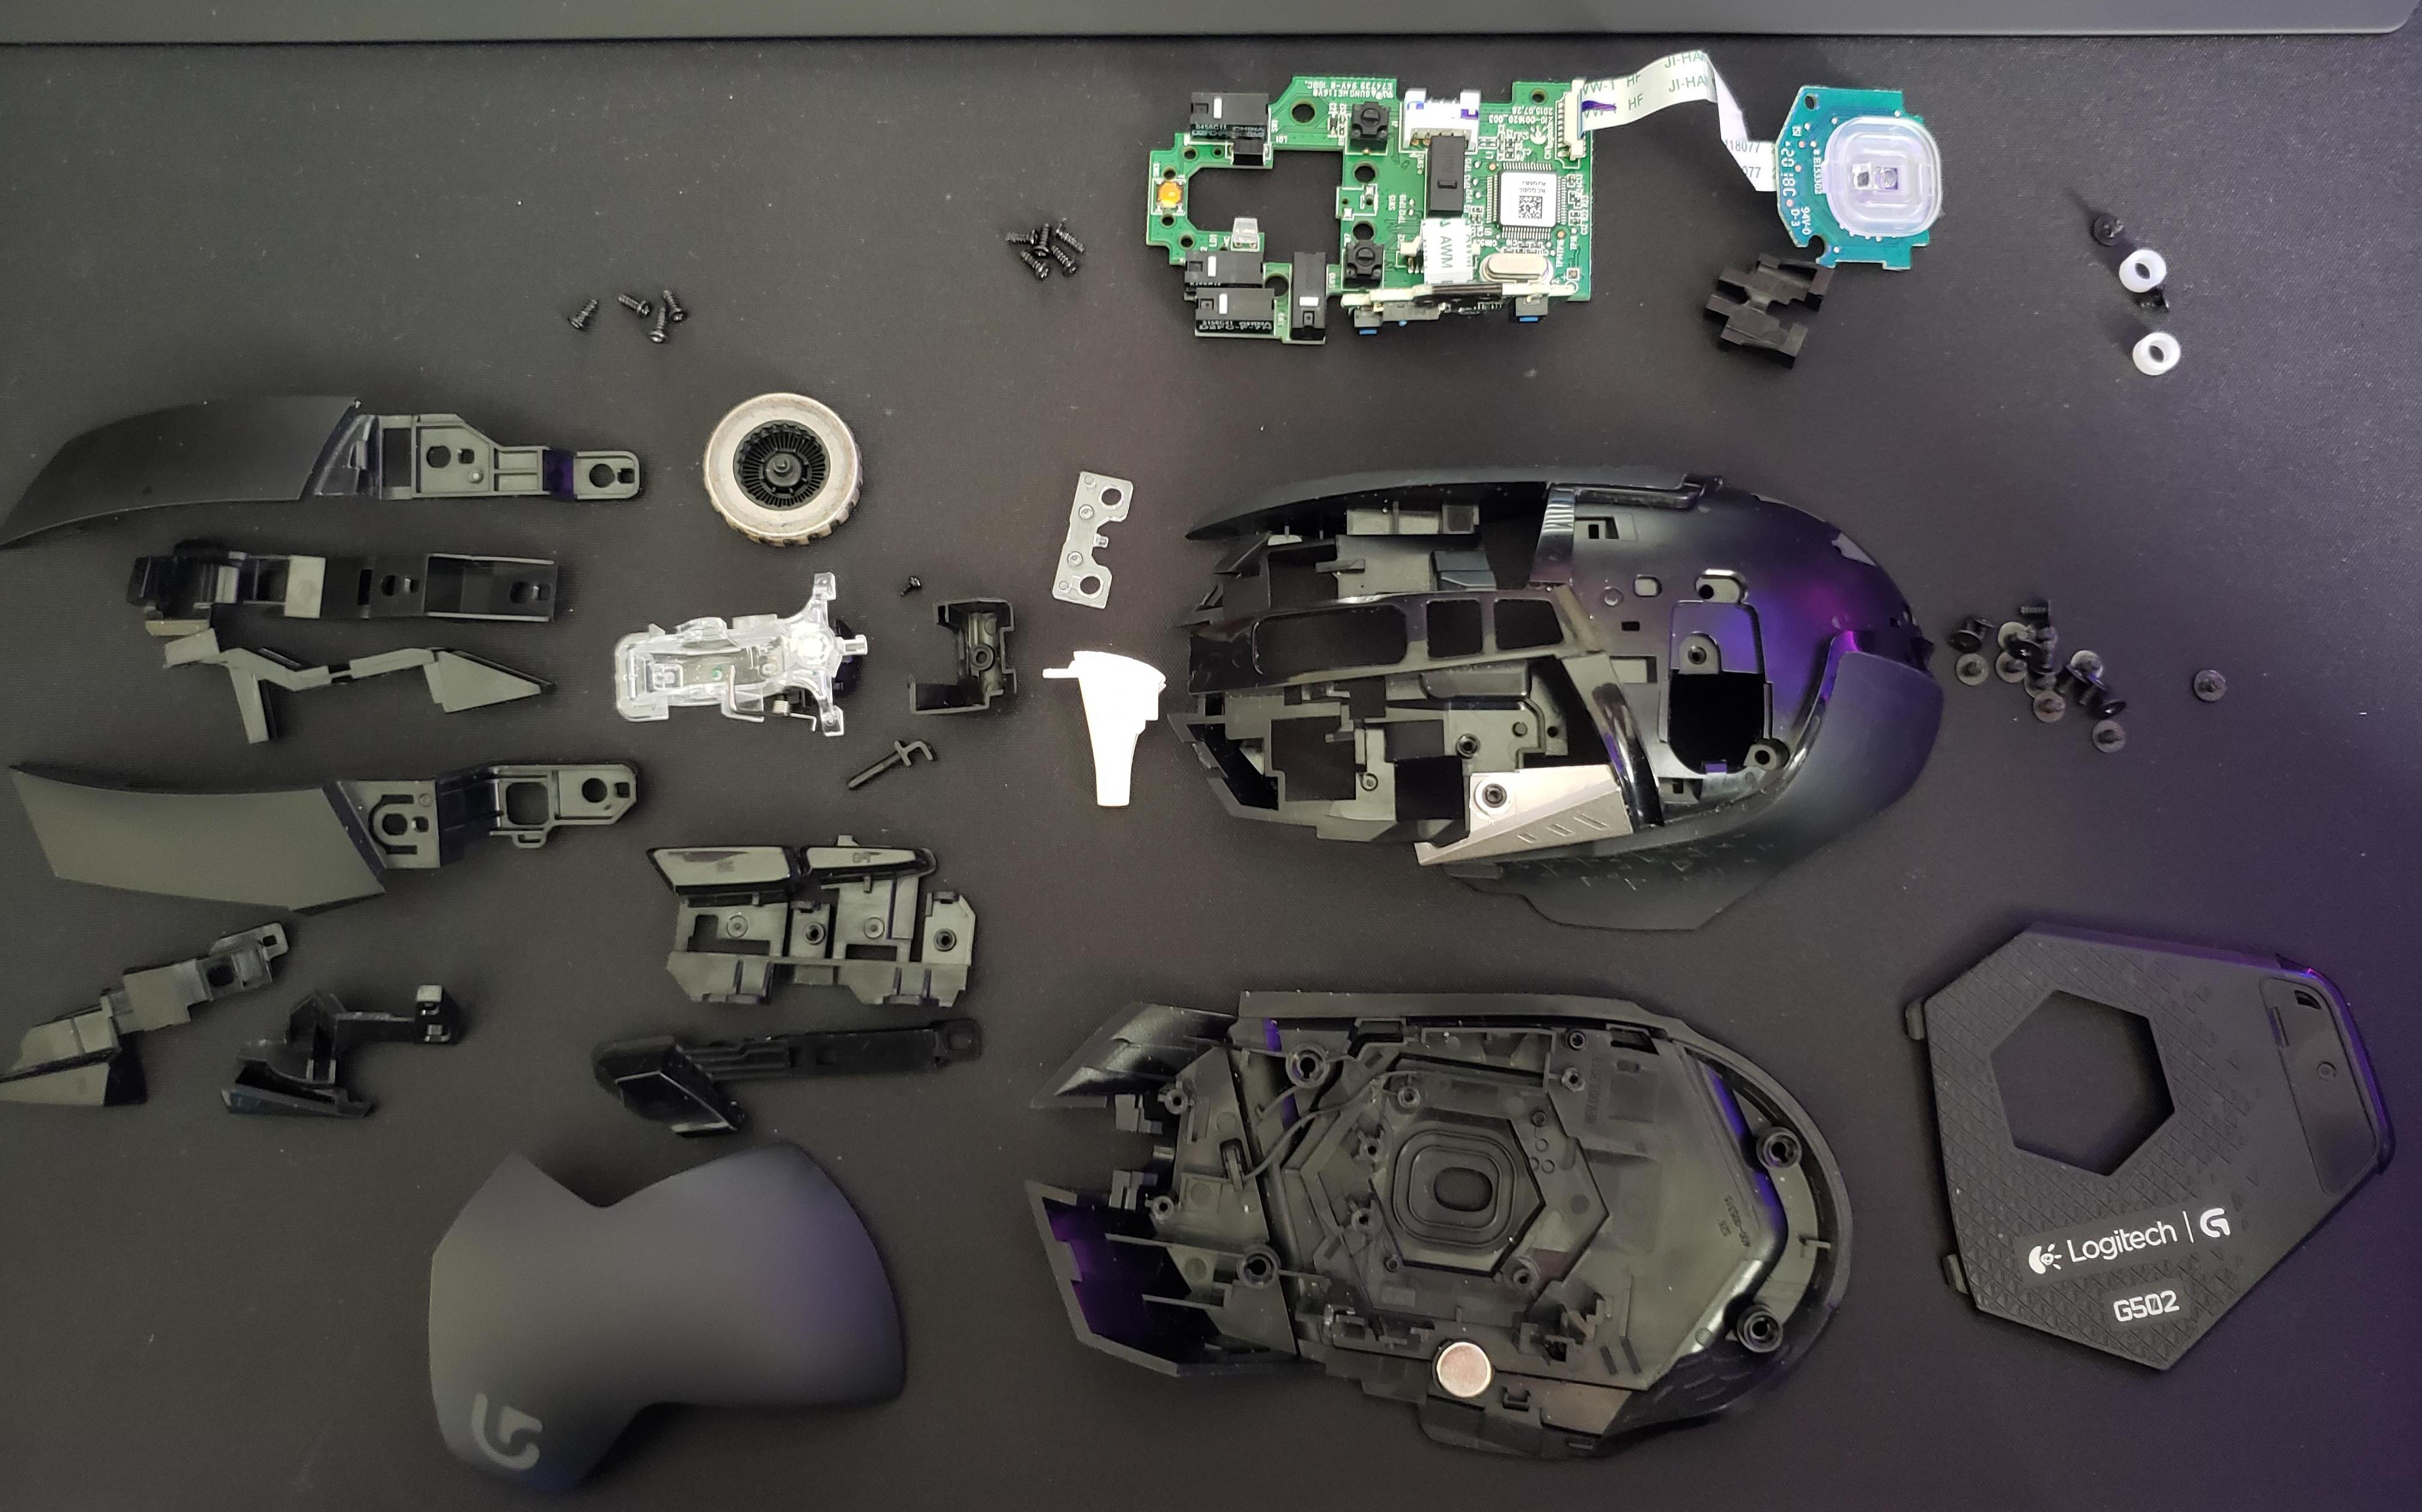
Once all screws are located, use your small Phillips head screwdriver to carefully remove them. Place the screws in a safe container or storage bag, noting their locations since some models may have different screw lengths. With the screws removed, insert a plastic opening tool between the seams of the mouse casing. Gently pry open the casing, starting from one edge and working your way around the perimeter. Be cautious of internal ribbon cables connecting the top and bottom halves. Do not yank the halves apart; instead, gently lift the top casing while looking for any cables that need to be unclipped first.
Step 3: Disconnect the Internal Battery and Circuit Board
With the casing open, you will see the circuit board and, for rechargeable models, the internal battery. Before removing the circuit board, safely disconnect all ribbon cables and the battery connector. Use your tweezers or plastic tool to gently lift the small locking tabs on each ribbon cable connector, then slide the cable out. For rechargeable models, locate the battery connector on the circuit board and carefully unplug it. This step is essential to avoid short circuits and to free the circuit board for removal. Once all connectors are detached, gently lift the circuit board out of the casing and set it aside.
Step 4: Remove, Clean, and Inspect the Scroll Wheel and Buttons
Now you can address the components causing issues. To fix sticky scrolling or unresponsive clicks, remove the scroll wheel assembly and button assemblies. The scroll wheel is typically positioned between two buttons and may be held by clips or a small connector. Gently lift it free using your plastic tools. For the buttons, carefully pry them up from their slots. Once detached, use a cotton swab moistened with isopropyl alcohol to clean the scroll wheel encoder, button contact pads, and any surrounding areas where dirt has accumulated. This cleaning process is often the solution for a Logitech g502 double click fix without soldering, as debris on the contact points can cause erratic behavior. Inspect all components for visible damage before proceeding.
Step 5: Reassemble Your Logitech Mouse and Test
Begin reassembly by carefully placing the circuit board back into the casing, ensuring all alignment posts and screw holes match up. Reconnect all ribbon cables and the battery connector, pressing the locking tabs back into place. Reinstall the scroll wheel and button assemblies, pressing them firmly into their slots. Align the top and bottom casing halves, ensuring no cables are pinched, and press them together until all clips snap securely. Replace and tighten all screws. Insert the battery if applicable, then test all functions, left click, right click, scroll wheel, and side buttons, before fully closing the battery compartment. If everything works correctly, your disassembly is complete.