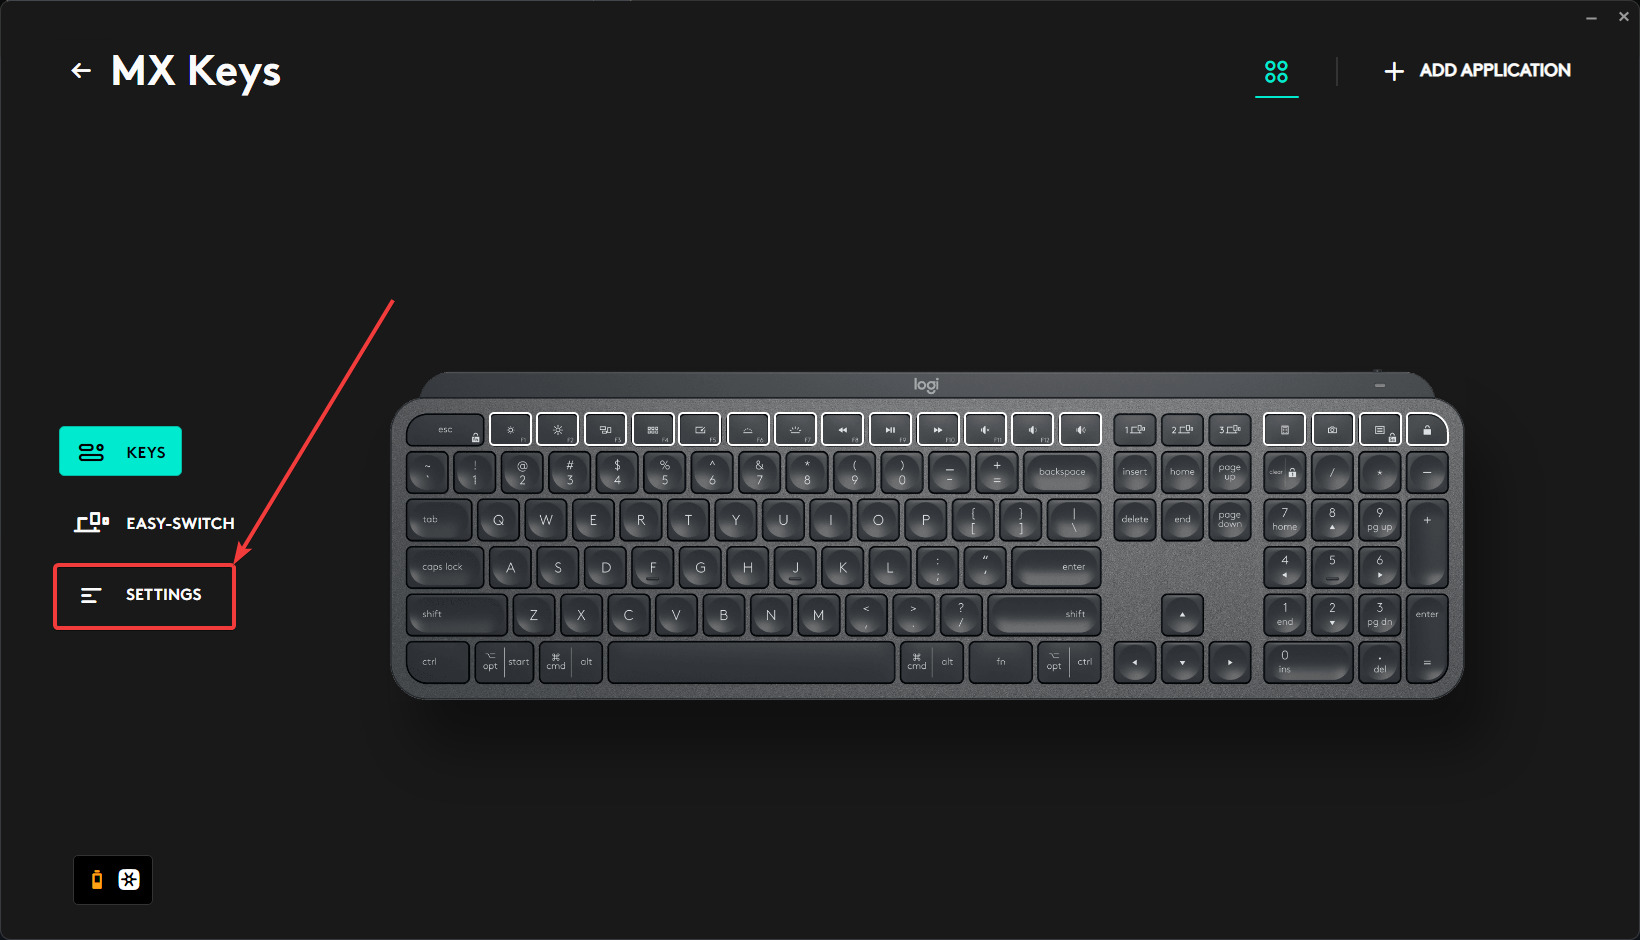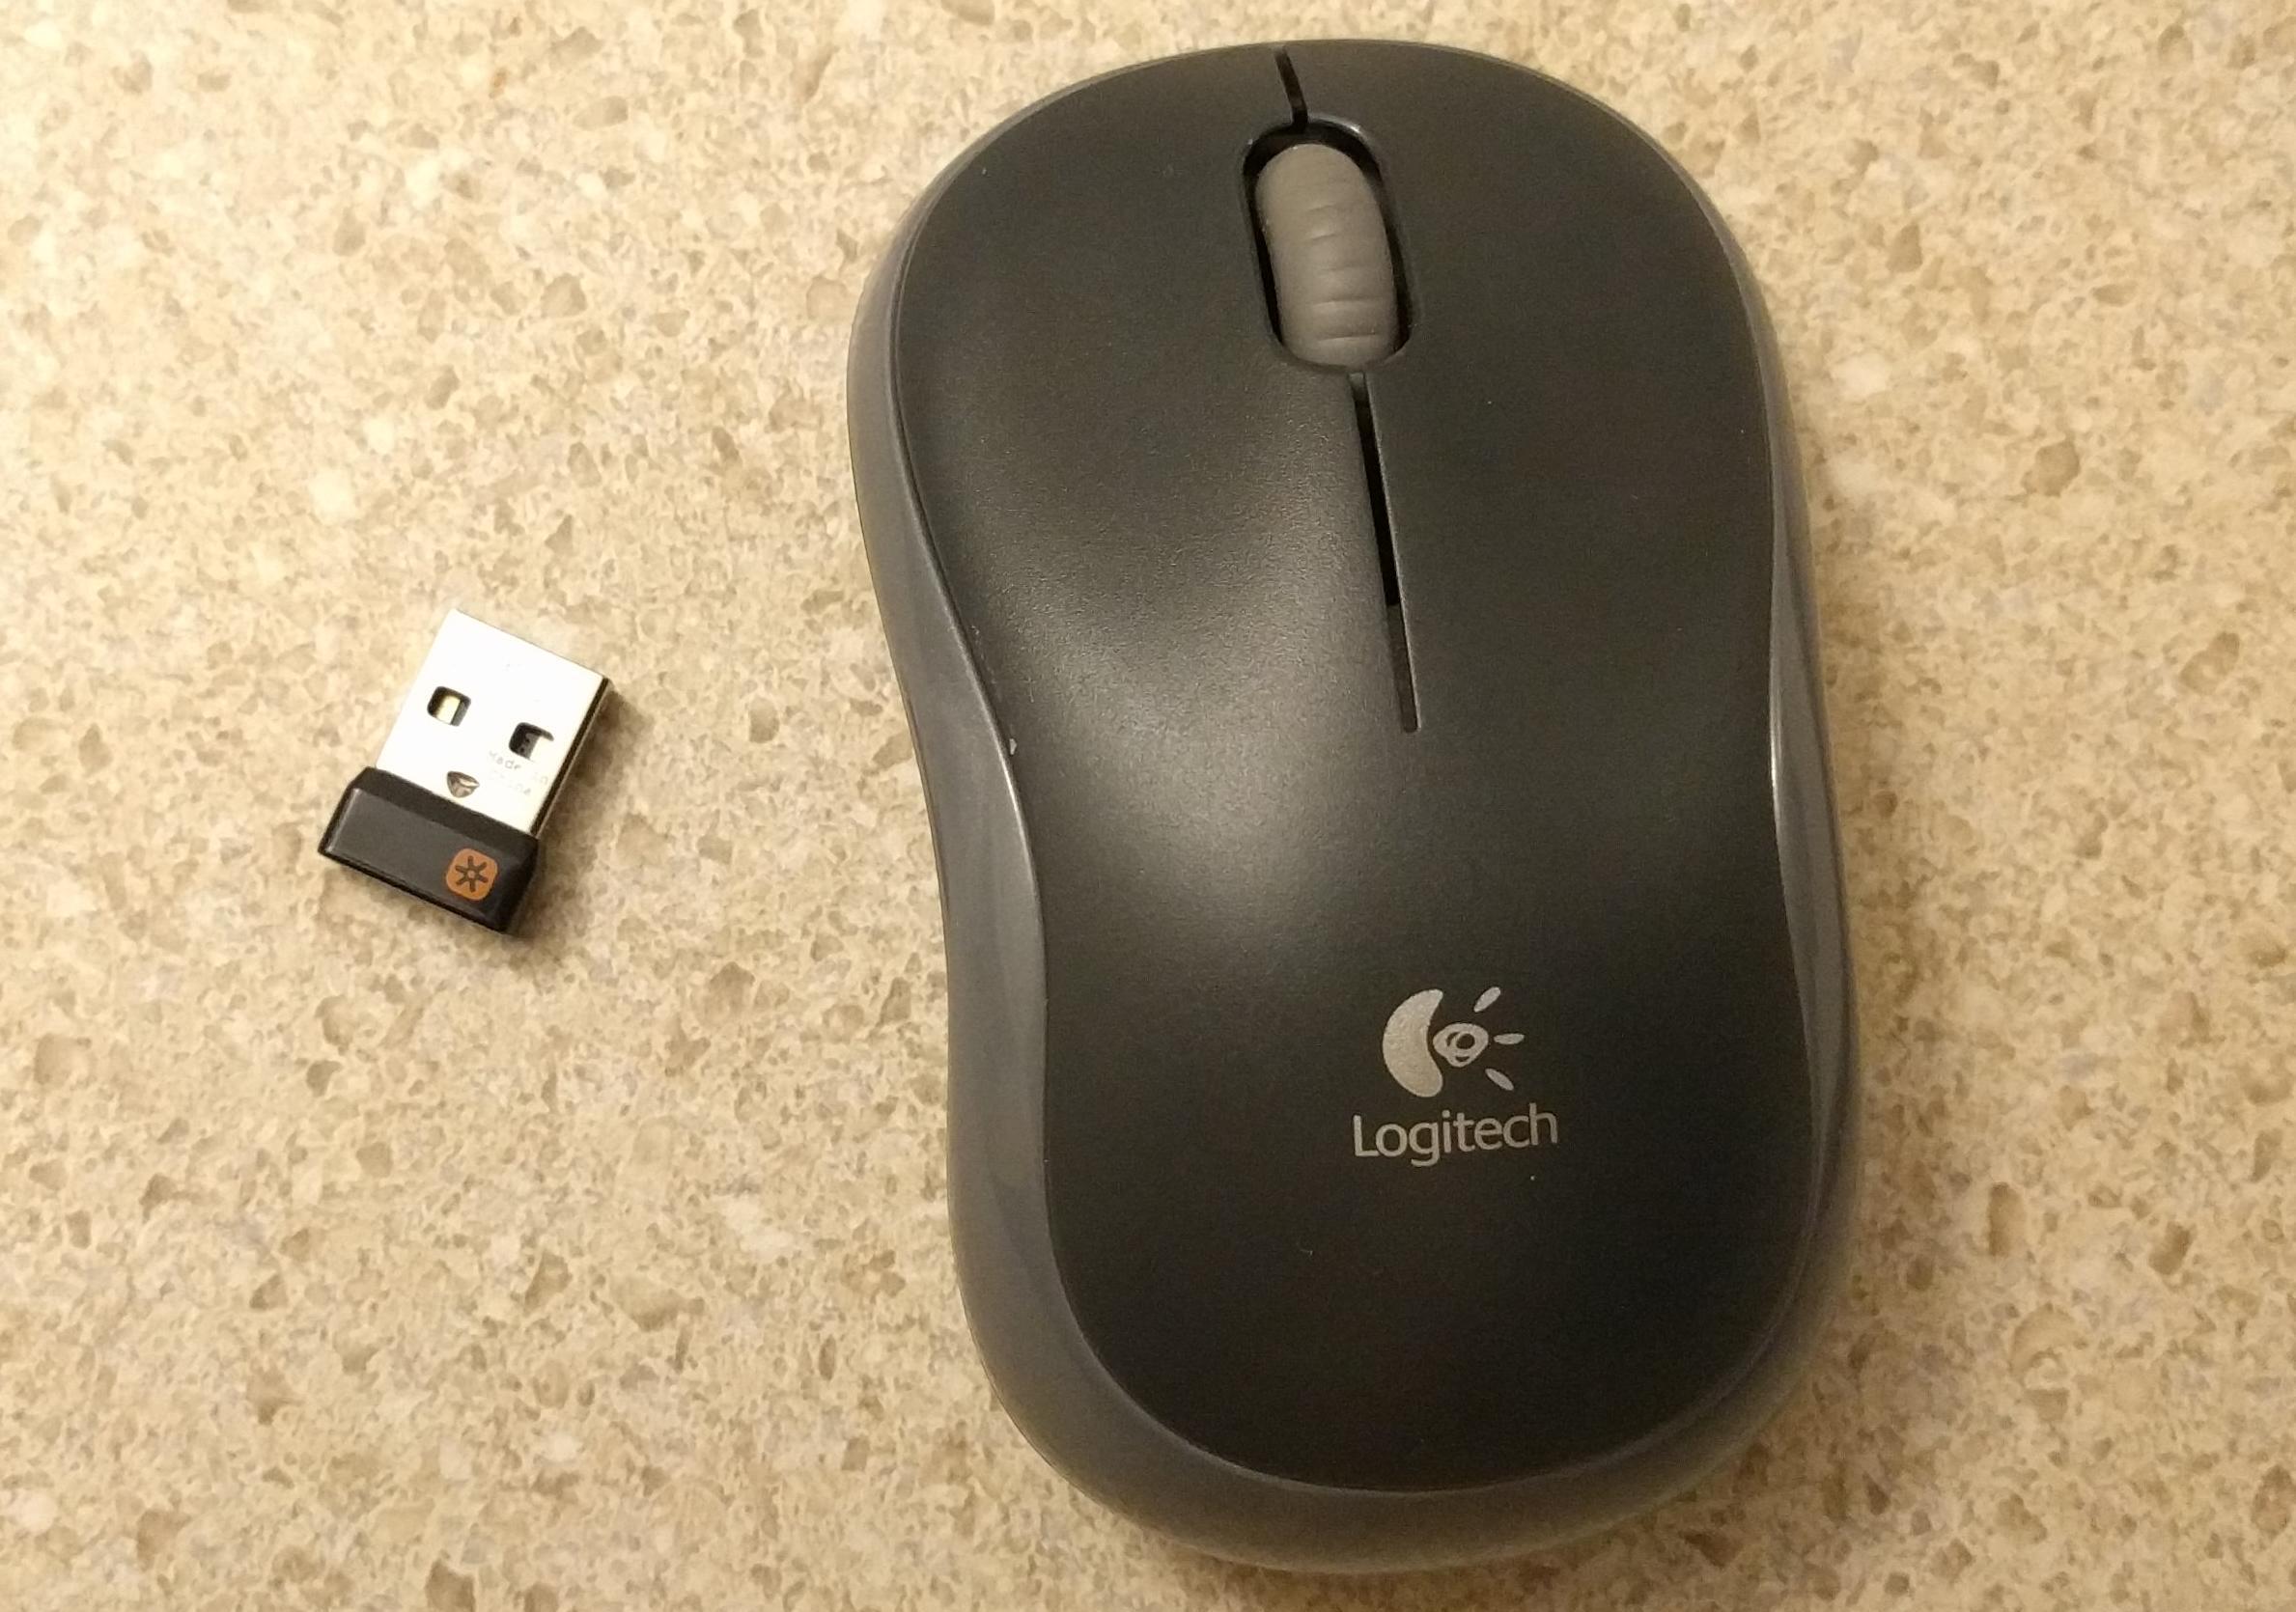
To sync a Logitech mouse to a new receiver, you must use the Logi Options+ application. This is the only supported method for setting up a Logitech mouse with a replacement dongle.
Before you sync your Logitech mouse to a new receiver: Identify your receiver type (Unifying with orange star vs.
Logi Bolt) and ensure compatibility, plus basic prep like inserting batteries and plugging in the receiver
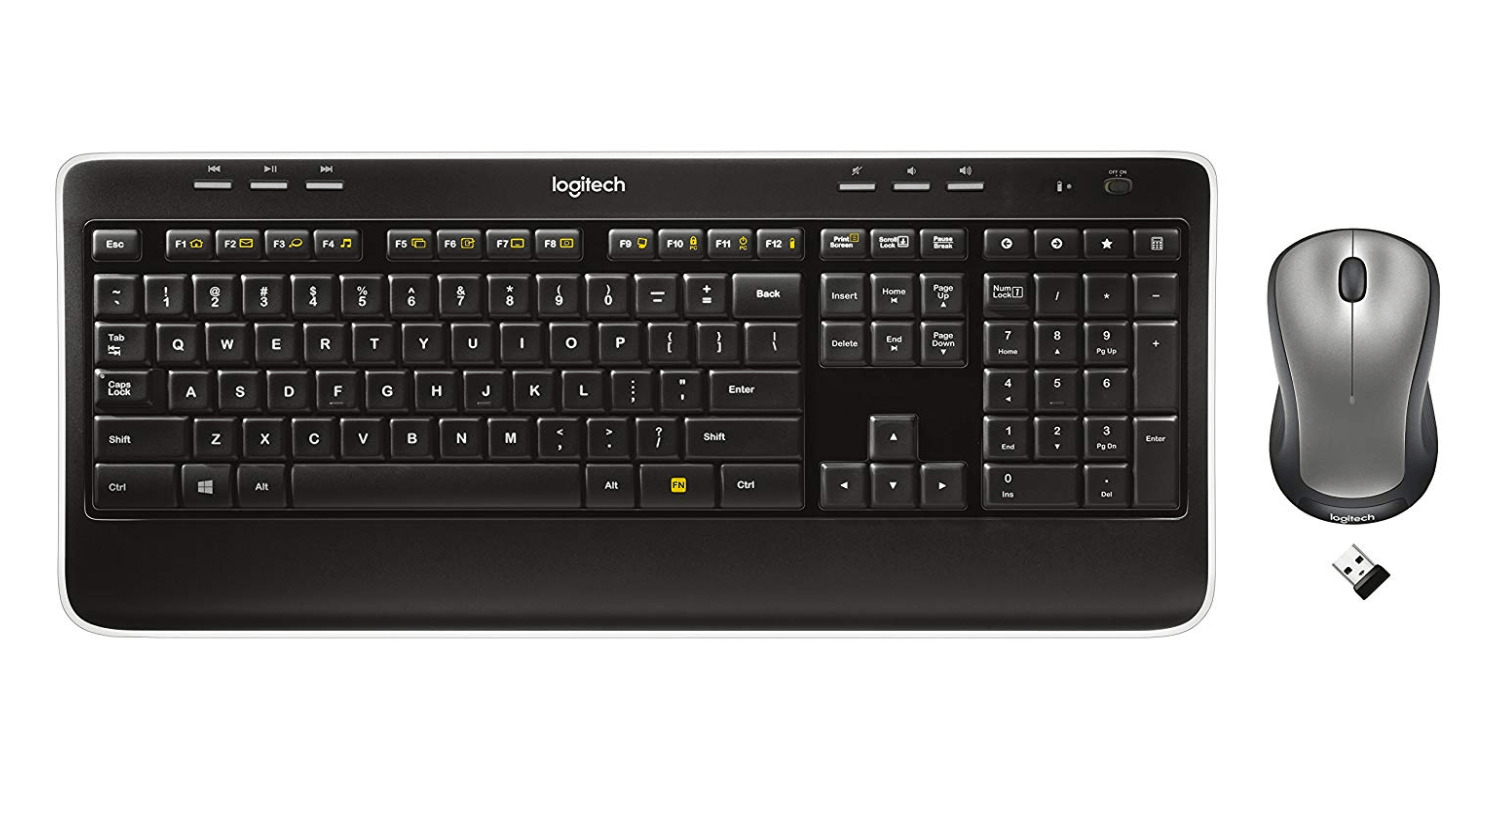
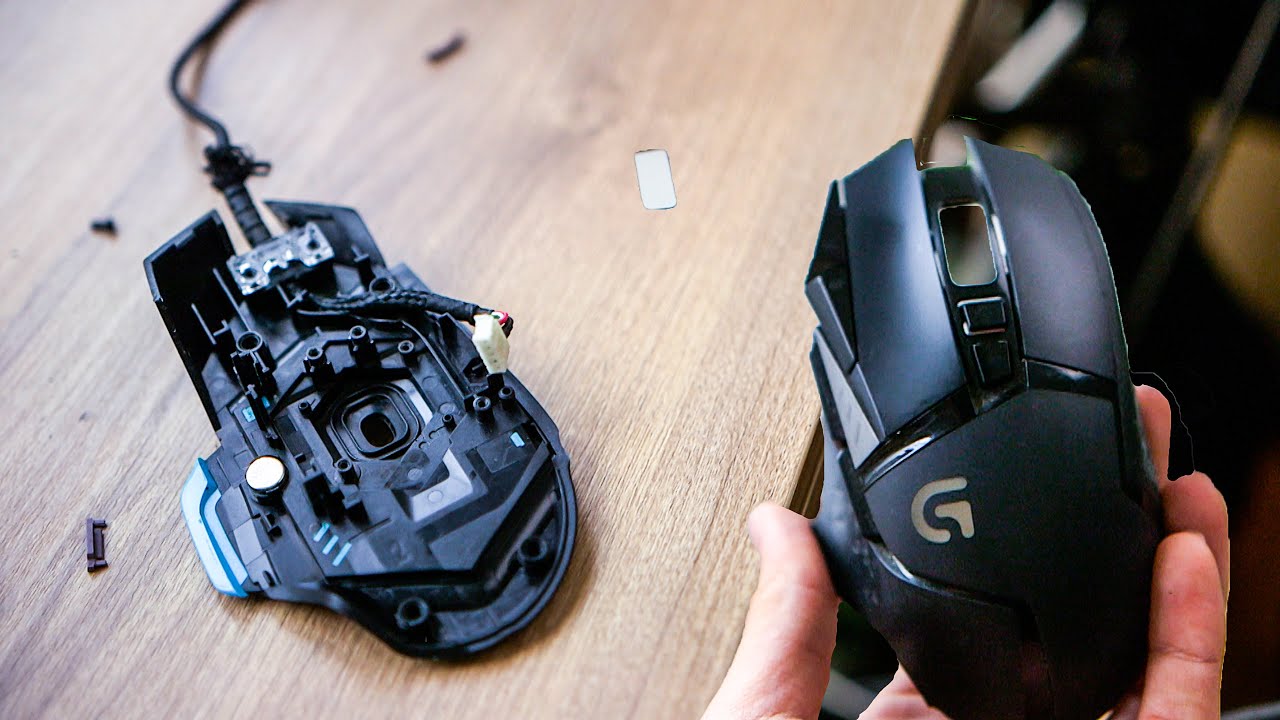
Check the receiver you plan to use. A Logitech Unifying Receiver has a small orange six-point star logo on it, while a Logi Bolt receiver uses a different marking. These two receiver types are not interchangeable, so your mouse must match the receiver technology. Logitech Unifying Receivers and Logi Bolt receivers can each connect up to six compatible devices. Unifying receivers provide a reliable 2.4 GHz wireless connection with a range of up to 10 meters. Logi Bolt technology is designed for business environments, offering enterprise-grade security and enhanced performance in congested wireless spaces. If you need to access the internal pairing button, you may need to disassemble Logitech mouse components carefully, but many simpler models let you connect Logitech m310 wireless mouse without any disassembly.
Before proceeding, insert fresh batteries into your mouse if it is battery-powered, or ensure a rechargeable model has sufficient charge. Then, plug the new receiver into an available USB-A port on your computer.
Download and install the Logi Options+ app
Download and install the Logi Options+ app, which is compatible with Windows 10 or later and macOS 12 or later. The standalone Logitech Unifying Software is no longer supported or maintained by Logitech; Logi Options+ is the recommended software for compatible devices. Similarly, Logitech Options, the predecessor to Logi Options+, has reached its end of support and is no longer maintained.
Add your mouse using the Logi Options+ software
- Open the Logi Options+ application and click the "+ ADD DEVICE" button.
- Select the type of receiver you are using (Logi Bolt Receiver or Logi Unifying Receiver) from the displayed options.
- Turn on your Logitech mouse by pressing its power switch.
- For Unifying devices, the Logi Options+ app will detect the mouse, and you will confirm pairing by clicking within the app. For Logi Bolt devices, you may need to manually put the mouse into pairing mode before it is detected.
- Follow any on-screen instructions in Logi Options+, which may include verifying the device by clicking specific buttons on the mouse.
Put your Logitech Bolt mouse into pairing mode
If you are using a Logi Bolt mouse that is not automatically detected, you need to manually enter pairing mode. Short press the connect button on the bottom of the mouse until the LED of the selected channel lights up, or long press it until the LED blinks fast to enter pairing mode. Once the LED is blinking rapidly, the app should detect the device and complete the pairing process.
Test the connection and finalize setup
After the pairing is confirmed in the software, test the connection by moving the mouse cursor across the screen. Verify that the primary left and right buttons register clicks accurately, and test the scroll wheel functionality if your mouse has one. If all functions respond as expected, the sync was successful.
Troubleshooting tips for syncing your Logitech mouse
If your Logitech mouse is not pairing, try these verified solutions. First, check device compatibility between the mouse and the receiver. Remove and reinsert the receiver into the USB port. Restart your computer. Update Logi Options+ to the latest version. Try a different USB port on your computer. These steps resolve most common connection issues.