Introduction
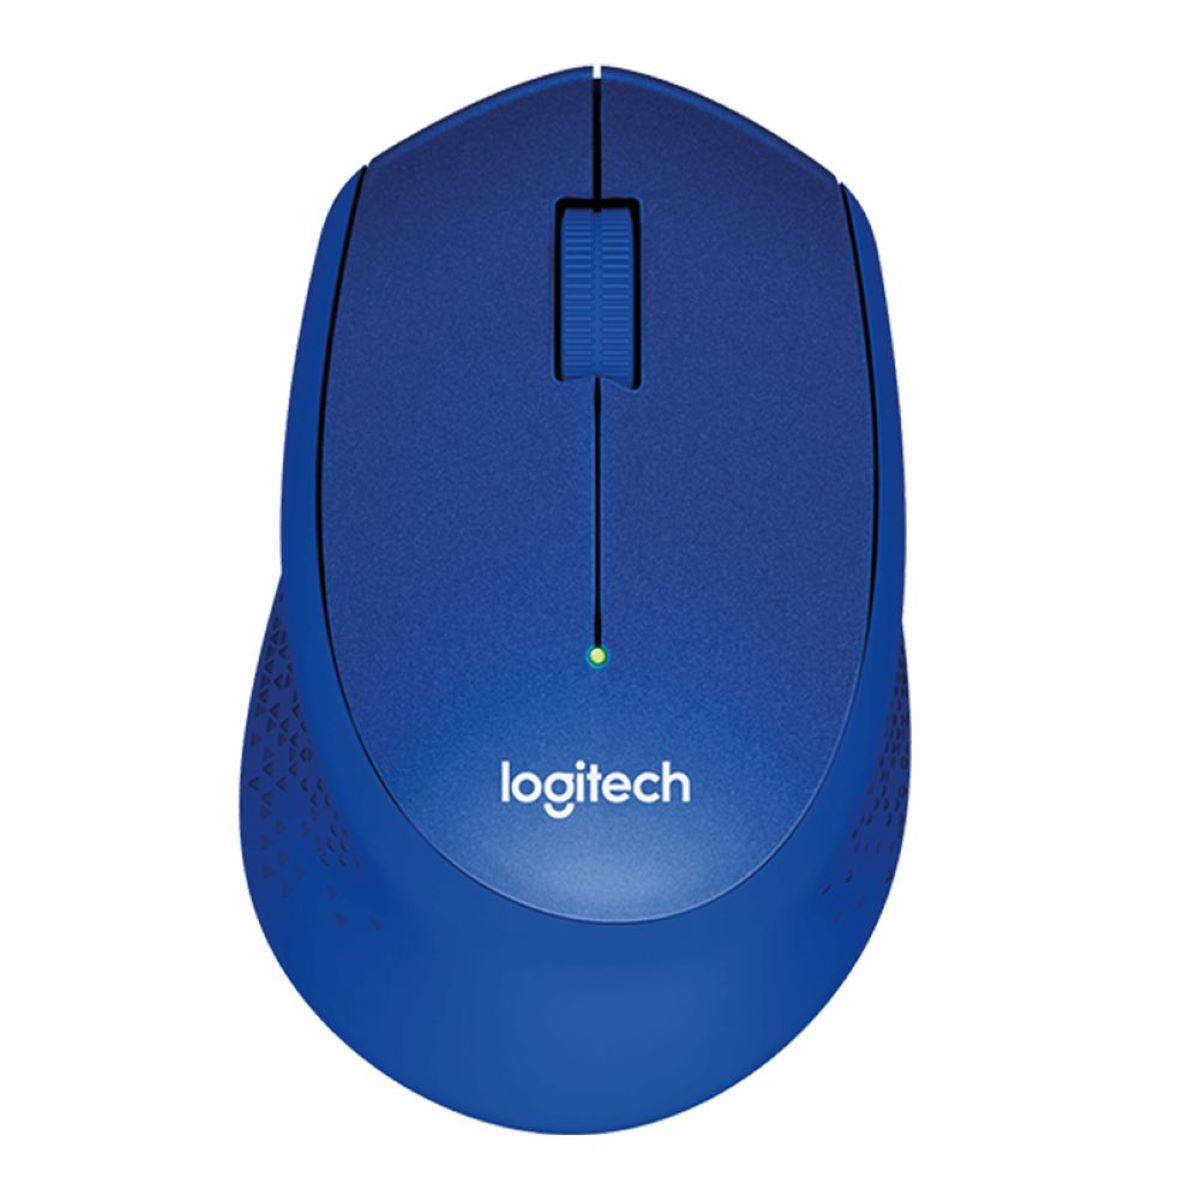
Welcome to our guide on how to connect a Logitech mouse without using a USB connection. Logitech is a well-known brand when it comes to computer peripherals, and their mice are often praised for their precision and reliability. While most Logitech mice come with a USB receiver that allows for a simple plug-and-play setup, some models also support a wireless Bluetooth connection, which can be more convenient in certain situations.
Connecting your Logitech mouse without a USB can be beneficial if you want to free up a USB port or if your device doesn’t have any available USB ports. It also allows for a clutter-free workspace and eliminates the hassle of dealing with tangled cables. However, before you proceed with the connection process, it’s important to ensure that your mouse supports a wireless Bluetooth connection.
In this guide, we will take you through the step-by-step process of connecting your Logitech mouse to your computer without using a USB connection. We will also provide some tips on troubleshooting common issues and customizing your mouse settings to suit your preferences. So, let’s get started!
Step 1: Check if your mouse is compatible with a wireless Bluetooth connection
Before attempting to connect your Logitech mouse without a USB, it’s essential to ensure that your mouse model supports a wireless Bluetooth connection. Not all Logitech mice have this capability, so it’s important to check the specifications of your mouse or refer to the user manual for confirmation.
To check if your mouse is compatible with a wireless Bluetooth connection, look for the Bluetooth symbol on the mouse or check the product description on the Logitech website. If your mouse supports Bluetooth, it will typically be mentioned as a feature. Alternatively, you can also refer to the user manual that came with your mouse.
If your mouse does not support Bluetooth, unfortunately, you will not be able to connect it without a USB receiver. However, if your mouse does support Bluetooth, you’re ready to proceed to the next steps to establish a wireless connection.
It’s worth noting that even if your mouse supports Bluetooth, your computer also needs to have Bluetooth capability for the connection to work. In the next step, we’ll discuss how to check if your computer has Bluetooth and enable it if necessary.
Step 2: Make sure your computer has Bluetooth capability
Before you can connect your Logitech mouse to your computer using Bluetooth, it’s important to ensure that your computer has Bluetooth capability. Bluetooth allows for wireless communication between devices, and most modern laptops and desktops come with built-in Bluetooth functionality. However, not all computers may have this feature, especially older models.
To check if your computer has Bluetooth capability, follow these steps:
- On a Windows computer, click on the Start button and type “Bluetooth” in the search bar. Select “Bluetooth and other devices settings” from the search results. If you see the Bluetooth settings page, it means your computer has Bluetooth capability.
- On a Mac computer, click on the Apple menu in the top-left corner of the screen and select “System Preferences.” In the System Preferences window, look for the Bluetooth icon. If you see the Bluetooth icon, it means your computer has Bluetooth capability.
- If you don’t find the Bluetooth settings or the Bluetooth icon on your computer, it’s likely that your computer doesn’t have built-in Bluetooth. In this case, you may need to use a Bluetooth dongle or adapter to add Bluetooth functionality to your computer. These dongles can be purchased separately and plugged into a USB port to enable Bluetooth.
Once you have confirmed that your computer has Bluetooth capability, you’re ready to proceed to the next step to turn on Bluetooth on your computer.
Step 3: Turn on Bluetooth on your computer
Now that you have confirmed that your computer has Bluetooth capability, the next step is to turn on Bluetooth so that your computer can discover and connect to your Logitech mouse. The process for turning on Bluetooth may vary slightly depending on the operating system of your computer.
Follow the steps below to turn on Bluetooth on your computer:
- On a Windows computer:
- Click on the Start button and go to “Settings.”
- In the Settings window, click on “Devices” and then select “Bluetooth & other devices” from the left-hand menu.
- Toggle the switch to turn on Bluetooth. The switch should change from “Off” to “On.”
- On a Mac computer:
- Click on the Apple menu in the top-left corner of the screen and select “System Preferences.”
- In the System Preferences window, click on the “Bluetooth” icon.
- Toggle the switch to turn on Bluetooth. The switch should change from “Off” to “On.”
Once you have turned on Bluetooth on your computer, it will start scanning for nearby devices, including your Logitech mouse, which is ready to be connected in the next step. Ensure that your mouse is in pairing mode, as described in the user manual, so that it can be detected by your computer.
Now that Bluetooth is enabled on your computer, let’s move on to the next step: putting your Logitech mouse in pairing mode.
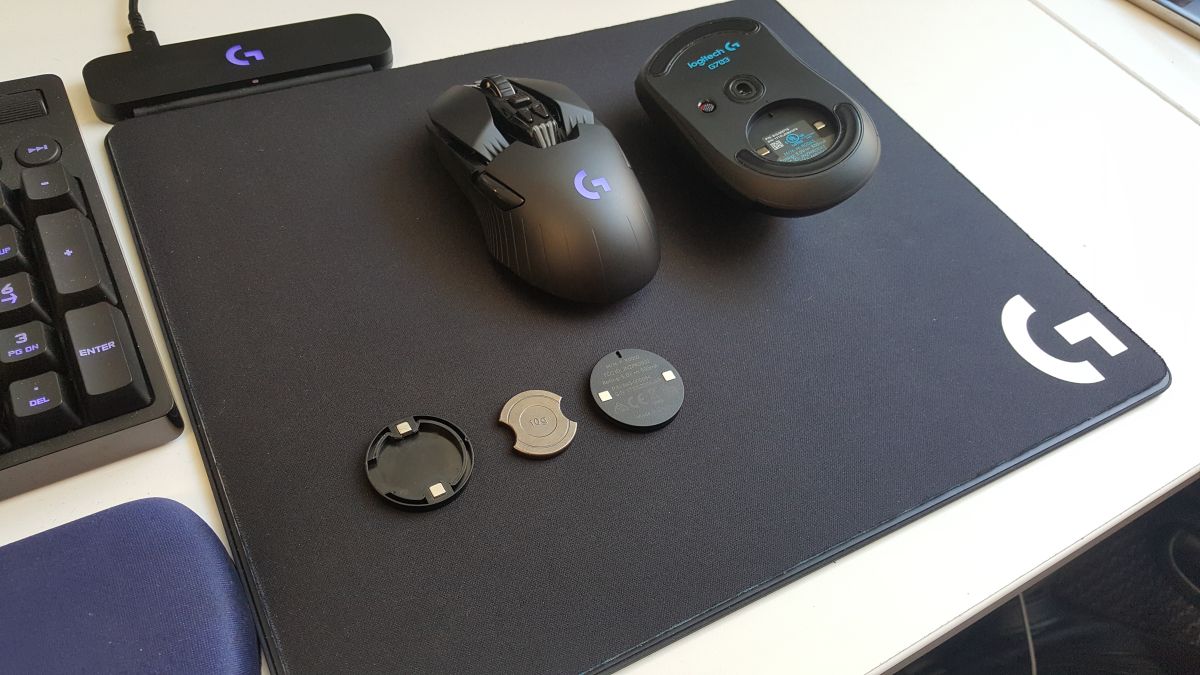
Step 4: Turn on the mouse and put it in pairing mode
Before you can connect your Logitech mouse to your computer via Bluetooth, you need to turn on the mouse and put it in pairing mode. This allows your computer to detect and establish a connection with the mouse.
Here’s how you can turn on the mouse and put it in pairing mode:
- Make sure your mouse has batteries and is turned on. Most Logitech mice have a button located on the bottom or the side of the mouse to turn it on. Press the power button on your mouse to turn it on.
- Next, put your mouse in pairing mode. The method for entering pairing mode may vary depending on the model of your Logitech mouse. Refer to the user manual or follow these general steps:
- Locate the Bluetooth or pairing button on your mouse. It is usually labeled with a Bluetooth icon or the letter “P”.
- Press and hold the Bluetooth or pairing button for a few seconds until the LED indicator on the mouse starts flashing or blinking rapidly. This indicates that the mouse is now in pairing mode.
Once your Logitech mouse is in pairing mode, it is ready to be connected to your computer. In the next step, we will guide you on how to connect the mouse to your computer via Bluetooth.
Step 5: Connect the mouse to your computer via Bluetooth
Now that your Logitech mouse is in pairing mode, it’s time to establish a connection with your computer via Bluetooth. The following steps will guide you through the process:
- On your computer, navigate to the Bluetooth settings. This may vary depending on your operating system, but generally, you can find it in the system settings or taskbar/notification area.
- In the Bluetooth settings, click on the option to add a new device or search for nearby devices. Your computer will start scanning for available Bluetooth devices.
- After a few moments, your Logitech mouse should appear in the list of available devices. Select your mouse from the list to initiate the pairing process.
- Follow any on-screen prompts or instructions to complete the pairing process. This may involve entering a passcode or confirming a code displayed on both your computer and mouse.
- Once the pairing is successful, your computer will display a message indicating that the Logitech mouse is connected via Bluetooth.
- Test the connection by moving the mouse and verifying that the cursor moves on your computer screen. If everything is working correctly, you have successfully connected your Logitech mouse to your computer without using a USB connection.
It’s worth mentioning that the exact steps and terminology may vary slightly depending on your computer’s operating system and the version of Bluetooth. If you encounter any difficulties during the pairing process, consult the user manual for your Logitech mouse or refer to Logitech’s support website for troubleshooting guidance specific to your model.
Now that your Logitech mouse is connected, you can move on to the next step of testing the connection and customizing mouse settings according to your preferences.
Step 6: Test the connection and customize mouse settings
Now that you have successfully connected your Logitech mouse to your computer via Bluetooth, it’s important to test the connection and adjust the settings to enhance your user experience. Here’s what you can do:
First, move the mouse around and ensure that the cursor responds accurately on your computer screen. If you notice any lag or inconsistent movements, try moving closer to your computer or removing any potential sources of interference. If the issue persists, you may need to troubleshoot the connection or check for driver updates from Logitech’s website.
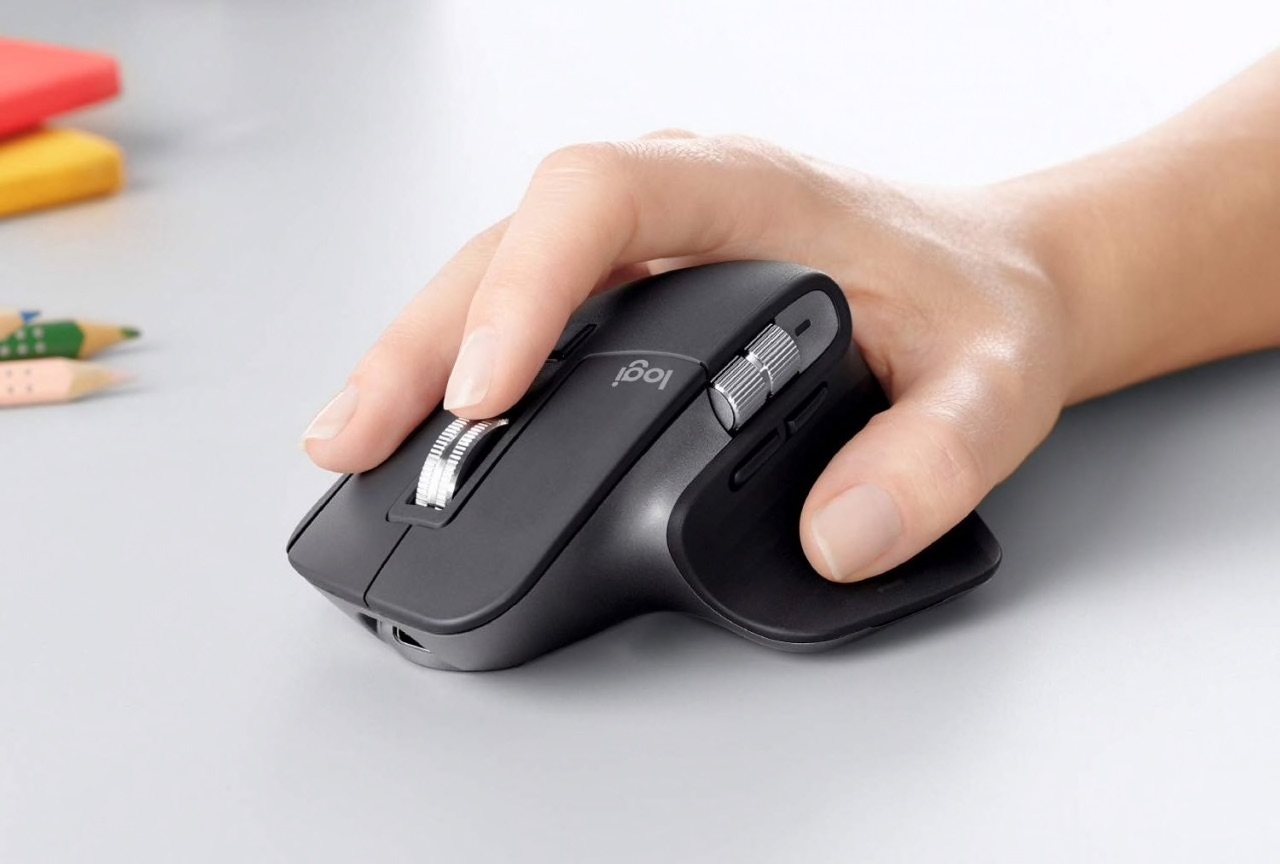
Once the connection is working properly, you can customize the mouse settings according to your preferences. Logitech provides software, such as Logitech Options, that allows you to fine-tune various aspects of your mouse. Some of the customization options may include:
- Adjusting the mouse sensitivity and scrolling speed
- Programming specific button functions and shortcuts
- Configuring gestures, such as swiping and zooming
- Creating custom profiles for different applications or games
Explore the available customization options within the Logitech software and adjust them to suit your needs. This will help you make the most of your Logitech mouse and optimize your productivity or gaming experience.
Remember to periodically check for software updates from Logitech, as they may introduce new features or performance improvements for your mouse.
With the connection established and your mouse customized, you are now ready to enjoy the convenience of using your Logitech mouse without a USB connection. Experience the freedom and flexibility that wireless Bluetooth connectivity offers, and enjoy a clutter-free workspace.
Congratulations! You have successfully connected and configured your Logitech mouse without the need for a USB connection. Happy computing!
Conclusion
Connecting your Logitech mouse to your computer without using a USB connection is a convenient option that allows for a clutter-free workspace and eliminates the need for extra cables. By following the steps outlined in this guide, you can establish a wireless Bluetooth connection between your Logitech mouse and your computer.
Starting with checking the compatibility of your mouse, ensuring that your computer has Bluetooth capability, and turning on Bluetooth on your computer, you can then turn on the mouse and put it in pairing mode. Once the mouse is in pairing mode, you can connect it to your computer via Bluetooth.
After successfully connecting the mouse, it’s important to test the connection to ensure accurate cursor movements and responsiveness. You can also take advantage of the customization options provided by Logitech software to personalize your mouse settings and enhance your user experience.
Remember to periodically check for software updates and troubleshoot any issues that may arise. By following these steps and keeping your Logitech mouse up to date, you can enjoy the freedom and convenience of a wireless Bluetooth connection without compromising on performance.
We hope this guide has been helpful in assisting you with connecting your Logitech mouse without a USB connection. Now, enjoy the seamless interaction with your computer and make the most out of your Logitech mouse!