Introduction
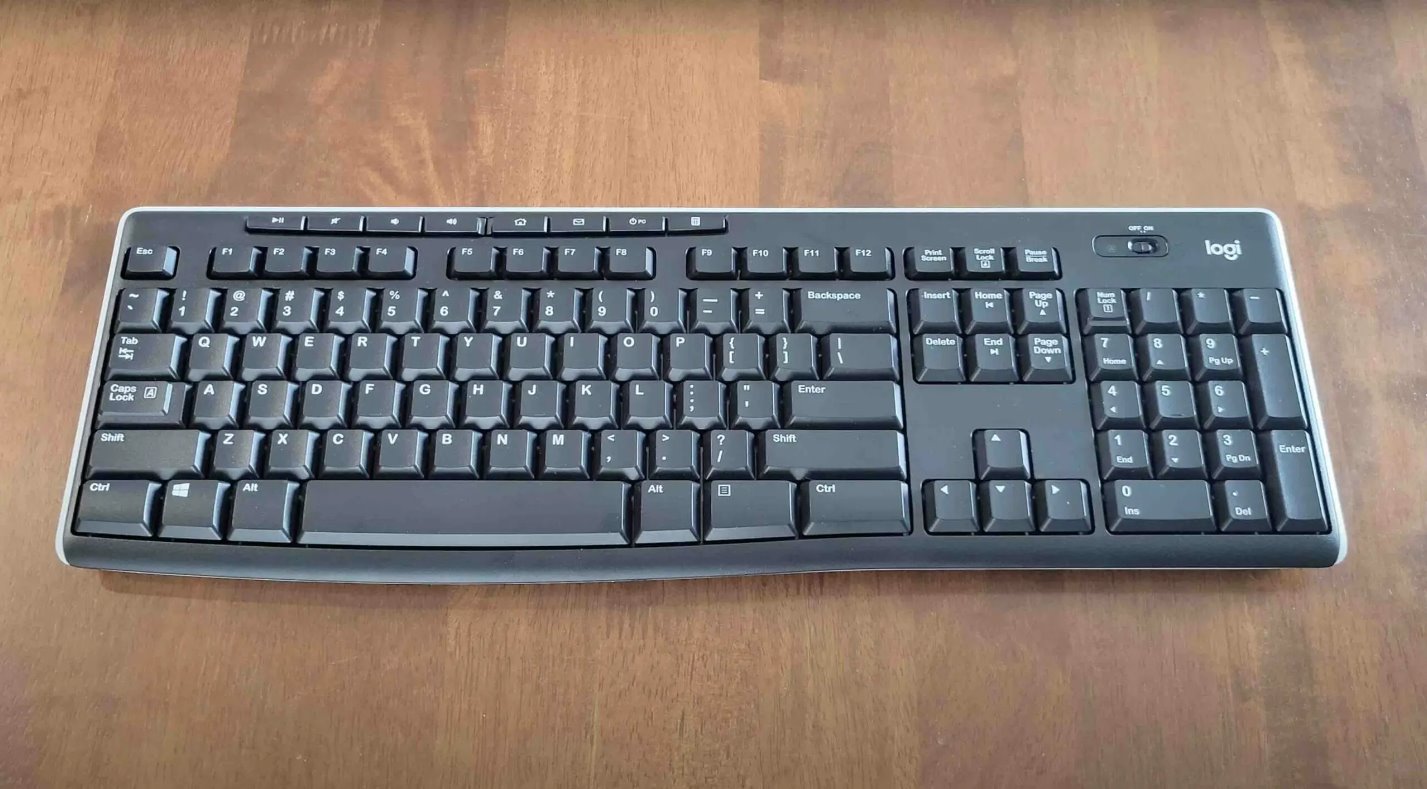
Are you tired of dealing with tangled wires and limited mobility while using your keyboard? Look no further! The Logitech Wireless Keyboard K270 is the perfect solution to your keyboard woes. With its wireless design and advanced features, this keyboard offers you the convenience and flexibility you need for a seamless typing experience.
Whether you are a student, professional, or simply someone who enjoys effortless typing, the Logitech Wireless Keyboard K270 is a reliable and efficient choice. Its compact and streamlined design makes it suitable for any workstation or home setup. Plus, the long battery life ensures that you can work or play for extended periods without the need for constant battery changes.
In this guide, we will walk you through the step-by-step process of connecting your Logitech Wireless Keyboard K270. Don’t worry if you’re not tech-savvy – the instructions are straightforward and easy to follow. Before you know it, you’ll be enjoying the freedom and convenience of a wire-free typing experience.
So, grab your Logitech Wireless Keyboard K270, and let’s get started on the journey towards effortless typing!
Step 1: Prepare the Keyboard
Before we can connect the Logitech Wireless Keyboard K270, we need to make sure it is properly prepared for pairing. Follow these simple steps to get started:
- Locate the power switch on the bottom of the keyboard and set it to the “Off” position. This will ensure that the keyboard is ready for the pairing process.
- Clear a workspace on your desk or table, ensuring that there is enough room for the keyboard and any other accessories you may need.
- Inspect the keyboard for any loose or damaged keys. It’s important to make sure that the keyboard is in good condition before proceeding with the connection.
- If you’ve been using a wired keyboard, disconnect it from your computer and remove it from your workspace. This will prevent any potential interference during the pairing process.
By preparing the Logitech Wireless Keyboard K270 in advance, you’re setting yourself up for a seamless connection experience. Once you’ve completed these steps, you’re ready to move on to the next stage of the setup process: installing the batteries.
Step 2: Install Batteries
The Logitech Wireless Keyboard K270 is powered by two AAA batteries. Follow these steps to install the batteries:
- Locate the battery compartment on the back of the keyboard. It is usually located towards the top, near the top edge.
- Slide the battery compartment cover in the direction indicated by the arrow to open it. You may need to use a small tool like a coin or a flathead screwdriver to gently pry it open.
- Insert the two AAA batteries into the battery compartment, making sure to align the positive and negative ends correctly.
- Replace the battery compartment cover by sliding it back into place until it clicks and locks securely.
- Once the batteries are installed, ensure that the power switch on the bottom of the keyboard is still set to the “Off” position.
By installing fresh batteries, you’re ensuring a reliable power source for your Logitech Wireless Keyboard K270. This will allow the keyboard to function properly and maintain a stable connection with your computer. Now that your keyboard is powered up, let’s move on to setting up the Unifying receiver in the next step.
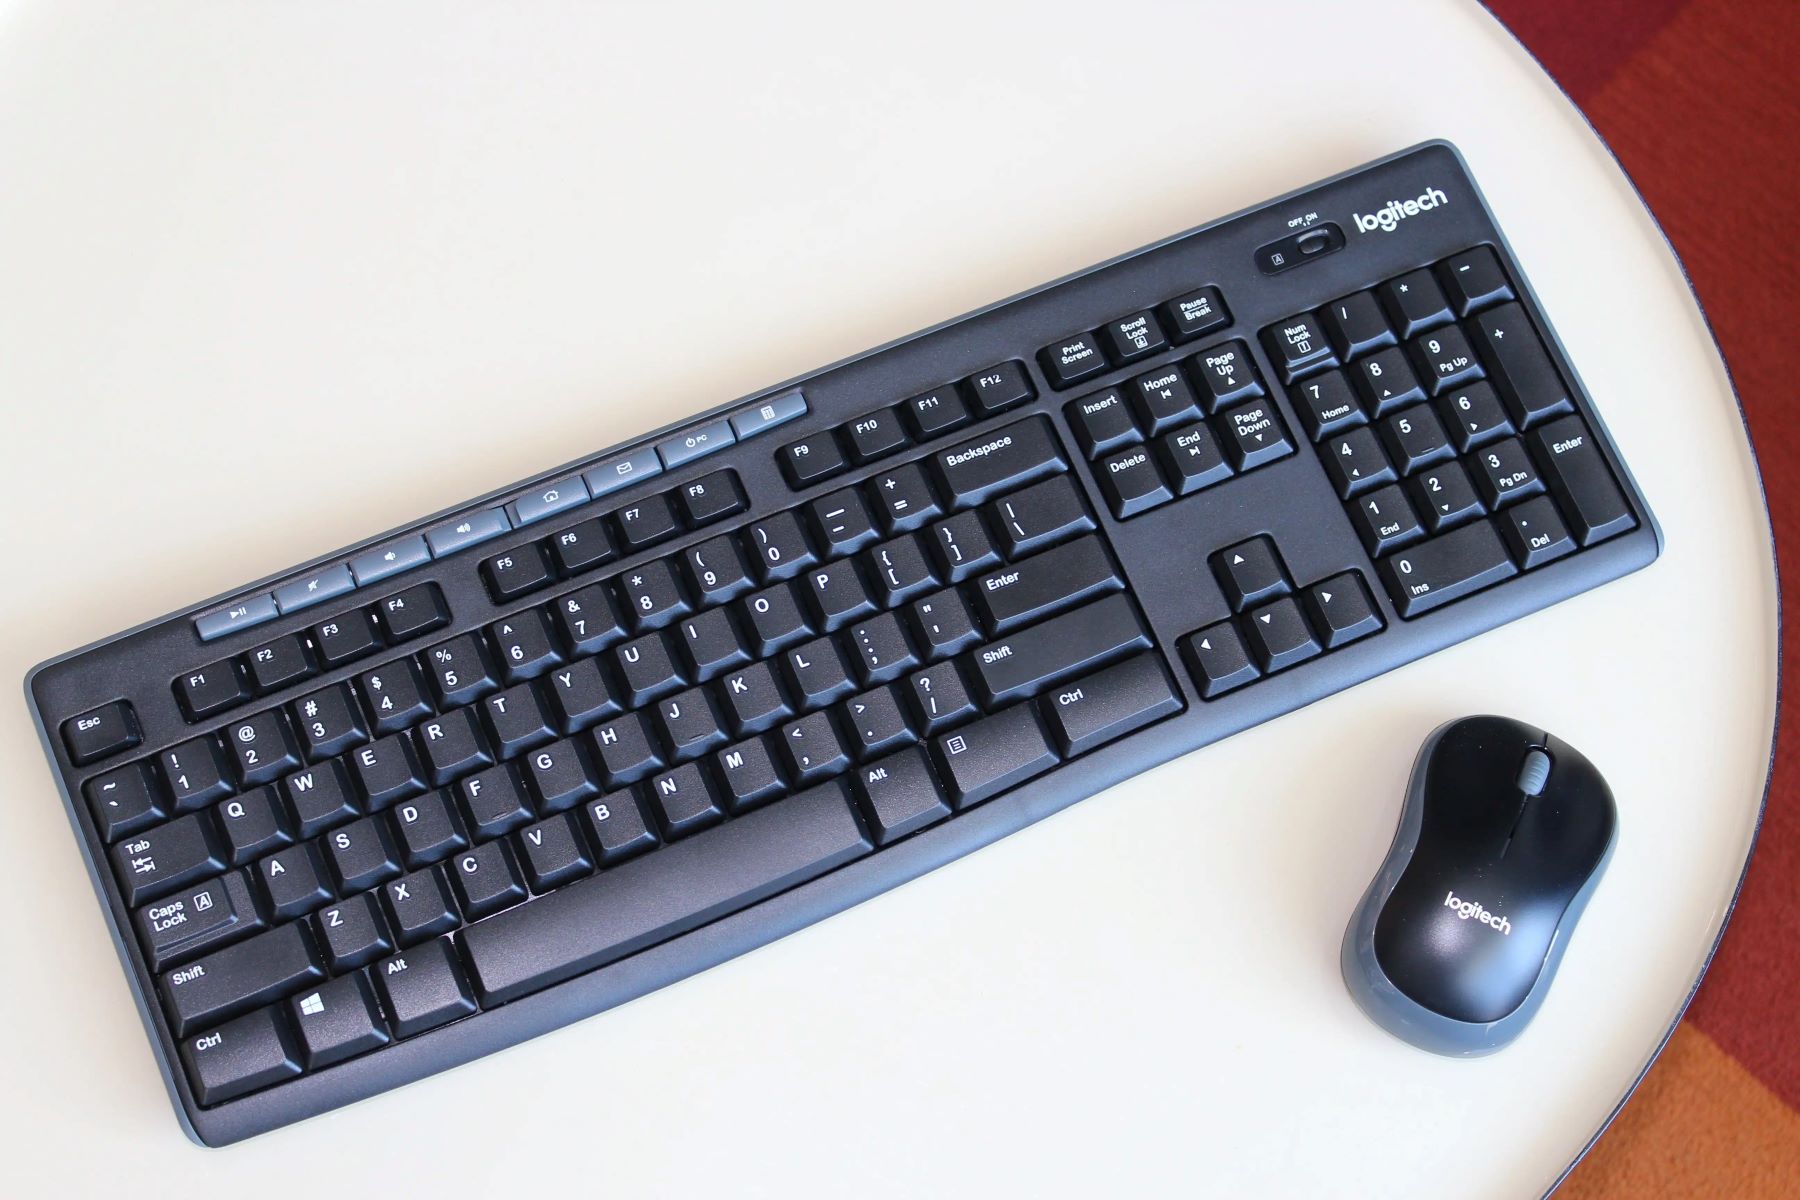
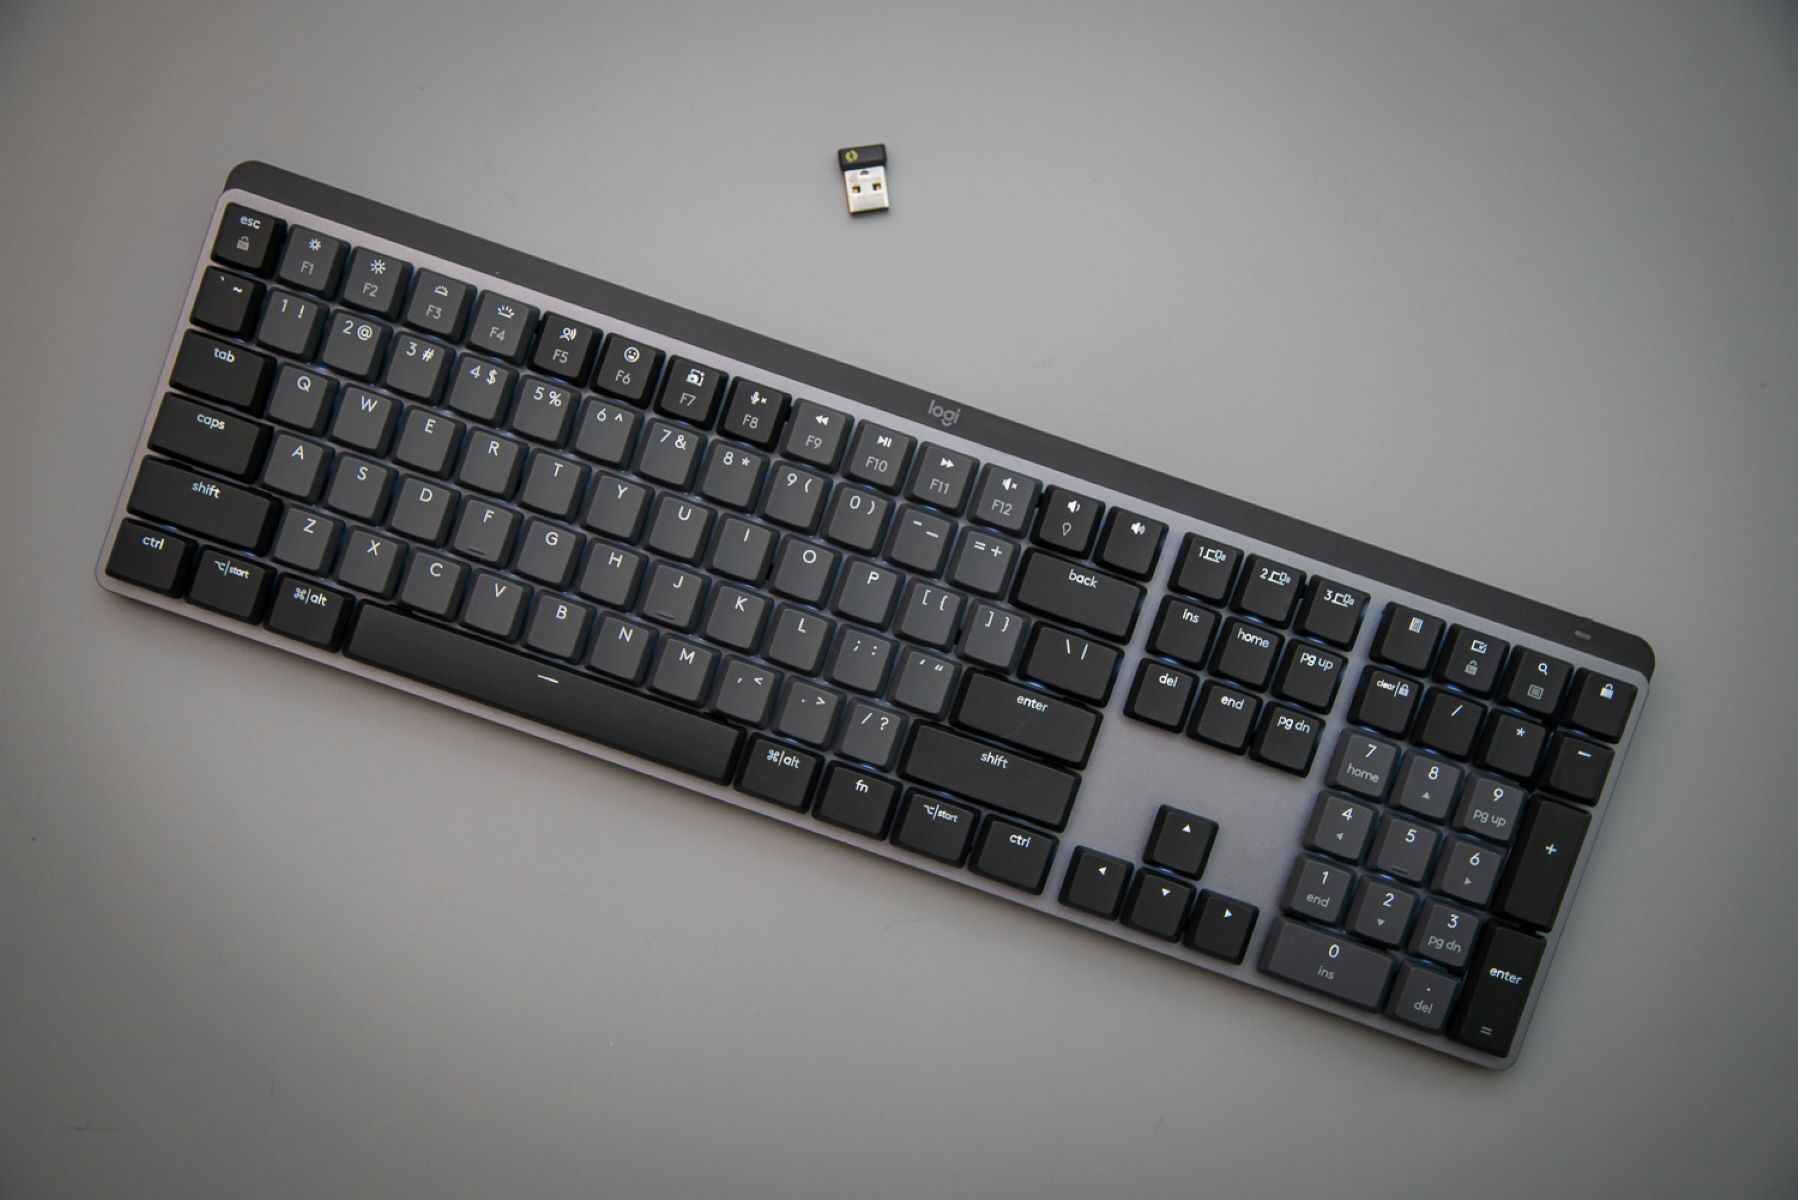
Step 3: Set Up the Unifying Receiver
The Logitech Wireless Keyboard K270 uses a small USB receiver called the Unifying receiver to connect to your computer. Follow these steps to set up the Unifying receiver:
- Locate an available USB port on your computer – it’s usually located on the back or sides of your computer tower, or on the side of your laptop.
- Plug the Unifying receiver into the USB port. Make sure it is inserted fully and securely.
- Wait for your computer to recognize the Unifying receiver. This may take a few seconds. You may see a notification on your computer screen indicating that a new device has been detected.
- Alternatively, you can install the Logitech Unifying software from the official Logitech website. This software allows you to manage multiple Logitech devices connected to the Unifying receiver.
- Once the Unifying receiver is successfully connected to your computer, you’re ready to proceed to the next step – connecting the keyboard to the receiver.
The Unifying receiver provides a reliable and secure wireless connection between your Logitech Wireless Keyboard K270 and your computer. Its plug-and-play functionality makes it incredibly easy to set up. Now that the receiver is ready, let’s move on to the next step – connecting the keyboard to the receiver.
Step 4: Connect the Keyboard to the Receiver
Now that you have prepared the keyboard, installed the batteries, and set up the Unifying receiver, it’s time to connect your Logitech Wireless Keyboard K270 to the receiver. Follow these simple steps:
- Make sure the power switch on the bottom of the keyboard is set to the “On” position.
- Press the connect button on the Unifying receiver. The button is usually located on the side or front of the receiver. Check the user manual of your specific model if you’re unsure of the exact location.
- Within a few seconds, press the connect button on the bottom of the keyboard. It is usually located near the power switch.
- Wait for the keyboard and receiver to establish a connection. You may see a notification on your computer screen confirming the successful connection.
During the connection process, it’s important to keep the keyboard and receiver within close proximity to ensure a strong and stable connection. Once the connection is established, you can start using your Logitech Wireless Keyboard K270 to type and navigate on your computer.
If for any reason the connection is not successful, try repeating the steps above. In some cases, it may be necessary to restart your computer or update the drivers for the Unifying receiver.
Now that your keyboard is connected to the receiver, it’s time to test the connection and make sure everything is working as expected. Let’s move on to the final step – testing the connection.
Step 5: Test the Connection
After connecting your Logitech Wireless Keyboard K270 to the receiver, it’s essential to test the connection to ensure that everything is functioning correctly. Follow these steps to test the connection:
- Open a text editor or any application that requires keyboard input on your computer.
- Begin typing on the Logitech Wireless Keyboard K270. If the connection is successful, you should see your keystrokes appearing on the screen.
- Test various keys, including characters, numbers, function keys, and special keys, to ensure that all keys are functioning correctly.
- Move the keyboard around and type from different distances to evaluate the wireless range and reliability of the connection.
If you notice any issues or malfunctioning keys during the testing process, try the following troubleshooting steps:
- Make sure the batteries are charged and properly installed.
- Ensure that both the keyboard and the receiver are in close proximity.
- Check if there are any sources of interference nearby, such as other wireless devices or metal objects.
- If all else fails, refer to the user manual or contact Logitech customer support for further assistance.
By testing the connection, you can ensure that your Logitech Wireless Keyboard K270 is working flawlessly and meeting your typing needs. Congratulations! You have successfully connected and tested your wireless keyboard.
Conclusion
Congratulations on successfully connecting and testing your Logitech Wireless Keyboard K270! You can now enjoy the convenience and freedom of wire-free typing. By following the simple steps outlined in this guide, you have set up a reliable and efficient keyboard that will enhance your productivity and make your typing experience more enjoyable.
The Logitech Wireless Keyboard K270 offers a compact and streamlined design that complements any workspace or home setup. With its long battery life and reliable wireless connection, you can work or play for extended periods without interruptions.
Remember to keep the keyboard and receiver within close proximity for a strong and stable connection. If you encounter any issues, refer to the troubleshooting steps provided or contact Logitech customer support for assistance.
Thank you for choosing the Logitech Wireless Keyboard K270. We hope it serves you well and enhances your typing experience. Say goodbye to tangled wires and hello to effortless typing with your new wireless keyboard!