Introduction
Welcome to this guide on how to install Logitech Unifying software. Logitech Unifying software is a great tool that allows you to connect multiple Logitech devices to a single receiver, making it easier to manage and use your peripherals. Whether you have a Logitech keyboard, mouse, or any other compatible device, the Unifying software simplifies the process of connecting and customizing your devices.
If you have recently purchased a Logitech device that supports the Unifying software, or if you want to make the most out of your existing Logitech devices, you’ve come to the right place. In this article, we will walk you through the step-by-step process of installing the Logitech Unifying software and connecting your devices.
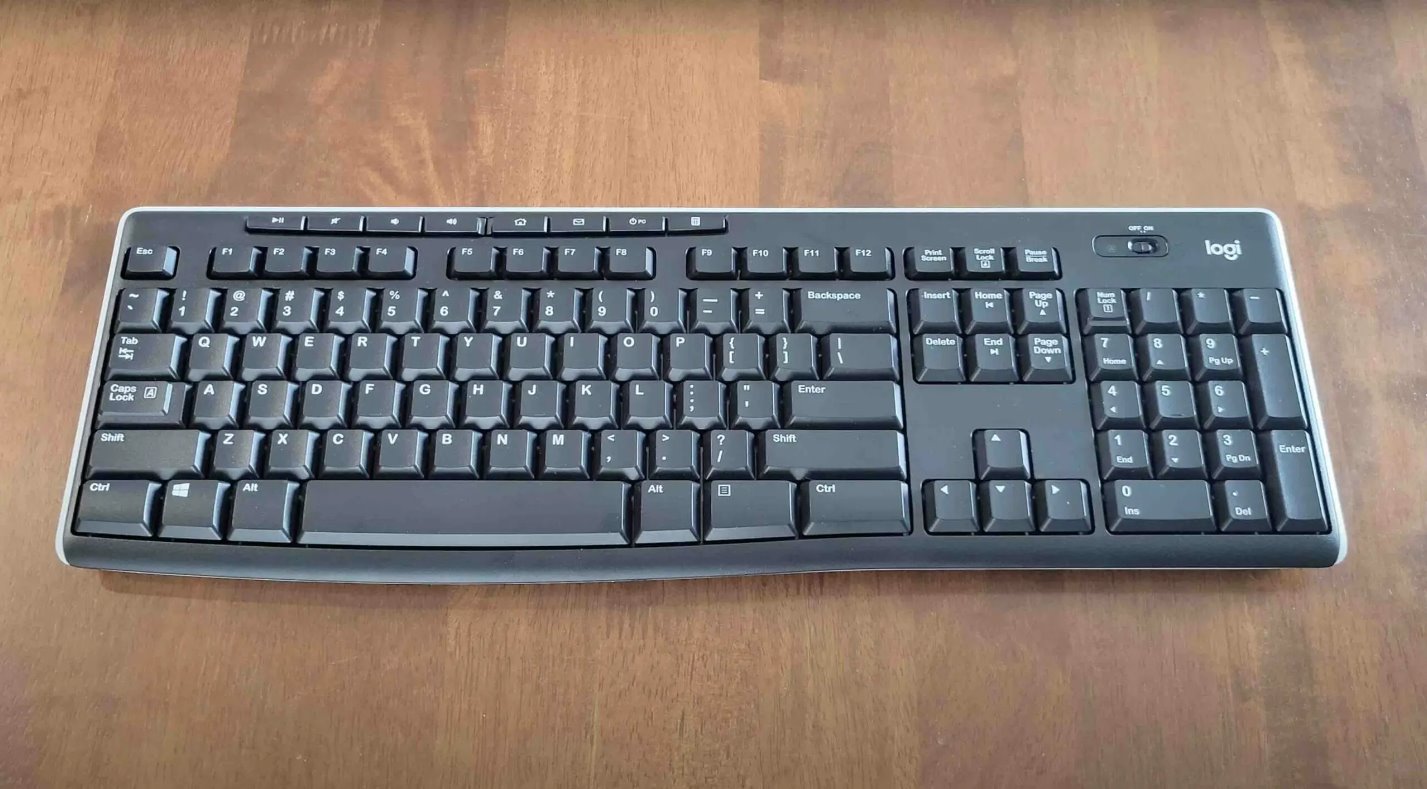
But before we dive into the installation process, it is important to note that compatibility is key. The Logitech Unifying software is compatible with a wide range of Logitech devices, including keyboards, mice, trackballs, and even some gaming controllers. However, it’s always a good idea to check whether your specific device supports the Unifying software before proceeding.
Now that we have that covered, let’s move on to the installation process. We will guide you through each step, from downloading the software to pairing your devices. So, grab your Logitech device and let’s get started with the installation process of Logitech Unifying software.
Step 1: Download the Logitech Unifying software
The first step in installing Logitech Unifying software is to download the software onto your computer. To do this, follow the steps below:
- Open your preferred web browser and navigate to the official Logitech website.
- Once you’re on the Logitech website, locate the search bar or navigation menu.
- Type “Logitech Unifying software” in the search bar or select the appropriate category from the navigation menu.
- Click on the download link or button for the Logitech Unifying software. The download should start automatically.
- Wait for the download to complete. The time taken will depend on your internet connection speed.
Once the download is complete, you can proceed to the next step of the installation process. It is important to note that the Logitech Unifying software is available for both Windows and Mac operating systems, so make sure to download the appropriate version for your computer.
Before moving forward, it is worth mentioning that you should always download software from official sources to ensure its authenticity and to prevent any potential malware or security risks. By downloading the Logitech Unifying software from the official Logitech website, you can be confident that you are getting a genuine and safe installation file.
Now that you have successfully downloaded the Logitech Unifying software, it’s time to move on to the next step – running the installer. So, let’s proceed to Step 2 of the installation process.
Step 2: Run the installer
After downloading the Logitech Unifying software, the next step is to run the installer on your computer. Follow the steps below to run the installer:
- Navigate to the location on your computer where the Logitech Unifying software installer was downloaded. This is typically the “Downloads” folder, but it may vary depending on your browser settings.
- Locate the installer file (usually named something like “LogitechUnifyingSoftware.exe” for Windows or “LogitechUnifyingSoftware.dmg” for Mac).
- Double-click on the installer file to launch the Logitech Unifying software installation wizard.
- Follow the on-screen instructions provided by the installer. This may include accepting the terms and conditions, choosing the installation location, and selecting any additional options or features.
- Click on the “Install” or “Finish” button to initiate the installation process.
- Wait for the installation process to complete. This may take a few moments, so be patient.
Once the installation is finished, you will see a confirmation message indicating that the Logitech Unifying software has been successfully installed on your computer. At this point, you can proceed to the next step of the installation process.
It is worth mentioning that during the installation process, some systems may prompt you to enter your administrator password. This is a security measure to ensure that only authorized users can make system changes. If prompted, enter your password and continue with the installation.
Now that you have successfully run the installer and completed the software installation, let’s move on to the next step – connecting the receiver. So, let’s proceed to Step 3 of the installation process.
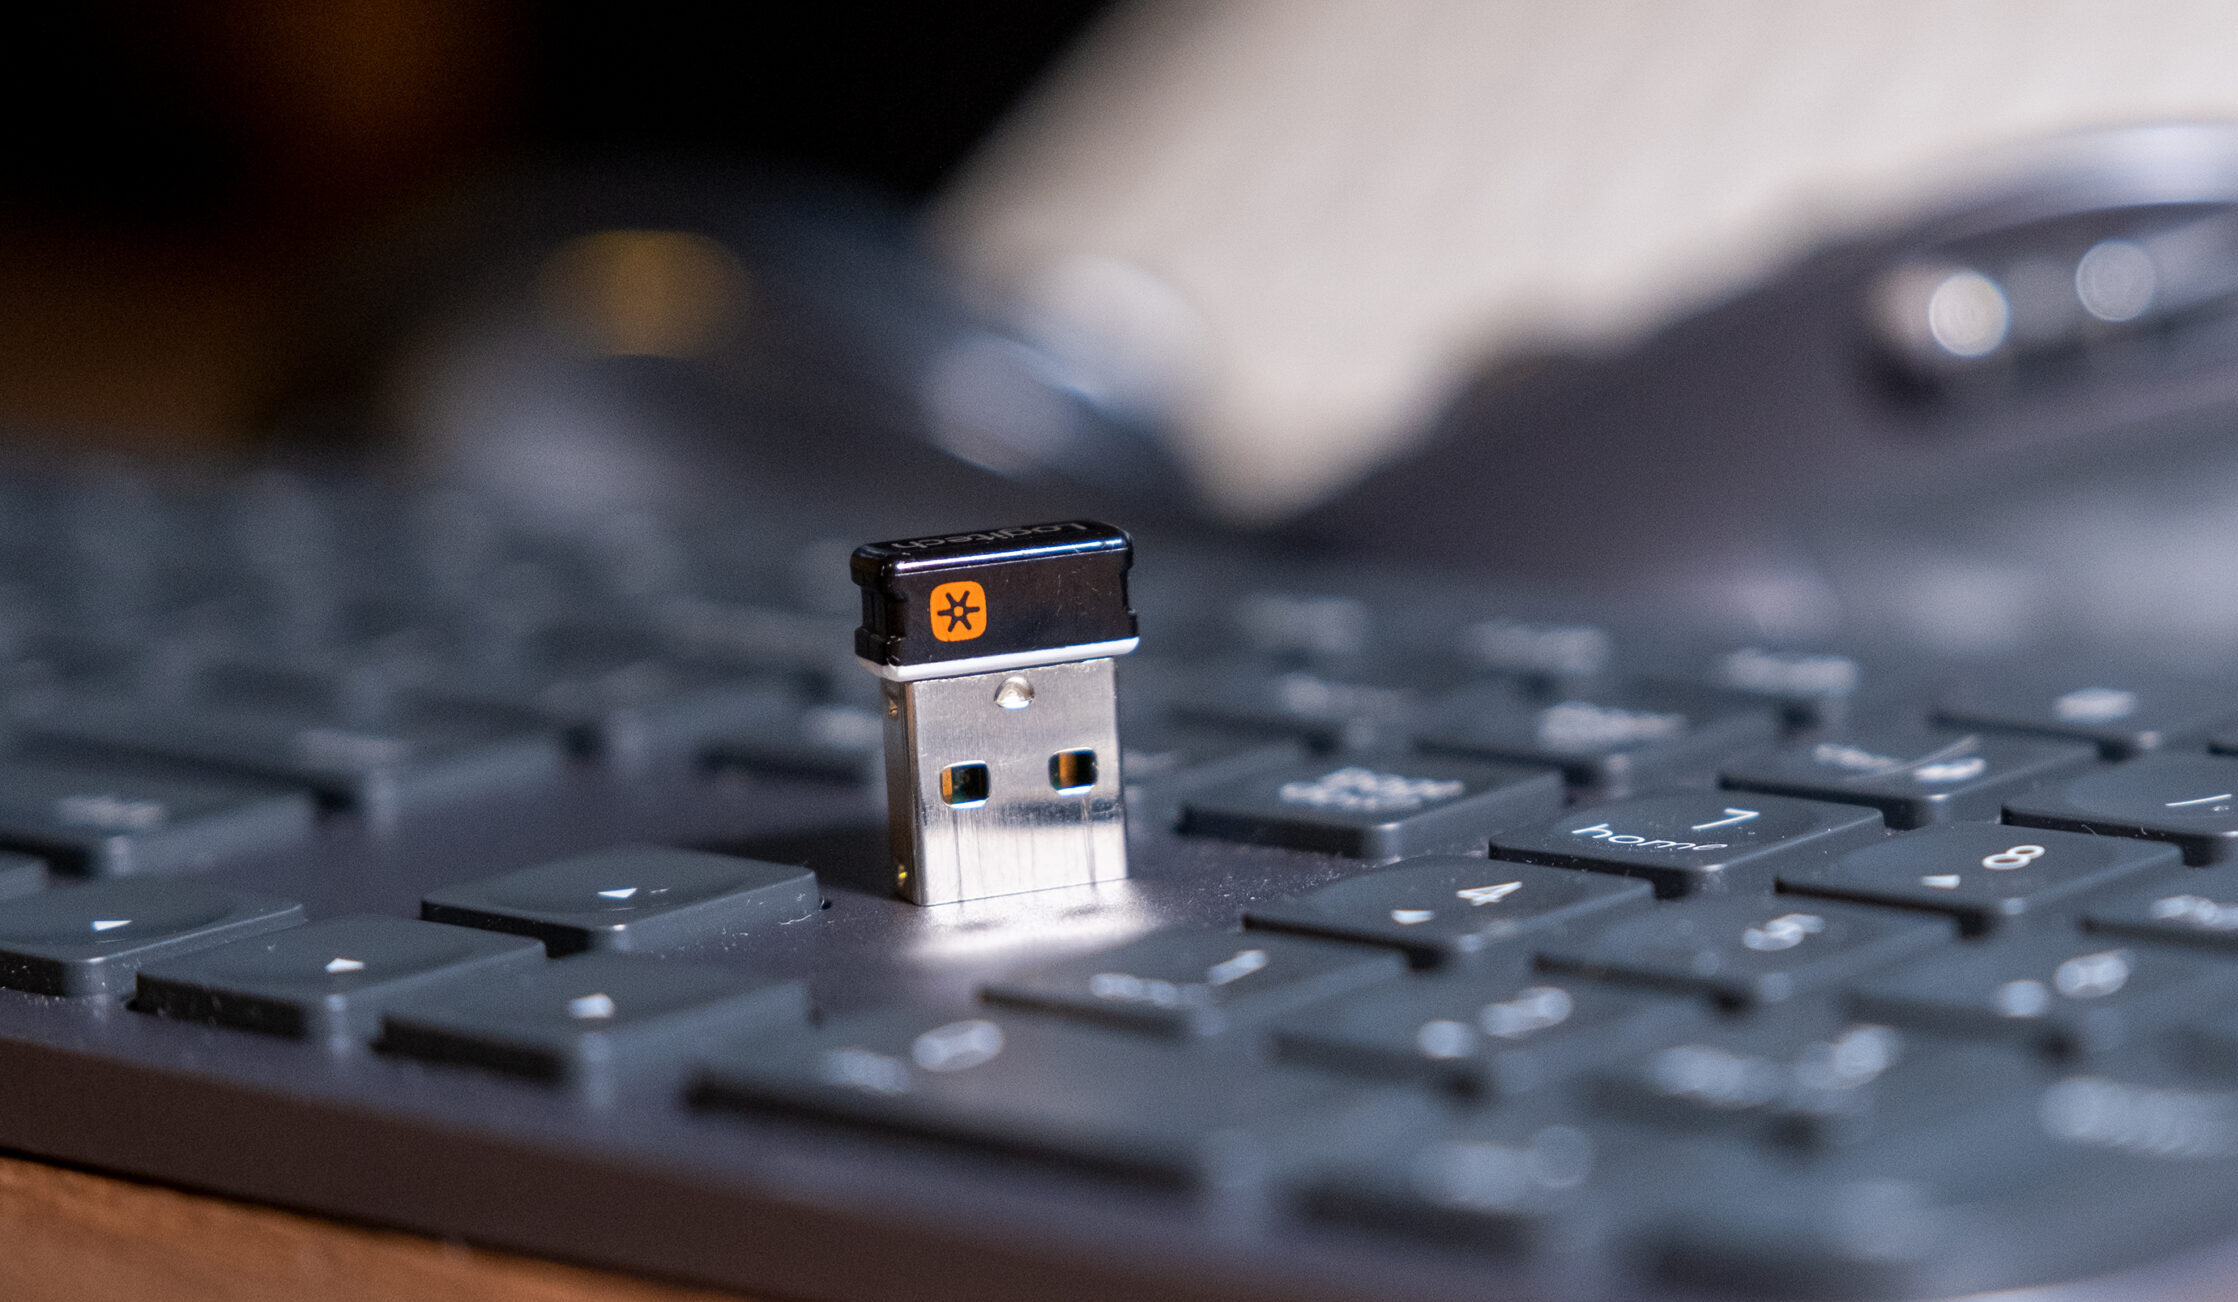
Step 3: Connect the receiver
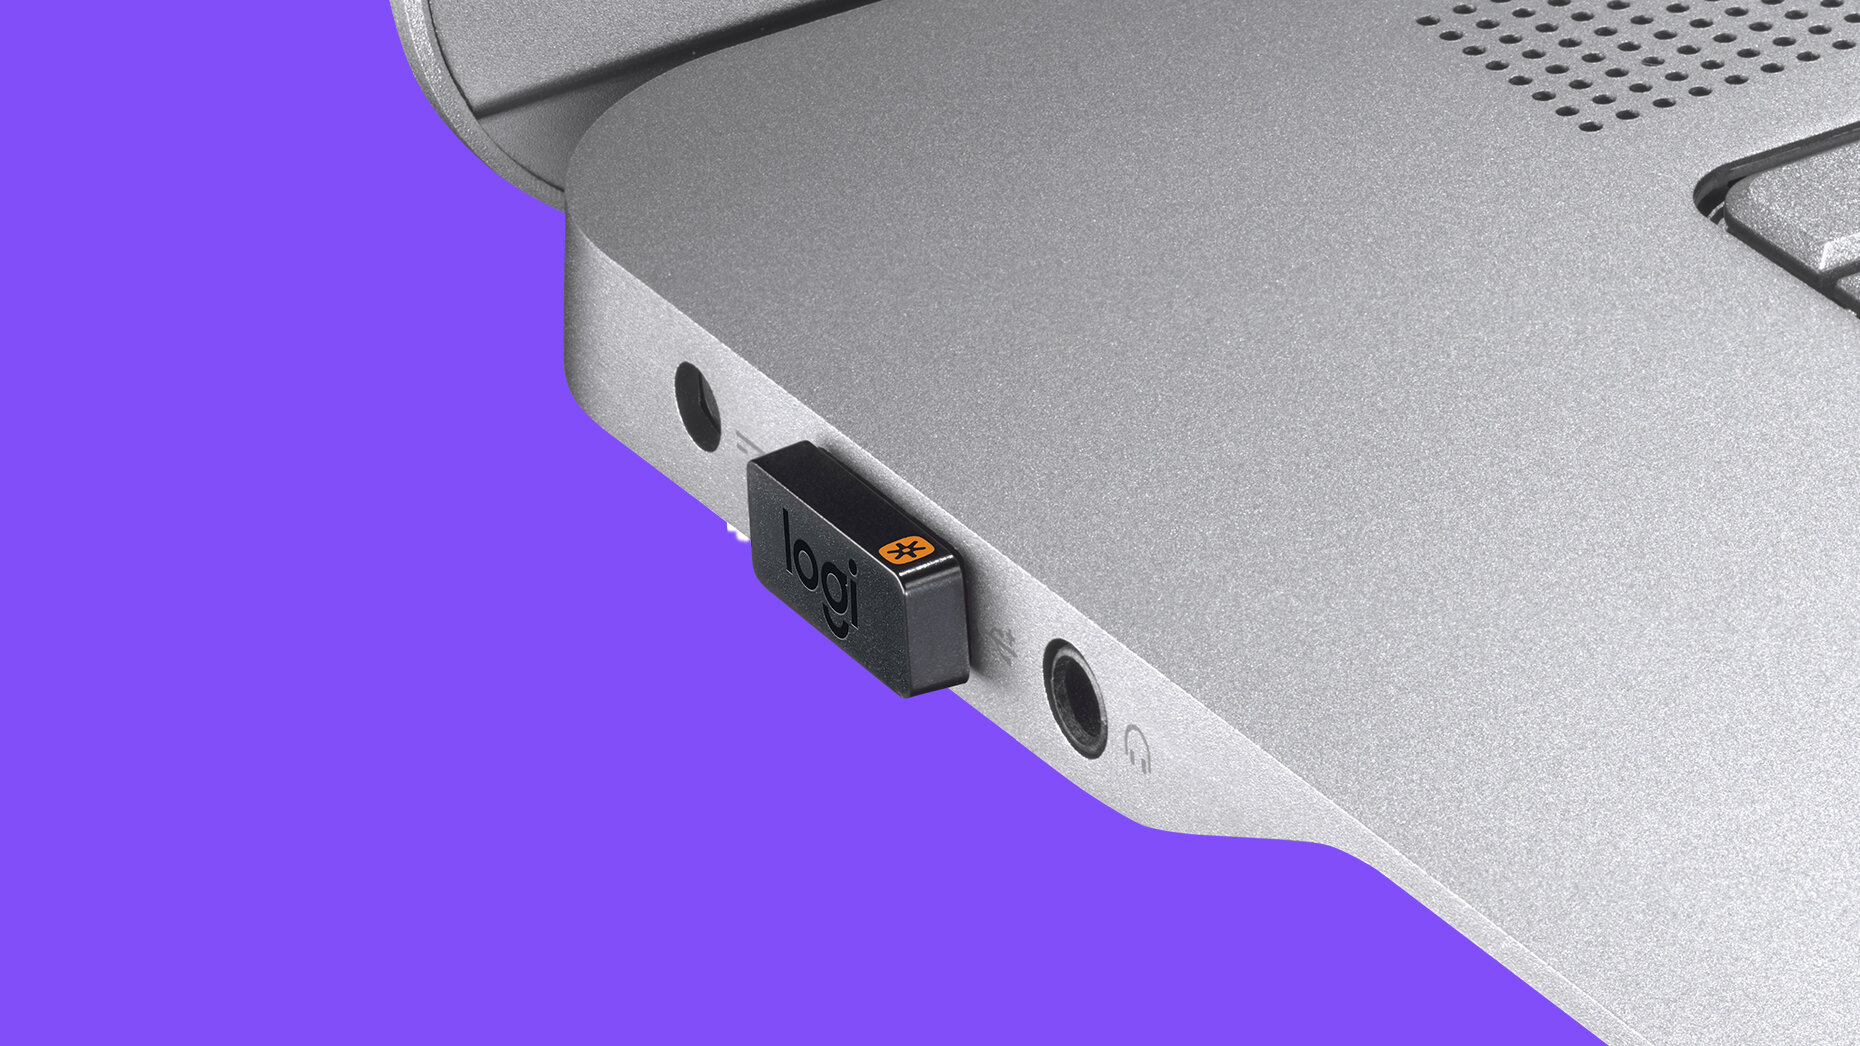
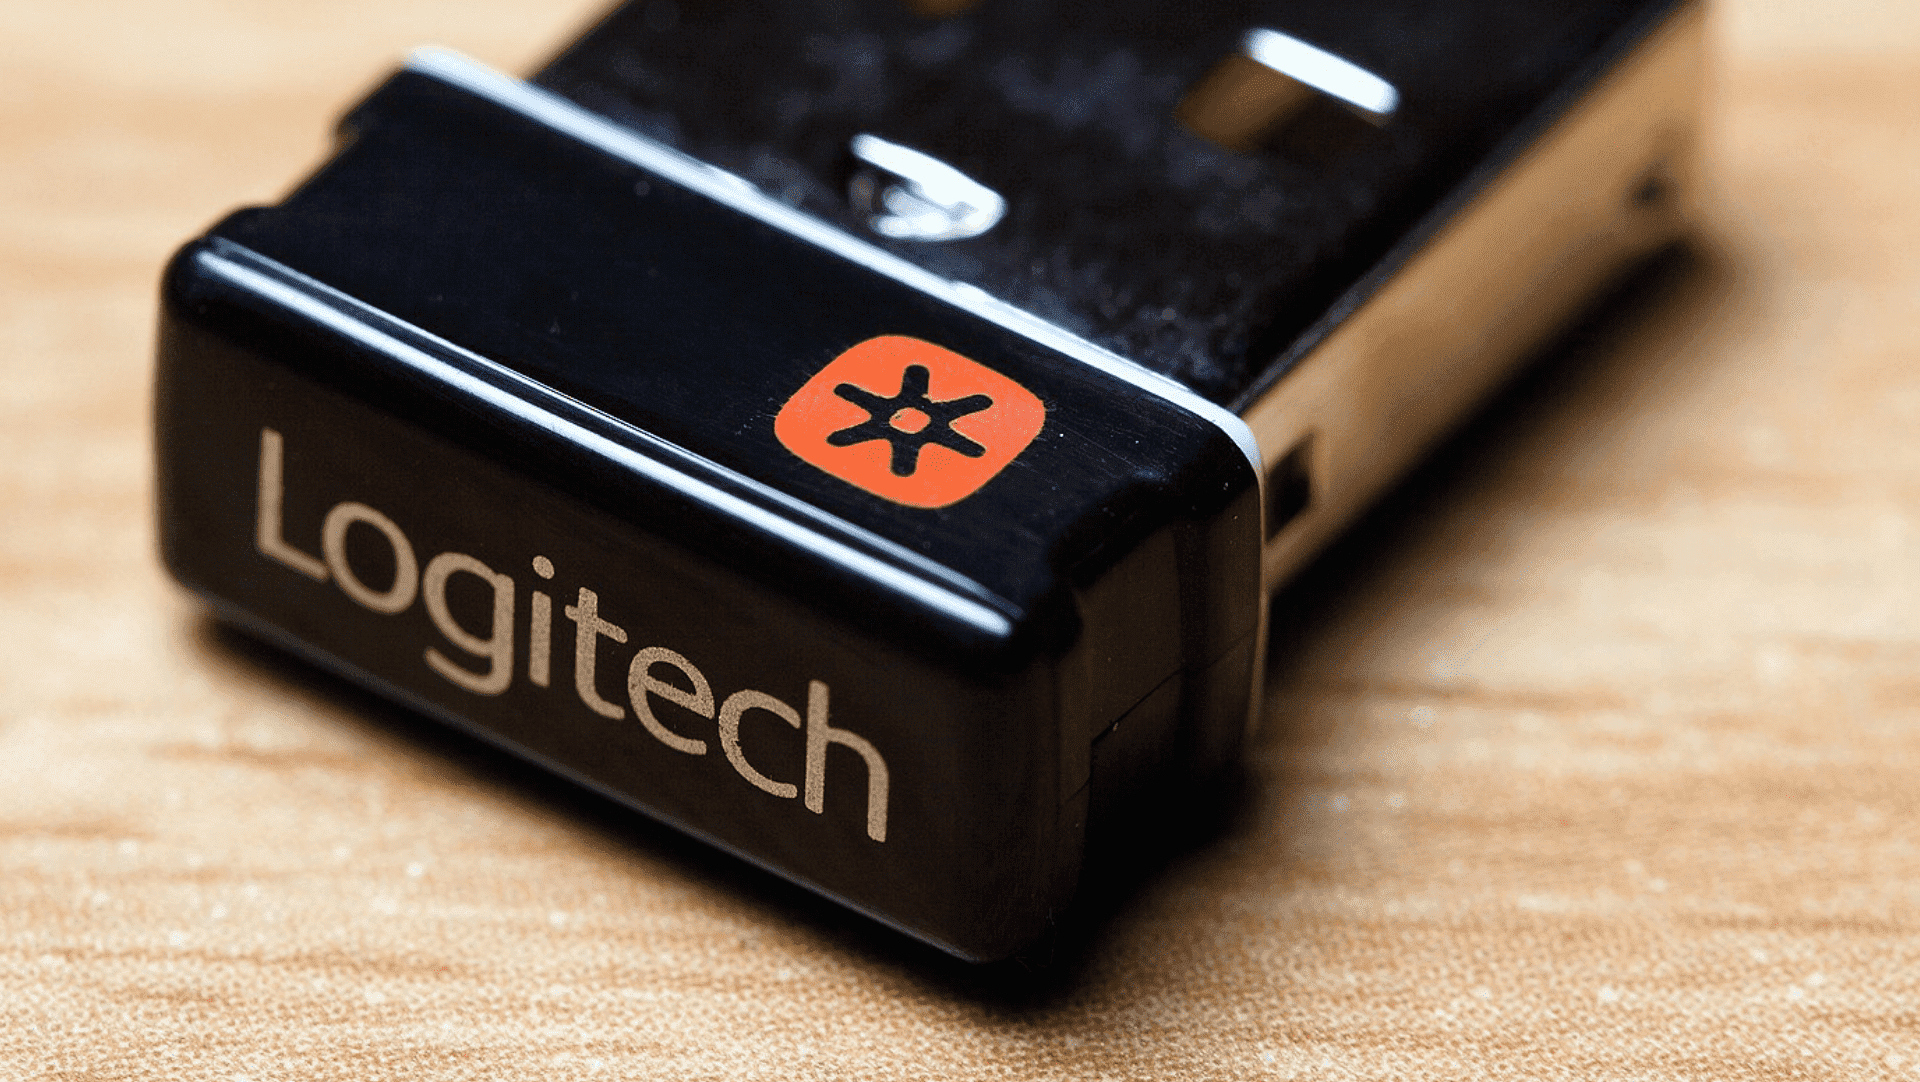
Once you have installed the Logitech Unifying software on your computer, the next step is to connect the receiver. The receiver is a small USB dongle that allows your Logitech devices to communicate with your computer. Follow the steps below to connect the receiver:
- Locate an available USB port on your computer. It is recommended to use a USB 2.0 or USB 3.0 port for optimal performance.
- If your Logitech device came with a USB extender cable, connect the receiver to the USB extender cable.
- Insert the USB receiver or the USB extender cable with the receiver into the USB port on your computer.
- Wait for your computer to recognize the receiver. This may take a few moments as the drivers are installed.
- Once the receiver is recognized, you can proceed to the next step of pairing your Logitech devices.
It is important to note that the Logitech Unifying software supports the connection of multiple Logitech devices to a single receiver. This means that you can connect a Logitech keyboard, mouse, and other compatible devices to the same receiver, reducing clutter and improving convenience.
If you are connecting multiple devices, it is recommended to connect the receiver to a USB hub to ensure all devices are within range and function properly. However, for optimal performance, it is advisable to connect the receiver directly to a USB port on your computer whenever possible.
Now that you have successfully connected the receiver to your computer, it’s time to proceed to the next step of pairing your Logitech devices. So, let’s move on to Step 4 of the installation process.
Step 4: Pair your devices
After connecting the receiver to your computer, the next step is to pair your Logitech devices with the receiver. Follow the steps below to successfully pair your devices:
- Make sure that your Logitech device is turned on and within range of the receiver.
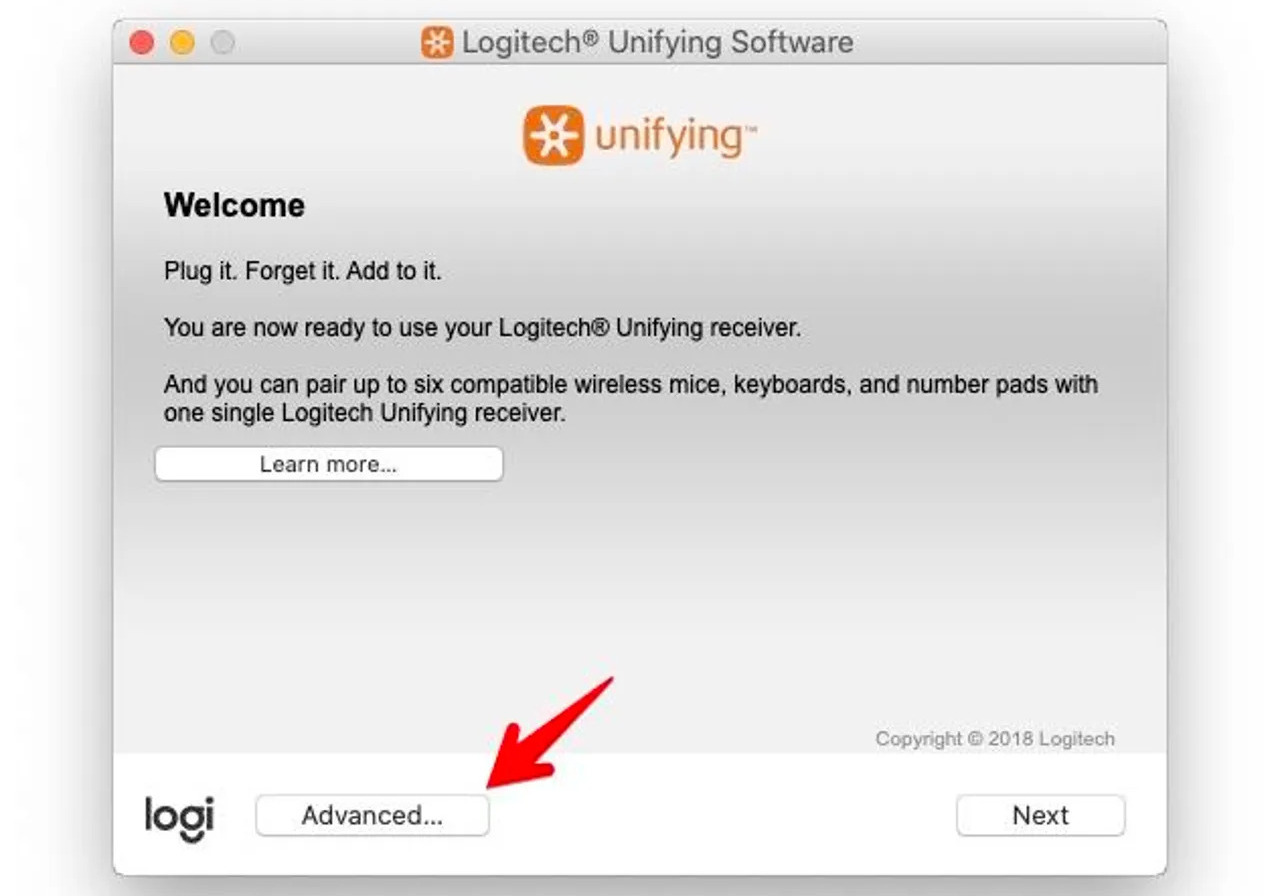
- Open the Logitech Unifying software on your computer. You can usually find it in your list of installed programs or by searching for “Logitech Unifying” in the Start menu or Applications folder.
- In the Logitech Unifying software, click on the “Advanced” or “Pairing” button.
- On your Logitech device, press the “Connect” or “Pairing” button. The location of this button may vary depending on the device, so refer to the user manual or check the device manufacturer’s website for instructions.
- Once you press the “Connect” or “Pairing” button on your Logitech device, the software will search for available devices.
- When your device appears in the software, click on it to select it and then click the “Next” or “Pair” button.
- The Logitech Unifying software will establish a connection between your device and the receiver. This process may take a few seconds.
- Once the pairing is successful, you will see a confirmation message in the Logitech Unifying software.
- Repeat the above steps if you have multiple Logitech devices to pair with the receiver.
It’s important to note that the pairing process may vary slightly depending on the model of your Logitech device. If you encounter any difficulties or need further assistance, refer to the user manual or visit the Logitech support website for specific instructions related to your device.
Congratulations! You have successfully paired your Logitech devices with the receiver. Now you can enjoy the convenience of using multiple Logitech devices with a single USB receiver. However, if you want to further personalize and customize your devices, you can proceed to Step 5 of the installation process.
Step 5: Customize your devices (optional)
Once you have paired your Logitech devices with the receiver, you have the option to customize and personalize the settings of your devices. Although this step is optional, it allows you to tailor your Logitech devices to suit your preferences and enhance your overall user experience. Here are some customization options available:
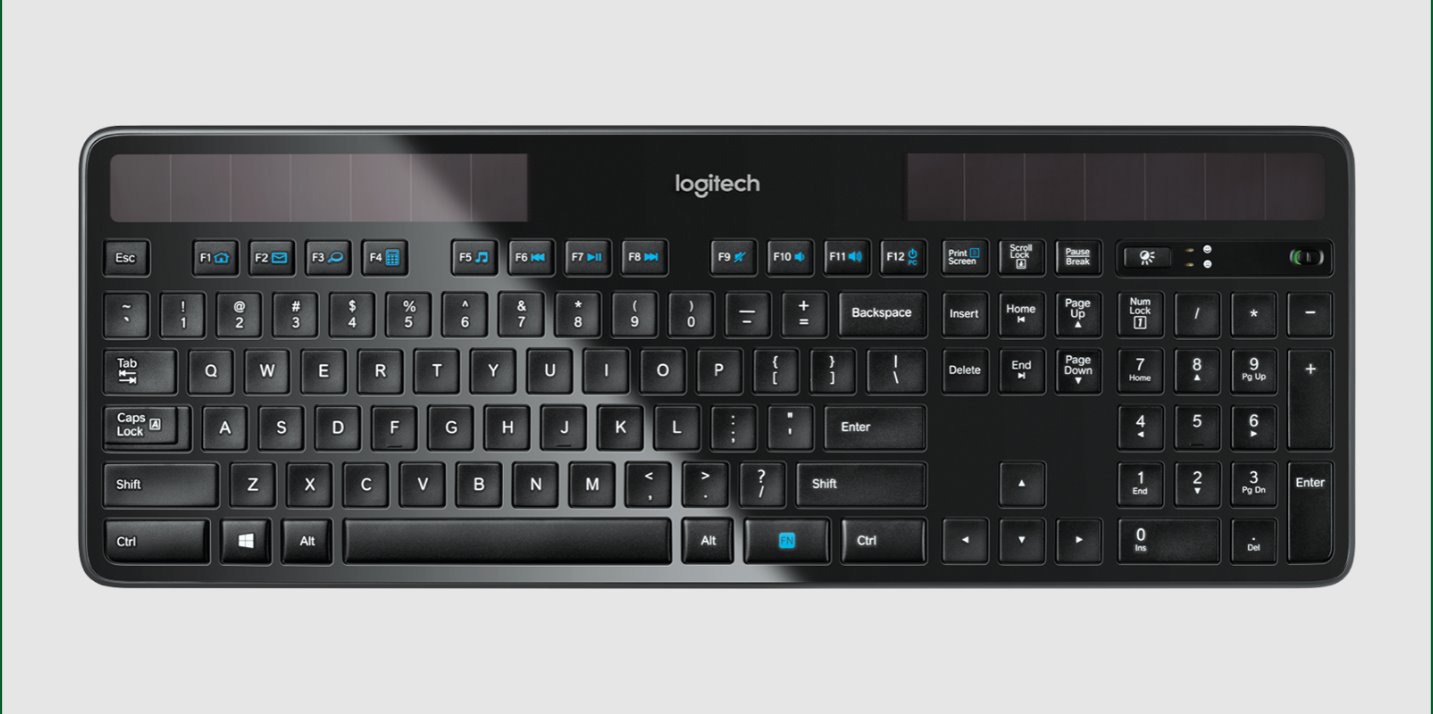
- Key mapping: If you have a Logitech keyboard, you can remap the keys to perform different functions or macros. This can be extremely useful for gamers or individuals who require specific key configurations.
- Mouse settings: For Logitech mice, you can adjust the sensitivity, scrolling speed, and customize the buttons to perform different actions. This allows you to optimize your mouse settings based on your usage preferences.
- Device settings: Some Logitech devices may have additional settings that can be adjusted, such as DPI (dots per inch) settings for mice or scroll wheel behavior for trackballs. Exploring these options can further enhance your device’s performance.
- Logitech Options software: Logitech offers additional software called Logitech Options that provides even more customization options for certain devices. This software enables advanced features such as gesture control, application-specific settings, and more.
To customize your Logitech devices, follow these steps:
- Open the Logitech Unifying software on your computer.
- Select the device you want to customize from the device list.
- Click on the “Customize” or “Settings” button.
- Explore the available options and adjust the settings according to your preferences.
- Click on “Apply” or “Save” to save your changes.
- Repeat the above steps for any other Logitech devices you wish to customize.
Remember that the customization options may vary depending on the specific Logitech device you have. It’s always a good idea to consult the user manual or visit the Logitech support website for detailed instructions and information about the customization features available for your device.
By taking the time to customize your Logitech devices, you can create a personalized and efficient computing experience that fits your needs and preferences. Enjoy the convenience and flexibility that Logitech customization options provide!
Conclusion
Congratulations! You have successfully installed the Logitech Unifying software and connected your Logitech devices to a single receiver. This process allows you to streamline your setup, reduce clutter, and conveniently use multiple Logitech devices with ease.
In this guide, we covered the step-by-step process of installing the Logitech Unifying software. You learned how to download the software, run the installer, connect the receiver, pair your devices, and customize the settings if desired.
Remember to always download software from official sources to ensure its authenticity and security. By downloading the Logitech Unifying software from the official Logitech website, you can trust that you are getting a genuine and safe installation file.
If you encounter any issues during the installation process or need further assistance, consult the user manual for your Logitech devices or visit the Logitech support website for troubleshooting guides and additional resources.
Now that your Logitech devices are connected and customized, enjoy the convenience and productivity they bring to your computing experience. Whether you’re using a Logitech keyboard, mouse, or any other compatible device, the Logitech Unifying software helps simplify and improve your usage.
Thank you for following this guide, and we hope you find the Logitech Unifying software beneficial. Happy computing!