Introduction
Welcome to our guide on how to connect a Logitech Unifying Receiver. If you are a user of Logitech peripherals, you may have come across the term “Logitech Unifying Receiver” in relation to wireless connectivity. In this article, we will explore what the Logitech Unifying Receiver is, how it works, and how you can connect your devices to it.
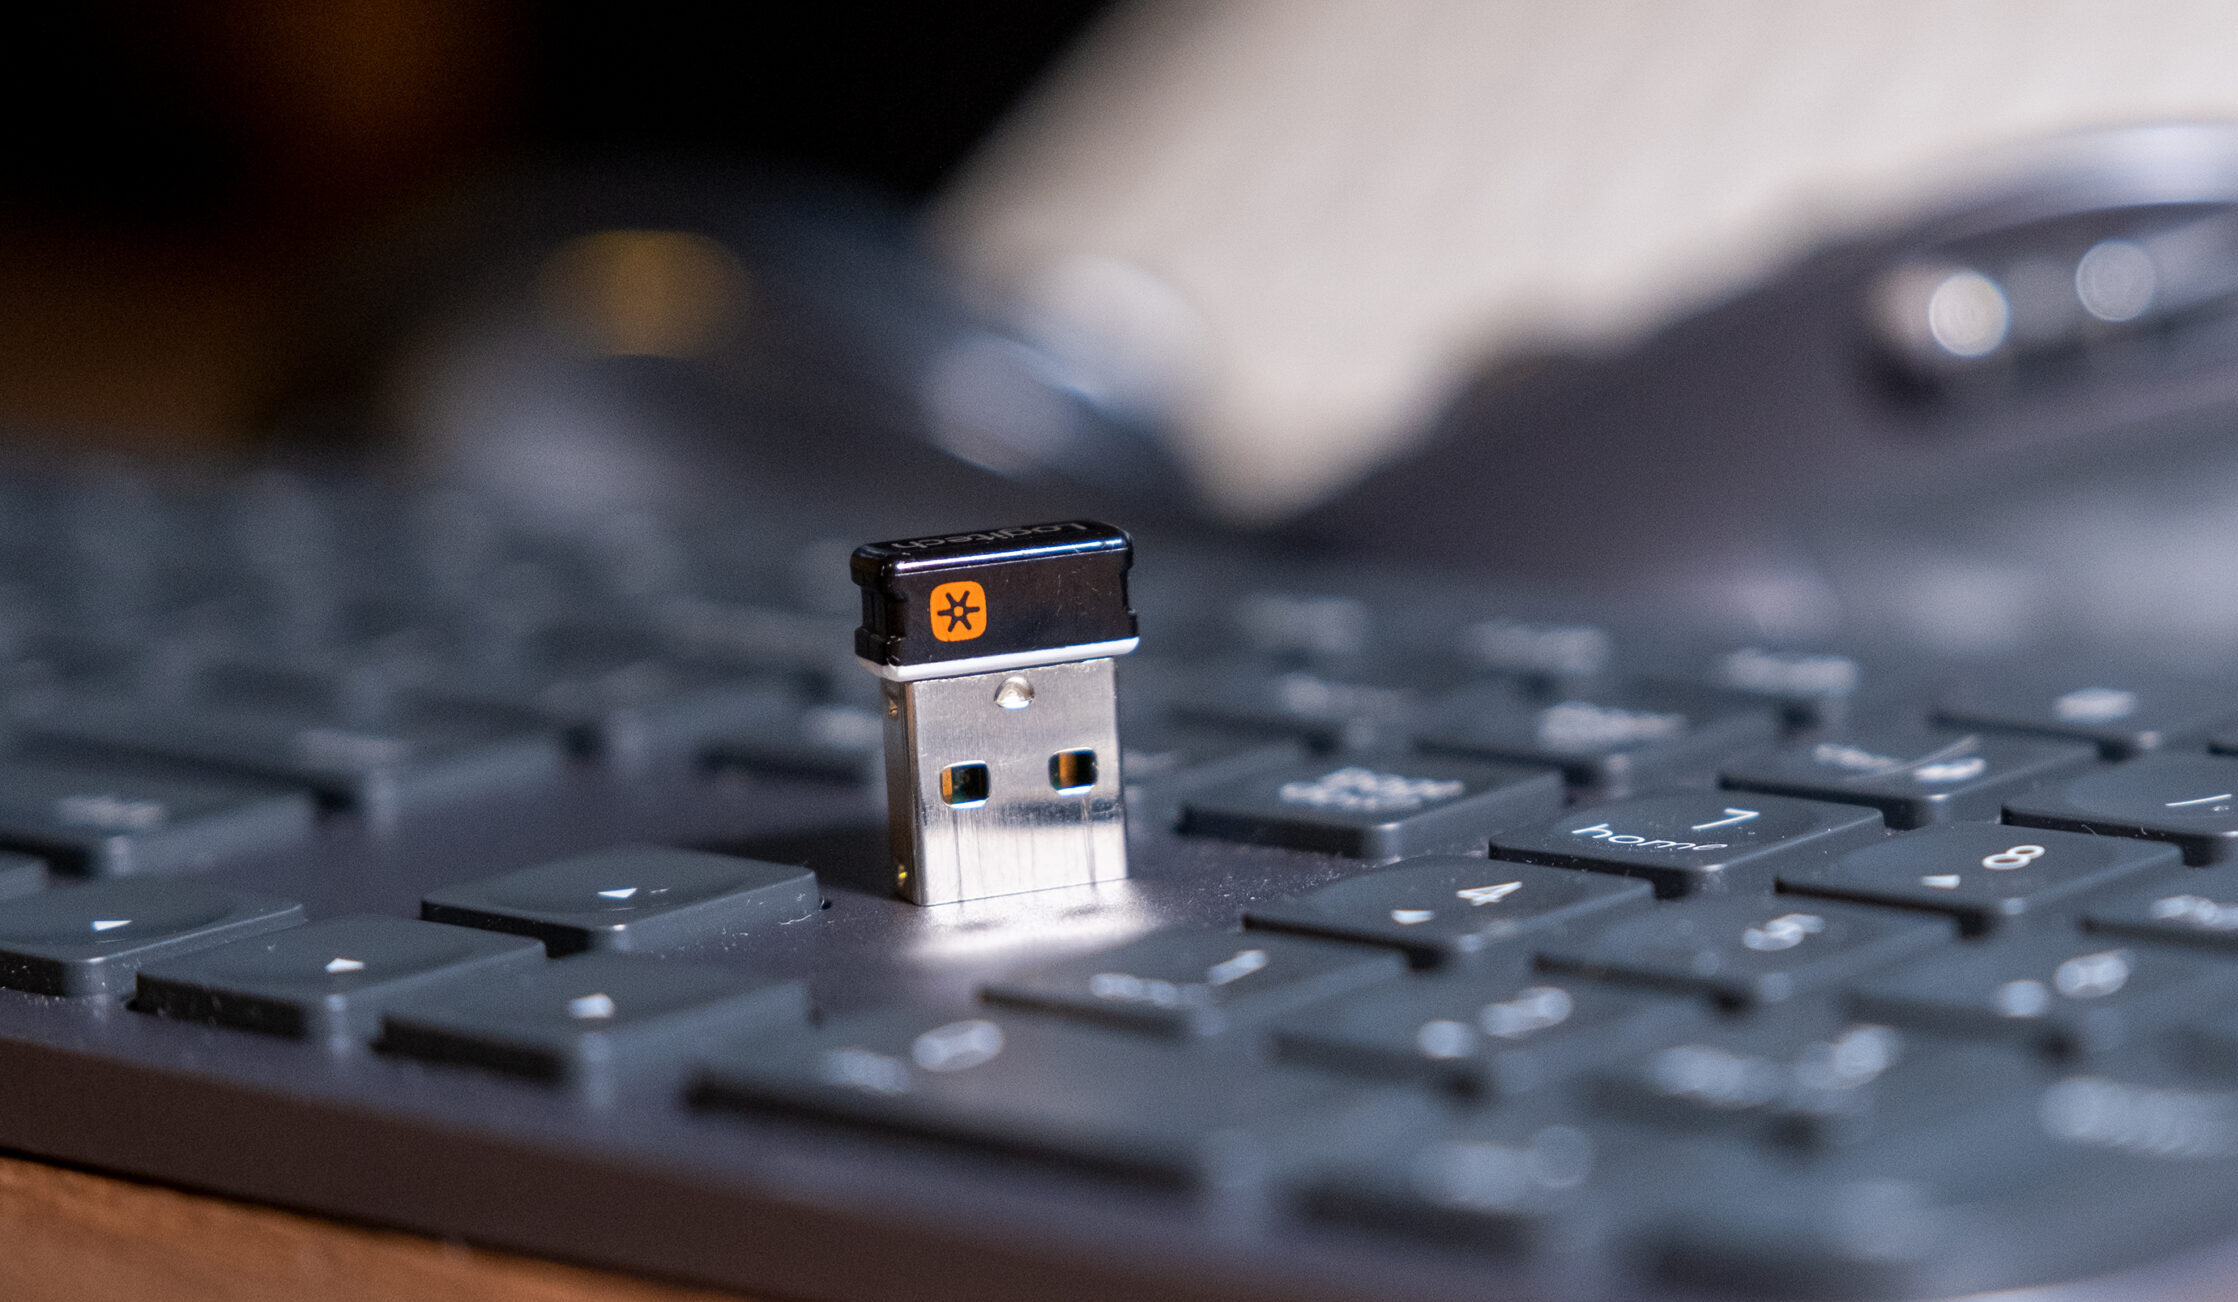
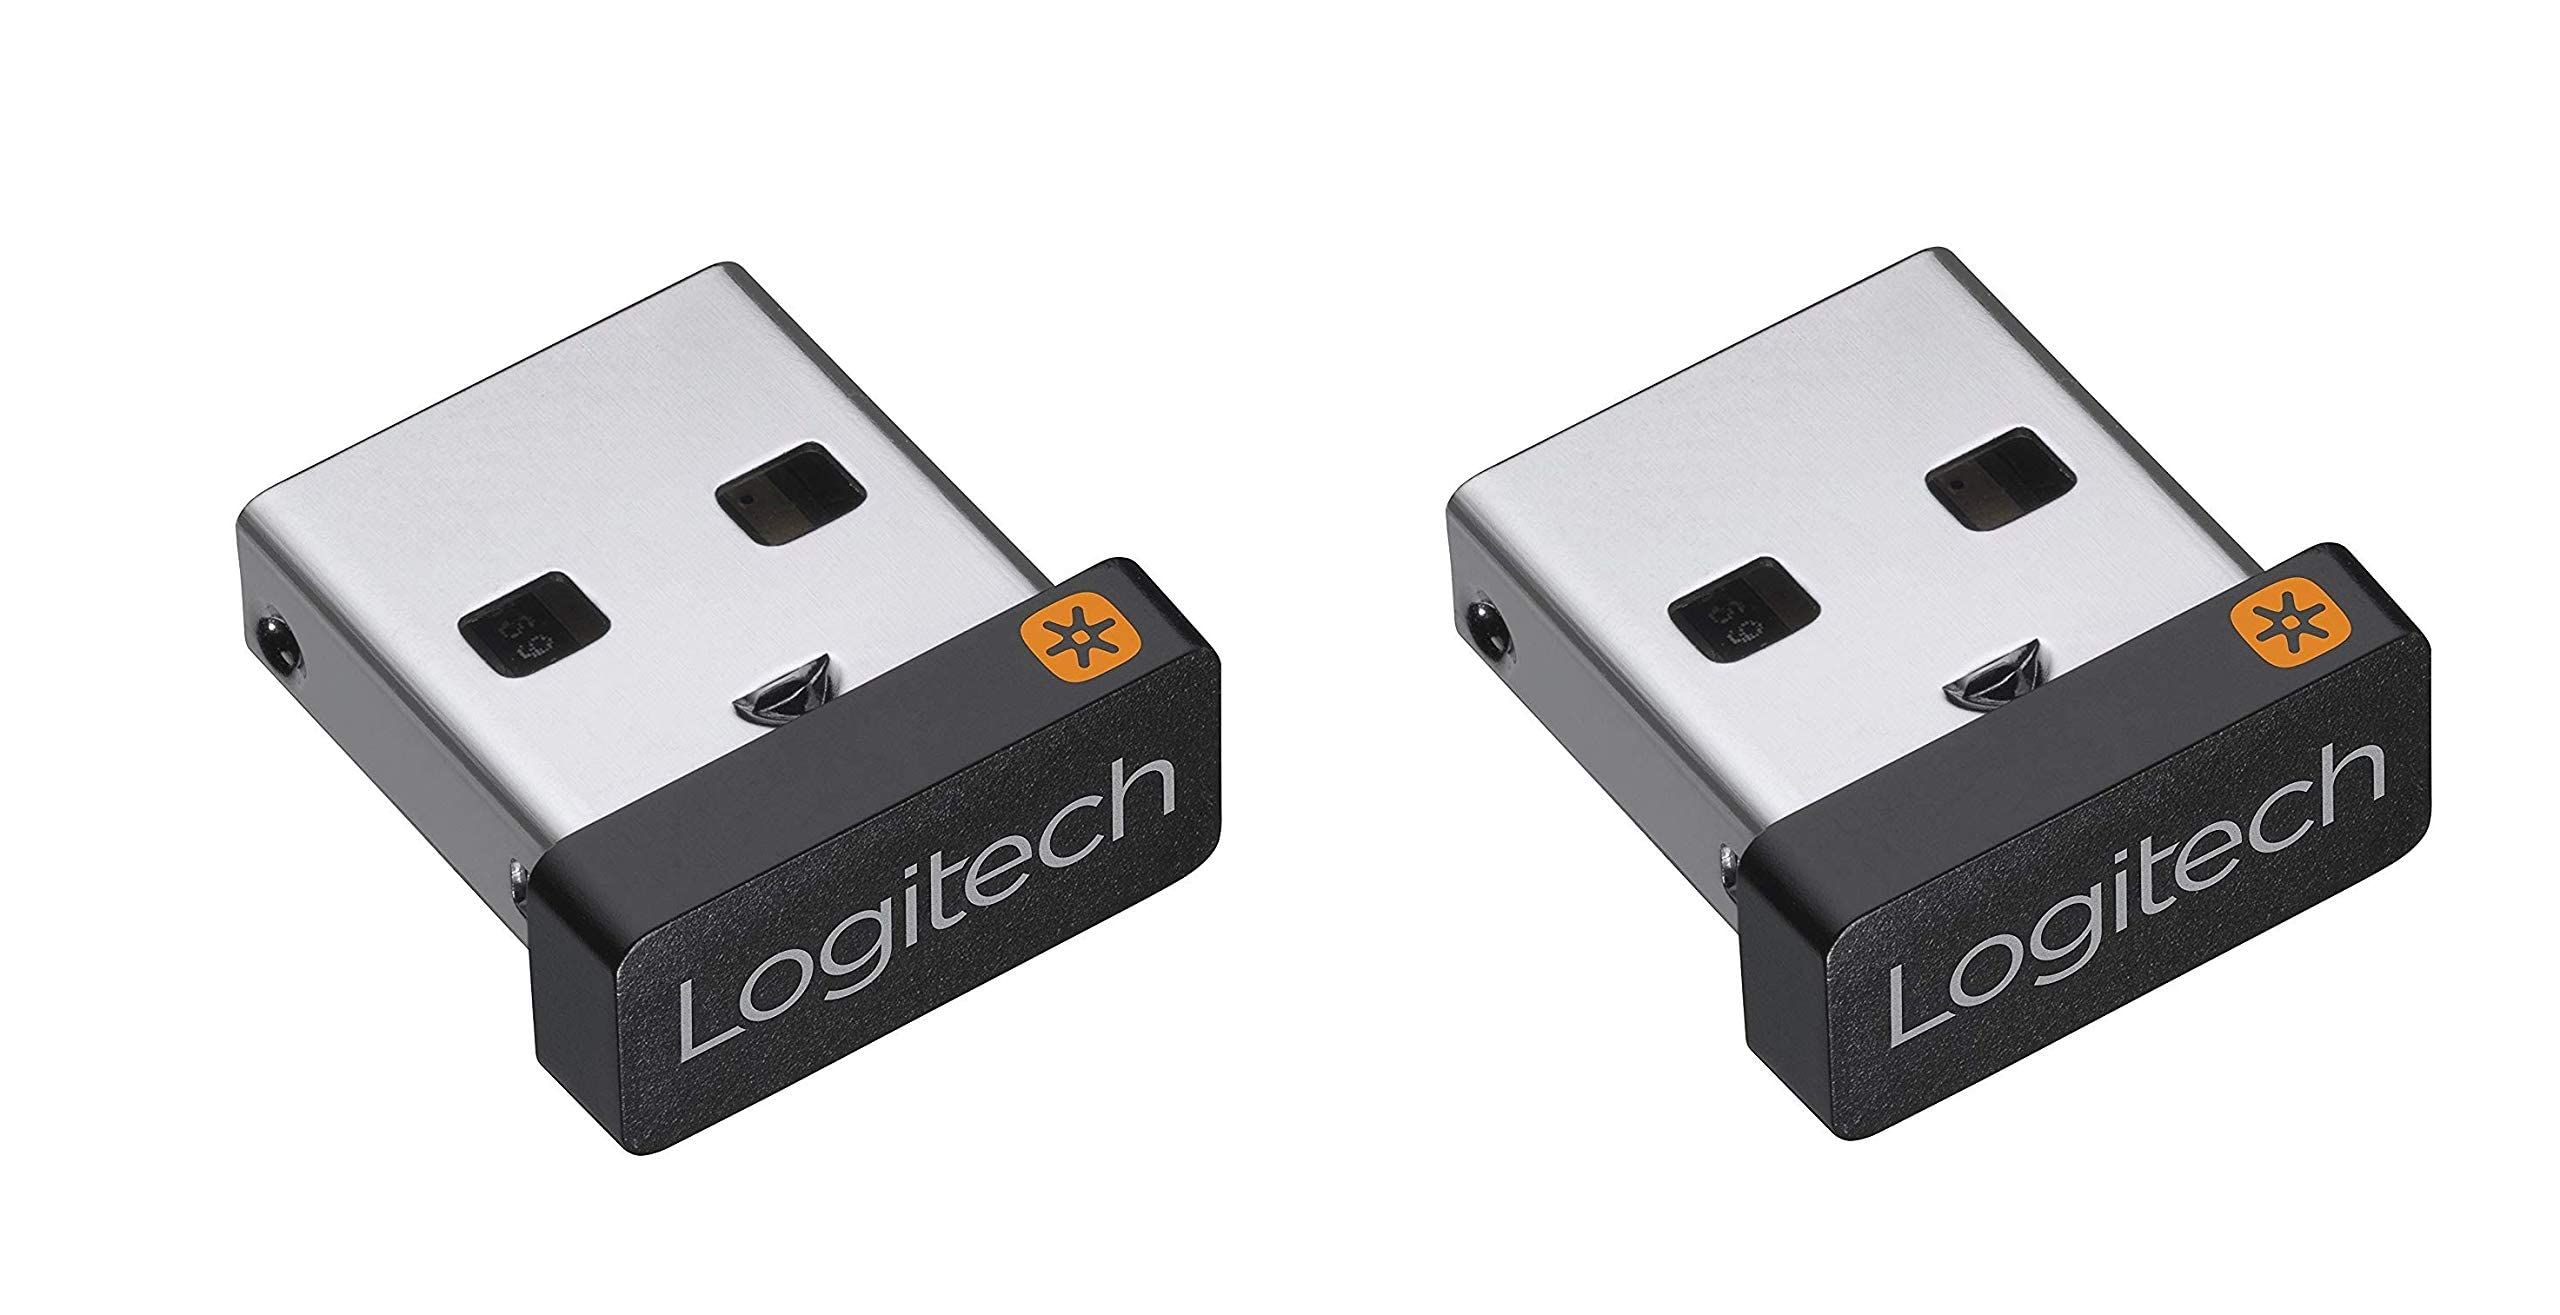
The Logitech Unifying Receiver is a small USB dongle that allows you to connect multiple Logitech wireless devices to a single computer. This technology is particularly useful for users who have multiple Logitech devices, such as a wireless keyboard, mouse, and other peripherals, and want to reduce clutter and simplify their workspace. Instead of using separate USB receivers for each device, the Logitech Unifying Receiver enables you to use a single receiver for all your compatible Logitech devices.
One of the main benefits of the Logitech Unifying Receiver is its ease of use and seamless connectivity. With just a single USB receiver, you can connect up to six Logitech devices to your computer. This eliminates the need for multiple USB ports and makes it more convenient to switch between different devices without the hassle of plugging and unplugging receivers.
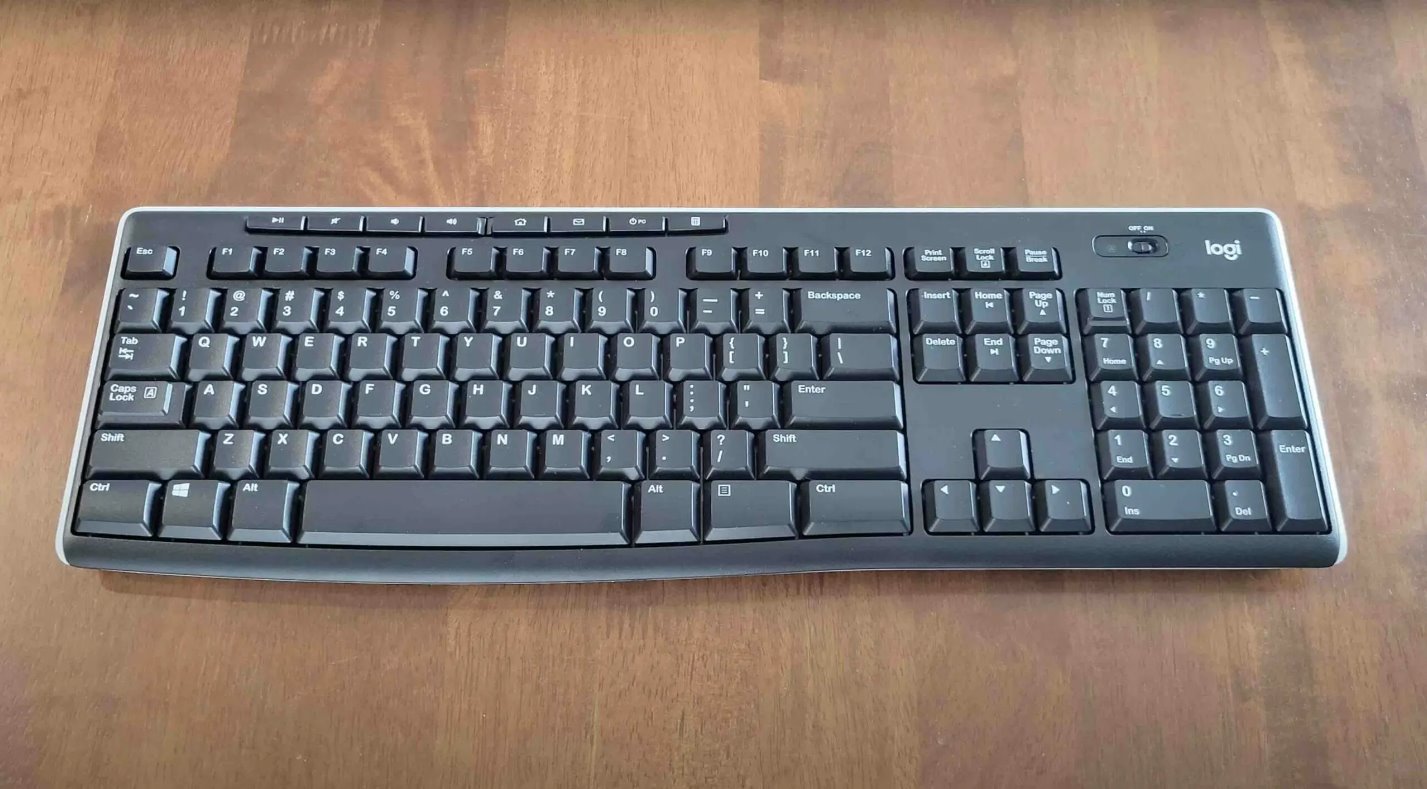
The Logitech Unifying Receiver is compatible with a wide range of Logitech devices, including keyboards, mice, trackballs, and presenter devices. It works with both Windows and Mac operating systems, making it an ideal solution for users on various platforms.
In the next sections of this guide, we will take you through the step-by-step process of connecting the Logitech Unifying Receiver to your computer, installing the necessary software, pairing devices with the receiver, and troubleshooting any potential connection issues. By the end of this guide, you will have a clear understanding of how to set up and utilize the Logitech Unifying Receiver with your Logitech peripherals.
So, let’s dive in and get started with connecting your Logitech devices to the Logitech Unifying Receiver!
What is Logitech Unifying Receiver?
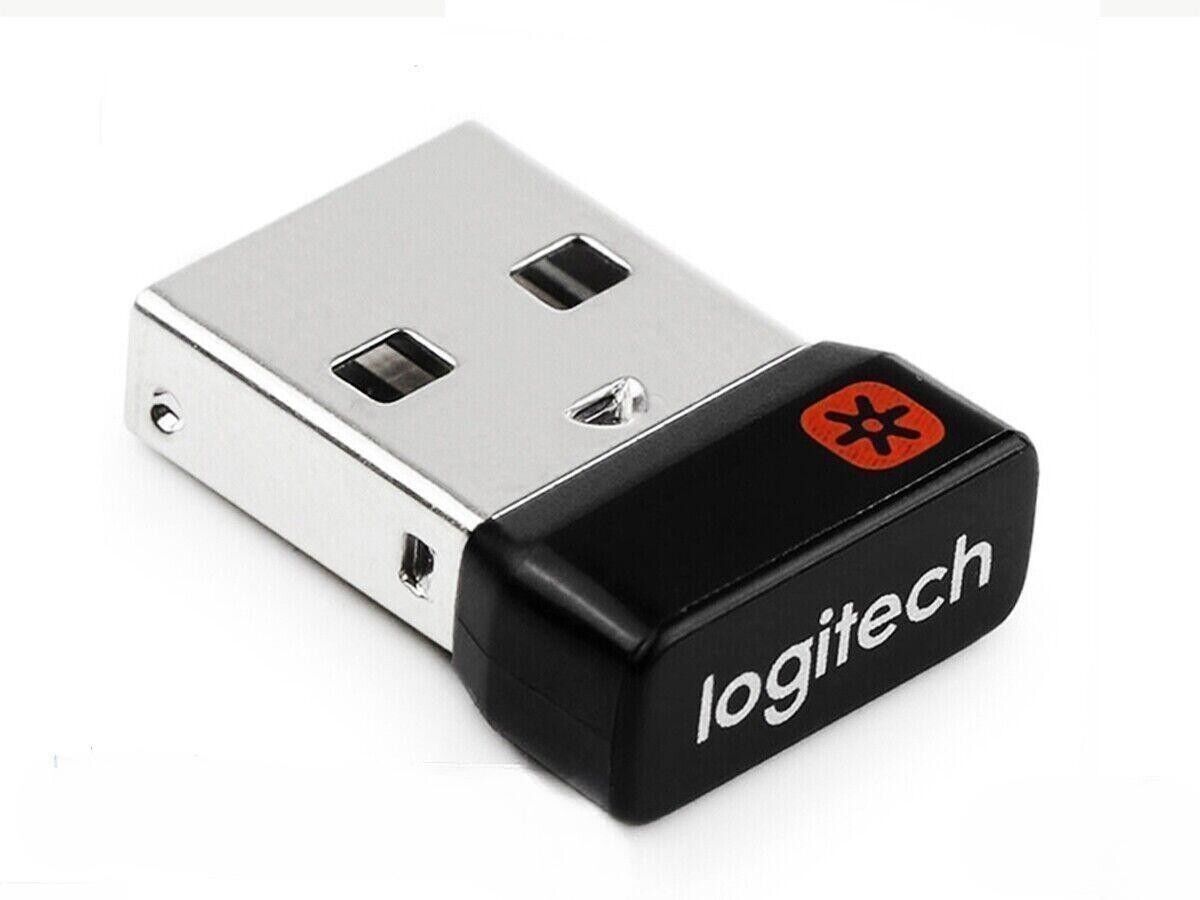
The Logitech Unifying Receiver is a small USB dongle that allows you to connect multiple Logitech wireless devices to a single computer. It provides a convenient and clutter-free way to connect your Logitech keyboard, mouse, trackball, and other compatible peripherals without the need for multiple USB receivers.
The Logitech Unifying Receiver operates on a 2.4 GHz wireless frequency and has a range of up to 30 feet, giving you the freedom to use your devices from a comfortable distance. It uses advanced encryption technology to ensure a secure and reliable connection between your devices and your computer.
One of the key advantages of the Logitech Unifying Receiver is its ability to connect up to six devices simultaneously. This means that you can connect your Logitech keyboard, mouse, and other peripherals to the same receiver, freeing up additional USB ports on your computer and reducing cable clutter.
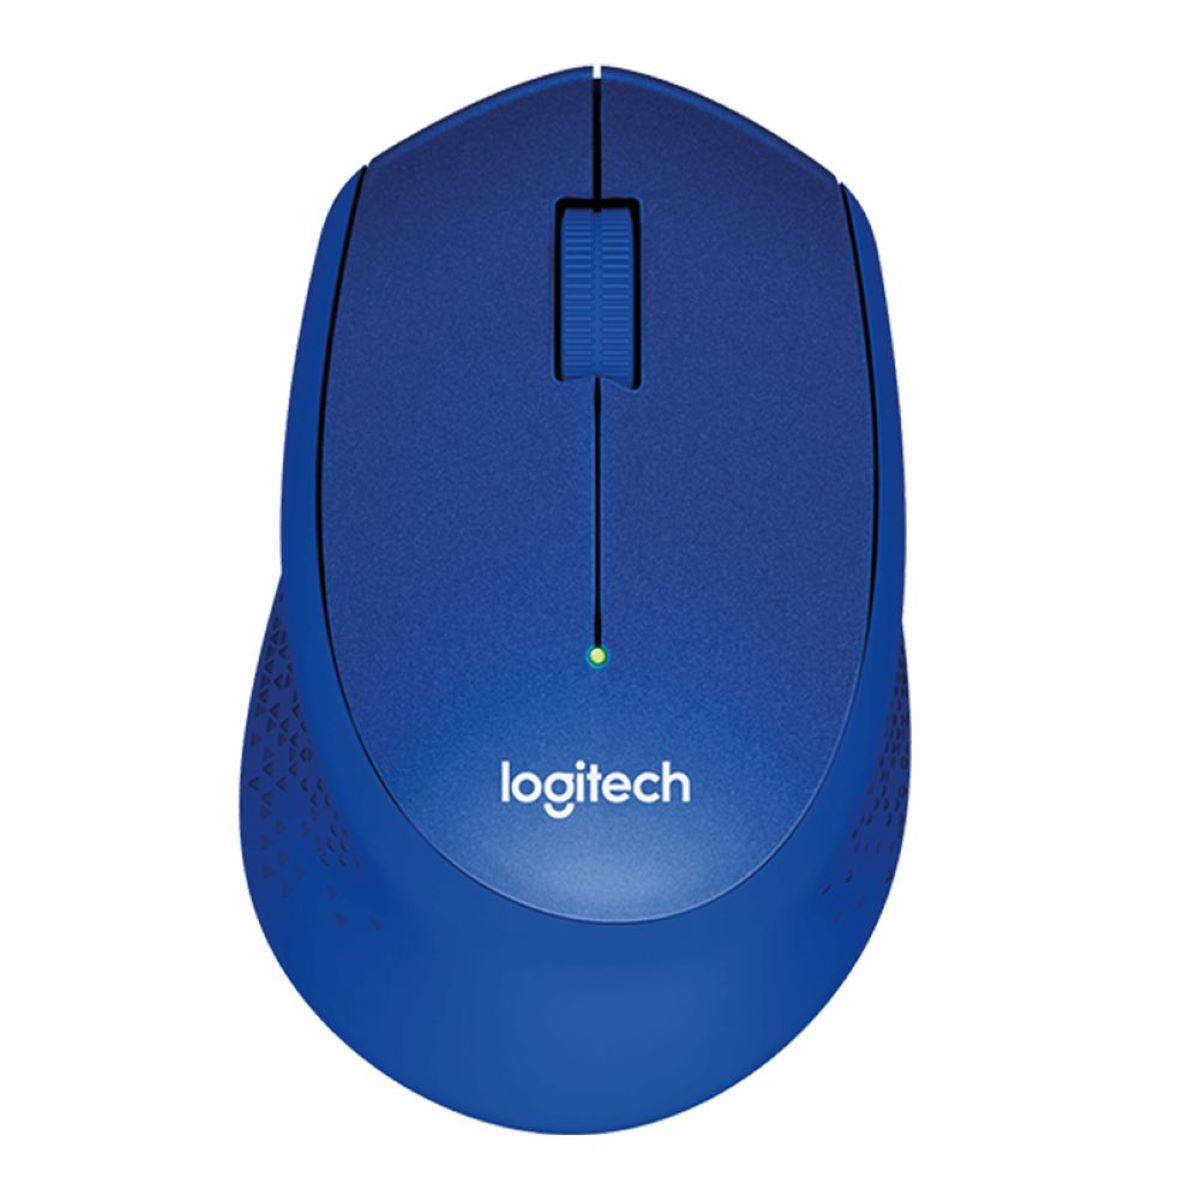
The Logitech Unifying Receiver is compatible with a wide range of Logitech devices. Whether you have a Logitech wireless keyboard, a wireless mouse, a trackpad, or even a presenter device, chances are that it can be paired with the Logitech Unifying Receiver. This versatility makes it an excellent choice for users who want a seamless and efficient way to connect all their Logitech peripherals.
In addition to its compatibility with various Logitech devices, the Logitech Unifying Receiver also works with both Windows and Mac operating systems. This means that regardless of the computer system you use, you can easily connect your Logitech peripherals to the Logitech Unifying Receiver and enjoy a reliable and unified wireless experience.
Setting up the Logitech Unifying Receiver is a straightforward process. After connecting the receiver to an available USB port on your computer, you will need to install the Logitech Options software, which allows you to manage and customize your connected devices. With the software installed, you can easily pair your Logitech devices with the receiver, switch between devices seamlessly, and even remove devices if needed.
In the following sections of this guide, we will walk you through the step-by-step process of connecting the Logitech Unifying Receiver and pairing your Logitech devices with it. So, let’s move on to the next section to get started with the setup process!
Compatibility with Devices
The Logitech Unifying Receiver is designed to be compatible with a wide range of Logitech devices, making it a versatile solution for users who own multiple Logitech peripherals. Whether you have a Logitech wireless keyboard, mouse, trackball, or presenter device, chances are that it can be paired with the Logitech Unifying Receiver.
Logitech provides a list of compatible devices on their website, which you can refer to if you are unsure about the compatibility of your specific Logitech device. In general, most wireless devices from Logitech that use a USB receiver are compatible with the Logitech Unifying Receiver.
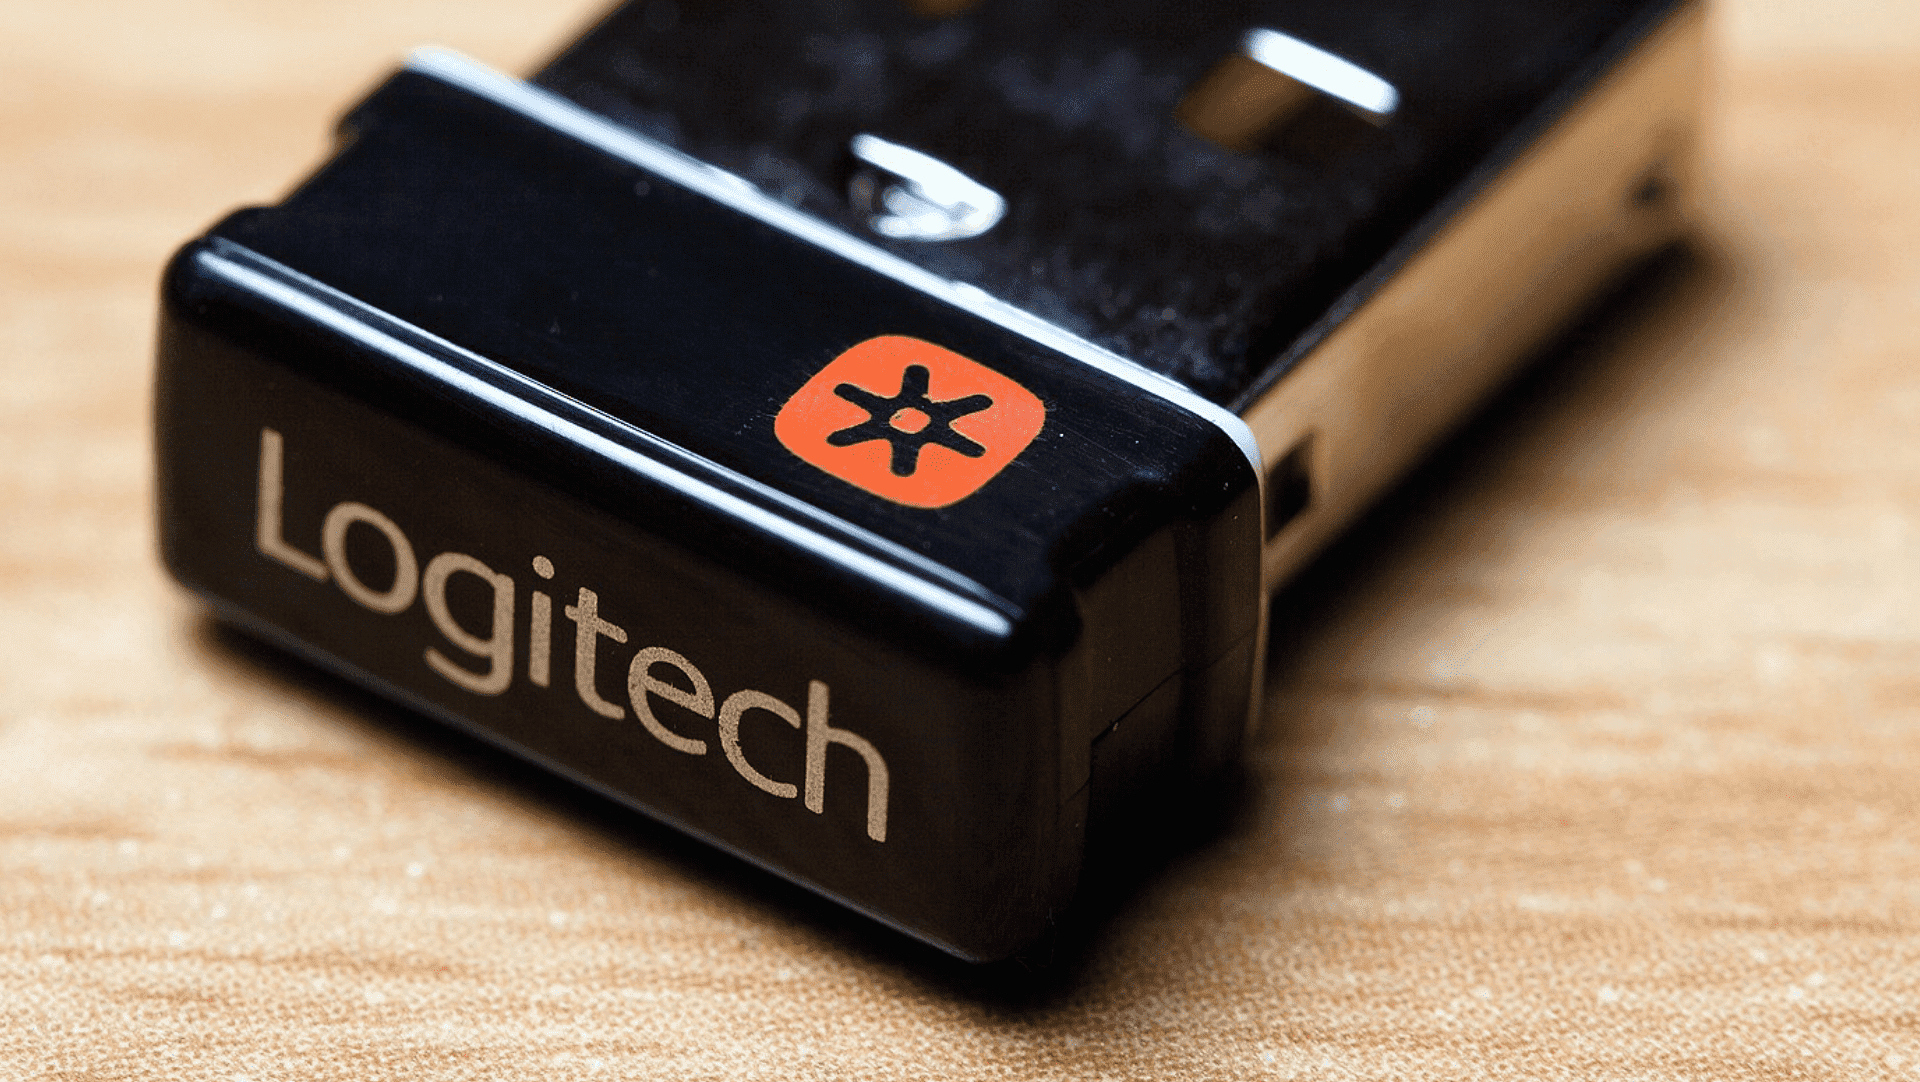
To determine if your Logitech device is compatible with the Logitech Unifying Receiver, you can look for the orange Unifying logo on your device or its packaging. The Unifying logo indicates that the device can be paired with the Logitech Unifying Receiver.
It’s worth noting that some Logitech devices may come with their own dedicated USB receivers. In such cases, you can choose to use either the dedicated receiver or the Logitech Unifying Receiver, depending on your preference and convenience. However, using the Logitech Unifying Receiver allows you to consolidate multiple devices onto a single receiver, saving USB ports and reducing clutter.
The Logitech Unifying Receiver is compatible with both Windows and Mac operating systems, ensuring that users on different platforms can enjoy the convenience and flexibility it offers. This cross-platform compatibility makes it an appealing choice for users who frequently switch between different operating systems or have multiple devices running on different platforms.
If you are unsure whether your Logitech device is compatible with the Logitech Unifying Receiver, you can visit the Logitech website or refer to the user manual that came with your device. These resources will provide you with detailed information about compatibility and the steps to connect your specific Logitech device to the Logitech Unifying Receiver.
Now that you have an understanding of the compatibility of Logitech devices with the Logitech Unifying Receiver, let’s move on to the next section, where we will guide you through the process of connecting the Logitech Unifying Receiver to your computer.
Connecting the Logitech Unifying Receiver
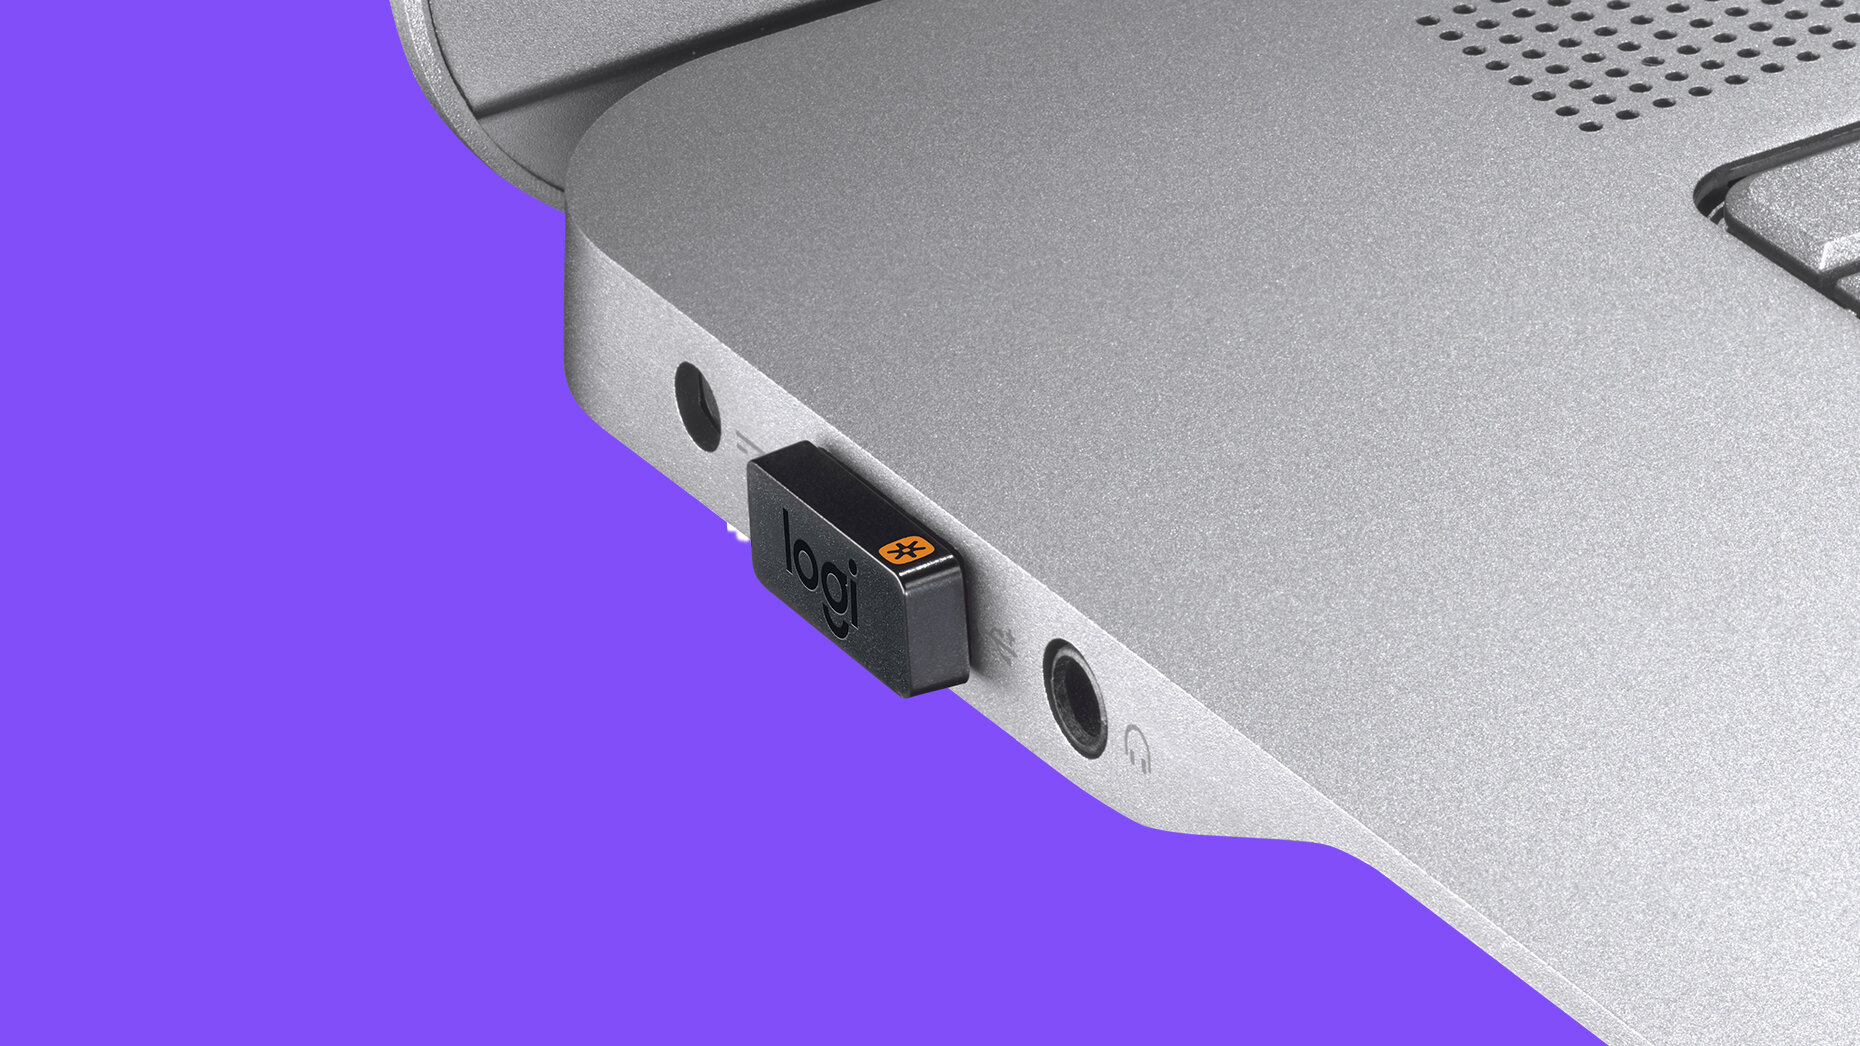
Connecting the Logitech Unifying Receiver to your computer is a simple process that involves plugging the receiver into an available USB port. Once connected, you can start pairing your Logitech devices with the receiver.
Here are the steps to connect the Logitech Unifying Receiver:
- Locate an available USB port on your computer.
- Insert the Logitech Unifying Receiver into the USB port. Make sure it is securely plugged in.
- Wait for your operating system to recognize the receiver. This may take a few seconds.
- Your Logitech devices should now be ready to pair with the receiver.
That’s it! Your Logitech Unifying Receiver is now connected to your computer, and you can proceed to pair your Logitech devices with it. To do this, you will need to follow the pairing instructions specific to each device.
If you are using a Logitech keyboard, mouse, or trackball, there is usually a button on the device that you need to press to enter pairing mode. Consult the user manual or visit the Logitech support website for your specific device to find the exact instructions for entering pairing mode.
Once your Logitech device is in pairing mode, it will search for the Logitech Unifying Receiver and establish a connection. This process may take a few seconds, so be patient. Once the pairing is successful, you will be able to use your Logitech device wirelessly with your computer.
It’s important to note that the Logitech Unifying Receiver can store pairing information for up to six devices. If you already have other devices paired with the receiver, make sure to follow the pairing instructions for the new device, and it will be added to the existing connection list.
If you experience any issues during the connection process, make sure that the Logitech Unifying Receiver is securely plugged into a USB port, and try restarting your computer. If the problem persists, you can consult the Logitech support website for troubleshooting guides or contact their customer support for further assistance.
Now that you have successfully connected the Logitech Unifying Receiver, the next section will cover the installation of Logitech Options software, which allows you to customize and manage your Logitech devices.
Installing Logitech Options Software
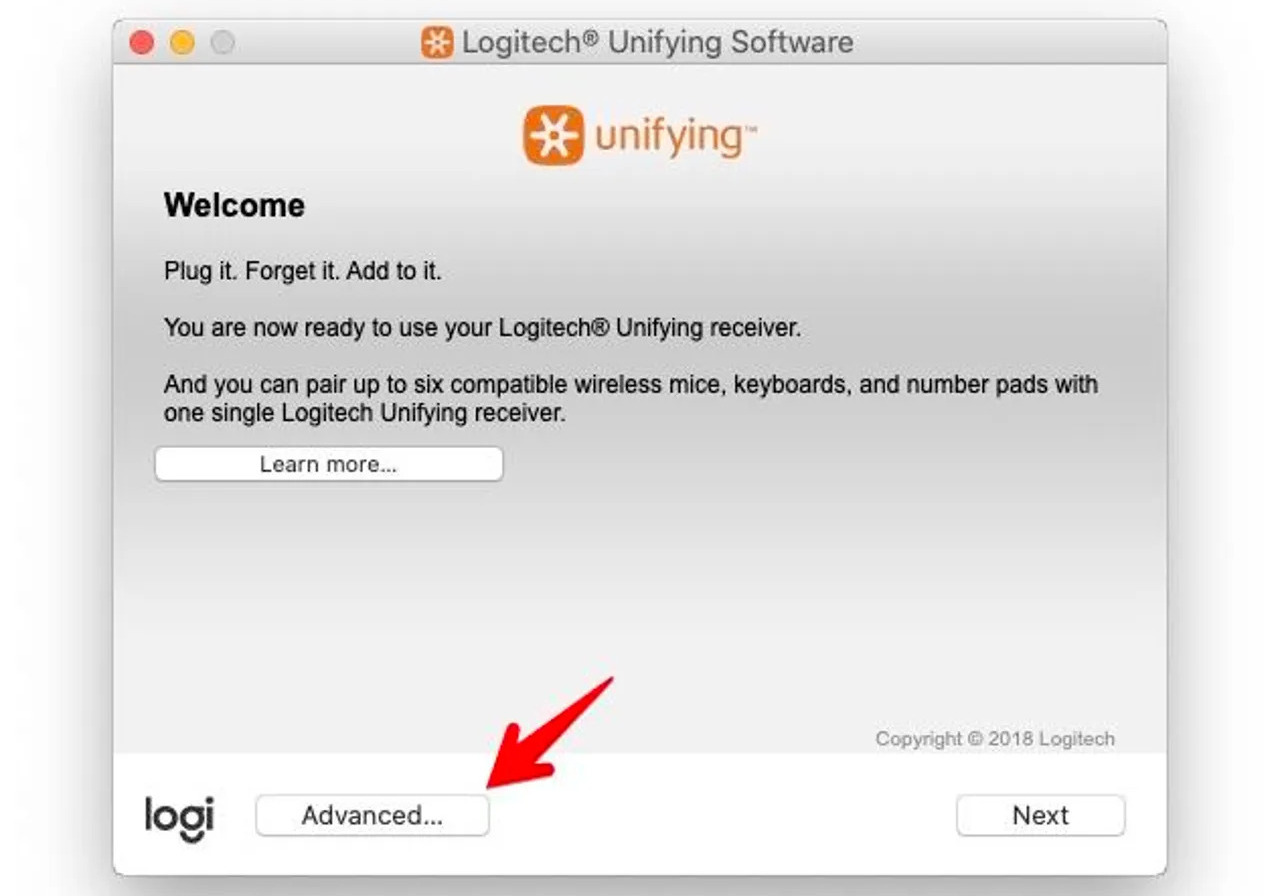
In order to fully utilize and customize your Logitech devices connected to the Logitech Unifying Receiver, you will need to install the Logitech Options software on your computer. This software allows you to personalize your Logitech peripherals and access advanced features.
Here’s how you can install the Logitech Options software:
- Visit the Logitech website and navigate to the Downloads section.
- Search for the Logitech Options software compatible with your operating system.
- Download the Logitech Options software installer and save it to your computer.
- Locate the downloaded file and double-click on it to begin the installation process.
- Follow the on-screen instructions to proceed with the installation.
- Once the installation is complete, launch the Logitech Options software.
After successfully installing the Logitech Options software, you will have access to a range of customization options for your Logitech devices. The software provides intuitive and user-friendly settings that allow you to configure various parameters of your devices, such as pointer speed, scrolling behavior, button assignments, and more.
Furthermore, the Logitech Options software enables you to customize specific settings for each connected device individually. This means that you can tailor the behavior of your keyboard, mouse, and other peripherals according to your preferences and workflow.
In addition to device customization, the Logitech Options software also offers additional features that vary depending on the specific Logitech devices you own. These features may include gesture control, application-specific settings, and media control capabilities.
Whether you want to change the scrolling direction, adjust the sensitivity of your mouse, assign specific functions to your keyboard’s programmable keys, or explore other advanced features, the Logitech Options software provides you with the tools to do so.
It’s important to keep the Logitech Options software up to date to benefit from the latest enhancements, bug fixes, and compatibility updates. Periodically check for software updates on the Logitech website or configure the software to check for updates automatically.
Now that you have installed the Logitech Options software, you are ready to explore the customization possibilities and unlock the full potential of your Logitech devices. The next section will guide you through the process of pairing your Logitech devices with the Logitech Unifying Receiver.
Pairing Devices with the Logitech Unifying Receiver
After connecting the Logitech Unifying Receiver to your computer and installing the Logitech Options software, you are now ready to pair your Logitech devices with the receiver. Pairing allows your devices to establish a secure wireless connection with the receiver, enabling you to use them seamlessly.
Here’s a step-by-step guide on how to pair your Logitech devices with the Logitech Unifying Receiver:
- Make sure the Logitech Unifying Receiver is connected to an available USB port on your computer.
- Ensure that your Logitech device is in pairing mode. Refer to the user manual or the Logitech support website for instructions on how to enable pairing mode for your specific device.
- Launch the Logitech Options software on your computer.
- In the Logitech Options software, click on “Add Devices” or a similar option to start the pairing process.
- Follow the on-screen instructions to search for nearby devices.
- A list of available Logitech devices will be displayed. Select the device you want to pair from the list.
- Follow any additional prompts or instructions given by the Logitech Options software to complete the pairing process.
- Repeat the pairing process for any additional Logitech devices you want to connect to the Logitech Unifying Receiver.
Once the pairing process is completed, the Logitech device will be connected to the Logitech Unifying Receiver, and you can start using it wirelessly with your computer.
If you have multiple Logitech devices that you want to connect to the Logitech Unifying Receiver, you can pair up to six devices in total. Simply follow the same pairing process for each device, and they will be added to the existing connection list.
Keep in mind that the Logitech Options software provides additional customization options for each paired device. You can access these settings by selecting the specific device within the software and exploring the available options.
If you want to switch between devices that are paired with the Logitech Unifying Receiver, you can do so easily. Most Logitech devices have a designated button or switch that allows you to switch between connected devices. Press this button or activate the switch to switch the active device.
It’s worth noting that the Logitech Unifying Receiver is designed to provide a reliable and stable connection. However, in rare cases where you experience connection issues or if a device is not responding, you can try re-pairing the device with the receiver. Simply follow the pairing instructions provided earlier, and the device should reconnect.
Now that you have successfully paired your Logitech devices with the Logitech Unifying Receiver, you can enjoy the convenience of using multiple devices wirelessly with your computer. The next section will cover the process of switching between paired devices.
Switching between Paired Devices
One of the key advantages of using the Logitech Unifying Receiver is the ability to connect multiple Logitech devices to a single receiver. This allows you to switch between paired devices seamlessly, without the need to unplug or re-pair each device individually.
Here’s how you can switch between paired devices using the Logitech Unifying Receiver:
- Ensure that all the desired Logitech devices are paired with the Logitech Unifying Receiver.
- Place the device you want to use in front of you and make sure it is turned on.
- Using the switch or button on the device, activate the connection mode or switch to the device.
- The Logitech Unifying Receiver will automatically detect the active device and establish a connection.
Once the connection is established, you can start using the paired device immediately. Switching between paired devices is quick and convenient, allowing you to seamlessly transition from using a wireless keyboard to a wireless mouse, or any other Logitech device in your setup.
Some Logitech devices, such as keyboards and mice, may have additional buttons or features that enable you to switch between connected devices. These buttons are usually located on the device’s body or near the scroll wheel. Consult the user manual or visit the Logitech support website for your specific device to learn more about the available switching options.
When switching between devices, it’s important to note that the Logitech Unifying Receiver will remember the pairing information for each device. This means that you can easily switch back and forth between previously paired devices without the need for re-pairing.
If you find that a device is not responding or not connecting properly, you can try the following troubleshooting steps:
- Make sure the device’s batteries are charged or replaced, if necessary.
- Ensure that the device is within the specified wireless range of the Logitech Unifying Receiver.
- Check that the Logitech Unifying Receiver is securely connected to an available USB port on your computer.
- Restart your computer to reset the connection between the devices and the receiver.
If the issue persists, consult the Logitech support website or contact their customer support for further assistance.
Now that you know how to switch between paired devices with the Logitech Unifying Receiver, you can enjoy the flexibility and convenience of using multiple Logitech peripherals wirelessly with ease.
Removing Devices from the Logitech Unifying Receiver
If you no longer need to use a Logitech device with your Logitech Unifying Receiver, or if you want to replace a device with a different one, you can easily remove devices from the receiver. This allows you to free up space for new devices or manage your connected devices more efficiently.
Here’s how you can remove a device from the Logitech Unifying Receiver:
- Launch the Logitech Options software on your computer.
- Select the device you want to remove from the list of connected devices.
- Click on the “Remove” or “Forget Device” option, usually located in the settings or device management section of the software.
- Confirm the removal of the device when prompted.
- The Logitech Unifying Receiver will no longer be paired with the removed device.
By removing a device from the Logitech Unifying Receiver, you are essentially disconnecting it from the receiver’s wireless network. Once removed, the device cannot establish a connection with the Logitech Unifying Receiver until it is paired again.
If you plan to replace the removed device with a new Logitech device, you can follow the pairing process mentioned earlier to connect the new device to the Logitech Unifying Receiver.
It’s important to note that removing a device from the Logitech Unifying Receiver does not affect the pairing information or connection settings of other devices. Each device’s pairing information is stored separately in the receiver, allowing you to easily manage and switch between different Logitech peripherals.
If you encounter any difficulties while removing devices or if a removed device still shows up in the Logitech Options software, you can try the following troubleshooting steps:
- Restart your computer to reset the software and receiver.
- Ensure that you are using the latest version of the Logitech Options software.
- Unplug the Logitech Unifying Receiver and plug it back in to refresh the connection.
- Contact Logitech customer support for further assistance if the issue persists.
Removing devices from the Logitech Unifying Receiver gives you the flexibility to manage your Logitech peripherals and customize your workspace according to your needs. Whether you are upgrading to a new device or reorganizing your setup, the removal process is quick and straightforward.
The next section will cover some common troubleshooting tips for dealing with connection issues related to the Logitech Unifying Receiver.
Troubleshooting Connection Issues
While the Logitech Unifying Receiver generally provides a reliable wireless connection for your Logitech devices, there may be instances where you experience connection issues. These issues can be caused by various factors, including interference, compatibility problems, or technical glitches. However, there are troubleshooting steps you can take to resolve these issues and restore the connection.
Here are some common troubleshooting tips for dealing with connection issues related to the Logitech Unifying Receiver:
- Check the physical connection: Ensure that the Logitech Unifying Receiver is securely plugged into an available USB port on your computer. If it is connected to a USB hub, try plugging it directly into a USB port on your computer to rule out any issues with the hub.
- Swap USB ports: Sometimes, USB ports can become faulty or have compatibility issues. Try plugging the Logitech Unifying Receiver into a different USB port on your computer to see if that resolves the connection problem.
- Restart your computer: Restarting your computer can help refresh the connection between the Logitech Unifying Receiver and your devices. After restarting, check if the connection issue has been resolved.
- Remove obstructions and interference: Ensure that there are no physical obstructions or interference sources, such as other wireless devices or large metal objects, near the Logitech Unifying Receiver. These can weaken the wireless signal and disrupt the connection. Moving the receiver to a different location or using a USB extension cable to position it closer to your devices may help improve the connection.
- Replace batteries: If your Logitech device is running on battery power, make sure the batteries are not low or depleted. Replace them if necessary, and check if the connection issue persists.
- Update Logitech Options software: Ensure that you are using the latest version of Logitech Options software. Outdated software can lead to compatibility issues or bugs that can affect the connection. Visit the Logitech website and download the latest software version to update it.
- Remove and re-pair devices: If a specific Logitech device is experiencing connection problems, remove it from the Logitech Options software and re-pair it with the Logitech Unifying Receiver. Follow the pairing instructions provided earlier in this guide to establish a fresh connection.
- Reset the receiver: Some Logitech Unifying Receivers have a reset button on them. You can try pressing the reset button using a paperclip or a small object to reset the receiver to its default settings. After resetting, go through the pairing process again to reconnect your devices.
If you have tried all the troubleshooting steps mentioned above and are still experiencing connection issues, it is recommended to visit the Logitech support website or contact their customer support for further assistance. They can provide personalized help and guide you through specific solutions for your device and situation.
Remember that connection issues may arise occasionally, but with the right troubleshooting steps, most problems can be resolved, allowing you to enjoy uninterrupted wireless connectivity with your Logitech devices and the Logitech Unifying Receiver.
Conclusion
In this guide, we have explored the Logitech Unifying Receiver and how it allows you to connect multiple Logitech devices to a single computer. We discussed its compatibility with various Logitech peripherals, including keyboards, mice, trackballs, and presenter devices. Connecting the Logitech Unifying Receiver to your computer is a simple process, and we provided step-by-step instructions to help you get started.
We also covered the importance of installing the Logitech Options software, which enables you to customize and personalize your Logitech devices according to your preferences. The software offers a range of options and features to enhance your user experience with Logitech peripherals.
Pairing devices with the Logitech Unifying Receiver is easy, and we outlined the necessary steps to establish a wireless connection between the receiver and your Logitech devices. We also explained how you can switch between paired devices effortlessly, allowing you to seamlessly use different Logitech peripherals with the Logitech Unifying Receiver.
If you ever need to remove a device from the Logitech Unifying Receiver or troubleshoot any connection issues, we provided guidance and troubleshooting tips to help you address those problems effectively.
By utilizing the Logitech Unifying Receiver, you can declutter your workspace, reduce the number of USB receivers, and enjoy the convenience of using multiple Logitech devices wirelessly with a single receiver. Whether you are a productivity enthusiast, a gamer, or a creative professional, the Logitech Unifying Receiver offers a seamless and efficient solution to enhance your computing experience.
We hope this guide has provided you with the information and guidance you need to connect and utilize the Logitech Unifying Receiver effectively. Remember to consult the Logitech support website or reach out to their customer support if you require further assistance or have specific concerns about your Logitech devices or the Logitech Unifying Receiver.
Enjoy the freedom, convenience, and versatility of Logitech Unifying Receiver as you stay productive and explore the endless possibilities with your Logitech peripherals.