Introduction
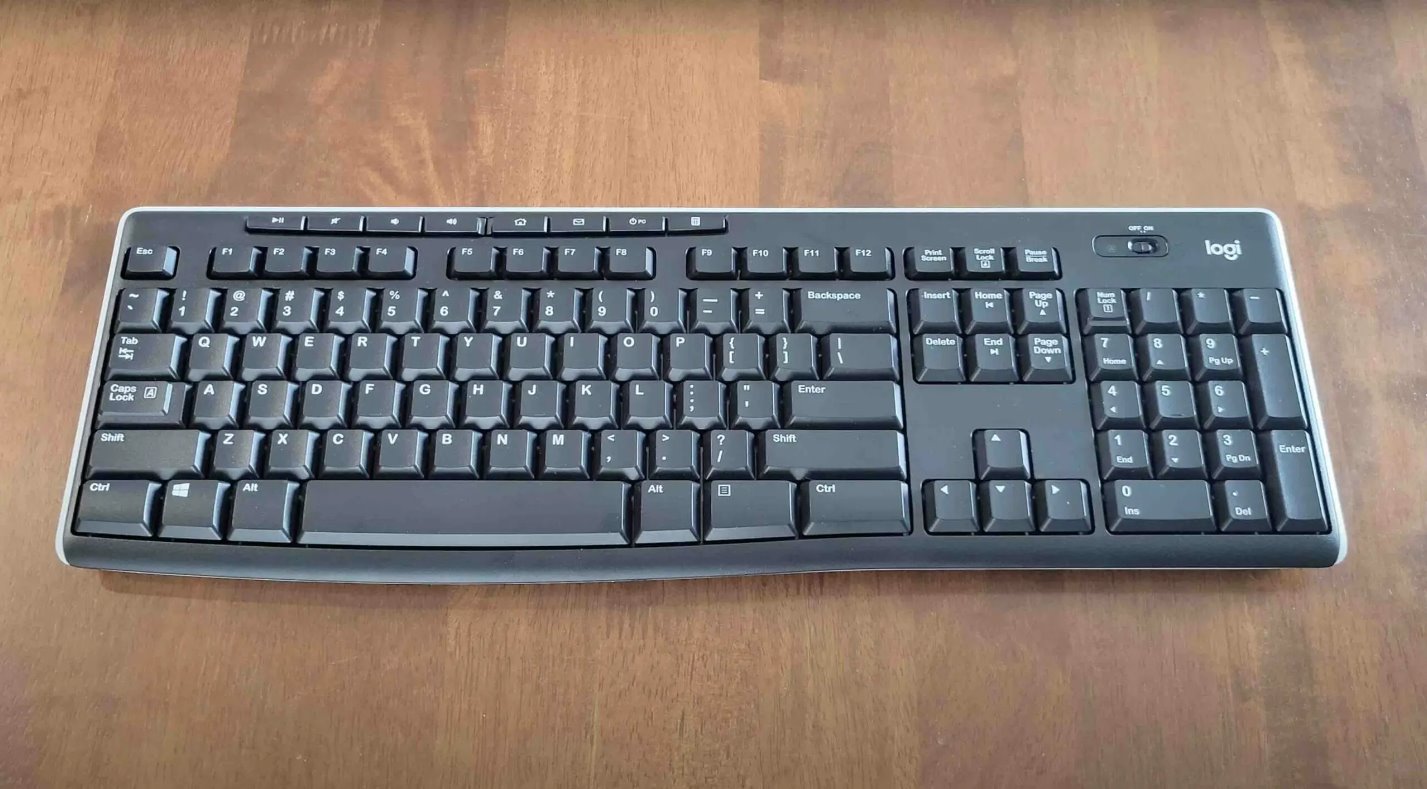
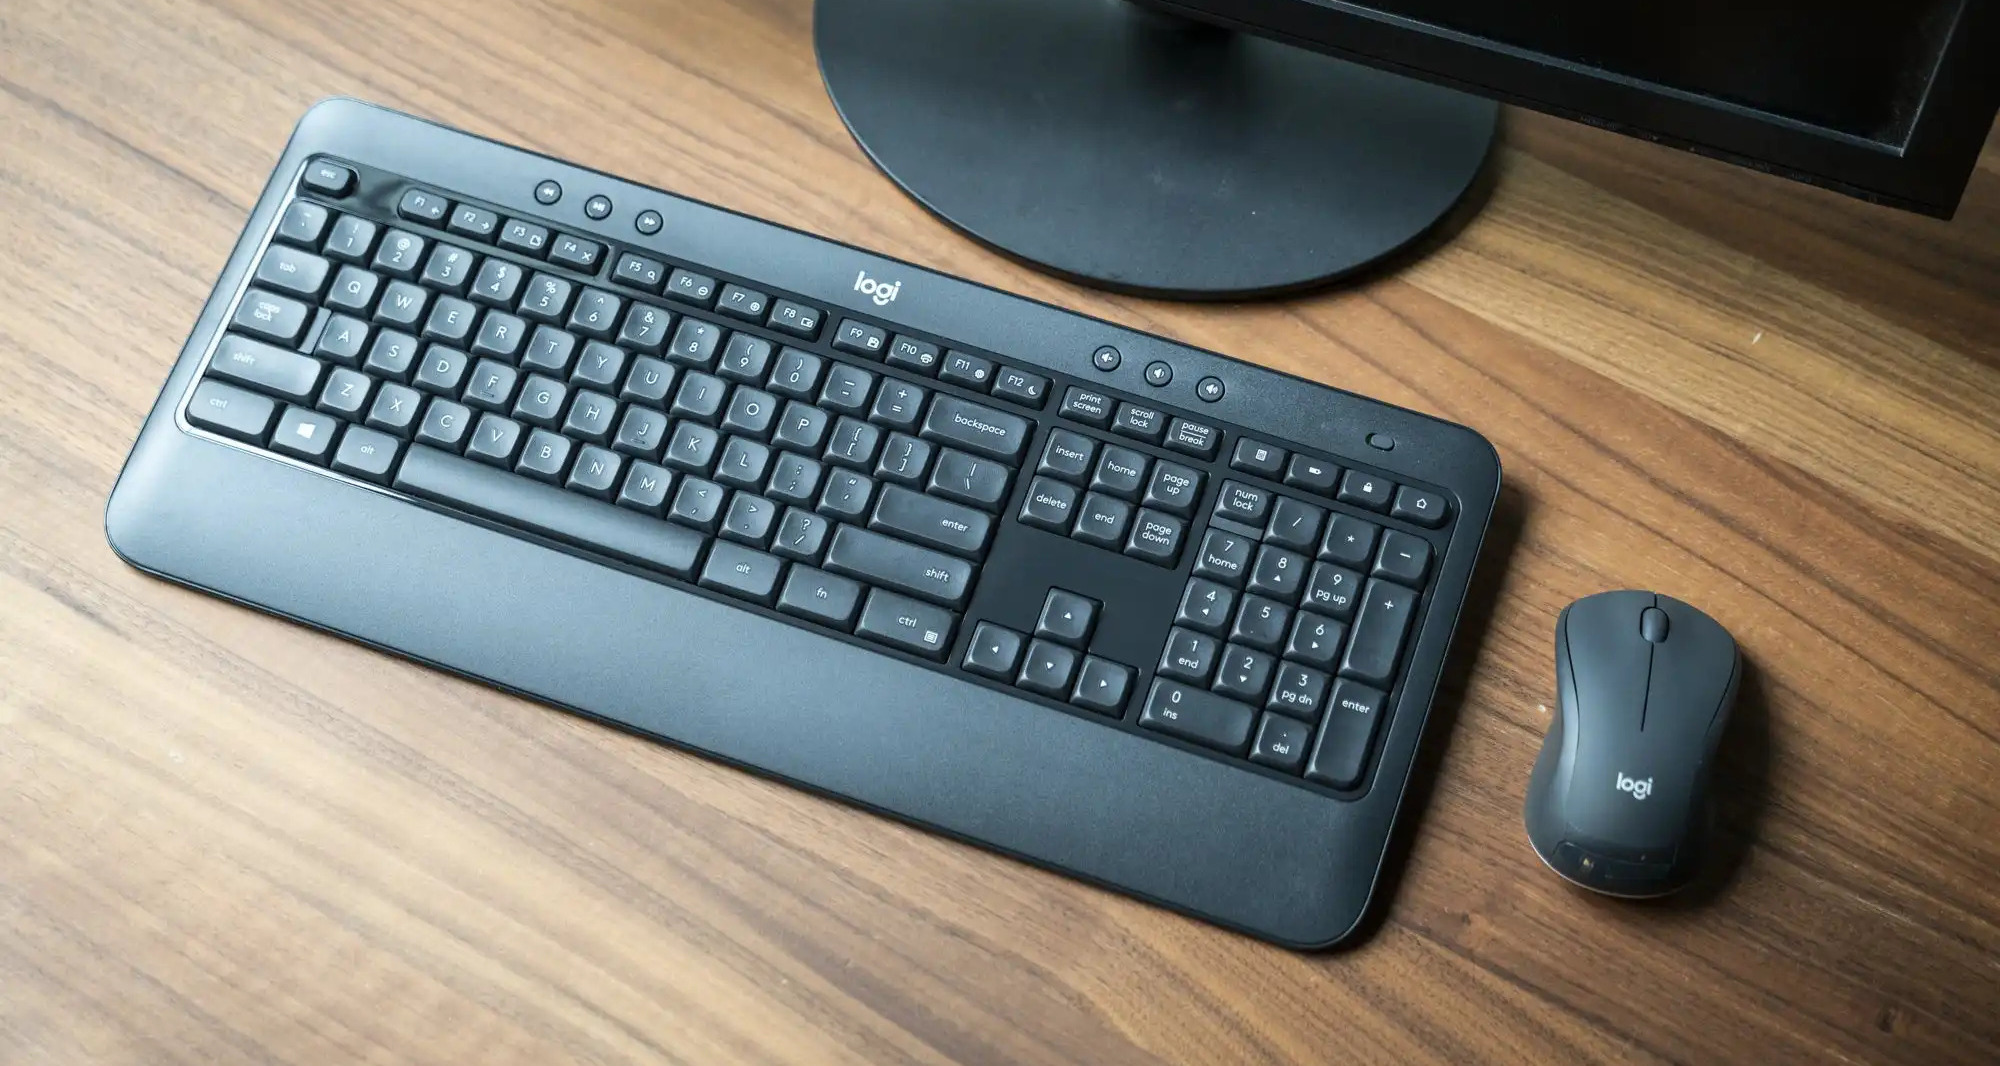
Logitech wireless keyboards are a convenient tool for anyone looking to maintain a clean and clutter-free workspace. These keyboards offer flexibility and freedom of movement, allowing you to type comfortably from a distance. However, there may be situations where you need to connect your Logitech wireless keyboard to a different receiver. Whether you’re replacing a faulty receiver or simply want to switch to a new device, the process is relatively straightforward.
In this guide, we will walk you through the step-by-step process of connecting a Logitech wireless keyboard to a different receiver. Before we dive into the details, it’s important to ensure that the keyboard and the receiver are compatible with each other. Compatibility is key to establishing a successful connection and avoiding any potential issues down the line.
We will also cover how to reset the keyboard and connect the new receiver. Additionally, we will discuss the installation of the Logitech Unifying Software, a handy tool that enables you to manage multiple Logitech devices easily. Lastly, we will guide you through the pairing process to establish a secure and reliable connection between your keyboard and receiver.
So, if you’re ready to learn how to connect your Logitech wireless keyboard to a different receiver, let’s get started with step one: checking compatibility.
Step 1: Check Compatibility
The first and crucial step to connect your Logitech wireless keyboard to a different receiver is to check their compatibility. Logitech keyboards and receivers come in various models and versions, and it’s essential to ensure that they are compatible with each other to establish a successful connection.
Start by identifying the model number of your Logitech keyboard. You can usually find this information on the bottom of the keyboard or on the packaging. Once you have the model number, visit the Logitech website or search for the compatibility information specifically for your keyboard model. Logitech provides comprehensive compatibility details on their website, including a list of supported receivers and devices.
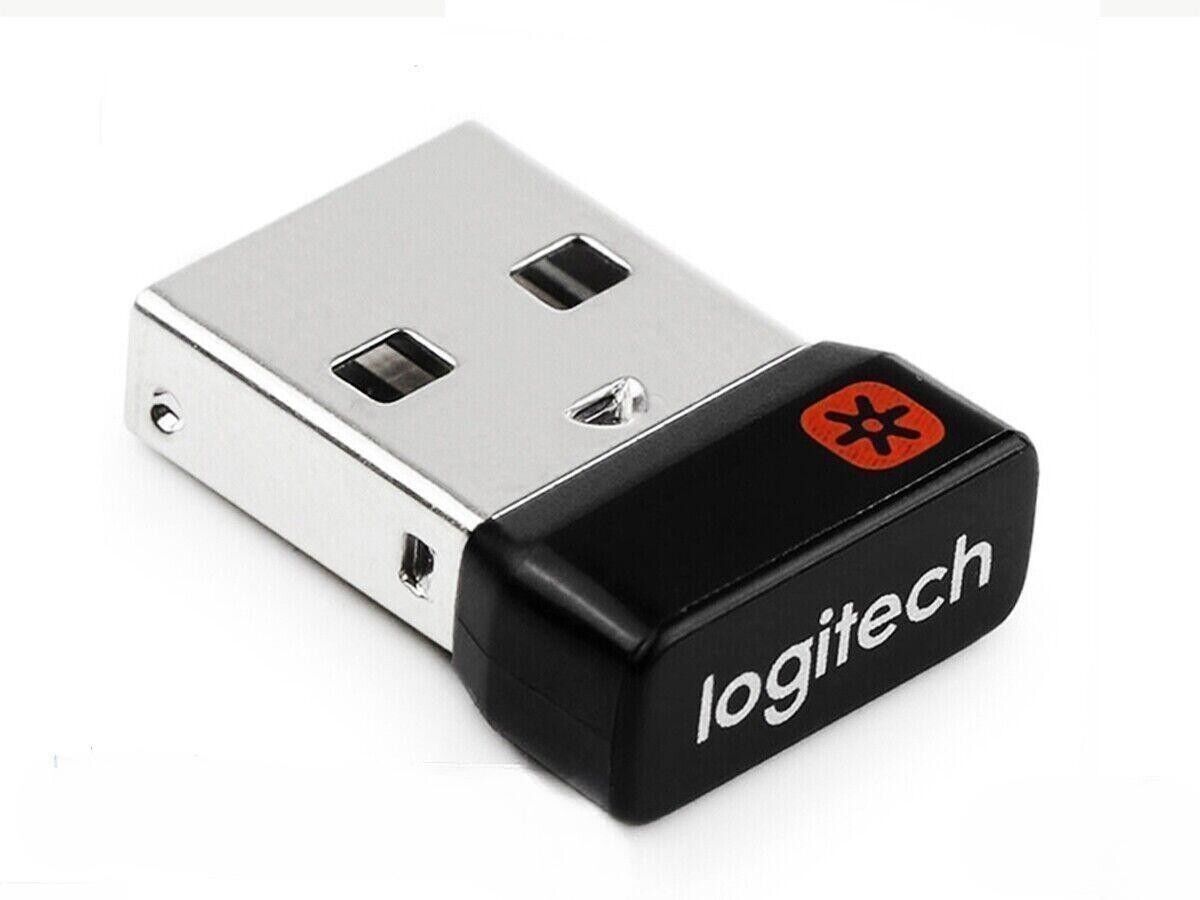
If you are purchasing a new Logitech receiver, make sure it is designed to work with your keyboard model. Some Logitech keyboards use a proprietary wireless technology called “Unifying” that allows multiple devices to be connected to a single receiver. If your keyboard is part of the Unifying lineup, ensure that the receiver you intend to use also supports this technology.
Keep in mind that using a non-compatible receiver may result in connection issues or the keyboard not working at all. It is always recommended to use Logitech-approved receivers to guarantee a seamless and reliable wireless connection.
Once you have confirmed the compatibility between the Logitech keyboard and the receiver, you can move on to the next step: resetting the keyboard to prepare it for connection.
Step 2: Reset the Keyboard
In order to connect your Logitech wireless keyboard to a different receiver, it’s important to reset the keyboard to its default settings. This ensures that any previous configurations or connections are cleared, allowing the keyboard to be paired with a new receiver.
The process of resetting the keyboard may vary depending on the model. However, most Logitech keyboards have a reset button located on the back or bottom of the device. You may need to use a pin or a small tool to press and hold the reset button for a few seconds. This action will reset the keyboard and prepare it for the connection process.
Keep in mind that resetting the keyboard will remove any customizations or personalized settings you have made. It’s essential to take note of any specific configurations you will need to reapply once the connection with the new receiver is established.
If your keyboard does not have a physical reset button, you may need to perform a specific key combination to initiate the reset. Refer to the user manual or the Logitech website for detailed instructions on how to reset your particular keyboard model.
Once you have successfully reset your Logitech wireless keyboard, you’re ready to move on to the next step: connecting the new receiver.
Step 3: Connect the Receiver
After resetting your Logitech wireless keyboard, it’s time to connect the new receiver. The receiver is the device that allows your keyboard to communicate wirelessly with your computer or other compatible devices.
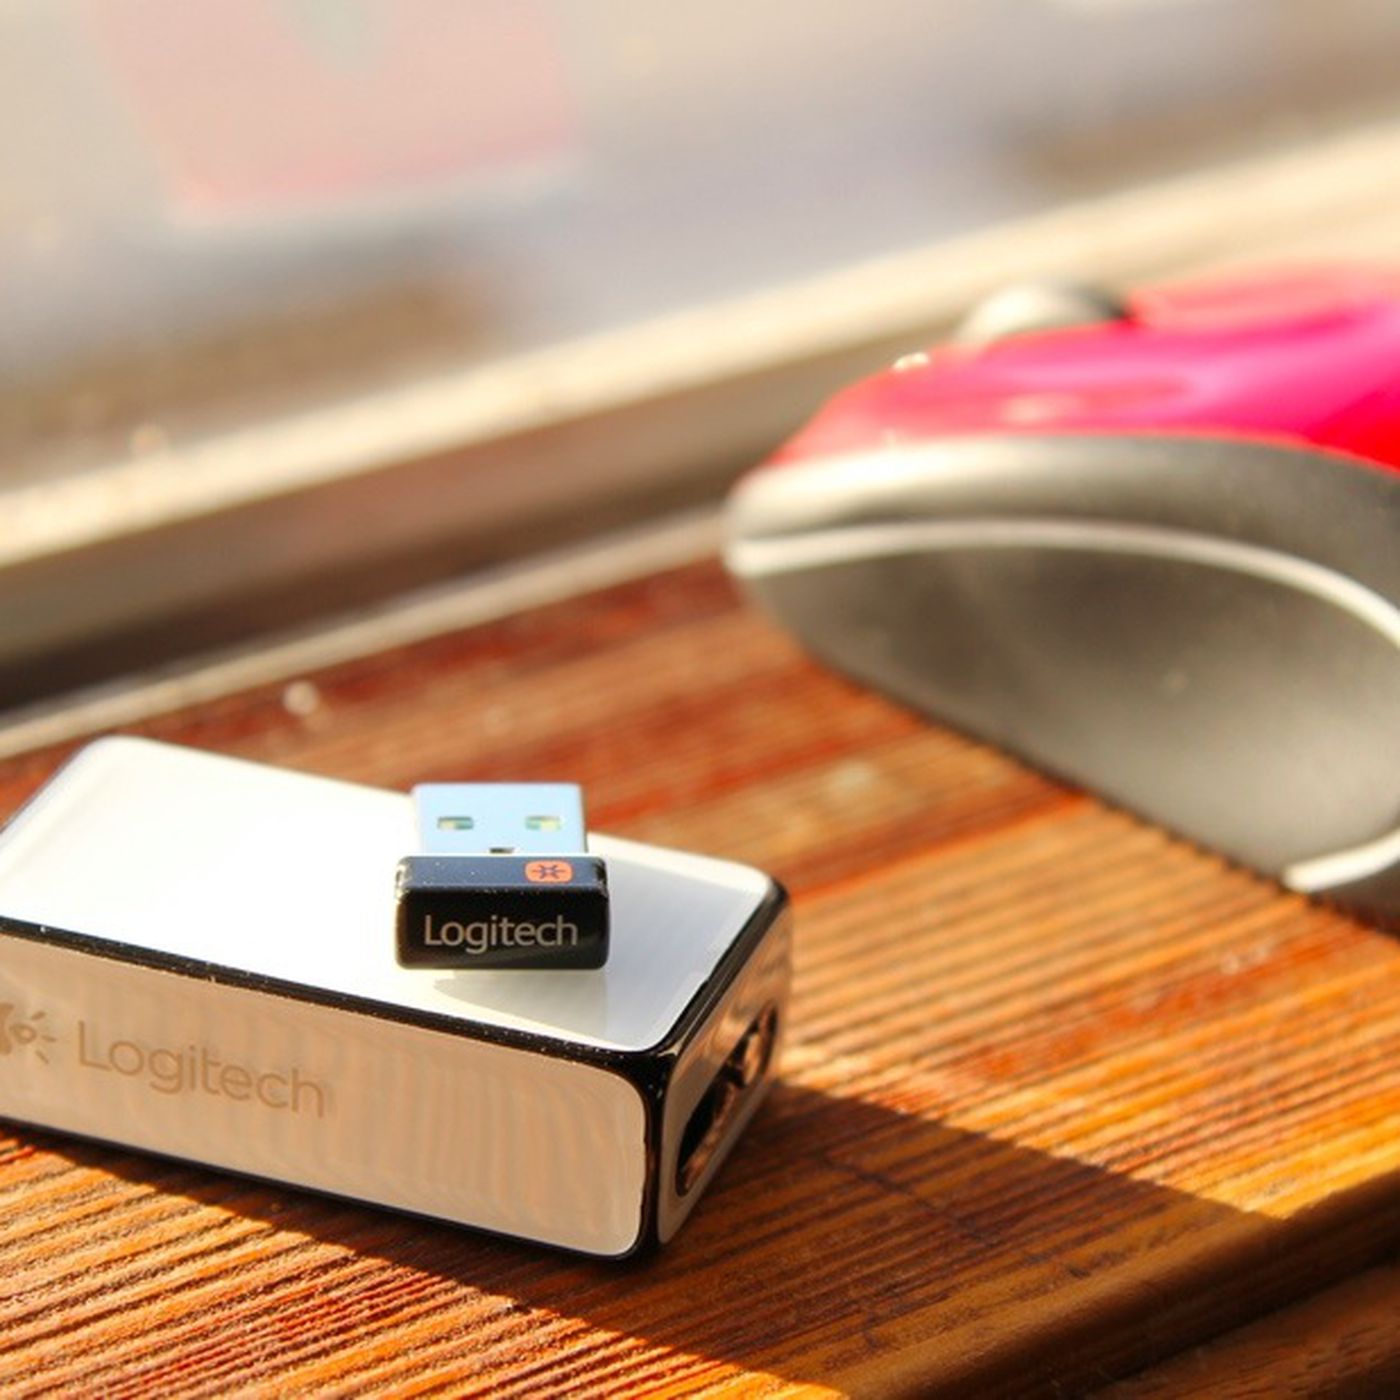
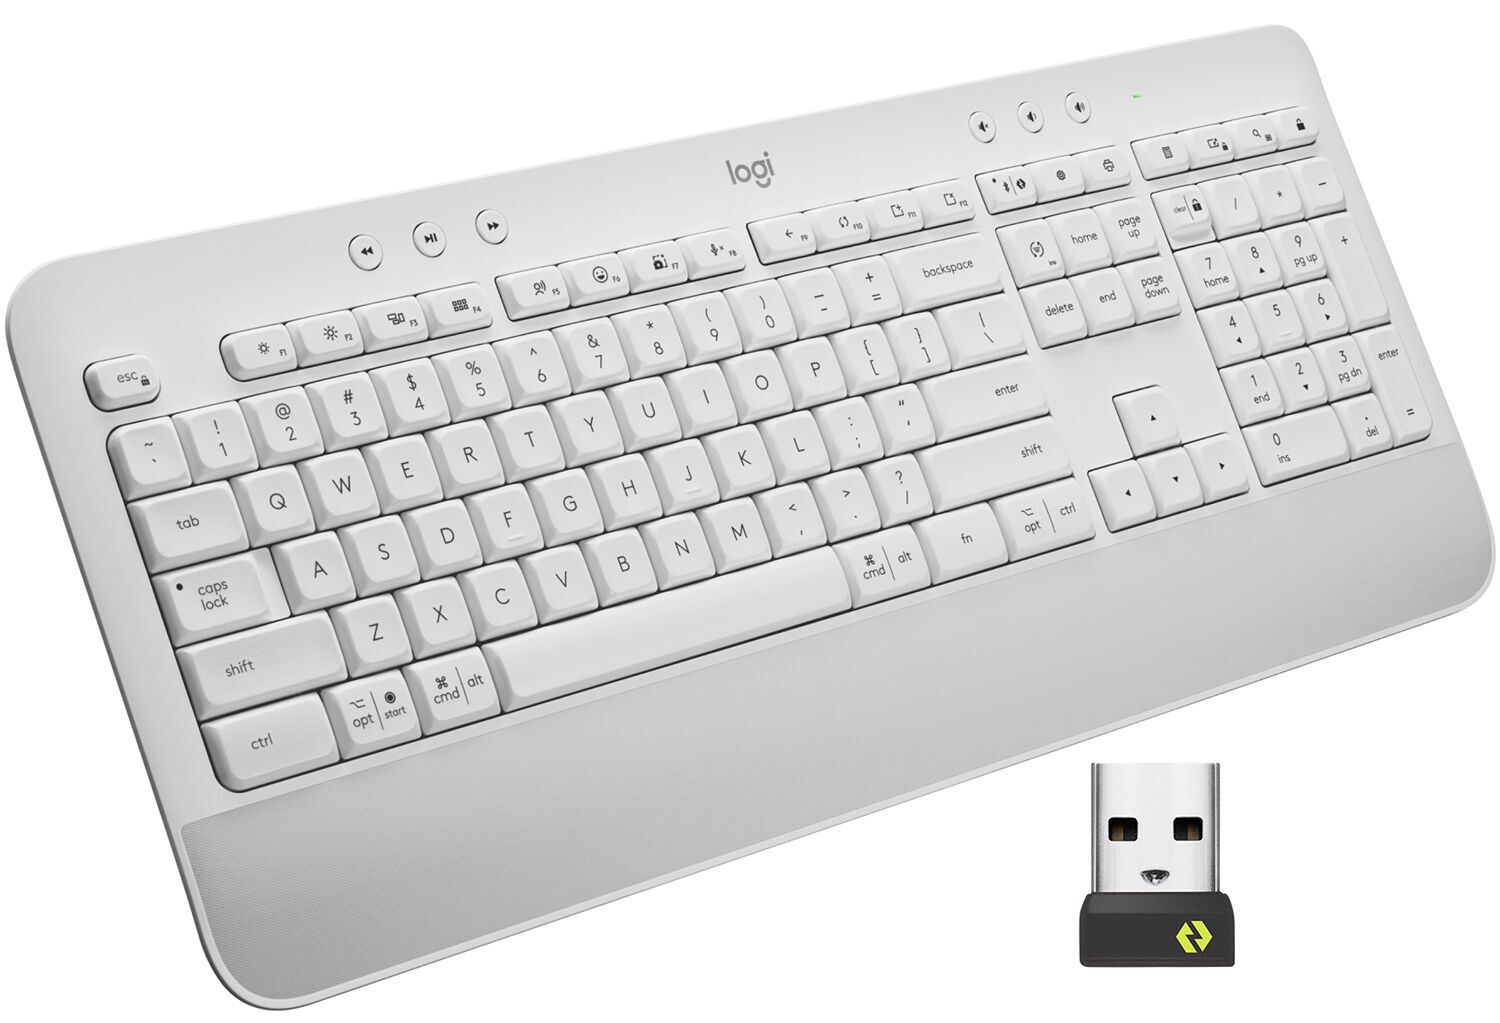
Start by plugging the new receiver into an available USB port on your computer or device. Ensure that the receiver is securely inserted to establish a reliable connection.
Some Logitech keyboards use a Unifying receiver, which allows multiple Logitech devices to be paired with a single receiver. If you are using a Unifying receiver, you need to follow an additional step.
For a Unifying receiver, you will need to use the Logitech Unifying Software to add the new receiver to your keyboard’s device list. This software allows you to manage and pair multiple Logitech devices conveniently. You can download the Logitech Unifying Software from the Logitech website and follow the instructions to install it on your computer.
Once the software is installed, open it and follow the on-screen instructions to add the new receiver to your keyboard’s device list. This process may involve pressing specific buttons on both the receiver and the keyboard to establish the connection.
If you are using a non-Unifying receiver, you can proceed with the next step without the need for any additional software installation.
Once the receiver is connected or added to the Logitech Unifying Software, you’re ready to move on to the next step: pairing your keyboard with the receiver.
Step 4: Install Logitech Unifying Software
If you are using a Logitech wireless keyboard that utilizes the Unifying receiver technology, you will need to install the Logitech Unifying Software. This software allows you to manage and pair multiple Logitech devices, including your keyboard and the new receiver.
Start by visiting the Logitech website and navigate to the support section. Look for the Logitech Unifying Software download page and choose the appropriate version for your operating system.
Once you’ve downloaded the installer, run the setup file and follow the on-screen instructions to install the Logitech Unifying Software on your computer. The installation process is typically straightforward and doesn’t require any advanced technical expertise.
After the installation is complete, launch the Logitech Unifying Software. The software will detect any compatible Logitech devices that are within range and ready to be paired with a receiver.
If the new receiver is already plugged into your computer, the Logitech Unifying Software should detect it automatically. In some cases, you may need to manually add the receiver by clicking on the “Add Devices” button within the software.
Follow the prompts provided by the Logitech Unifying Software to pair the new receiver with your keyboard. This may involve pressing specific buttons on both the receiver and the keyboard to establish a successful connection.
Once the pairing process is complete, the Logitech Unifying Software will display a confirmation message, indicating that your keyboard is now connected to the new receiver. You can close the software and proceed to the final step: pairing your keyboard with the receiver.
Step 5: Pair the Keyboard with the Receiver
Now that you have installed the Logitech Unifying Software (if applicable) and connected the new receiver, it’s time to pair your Logitech wireless keyboard with the receiver. This final step establishes a secure and reliable connection between the two devices.
Start by ensuring that your keyboard is turned on and within range of the receiver. Most Logitech wireless keyboards have an on/off switch located on the bottom or back of the device. Slide the switch to the “on” position to power on your keyboard.
If you are using a Unifying receiver and have installed the Logitech Unifying Software, launch the software and click on the “Start Pairing” button. The software will guide you through the pairing process, which usually involves pressing a specific key or button on the keyboard to initiate the pairing mode.
On the other hand, if you are using a non-Unifying receiver, simply ensure that the receiver is plugged into your computer or device, and the keyboard should automatically be paired with the receiver.
During the pairing process, it’s common for the keyboard to enter a discovery mode where it searches for nearby devices to connect with. This is when you’ll need to press a specific key or button on the keyboard to establish the pairing. Follow the on-screen prompts, if any, to successfully pair your keyboard with the new receiver.
Once the pairing process is complete, your Logitech wireless keyboard should be connected to the new receiver. Test the keyboard by typing or using the keys to ensure that it is functioning correctly.
If the keyboard does not respond or there are any issues, double-check the connection and confirm that you followed the pairing instructions correctly. If necessary, repeat the steps from the beginning to ensure a proper connection.
Congratulations! You have successfully connected your Logitech wireless keyboard to a different receiver. Enjoy the convenience of a wireless workspace without any interruptions.
Conclusion
Connecting a Logitech wireless keyboard to a different receiver is a fairly simple process that can be done by following a few easy steps. By checking compatibility, resetting the keyboard, connecting the receiver, installing the Logitech Unifying Software (if necessary), and pairing the keyboard with the receiver, you can successfully establish a wireless connection.
Remember to ensure the compatibility between the keyboard and the receiver to avoid any potential issues. Resetting the keyboard clears any existing configurations and prepares it for the connection process. Connecting the receiver involves plugging it in and, if using a Unifying receiver, adding it to the Logitech Unifying Software. Installing the Logitech Unifying Software allows you to manage and pair multiple Logitech devices effortlessly. Finally, pairing the keyboard with the receiver establishes a secure and reliable connection.
Following these steps will allow you to connect your Logitech wireless keyboard to a different receiver and enjoy the convenience of a wireless typing experience. Whether you’re replacing a faulty receiver or switching to a new device, this guide should help you navigate the process smoothly.
Now that you have successfully connected your Logitech wireless keyboard to a different receiver, you can enjoy the benefits of a clutter-free workspace and enhanced productivity. Say goodbye to tangled wires and hello to seamless typing.
Happy typing!