Introduction
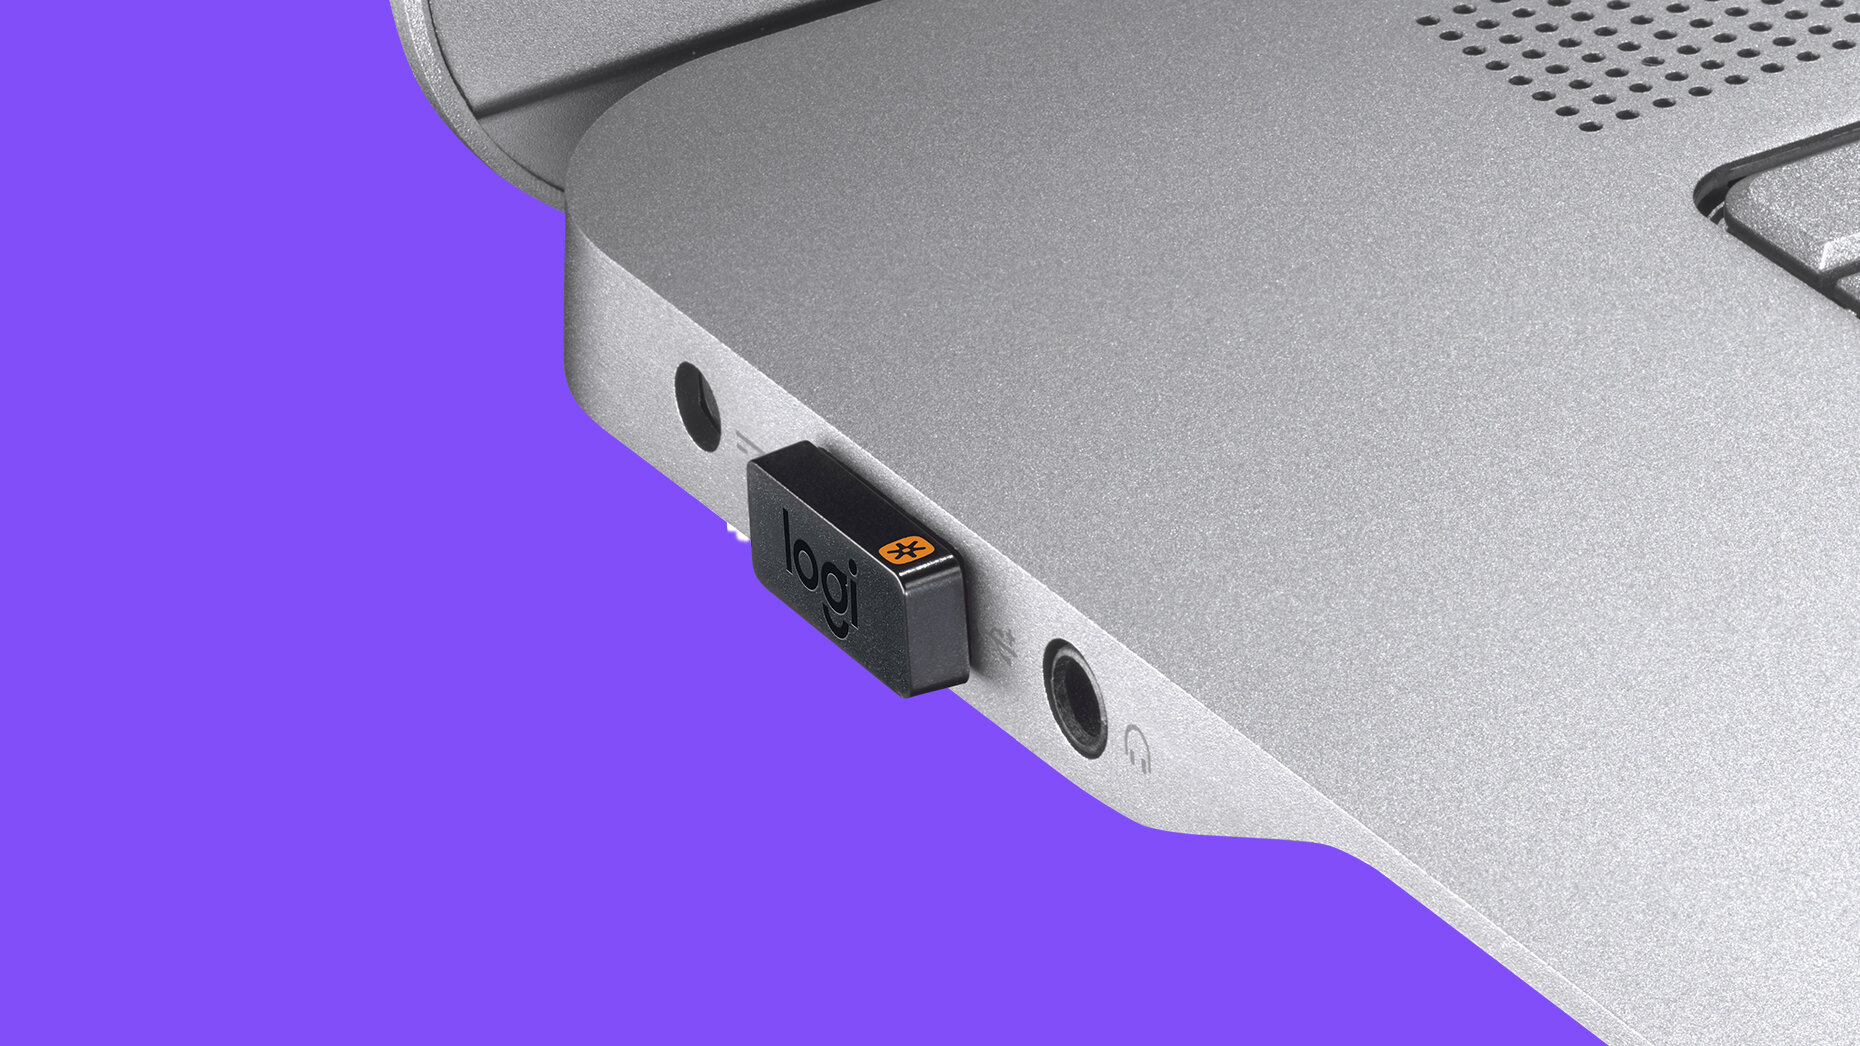
Welcome to this step-by-step guide on how to remove a device from Logitech Unifying. Logitech Unifying allows you to connect multiple devices, such as keyboards and mice, utilizing a single USB receiver. However, there may come a time when you need to remove a device from this configuration.
Whether you’re upgrading your devices, experiencing connectivity issues, or simply want to streamline your setup, removing a device from Logitech Unifying is a straightforward process. In just a few simple steps, you’ll be able to detach the device from your Unifying receiver and make room for other devices. This guide will walk you through the process, ensuring a hassle-free experience.
Logitech Unifying Software is the key tool for managing your Logitech Unifying devices. By using this software, you can easily identify and remove unwanted devices. Before we dive into the step-by-step instructions, make sure you have the Logitech Unifying Software installed on your computer. If you do not have it, don’t worry – we will cover the installation process in the next step.
So, whether you’re a beginner or a seasoned tech enthusiast, let’s get started with the process of removing a device from Logitech Unifying. Rest assured, by the end of this guide, you’ll have all the information you need to successfully remove that device and optimize your Logitech Unifying setup.
Step 1: Download and Install Logitech Unifying Software
The first step in removing a device from Logitech Unifying is to ensure that you have the Logitech Unifying Software installed on your computer. This software will provide you with the necessary tools and functionalities to manage your Logitech Unifying devices.
To download the Logitech Unifying Software:
- Open your preferred web browser.
- Go to the official Logitech website.
- Navigate to the “Support” or “Drivers” section of the website.
- Search for “Logitech Unifying Software” using the search bar on the page.
- Click on the appropriate search result that matches your operating system (Windows, macOS, etc.).
- Click the “Download” button to begin downloading the software.
- Once the download is complete, locate the installer file on your computer.
- Double-click the installer file to launch the installation process.
- Follow the on-screen prompts to complete the installation.
After the installation is complete, you should have the Logitech Unifying Software up and running on your computer. You are now ready to proceed to the next step in the device removal process.
It’s worth noting that Logitech Unifying Software is compatible with a wide range of Logitech devices. This software provides a unified platform for managing and configuring your Logitech devices, making it convenient to add or remove devices as per your needs. With the software installed, you’ll have greater control over your Logitech Unifying setup and can easily customize your devices to suit your preferences.
Now that you have successfully installed the Logitech Unifying Software, let’s move on to the next step and learn how to launch the software on your computer.
Step 2: Launch Logitech Unifying Software
Once you have successfully installed the Logitech Unifying Software on your computer, it’s time to launch the software to begin the process of removing a device from Logitech Unifying. Follow these simple steps to launch the software:
- Locate the Logitech Unifying Software icon on your desktop or in your applications list.
- Double-click on the icon to open the Logitech Unifying Software.
- If you can’t find the software icon, you can also click on the Windows Start menu or macOS Launchpad and search for “Logitech Unifying Software” to launch it.
- Once the software opens, you will see the main control panel with various options and settings.
The Logitech Unifying Software interface is user-friendly and intuitive, allowing you to easily manage your devices. You will be able to view all the devices that are currently connected to your Logitech Unifying receiver, as well as access additional features and customization options.
If you encounter any issues launching the software, make sure that it is fully installed and that there are no compatibility issues with your operating system. In case of any difficulties, you can consult the Logitech support website or contact their customer support for assistance.
Now that you have successfully launched the Logitech Unifying Software, it’s time to move on to the next step – identifying the device that you want to remove from Logitech Unifying. This step is crucial to ensure that you remove the correct device without accidentally disconnecting other devices.
Step 3: Identify the Device to be Removed
Before you proceed with removing a device from Logitech Unifying, it’s important to correctly identify the specific device that you want to remove. This step ensures that you remove the desired device without accidentally disconnecting other devices.
To identify the device you want to remove:
- Open the Logitech Unifying Software on your computer. If you haven’t launched the software yet, refer to Step 2 for instructions on how to do so.
- In the software interface, you will see a list of all the devices that are currently connected to your Logitech Unifying receiver. These devices may include keyboards, mice, or other compatible devices.
- Take note of the device name or the icon associated with the device that you want to remove. This will help you differentiate it from other devices listed.
- If you are uncertain about the device to be removed, you can verify it by disconnecting the device temporarily and checking if it disappears from the software interface. If it does, that is the device you need to remove.
By correctly identifying the device, you can ensure that you only remove the intended device and avoid any unintended consequences. It is important to exercise caution and double-check before proceeding to the next step.
In the next step, we will learn how to navigate to the advanced settings within the Logitech Unifying Software, which will allow us to initiate the removal process for the identified device. Let’s continue with the next step to remove the device from Logitech Unifying.
Step 4: Click on the “Advanced” Button
Once you have identified the specific device that you want to remove from Logitech Unifying, it’s time to navigate to the advanced settings within the Logitech Unifying Software. This will allow you to initiate the removal process for the device.
To access the advanced settings:
- Open the Logitech Unifying Software on your computer if it’s not already open. Refer to Step 2 for instructions on how to launch the software.
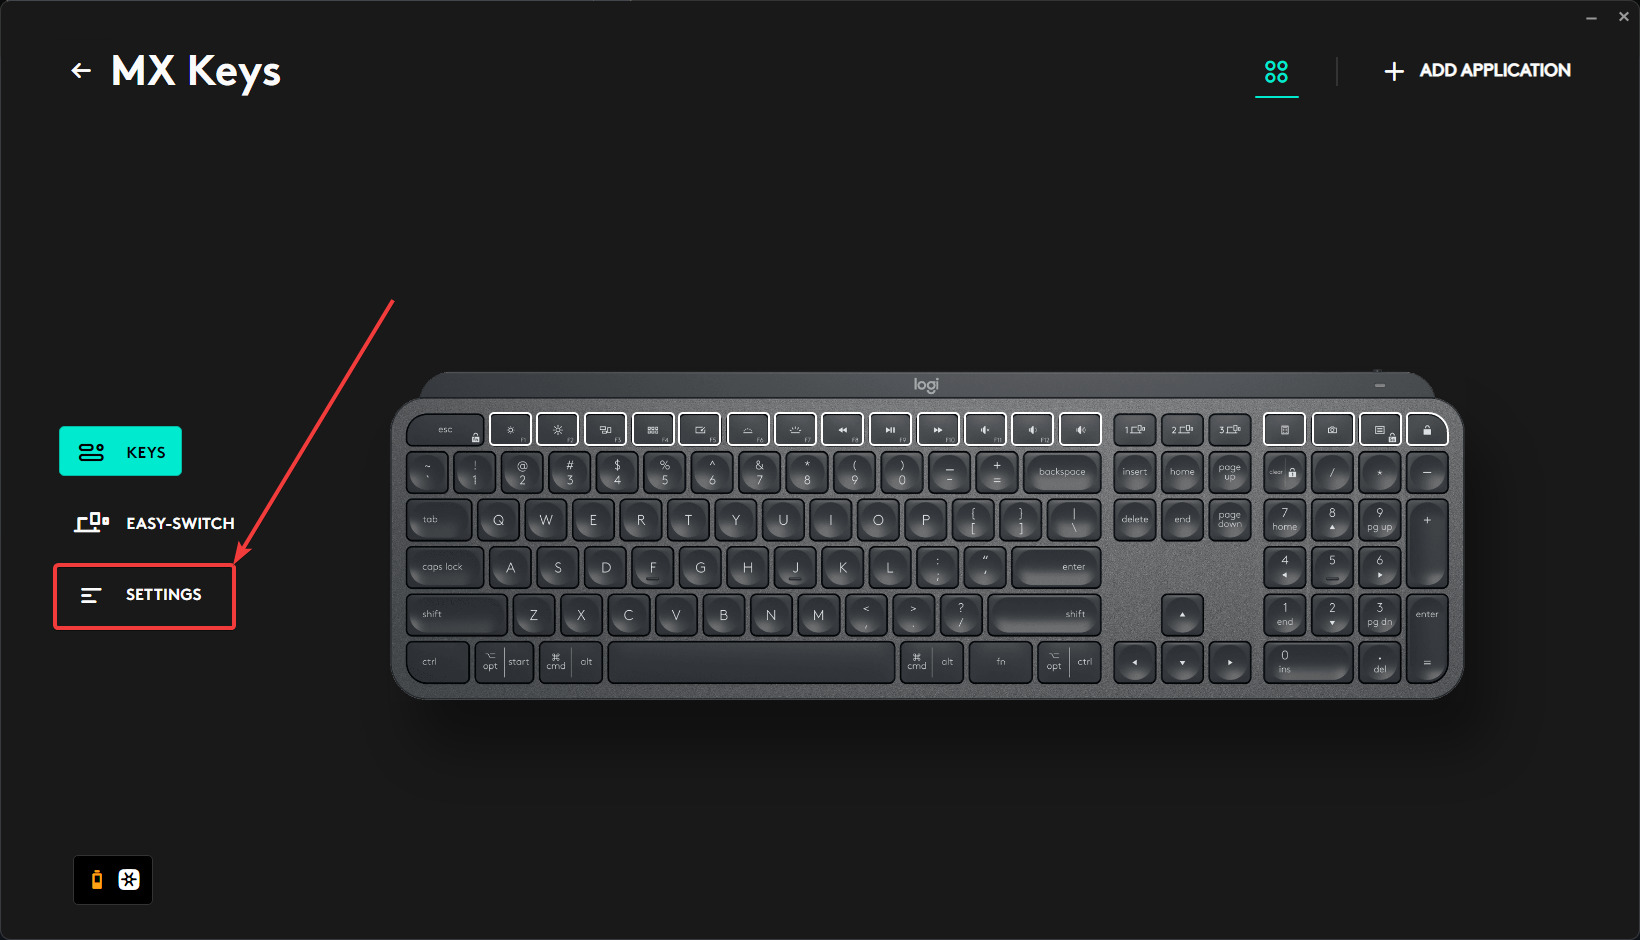
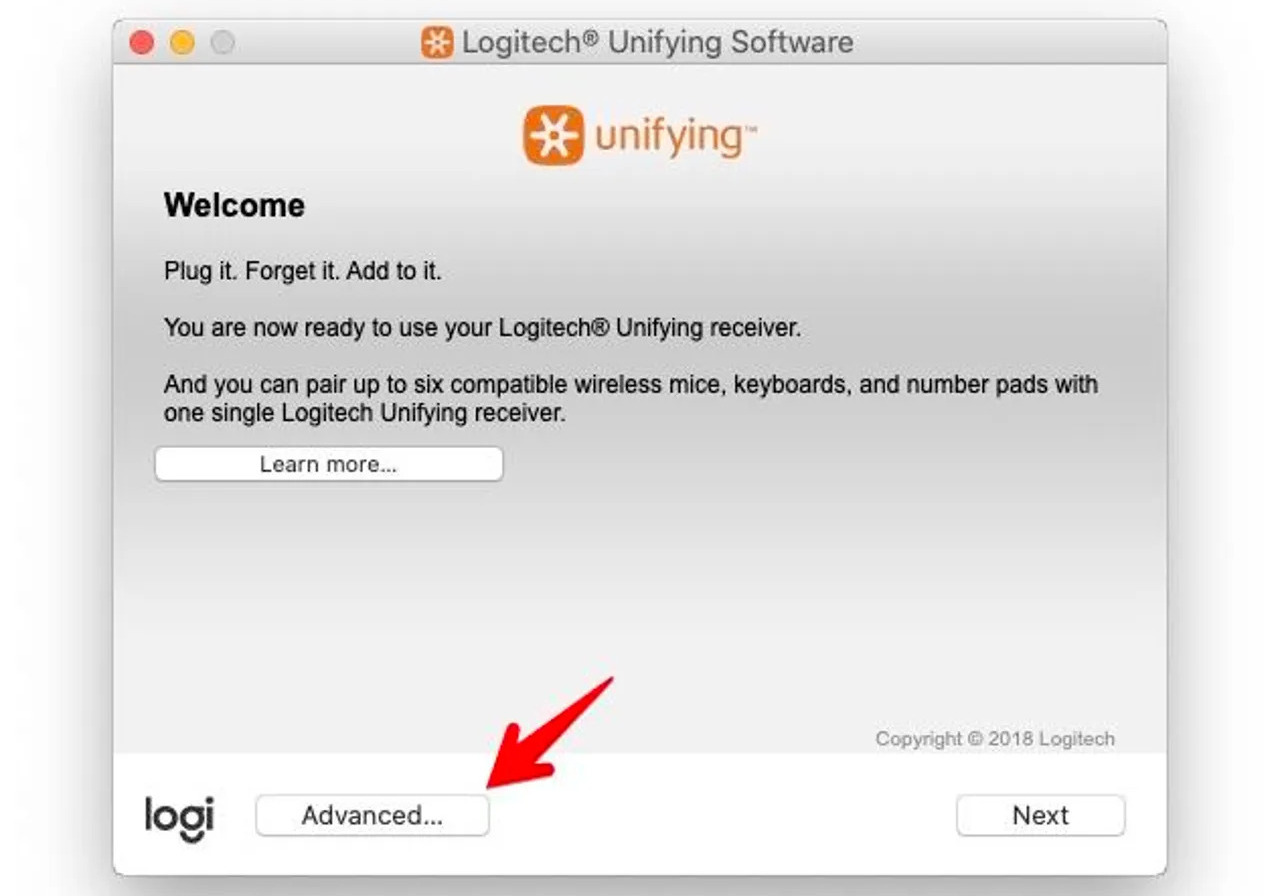
- In the software interface, locate and click on the “Advanced” button. This button is typically located in the top-right or bottom-right corner of the software window. Clicking on this button will take you to the advanced settings section.
By clicking on the “Advanced” button, you will gain access to additional options and functionalities within the Logitech Unifying Software. The advanced settings provide you with more control over your Logitech Unifying devices, including the ability to remove devices, reassign devices to different receivers, or perform firmware updates.
If you cannot locate the “Advanced” button or it is greyed out, make sure that you have selected the correct device from Step 3. The “Advanced” button may only be accessible when a device is selected in the software interface.
With the advanced settings section open, you are now ready to proceed to the next step, where you will select the device to be removed from Logitech Unifying. This step will allow you to disconnect the device from the receiver and remove it from your configuration. Let’s move on to Step 5 to learn how to do this.
Step 5: Select the Device to be Removed
After accessing the advanced settings within the Logitech Unifying Software, it’s time to select the specific device that you want to remove from your Logitech Unifying configuration. By selecting the device, you will be able to initiate the removal process and disconnect it from the receiver.
To select the device for removal:
- Ensure that you are in the advanced settings section of the Logitech Unifying Software. If not, refer to Step 4 for instructions on how to access this section.
- Within the advanced settings, you will see a list of devices that are currently paired with your Logitech Unifying receiver.
- Carefully locate the device that you want to remove from the list. You can refer to its name, icon, or any other identifying information to confirm that you have selected the correct device.
- Click on the device to select it. The device will be highlighted or marked in some way to indicate that it is selected for removal.
It’s important to ensure that you have selected the correct device before proceeding. Double-check the device’s identification and make sure it matches the device you want to remove. Removing the wrong device can lead to unintended consequences and may disrupt the functionality of your Logitech devices.
With the device selected, you are now ready to move on to the next step, where you will initiate the removal process by clicking on the “Remove” button. Let’s proceed to Step 6 for further instructions.
Step 6: Click on the “Remove” Button
Once you have selected the specific device that you want to remove from your Logitech Unifying configuration, it’s time to initiate the removal process by clicking on the “Remove” button. This step will disconnect the device from the receiver and remove it from your Logitech Unifying setup.
To click on the “Remove” button:
- Ensure that you have selected the correct device for removal, as mentioned in Step 5. Double-check the device’s identification to avoid removing the wrong device.
- Within the advanced settings section of the Logitech Unifying Software, locate the “Remove” button. This button is typically located near the device selection area or within a dedicated section for removing devices.
- Click on the “Remove” button to initiate the removal process.
Once you click on the “Remove” button, the Logitech Unifying Software will prompt you to confirm the device removal. This confirmation step is important to ensure that you don’t accidentally remove a device. Take a moment to review the confirmation prompt and ensure that it is the correct device you want to remove.
It’s worth noting that once a device is removed from your Logitech Unifying configuration, it will no longer be connected to the receiver and will need to be re-paired if you wish to use it again in the future.
With the device removal process initiated, it’s time to move on to the next step, where you will confirm the removal of the device from Logitech Unifying. Let’s proceed to Step 7 for further instructions.
Step 7: Confirm the Device Removal
After you have clicked on the “Remove” button to initiate the device removal process, the Logitech Unifying Software will prompt you to confirm the removal of the selected device. This step is crucial to ensure that you intentionally remove the device and prevent accidental removals.
To confirm the device removal:
- Once you have clicked on the “Remove” button, a confirmation prompt will appear on the screen.
- Read the prompt carefully and make sure that the device mentioned in the prompt matches the one you want to remove.
- If the device name or description in the prompt is correct, click on the “Confirm,” “OK,” or similar button to proceed with the removal.
- If the device name or description in the prompt is incorrect, click on the “Cancel” or “Back” button to go back to the previous step and reselect the device.
- Once you confirm the device removal, the Logitech Unifying Software will disconnect the device from the Unifying receiver and remove it from your configuration.
By confirming the device removal, you ensure that the process is deliberate and intentional. This helps prevent accidental removals, maintaining the stability and functionality of your Logitech Unifying setup.
After confirming the removal, you may see a notification or indication in the software interface confirming that the device has been successfully removed. The device will no longer be connected to your Logitech Unifying receiver.
With the device removal confirmed, you are now ready to proceed to the final step – restarting your computer if necessary. Let’s move on to Step 8 for further instructions.
Step 8: Restart Your Computer (If Necessary)
After removing a device from Logitech Unifying, it may be necessary to restart your computer to ensure proper functionality and to allow any changes to take effect. Restarting your computer allows the operating system to refresh and recognize the updated configuration without any conflicts.
To restart your computer, follow these simple steps:
- Save any ongoing work and close all open applications or programs.
- Click on the “Start” menu in Windows or the Apple menu in macOS.
- Select the option to “Restart” or “Shut down” your computer.
- Wait for your computer to shut down completely.
- Once your computer has fully shut down, press the power button to turn it back on.
- Allow your computer to boot up and log in to your user account.
Restarting your computer after removing a device from Logitech Unifying helps ensure that any changes made to the configuration are properly applied. It also helps to clear any temporary files or cache that may affect the functionality of the Logitech Unifying software and devices.
Keep in mind that not all device removals will require a computer restart. In some cases, the removal process may be applied immediately, and a restart may not be necessary. However, if you encounter any issues with your Logitech devices or if you’re unsure whether a restart is needed, it’s always a good idea to perform a restart to ensure a fresh start.
With the final step completed, you have successfully removed the device from your Logitech Unifying configuration. You can now enjoy the optimized setup and connect other devices as needed.
Conclusion
Removing a device from Logitech Unifying is a straightforward process that allows you to manage and optimize your Logitech devices. By following the step-by-step instructions outlined in this guide, you can remove unwanted devices from your Logitech Unifying setup with ease.
We started by downloading and installing the Logitech Unifying Software, ensuring that we have the necessary tool to manage our Logitech devices. Then, we learned how to launch the software and navigate to the advanced settings section where device removal takes place.
Identifying the specific device you want to remove is crucial in avoiding any unintended disconnections. We then selected the device within the software interface and proceeded to initiate the removal process by clicking on the “Remove” button.
Confirming the device removal is a crucial step to ensure that the process is intentional and deliberate. By carefully reviewing the confirmation prompt, we can confidently proceed with the removal or make any necessary adjustments before finalizing the process.
Finally, if necessary, restarting your computer allows the changes to take effect and ensures the proper functioning of your Logitech Unifying setup.
By following these steps, you can effectively remove devices from Logitech Unifying, making room for new additions or optimizing your current setup. With the flexibility and convenience that Logitech Unifying provides, you can easily manage and customize your devices to suit your needs.
Whether you’re upgrading your devices, troubleshooting connectivity issues, or simply looking for a more streamlined setup, removing a device from Logitech Unifying is a simple yet impactful solution. Enjoy the enhanced functionality and flexibility that Logitech Unifying offers, and make the most out of your Logitech devices.