Introduction
Are you a proud owner of the Logitech MX Anywhere 2S mouse and struggling to connect it? Look no further! In this comprehensive guide, we will walk you through the steps to connect your Logitech MX Anywhere 2S mouse with ease.
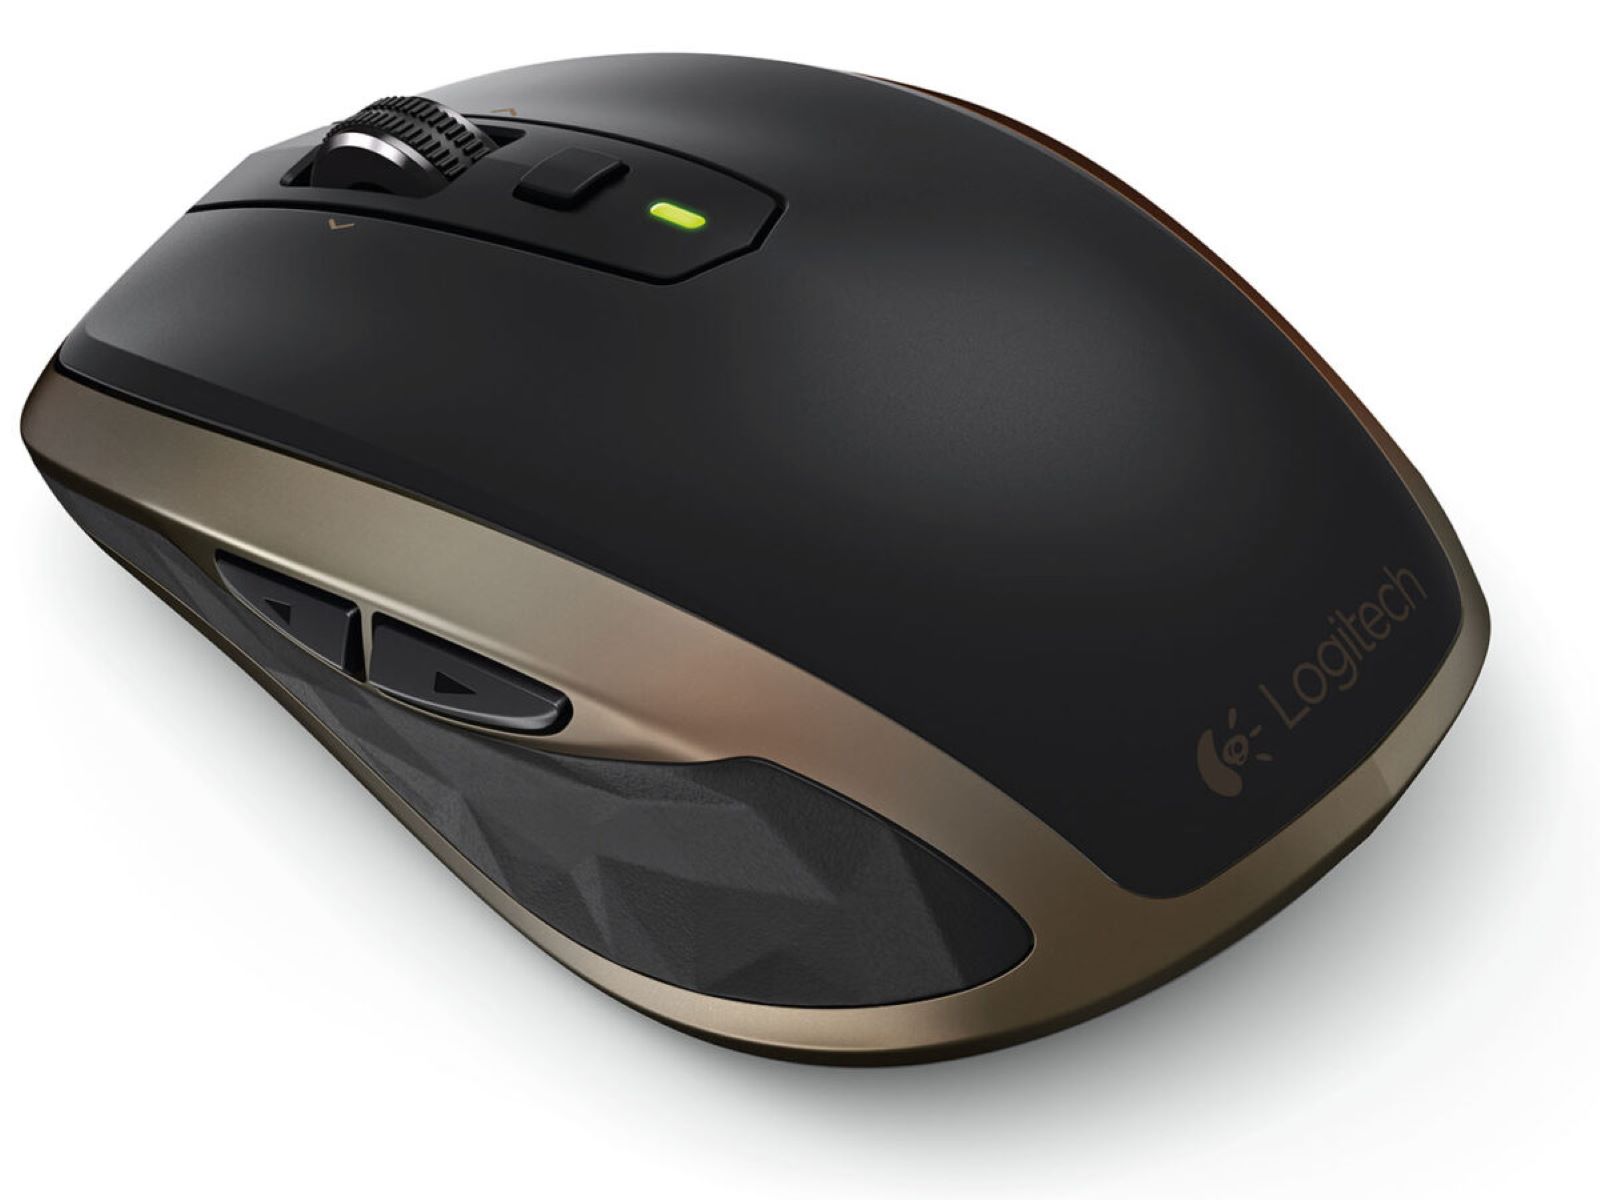
The Logitech MX Anywhere 2S is a versatile and powerful mouse that offers superb precision and functionality. Whether you’re a gamer, a designer, or someone who works extensively with a computer, this mouse can greatly enhance your productivity and overall experience.
Connecting the Logitech MX Anywhere 2S is a simple process that can be done in a few minutes. In this guide, we will cover all the bases, including unboxing the mouse, charging it, and connecting it either via Bluetooth or with the included Unifying Receiver. We will also delve into customizing the mouse settings and troubleshooting common connection issues.
So, let’s get started and get your Logitech MX Anywhere 2S mouse up and running!
Step 1: Unboxing the Logitech MX Anywhere 2S
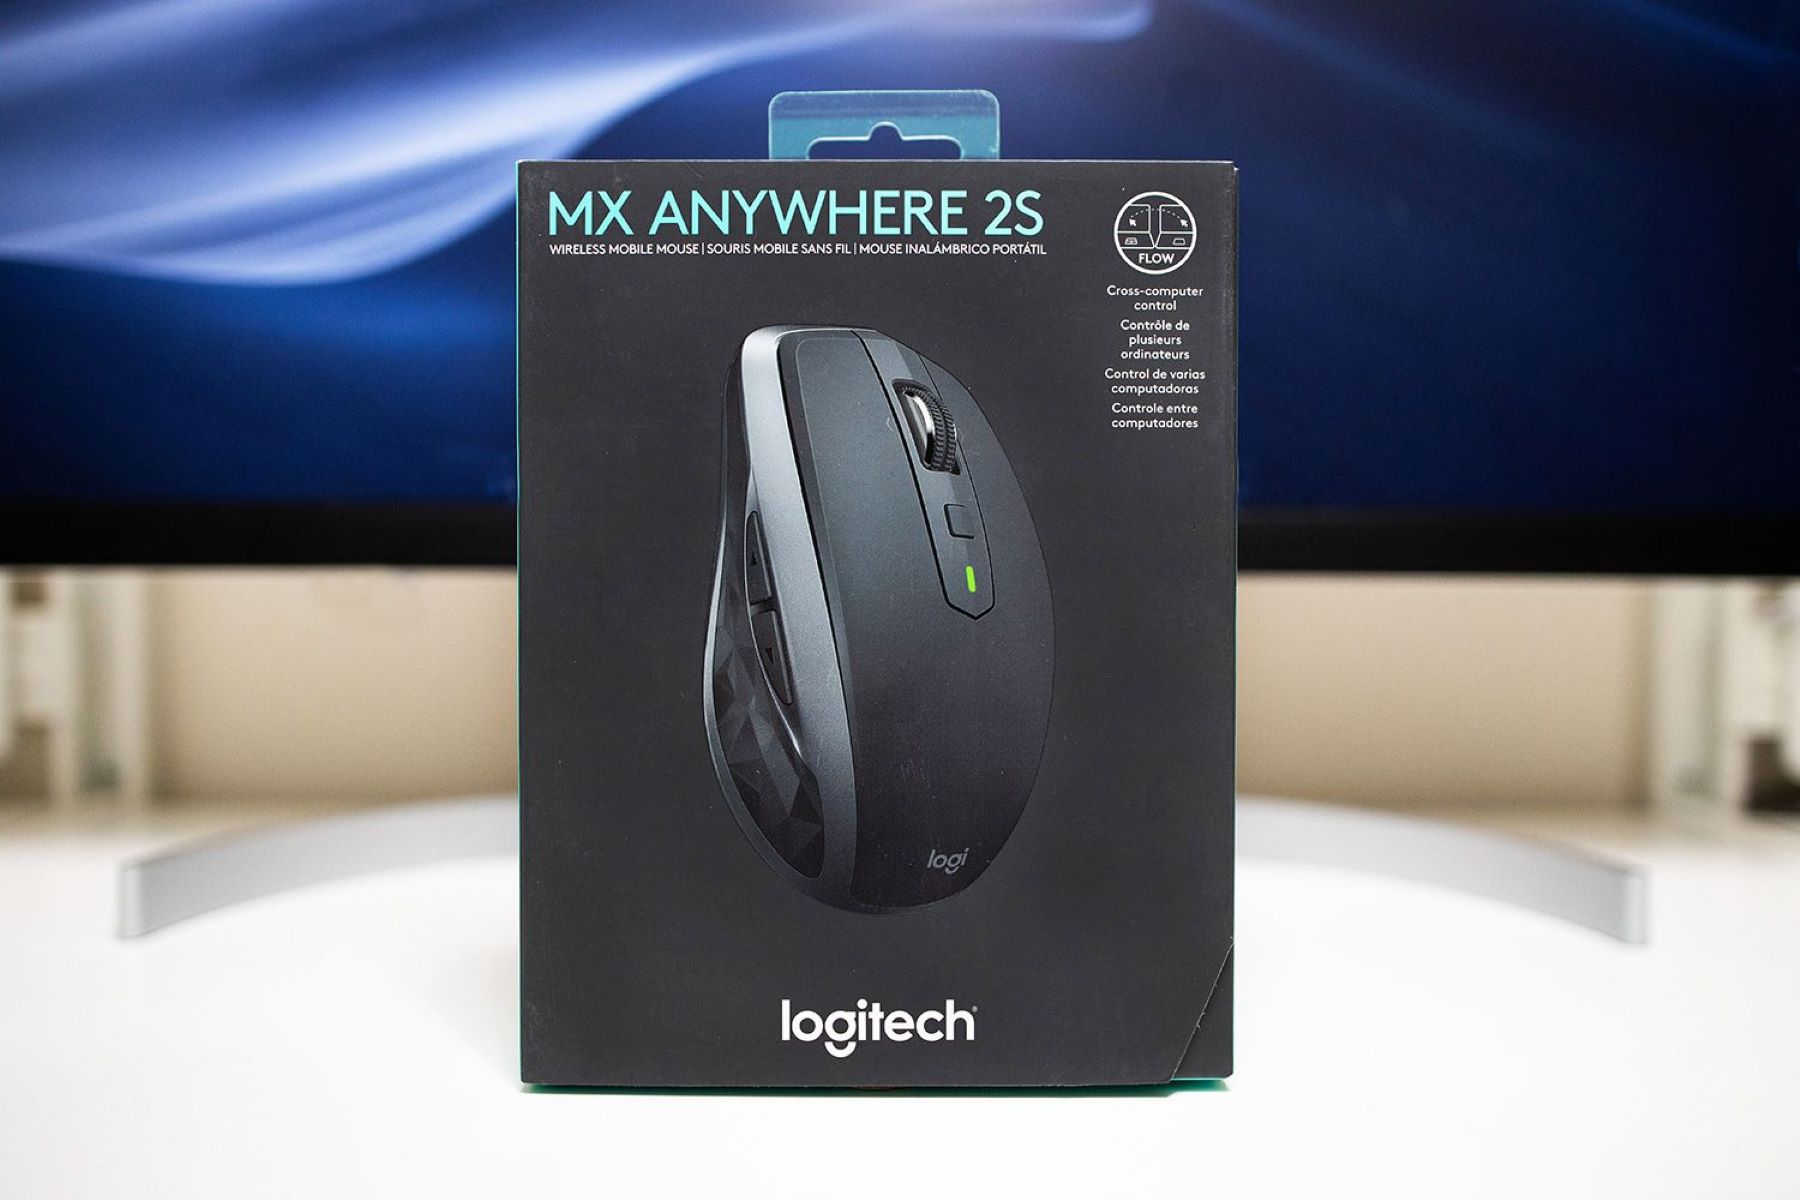
The first step in connecting your Logitech MX Anywhere 2S mouse is to unbox it. The box contains the mouse, a USB cable for charging, and the Unifying Receiver (if included).
Start by carefully removing the packaging materials and taking out the mouse. Take a moment to appreciate its sleek design and compact size, which makes it perfect for on-the-go use.
Next, locate the USB cable provided in the box. This cable is used to charge the mouse and connect it to your computer if you choose not to utilize the Bluetooth feature.
If your Logitech MX Anywhere 2S mouse came with the optional Unifying Receiver, you can find it in the box as well. The Unifying Receiver allows you to connect multiple Logitech devices to a single receiver, eliminating the need for multiple USB ports.
Inspect all the components to ensure that everything is in good condition and free from any damage that may have occurred during shipping.
Once you’ve unboxed the Logitech MX Anywhere 2S mouse and checked all the components, you’re ready to move on to the next step: charging the mouse.
Step 2: Charging the Mouse
Before you can begin using your Logitech MX Anywhere 2S mouse, it’s essential to ensure that it has enough power. The mouse comes with a built-in rechargeable battery, and it can be charged using the provided USB cable.
To charge the mouse, connect one end of the USB cable to the charging port located on the front of the mouse. The other end of the cable can be plugged into a USB port on your computer or a USB charger.
While the mouse is charging, a small LED indicator light on the bottom will illuminate. The light will turn off once the battery is fully charged, indicating that it’s ready for use. It usually takes a few hours to fully charge the mouse, but the exact charging time may vary.
It’s important to note that while the mouse is charging, you can still use it. The USB cable acts as a charging/data cable, allowing you to continue working or playing without any interruptions.
Remember to keep an eye on the battery level of your Logitech MX Anywhere 2S mouse to avoid running out of power at inconvenient times. You can check the battery status using the Logitech Options software, which we will discuss in more detail in a later step.
Once your Logitech MX Anywhere 2S mouse is charged and ready to go, it’s time to move on to the next step: connecting the mouse either via Bluetooth or with the Unifying Receiver.
Step 3: Connecting the Mouse via Bluetooth
One of the convenient features of the Logitech MX Anywhere 2S mouse is its ability to connect to your computer or other devices using Bluetooth technology. Connecting the mouse via Bluetooth allows for a wireless connection, freeing up USB ports on your computer.
To connect your Logitech MX Anywhere 2S mouse via Bluetooth, follow these steps:
- Make sure that Bluetooth is enabled on your computer or device.
- Turn on the mouse by sliding the power button located on the bottom of the mouse. The LED light on the top of the mouse will blink, indicating that it’s in pairing mode.
- On your computer or device, go to the Bluetooth settings and search for available devices. The Logitech MX Anywhere 2S should appear on the list.
- Select the Logitech MX Anywhere 2S from the list of available devices to initiate pairing.
- Follow any on-screen prompts to complete the pairing process. You may be asked to enter a passcode or confirm the connection on both the mouse and your computer or device.
- Once the pairing process is complete, the LED light on the top of the mouse will stop blinking and remain solid, indicating a successful connection.
It’s important to note that the exact steps for connecting the Logitech MX Anywhere 2S via Bluetooth may vary slightly depending on your computer or device’s operating system. Be sure to consult the user manual or online resources specific to your device for detailed instructions if needed.
With your Logitech MX Anywhere 2S mouse successfully connected via Bluetooth, you can now enjoy the freedom of wireless control and move on to the next step: connecting the mouse with the Unifying Receiver (if applicable) or customizing mouse settings.
Step 4: Connecting the Mouse with the Unifying Receiver
If your Logitech MX Anywhere 2S mouse came with the included Unifying Receiver, you have the option to connect the mouse using this receiver instead of Bluetooth. The Unifying Receiver is a small USB device that allows you to connect multiple Logitech devices to a single receiver, eliminating the need for multiple USB ports on your computer.
To connect your Logitech MX Anywhere 2S mouse with the Unifying Receiver, follow these steps:
- Insert the Unifying Receiver into an available USB port on your computer.
- Make sure the mouse is turned on by sliding the power button located on the bottom of the mouse.
- Press the Connect button on the bottom of the mouse. The LED light on the top of the mouse will start blinking rapidly, indicating that it’s in pairing mode.
- Press the Connect button on the Unifying Receiver. The LED light on the receiver will start blinking, indicating that it’s ready to pair with the mouse.
- After a few seconds, the LED light on the Unifying Receiver will stop blinking, indicating that the mouse is successfully paired.
Once the Logitech MX Anywhere 2S mouse is connected to the Unifying Receiver, you can start using it right away. There’s no need for any additional software or configuration.
If you have multiple Logitech devices that support the Unifying Receiver, you can connect them all to the same receiver by following the same pairing process for each device. This allows for a clutter-free workspace and easy switching between devices.
With your Logitech MX Anywhere 2S mouse successfully connected with the Unifying Receiver, you can now move on to the next step: customizing mouse settings to tailor the mouse’s functionality to your preferences.
Step 5: Customizing Mouse Settings
Customizing the settings of your Logitech MX Anywhere 2S mouse can greatly enhance your user experience and productivity. With the Logitech Options software, you can fine-tune various aspects of the mouse’s functionality to suit your needs.
Here are the steps to customize the mouse settings:
- Download and install the Logitech Options software from the Logitech website. Make sure to select the version compatible with your operating system.
- Once installed, launch the Logitech Options software on your computer.
- The software will automatically detect your Logitech MX Anywhere 2S mouse. Click on it to access the settings.
- Within the Logitech Options software, you can customize various settings, such as pointer speed, scrolling behavior, button assignments, and more.
- Explore the different tabs and options available to tailor the mouse settings to your liking. Experiment with the options and find the configuration that works best for you.
- Remember to click “Apply” or “Save” after making any changes to ensure that the settings take effect.
The Logitech Options software provides a user-friendly interface that makes it easy to configure and personalize your Logitech MX Anywhere 2S mouse. Take your time to explore the various settings and find the combination that suits your workflow and preferences.
Once you’ve customized the mouse settings to your liking, you can start enjoying the enhanced functionality and efficiency of your Logitech MX Anywhere 2S mouse.
If you need to make further adjustments or update the Logitech Options software in the future, you can always revisit the Logitech website for the latest version and follow the installation instructions.
Now that you’ve tailored the mouse settings to your preferences, let’s move on to the final step: troubleshooting common connection issues that you may encounter.
Step 6: Troubleshooting Common Connection Issues
While connecting your Logitech MX Anywhere 2S mouse is usually a smooth process, you may encounter some common connection issues. Don’t worry! This step will guide you through troubleshooting these issues in order to ensure a seamless and uninterrupted experience with your mouse.
Here are some common connection issues you may encounter and their potential solutions:
1. Mouse Not Connecting: If your mouse is not connecting to your computer or device, try the following:
- Ensure that the mouse is within range of the Bluetooth signal or the Unifying Receiver’s range.
- Make sure the mouse is turned on and properly charged.
- Restart your computer and try reconnecting the mouse.
- If using Bluetooth, disable and re-enable Bluetooth on your computer or device.
- If using the Unifying Receiver, try plugging it into a different USB port.
2. Mouse Lag or Delay: If you’re experiencing lag or delay with your mouse, consider the following:
- Move other wireless devices away from your mouse and receiver to minimize interference.
- Ensure that the mouse is within range of the Bluetooth signal or the Unifying Receiver’s range.
- Check for any potential software conflicts or outdated drivers on your computer.
- Try adjusting the mouse sensitivity or acceleration settings through the Logitech Options software.
3. Multiple Devices Interfering: If you have multiple Logitech devices connected to the same Unifying Receiver, and they are interfering with each other, try the following:
- Remove any unnecessary Logitech devices from the Unifying Receiver by opening the Logitech Options software and selecting the “Manage Devices” option.
- Re-pair the mouse with the Unifying Receiver by following the steps outlined in Step 4.
If the above troubleshooting steps do not resolve the connection issues, consult the Logitech support website or reach out to their customer support for further assistance. They have comprehensive resources and knowledgeable staff to help you resolve any technical difficulties you may encounter.
With the connection issues successfully resolved, you can now enjoy the full functionality of your Logitech MX Anywhere 2S mouse without interruptions.
Now that you’ve successfully connected and customized your Logitech MX Anywhere 2S mouse, you’re ready to navigate your computer or devices with precision and ease.
Conclusion
Congratulations! You have successfully learned how to connect and set up your Logitech MX Anywhere 2S mouse. Whether you connected it via Bluetooth or with the Unifying Receiver, you can now enjoy the freedom and versatility this mouse has to offer.
By unboxing the mouse, charging it, and connecting it to your computer or device, you’ve taken the first steps towards enhancing your productivity and user experience. Customizing the mouse settings through the Logitech Options software allows you to fine-tune its functionality to suit your needs.
If you encounter any connection issues along the way, you now have the knowledge to troubleshoot and resolve them. Remember to check the range, power, and any potential interference from other devices to ensure a seamless connection.
With your Logitech MX Anywhere 2S mouse connected and set up, you can now navigate through your digital world with precision, comfort, and efficiency. Whether you’re a gamer, a designer, or someone who works extensively with computers, this mouse is designed to enhance your workflow.
We hope this guide has been helpful in assisting you with connecting and setting up your Logitech MX Anywhere 2S mouse. Should you need further assistance or have any additional questions, don’t hesitate to reach out to Logitech’s customer support or consult their online resources.
Now, go ahead and enjoy the seamless and wireless experience that the Logitech MX Anywhere 2S mouse provides!