Introduction
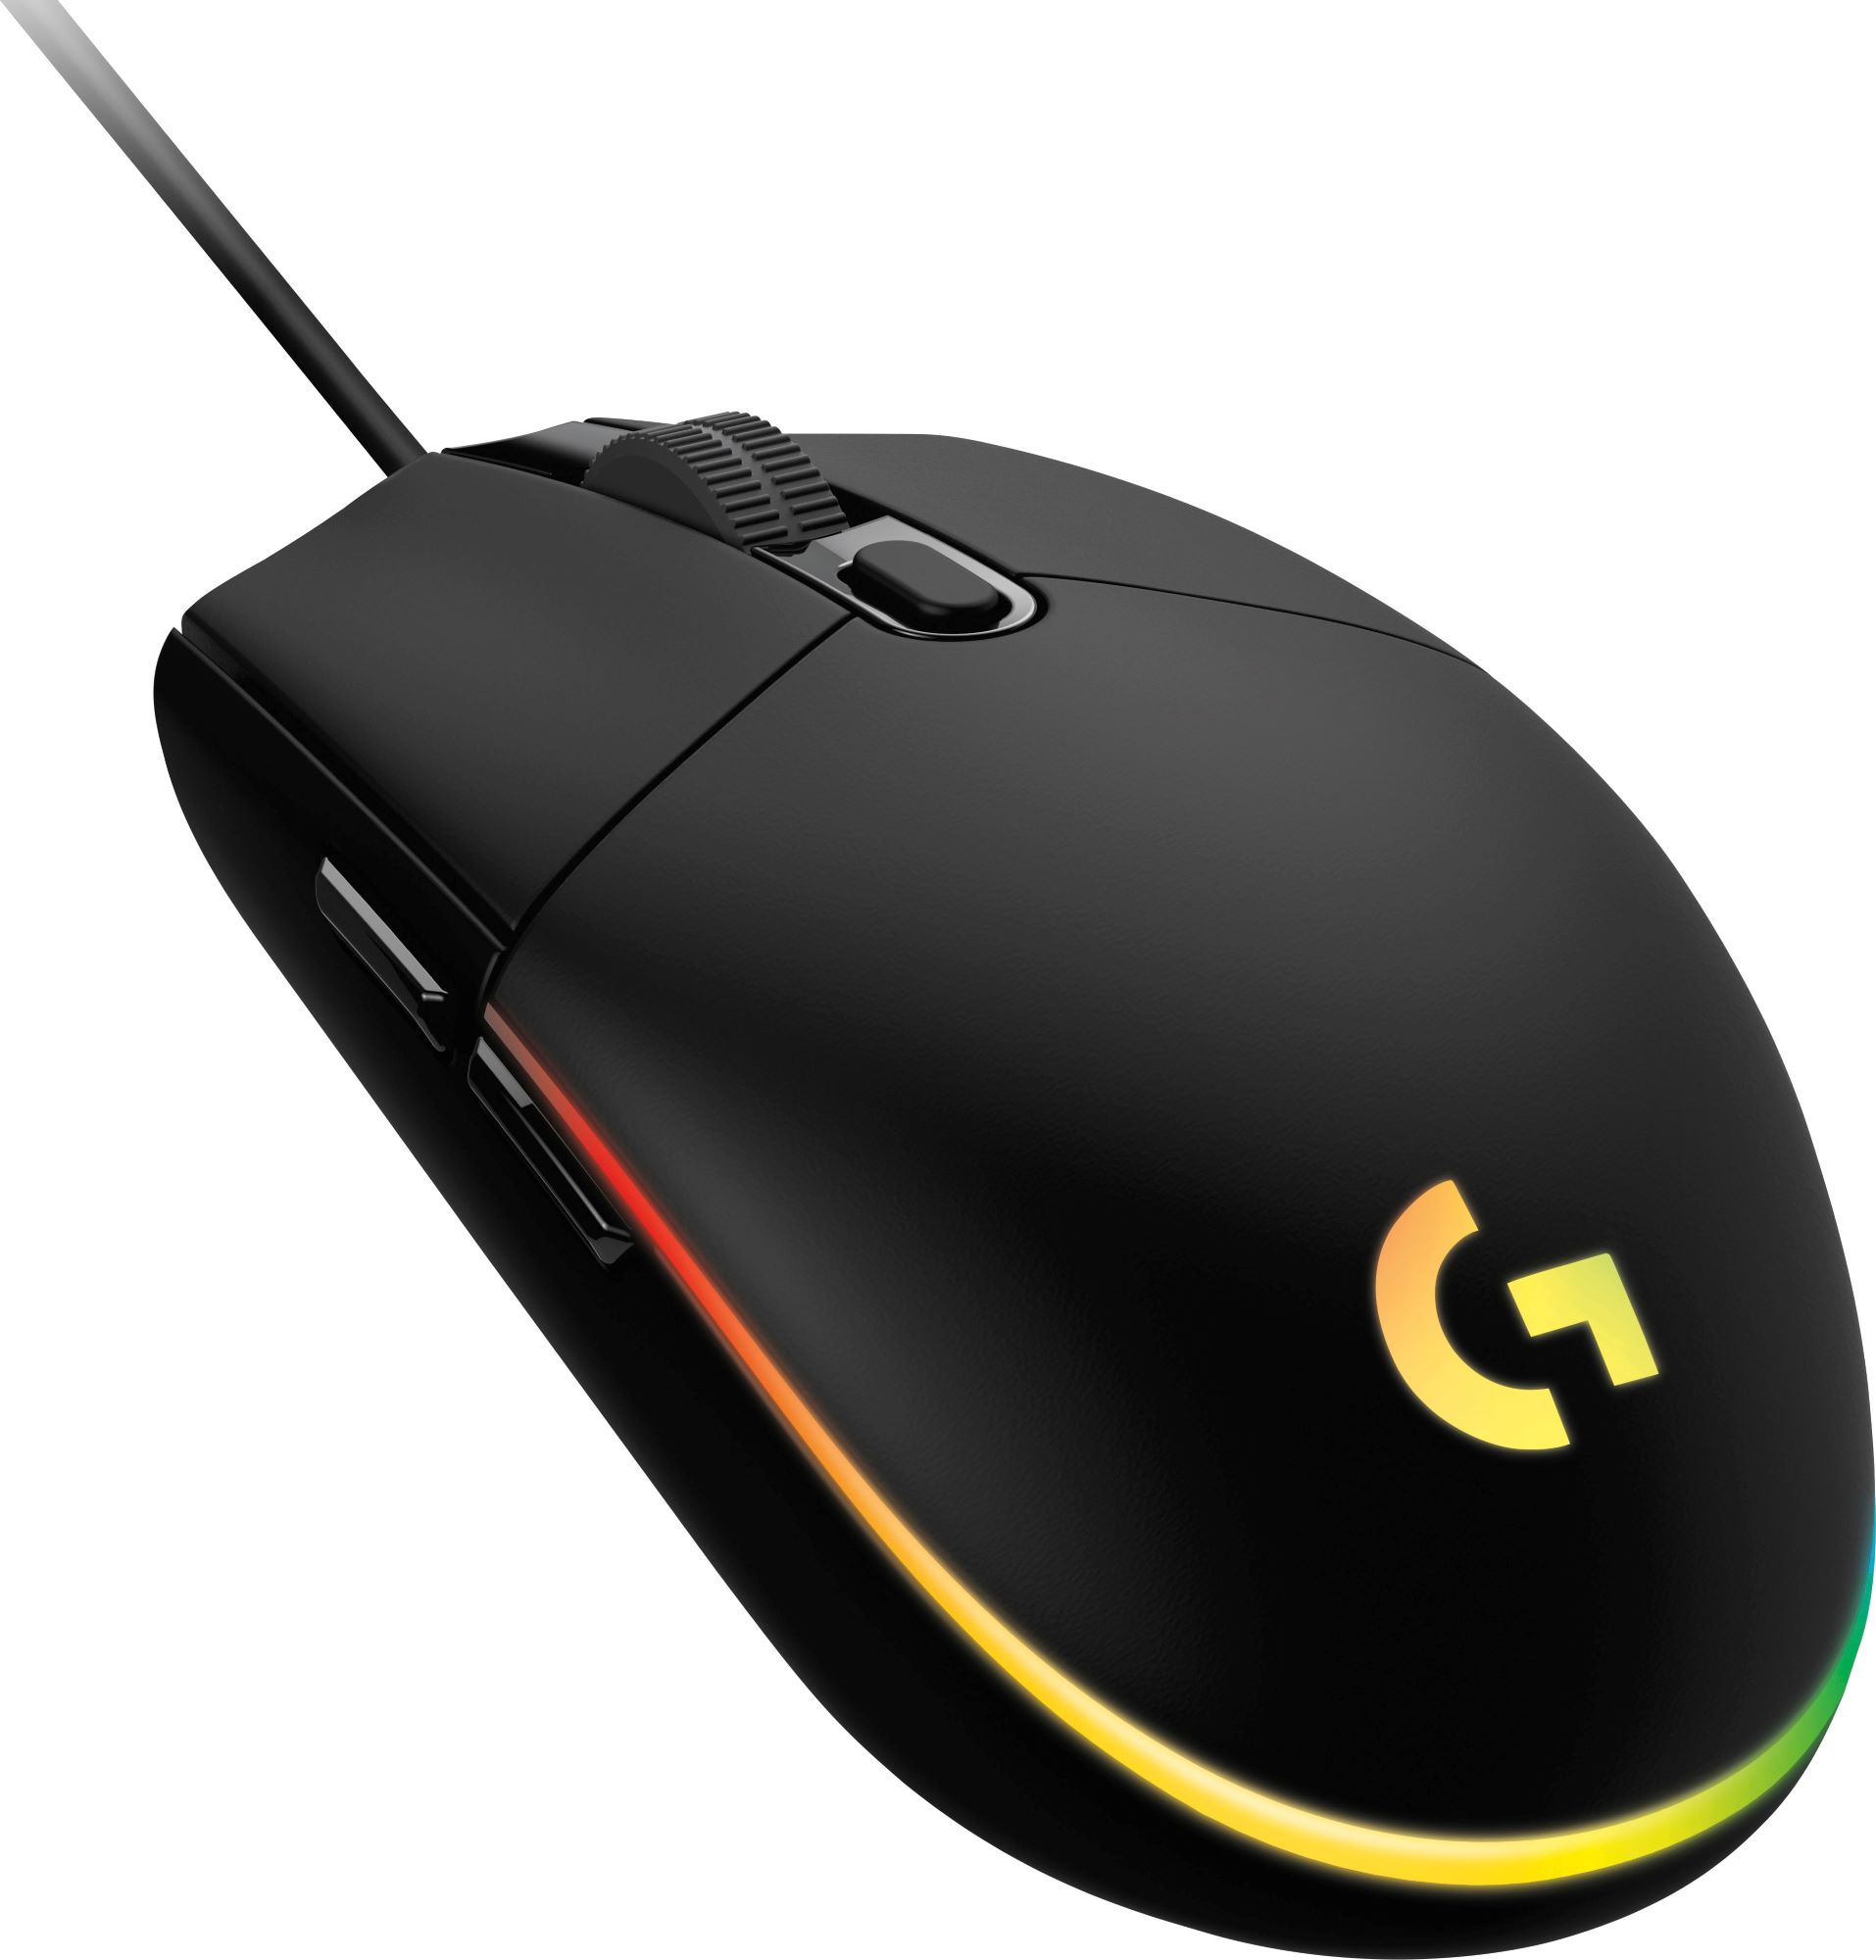
Logitech is a renowned brand known for its high-quality computer peripherals, including mice. If you are a Chromebook user looking to connect a Logitech mouse to your device, you’ve come to the right place. Adding a mouse to your Chromebook setup can significantly improve your productivity and make navigating through documents and webpages more convenient.
In this article, we will guide you through the process of connecting a Logitech mouse to your Chromebook. Whether you have a Logitech mouse with a USB receiver or one that supports Bluetooth connectivity, we’ve got you covered. By following our steps, you’ll have your Logitech mouse up and running on your Chromebook in no time.
Before diving into the connection process, it’s important to understand the compatibility of Logitech mice with Chromebooks. While the majority of Logitech mice are compatible with Chrome OS, it is advisable to check the specific model’s compatibility before making a purchase.
Compatibility of Logitech Mice with Chromebooks
Chromebooks are designed to be versatile and work with a wide range of peripherals, including Logitech mice. Logitech has a strong reputation for creating mice that are compatible with various operating systems, including Chrome OS. However, it is essential to ensure that the Logitech mouse you have or plan to purchase is compatible with Chromebooks before proceeding.
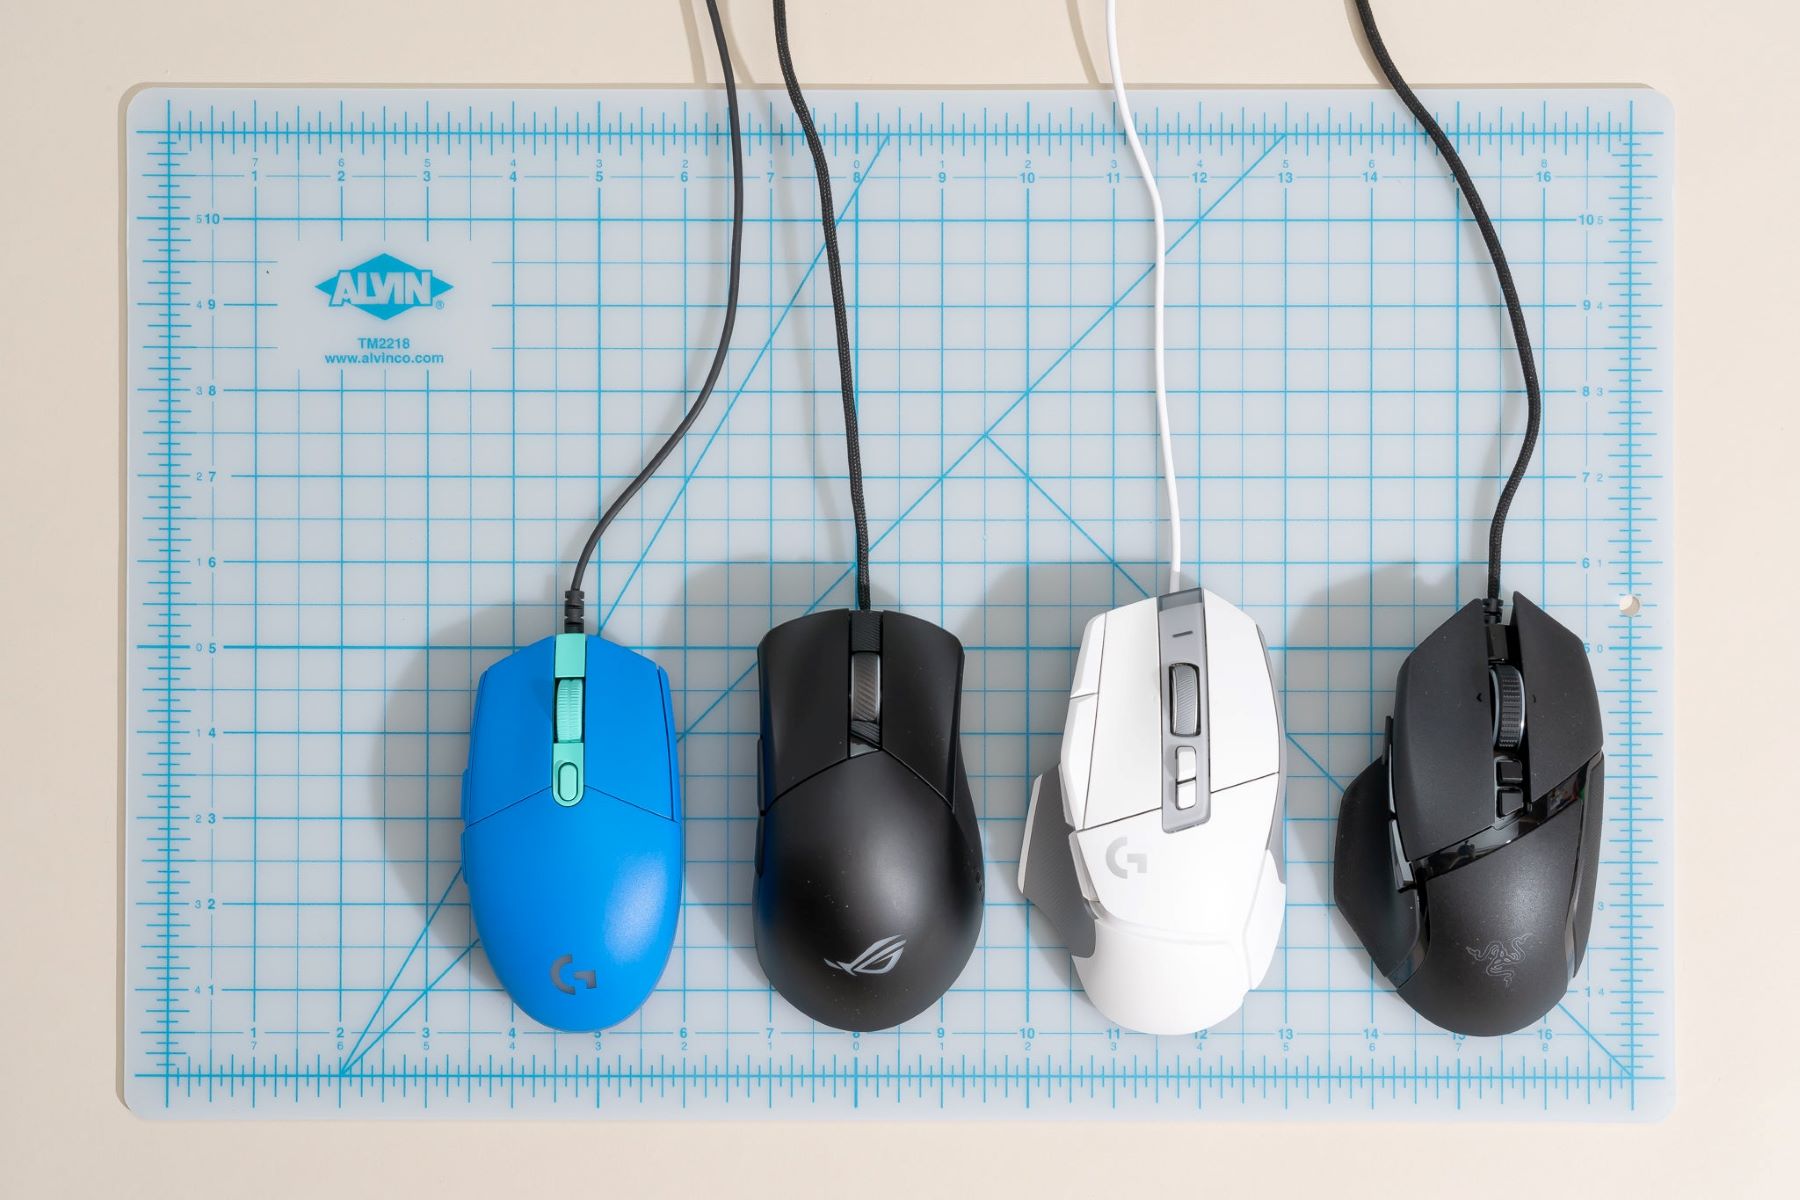
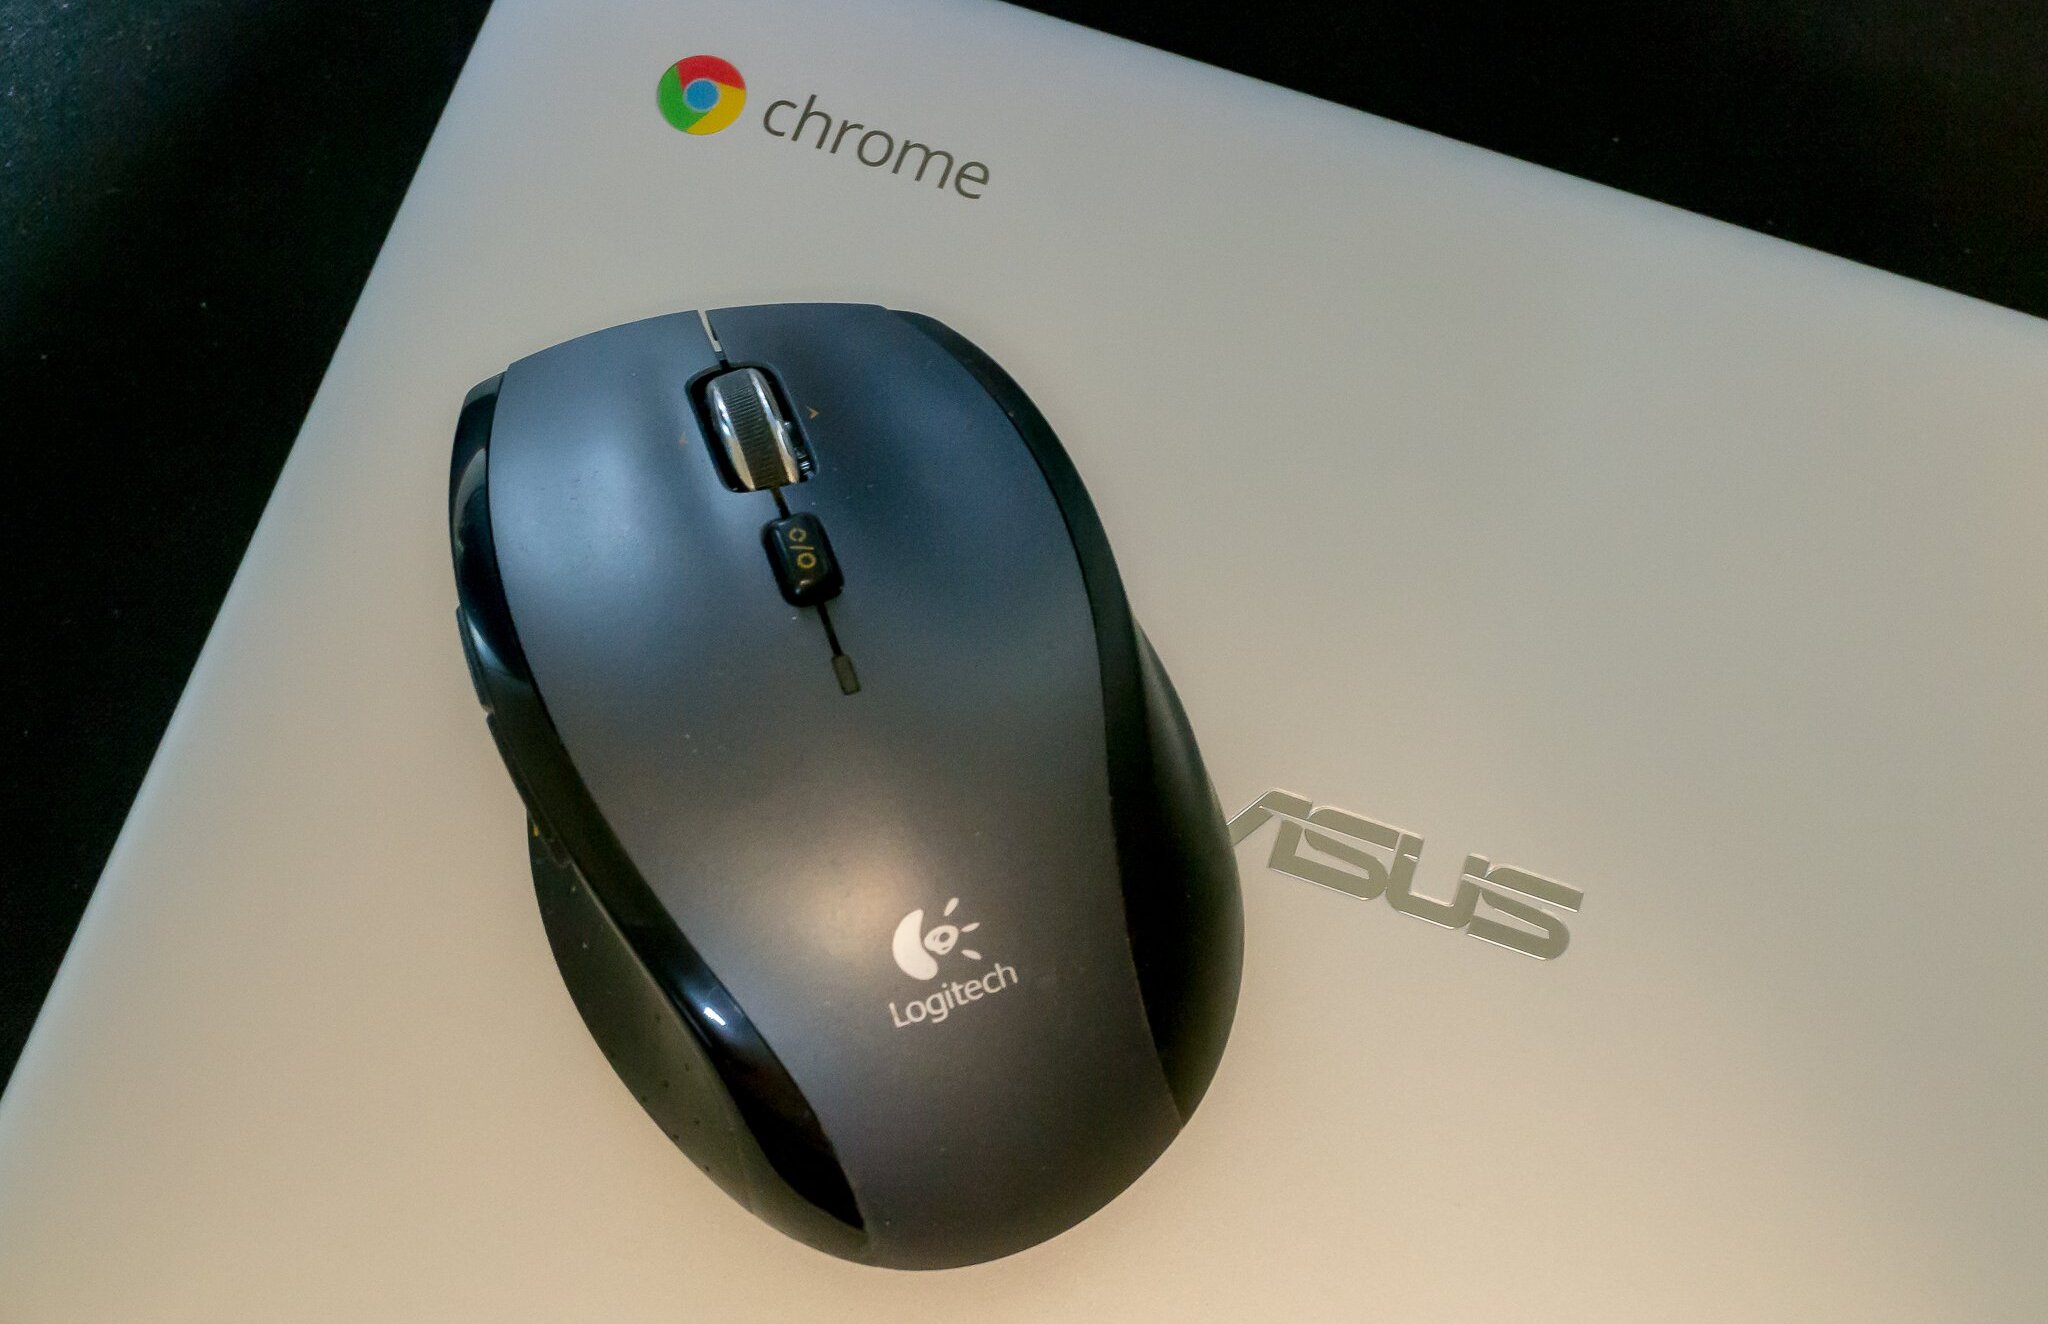
In general, most Logitech mice that use a USB receiver are compatible with Chrome OS. These mice typically come with a small USB receiver that needs to be connected to one of the USB ports on your Chromebook. Once connected, you can start using your Logitech mouse without any additional configurations.
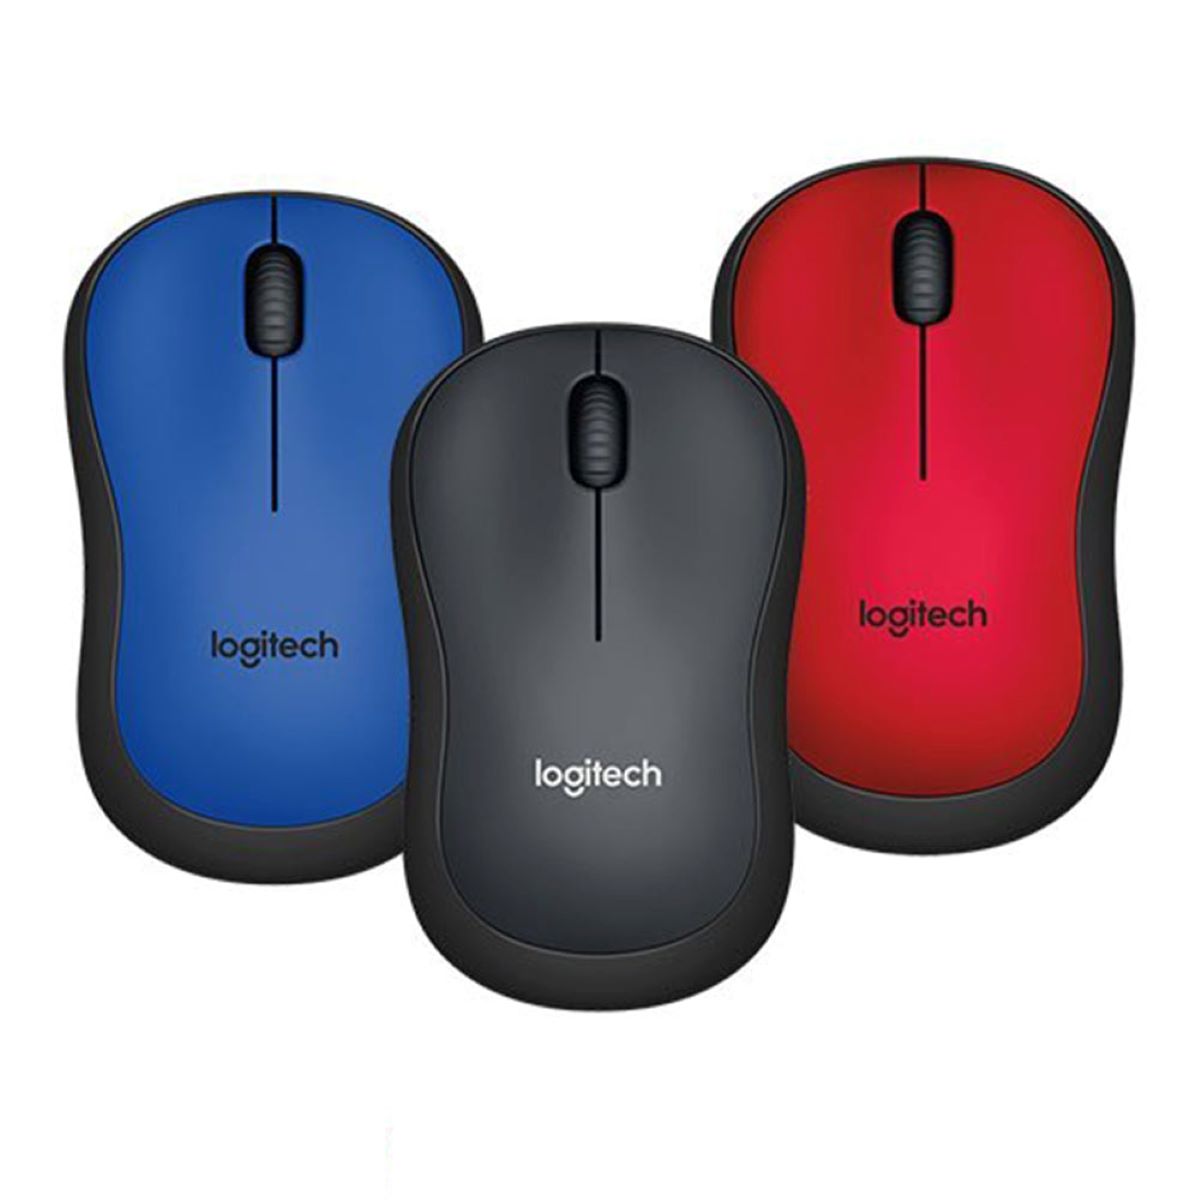
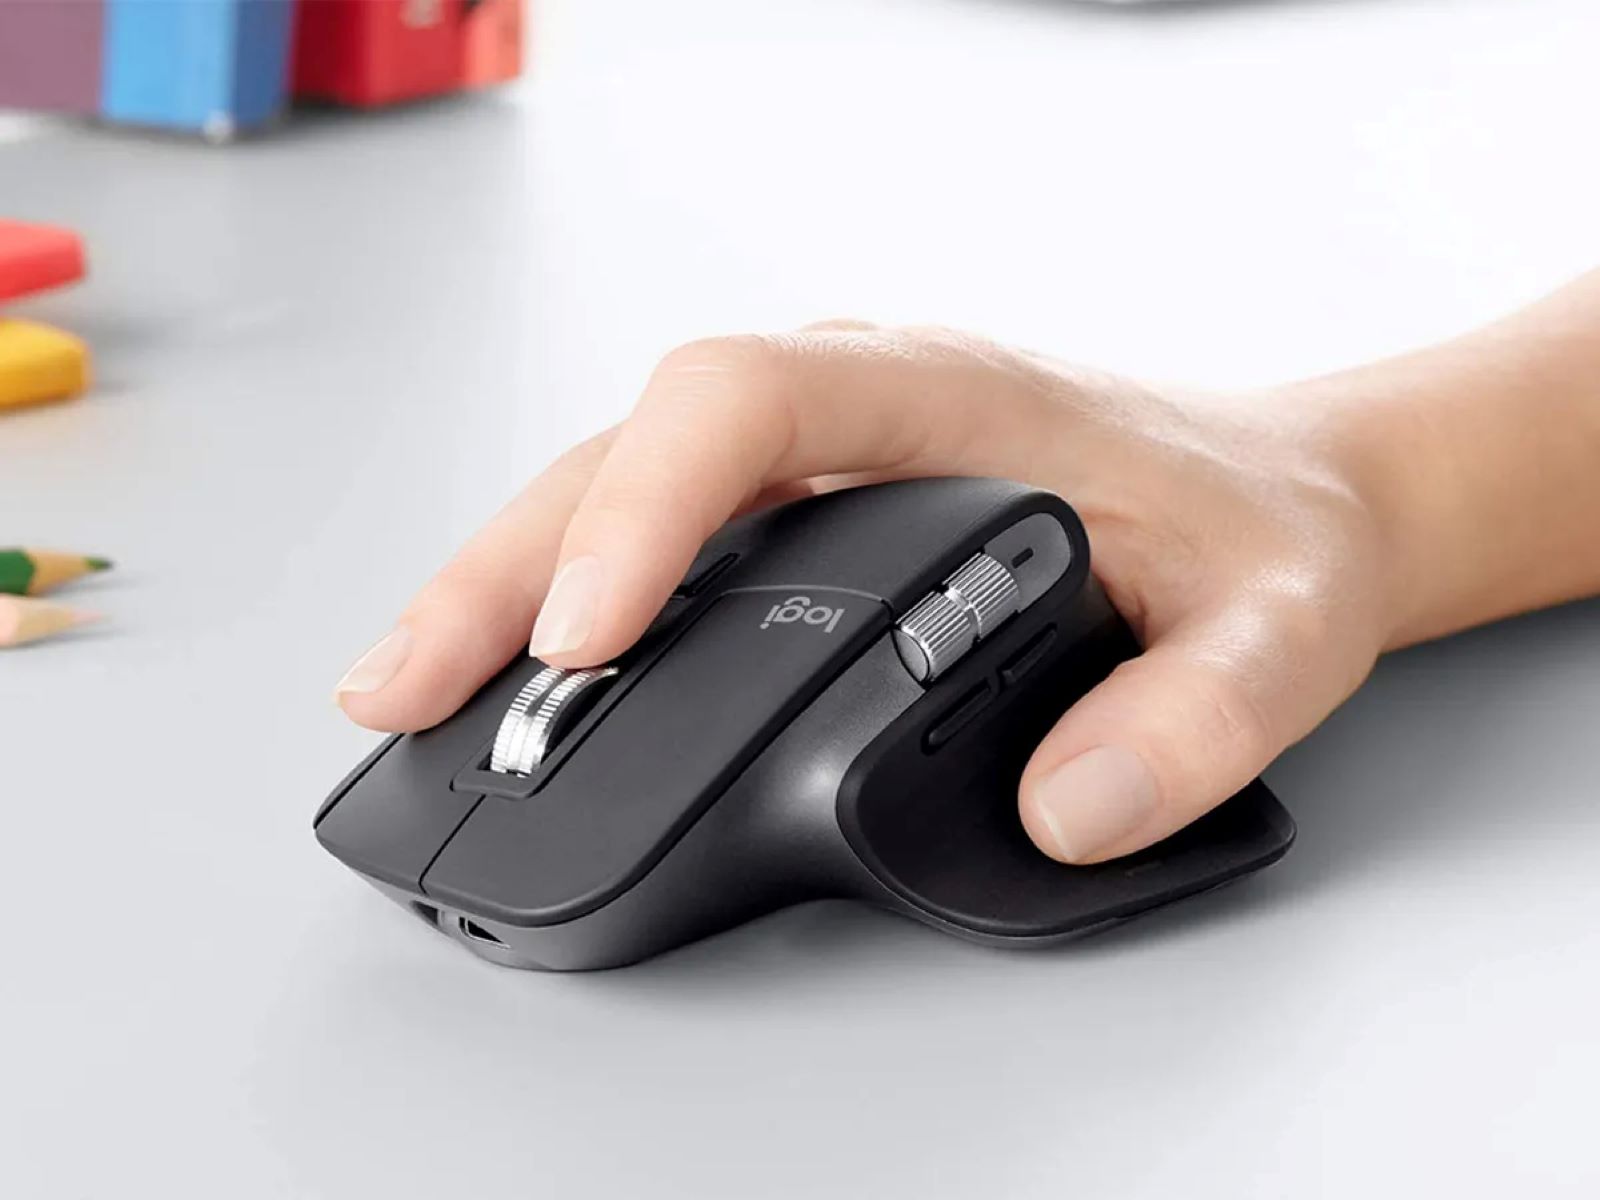
If you prefer a wireless setup without the need for a USB receiver, you can opt for a Logitech mouse that supports Bluetooth connectivity. This allows you to connect the mouse directly to your Chromebook wirelessly. However, it is important to note that not all Logitech mice support Bluetooth, so make sure to check the specifications or packaging of the mouse before purchasing.
Another factor to consider is the availability of Logitech software or drivers for Chrome OS. While most Logitech mice can work without any additional software on Chromebooks, there may be certain advanced features or customization options that require specific Logitech software. Be sure to check the Logitech website for any software or driver downloads that may enhance your mouse experience on Chrome OS.
Overall, Logitech mice offer great compatibility with Chromebooks, allowing you to choose between USB receiver-based connectivity or Bluetooth-based wireless connectivity. Now that we have covered the compatibility aspect, let’s move on to the steps to connect a Logitech mouse to your Chromebook.
Steps to Connect a Logitech Mouse to a Chromebook
Connecting a Logitech mouse to your Chromebook is a straightforward process, whether you are using a USB receiver or Bluetooth functionality. Follow the steps below to get your Logitech mouse connected and ready to use.
- Option 1: Using the USB Receiver
- Insert the USB receiver into an available USB port on your Chromebook.
- Turn on the mouse by switching it to the “On” or “Connect” position.
- Your Chromebook will automatically detect the Logitech mouse and install the necessary drivers.
- Once the installation is complete, you will be able to use your Logitech mouse for navigation and clicking.
- Option 2: Using Bluetooth
- On your Chromebook, click on the Time or Status Area in the bottom-right corner of the screen.
- Select the gear icon to open the Settings menu.
- In the Settings menu, click on “Bluetooth” to access the Bluetooth settings.
- Ensure that Bluetooth is turned on.
- Put your Logitech mouse into pairing mode. Refer to the mouse’s user manual or Logitech’s website for instructions specific to your mouse model.
- On your Chromebook, click on “Add device” in the Bluetooth settings.
- Your Chromebook will scan for available Bluetooth devices, including your Logitech mouse.
- Click on your Logitech mouse when it appears in the list of devices.
- Follow any additional on-screen prompts to complete the pairing process.
If your Logitech mouse comes with a USB receiver, follow these steps:
If your Logitech mouse supports Bluetooth connectivity, follow these steps:
Once you have successfully connected your Logitech mouse to your Chromebook, you’re ready to take advantage of its functionality and enjoy enhanced navigation and control.
Option 1: Using the USB Receiver
If your Logitech mouse comes with a USB receiver, you can easily connect it to your Chromebook by following these simple steps:
- Insert the USB receiver into an available USB port on your Chromebook. It is usually a small dongle that can be plugged into any free USB port.
- Turn on your Logitech mouse by switching it to the “On” or “Connect” position. Some Logitech mice may have a power switch on the bottom or side of the device.
- Once the USB receiver is connected and the mouse is turned on, your Chromebook will automatically detect the Logitech mouse.
- Chrome OS will begin installing the necessary drivers for the mouse. This process usually takes just a few seconds.
- Once the installation is complete, your Logitech mouse is ready to use. You can start navigating, clicking, and scrolling with your new mouse.
One of the advantages of using a Logitech mouse with a USB receiver is the convenience of plug-and-play functionality. Once the receiver is inserted and the mouse is turned on, the connection is almost instantaneous. This option is suitable for users who prefer a reliable and straightforward wired connection.
If you ever encounter issues with the connection or functionality of your Logitech mouse, make sure to check that the USB receiver is securely inserted into the USB port. Additionally, try restarting your Chromebook and reinserting the USB receiver to help resolve any temporary connection problems.
Now that you know how to connect your Logitech mouse using the USB receiver, let’s move on to the next option, which is connecting the mouse to your Chromebook using Bluetooth.
Option 2: Using Bluetooth
If your Logitech mouse supports Bluetooth connectivity, you can connect it to your Chromebook wirelessly. Here’s how:
- On your Chromebook, click on the Time or Status Area located in the bottom-right corner.
- Select the gear icon to open the Settings menu.
- In the Settings menu, click on “Bluetooth” to access the Bluetooth settings.
- Ensure that Bluetooth is turned on. If it’s not, toggle the switch to enable it.
- Put your Logitech mouse into pairing mode. Consult the user manual or visit Logitech’s website for specific instructions on how to do this with your particular mouse model. Typically, you’ll need to press and hold a button on the mouse to activate pairing mode.
- On your Chromebook, click on “Add device” in the Bluetooth settings menu.
- Your Chromebook will start scanning for available Bluetooth devices, including your Logitech mouse.
- When your Logitech mouse appears in the list of devices, click on it to initiate the pairing process.
- Follow any additional on-screen prompts to complete the pairing process.
Once the pairing is successful, your Logitech mouse will be connected via Bluetooth to your Chromebook. You can now enjoy the freedom of wireless navigation and control.
Using a Logitech mouse with Bluetooth connectivity offers the advantage of a wireless setup, eliminating the need for a USB receiver. This option is ideal for users who prefer a clutter-free workspace or want to connect multiple devices via Bluetooth.
If you run into any issues during the pairing process or encounter connectivity problems, ensure that your Logitech mouse is charged or has fresh batteries. Additionally, make sure your Chromebook is within the range of the mouse’s Bluetooth signal for optimal performance.
Now that you’re familiar with connecting your Logitech mouse to your Chromebook using Bluetooth, you’re ready to enjoy the convenience and versatility of wireless mouse control.
Troubleshooting Tips
While connecting a Logitech mouse to your Chromebook is usually a seamless process, there may be instances when you encounter issues. Here are some troubleshooting tips to help resolve common problems:
- Make sure the USB receiver is properly connected: Ensure that the USB receiver is securely inserted into a USB port on your Chromebook. Sometimes a loose connection can cause connectivity problems.
- Check the battery level: If you are using a wireless Logitech mouse, ensure that the battery is sufficiently charged or replace the batteries with fresh ones. Low battery power can lead to connection issues.
- Restart your Chromebook: Sometimes, a simple restart can fix connectivity problems. Try restarting your Chromebook and see if that resolves the issue.
- Verify Bluetooth is enabled: If you are using a Bluetooth-enabled Logitech mouse, double-check that Bluetooth is turned on in the settings of your Chromebook. Also, make sure the mouse is in pairing mode when attempting to connect.
- Update Chrome OS: Keeping your Chromebook’s operating system up to date is essential for compatibility with external devices. Check for any available updates and install them if necessary.
- Reset Bluetooth settings: If you are still experiencing Bluetooth connection issues, try resetting the Bluetooth settings on your Chromebook. This can often resolve any Bluetooth-related problems.
- Refer to Logitech support: If all else fails, visit Logitech’s support website or contact their customer support for further assistance. They can provide specific troubleshooting steps for your Logitech mouse model.
By following these troubleshooting tips, you should be able to overcome most common issues when connecting a Logitech mouse to your Chromebook. Remember to double-check the compatibility of your mouse with Chrome OS and ensure that you have the latest drivers or software installed if necessary.
Now that we’ve covered some troubleshooting tips, you should be well-prepared to troubleshoot any potential issues that may arise during the connection process. Happy mouse-clicking!
Conclusion
Connecting a Logitech mouse to your Chromebook can greatly enhance your productivity and improve your overall user experience. Whether you opt for the USB receiver or Bluetooth connectivity, the process is relatively straightforward and can be completed in just a few simple steps.
In this article, we discussed the compatibility of Logitech mice with Chromebooks and provided step-by-step instructions for connecting a Logitech mouse to your Chromebook using either option. Connecting via USB receiver offers a convenient plug-and-play experience, while Bluetooth connectivity provides a wireless and clutter-free setup.
It is essential to ensure that your Logitech mouse is compatible with Chromebooks before making a purchase. Additionally, we provided troubleshooting tips that can help resolve common connectivity issues you may encounter.
With a Logitech mouse connected to your Chromebook, you can enjoy smoother navigation, precise clicking, and improved control over your device. Whether you’re working on documents, browsing the web, or performing other tasks, the addition of a Logitech mouse can make your workflow more efficient and comfortable.
Now that you have the knowledge and know-how, take the leap and connect your Logitech mouse to your Chromebook. Experience the convenience and versatility of a mouse and enhance your productivity in a whole new way!