Introduction
Welcome to the world of Logitech devices, where innovation meets convenience in the realm of technology. Logitech is renowned for its wide range of computer peripherals, from keyboards and mice to speakers and webcams. If you are a proud owner of multiple Logitech devices, you may have found yourself juggling between different wireless receivers and dealing with the hassle of managing each device separately.
Fortunately, Logitech has a solution for this predicament – the Logitech Unifying Software. With this software, you can unify your Logitech devices and streamline your computing experience. Say goodbye to cluttered USB ports and multiple receiver dongles, and say hello to a simplified setup and enhanced productivity.
In this article, we will guide you through the process of unifying your Logitech devices, step by step. Whether you have a keyboard, mouse, or any other Logitech accessory, by the end of this guide, you will have all your devices connected to one Logitech Unifying Receiver, ready to be used seamlessly.
So, let’s dive into the world of Logitech Unifying and discover how you can simplify your setup and enjoy the convenience of unified Logitech devices.
Understanding Logitech Devices
Before we delve into the process of unifying Logitech devices, let’s take a moment to understand the types of devices you can connect and unify using the Logitech Unifying Software.
Logitech offers a diverse range of devices suited to various needs and preferences. Here are some of the most common Logitech devices:
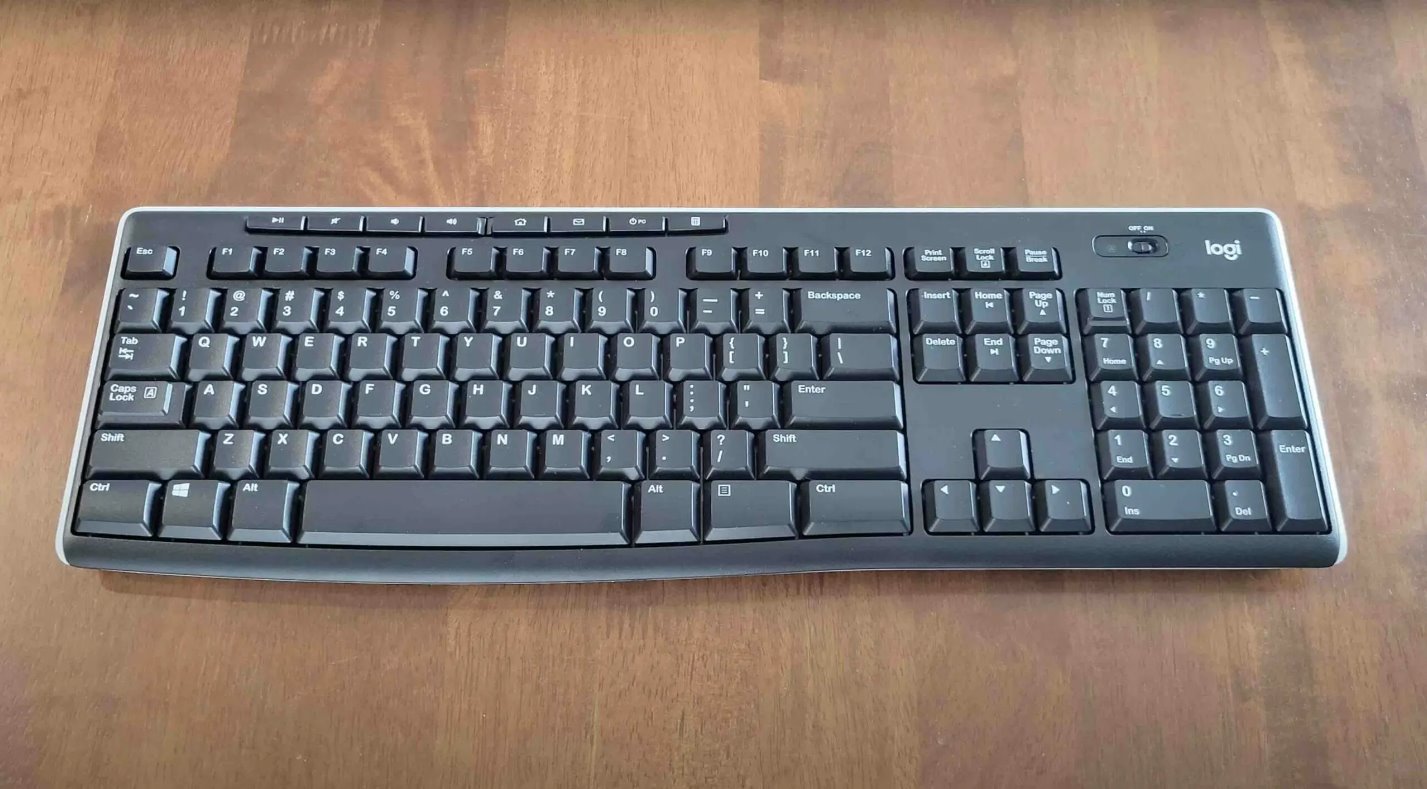
- Keyboards: Logitech keyboards boast a combination of ergonomic designs, customizable features, and durable construction. Whether you’re a gamer, a professional typist, or simply need a reliable keyboard for everyday use, Logitech has a keyboard for you.
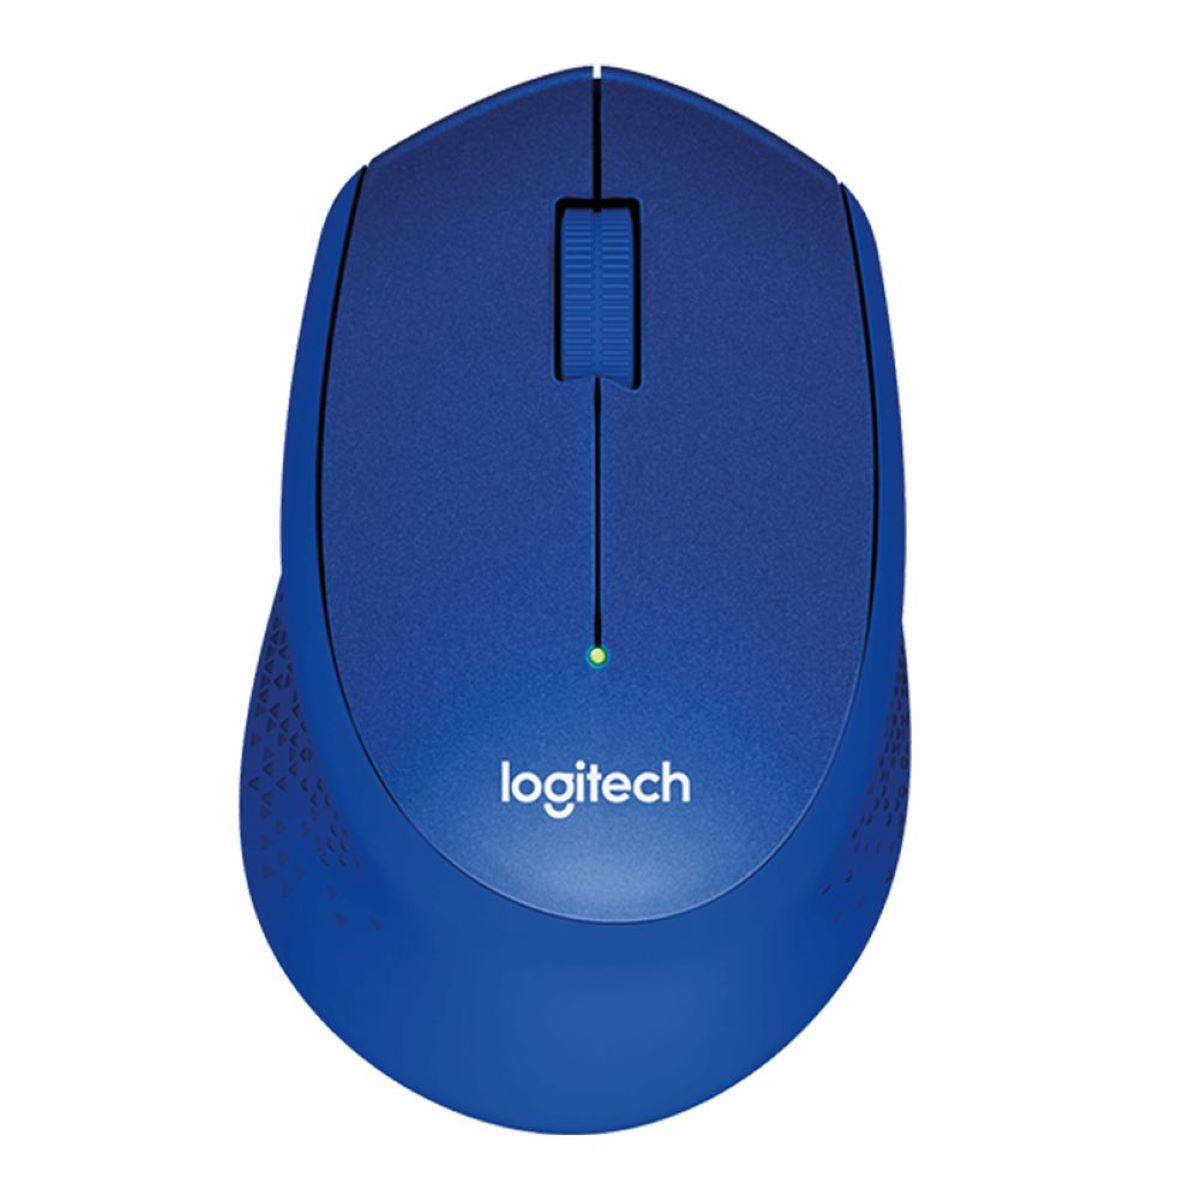
- Mice: Logitech mice are known for their precision, comfort, and advanced features. From wireless mice with programmable buttons to gaming mice with adjustable DPI, Logitech has a mouse to suit every user.
- Speakers: Logitech speakers deliver immersive sound quality, making them perfect for gaming, music, movies, and more. With options ranging from compact portable speakers to high-powered systems, you can choose the perfect audio companion for your needs.
- Webcams: Logitech webcams offer high-definition video quality and superior audio for clear online communication and content creation. Whether you’re video conferencing, streaming on Twitch, or recording YouTube videos, Logitech webcams enhance your visual and audio experience.
Logitech also produces other devices such as wireless presenter remotes, external hard drives, and wireless gamepads, among others. Whatever Logitech device you own, the Logitech Unifying Software provides a solution to connect and manage them through a single receiver.
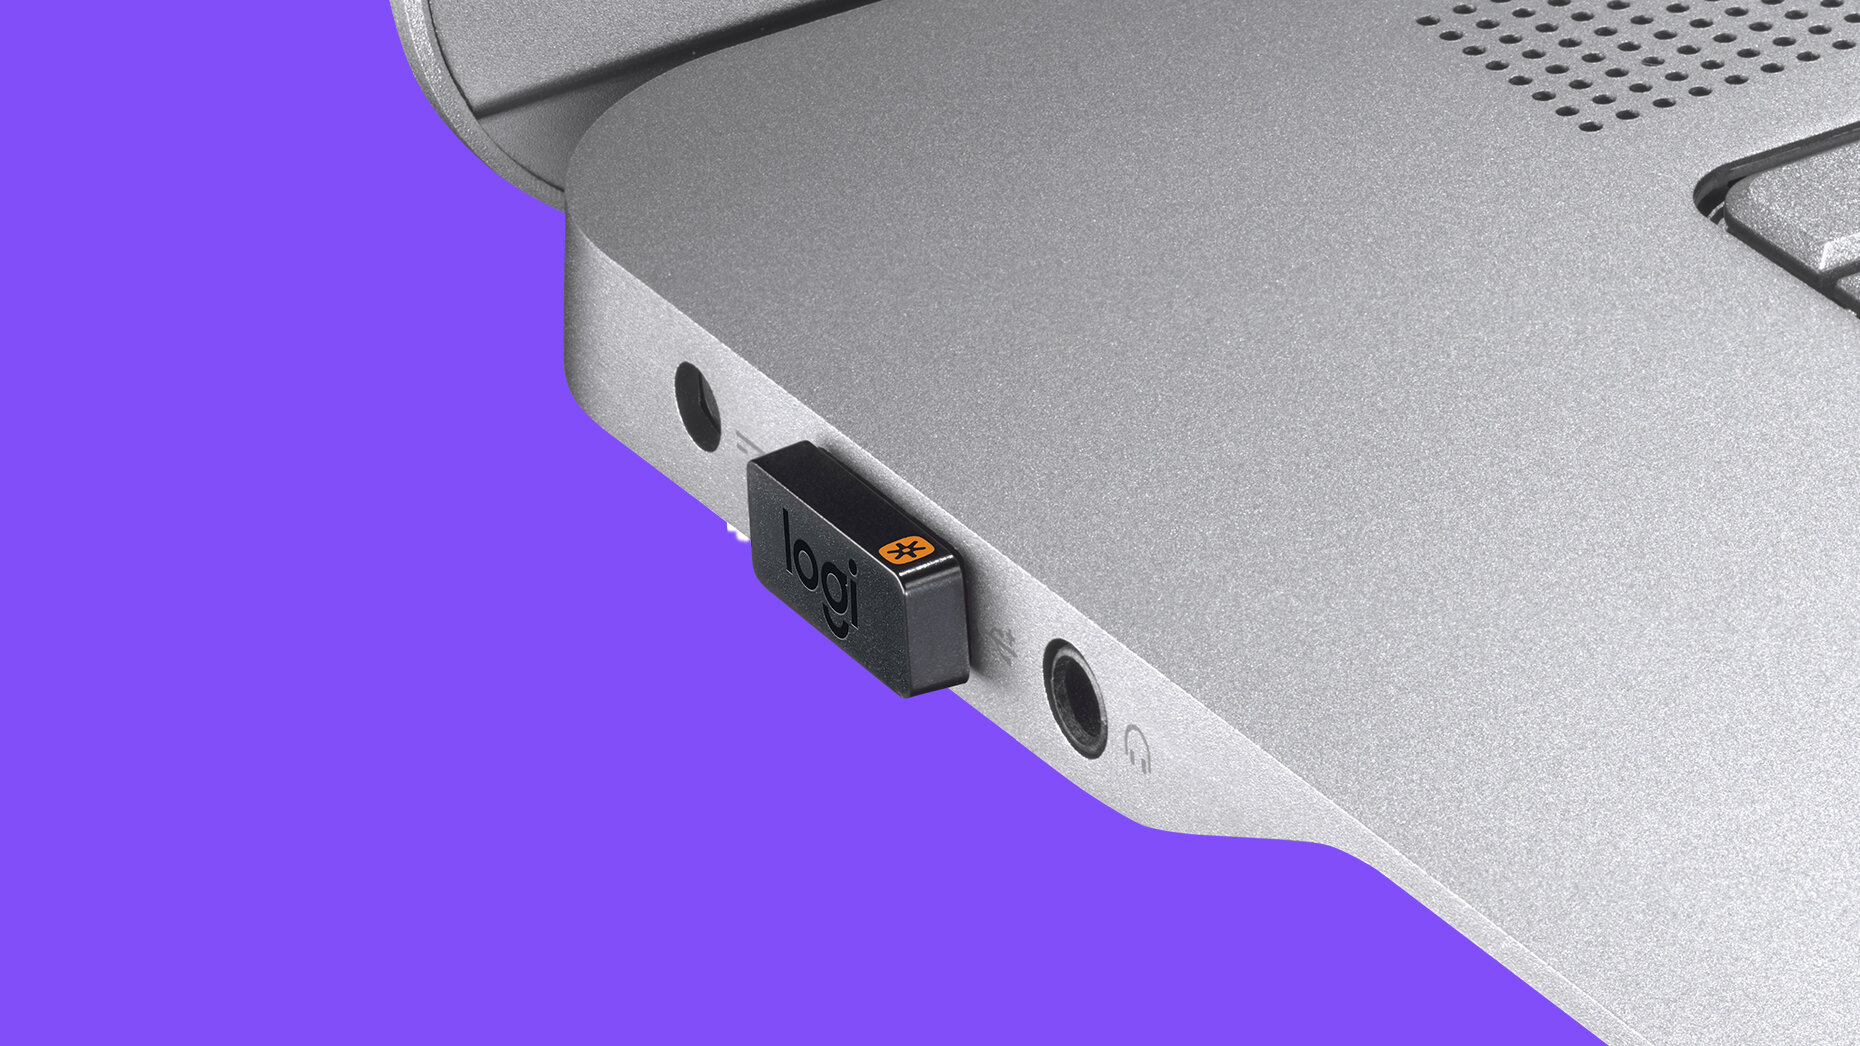
Not all Logitech devices are compatible with the Logitech Unifying Software, so it is important to check whether your device supports unifying. Logitech devices that are compatible with the Unifying Software will have a small orange Unifying logo on the packaging or product itself.
Now that we have a clear understanding of Logitech devices and their compatibility, let’s move on to the process of unifying them using the Logitech Unifying Software.
Unifying Logitech Devices
Unifying your Logitech devices simplifies your setup and eliminates the need for multiple wireless receivers. With the Logitech Unifying Software, you can connect compatible devices to a single Logitech Unifying Receiver, freeing up USB ports and reducing clutter.
Here is a step-by-step guide on how to unify your Logitech devices:
Step 1: Checking Compatibility
Ensure that the Logitech devices you want to unify are compatible with the Logitech Unifying Software. Look for the small orange Unifying logo on the packaging or the device itself. This logo indicates that the device can be unified with other Logitech devices.
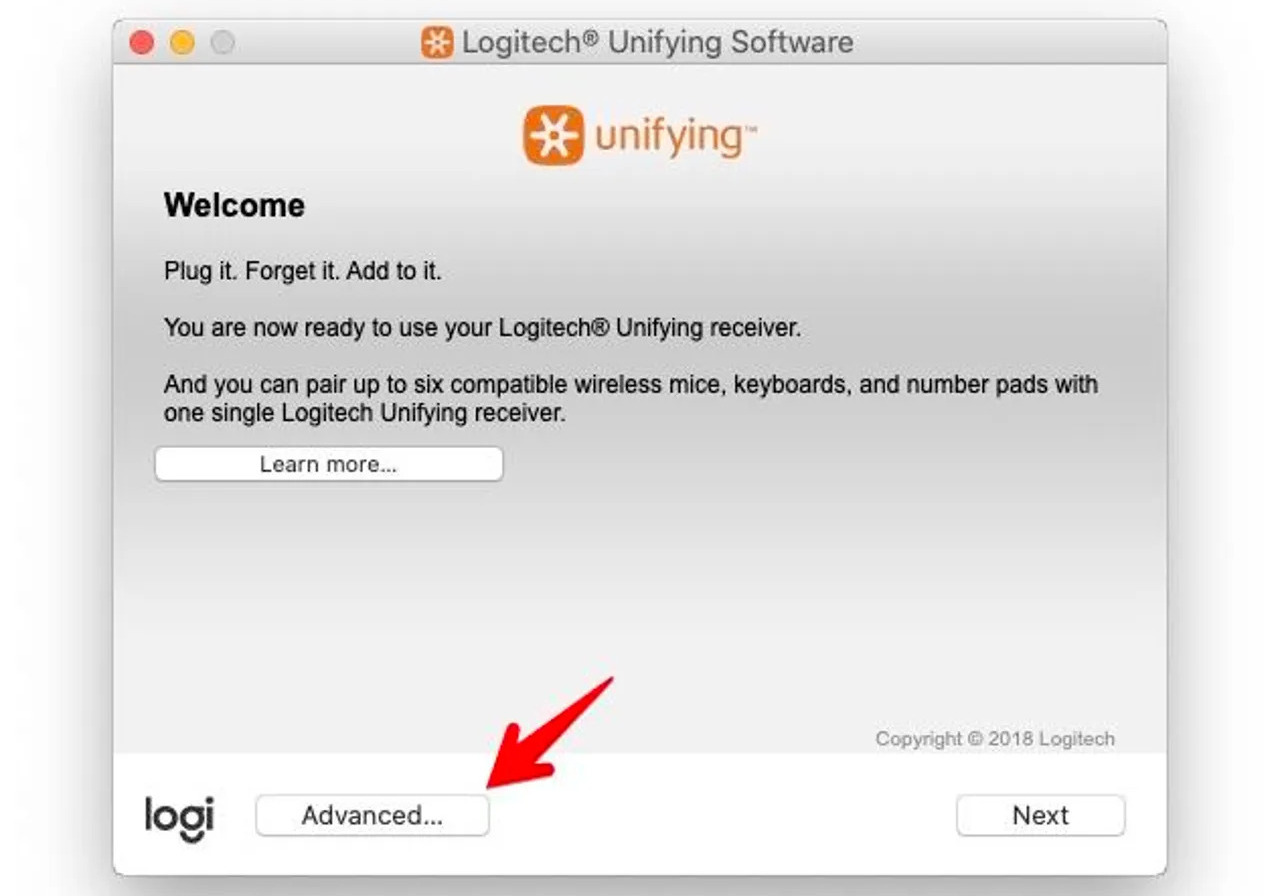
Step 2: Installing Logitech Unifying Software
Download and install the Logitech Unifying Software from the Logitech website. The software is available for both Windows and macOS operating systems. Follow the on-screen instructions to complete the installation process.
Step 3: Connecting Devices to the Unifying Receiver
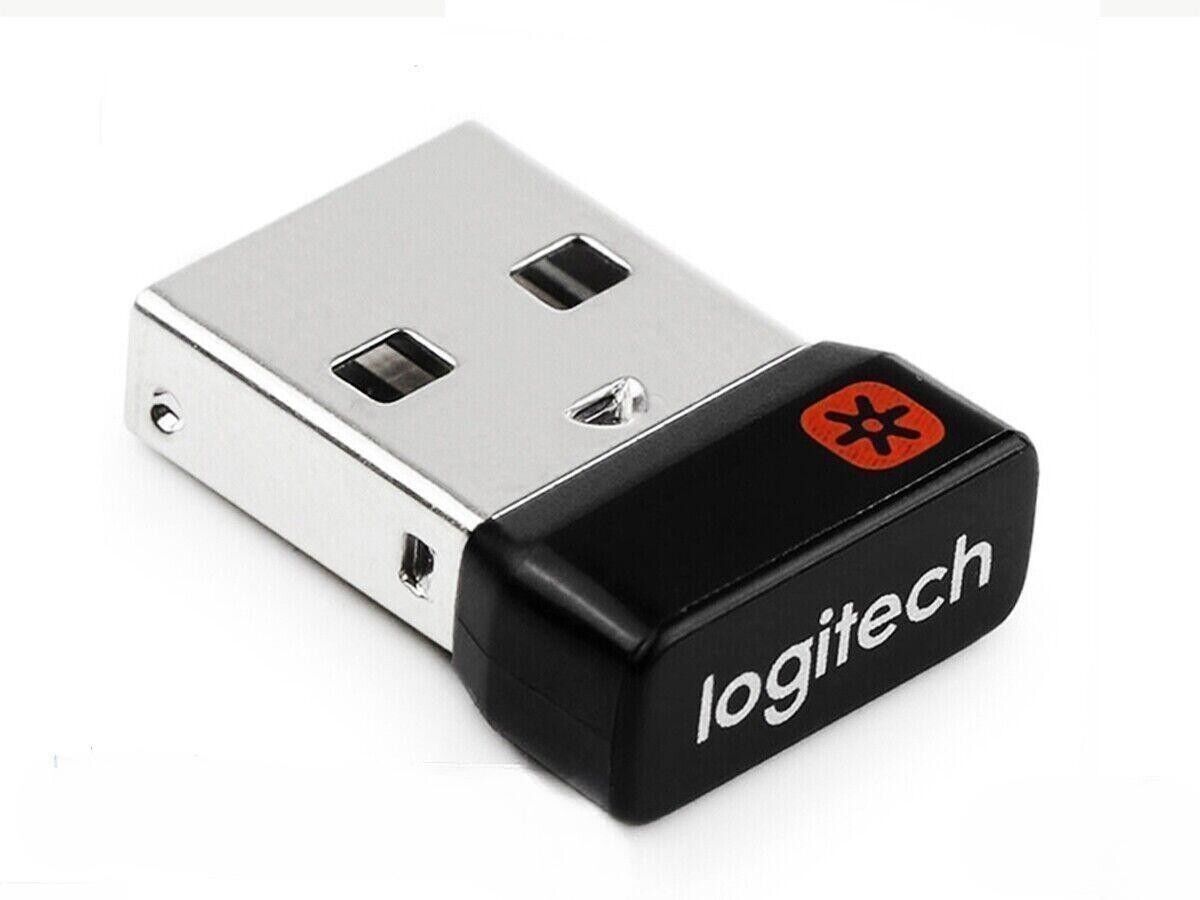
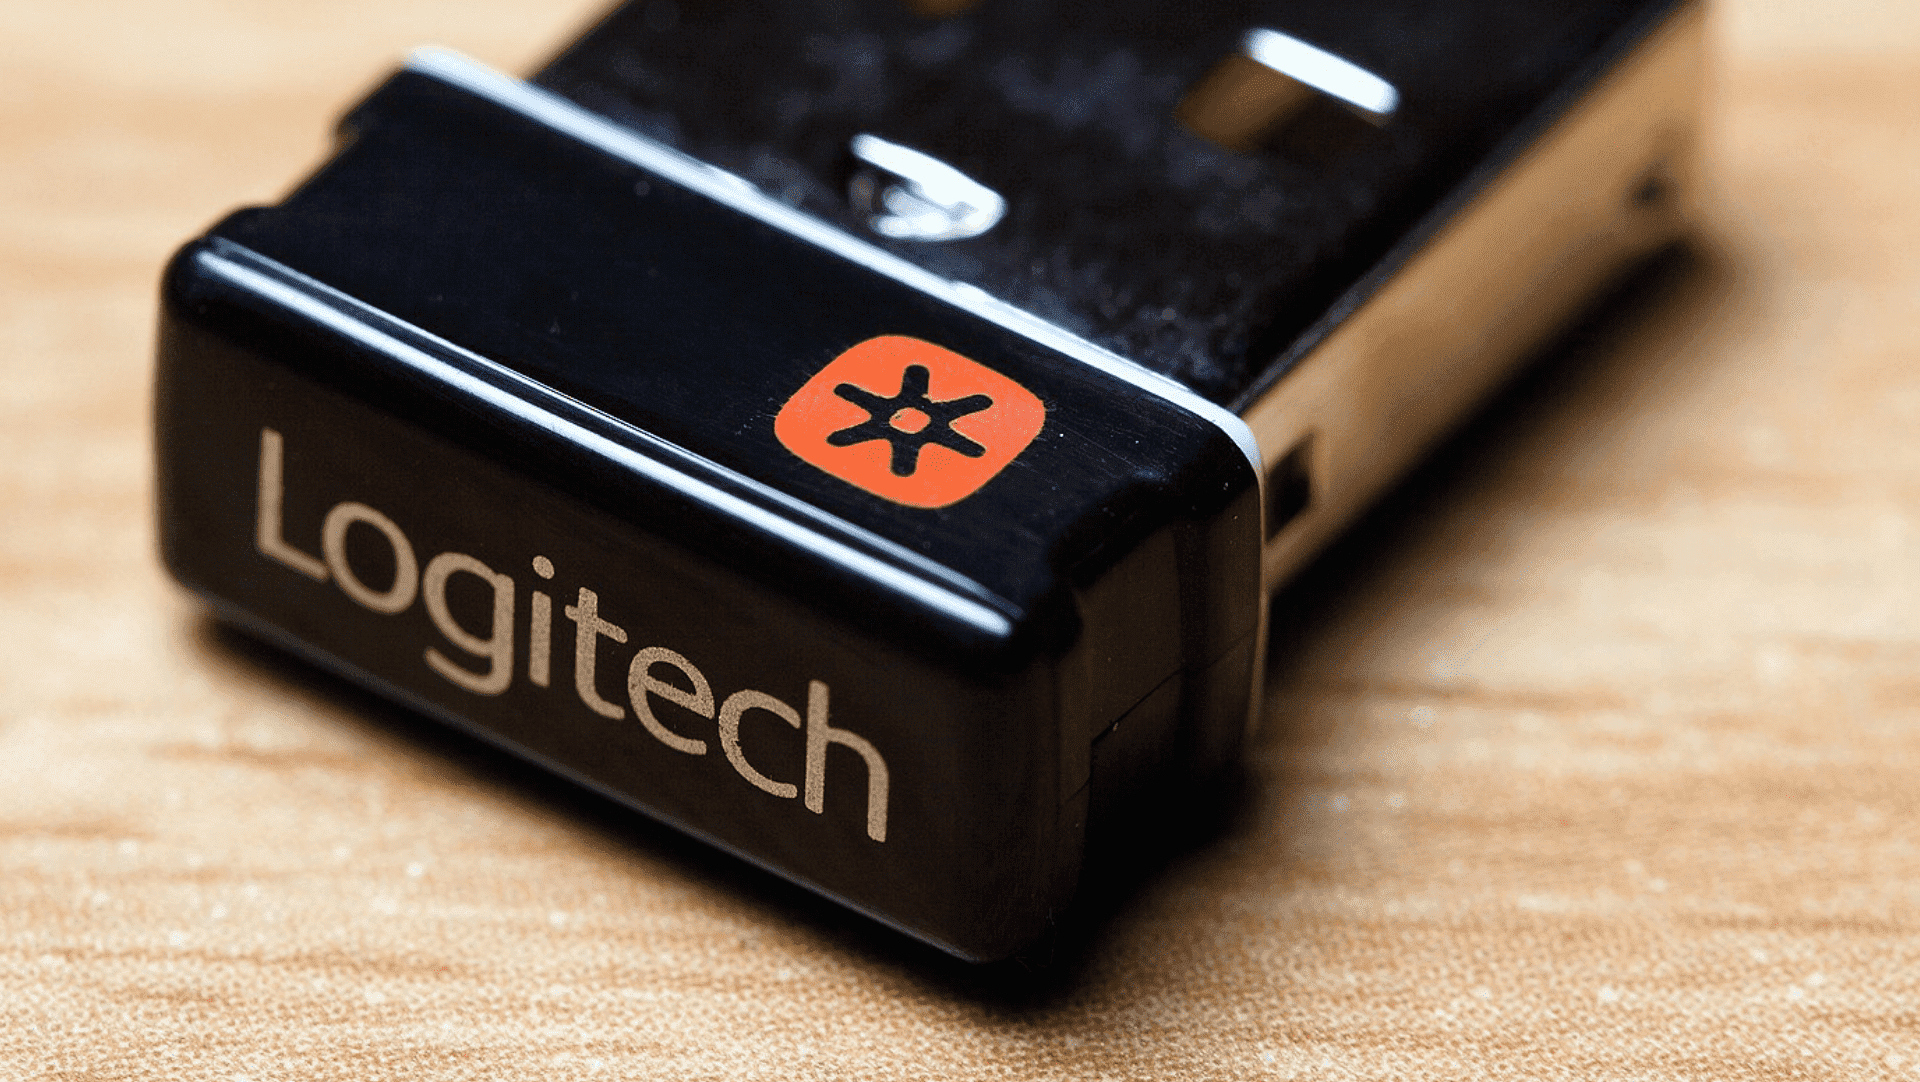
Plug the Logitech Unifying Receiver into an available USB port on your computer. Press the “Connect” button on the receiver to enter pairing mode. Then, turn on each Logitech device you wish to unify and press their “Connect” buttons, usually located on the bottom of the devices. This will initiate the pairing process.
The Logitech Unifying Software will detect the devices and guide you through the pairing process. Follow the on-screen instructions to complete the pairing of each device to the Unifying Receiver.
Step 4: Customizing and Managing Devices
Once you have successfully unified your Logitech devices, you can customize and manage them using the Logitech Options software. This software allows you to personalize the settings of your devices, such as customizing buttons, adjusting scroll speed, or creating application-specific profiles.
With Logitech Options, you can optimize your devices to suit your preferences and enhance your productivity.
That’s it! You have successfully unified your Logitech devices, and they are now connected to a single Logitech Unifying Receiver. Enjoy the convenience of a streamlined setup and improved efficiency.
If you encounter any difficulties during the unifying process, continue reading for troubleshooting tips in the next section.
Step 1: Checking Compatibility
Before proceeding with the unifying process, it is essential to ensure that your Logitech devices are compatible with the Logitech Unifying Software. Not all Logitech devices support unifying, so it is crucial to verify compatibility to avoid any frustration later on.
Here are the steps to check the compatibility of your Logitech devices:
- Refer to the packaging: Look for the small orange Unifying logo on the packaging of your Logitech device. Devices that are compatible with unifying will have this logo displayed to indicate their compatibility.
- Check the device itself: If you no longer have the packaging, examine the device itself for the orange Unifying logo. The logo is usually located on the bottom or back of the device.
- Visit the Logitech website: If you can’t find the Unifying logo on the packaging or the device, you can search for your specific Logitech model on the Logitech website. The product page will indicate whether the device is compatible with the Logitech Unifying Software.
It is important to note that Logitech devices from different product lines may not be compatible with each other. For example, a Logitech keyboard from the K series may not be compatible with a Logitech mouse from the M series. Ensure that the devices you are attempting to unify are from the same product line and support unifying.
If your Logitech device is indeed compatible with the Logitech Unifying Software, you can proceed with the unifying process. If not, you may still be able to connect your device using other methods specific to that device, such as Bluetooth or dedicated wireless receivers.
By confirming the compatibility of your Logitech devices, you can save time and ensure a smooth unifying process. Now that you have determined the compatibility of your devices, let’s move on to the next step and install the Logitech Unifying Software.
Step 2: Installing Logitech Unifying Software
Once you have confirmed the compatibility of your Logitech devices, the next step is to install the Logitech Unifying Software. This software serves as the bridge between your devices and allows for seamless unification.
Here is a guide to installing the Logitech Unifying Software:
- Visit the official Logitech website: Open your web browser and go to the Logitech website. Navigate to the Support or Downloads section.
- Select your device and operating system: Locate the Logitech Unifying Software and select your specific device model and operating system from the available options. Ensure that you download the correct version compatible with your computer’s operating system.
- Start the installation: After downloading the Logitech Unifying Software, locate the setup file in your downloads folder or designated location. Double-click on the setup file to begin the installation process.
- Follow the on-screen instructions: The installation wizard will guide you through the necessary steps. Follow the on-screen instructions to proceed with the installation. Read and accept the terms and conditions if prompted.
- Complete the installation: Once you have completed the installation, the Logitech Unifying Software will be ready to use on your computer.
By installing the Logitech Unifying Software, you gain access to a suite of features that allow you to manage and customize your Logitech devices. This software serves as a central hub for configuring device settings, updating firmware, and managing multiple devices.
It is important to keep the Logitech Unifying Software up-to-date to ensure compatibility with new Logitech devices and firmware updates. Check the Logitech website periodically for any software updates and install them when available.
Now that you have successfully installed the Logitech Unifying Software, it’s time to move on to the next step and connect your devices to the Logitech Unifying Receiver.
Step 3: Connecting Devices to the Unifying Receiver
With the Logitech Unifying Software installed on your computer, you are now ready to connect your Logitech devices to the Logitech Unifying Receiver. This step is crucial in unifying your devices and eliminating the need for multiple wireless receivers.
Here is a detailed guide on how to connect your devices to the Logitech Unifying Receiver:
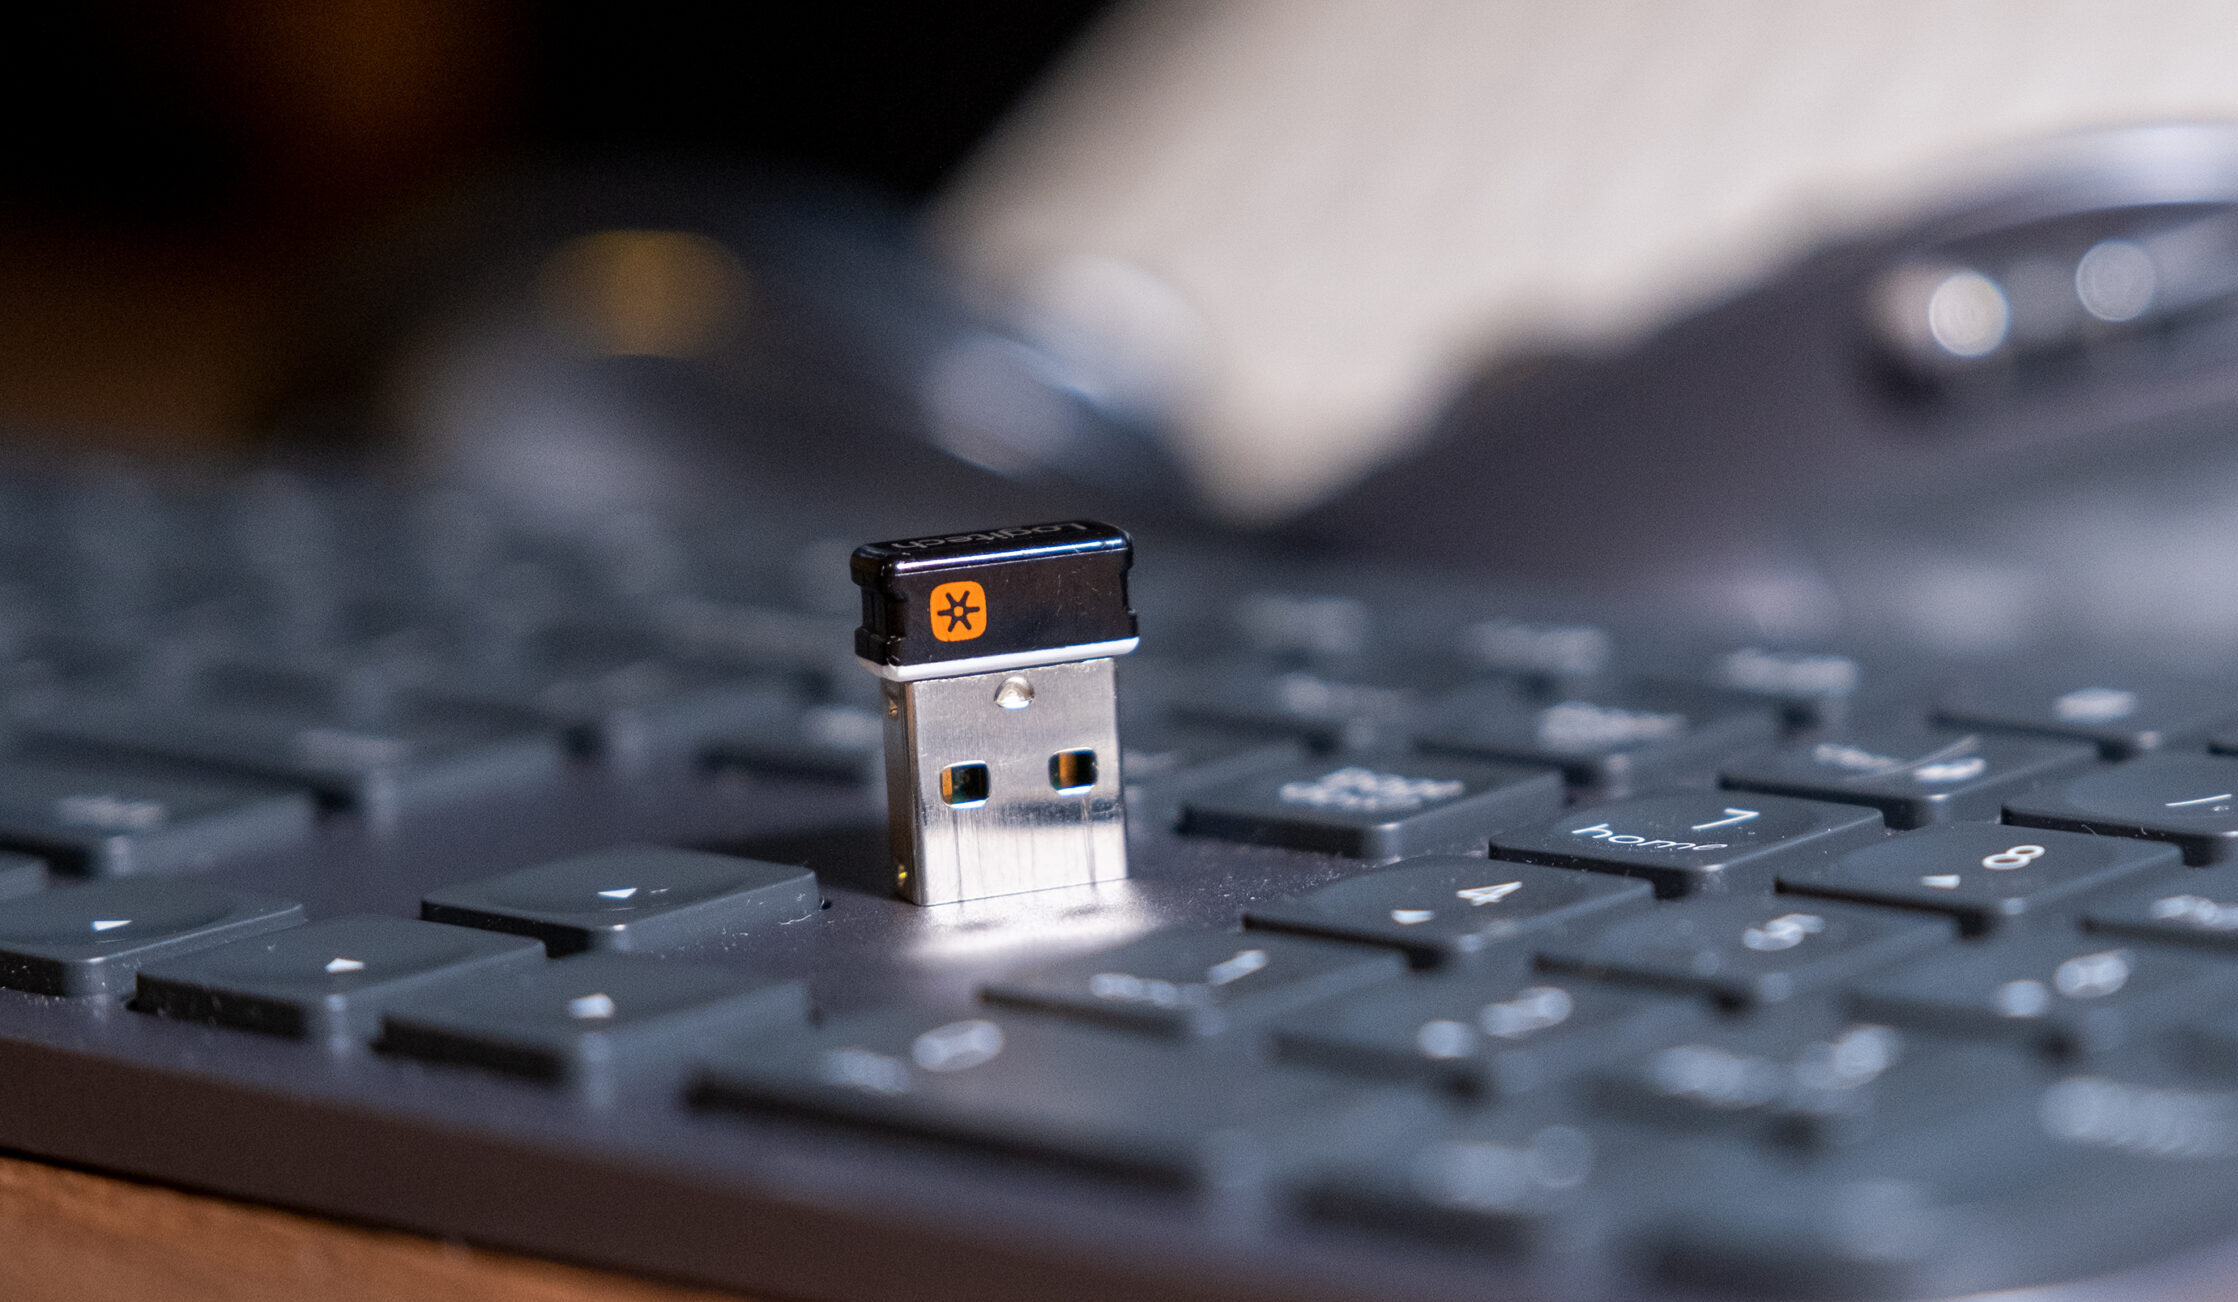
- Plug in the Logitech Unifying Receiver: Insert the Logitech Unifying Receiver into an available USB port on your computer. Make sure the receiver is securely connected.
- Put the devices in pairing mode: Turn on the Logitech device(s) you want to connect to the Unifying Receiver. Locate the “Connect” button on each device, usually located on the bottom or back, and press it to put the device in pairing mode. The device’s LED indicator may start blinking to indicate it is ready for pairing.
- Press the “Connect” button on the Unifying Receiver: Locate the “Connect” button on the Unifying Receiver itself. Press the button to put the receiver in pairing mode. The LED indicator on the receiver may start blinking as well.
- Pair the devices with the receiver: The Logitech Unifying Software on your computer will now detect the devices in pairing mode. Follow the on-screen instructions to complete the pairing process. You may need to wait for a few moments while the software establishes the connection between the devices and the receiver.
- Repeat for additional devices: If you have multiple Logitech devices to connect, repeat steps 2-4 for each device. Ensure that each device is in pairing mode when attempting to connect.
- Verify successful pairing: Once the pairing process is complete, the Logitech Unifying Software will display a confirmation message indicating successful device connection. You can now start using your Logitech devices with the Unifying Receiver.
It is important to note that the Logitech Unifying Receiver can connect up to six compatible devices simultaneously. This allows you to unify multiple devices without the need for additional receivers.
By connecting your Logitech devices to the Logitech Unifying Receiver, you eliminate the clutter of multiple receivers and enjoy the convenience of seamless connectivity.
In the next step, we will explore how to customize and manage your unified Logitech devices using the Logitech Options software.
Step 4: Customizing and Managing Devices
Now that you have successfully connected your Logitech devices to the Logitech Unifying Receiver, it’s time to take advantage of the customization and management features offered by the Logitech Options software.
Here is a step-by-step guide on how to customize and manage your Logitech devices:
- Launch the Logitech Options software: Locate the Logitech Options software on your computer and open it. The software should be automatically installed when you installed the Logitech Unifying Software.
- Select the desired device: In the Logitech Options software, select the device you want to customize and manage. The software will display a list of all connected Logitech devices.
- Explore customization options: Once you have selected a device, you will have access to various customization options. These options may vary depending on the specific Logitech device you are customizing. Examples of customization options include programmable buttons, gesture controls, scrolling speed, pointer speed, and backlighting settings.
- Adjust device settings: Click on each customization option to modify and adjust the settings according to your preferences. For example, you can assign specific functions or macros to programmable buttons, change the scrolling behavior, or fine-tune the sensitivity of the mouse pointer.
- Create device-specific profiles: Logitech Options allows you to create device-specific profiles. This feature is useful if you use the device for different tasks or applications. You can configure different settings for each profile and switch between them effortlessly.
- Manage multiple devices: If you have multiple Logitech devices connected to the Logitech Unifying Receiver, you can manage and customize each device independently in the Logitech Options software. Simply select the desired device from the software interface and customize it to your liking.
The Logitech Options software provides a user-friendly interface that makes it easy to personalize and optimize your Logitech devices. Take some time to explore the options available for each device and experiment with different settings to find the configuration that suits your needs.
It is worth noting that the Logitech Options software also allows you to update the firmware of your Logitech devices, ensuring that you have the latest features and performance enhancements. Check for firmware updates regularly in the Logitech Options software and install them when available.
With the Logitech Options software, you have the power to customize, manage, and fine-tune your Logitech devices to enhance your productivity and improve your overall computing experience.
In the next section, we will provide some troubleshooting tips to help you overcome any issues you may encounter during the unifying process.
Troubleshooting Tips
While unifying Logitech devices is generally a straightforward process, you might encounter some challenges along the way. Here are some troubleshooting tips to help you overcome common issues:
- Ensure compatibility: Double-check that your Logitech devices are indeed compatible with the Logitech Unifying Software. Look for the Unifying logo on the packaging or the device itself.
- Restart the computer: If you’re experiencing connection issues, try restarting your computer. This can resolve temporary software or driver conflicts that may be affecting the Unifying process.
- Check USB port and receiver connection: Ensure that the Logitech Unifying Receiver is securely plugged into a functioning USB port. Also, verify that the receiver is not obstructed or surrounded by metal objects, which could interfere with the wireless connection.
- Reset the devices: If a device fails to pair or connect, try resetting it by removing and reinserting the batteries or following the manufacturer’s instructions for resetting. Then, repeat the pairing process.
- Update software and drivers: Make sure you have the latest version of the Logitech Unifying Software and any required drivers installed on your computer. Check the Logitech website for any available updates and install them accordingly.
- Try different USB port: If you’re having issues with a specific USB port, try connecting the Logitech Unifying Receiver to a different USB port on your computer. Some ports may have limited power or connectivity, so switching ports can help resolve connectivity problems.
- Remove other wireless devices: If you have other wireless devices nearby, such as routers, wireless keyboards, or other Logitech receivers, they may interfere with the signal of the Logitech Unifying Receiver. Try moving these devices further away or turning them off temporarily.
- Reinstall Logitech Unifying Software: If all else fails, uninstall the Logitech Unifying Software from your computer, restart the system, and reinstall the software by following the installation steps provided earlier in this guide.
If you continue to experience difficulties unifying your Logitech devices, refer to the Logitech support website or contact their customer support for further assistance. They can provide additional troubleshooting guidance specific to your devices and situation.
Remember that while issues may arise, the Logitech Unifying Software is designed to simplify your setup and enhance your user experience. Troubleshooting these issues will ultimately lead to a seamless and unified Logitech device ecosystem.
Conclusion
Congratulations! You have successfully unified your Logitech devices using the Logitech Unifying Software. By following the step-by-step process outlined in this guide, you can now enjoy the convenience of managing multiple Logitech devices through a single Logitech Unifying Receiver.
Unifying your Logitech devices not only simplifies your setup but also frees up USB ports and reduces clutter. With the Logitech Unifying Software, you have the power to customize and manage your devices according to your preferences, enhancing your productivity and overall computing experience.
Remember to check the compatibility of your Logitech devices before attempting to unify them, as only compatible devices can be connected to the Logitech Unifying Receiver.
If you encountered any difficulties during the unifying process, the troubleshooting tips provided in this guide should help you overcome common issues. Don’t hesitate to reach out to Logitech’s customer support or refer to their support website for further assistance.
Now that you have successfully unified your Logitech devices, take some time to explore the customization options available for each device using the Logitech Options software. Adjust settings, create profiles, and make your devices work exactly the way you want them to.
Enjoy the simplicity, convenience, and enhanced productivity that comes with a unified Logitech device ecosystem. Whether you’re working, gaming, or simply browsing the web, your Logitech devices are now streamlined and ready to meet your needs.
Thank you for choosing Logitech and embracing the unifying journey. We hope this guide has provided valuable insights and assistance in unifying and optimizing your Logitech devices.