Introduction
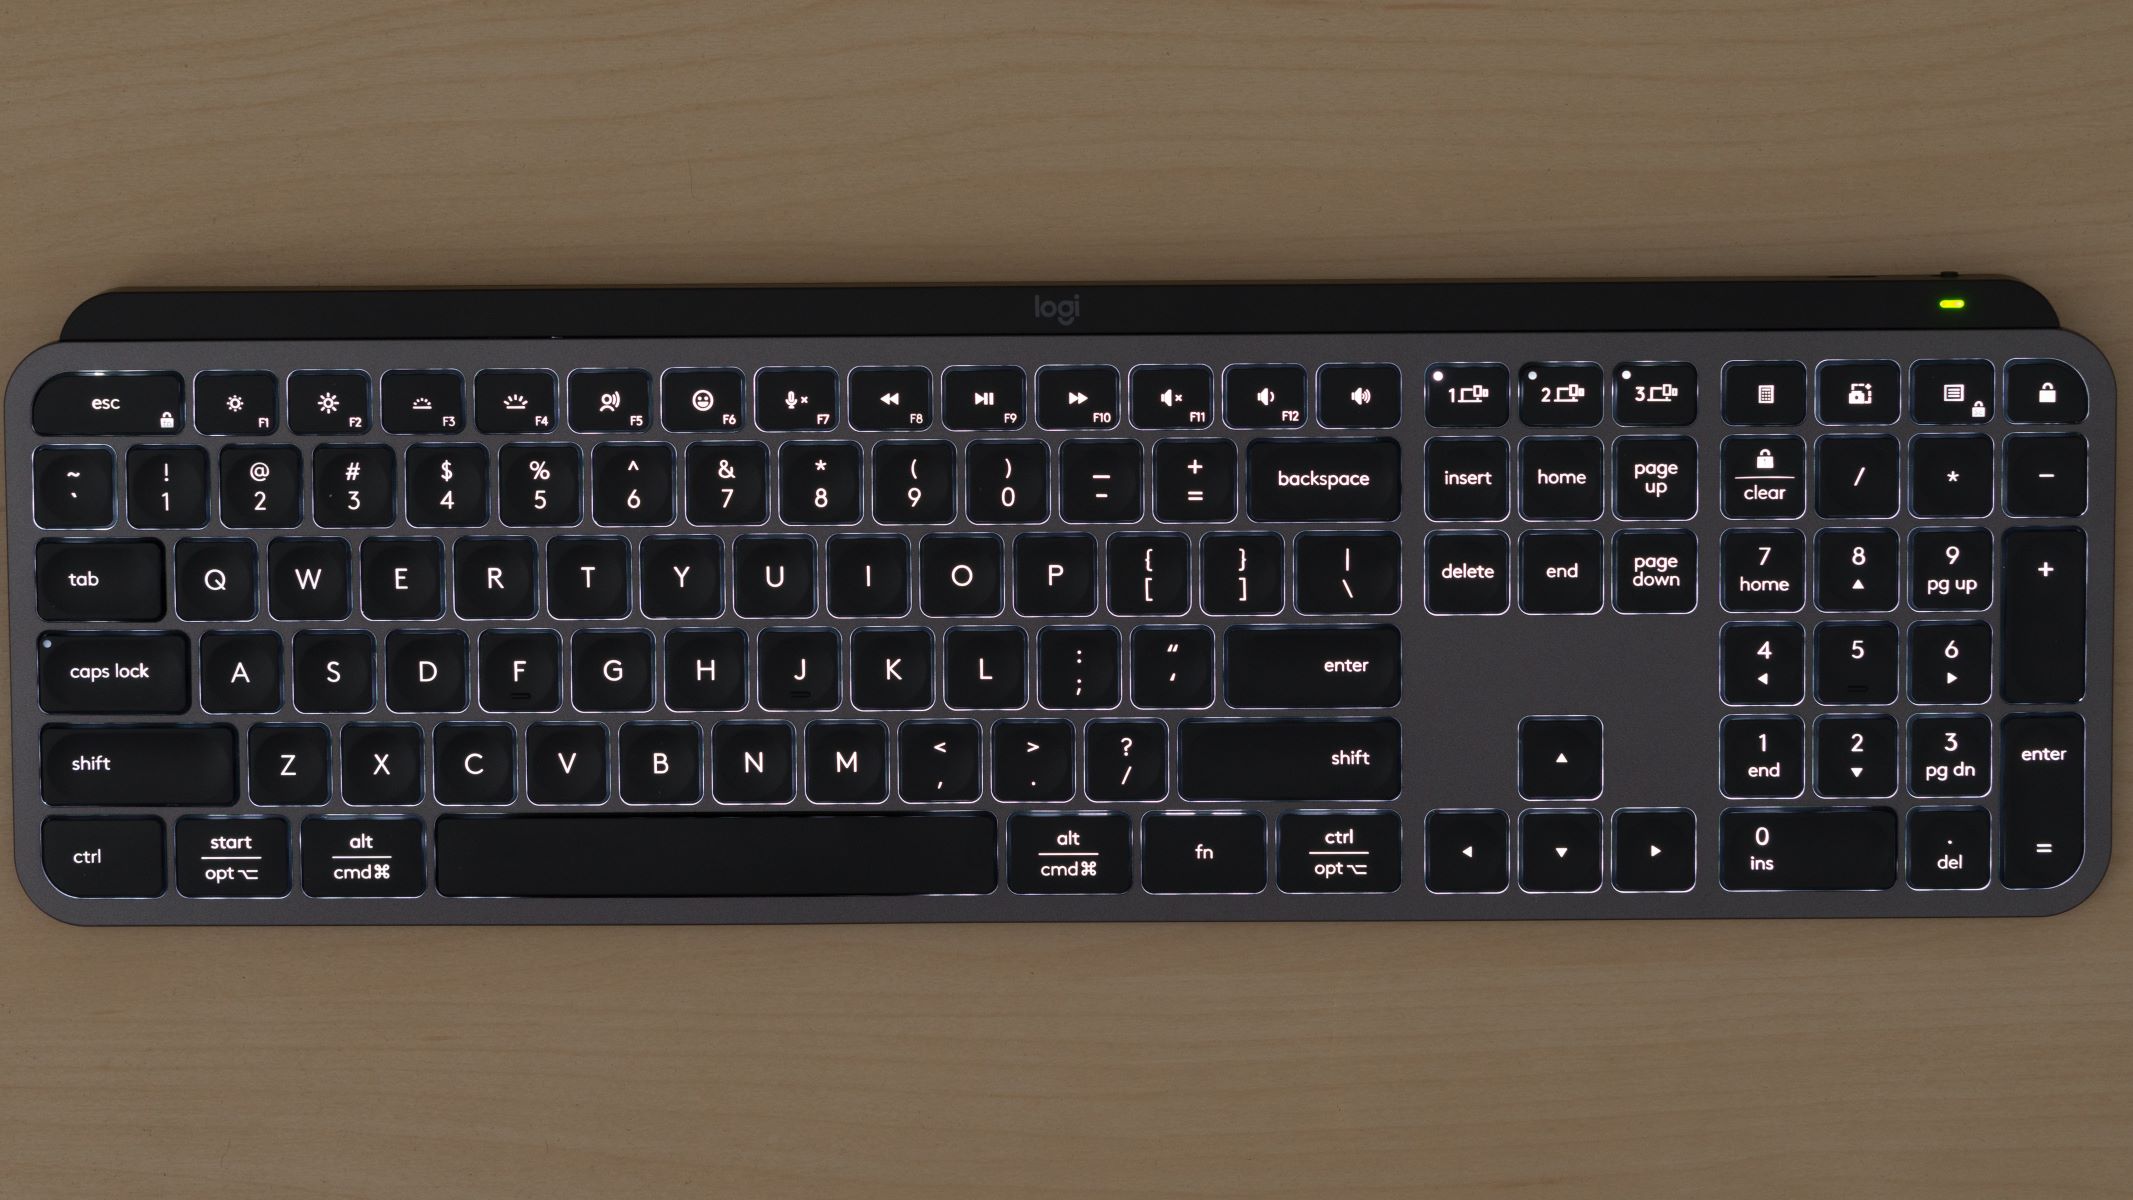
Welcome to our guide on how to connect the Logitech Mx Keys wireless keyboard to your computer or device. The Logitech Mx Keys is a highly popular and versatile keyboard that offers a seamless typing experience for both work and leisure activities. Whether you’re using it for office productivity, creative tasks, or gaming, this wireless keyboard is designed to provide comfort and efficiency.
Setting up the Logitech Mx Keys is simple, and in this guide, we will walk you through the step-by-step process to ensure a smooth connection. We will cover two main methods: pairing the keyboard via Bluetooth and pairing it using the Logitech Unifying Receiver. With these options, you can connect the keyboard to a wide range of devices such as computers, laptops, tablets, and even smartphones.
Before we dive into the specific steps, it’s important to note that the Logitech Mx Keys is compatible with various operating systems, including Windows, macOS, iOS, and Android. Whether you’re using a PC, Mac, or mobile device, you can follow this guide to connect your Logitech Mx Keys keyboard and enjoy its features and functionalities.
Now that we have covered the basics, let’s move on to the practical steps you need to follow to connect your Logitech Mx Keys wireless keyboard.
Step 1: Unbox and Check Contents
The first step in setting up your Logitech Mx Keys keyboard is to unbox it and ensure that you have all the necessary components. Before proceeding, make sure to have a clean and well-lit workspace to avoid any damages or misplacements.
Follow these steps:
- Start by opening the package gently, being careful not to damage any of the contents inside.
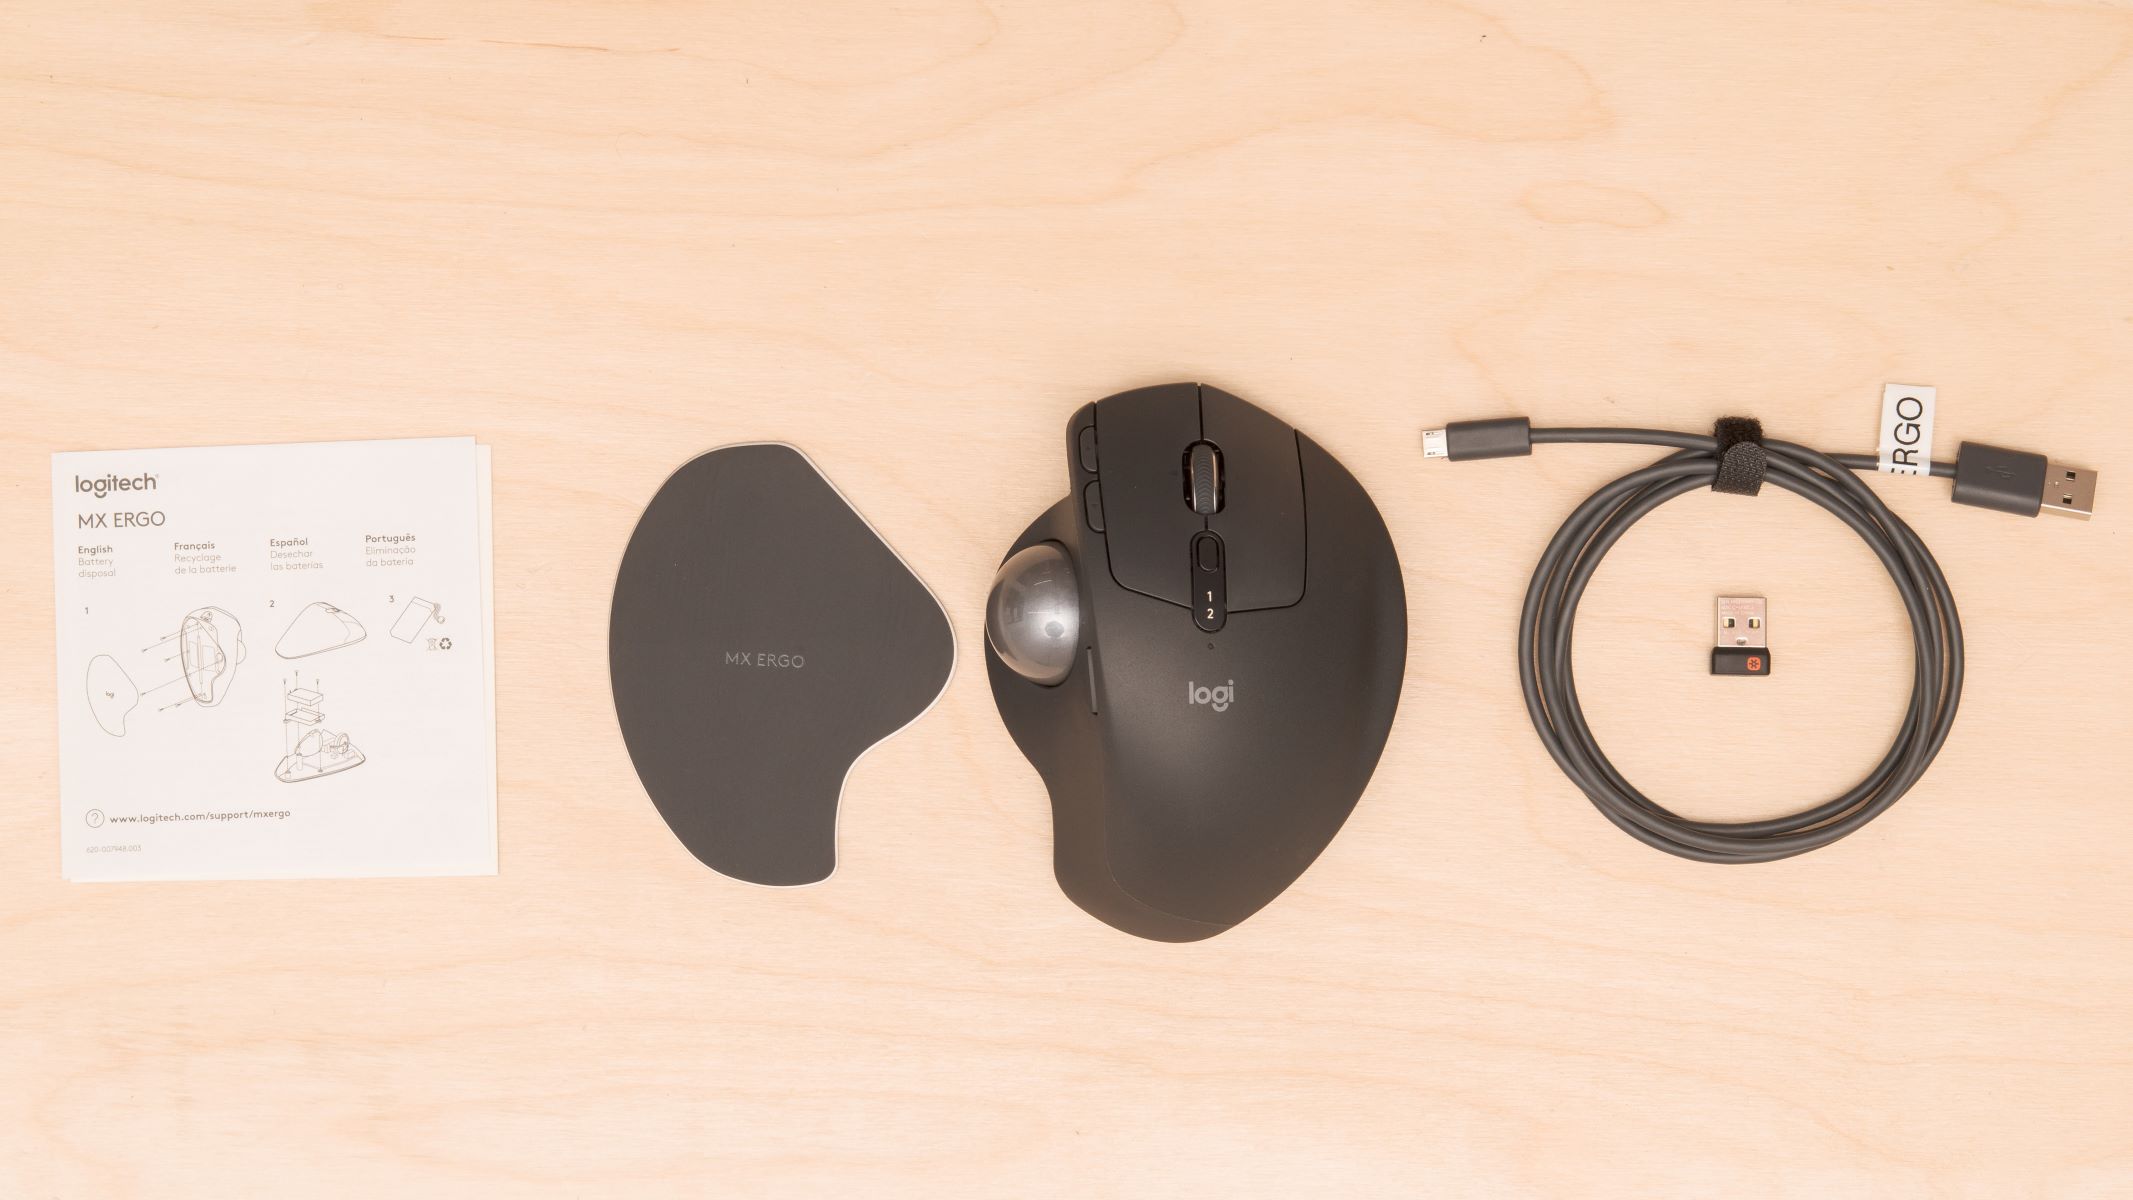
- Inside the box, you will find the Logitech Mx Keys wireless keyboard, a USB charging cable (if applicable), and the user manual.
- Take a moment to inspect the keyboard for any physical damages or defects. If you notice any issues, contact Logitech’s customer support for assistance.
- Double-check that all the expected items are included. In case of any missing components, contact the retailer or Logitech for a replacement.
Once you have confirmed that everything is in order, you can move on to the next step. It is essential to have all the necessary components and a properly functioning keyboard to ensure a successful connection process.
Now that you have unboxed the Logitech Mx Keys keyboard and confirmed the contents, you’re one step closer to connecting your keyboard to your computer or device. In the next step, we will guide you through preparing your computer or device for the setup process.
Step 2: Prepare Your Computer or Device
Before proceeding with the connection process, it is important to prepare your computer or device to ensure a smooth and hassle-free setup for your Logitech Mx Keys keyboard. Here are the steps to follow:
- Make sure your computer or device is powered on and in a stable condition. If you’re using a laptop or tablet, ensure that it is connected to a power source or has sufficient battery life to complete the setup process.
- Check if your operating system is compatible with the Logitech Mx Keys keyboard. This wireless keyboard works with various operating systems such as Windows, macOS, iOS, and Android. Visit the Logitech website or consult the user manual for specific compatibility information.
- If you’re connecting the keyboard via Bluetooth, verify that your computer or device has Bluetooth functionality and that it is enabled in the settings. Look for the Bluetooth symbol or check your device’s settings menu to enable Bluetooth if it’s currently disabled.
- If you’re opting for the Logitech Unifying Receiver method, ensure that you have an available USB port on your computer or device. Locate the USB port and ensure it is functional.
- Check if any previous Bluetooth devices are connected to your computer or device and disconnect them if necessary. It’s important to have a clear connection path for your Logitech Mx Keys keyboard.
By following these steps, you will ensure that your computer or device is ready for the Logitech Mx Keys keyboard setup. Properly preparing your system beforehand will help avoid any issues during the connection process. Now that your computer or device is ready, let’s proceed to the next step, which involves inserting the batteries into your keyboard.
Step 3: Insert Batteries
Before you can start using your Logitech Mx Keys keyboard, you need to insert the batteries to power it up. Most Logitech Mx Keys keyboards require two AAA batteries for operation. Here’s how you can insert the batteries:
- Locate the battery compartment on the underside of your Logitech Mx Keys keyboard.
- Using your fingertips or a small tool, slide open the battery compartment cover.
- Insert the two AAA batteries into the compartment, ensuring that you align the positive (+) and negative (-) terminals correctly.
- Close the battery compartment cover and make sure it securely snaps into place.
It’s worth noting that the Logitech Mx Keys keyboard has an impressive battery life. With intelligent power management, it can last for months, depending on usage patterns.
If your Logitech Mx Keys keyboard comes with a rechargeable battery, the setup process may vary. Please refer to the user manual for specific instructions on charging and using the rechargeable battery.
Once you have inserted the batteries, your Logitech Mx Keys keyboard is ready to establish a connection with your computer or device. In the next steps, we will guide you through the process of pairing the keyboard via Bluetooth or the Logitech Unifying Receiver, depending on your preferred method.
Step 4: Pair the Keyboard via Bluetooth
If you prefer to connect your Logitech Mx Keys keyboard using Bluetooth, follow these steps:
- Turn on your Logitech Mx Keys keyboard by toggling the power switch located on the back or side of the keyboard. The keyboard should enter pairing mode.
- On your computer or device, go to the Bluetooth settings. The exact steps to access Bluetooth settings may vary depending on your operating system and device.
- Enable Bluetooth on your computer or device if it’s not already enabled. This may involve toggling a switch or selecting an option.
- In the Bluetooth settings, look for your Logitech Mx Keys keyboard in the list of available devices. It may be listed as “Logitech Mx Keys” or a similar name. Click on it to initiate the pairing process.
- Follow any on-screen prompts to complete the pairing process. This may involve entering a passcode displayed on your computer or device into the Logitech Mx Keys keyboard to establish a secure connection.
- Once the pairing is successful, your Logitech Mx Keys keyboard should be connected to your computer or device via Bluetooth. Test the keyboard by typing a few characters to ensure that it’s working correctly.
It’s important to note that the exact steps to pair a Bluetooth device may vary depending on your operating system and device. If you encounter any difficulties during the pairing process, consult the user manual or the Logitech support website for troubleshooting assistance.
Now that you have successfully paired your Logitech Mx Keys keyboard via Bluetooth, you can proceed to use it wirelessly with your computer or device. However, if you prefer an alternative method, such as using the Logitech Unifying Receiver, continue to the next step.
Step 5: Pair the Keyboard via Logitech Unifying Receiver
If you prefer to connect your Logitech Mx Keys keyboard using the Logitech Unifying Receiver, follow these steps:
- Insert the Logitech Unifying Receiver into an available USB port on your computer or device. Make sure it is securely connected.
- Turn on your Logitech Mx Keys keyboard by toggling the power switch located on the back or side of the keyboard. The keyboard should enter pairing mode.
- Press the connect button on the Logitech Unifying Receiver. Typically, this button is located on the bottom or side of the receiver. The LED indicator on the receiver should start blinking.
- On your computer or device, go to the Logitech Unifying Software (available for download from the Logitech website) or the Bluetooth settings.
- In the Logitech Unifying Software or Bluetooth settings, look for the Logitech Mx Keys keyboard in the list of available devices. It may be listed as “Logitech Mx Keys” or a similar name. Select it to initiate the pairing process.
- Follow any on-screen prompts to complete the pairing process. This may involve pressing certain keys on the Logitech Mx Keys keyboard to establish a secure connection with the Logitech Unifying Receiver.
- Once the pairing is successful, your Logitech Mx Keys keyboard should be connected to your computer or device via the Logitech Unifying Receiver. Test the keyboard by typing a few characters to ensure that it’s working correctly.
If you experience any issues during the pairing process, make sure you have installed the appropriate Logitech software or drivers for your operating system. Check the Logitech website for the latest software updates and troubleshooting guides.
Now that you have successfully paired your Logitech Mx Keys keyboard via the Logitech Unifying Receiver, you can enjoy wireless connectivity with your computer or device. In the next step, we will cover additional customizations to enhance your typing experience.
Step 6: Set Up Additional Customizations
Once you have successfully connected your Logitech Mx Keys keyboard to your computer or device, you may want to explore additional customizations to enhance your typing experience. The Logitech Options software provides a range of customizable settings that allow you to tailor your keyboard to suit your needs. Follow these steps to set up additional customizations:
- Download and install the Logitech Options software from the Logitech website. Make sure you download the software compatible with your operating system.
- Launch the Logitech Options software on your computer or device.
- Once the software is open, it will automatically detect your Logitech Mx Keys keyboard. Click on the keyboard icon to access the keyboard settings.
- Explore the various settings available, such as key assignments, keyboard backlighting options, and gesture controls. Customize these settings according to your preferences.
- Make any desired changes and modifications in the Logitech Options software, and click “Apply” to save the settings.
The Logitech Options software provides a wide range of customization options, allowing you to personalize your Logitech Mx Keys keyboard to meet your specific needs. Whether you want to remap certain keys, adjust the backlighting, or enable special gestures, the Logitech Options software offers extensive flexibility.
It’s important to note that the availability of customization options may vary depending on the specific model and features of your Logitech Mx Keys keyboard. Refer to the user manual or the Logitech website for more detailed information about the customization options available for your particular keyboard.
Now that you have set up additional customizations, your Logitech Mx Keys keyboard is not only connected but also tailored to your preferences. In the next step, we will provide some troubleshooting tips to help you address any potential issues you may encounter.
Step 7: Troubleshooting Tips
While setting up your Logitech Mx Keys keyboard, you may encounter some common issues or difficulties. Here are some troubleshooting tips to help you resolve any potential problems:
- No Connection: If your Logitech Mx Keys keyboard is not connecting to your computer or device, ensure that it is turned on and in pairing mode. Check that your computer or device’s Bluetooth is enabled, or that the Logitech Unifying Receiver is properly inserted into a USB port.
- Weak or Intermittent Connection: If you are experiencing a weak or intermittent connection, try moving closer to the Bluetooth device or the Logitech Unifying Receiver. Additionally, make sure there are no physical obstacles or interference, such as other wireless devices or metal objects, which could disrupt the signal.
- Keyboard Not Recognized: If your Logitech Mx Keys keyboard is not being recognized by your computer or device, try restarting both the keyboard and the computer or device. You can also disconnect and reconnect the Bluetooth connection or the Logitech Unifying Receiver to establish a fresh connection.
- Software Compatibility: Ensure that you have installed the latest Logitech software or drivers that are compatible with your operating system. Check the Logitech website for software updates or support documentation specific to your Logitech Mx Keys keyboard.
- Battery Issues: If you’re experiencing battery-related issues, such as rapid battery drain or the keyboard not turning on, try replacing the batteries with fresh ones. Ensure that the batteries are properly inserted and that their polarity is correct.
If you continue to experience difficulties or if your specific issue is not covered in these troubleshooting tips, visit the Logitech support website or contact their customer support for further assistance.
By following these troubleshooting tips, you should be able to address common issues and enjoy a seamless experience with your Logitech Mx Keys keyboard.
Now that you have learned the troubleshooting tips, you are equipped with the knowledge to overcome any potential obstacles. Let’s conclude our guide on connecting the Logitech Mx Keys keyboard.
Conclusion
Congratulations! You have successfully learned how to connect your Logitech Mx Keys wireless keyboard to your computer or device. Throughout this guide, we have walked you through the step-by-step process, from unboxing the keyboard to troubleshooting potential issues.
The Logitech Mx Keys keyboard offers a seamless and comfortable typing experience, whether you are using it for work or leisure activities. With its compatibility across various operating systems and customizable features, you can personalize your keyboard to suit your preferences and enhance productivity.
Remember to unbox the keyboard carefully, check the contents, and ensure that you have all the necessary components. Prepare your computer or device by verifying compatibility and enabling Bluetooth or ensuring an available USB port for the Logitech Unifying Receiver.
Insert the batteries into your keyboard if required, and then follow the instructions to pair the keyboard either via Bluetooth or the Logitech Unifying Receiver. Set up additional customizations using the Logitech Options software to tailor the keyboard to your liking.
If you encounter any issues during the setup process, refer to the troubleshooting tips we provided to address common problems. And always remember to check the Logitech support website or contact customer support for further assistance.
Once again, congratulations on successfully connecting your Logitech Mx Keys keyboard! Enjoy the seamless typing experience and the convenience it brings to your computer or device. Happy typing!