Introduction
Welcome to this comprehensive guide on how to pair the Logitech MX Keys Mini with your device. If you’ve recently purchased this compact and versatile keyboard, you’re in for a treat! The MX Keys Mini is designed to enhance your productivity and streamline your workflow, whether you’re working on a laptop, tablet, or smartphone.
The MX Keys Mini is equipped with advanced Bluetooth technology, which allows for seamless and wireless connectivity to your device. Whether you’re using a Windows PC, Macbook, or Android smartphone, this guide will walk you through the step-by-step process of pairing your MX Keys Mini and getting started in no time.
With its sleek and modern design, durable build, and comfortable typing experience, the MX Keys Mini is the perfect companion for individuals on the go. Its compact size makes it ideal for travel, and the backlit keys ensure that you can work efficiently even in low-light environments.
In this guide, we will cover all the necessary steps for successfully pairing your Logitech MX Keys Mini with your device. So, grab your keyboard, prepare your device, and let’s get started on this exciting journey of enhanced productivity and seamless typing experience!
Step 1: Check Compatibility
Before proceeding with the pairing process, it’s crucial to ensure that your device is compatible with the Logitech MX Keys Mini. The MX Keys Mini is designed to work with a wide range of devices, including Windows PCs, Macbooks, iPads, iPhones, and Android devices.
To verify compatibility, check the specifications of your device to confirm if it supports Bluetooth connectivity. Most modern devices come equipped with Bluetooth, but it’s always a good idea to double-check to avoid any compatibility issues.
If your device supports Bluetooth, you’re one step closer to pairing it with the MX Keys Mini. Additionally, ensure that your device’s operating system is up to date. Updating your operating system to the latest version can help ensure a smooth pairing process and optimal performance.
If you’re unsure about the compatibility of your device, you can visit the Logitech website or consult the user manual of your device for more information. Logitech provides a comprehensive list of compatible devices on their website, making it easy to verify if your device is supported.
It’s worth noting that the MX Keys Mini supports multi-device pairing, allowing you to connect up to three devices simultaneously. This feature is incredibly convenient for individuals who use multiple devices throughout the day.
Once you’ve confirmed the compatibility of your device, you’re ready to move on to the next step and turn on the MX Keys Mini in preparation for pairing.
Step 2: Turn on the MX Keys Mini
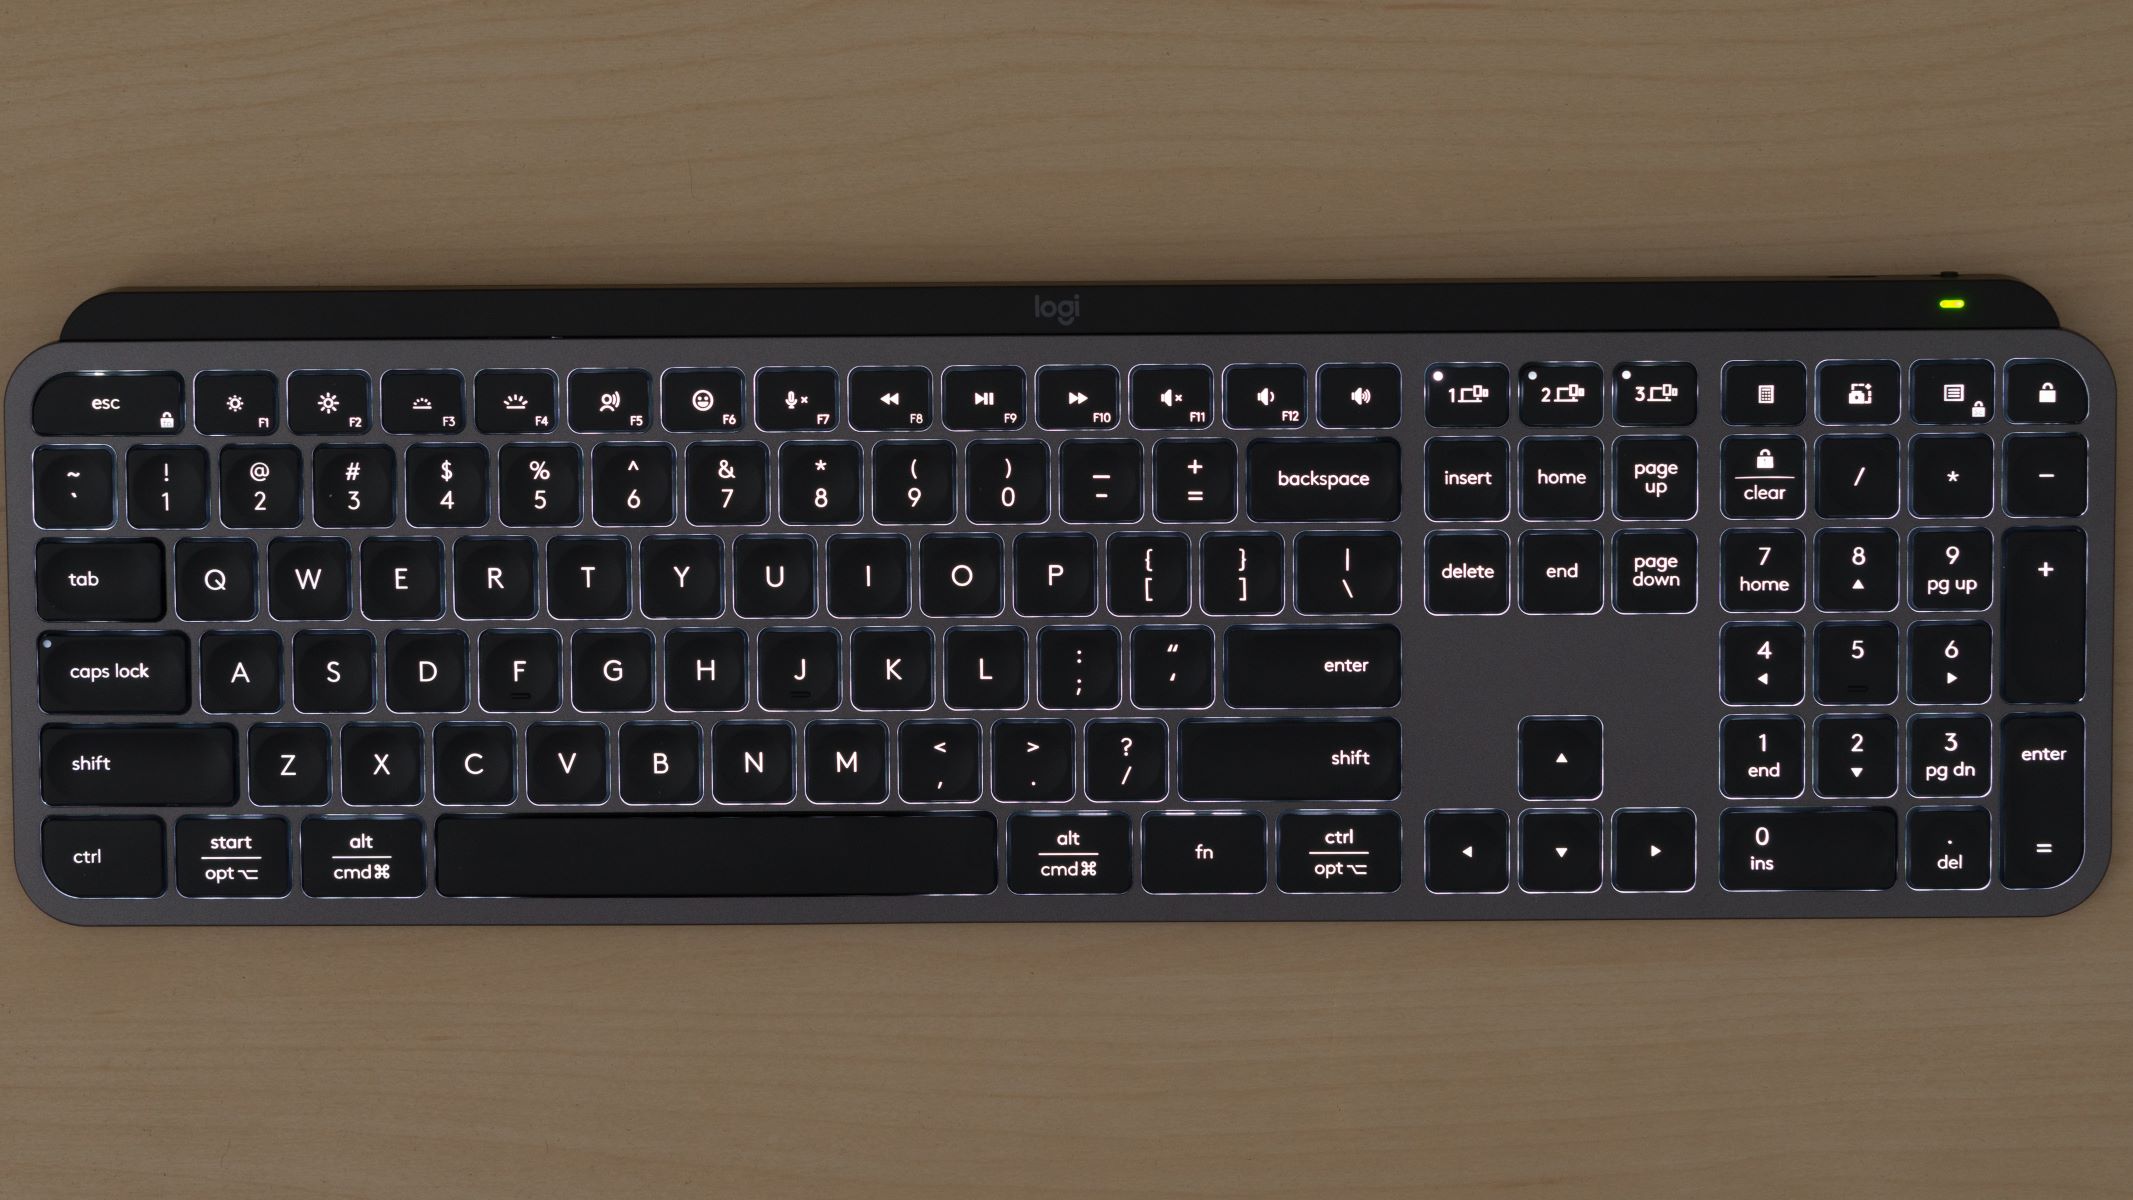
Now that you’ve confirmed the compatibility of your device, it’s time to turn on your Logitech MX Keys Mini. The power button is located on the top left corner of the keyboard, near the Esc key.
To turn on the MX Keys Mini, simply press the power button and wait for the LED indicator to illuminate. The LED indicator not only signifies that the keyboard is powered on but also indicates the battery level.
If the LED indicator lights up green, it means that the battery level is good. If it lights up amber, it indicates that the battery level is low and it may be a good idea to charge the keyboard using the provided USB-C cable.
You should also ensure that the keyboard is in pairing mode. Typically, the MX Keys Mini automatically enters pairing mode when it’s turned on. However, if you’ve used the keyboard with another device previously, you may need to manually enter pairing mode by pressing and holding the Bluetooth pairing button.
Keep in mind that the Bluetooth pairing button is located on the bottom of the keyboard. It’s a small button that you can press with the tip of a pen or a paperclip. Press and hold the Bluetooth pairing button until the LED indicator starts blinking rapidly. This indicates that the MX Keys Mini is now in pairing mode and ready to connect to your device.
Now that your MX Keys Mini is turned on and in pairing mode, you’re ready to move on to the next step and enable Bluetooth on your device.
Step 3: Enable Bluetooth on Your Device
With your Logitech MX Keys Mini turned on and in pairing mode, it’s time to enable Bluetooth on your device. Bluetooth allows for wireless connectivity between your keyboard and device, providing a seamless typing experience without the need for any physical cables.
The process of enabling Bluetooth may vary slightly depending on the operating system of your device. However, the general steps are usually similar across different platforms.
If you’re using a Windows PC, you can typically enable Bluetooth by navigating to the “Settings” menu. From there, select the “Devices” or “Bluetooth & other devices” option. Toggle the Bluetooth switch to the “On” position, and your device will begin searching for available Bluetooth devices nearby.
On a Macbook or an iOS device like an iPad or iPhone, you can enable Bluetooth by going to the “Settings” menu. Look for the “Bluetooth” option and toggle it on. Your device will then scan for nearby Bluetooth devices to connect to.
For Android devices, the process may slightly vary depending on the manufacturer’s interface. Generally, you can enable Bluetooth by swiping down from the top of the screen to access the quick settings menu. Look for the Bluetooth icon and tap on it to turn it on. Your device will begin searching for available Bluetooth devices in the vicinity.
Once you’ve enabled Bluetooth on your device, it should start scanning for nearby devices, including your Logitech MX Keys Mini.
In the next step, we will explore how to initiate the pairing process between your device and the MX Keys Mini. Stay tuned!
Step 4: Press the Bluetooth Pairing Button on the MX Keys Mini
Once you have enabled Bluetooth on your device, it’s time to initiate the pairing process with the Logitech MX Keys Mini. To begin, locate the Bluetooth pairing button on the keyboard.
The Bluetooth pairing button is typically located on the bottom of the MX Keys Mini, near the power switch. You may need to flip the keyboard over to access it. It is a small button that can be pressed using a pen tip or a paperclip.
Press and hold the Bluetooth pairing button for a few seconds until the LED indicator on the keyboard starts flashing rapidly. This indicates that the MX Keys Mini is now in pairing mode, actively searching for nearby devices to connect to.
Keep in mind that the duration for which you need to hold the Bluetooth pairing button may vary, so check the user manual if you’re unsure.
By pressing the Bluetooth pairing button, you are allowing the MX Keys Mini to be discoverable by your device. This step is necessary to establish a connection between the keyboard and your device.
With the MX Keys Mini in pairing mode, it will start broadcasting an identification signal, allowing your device to detect and establish a connection with it. The next step involves selecting the MX Keys Mini from the list of available Bluetooth devices on your device.
Let’s move on to the next step and discover how to select the MX Keys Mini on your device and proceed with the pairing process.
Step 5: Select the MX Keys Mini on Your Device
With the Logitech MX Keys Mini in pairing mode, it’s time to select it on your device. This step allows your device to establish a connection with the keyboard and begin the pairing process.
Depending on the operating system and device you’re using, the process of selecting the MX Keys Mini may vary slightly. However, the general steps are typically similar across devices.
If you’re using a Windows PC, navigate to the “Settings” menu, then select “Devices” or “Bluetooth & other devices.” Look for the option to “Add Bluetooth or other device” and click on it. From the list of available devices, select the MX Keys Mini when it appears. Your device will then initiate the pairing process.
On a Macbook or iOS device such as an iPad or iPhone, go to the “Settings” menu and select “Bluetooth.” Your device will start searching for available Bluetooth devices. When the MX Keys Mini is detected, it will appear on the screen as an available device. Tap on it to select and establish a connection.
If you’re using an Android device, access the Bluetooth settings by swiping down from the top of the screen to open the quick settings menu. Look for the Bluetooth icon and tap on it. Your device will scan for nearby Bluetooth devices, including the MX Keys Mini. Once it appears on the list, select it to proceed with the pairing process.
Once you have selected the MX Keys Mini on your device, the pairing process will begin. Your device will communicate with the keyboard, exchanging information required for a secure and reliable connection.
Next, we will move on to the following step and explore any on-screen instructions that may appear during the pairing process. Stay tuned!
Step 6: Follow On-Screen Instructions
After selecting the Logitech MX Keys Mini on your device, you may encounter on-screen instructions that guide you through the remaining steps of the pairing process. These instructions may vary depending on your device and operating system.
It’s important to carefully follow any on-screen prompts or instructions that appear on your device to ensure a successful pairing between your device and the MX Keys Mini.
Usually, the on-screen instructions will prompt you to enter a pairing code or verify a passkey. The MX Keys Mini typically generates a unique pairing code that you’ll need to input on your device to establish a secure connection.
Make sure to enter the pairing code accurately to prevent any connection issues. If you’re prompted to verify a passkey, ensure that the passkey displayed on your device matches the one shown on the MX Keys Mini’s screen.
Depending on your device, you may also need to authorize the pairing request to establish the connection. This step helps ensure that only authorized devices can connect to your MX Keys Mini.
Keep in mind that the exact sequence of on-screen instructions and prompts may differ for different devices and operating systems. However, the general process remains the same: follow the on-screen instructions and provide any necessary information to complete the pairing process successfully.
Once you have followed the on-screen instructions and provided the required information, your device will establish a connection with the MX Keys Mini. The LED indicator on the keyboard will likely stop flashing or turn solid, indicating a successful pairing.
Now that the pairing process is complete, you can begin enjoying the seamless wireless typing experience and enhanced productivity that the MX Keys Mini offers.
In the next and final step, we will conclude the pairing process and wrap up this guide. Stay with us!
Step 7: Pairing Complete!
Congratulations! You have successfully completed the pairing process between your device and the Logitech MX Keys Mini. Now, you can fully utilize the keyboard’s features and enjoy a seamless typing experience.
With the MX Keys Mini paired and connected to your device, you can now experience the benefits of wireless typing without the hassle of tangled cables. The keyboard will respond to your keystrokes instantly, allowing you to work efficiently and comfortably.
Take advantage of the MX Keys Mini’s backlit keys, which provide enhanced visibility in low-light environments. The adjustable key backlighting ensures that you can type accurately, regardless of the lighting conditions around you.
Furthermore, the MX Keys Mini’s compact and portable design makes it the perfect companion for people on the go. Slip it into your bag or backpack and bring it with you anywhere, ensuring that you always have a reliable and ergonomic keyboard at your fingertips.
Remember, the MX Keys Mini supports multi-device pairing, allowing you to connect up to three devices simultaneously. This feature comes in handy if you frequently switch between different devices throughout the day. Easily switch between your computer, tablet, or smartphone with a simple keystroke.
If you encounter any connectivity issues or need further assistance, consult the user manual that came with your MX Keys Mini or visit the Logitech support website for troubleshooting guides and resources.
Now that your device is successfully paired with the Logitech MX Keys Mini, it’s time to put it to good use. Enjoy the convenience, comfort, and productivity boost that this compact keyboard brings to your everyday tasks.
Thank you for following this step-by-step guide on how to pair the Logitech MX Keys Mini with your device. We hope this guide has been helpful, and we wish you all the best with your newly paired keyboard!
Conclusion
Pairing the Logitech MX Keys Mini with your device is a straightforward process that allows you to unlock the full potential of this compact and versatile keyboard. With its wireless connectivity, comfortable typing experience, and multi-device pairing capability, the MX Keys Mini is designed to enhance your productivity and make your typing tasks more efficient.
Throughout this guide, we have covered each step involved in pairing the MX Keys Mini, from checking compatibility to completing the pairing process. By following these steps, you can establish a secure and reliable connection between your device and the keyboard.
Remember to check the compatibility of your device, turn on the MX Keys Mini, enable Bluetooth, press the Bluetooth pairing button, select the keyboard on your device, follow any on-screen instructions, and complete the pairing process. Once the pairing is complete, you can enjoy a seamless and comfortable typing experience wherever you go.
Whether you’re a professional, student, or casual user, the Logitech MX Keys Mini offers the convenience and functionality you need to excel in your tasks. Its small form factor, stylish design, and high-quality build make it a reliable and portable companion for your everyday computing needs.
Now that you’re equipped with the knowledge on how to pair the MX Keys Mini, take advantage of its features, such as backlit keys, multi-device pairing, and wireless connectivity, to maximize your productivity and elevate your typing experience.
Thank you for following this guide. We hope it has been informative and helpful in assisting you with pairing your Logitech MX Keys Mini. If you have any further questions or need support, don’t hesitate to reach out to Logitech’s customer support or refer to the user manual that came with your keyboard.
Happy typing with your Logitech MX Keys Mini!