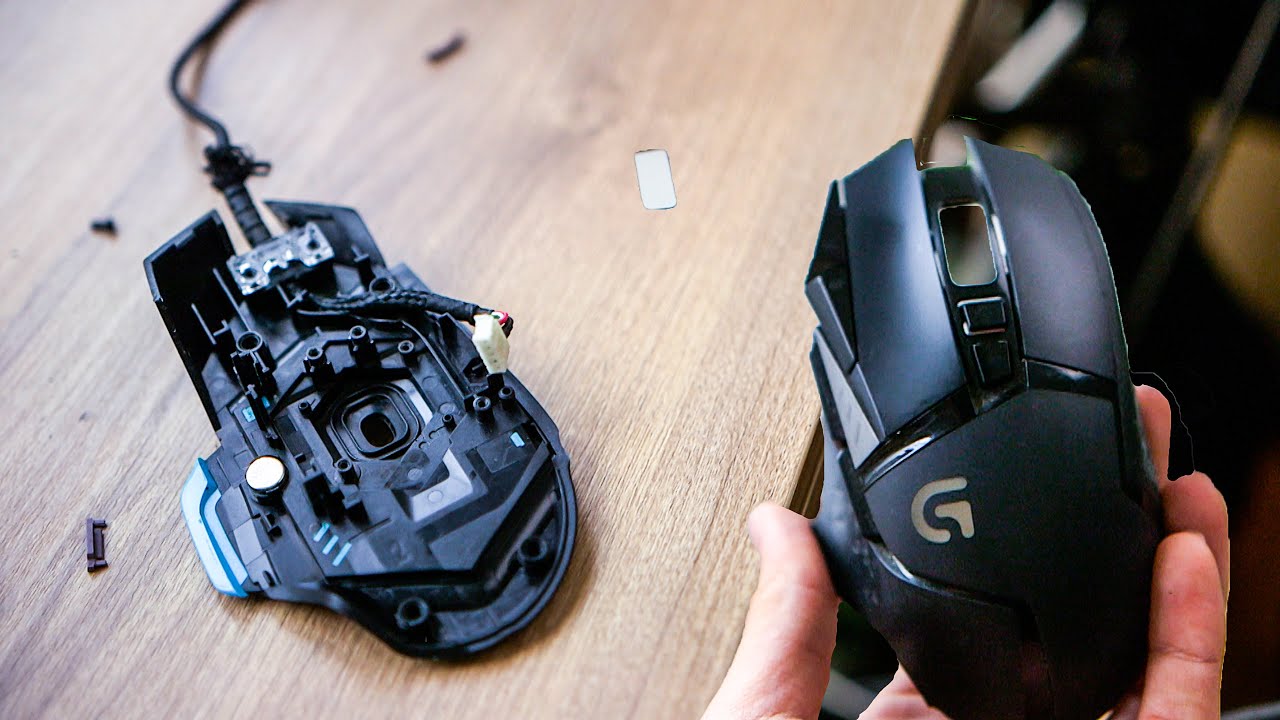
To open a Logitech mouse safely, you need to power it down, remove the battery if it’s wireless, and then locate the hidden screws beneath the feet or stickers. The most common reason to open a Logitech mouse is to fix double-clicking issues or clean out debris that has accumulated inside the shell, which you can do with a few basic tools and careful prying. If you need to go deeper for a full internal repair, see how to disassemble Logitech mouse components once the shell is open.
Before you open a Logitech mouse: Wireless vs wired prep
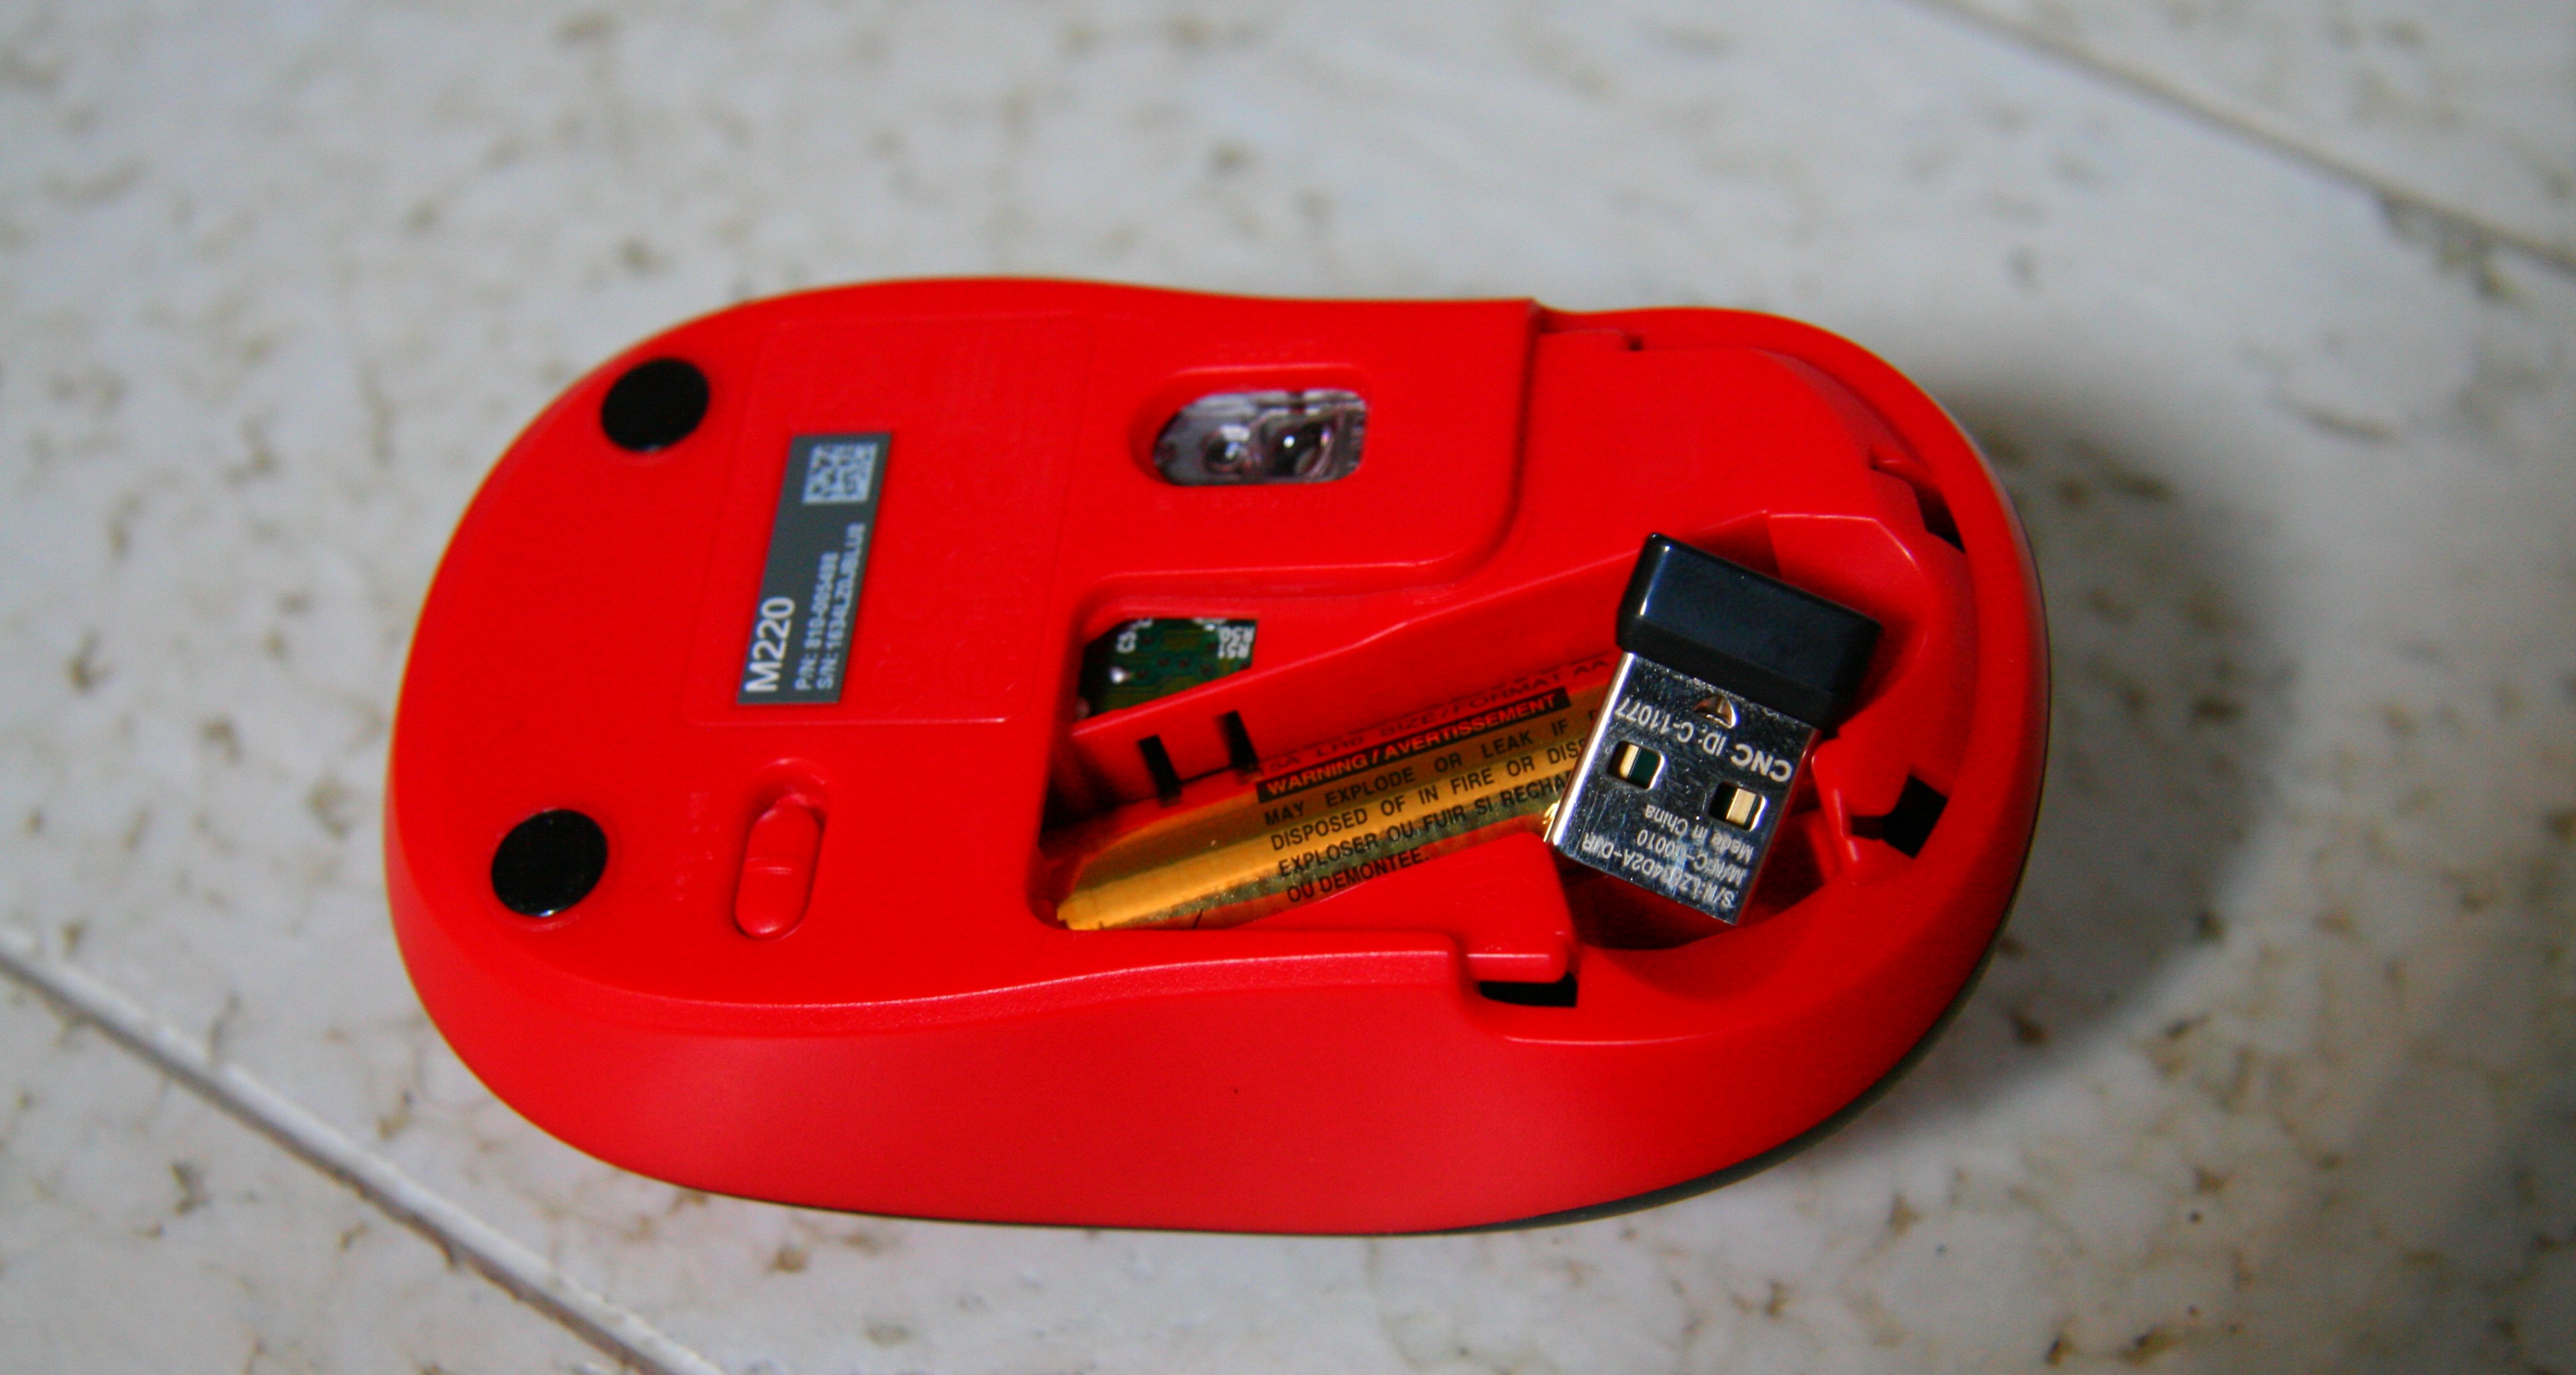
Preparation differs slightly depending on whether your mouse is wireless or wired. For a wireless Logitech mouse, turn off the power switch on the underside, then slide or lift the battery compartment cover to remove the battery. This prevents any electrical discharge and makes the device safe to handle. For a wired mouse, simply unplug the USB cable from your computer. In both cases, set the mouse on a flat, well-lit surface covered with a soft cloth or mat to avoid scratching the outer shell. Also, note that opening your Logitech mouse may void the warranty, so if it’s still under warranty, check your warranty terms or contact Logitech before proceeding on your own.
Tools you'll need for Logitech mouse disassembly
You only need a handful of tools to open a Logitech mouse. A plastic prying tool (spudger) is critical for releasing the clips along the seam without scratching the plastic. For cleaning, have compressed air, cotton swabs, isopropyl alcohol, and a lint-free cloth ready. You don’t need an anti-static wristband for this job; the risk of static damage is low when you handle the PCB by its edges and work on a non-carpeted surface. If tracking issues prompted this cleaning, your surface choice might be the real culprit when your doesn't my mouse work on a mouse pad.
Locating the hidden screws on your Logitech mouse
The screws that hold a Logitech mouse together are almost always hidden. Start by flipping the mouse upside down and examining the four rubber feet, these are usually circular or oval pads that peel off with a gentle tug or a thin flat tool. Underneath, you’ll find the screws. Some models also hide a screw under the battery bay label or a sticker in the battery compartment, so check there if the feet don’t reveal everything. Side grips on gaming mice can also conceal screws; press the grip inward to see if there’s a seam you can pry open to access them. As you remove each screw, place it in a small container or a labeled piece of tape, because the screws are not always the same length, mixing them up during reassembly can strip the threads or leave the shell loose.
Prying open the mouse shell without damage
Once all screws are out, the shell halves are still held together by plastic clips. Insert the plastic spudger into the seam between the top and bottom halves, starting near the back of the mouse where the seam is widest. Gently twist the spudger to release the first clip, then slide it along the seam, releasing one clip at a time. Work slowly and avoid using metal tools, which will leave marks on the plastic. When you reach the front of the mouse, you may feel resistance from the button assembly, this is normal. Do not yank the halves apart, because a thin ribbon cable connects the top buttons to the main PCB. Lift the top half only a few millimeters, then tilt it slightly to see the cable connector. Use your fingers or the spudger to flip up the small latch on the connector and slide the ribbon cable out. Now the shell halves are fully separated and you can access the internals.
Releasing stubborn clips near the scroll wheel
If the shell doesn’t separate after releasing the visible clips, check the area around the scroll wheel. Some Logitech models have an additional clip under the scroll wheel housing that requires a gentle push from the inside. Use the spudger to press the clip inward while lifting the top half, this should free the last latch without breaking it.
Cleaning the internal components
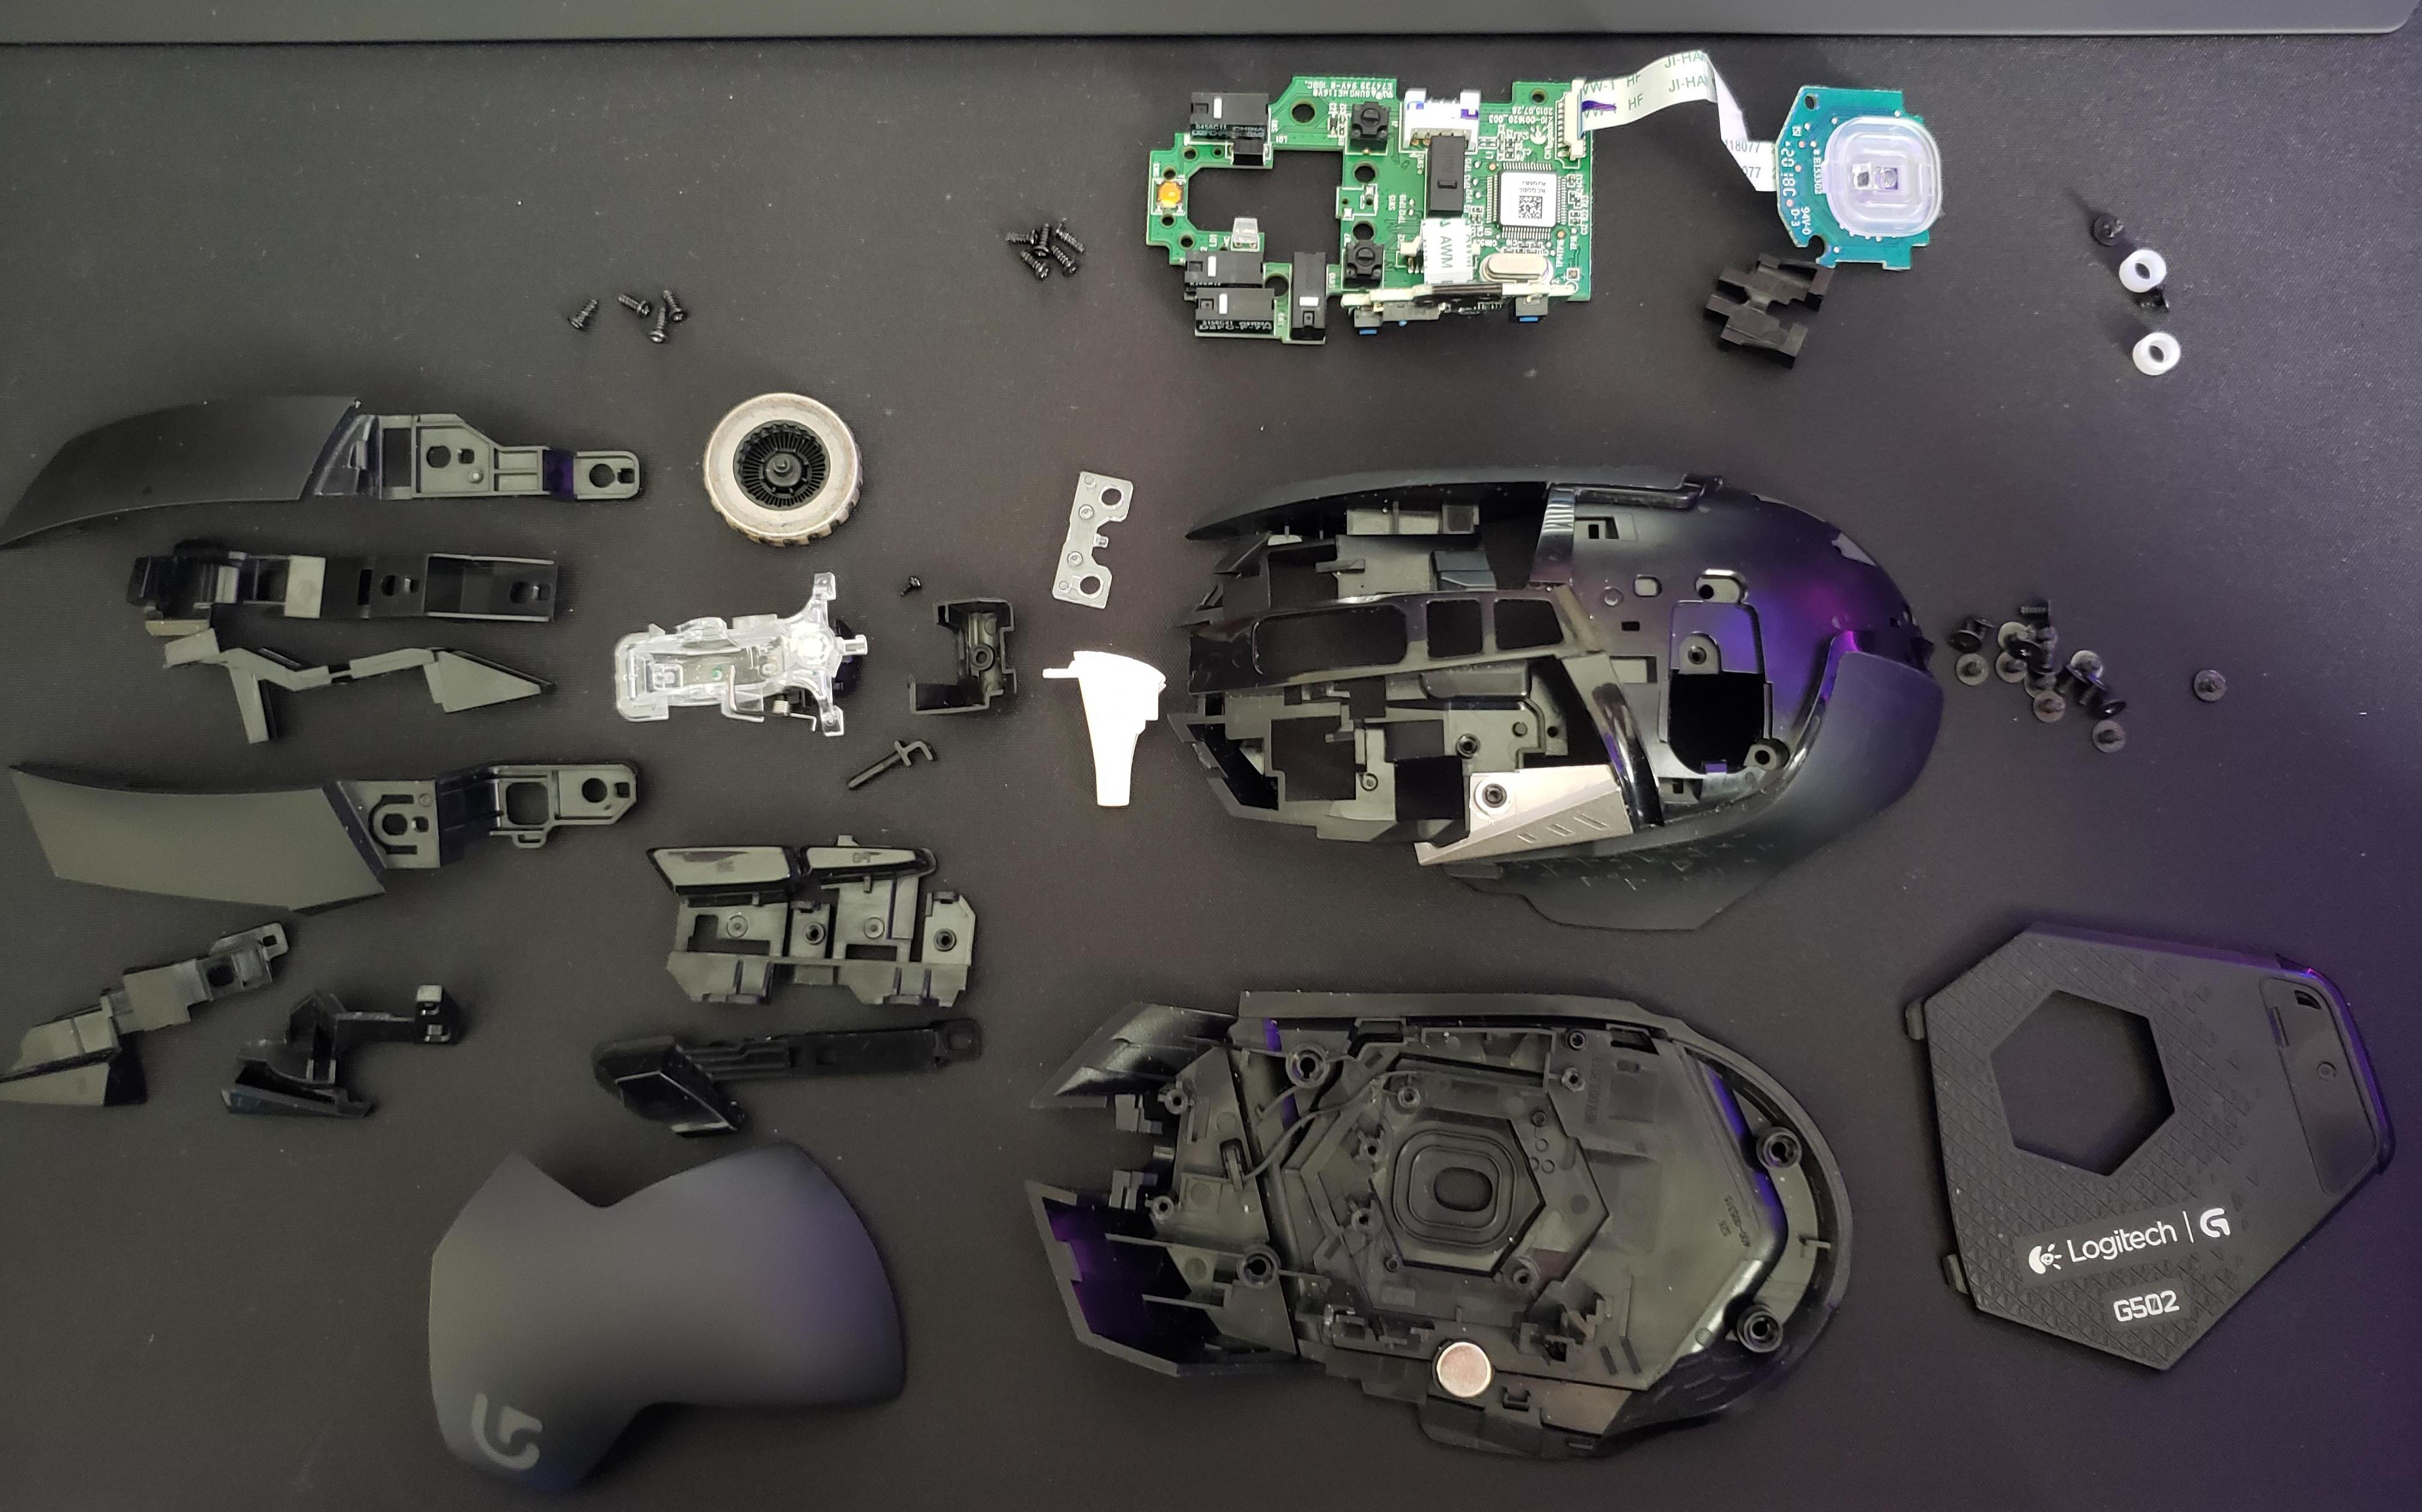
With the shell open, you’ll see the PCB, the scroll wheel, and the button switches. For the sensor lens, use a dry cotton swab to wipe away dust, never use liquid on the sensor, as it can smear the optics. For the scroll wheel and button debris, lightly dampen a cotton swab with isopropyl alcohol and clean the contact points and the wheel’s axle. Compressed air is best for loose dust on the PCB and in the crevices around the switches; give short bursts at an angle to avoid blowing debris deeper into the mechanism. If you’re fixing a double-click issue, inspect the micro-switches under the main buttons, they may have a tiny gap that you can clean with the alcohol swab, but avoid pressing them while the top shell is off, as that can damage the actuator.
Reassembling your Logitech mouse
Before you close the shell, reconnect the ribbon cable from the top half to the PCB connector. Align the cable’s gold contacts with the socket, press it down gently, and close the latch. Now align the top and bottom shell halves, starting from the front where the buttons sit. Press the halves together firmly, you should hear each clip snap into place as you work your way toward the back. Replace the screws you removed, tightening them snugly but not over-tightening, as the plastic threads strip easily. After the screws are in, test the button and scroll click feel by pressing each button and rolling the wheel, if anything feels mushy or unresponsive, open the shell again to check the cable connection or clip alignment. Once everything feels correct, reinstall the battery (if wireless) and power the mouse on to confirm it’s working before you put the rubber feet back in place.
For the wider topic, see setting up a Logitech mouse.