Introduction
Connecting your Logitech Bluetooth Mouse to your computer can provide you with a wireless and convenient way to navigate through your tasks with ease. Logitech is known for producing high-quality computer peripherals, and their Bluetooth mice are no exception. Whether you’re using a PC or a Mac, the process of connecting your Logitech Bluetooth Mouse is quite straightforward.
In this guide, we will take you through step-by-step instructions on how to connect your Logitech Bluetooth Mouse to your computer. From turning on the mouse to completing the pairing process, we’ll cover everything you need to know to ensure a seamless connection.
Before we begin, make sure that your computer has built-in Bluetooth capabilities or that you have a Bluetooth adapter connected to it. This will allow your computer to recognize and communicate with the Logitech Bluetooth Mouse.
Now, let’s dive into the steps required to connect your Logitech Bluetooth Mouse!
Step 1: Turn on your Logitech Bluetooth Mouse
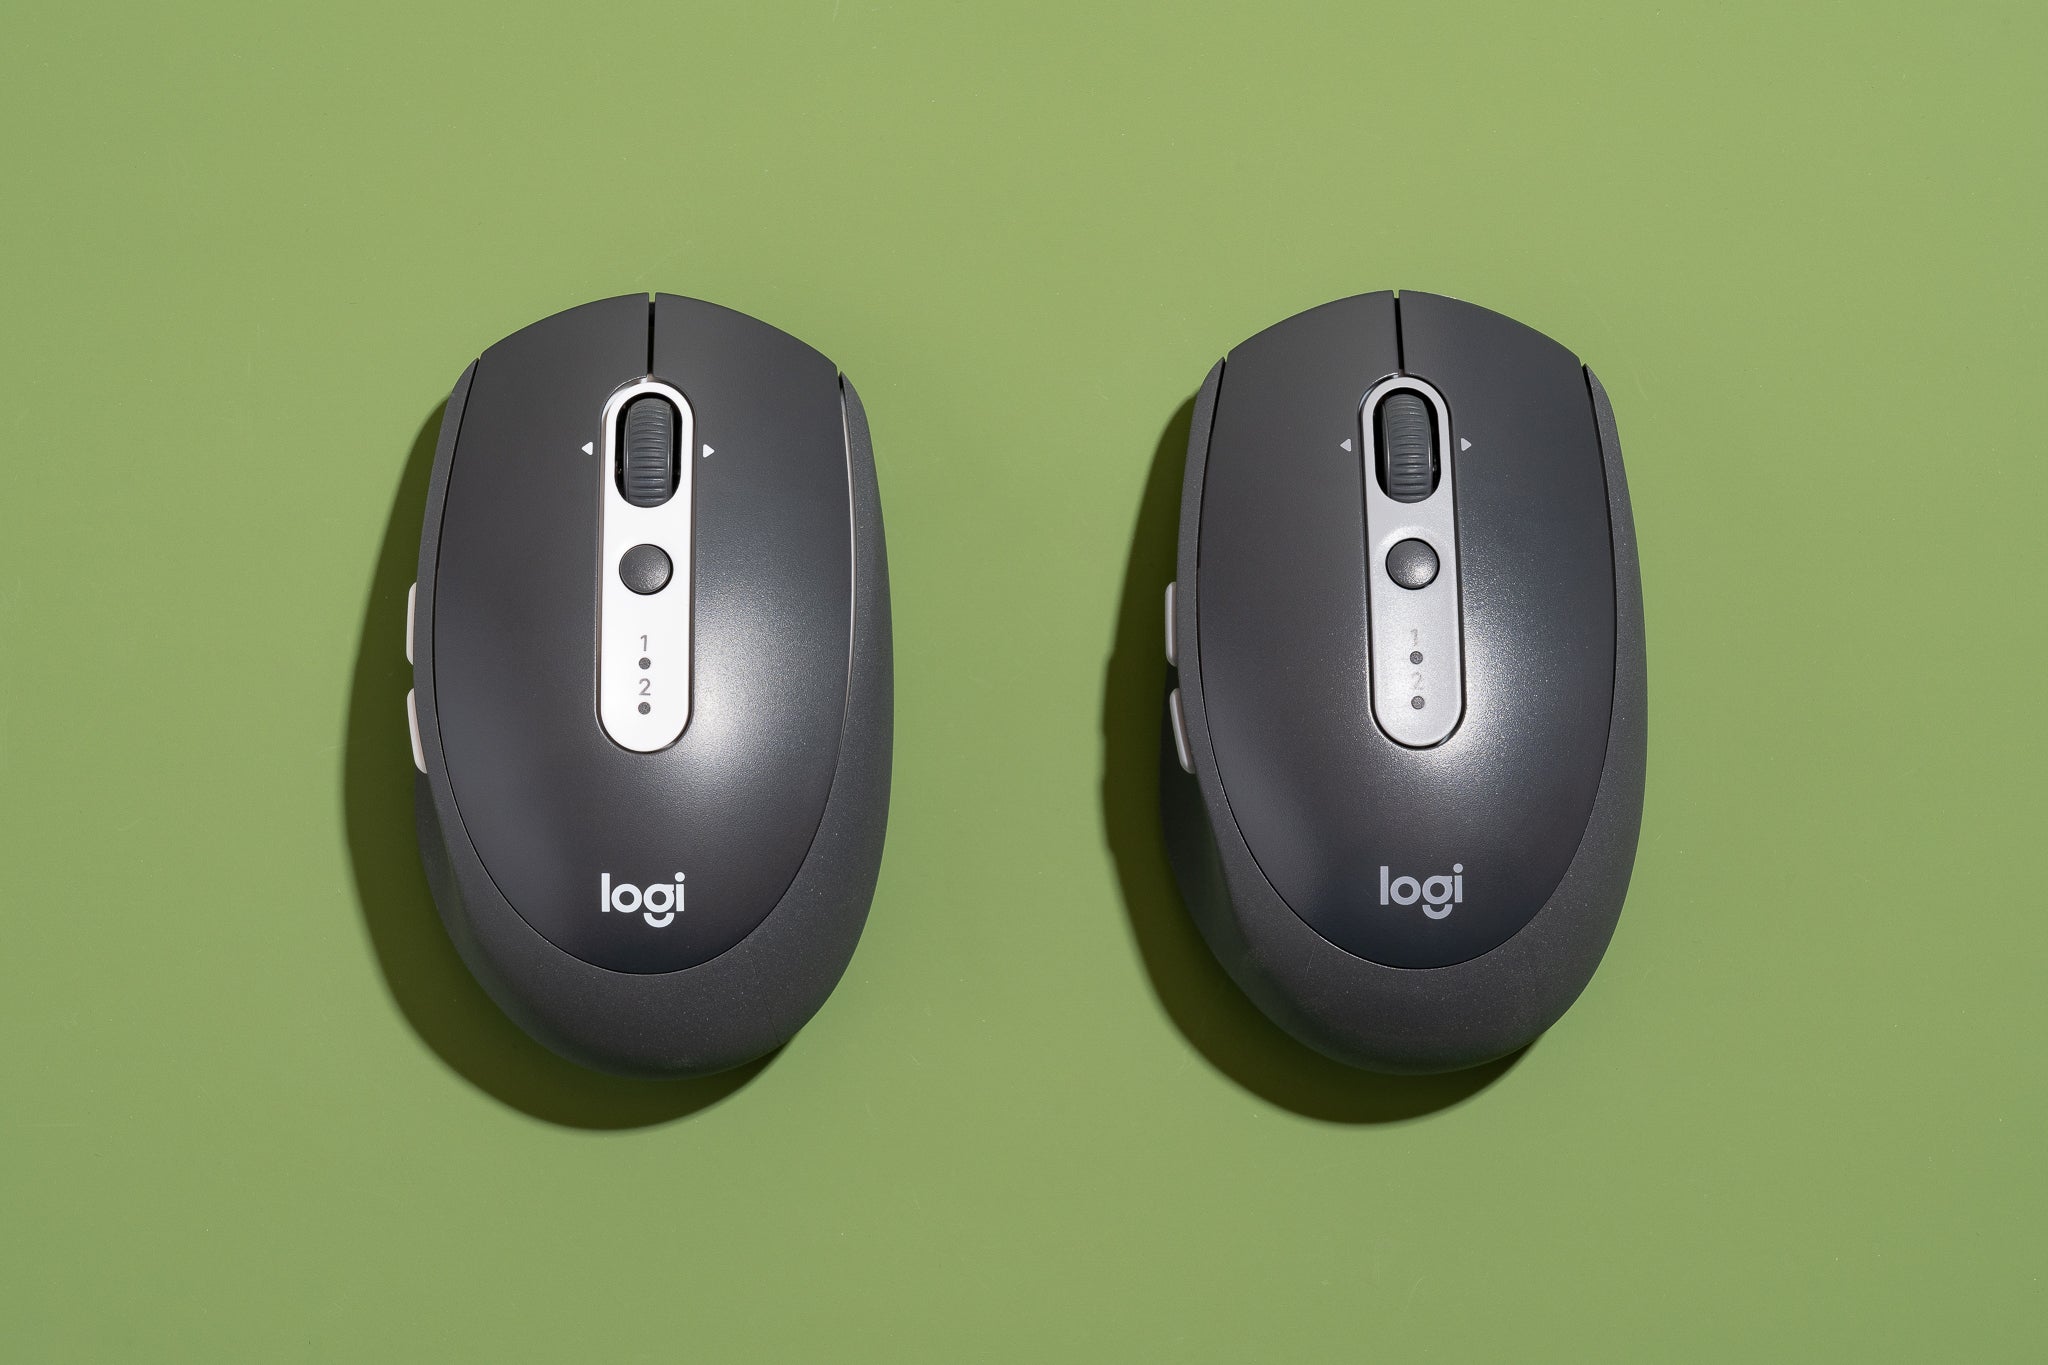
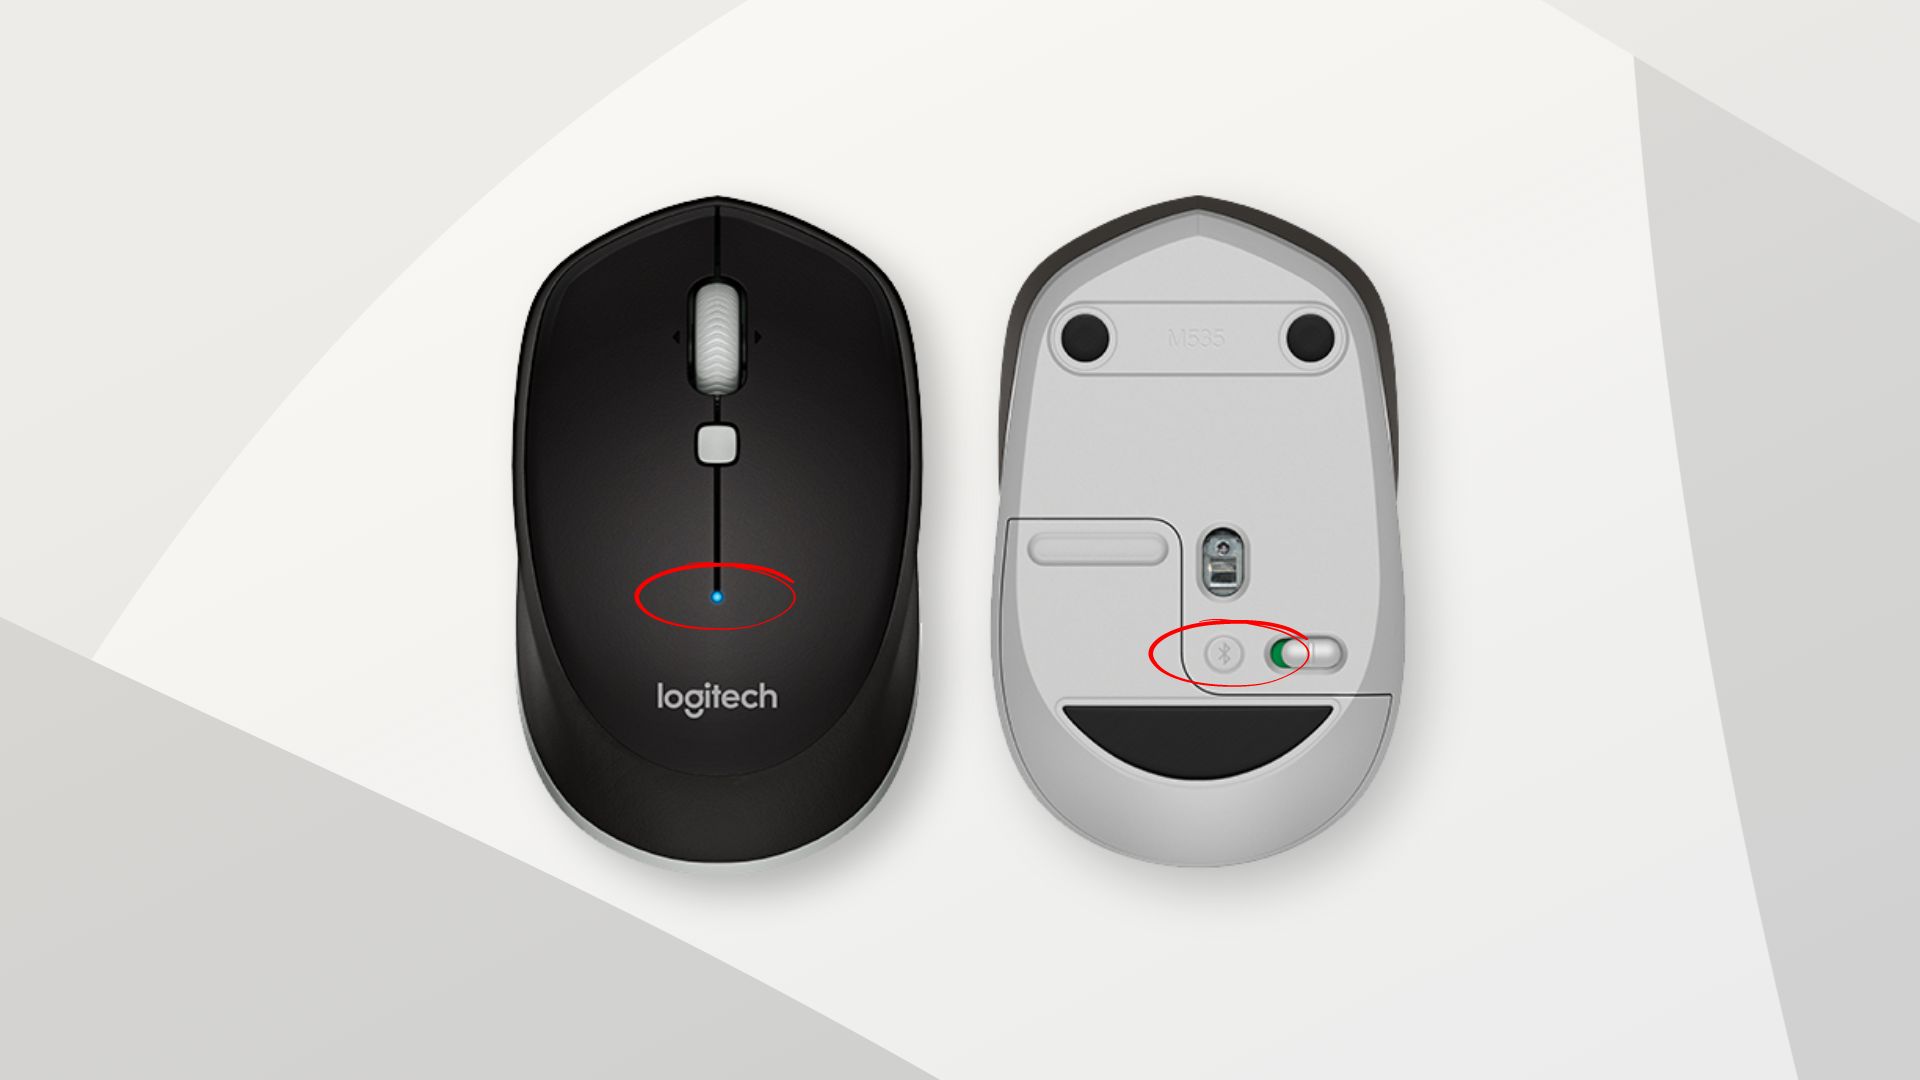
The first step in connecting your Logitech Bluetooth Mouse is to ensure that it is turned on. Most Logitech Bluetooth mice have a power switch on the underside. Locate the power switch and slide it to the “On” position.
Some Logitech Bluetooth mice may have an LED indicator light on the top or front of the mouse. This light will usually turn on once the mouse is powered on, indicating that it is ready for pairing.
If your mouse has a removable battery compartment, make sure that you have inserted fresh batteries or fully charged rechargeable batteries before proceeding.
Once your Logitech Bluetooth Mouse is powered on and ready, you can move on to the next step to put it in pairing mode.
Remember, each Logitech mouse model may have slight variations in design and button placement, so refer to the user manual for specific instructions if needed.
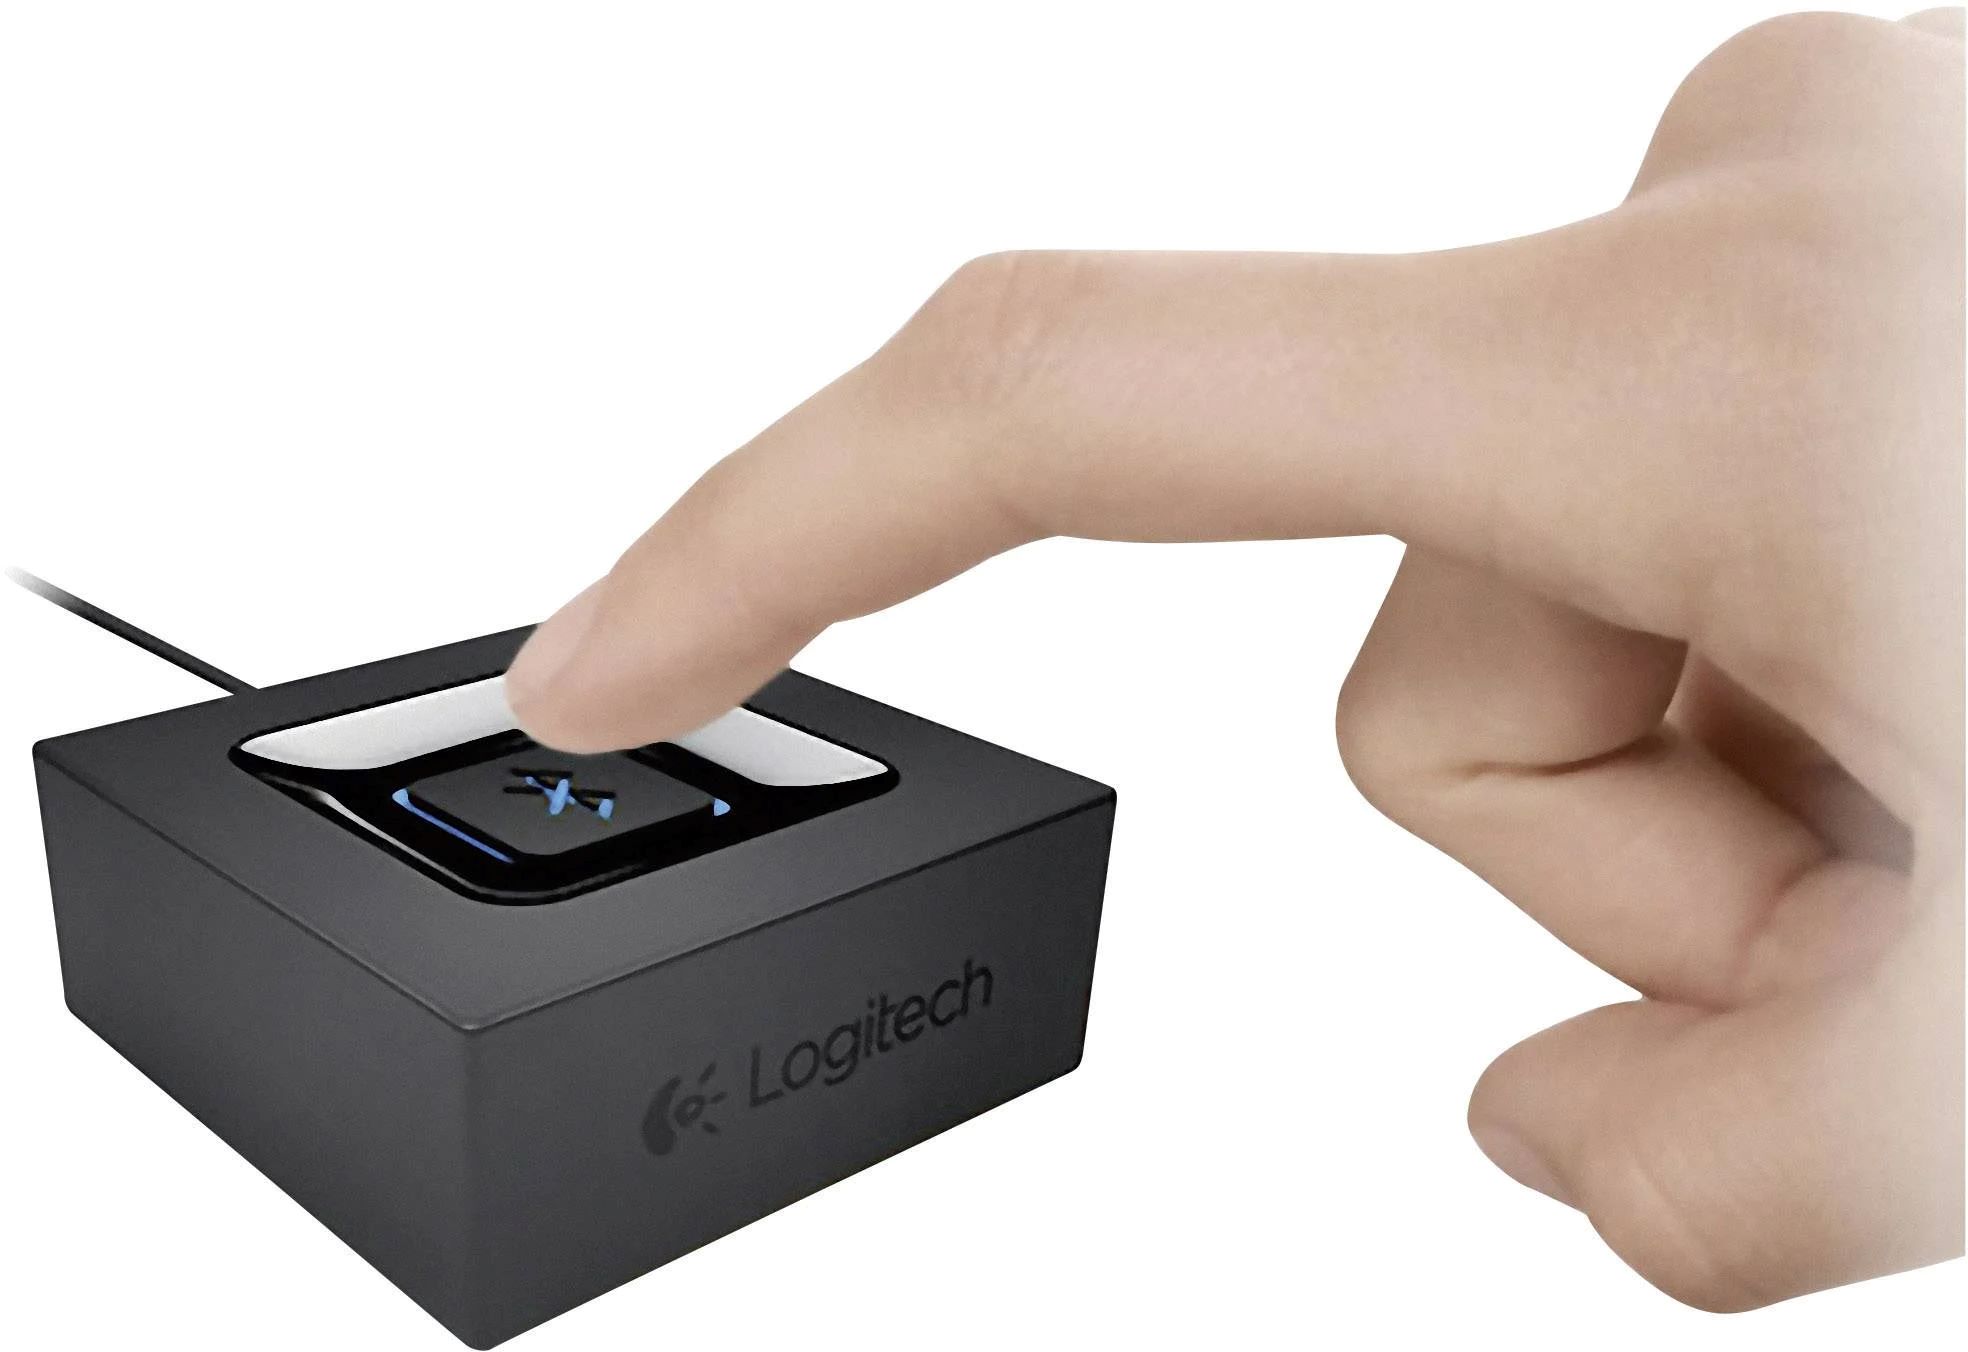
Step 2: Put your mouse in pairing mode
In order for your computer to detect and connect to your Logitech Bluetooth Mouse, you need to put the mouse in pairing mode. This allows the mouse to broadcast its presence and establish a connection with your computer.
The method to put your Logitech Bluetooth Mouse in pairing mode may vary slightly depending on the model you have. Here are a few common ways to activate pairing mode:
- Button on the bottom: Some Logitech Bluetooth mice have a dedicated pairing button on the underside. Press and hold this button for a few seconds until the LED indicator light starts flashing, indicating that the mouse is in pairing mode.
- Multi-button combination: For certain Logitech Bluetooth mouse models, you may need to press and hold specific buttons simultaneously to enter pairing mode. Refer to the user manual for the correct button combination for your specific mouse.
- Switching on/off method: In some cases, turning the mouse off and then back on can automatically put it in pairing mode. Check the user manual to see if this applies to your Logitech Bluetooth Mouse.
Once your Logitech Bluetooth Mouse is in pairing mode, the LED indicator light should be flashing, indicating that it is ready to establish a connection with your computer. With the mouse in pairing mode, move on to the next step to open your computer’s Bluetooth settings.
Step 3: Open your computer’s Bluetooth settings
To connect your Logitech Bluetooth Mouse to your computer, you need to access the Bluetooth settings on your computer. These settings allow you to search for and connect to nearby Bluetooth devices, including your mouse.
The exact method to open the Bluetooth settings may vary depending on your operating system. Here are the general steps for commonly used operating systems:
- Windows:
- Click on the “Start” button, usually located in the bottom-left corner of your screen.
- Select “Settings” or the gear icon to open the Windows Settings menu.
- In the Settings menu, click on “Devices” or “Bluetooth & other devices.”
- In the Bluetooth settings, make sure that Bluetooth is turned on.
- Mac:
- Click on the Apple menu in the top-left corner of your screen.
- Select “System Preferences” from the drop-down menu.
- In the System Preferences window, click on “Bluetooth.”
- In the Bluetooth settings, make sure that Bluetooth is turned on.
Once you have opened the Bluetooth settings on your computer, you are ready to proceed to the next step of adding a new Bluetooth device to your computer.
Step 4: Add a new Bluetooth device
With the Bluetooth settings open on your computer, it’s time to add your Logitech Bluetooth Mouse as a new device. This will allow your computer to search for and establish a connection with the mouse.
The steps to add a new Bluetooth device may vary slightly depending on your operating system. However, the general process is as follows:
- Windows:
- In the Bluetooth settings, click on the “Add Bluetooth or other device” option.
- A new window will appear with options to add different types of devices. Choose the “Bluetooth” option.
- Your computer will start searching for nearby Bluetooth devices. Wait for the Logitech Bluetooth Mouse to appear in the list.
- Click on the Logitech Bluetooth Mouse in the list to select it.
- Click on the “Pair” or “Connect” button to establish a connection with the mouse.
- Mac:
- In the Bluetooth settings, click on the “Add Device” or “+ button” option.
- Your computer will start searching for nearby Bluetooth devices. Wait for the Logitech Bluetooth Mouse to appear in the list.
- Click on the Logitech Bluetooth Mouse in the list to select it.
- Click on the “Pair” or “Connect” button to establish a connection with the mouse.
Follow the on-screen instructions to complete the pairing process. Once the pairing is successful, your Logitech Bluetooth Mouse will be connected to your computer!
Note that some operating systems may require you to enter a passcode or PIN to pair the mouse. If prompted, refer to the user manual or the information displayed on the screen for the correct passcode to enter.
Now that you have added your Logitech Bluetooth Mouse as a new device, it’s time to proceed to the next step and complete the pairing process.
Step 5: Select your Logitech Bluetooth Mouse from the list
After adding your Logitech Bluetooth Mouse as a new device, your computer will display a list of nearby Bluetooth devices that it has detected. Look for the name or model number of your Logitech Bluetooth Mouse in the list and select it.
The list of available Bluetooth devices may vary depending on your operating system. Follow the steps below for the common operating systems:
- Windows:
- In the Bluetooth settings, your Logitech Bluetooth Mouse should appear in the list of available devices. It may be displayed with its model number or a generic name.
- Click on the name of your Logitech Bluetooth Mouse from the list to select it.
- Mac:
- In the Bluetooth settings, your Logitech Bluetooth Mouse should appear in the list of available devices. It may be displayed with its model number or a generic name.
- Click on the name of your Logitech Bluetooth Mouse from the list to select it.
By selecting your Logitech Bluetooth Mouse from the list, you are indicating to your computer that you want to establish a connection with that specific device.
Once you have selected your Logitech Bluetooth Mouse from the list, proceed to the next step to complete the pairing process and finalize the connection.
Step 6: Complete the pairing process
After selecting your Logitech Bluetooth Mouse from the list of available devices, you are ready to complete the pairing process and establish a connection between your computer and the mouse.
At this stage, your computer may prompt you to confirm the pairing request. You might see a confirmation message or a pop-up asking for your permission to connect to the Logitech Bluetooth Mouse. Simply click “OK” or “Pair” to proceed.
If prompted, some operating systems may require you to enter a passcode or PIN to complete the pairing process. Check the user manual or any on-screen instructions for the correct passcode to enter, if prompted.
Once the pairing process is successfully completed, you will usually see a confirmation message on your computer indicating that the Logitech Bluetooth Mouse is now connected and ready to use.
At this point, you can start using your Logitech Bluetooth Mouse wirelessly with your computer. Enjoy the freedom and convenience of navigating through your tasks without the hassle of cables!
If for some reason the pairing process fails, or you encounter any issues during this step, refer to the troubleshooting section later in this guide for tips to fix common problems.
Now that you have completed the pairing process, it’s time to move on to the next step and test your Logitech Bluetooth Mouse connection.
Step 7: Test your Logitech Bluetooth Mouse connection
After successfully connecting your Logitech Bluetooth Mouse to your computer, it’s important to test the connection to ensure that the mouse is functioning properly. This will help you confirm that the pairing process was successful and that your mouse is ready for use.
To test your Logitech Bluetooth Mouse connection, follow these steps:
- Move your Logitech Bluetooth Mouse around on a flat surface to verify that the cursor on your computer screen moves in response. This will help you confirm that the mouse’s sensors are working as expected.
- Click the buttons on your Logitech Bluetooth Mouse to test the left-click, right-click, and scroll wheel functionality. This will help you ensure that the mouse’s buttons and scroll wheel are responsive.
- If your Logitech Bluetooth Mouse has additional customizable buttons or features, such as forward and backward buttons, test them to ensure they are working as intended.
If you encounter any issues during the testing phase, make sure that your Logitech Bluetooth Mouse is fully charged or has fresh batteries. It’s also worth checking if the mouse’s drivers and software are up to date. You can visit the Logitech website and download the latest drivers and software for your specific mouse model.
By testing your Logitech Bluetooth Mouse connection, you can verify that the pairing process was successful and that your mouse is ready to be used efficiently.
Now that you have confirmed that your Logitech Bluetooth Mouse is working correctly, you can start enjoying the wireless freedom it provides in navigating your computer tasks.
Troubleshooting common issues
While connecting your Logitech Bluetooth Mouse is usually a smooth process, you may encounter some common issues along the way. Here are a few troubleshooting tips to help you resolve these issues:
- No connection or pairing failure: If your Logitech Bluetooth Mouse is not connecting to your computer or the pairing process fails, ensure that Bluetooth is enabled on both your mouse and computer. Try turning off Bluetooth on both devices and then turning it back on. Additionally, make sure that your mouse is in pairing mode and that your computer is searching for nearby Bluetooth devices.
- Unresponsive mouse: If your Logitech Bluetooth Mouse is not responding, check the mouse’s batteries or rechargeable power source to ensure they are not depleted. Replace or recharge the batteries if necessary. You may also need to check for any obstructions or interference that could disrupt the Bluetooth signal.
- Driver or software issues: If your Logitech Bluetooth Mouse is not functioning properly, ensure that you have the latest drivers and software installed. Visit the Logitech website and download the most recent drivers and software for your specific mouse model.
- Interference: Bluetooth signals can be affected by other electronic devices or physical obstacles. Move your Logitech Bluetooth Mouse and computer closer to each other to minimize potential interference. Additionally, try to eliminate any other electronic devices that may be causing interference, such as cordless phones or Wi-Fi routers.
- Device compatibility: Ensure that your Logitech Bluetooth Mouse is compatible with your computer’s operating system. Check the Logitech website or the mouse’s documentation to verify compatibility.
If none of these troubleshooting steps resolve the issue, refer to the user manual or contact Logitech customer support for further assistance. They will be able to provide you with more specific guidance tailored to your Logitech Bluetooth Mouse model and the issue you are experiencing.
Remember, troubleshooting may vary depending on the specific Logitech Bluetooth Mouse model and the operating system you are using. Patience and persistence in following the troubleshooting steps will help you identify and resolve any potential issues.
Conclusion
Connecting your Logitech Bluetooth Mouse to your computer opens up a world of convenience and freedom in navigating through your tasks wirelessly. By following the step-by-step instructions provided in this guide, you can easily connect your Logitech Bluetooth Mouse and enjoy a seamless user experience.
Remember to start by turning on your Logitech Bluetooth Mouse and putting it in pairing mode. Then, open your computer’s Bluetooth settings and add the mouse as a new device. Select your Logitech Bluetooth Mouse from the list and complete the pairing process. Finally, test the mouse’s connection to ensure it’s working correctly.
If you encounter any issues during the process, refer to the troubleshooting section for helpful tips to resolve common problems. If the issues persist, consult the user manual or contact Logitech customer support for further assistance.
With your Logitech Bluetooth Mouse successfully connected, you can now enjoy the convenience of a wireless and reliable mouse for improved productivity and comfort. Say goodbye to tangled cables and maneuver your computer tasks with ease!
We hope this guide has been helpful in assisting you with connecting your Logitech Bluetooth Mouse. Happy navigating!