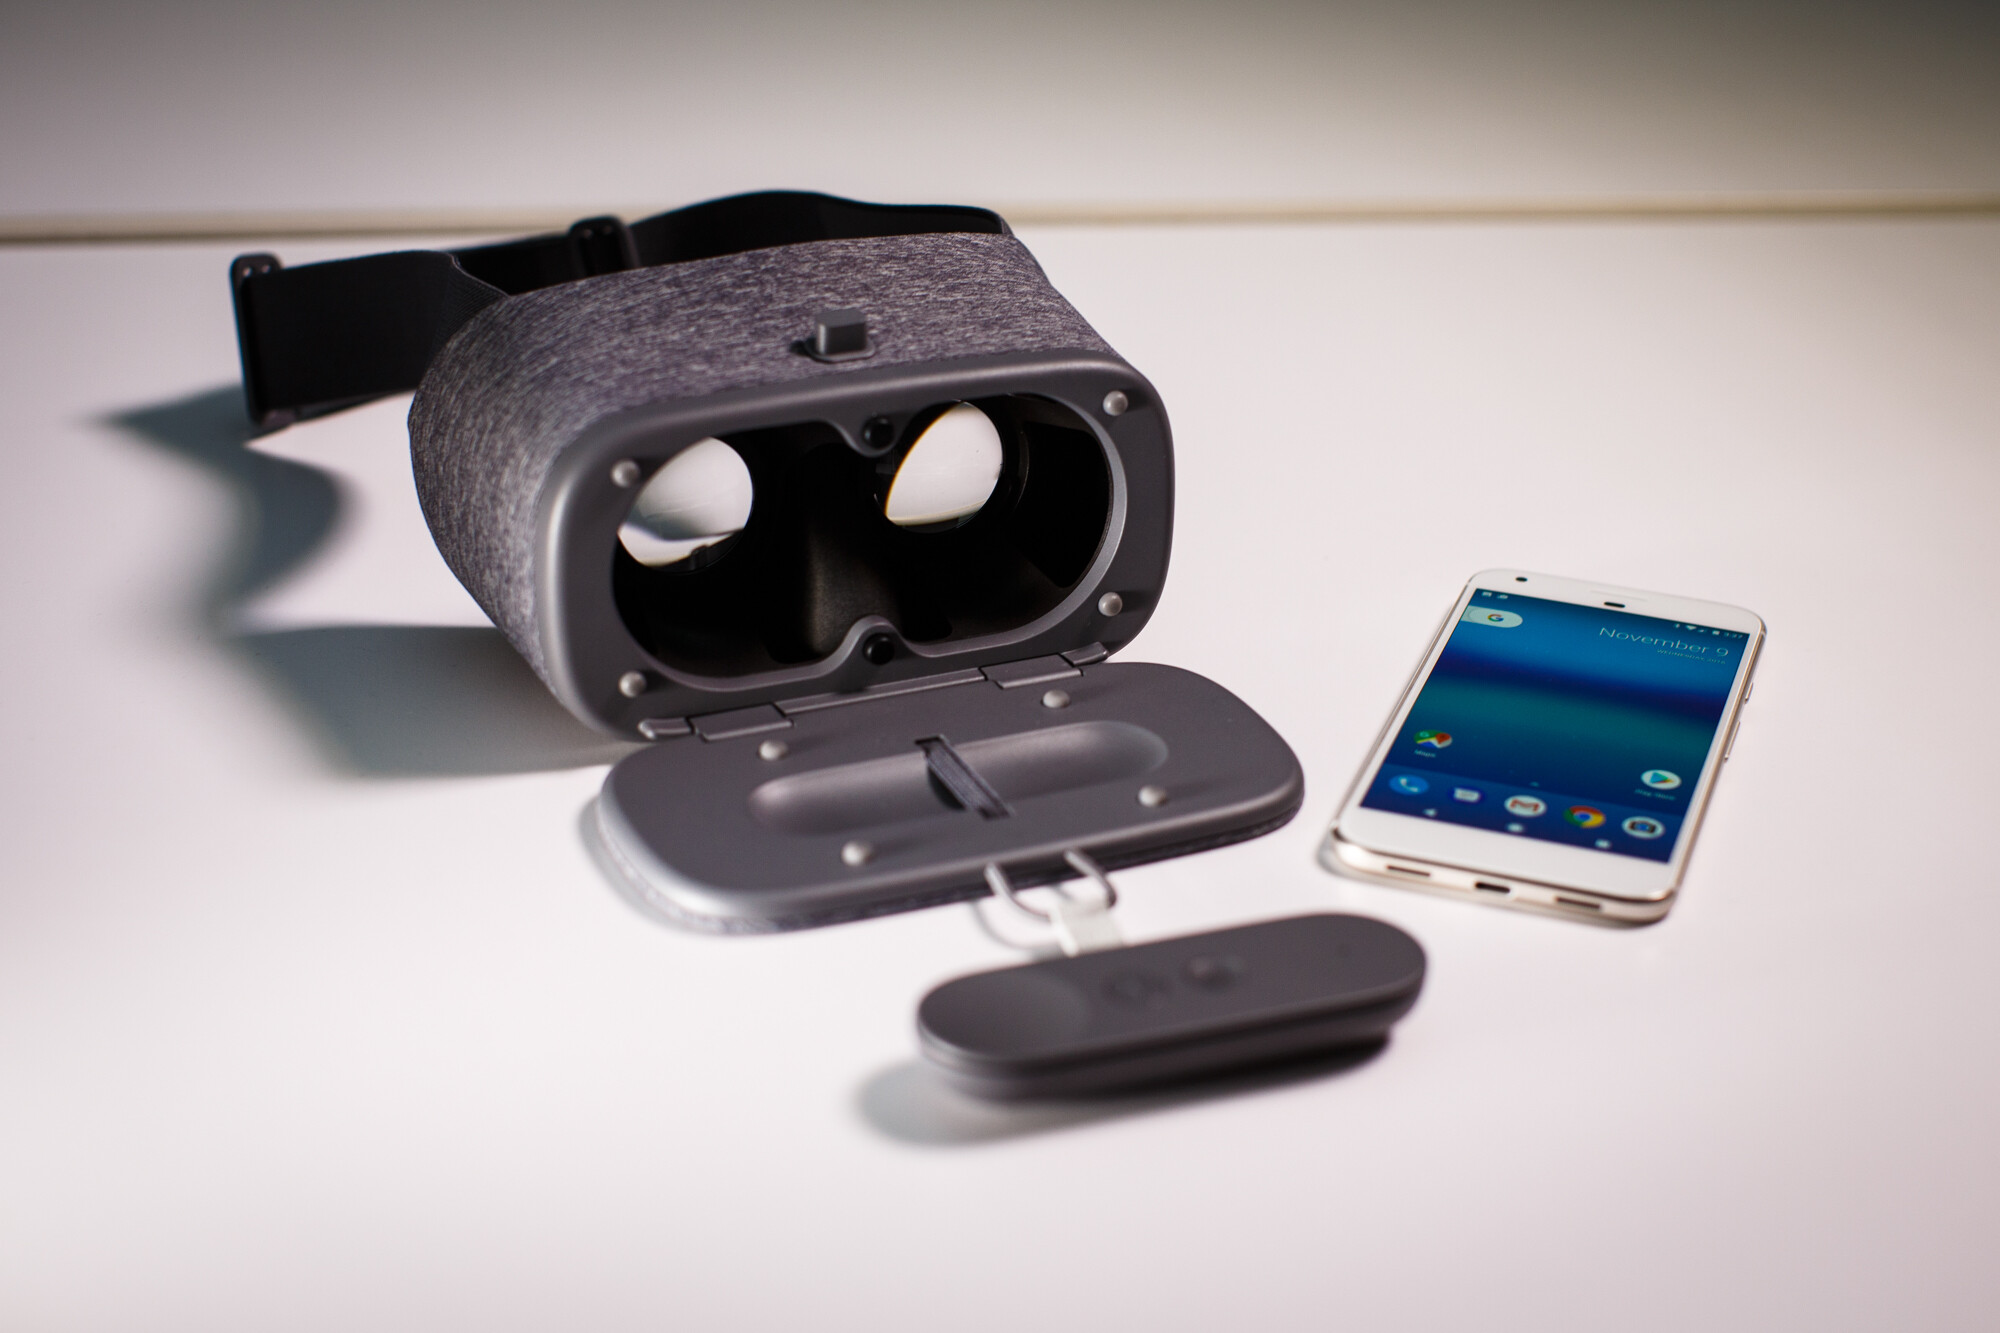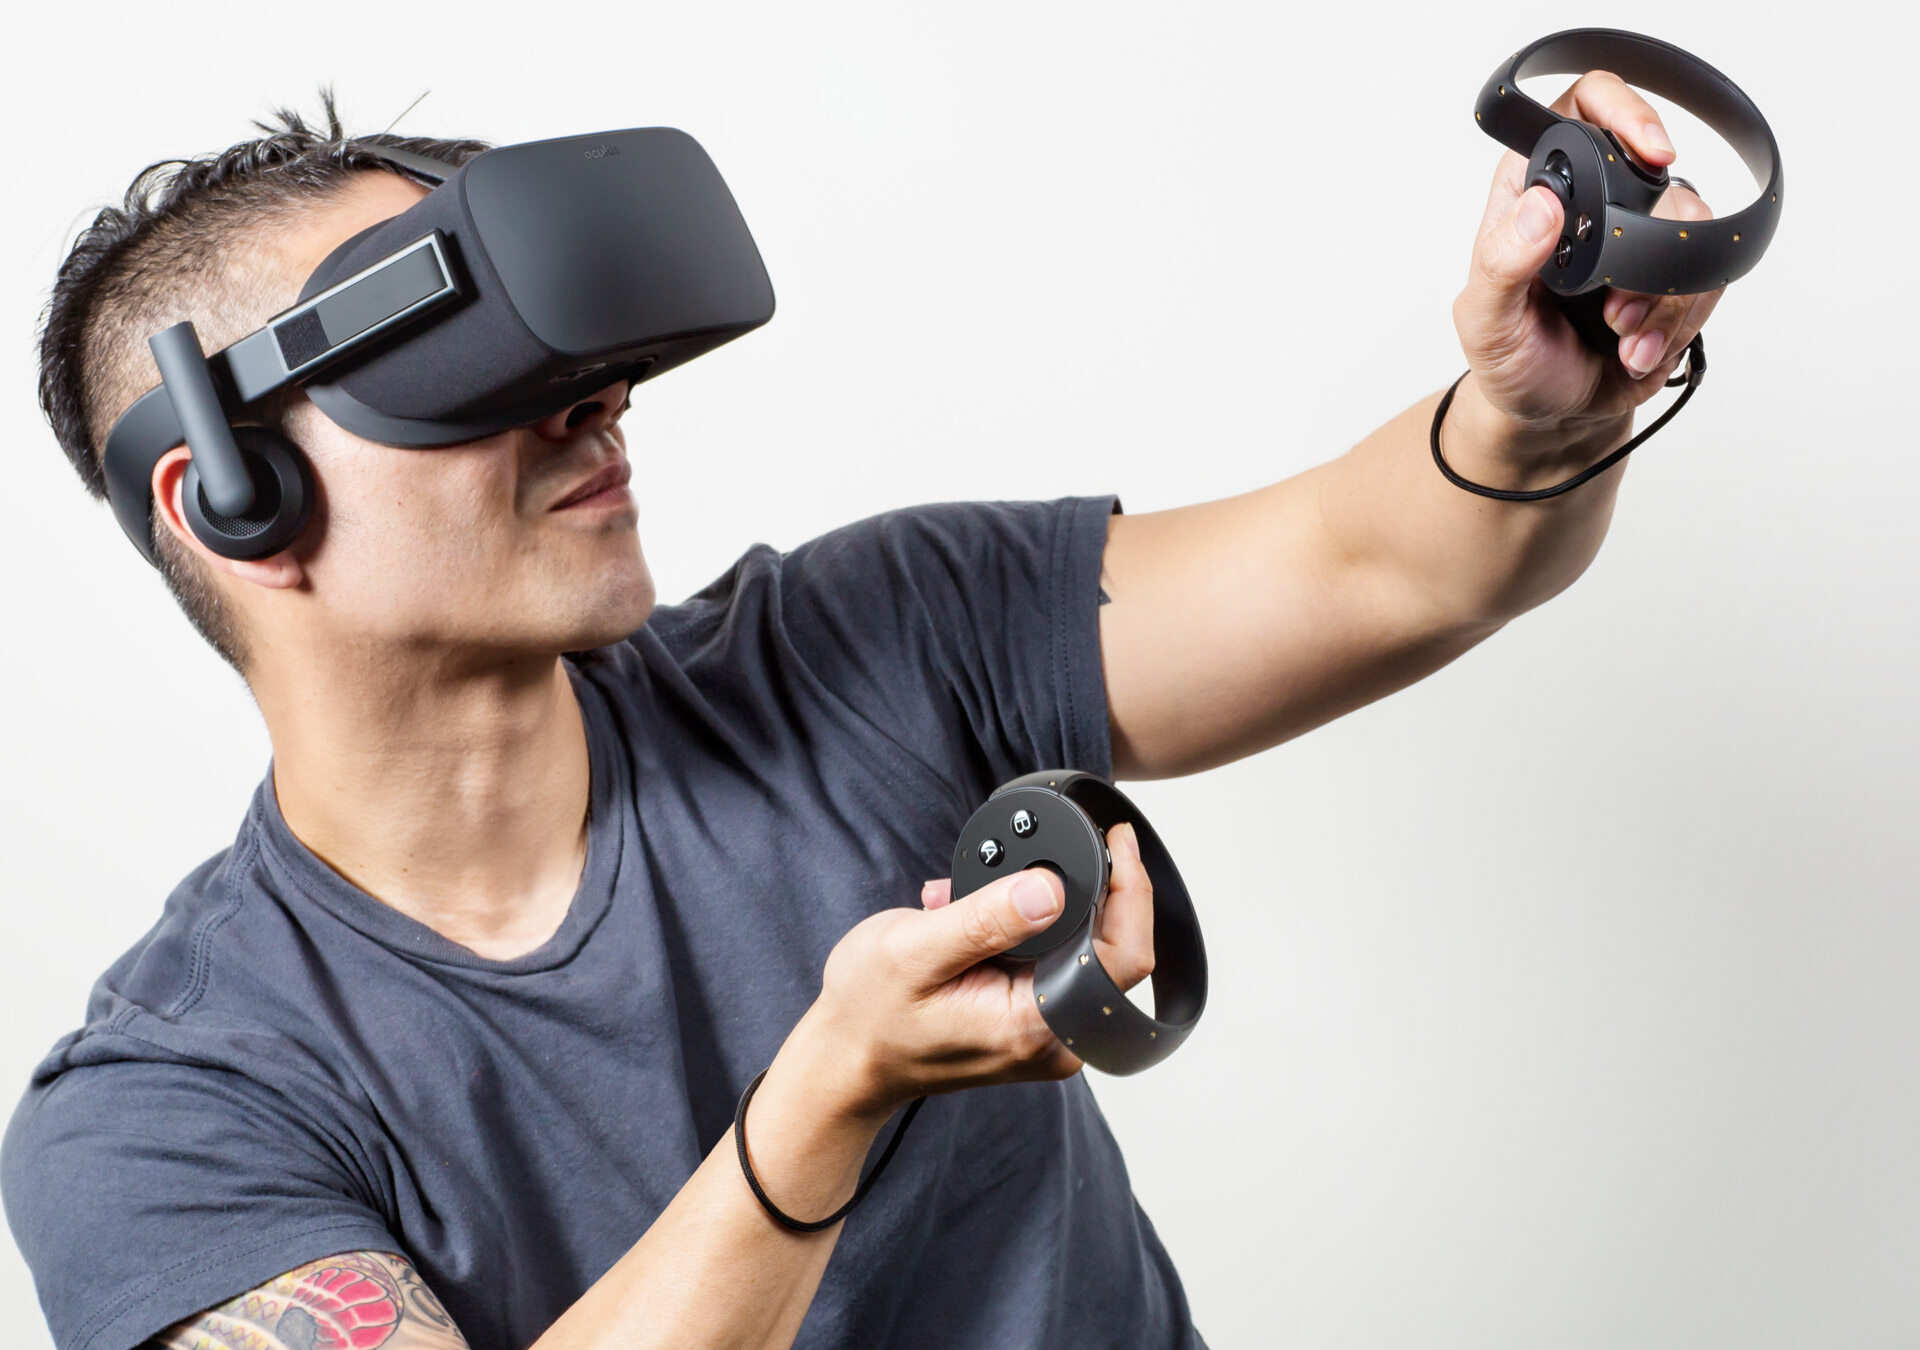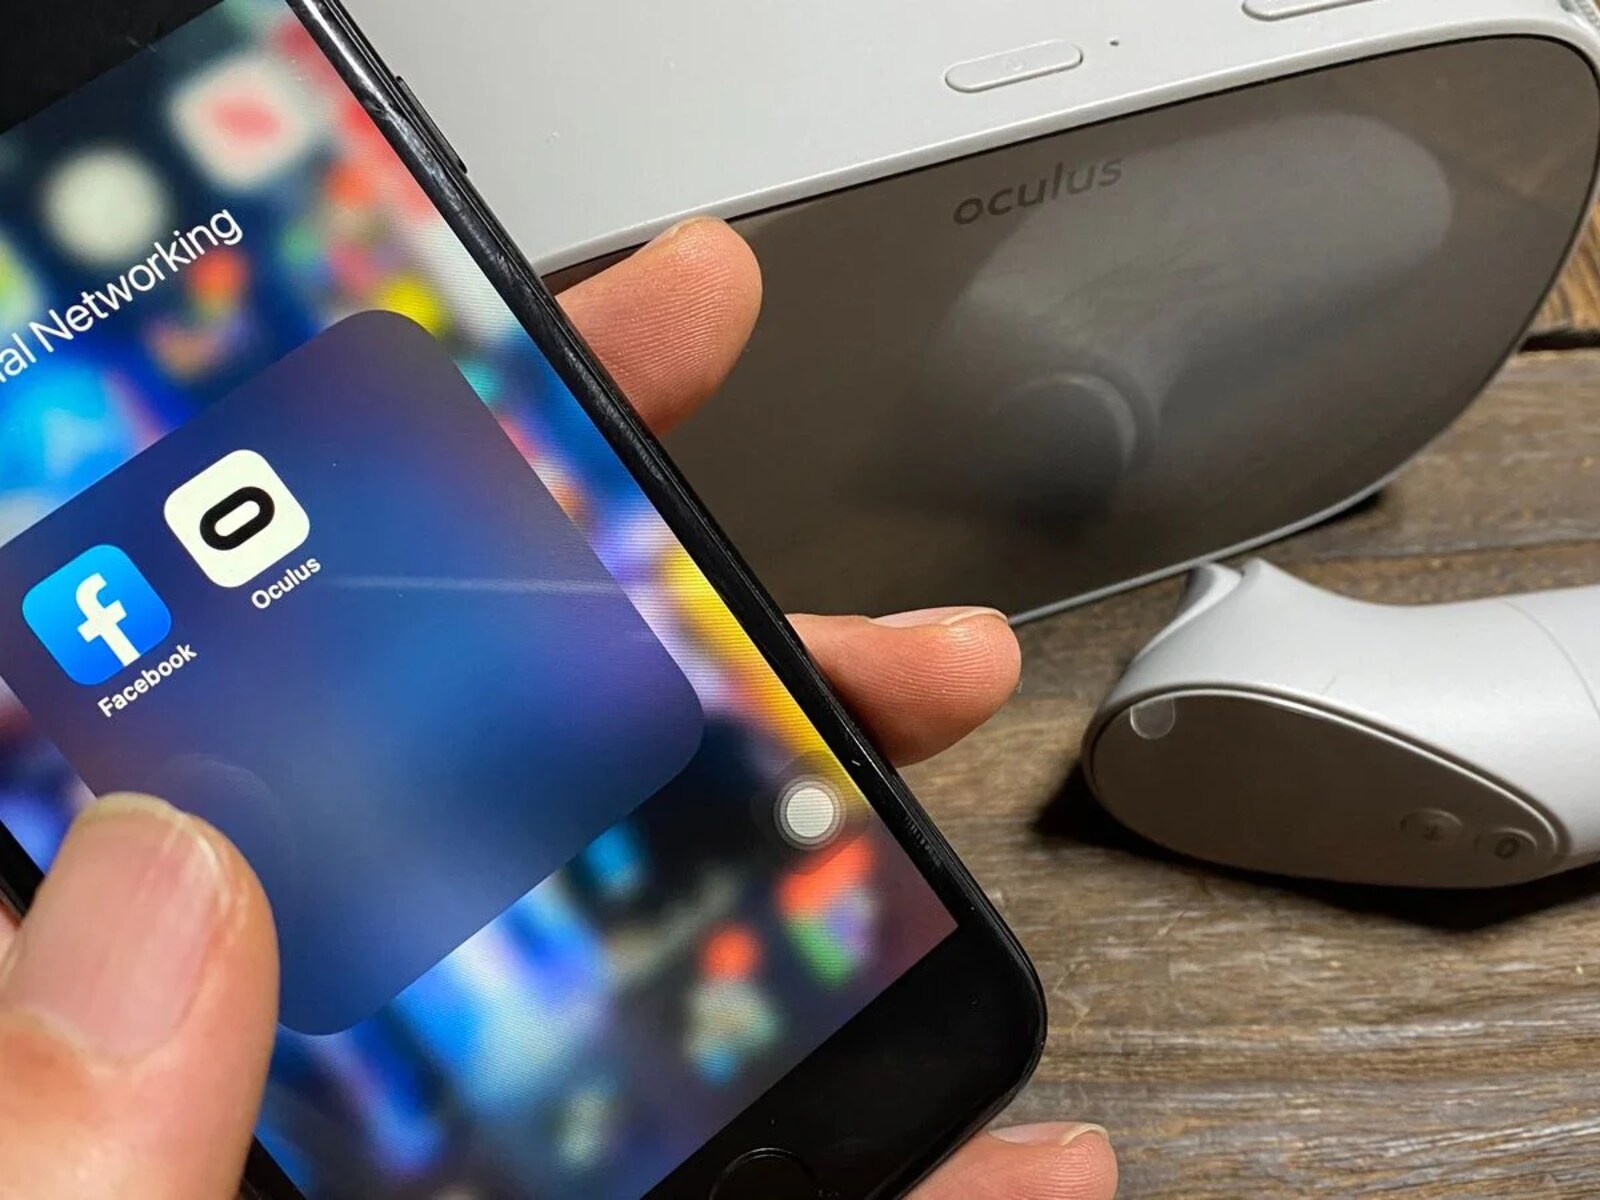
To connect a VR headset to phone, you either insert the phone into a viewer that uses it as the display, or you link a standalone headset to a companion app on your phone for setup and content management. Once paired, you'll likely need to connect VR controller to VR headset for full navigation. The exact steps differ because smartphone-insert headsets turn your phone into the screen, while standalone headsets have their own built-in displays and only use the phone as a remote control and casting device. If you don't own a dedicated viewer yet, you can use phone as VR headset with a DIY cardboard enclosure for an instant budget experience.
How connecting VR headset to phone works, two main types
There are two fundamentally different ways to connect a VR headset to a phone. The first type is a smartphone-insert headset like Google Cardboard or Samsung Gear VR, where the phone is physically placed inside the headset and its screen becomes the virtual reality display. The second type is a standalone headset like Meta Quest or Pico, which has its own processors and screens; here, the phone is only a companion device for initial setup, managing settings, installing apps, and casting what you see in the headset to the phone screen. Because these two types handle the phone differently, the connection process is not the same, one requires physical insertion, the other requires wireless pairing through a dedicated app.
Step 1: compatibility check for your phone and headset
Before anything else, verify that your specific phone model and operating system are supported by the VR headset you own. Check the manufacturer’s official website or the product manual for a list of compatible devices, this is where you will find requirements like minimum OS versions, screen size, and whether your phone has a gyroscope for head tracking. For example, Google Cardboard works with iPhones running iOS 8.0 or higher and Android phones running Android 4.1 or higher, but it requires a gyroscope for proper motion sensing. Samsung Gear VR has its own list of supported Galaxy phones, while Meta Quest headsets require iOS 12.4+ or Android 5.0+ for the companion app. If your phone is not listed, contact manufacturer support before proceeding. Also confirm your phone has the processing power and screen resolution needed to handle VR apps smoothly, otherwise, you risk poor graphics or app crashes.
Step 2: download the right VR application
Once compatibility is confirmed, install the official app that matches your headset type. For Google Cardboard viewers, download the Google Cardboard app from the App Store or Google Play. For Samsung Gear VR, the Oculus (now Meta) app will be installed automatically when you insert the phone, but you can also pre-download the Meta Horizon app. For Meta Quest headsets, get the Meta Horizon app, this is required for setup and management. For Pico headsets, download the Pico VR app from the Android or iOS store. Beyond these official apps, you can also browse general VR apps in your phone’s app store, many games and media players work with Cardboard-style viewers. Always choose the official app from the headset manufacturer first, as third-party apps may not support all features or may have compatibility issues.
Step 3: insert your phone or pair via the app
Now perform the actual connection, which differs by headset type.
For insertion headsets (Google Cardboard, Gear VR)
- Open the front cover of the viewer to expose the phone tray.
- Place your phone horizontally into the tray, ensuring the screen faces the lenses and is centered.
- Secure the phone with the headset’s clamps or foam inserts, it should be snug and not shift when you move your head.
- For Samsung Gear VR, inserting the phone triggers the automatic installation of the Oculus software and Gear VR drivers, follow the on-screen prompts to complete this setup. An active Wi-Fi connection and a Meta/Oculus account are required for this installation.
- Close the front cover once the phone is locked in place.
For standalone headsets (Meta Quest, Pico)
- Power on your headset and put it on to see the initial setup screen.
- Open the companion app (Meta Horizon for Quest, Pico VR for Pico) on your phone.
- Log in or create an account within the app.
- Follow the in-app instructions to wirelessly pair the headset and phone, this usually involves entering a pairing code that appears inside the headset’s display.
- Once paired, the app will guide you through the rest of the headset setup, including Wi-Fi connection and account linking.
Step 4: calibrate and adjust for a clear image
Proper calibration is essential for a sharp and comfortable view. For Google Cardboard, open the Cardboard app and scan the QR code printed on your viewer, this automatically configures the correct lens distance and field of view for your specific model. For headsets with adjustable lenses, set the inter-pupillary distance (IPD) so that each lens aligns with your pupils; you should see a single clear image without double vision. Adjust the headset’s position on your face so the lenses sit directly in front of your eyes, and tighten the straps so the headset stays stable without pressing too hard. If your headset has motion tracking (like 6DOF on Meta Quest or Pico), complete the manufacturer’s calibration routine, this often involves moving your head in circles or holding still for a few seconds. Finally, adjust the top and side straps to distribute the weight evenly across your head, ensuring the device doesn’t slide forward or backward during use.
Step 5: adjust settings and start your VR experience
With everything connected and calibrated, fine-tune the settings for your comfort and preferences. Within your VR app, explore the graphics options to balance visual quality with performance, lower resolution may reduce motion sickness on less powerful phones. Check the audio settings to ensure sound plays through the headset’s speakers or your connected headphones. Enable comfort features like vignetting or snap-turning if you are prone to motion sickness. For standalone headsets, use the companion app on your phone to manage your content library, install new apps, and adjust headset settings remotely. You can also cast your headset’s view directly to your phone screen, this lets others see what you see and is useful for troubleshooting or sharing the experience. Once everything is set, launch your chosen VR app, put on the headset, and begin exploring. Remember to take breaks if you feel any discomfort, and always power off the headset and disconnect your phone when you are done to preserve battery life.
For the wider topic, see reset a VR headset.