Introduction
Welcome to the world of virtual reality! VR headsets have become increasingly popular in recent years, offering an immersive and dynamic gaming and entertainment experience. However, like any electronic device, VR headsets might encounter occasional issues or glitches that require a reset.
In this article, we will guide you through the process of resetting a VR headset. Whether you’re experiencing connectivity issues, software glitches, or simply want to start fresh, resetting your VR headset can often be an effective solution.
It’s important to note that different VR headset models may have slightly different reset procedures. Therefore, always refer to the manufacturer’s instructions or support documentation specific to your headset model to ensure you follow the correct steps.
Before we dive into the reset process, it’s crucial to back up any important data or settings if applicable. Some headsets allow you to save customized settings or game progress, so be sure to take note of these before proceeding with the reset.
Now, let’s explore the step-by-step guide to resetting your VR headset and get you back to enjoying the thrilling world of virtual reality.
Power off the VR Headset
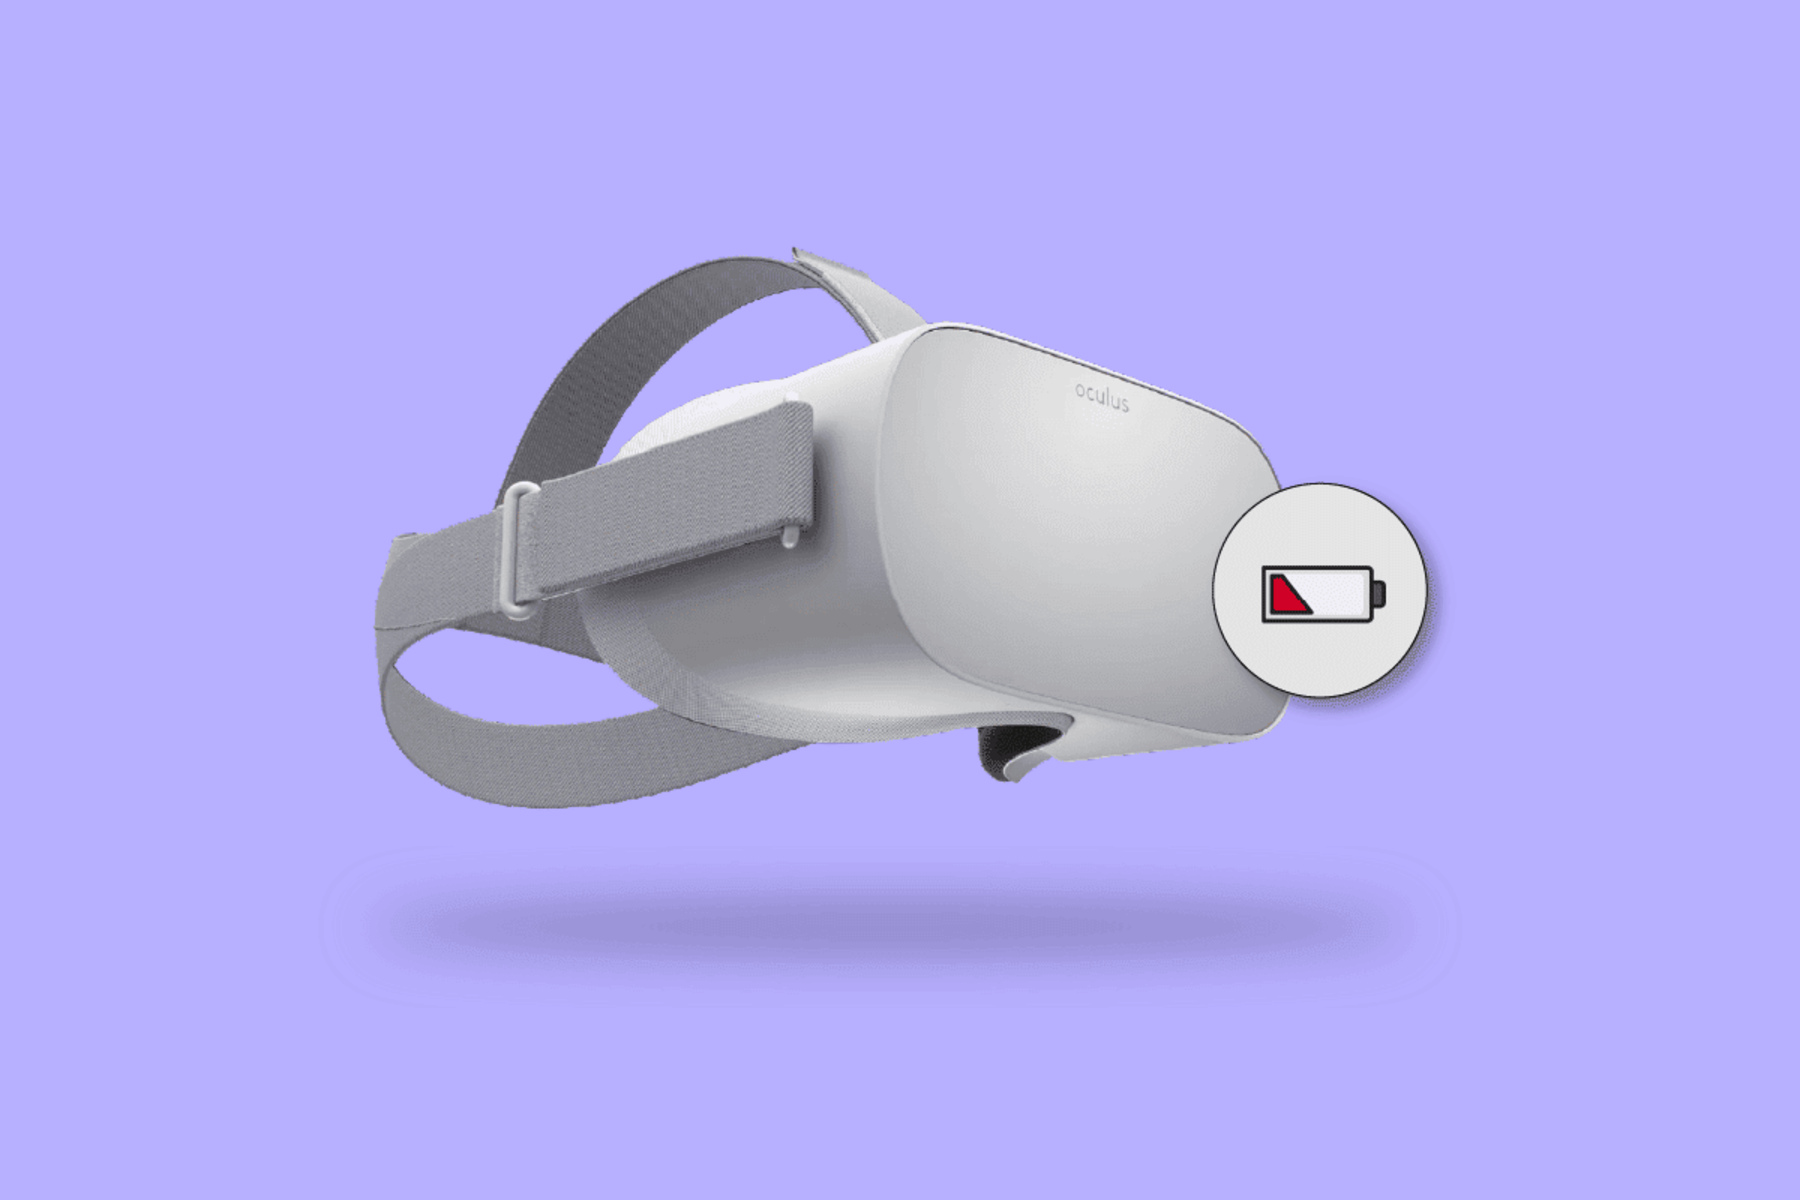
The first step in resetting your VR headset is to ensure that it is powered off. This may seem like a straightforward task, but it’s essential to follow proper shutdown procedures to avoid any potential issues or data loss.
To power off your VR headset, locate the power button or switch usually located on the headset itself or on the accompanying controller. Press and hold the power button until the device shuts down completely. Some headsets may require you to hold the button for a few seconds, so make sure to check the instructions for your specific model.
It’s crucial to note that simply removing the headset from your head or disconnecting it from your computer does not guarantee that it is powered off. Always use the designated power button or switch to ensure a proper shutdown.
Before proceeding to the next step, ensure that the VR headset is completely powered off and disconnected from any power sources. This step will help to ensure a clean and successful reset process.
Now that your VR headset is powered off, let’s move on to the next step of the reset process.
Disconnect All Cables
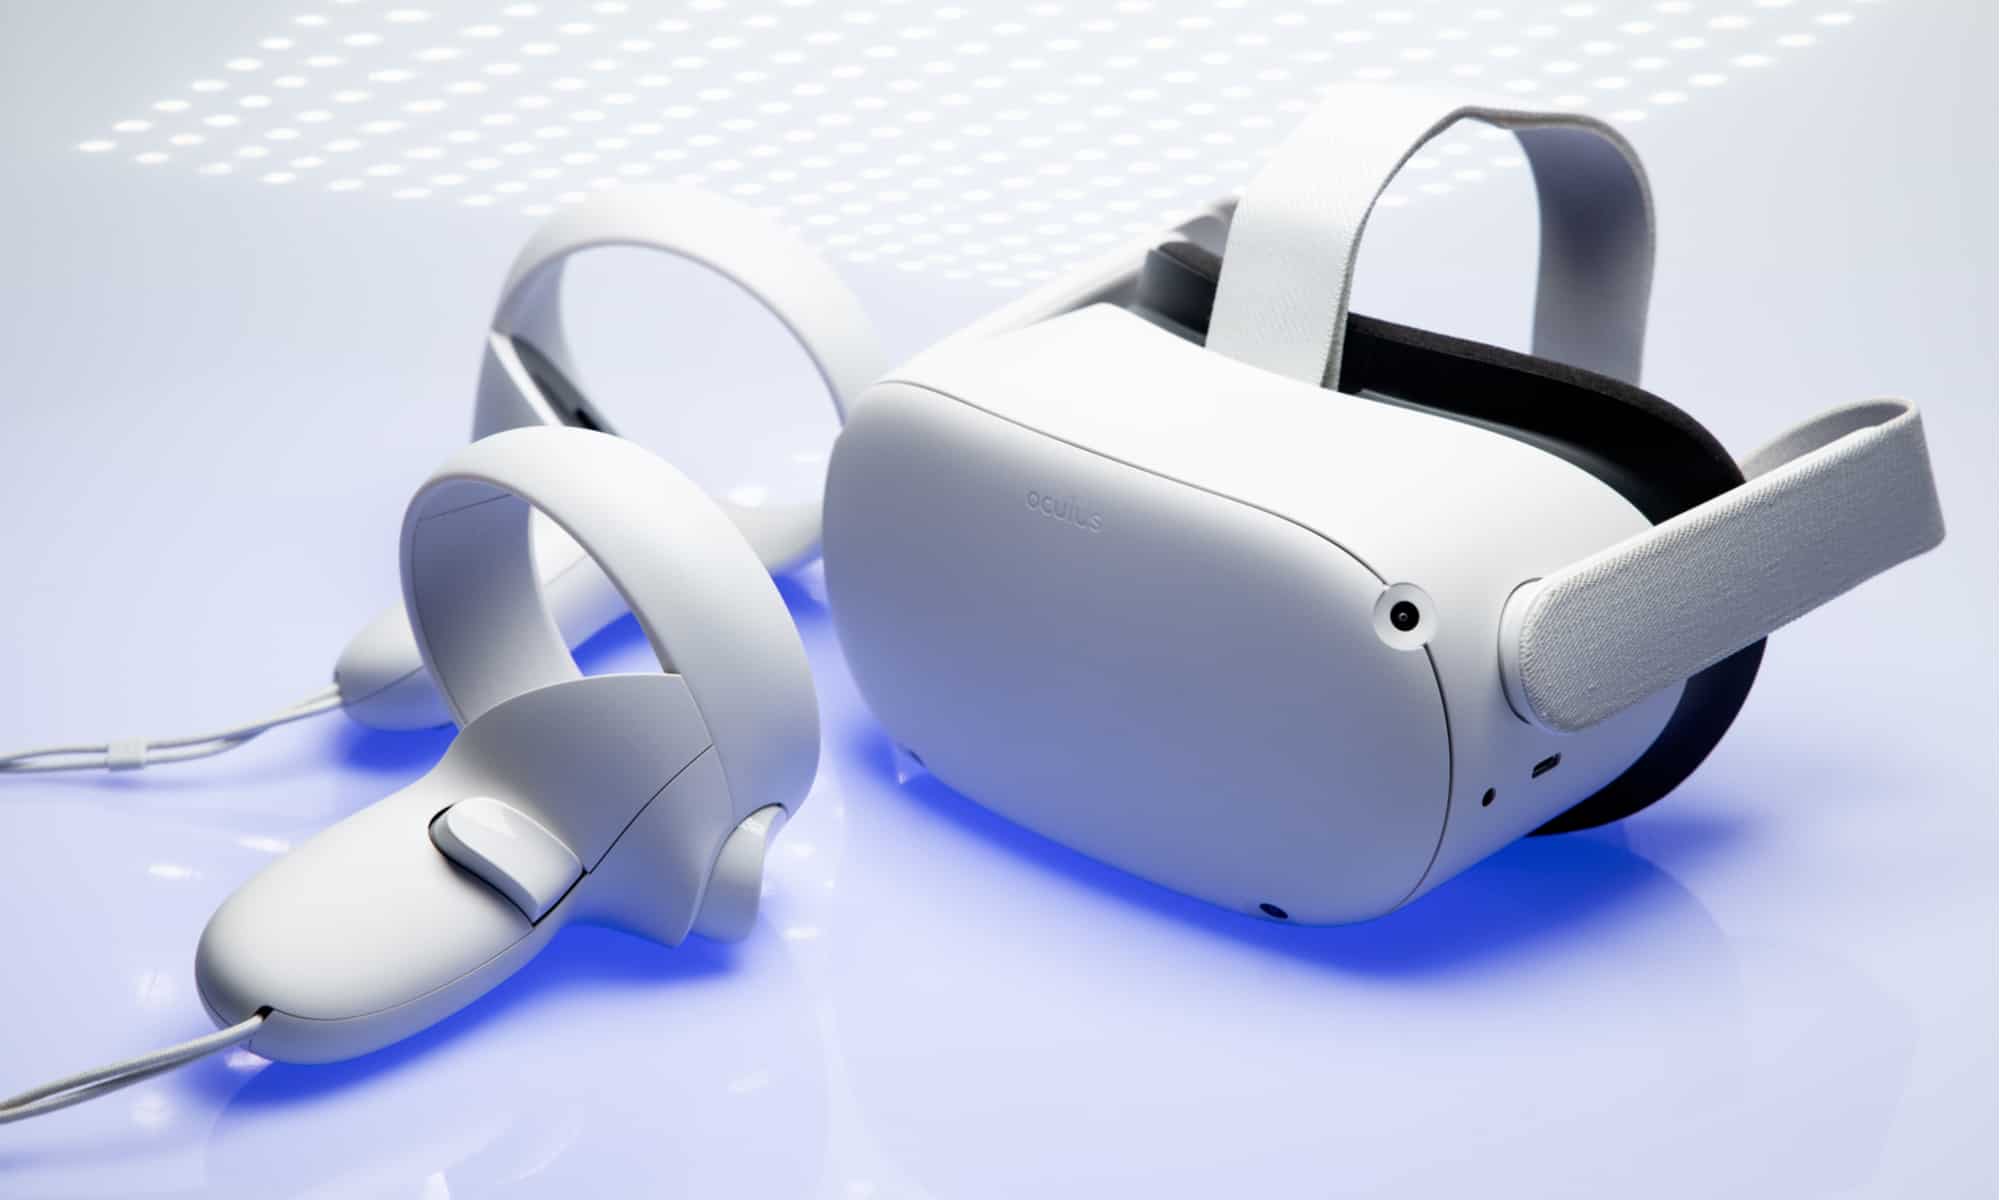
Once you have powered off your VR headset, the next step is to disconnect all cables connected to the device. This includes any cables that connect the headset to your computer or gaming console, as well as any power cables or charging cables that may be attached.
Start by carefully inspecting the cables and unplugging them one by one. Be sure to handle the cables gently and avoid any excessive force or pulling that could damage the connectors or ports.
As you disconnect the cables, take note of their locations and how they are connected. This will make it easier to reconnect them later on. It’s also a good idea to check the cables for any signs of wear or damage. If you notice any frayed wires, bent pins, or other issues, it may be necessary to replace the cable before proceeding with the reset process.
Once all cables are disconnected, set them aside in a safe and organized manner. This will help prevent tangling or misplacement during the reset process.
By disconnecting all cables from the VR headset, you ensure a complete disconnection from the power source and any external devices. This step is crucial to ensure a successful reset and prevent any potential issues that may arise from a partial connection.
Now that all cables have been disconnected, let’s move on to the next step of the VR headset reset process.
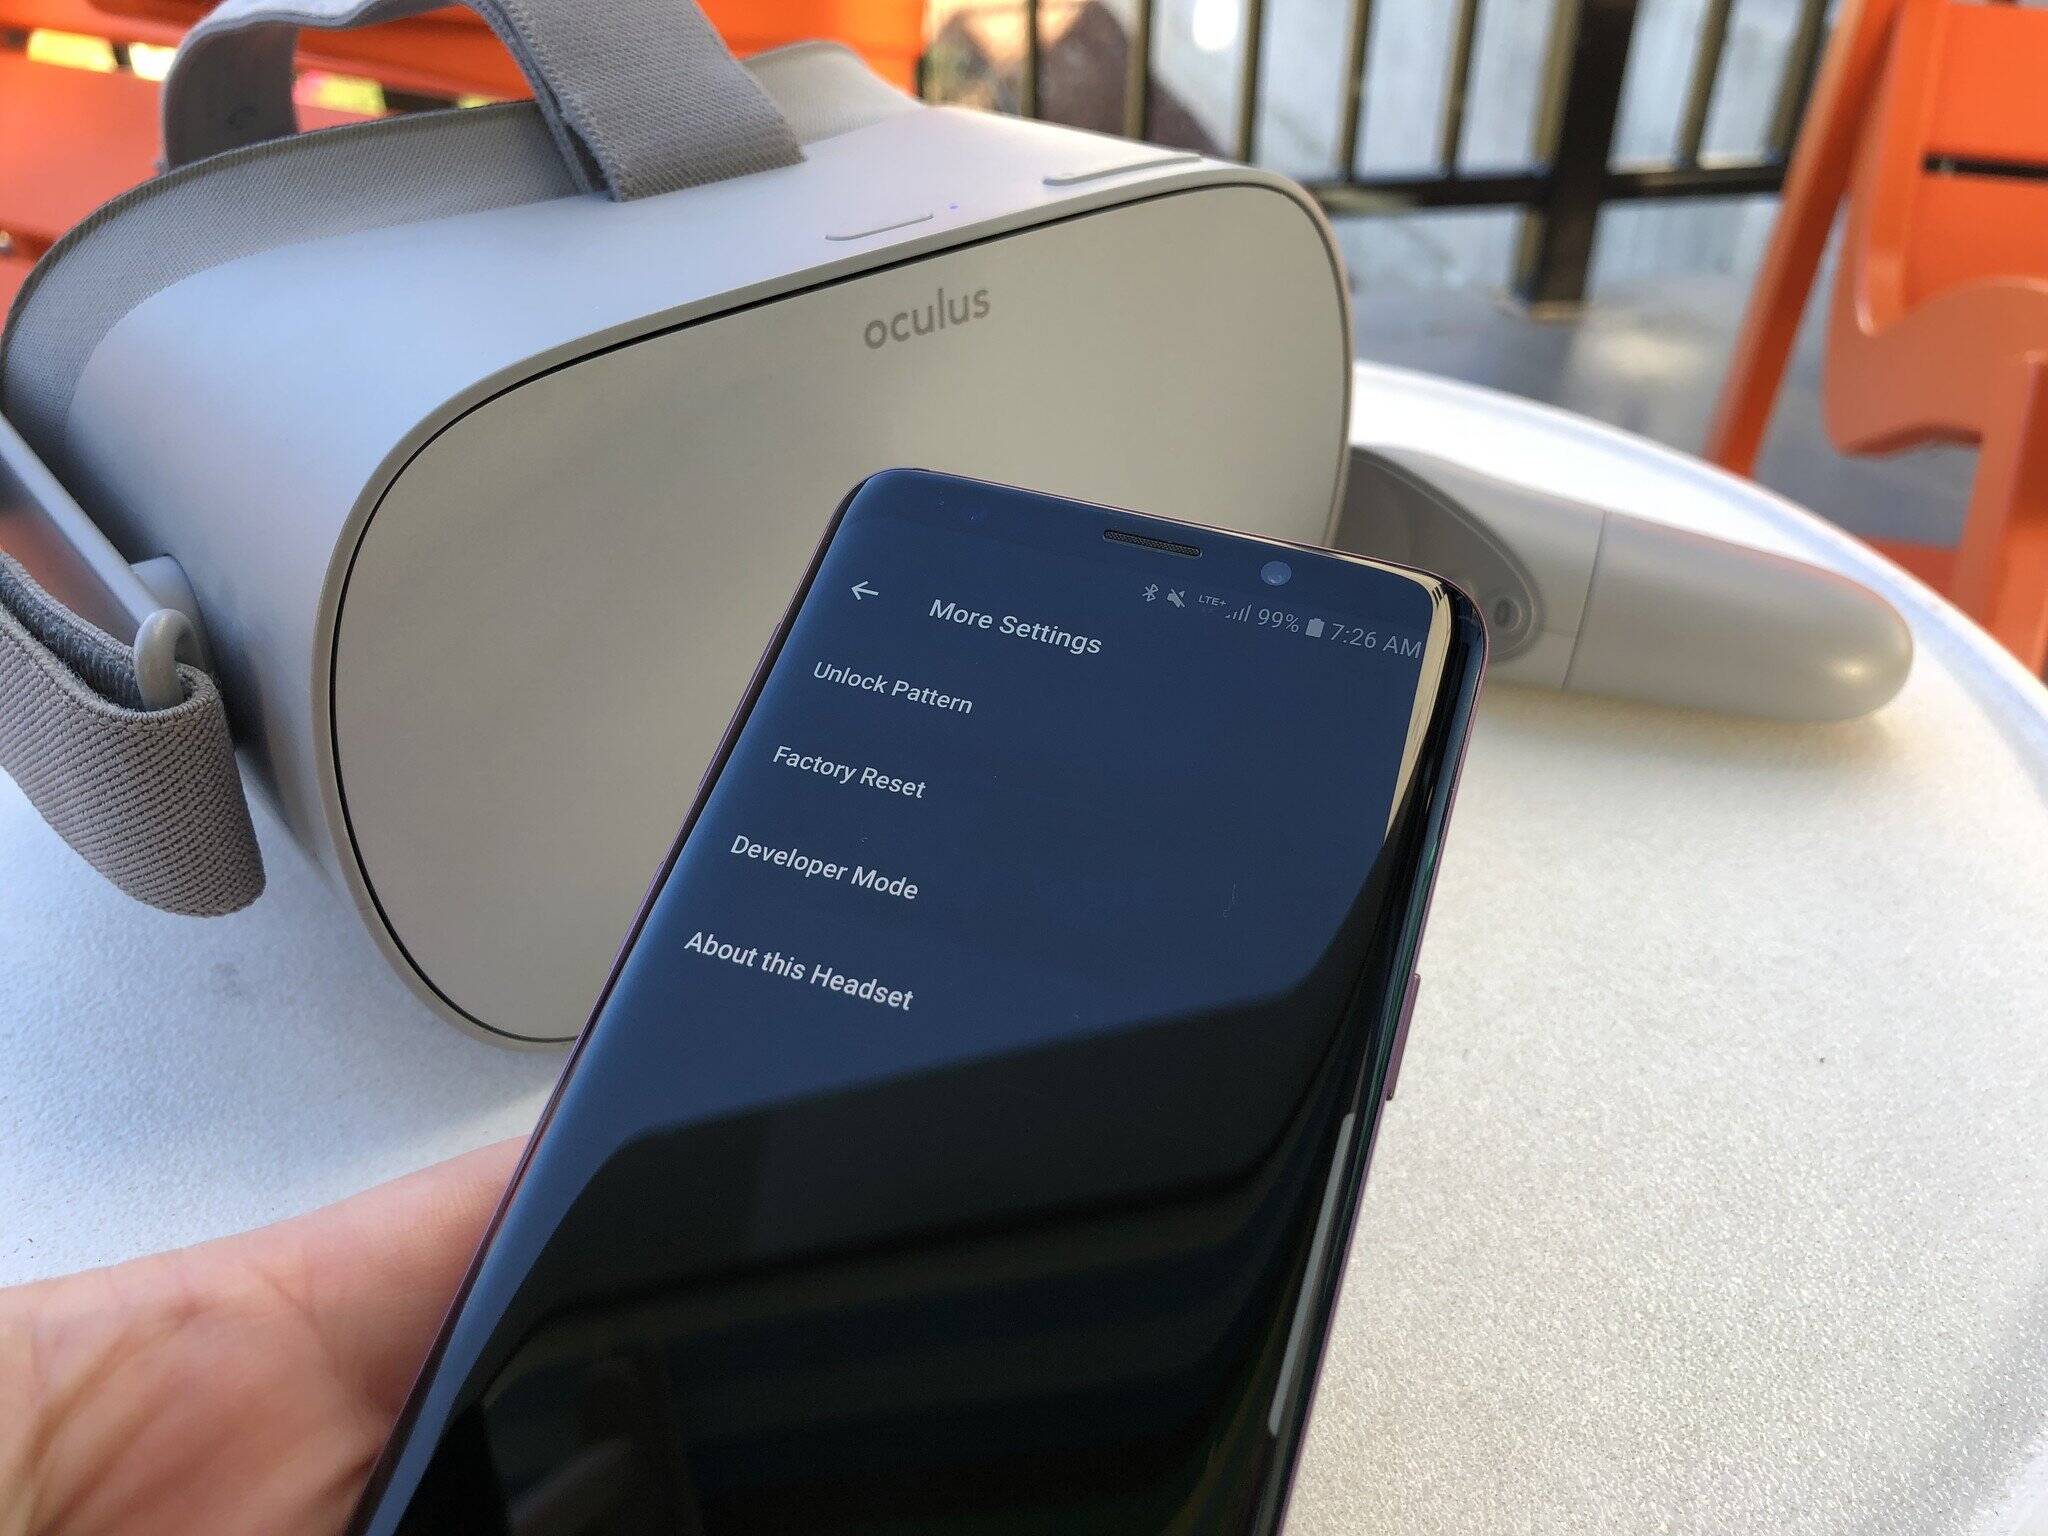
Locate the Reset Button
In order to reset your VR headset, you will need to locate the reset button. The location of the reset button can vary depending on the make and model of your VR headset, so it’s important to consult the manufacturer’s instructions or support documentation for precise information.
The reset button is typically a small, recessed button that may require a pointed object, such as a paperclip or pin, to press. It is designed this way to prevent accidental resets and to ensure that the process is intentional.
The reset button is commonly located on the underside of the headset or on one of the sides. Take a close look at the headset and carefully examine its exterior to locate the reset button.
If you’re having trouble finding the reset button, refer to the manufacturer’s documentation or do a quick online search for your specific VR headset model. Many manufacturers provide diagrams or images indicating the location of the reset button.
Once you have located the reset button, make sure to take note of its exact position. This will help you navigate to it during the reset process without any confusion or delay.
Now that you have found the reset button, let’s move on to the next step and learn how to reset your VR headset.
Press and Hold the Reset Button
Now that you have located the reset button on your VR headset, it’s time to proceed with the reset process. To initiate the reset, you will need to press and hold the reset button.
Using a small, pointed object such as a paperclip or pin, gently press and hold the reset button. The reset button may require a firm press, so make sure to apply enough pressure to engage it properly.
As you hold down the reset button, you may feel a slight resistance or hear a click. This indicates that the reset process has been initiated. It’s important to maintain steady pressure on the reset button to ensure the reset is completed successfully.
During this time, it’s normal for the VR headset’s indicator lights to flash or change patterns. This is an indication that the device is resetting and preparing for the next steps.
Depending on your VR headset model, you may need to continue holding the reset button for a specific duration, such as 10 seconds or until a certain indicator light pattern appears. Always refer to the manufacturer’s instructions or support documentation for precise information regarding the reset process for your specific headset model.
By pressing and holding the reset button, you are initiating the reset process and preparing the VR headset for a fresh start. This step is crucial to resolving any software or connectivity issues you may have encountered.
Now that you are holding the reset button, let’s proceed to the next step and complete the reset process.
Resetting the Headset
With the reset button still held down, the next step is to execute the actual reset of your VR headset. This step will clear any stored data, settings, or temporary files, essentially restoring the headset to its default factory settings.
While continuing to press and hold the reset button, it’s recommended to keep your other hand ready to perform the necessary actions for the specific VR headset model you’re using. These actions may include releasing the button at a certain point or following additional instructions provided by the manufacturer.
As the reset process commences, you may observe the VR headset display going blank or into a temporary sleep mode. This is expected and part of the reset procedure.
The duration of the reset process can vary depending on the headset model and the amount of data that needs to be cleared. It may take a few seconds or up to a minute. Patience is key during this stage, as interrupting the process could lead to incomplete reset and potential issues.
Once the reset is complete, the VR headset may automatically power on or remain in a dormant state. In either case, it’s crucial to follow the subsequent steps to fully restore the device and begin using it again.
Keep in mind that resetting the headset will erase all data and settings. If you have any important data or saved games on the device, back them up beforehand to avoid data loss.
Now that you have successfully reset the VR headset, let’s move on to the next step and reconnect the necessary cables.
Release the Reset Button
After the reset process has been completed, it’s time to release the reset button on your VR headset. This step is essential to ensure that the device can proceed with the next stages of the reset and setup process.
To release the reset button, simply let go of the button that you have been holding throughout the previous steps. Ensure that you release it gently and avoid any sudden movements that could disrupt the reset process.
Once you have released the reset button, the VR headset may show signs of rebooting or powering on. You may see indicator lights turning on, the display coming to life, or other visual cues indicating that the reset process is progressing.
It’s important to note that, depending on the VR headset model, it may take a few moments for the device to fully boot up and become operational. During this time, it’s best to exercise patience and avoid interrupting the process.
By releasing the reset button, you are allowing the device to transition to the next stages of the reset process, where it will reset any settings and configurations to their default factory state.
Now that you have released the reset button, let’s proceed to the next step and reconnect the necessary cables to your VR headset.
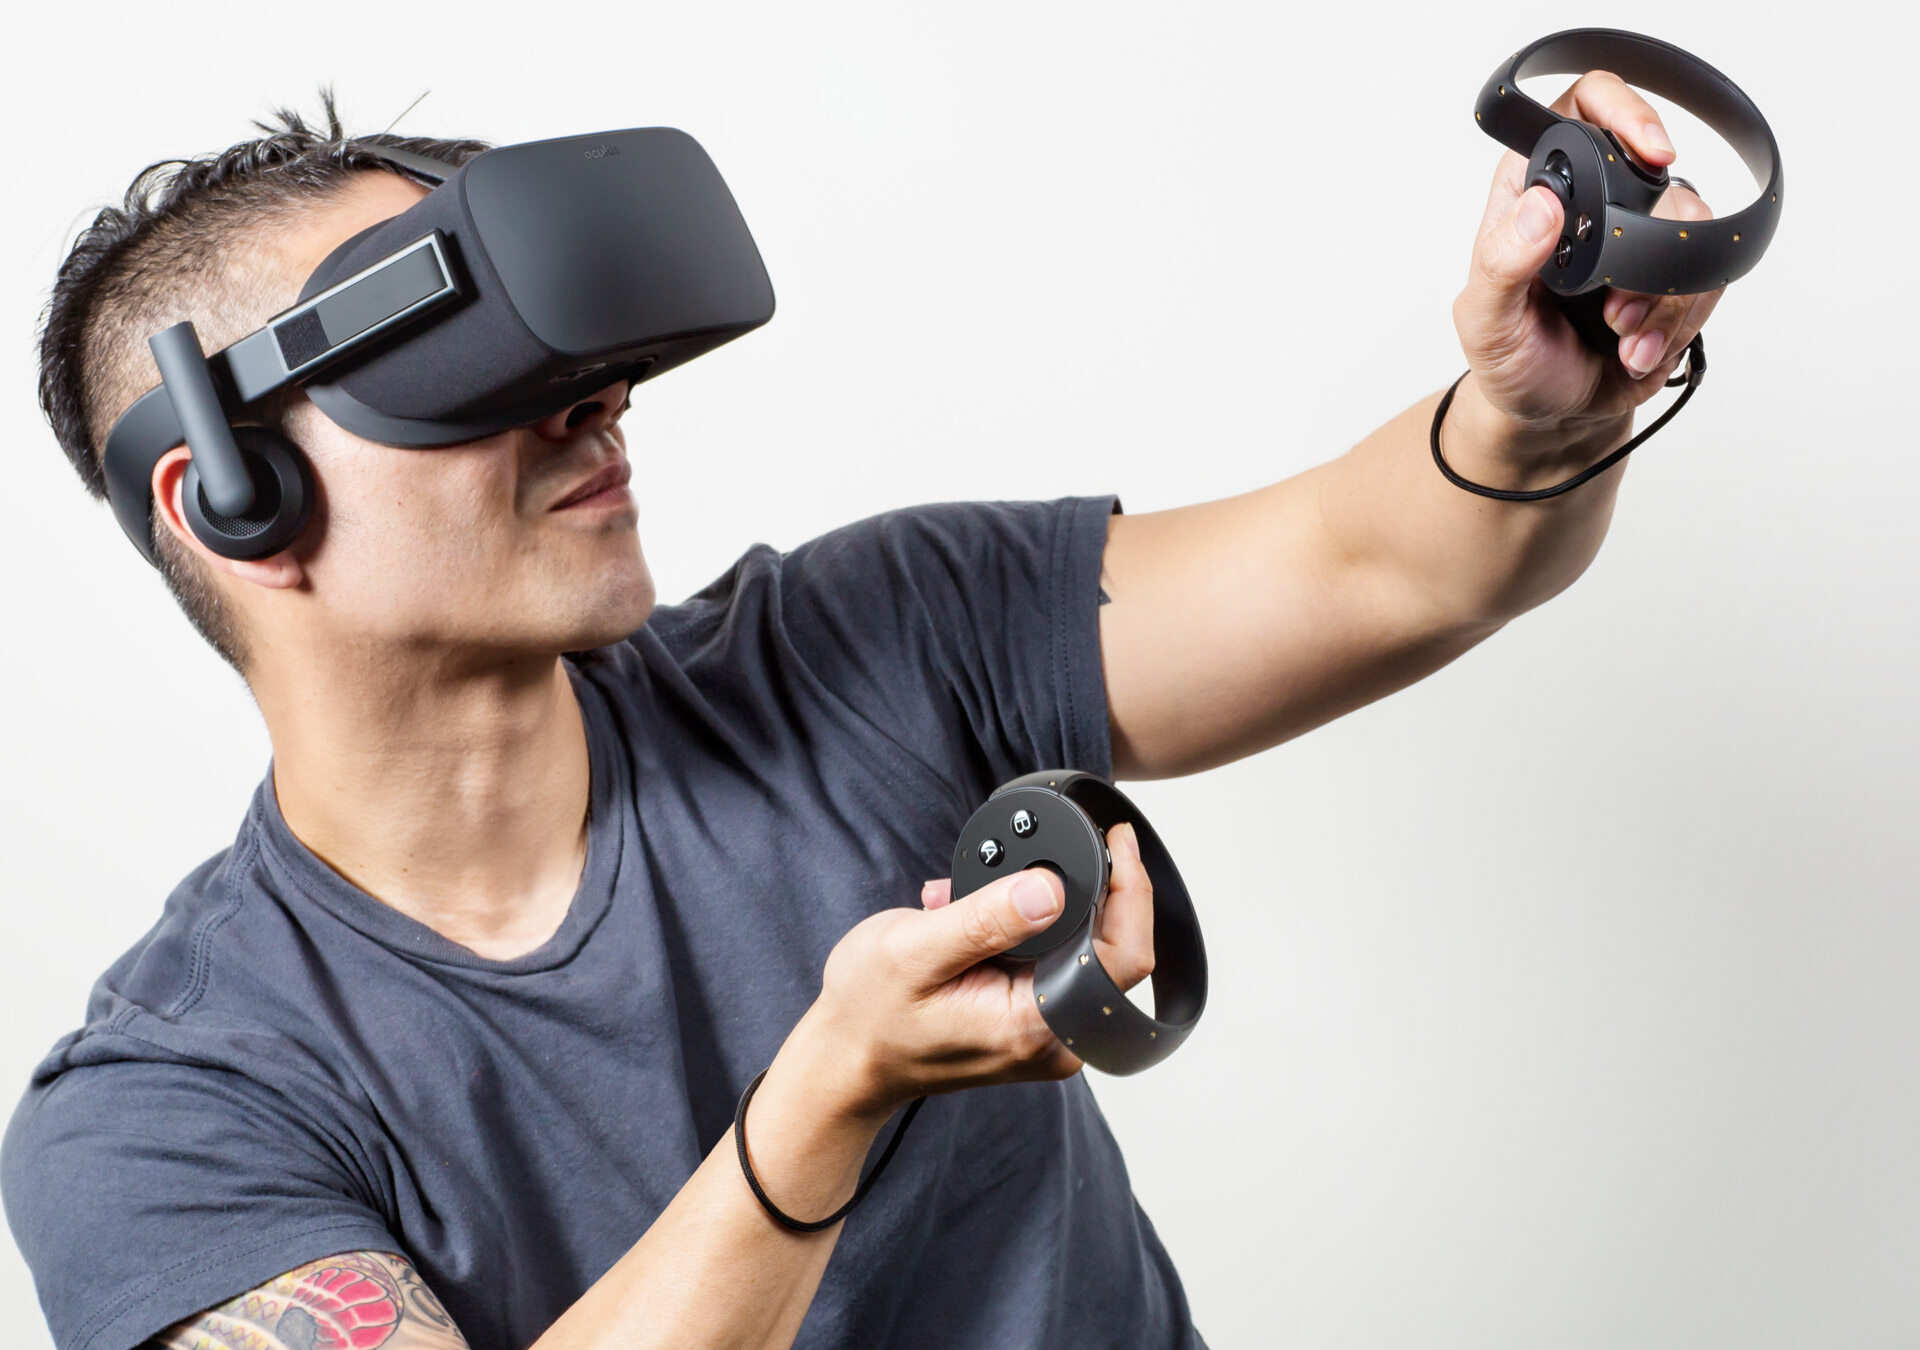
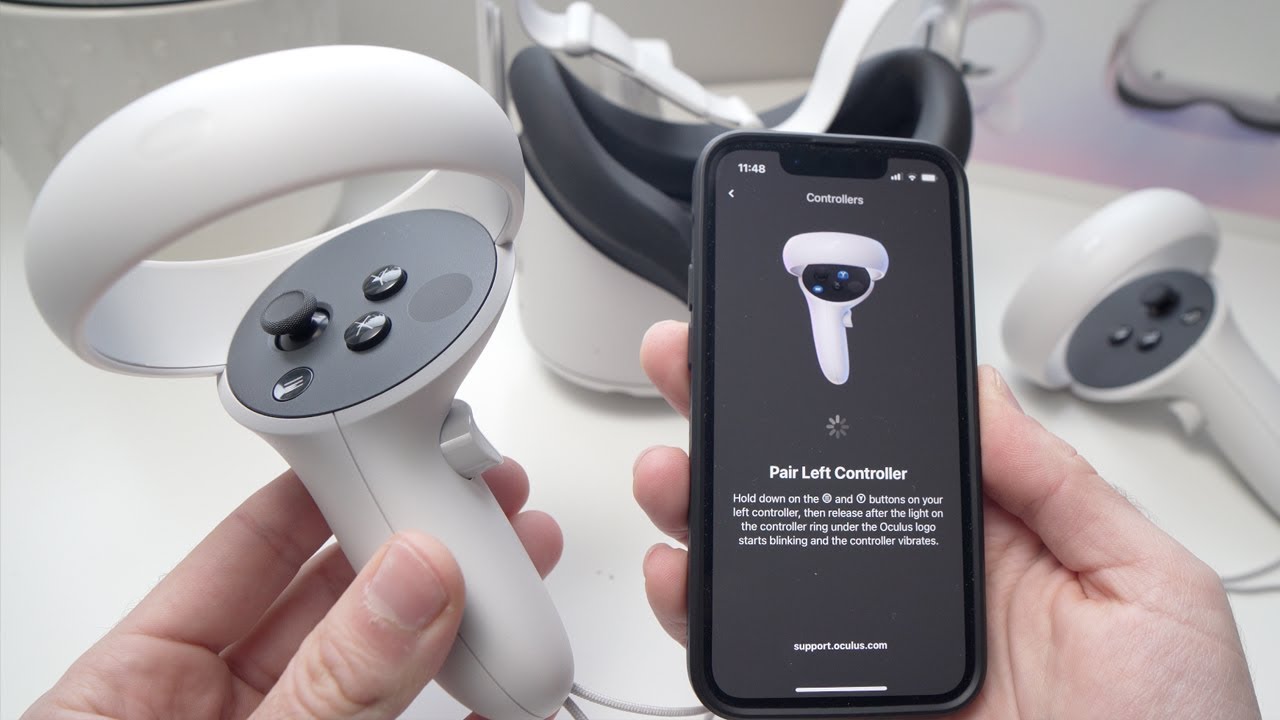
Reconnect the Cables
Now that you have completed the reset process and released the reset button, it’s time to reconnect the cables to your VR headset. Reconnecting the cables will allow the device to establish a connection with your computer or gaming console, as well as regain power if needed.
Start by carefully picking up the cables that you disconnected earlier. Take note of their respective orientations and connectors to ensure a proper reconnection.
Gently insert each cable into its corresponding port on the VR headset. Make sure to align the connectors correctly and avoid forcing them if they don’t fit smoothly. A snug and secure connection is important to ensure optimal performance.
If any of the cables have a locking mechanism, such as a latch or twist-lock, make sure to engage it properly to secure the connection.
As you reconnect the cables, take your time to double-check each one to ensure that all cables are properly connected. A loose or improperly connected cable can result in connectivity issues or other problems.
Once you have successfully reconnected all the necessary cables, you can neatly organize them to avoid tangling or strain on the connections. Proper cable management not only helps with the appearance of your setup but also ensures the longevity of the cables.
Now that you have reconnected all the cables to your VR headset, let’s move on to the next step and power on the device.
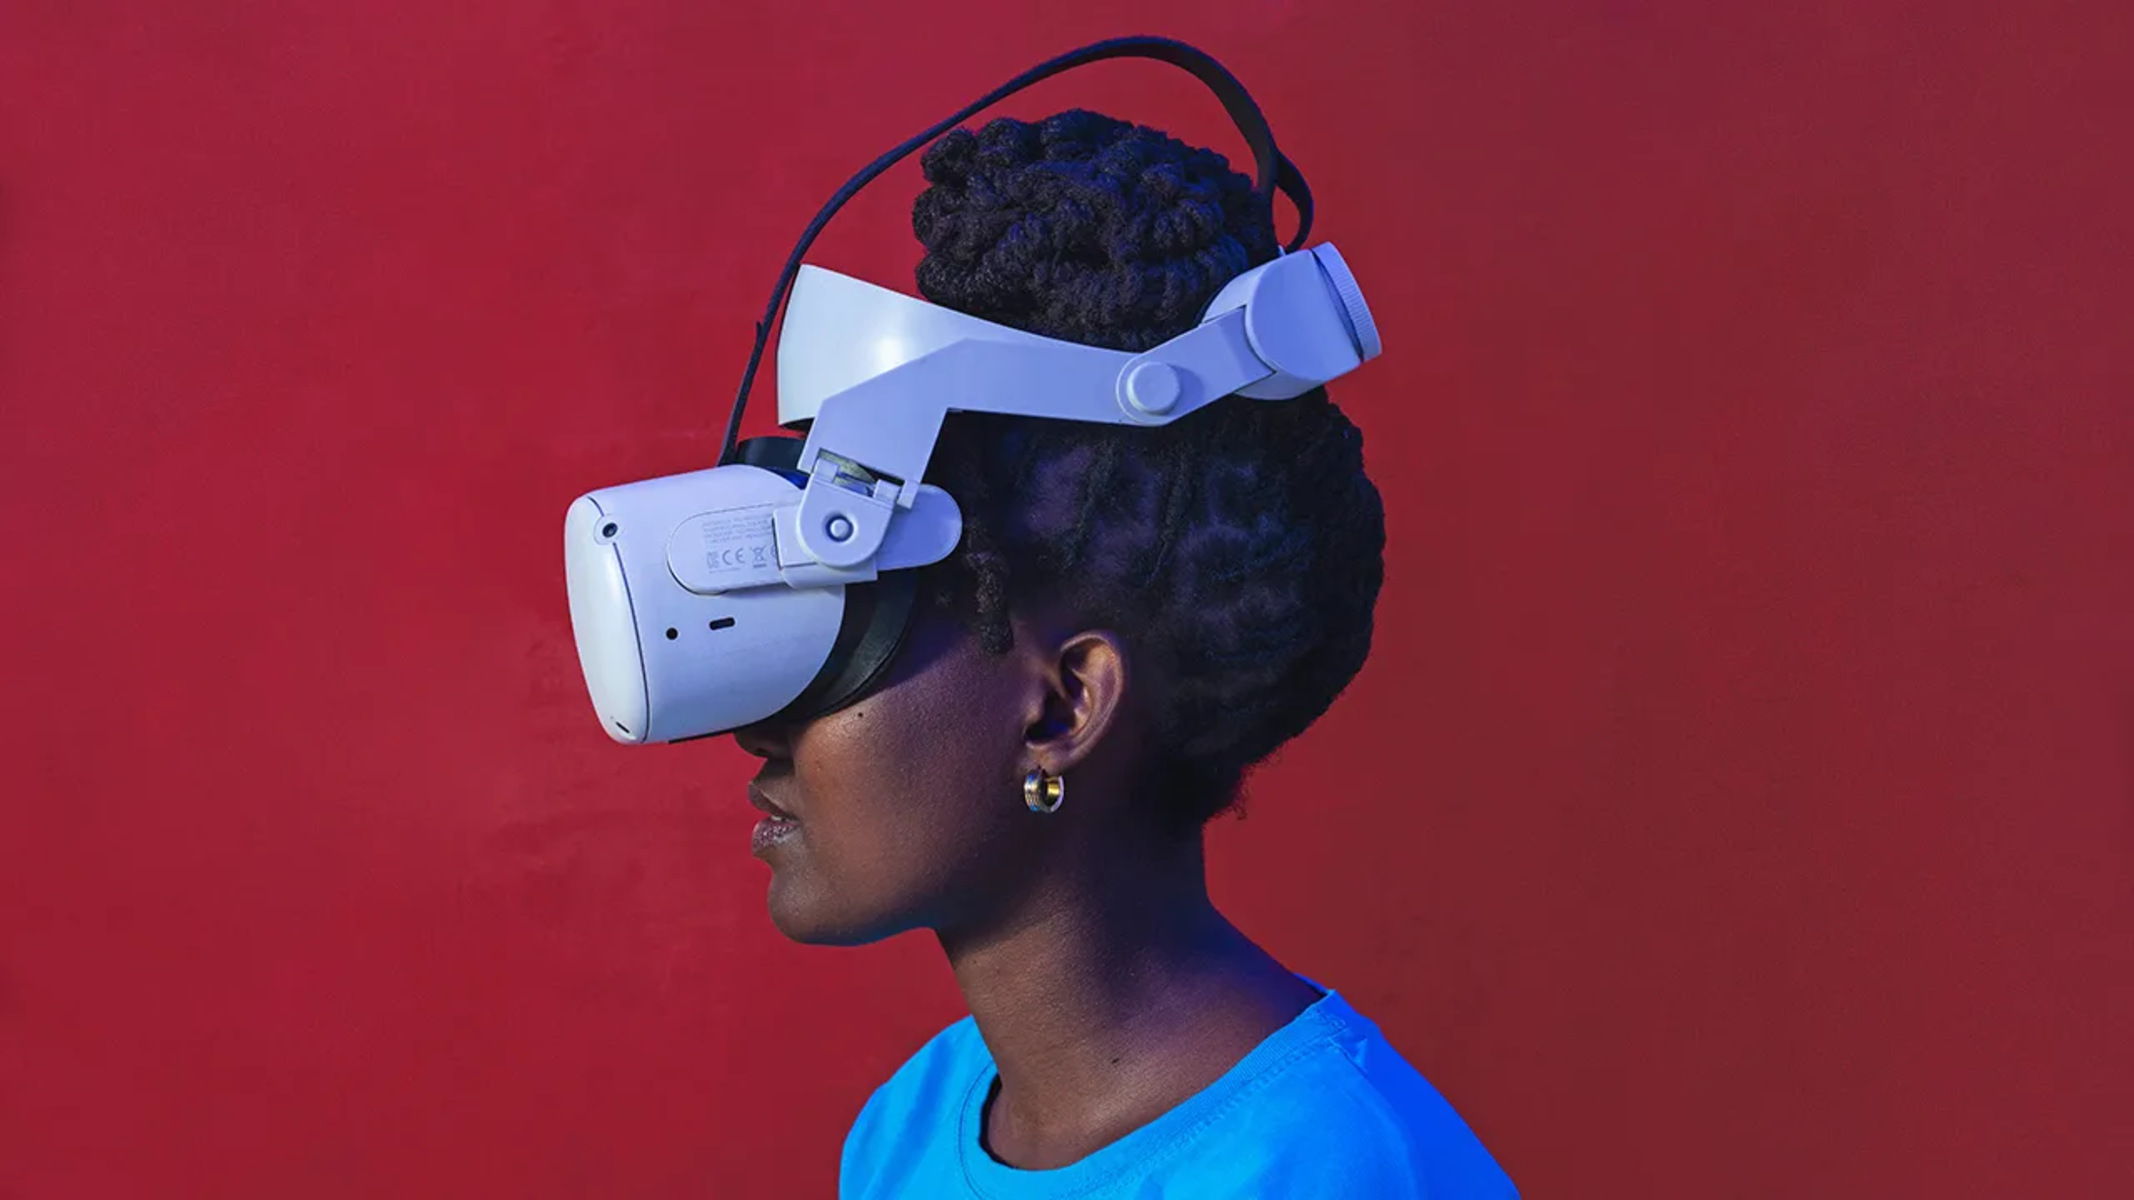
Power on the VR Headset
With all the cables successfully reconnected, it’s time to power on your VR headset. This step will bring the device back to life and allow you to resume your virtual reality experience.
Locate the power button or switch on the VR headset. It is typically located on the device itself or on the accompanying controller. Press the power button or flip the switch to power on the headset.
Depending on the model of your VR headset, you may see indicator lights turning on, the display coming to life, or even hear a startup sound. These are all positive signs that the device is powering on and preparing for use.
It’s important to be patient during the startup process, as some headsets may take a few moments to fully initialize. Avoid pressing the power button repeatedly or performing any additional actions until the device completes its startup sequence.
Once the VR headset is powered on, you may be greeted with a startup screen or an initial setup process. Follow the on-screen instructions to complete the setup, including configuring any necessary settings or calibrations.
If you had previously saved any personalized settings or configurations, you may need to reapply them during the setup process. This will help restore your desired preferences and ensure a familiar experience.
Now that your VR headset is powered on and ready to go, let’s move on to the next step and proceed with the setup process.
Follow the Setup Process
After powering on your VR headset, it’s important to follow the setup process to ensure optimal functionality and usability. The setup process may vary depending on the make and model of your VR headset, so it’s crucial to refer to the manufacturer’s instructions or support documentation for accurate guidance.
Typically, the setup process involves a series of on-screen prompts and instructions that guide you through configuring various settings, such as display preferences, audio settings, hand tracking, and room-scale setup.
You may be asked to select your preferred language, adjust the display and audio settings to your liking, and calibrate the tracking sensors for accurate head and hand movements.
Pay close attention to any safety warnings or guidelines provided during the setup process. These guidelines are designed to ensure a safe and enjoyable VR experience, such as taking regular breaks, maintaining a clear play area, and following age restrictions.
As you proceed through the setup process, make sure to carefully read and follow the instructions provided. Take note of any additional software or firmware updates that may be recommended, as these updates can improve performance and fix known issues.
Once the setup process is complete, you are now ready to dive back into the mesmerizing world of virtual reality. Whether you’re exploring immersive games, enjoying virtual tours, or engaging in virtual meetings, your reset VR headset is primed for a thrilling experience.
Remember, if you encounter any issues or have questions about the setup or functionality of your VR headset, consult the manufacturer’s support resources or reach out to their customer service for assistance. They will be familiar with your specific headset model and can provide the necessary guidance to resolve any concerns.
Now that you have completed the setup process, get ready to immerse yourself in the wonders of virtual reality once again!
Conclusion
Resetting your VR headset can be a valuable troubleshooting technique to resolve various issues and bring your device back to its optimal performance. By following the step-by-step guide outlined in this article, you can confidently reset your VR headset and enjoy a seamless and immersive virtual reality experience.
Remember to consult the manufacturer’s instructions or support documentation specific to your VR headset model to ensure you follow the correct reset process. It’s also crucial to back up any important data or settings before initiating the reset.
From powering off the headset and disconnecting all cables to locating and pressing the reset button, each step plays a vital role in successfully resetting your VR headset. Reconnecting the cables and powering on the device allow you to complete the setup process and tailor the settings to your preferences.
As you proceed with the reset and setup process, please keep in mind any safety guidelines provided by the manufacturer. These guidelines ensure an enjoyable and safe virtual reality experience for users of all ages.
If you encounter any challenges or have further questions, don’t hesitate to reach out to the manufacturer’s customer support or consult their online resources for assistance. They are equipped with the knowledge and expertise to address any concerns you may have.
With your VR headset now reset and ready to go, it’s time to step into the captivating world of virtual reality once again. Explore immersive games, embark on virtual adventures, or engage in productive virtual meetings. The possibilities are endless, and with a fresh start, your VR headset will deliver an unforgettable experience.