Introduction
Virtual Reality (VR) has transformed the way we experience digital content, immersing us in virtual worlds and enhancing our entertainment and educational experiences. VR headsets are essential for this immersive experience, typically incorporating lenses that help create a realistic 3D effect. However, what if you want to create a VR headset without lenses? In this article, we will explore the process of making a DIY VR headset without the need for specialized lenses, using materials that are easily accessible.
Making a VR headset without lenses can be a fun and cost-effective alternative, allowing you to experience VR content while using readily available materials. Whether you’re a tech enthusiast, a hobbyist, or simply curious to explore the world of VR, building a lensless VR headset can be a rewarding project.
In this article, we will guide you through the step-by-step process of designing and building your own VR headset without the need for lenses. From gathering the necessary materials to assembling the headset, we will provide detailed instructions, tips, and tricks to ensure a successful DIY project. By the end of this article, you’ll have a lensless VR headset that you can use to enjoy virtual reality experiences.
It’s important to note that a lensless VR headset may not provide the same level of image quality and immersion as a traditional VR headset with lenses. However, this DIY alternative can still offer a fun and engaging VR experience, perfect for casual use or as an introductory project for beginners. So, without further ado, let’s dive into the exciting world of DIY VR headsets without lenses and get started on building your own!
What is a VR Headset?
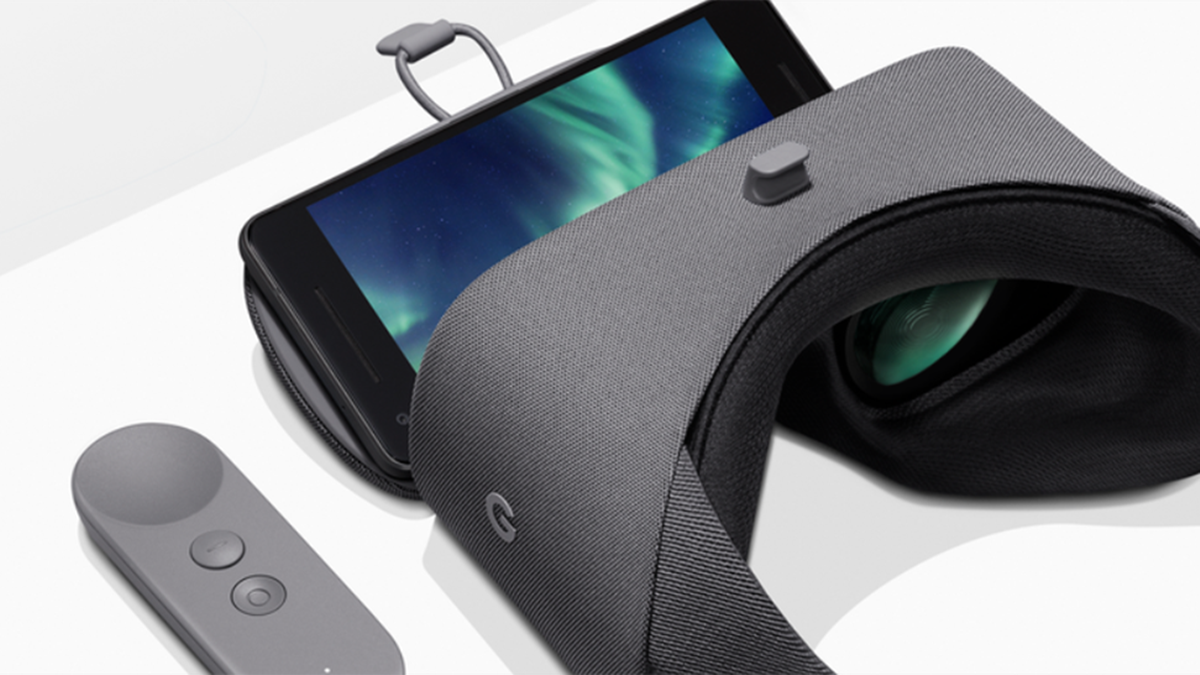
A VR headset, or virtual reality headset, is a device that allows users to immerse themselves in virtual reality experiences. It typically consists of a headset worn over the eyes, which displays virtual reality content and tracks head movements to provide a realistic 3D experience. VR headsets provide a wide field of view, allowing users to feel like they are truly present in the virtual environment.
The key component of a VR headset is the display. High-resolution screens are utilized to provide crisp and clear imagery, while specialized lenses help create a sense of depth and 3D perspective. These lenses are responsible for magnifying the display, enabling users to see virtual objects in a realistic and immersive way.
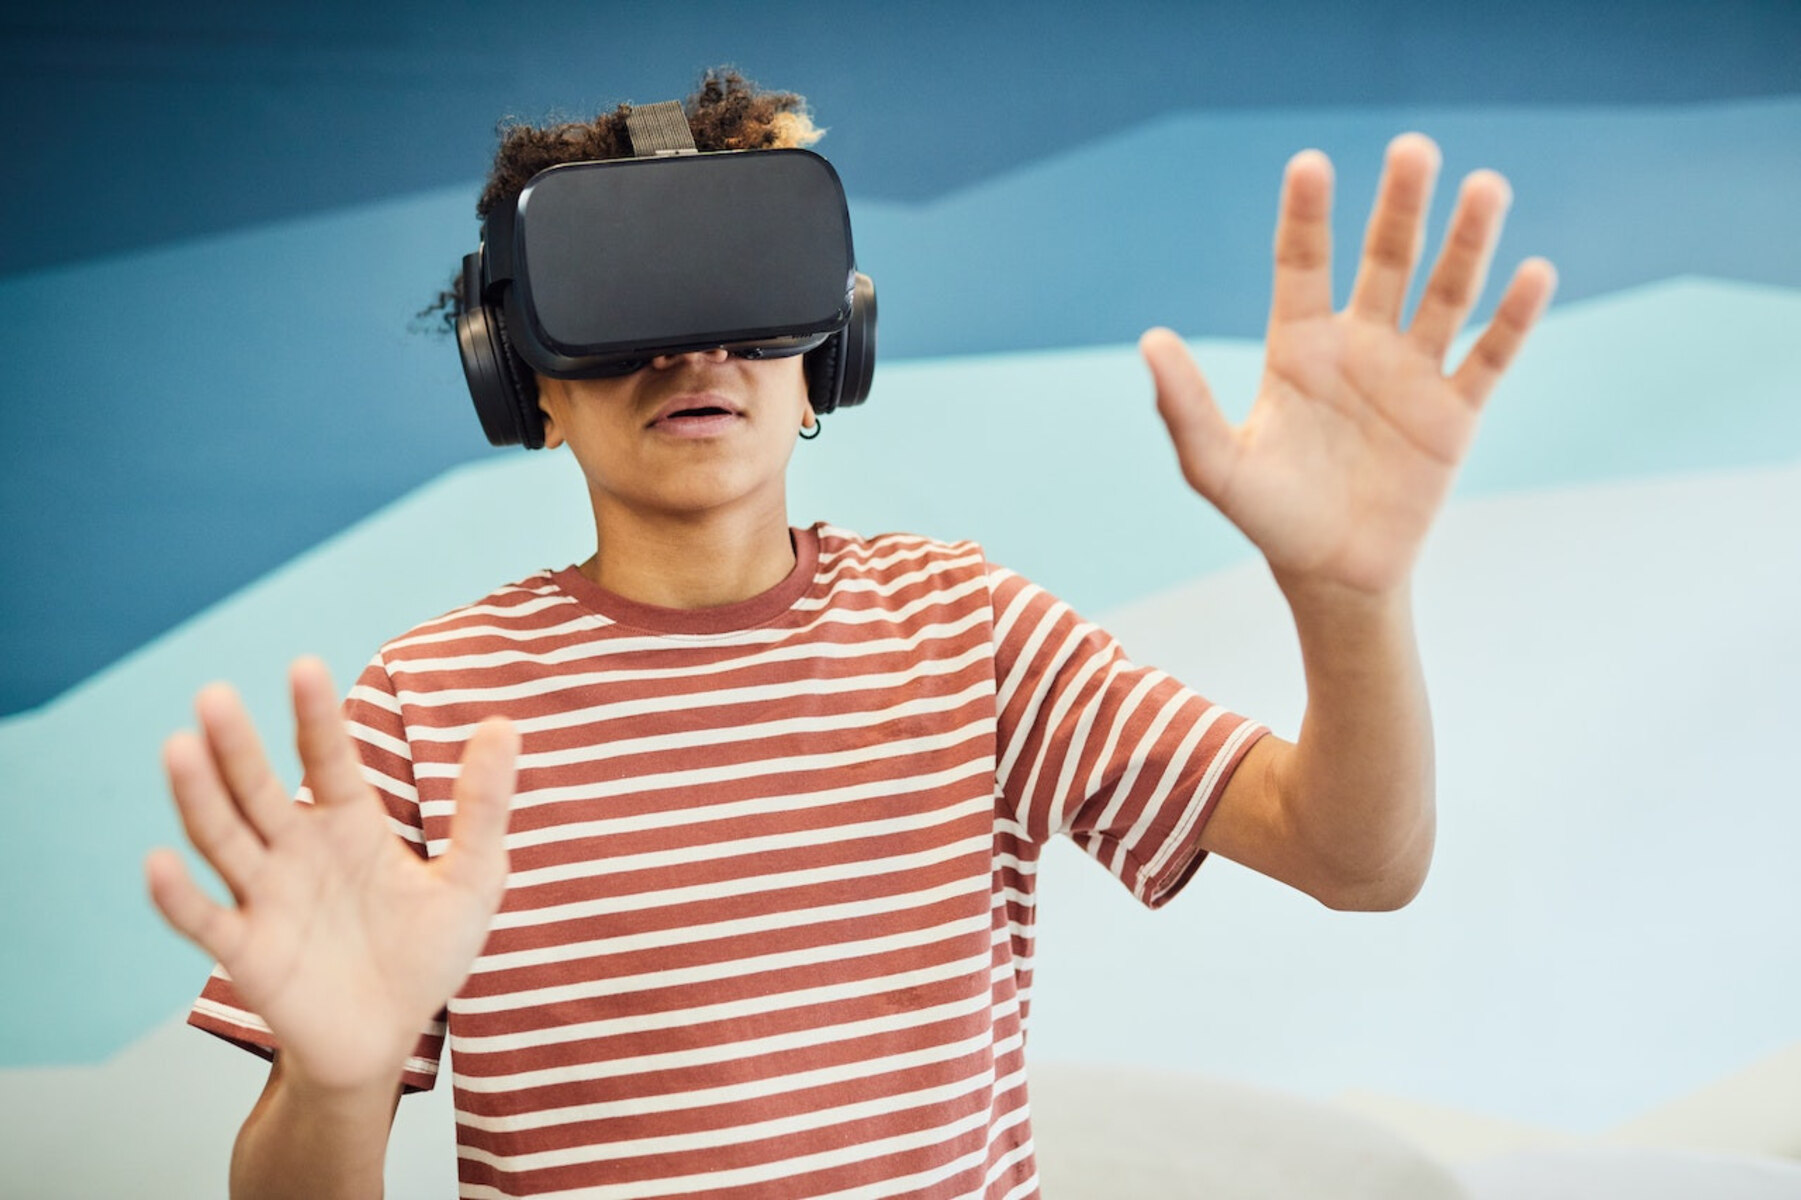
VR headsets are commonly used for gaming, giving players the opportunity to step into virtual worlds and engage in interactive gameplay. Beyond gaming, VR headsets have applications in various industries, including education, architecture, healthcare, and even virtual tourism. They provide a unique and impactful way to visualize and experience digital content, creating a sense of presence and immersion that traditional screens cannot replicate.
There are different types of VR headsets available on the market, ranging from high-end models that require powerful computers to standalone headsets that are fully self-contained. Some VR headsets use external tracking systems, such as sensors or cameras, to precisely track the user’s movements. Others utilize inside-out tracking, which relies on built-in sensors to track movement without the need for external devices.
VR headsets often come with built-in audio systems or have hooks to attach headphones, further enhancing the immersive experience. Many also offer additional features like adjustable straps for a comfortable fit, built-in controllers or hand tracking capabilities for interactive input, and connectivity options for additional accessories.
Overall, VR headsets have revolutionized the way we consume digital content, offering an unprecedented level of realism and interactivity. Whether you are a gamer, an enthusiast, or a professional in various fields, a VR headset can transport you into a virtual world, providing unforgettable experiences that blur the line between reality and imagination.
Why Make a VR Headset Without Lenses?
While traditional VR headsets with lenses offer a high-quality immersive experience, there may be several reasons why you would want to make a VR headset without lenses. Here are a few advantages and motivations for opting for a lensless VR headset:
- Cost-Effectiveness: Building a VR headset without lenses can be a more budget-friendly option. Lenses, especially high-quality ones, can be expensive. By eliminating the need for lenses, you can significantly reduce the overall cost of your DIY VR headset project.
- Ease of Construction: A lensless VR headset is typically simpler and quicker to assemble compared to a traditional headset with lenses. It eliminates the necessity of aligning and mounting lenses, making the construction process more straightforward and accessible to beginners.
- Availability: Lenses used in VR headsets are specialized components that may not be readily available in your local stores. By creating a lensless VR headset, you can utilize materials that are easily accessible, such as cardboard or plastic, without the need to source specific lenses.
- Casual Use: If you are looking for a VR headset for casual use or occasional entertainment, a lensless option can still provide an enjoyable experience. You can use it for basic VR apps, 360-degree videos, or simple games, without the need for the enhanced optics provided by lenses.
- Education and Experimentation: Building a lensless VR headset can be an educational experience, allowing you to understand the basic principles of VR technology. It provides an opportunity to experiment with different design elements, materials, and components, fostering creativity and innovation.
- Customization: With a lensless VR headset, you have the freedom to customize the design and aesthetics to your liking. You can personalize the color, shape, and style, making it a unique and distinctive accessory.
While a lensless VR headset may not offer the same level of image quality and immersion as a traditional headset with lenses, it can still provide a fun and engaging virtual reality experience. It allows individuals on a budget or with limited resources to explore and enjoy the world of VR without breaking the bank.
Now that we’ve explored the reasons behind making a VR headset without lenses, let’s move on to the materials needed to get started on this exciting DIY project.
Materials Needed
Before you dive into building a VR headset without lenses, it’s essential to gather all the necessary materials. Here’s a list of items you will need for this DIY project:
- Cardboard: You will need a sturdy piece of cardboard that is large enough to serve as the main body of your VR headset. You can use materials like corrugated cardboard or chipboard.
- Smartphone: Your VR headset will rely on a smartphone as the display device. Make sure you have a compatible smartphone with a screen size that fits your desired headset dimensions.
- Velcro Strips or Rubber Bands: These will be used to secure your smartphone in place inside the VR headset.
- Scissors or Craft Knife: You will need a cutting tool to measure and cut the cardboard according to the template or design you choose.
- Markers or Pencils: These will help you mark the cardboard for precise cutting and assembly.
- Tape: Clear adhesive tape or duct tape will be used to hold the cardboard pieces together during assembly.
- Elastic Strap: This will be used to create a head strap for securing the VR headset to your head. You can use elastic bands or fabric straps.
- Optional: Decorative Materials: If you want to personalize your VR headset, you can gather decorative materials like paint, stickers, or fabric to give it a unique look.
These materials should be relatively easy to find either at home or in a local craft store. Remember that the size and dimensions of the cardboard will depend on the design you choose or create. It’s always a good idea to have some extra cardboard on hand in case of any mistakes or adjustments.
Now that you have all the necessary materials, it’s time to move on to the next step: designing your VR headset.
Step 1: Design your VR Headset
Designing your VR headset is an important first step in creating a lensless VR experience. This step allows you to determine the shape, size, and overall structure of your headset. Here’s how you can approach the design process:
- Research Existing Designs: Start by researching existing VR headset designs to get inspiration. Look at different models and consider their comfort, functionality, and aesthetics.
- Create a Template: Based on your research, create a template or a rough sketch of your desired VR headset shape and size. You can consider factors like head size, room for the smartphone, and accessibility.
- Consider Ergonomics: Think about the ergonomics of the headset to ensure a comfortable fit. Consider factors like weight distribution, padding, and adjustability of the head strap.
- Measurements: Take accurate measurements of your own head size and consider the dimensions of your smartphone when finalizing the design.
- Refine and Modify: Don’t be afraid to refine and modify your design as you go. Make adjustments based on feedback from testers or your own comfort testing.
Remember that the design process is flexible, and you can always iterate and improve upon your initial design. The goal is to create a VR headset that is comfortable, functional, and suits your preferences.
Once you have a clear design in mind, you can proceed to gather the materials and start building your DIY VR headset. In the next step, we will guide you through the process of gathering the necessary materials for your lensless VR headset.
Step 2: Gather Your Materials
Now that you have finalized the design of your VR headset, it’s time to gather all the materials you will need for the build. Make sure you have the following items ready before starting the construction process:
- Cardboard: Choose a sturdy piece of cardboard that is large enough to create the main body of your VR headset. You can use corrugated cardboard or chipboard for durability.
- Smartphone: Select a compatible smartphone that fits the dimensions specified in your design. Make sure the screen size is suitable for an immersive VR experience.
- Velcro Strips or Rubber Bands: These will be used to secure your smartphone inside the VR headset, ensuring it stays in place during use.
- Scissors or Craft Knife: You will need a cutting tool to accurately measure and cut the cardboard according to your design specifications.
- Markers or Pencils: Use these to mark the cardboard for precise cutting and assembly, ensuring accurate alignment of the pieces.
- Tape: Clear adhesive tape or duct tape will be used to hold the cardboard pieces together as you assemble the VR headset.
- Elastic Strap: This will be used to create a head strap for securing the VR headset comfortably on your head. Choose a wide elastic band or fabric strap for better stability.
- Optional: Decorative Materials: If desired, you can gather decorative materials like paint, stickers, or fabric to personalize the appearance of your VR headset.
Make sure to double-check your list and ensure you have all the necessary materials on hand. It’s a good idea to have some extra cardboard in case of any mistakes or adjustments during the construction process.
Once you have gathered your materials, you are ready to move on to the next step in building your lensless VR headset: measuring and cutting the cardboard pieces.
Step 3: Measure and Cut the Cardboard
With all your materials gathered, it’s time to start measuring and cutting the cardboard pieces for your lensless VR headset. This step is crucial to ensure proper fit and functionality. Here’s how you can proceed:
- Measurements: Using your design template and measurements, mark the dimensions on the cardboard. Measure and outline the main body of the VR headset, taking into consideration the size of your smartphone.
- Cutting: Carefully cut along the marked lines using scissors or a craft knife. Take your time to make precise cuts, ensuring smooth edges and clean lines.
- Multiple Layers: Depending on the design, you may need to cut multiple layers of cardboard for added strength and stability. Make sure the layers align properly before moving on to the next step.
- Openings and Slots: Consider any openings or slots required for access to buttons, ports, or the smartphone screen. Measure and cut these as necessary, ensuring they align with the corresponding features of your smartphone.
- Design Details: If you have decorative materials, this is the time to incorporate them. Paint the cardboard or apply stickers to give your VR headset a personal touch.
As you cut the cardboard, be cautious of your fingers and work on a flat, stable surface. Take breaks if needed to avoid straining your hands or eyes during this process.
Once you have measured and cut all the necessary cardboard pieces, you are ready to move on to the next step: assembling the VR headset. In the next section, we will guide you through the process of assembling the cardboard pieces into a functional VR headset without lenses.
Step 4: Assemble the Cardboard Pieces
Now that you have measured and cut the cardboard pieces for your lensless VR headset, it’s time to move on to the exciting step of assembling them together. Follow these steps to ensure a sturdy and functional VR headset:
- Preparation: Organize the cut cardboard pieces and have your tape ready for assembly. Clear a flat surface where you can work comfortably.
- Main Body: Begin by assembling the main body of the VR headset. Use adhesive tape to join the cardboard pieces together based on your design template. Ensure the pieces align properly for a seamless fit.
- Reinforcement: Depending on your design, consider reinforcing critical areas of the VR headset, such as the sides or the area around the smartphone holder. This can be done by adding additional layers of cardboard or using extra tape for added stability.
- Secure the Smartphone Holder: Attach the smartphone holder inside the main body of the VR headset. Use Velcro strips or rubber bands to securely fasten the smartphone in place, ensuring that it is centered and positioned correctly for optimal viewing.
- Testing: Before proceeding, test the functionality of the VR headset by inserting your smartphone and adjusting the straps. Make sure the smartphone fits snugly, and the headset feels comfortable and secure when worn.
- Finishing Touches: Once the main body is assembled and tested, you can make any final adjustments or modifications. Add any additional decorative elements or personalization to enhance the appearance of your DIY VR headset.
Remember to take your time during the assembly process to ensure proper alignment and functionality. If you encounter any difficulties, refer back to your design template or consult online resources for guidance.
With the cardboard pieces now assembled into a functional VR headset, you’re ready to move on to the next step: creating the smartphone cradle. This will securely hold your smartphone in place, allowing you to enjoy immersive virtual reality experiences.
Step 5: Add the Smartphone Cradle
Adding a secure and functional smartphone cradle is an important step in building your lensless VR headset. This cradle will hold your smartphone in place, allowing you to enjoy immersive virtual reality experiences. Follow these steps to create and attach the smartphone cradle:
- Measurements: Take the measurements of your smartphone and mark the dimensions on the cardboard. Ensure the cradle will hold your smartphone securely but not too tightly, allowing for easy insertion and removal.
- Cutting: Cut out a piece of cardboard that matches the measurements of your smartphone. This will serve as the base of the cradle.
- Supports: Cut two additional smaller pieces of cardboard to serve as supports for the smartphone. These pieces should be long enough to hold the smartphone upright and at a comfortable viewing angle.
- Attaching the Supports: Use adhesive tape or glue to attach the supports to the base of the cradle. Position them evenly and securely, ensuring they keep the smartphone in place without blocking the screen.
- Placement: Position the smartphone cradle within the main body of the VR headset. Ensure it fits snugly and securely, aligning with the openings or slots you previously cut for the smartphone’s buttons and ports.
- Securing the Cradle: Use Velcro strips or rubber bands to secure the smartphone cradle within the VR headset. Make sure it is firmly held in place and won’t move or slide during use.
- Testing: Before moving on, test the smartphone cradle by inserting your smartphone and adjusting its position. Ensure that the smartphone fits securely and the screen is aligned with the VR headset’s lenses for optimal viewing.
Make any necessary adjustments to the cradle or the VR headset to ensure a secure and comfortable fit for your smartphone. It’s important that the smartphone is held firmly but not too tightly, allowing for easy insertion and removal.
With the smartphone cradle in place, you are ready to move on to the next step: creating the head strap. This will ensure that your lensless VR headset stays securely in place during use, providing a comfortable and immersive experience.
Step 6: Create the Head Strap
Creating a comfortable and secure head strap is essential to ensure that your lensless VR headset stays in place during use. Follow these steps to create the head strap for your DIY VR headset:
- Elastic Strap Selection: Choose a wide and adjustable elastic strap or a fabric strap to create the head strap. The strap should be long enough to wrap comfortably around your head with some flexibility for adjustment.
- Measurements: Measure the desired length of the head strap using a tape measure or by wrapping a string around your head to determine the appropriate size.
- Cutting: Cut the elastic strap or fabric strap to the measured length. Ensure that the ends are clean and straight for easier attachment.
- Attaching the Strap: Attach the ends of the strap to the sides of the VR headset using adhesive tape or by sewing them securely. Position the strap so that it sits comfortably across the back of your head, offering support and stability.
- Adjustability: If you chose an elastic strap, consider adding adjustable buckles or hooks to allow for easy adjustment and a personalized fit.
- Fitting: Test the VR headset with the head strap to ensure a comfortable fit. Adjust the strap if necessary to achieve the desired level of comfort and stability.
It’s important to ensure that the head strap is not too tight or too loose. A snug and comfortable fit will allow you to enjoy extended VR experiences without discomfort or the headset slipping out of place.
With the head strap securely in place, you’re one step closer to experiencing VR content with your lensless VR headset. Now, it’s time to move on to the final step: testing your VR headset and making any necessary adjustments for optimal performance and comfort.
Step 7: Test Your VR Headset
After assembling your lensless VR headset and creating the head strap, it’s time to test your creation to ensure optimal performance and comfort. Follow these steps to test your VR headset:
- Insert Your Smartphone: Open the smartphone cradle and carefully insert your smartphone, ensuring it is aligned properly with the VR headset’s lenses.
- Secure the Smartphone: Use the Velcro strips or rubber bands to securely fasten the smartphone in place within the headset. Make sure it is held tightly enough to prevent movement, but not so tight that it damages the smartphone.
- Put on the Headset: Adjust the head strap to fit comfortably around your head. Ensure that the VR headset is positioned correctly over your eyes, with the lenses aligned in front of your eyes.
- Test the VR Experience: Launch a VR app, game, or 360-degree video on your smartphone. Immerse yourself in the virtual reality experience and check for the following:
- Visual Quality: Assess the visual quality and clarity of the VR content. Make sure the image is sharp and there are no distortions or blurriness.
- Field of View: Take note of the field of view provided by the VR headset. Ensure that you have a wide enough view to feel fully immersed in the virtual environment.
- Comfort: Evaluate the comfort level of the headset during use. Ensure that it fits securely and does not cause any discomfort or strain on your eyes or head.
- Functionality: Test the functionality of any buttons or controls on the VR headset. Verify that you can easily navigate menus or interact with virtual objects.
During the testing phase, make note of any adjustments or improvements that may be necessary. This could include tightening the head strap, repositioning the smartphone in the cradle, or making modifications to enhance comfort or functionality.
With the testing complete, you can now enjoy your VR headset without lenses and dive into the immersive world of virtual reality. Remember to take breaks if necessary and use the headset responsibly to prevent any discomfort or adverse effects.
Congratulations! You have successfully designed, constructed, and tested your very own lensless VR headset. Enjoy your virtual reality experiences and continue to experiment and innovate with your DIY creation.
Conclusion
Building a VR headset without lenses can be a rewarding and cost-effective project that allows you to dive into the world of virtual reality. By utilizing readily available materials and following the steps outlined in this guide, you can create a lensless VR headset that provides an enjoyable and immersive VR experience.
Throughout the process, we explored the importance of design, gathering the necessary materials, measuring and cutting the cardboard, assembling the pieces, creating the smartphone cradle, attaching the head strap, and testing the VR headset. Each step plays a crucial role in ensuring optimal performance, comfort, and functionality of your DIY VR headset.
While a lensless VR headset may not provide the same level of image quality and immersion as a traditional headset with lenses, it still offers a fun and engaging method of experiencing virtual reality. It’s perfect for casual use, educational purposes, or as an introductory project for beginners.
Remember, feel free to experiment and customize your VR headset to suit your preferences. Explore different design variations, decorations, and enhancements to make it truly unique. Additionally, continue to seek inspiration and learn from existing VR headset designs to refine and improve your future projects.
Now that you have completed your lensless VR headset, it’s time to enjoy the immersive experiences it offers. Whether you’re exploring virtual worlds, playing games, or discovering educational content, your DIY VR headset is sure to provide hours of entertainment and excitement.
Thank you for joining us on this DIY VR headset journey. Happy virtual reality adventures!