Introduction
Welcome to our guide on how to download Windows 7! Windows 7 is a popular operating system that offers a user-friendly interface, improved performance, and a range of features and applications. Whether you are upgrading from an older version of Windows or installing it on a new computer, this guide will walk you through the necessary steps to download Windows 7 and get it up and running smoothly.
Before we dive into the details, it’s important to highlight the importance of downloading Windows 7 from a trusted source. Due to the popularity of this operating system, there are many unofficial websites that offer downloads of Windows 7. However, downloading Windows 7 from an unverified source can lead to the installation of counterfeit or modified versions, putting your system and personal data at risk. It is crucial to ensure that you obtain the genuine and untouched version of Windows 7 from a reputable source.
In this guide, we will cover everything you need to know about downloading Windows 7 securely. We will discuss the system requirements, how to backup your data, choose the right edition of Windows 7, find a trusted download source, secure your download, create a bootable USB or DVD, install Windows 7, and activate your copy. By following these steps, you can confidently download Windows 7 and enjoy its features and functionality.
Before you begin the download process, it’s important to ensure that your system meets the minimum requirements for Windows 7. This will ensure optimal performance and compatibility. Additionally, make sure to back up all your important files and data to prevent any potential loss during the installation process.
In the next sections, we will guide you step-by-step through the process of downloading Windows 7, so let’s get started!
System Requirements
Before you begin the process of downloading Windows 7, it’s essential to ensure that your computer meets the minimum system requirements. These requirements determine the hardware and software specifications needed to run Windows 7 smoothly. By checking your system’s compatibility with Windows 7, you can avoid potential issues and guarantee a successful installation.
The minimum system requirements for Windows 7 are as follows:
- Processor: 1 GHz or faster 32-bit (x86) or 64-bit (x64) processor
- Memory (RAM): 1 GB of RAM for 32-bit or 2 GB of RAM for 64-bit
- Hard Disk Space: 16 GB of available disk space for 32-bit or 20 GB for 64-bit
- Graphics Card: DirectX 9 graphics device with WDDM 1.0 or higher driver
- Display: 800×600 resolution or higher
- Internet Connection: Internet access is necessary to download Windows 7 and receive updates
Keep in mind that these are the minimum requirements, and it’s recommended to have higher specifications for optimal performance. If your computer falls short of these requirements, you may experience slowness or compatibility issues with Windows 7.
It’s also worth noting that Windows 7 offers both 32-bit and 64-bit versions. The 32-bit version is suitable for older computers or systems with limited resources, while the 64-bit version is recommended for modern computers with higher processing power and memory capacity. To check which version is compatible with your system, go to the Control Panel, click on System, and look for the System Type information.
By ensuring that your computer meets the system requirements, you can proceed with confidence to the next steps of downloading and installing Windows 7. Next, we’ll discuss the importance of backing up your data before the installation to avoid any potential loss of important files or documents. Let’s move on to the next section!
Step 1: Check your system requirements
Before you begin the process of downloading Windows 7, it’s crucial to check if your computer meets the system requirements. This step ensures that your system has the necessary hardware and software capabilities to run Windows 7 smoothly and without any performance issues.
To check your system requirements, follow these steps:
- Click on the Start menu, and then navigate to the Control Panel.
- In the Control Panel window, locate and click on the “System and Security” option.
- In the System and Security window, find and click on the “System” option.
- In the System window, you will find information about your computer’s hardware and operating system.
- Look for the “System type” information, which will indicate whether your system is 32-bit or 64-bit.
- Compare your system’s specifications with the minimum requirements mentioned in the previous section.
If your computer meets or exceeds the minimum system requirements, you are ready to proceed with downloading Windows 7. However, if your system falls short of the requirements, it may result in poor performance or compatibility issues. In such cases, you may need to consider upgrading your hardware or choosing a different version of Windows that is compatible with your system.
Checking your system requirements beforehand ensures a smooth installation process and avoids any potential frustrations or interruptions. It is always better to have a compatible computer to fully enjoy the features and functionalities of Windows 7.
Now that you have confirmed that your system meets the necessary requirements, it’s time to move on to the next step: backing up your data. This precautionary measure protects your important files and documents from potential loss during the installation process. Let’s proceed to the next section!
Step 2: Backup your data
Before proceeding with the download and installation of Windows 7, it is essential to back up your data. Backing up your data ensures that you have a copy of your important files, documents, photos, and any other valuable information in case of any unforeseen issues or data loss during the installation process.
Here are a few methods to back up your data:
- External Storage Device: Connect an external hard drive, USB flash drive, or any other storage device to your computer. Copy and paste your important files and folders onto the external storage device.
- Cloud Storage: Use a cloud storage service like Google Drive, Dropbox, or OneDrive to upload and save your files securely in the cloud. Make sure to sync your files before moving forward with the installation.
- Network Backup: If your computer is connected to a local network, you can back up your files to a network-attached storage (NAS) or another computer on the network. This method allows you to access your files easily after the installation.
- DVDs or CDs: Burn your important files onto writable DVDs or CDs. This traditional method can be useful for small amounts of data, but it may take more time and effort compared to other backup options.
Ensure that you back up all necessary files, including documents, photos, videos, music, and any other data that you want to preserve. It is better to be safe than sorry, so take the time to thoroughly back up your data to avoid any potential loss.
Once you have successfully backed up your important files, you can proceed with peace of mind to the next step, which involves choosing the right edition of Windows 7. This will help ensure that you have the appropriate features and functionalities that meet your specific needs. Let’s move on to the next section!
Step 3: Choose the right edition of Windows 7
One of the crucial steps in downloading Windows 7 is selecting the right edition that suits your needs. Windows 7 comes in different editions, each designed for specific purposes and user requirements. By choosing the appropriate edition, you can ensure that you have access to the features and functionalities that align with your computing needs.
Here are the different editions of Windows 7:
- Starter: This edition is designed for entry-level and low-powered computers. It offers basic features and is suitable for simple tasks such as web browsing, email, and word processing.
- Home Basic: This edition includes more features than Starter and is targeted towards home users. It provides additional multimedia capabilities and networking options.
- Home Premium: This edition is ideal for home users who require advanced features such as the Windows Media Center, Aero interface, and support for touch gestures.
- Professional: This edition is aimed at small businesses and professional users. It includes additional networking and security features, support for joining domains, and the ability to run Windows XP productivity programs through Windows XP Mode.
- Ultimate: This edition combines the features of all other editions and is intended for power users or enthusiasts. It includes advanced encryption, complete language support, and exclusive features like BitLocker Drive Encryption.
Consider your specific requirements and the features you need in an operating system when choosing the right edition of Windows 7. Keep in mind that certain features, such as BitLocker Drive Encryption, are only available in higher editions like Professional or Ultimate.
It’s important to note that upgrading from one edition to another may not always be possible without a clean installation. Therefore, it’s crucial to select the right edition from the start to avoid any potential inconvenience or additional steps later on.
Once you have decided on the appropriate edition of Windows 7, you can move on to the next step: finding a trusted download source. This ensures that you download a genuine and untouched version of Windows 7, free from any potential security risks or counterfeit software. Let’s proceed to the next section!
Step 4: Find a trusted download source
When it comes to downloading Windows 7, it is crucial to find a trusted and reliable source. With the popularity of this operating system, there are many websites that offer downloads of Windows 7. However, not all sources can be trusted, as there is a risk of downloading counterfeit or modified versions of the software, which can lead to security vulnerabilities and functionality issues.
Here are some tips for finding a trusted download source for Windows 7:
- Official Microsoft Website: The best and most reliable source for downloading Windows 7 is the official Microsoft website. Visit the Microsoft website and navigate to the Windows 7 section. From there, you can proceed with downloading the desired edition of Windows 7.
- Authorized Retailers: If you prefer purchasing a physical copy of Windows 7, make sure to buy it from authorized retailers or reputable vendors. This ensures that you are getting a genuine and legitimate version of the software.
- Verified Third-Party Websites: There are trusted third-party websites that offer downloads of Windows 7. However, it is crucial to research and verify the credibility of these websites before downloading. Look for user reviews, ratings, and feedback to ensure a safe and secure download.
Avoid downloading Windows 7 from unofficial or unknown sources, as they may provide modified or counterfeit versions that can compromise your system’s security and stability. Be cautious of websites that claim to offer free downloads of Windows 7, as this is often a red flag for illegitimate sources.
By downloading Windows 7 from a trusted source, you can guarantee the authenticity and integrity of the software, ensuring a safe and reliable installation process. Once you have identified a trusted download source, it is important to take additional precautions to secure your download. This will protect your system from potential malware or other security threats. In the next step, we will cover how to secure your download of Windows 7. Let’s move on to the next section!
Step 5: Secure your download
Securing your download of Windows 7 is crucial to ensure the integrity and safety of the software. When downloading from the internet, there is a risk of encountering malicious files or compromised versions of the operating system. By taking a few extra precautions, you can minimize the potential threats and protect your system.
Here are some important steps to secure your download of Windows 7:
- Verify the Source: Double-check if the download source is trusted and reputable. If you are downloading from the official Microsoft website or an authorized retailer, you can have confidence in the authenticity of the software.
- Use Secure and Stable Internet Connection: Ensure that you are connected to a secure and stable internet connection while downloading Windows 7. Avoid using public Wi-Fi networks or unsecured connections, as they can increase the risk of unauthorized access or tampering.
- Check for Digital Signatures: Legitimate downloads of Windows 7 often come with digital signatures to verify their authenticity. When you initiate the download, check whether the file has a valid digital signature to ensure that it is not tampered with.
- Scan the Downloaded File: Before proceeding with the installation, run a thorough scan of the downloaded file using reliable antivirus software. This will help identify any potential malware or viruses that may have been attached to the file.
- Compare File Hashes: To ensure that the downloaded file has not been modified, compare its file hash with the hash provided on the official Microsoft website. If the hashes match, it indicates that the file has not been tampered with.
By following these steps, you can significantly reduce the risk of downloading compromised or counterfeit versions of Windows 7. Taking the time to secure your download ensures that you are installing a genuine and unaltered version of the operating system, protecting your computer and personal data.
Once you have successfully secured your download, you can move on to the next step: initiating the download of Windows 7. In the following sections, we will guide you through the process of starting the download and creating a bootable USB or DVD. Let’s proceed to the next step!
Step 6: Start the download
After you have secured the download source and taken the necessary precautions, it’s time to begin the download of Windows 7. The process of starting the download may vary depending on the source you are using, but the general steps are as follows:
- Visit the official Microsoft website or the trusted download source you have chosen.
- Navigate to the Windows 7 download page. Ensure that you are selecting the correct edition that matches your requirements.
- Click on the download button or link provided for the selected edition of Windows 7.
- You may be prompted to enter a product key. If you have a valid product key, enter it to proceed with the download. If you don’t have a product key, you can still download Windows 7, but you will need to enter a product key during the installation process.
- The download will start, and the file will be saved to your designated location or your default downloads folder.
Downloading Windows 7 may take some time, depending on the speed of your internet connection and the size of the file. It is recommended to have a stable and reliable internet connection throughout the download process to avoid any interruptions.
While the download is in progress, it’s essential to avoid any other internet-intensive activities that may slow down the download speed or interrupt the process. Be patient and allow the download to complete before moving on to the next steps.
Once the download is finished, verify the integrity of the downloaded file by comparing its hash with the official hash provided by Microsoft. This step ensures that the file has not been modified or tampered with during the download process.
Now that you have successfully downloaded Windows 7, it’s time to proceed to the next steps: creating a bootable USB or DVD. These steps will enable you to install Windows 7 on your computer. Let’s move on to the next section!
Step 7: Create a bootable USB or DVD
Once you have downloaded Windows 7, the next step is to create a bootable USB or DVD. This is necessary to install Windows 7 on your computer. Creating a bootable USB or DVD allows you to boot from the external device and initiate the installation process.
Here’s how you can create a bootable USB or DVD:
- Prepare the USB or DVD: Insert a blank USB flash drive with a minimum capacity of 4GB or a blank DVD into your computer’s USB port or optical drive, respectively.
- Format the USB Drive: If using a USB flash drive, format it to ensure that it is compatible. Right-click on the USB drive and select the “Format” option. Choose the appropriate file system (usually NTFS) and follow the on-screen instructions to format the drive.
- Create the Bootable Media: Download a tool like Rufus or Windows USB/DVD Download Tool from a trusted source. Open the tool and follow the instructions to select the downloaded Windows 7 ISO file and create a bootable USB or DVD.
- Set the Boot Order: Restart your computer and enter the BIOS settings by pressing the designated key (usually Del or F2). In the BIOS settings, navigate to the “Boot” or “Boot Order” section and set the priority to boot from the USB or DVD drive first.
- Save the changes and exit the BIOS settings. Your computer will now restart and boot from the USB or DVD drive.
Once your computer boots from the USB or DVD, the Windows 7 installation process will begin. Follow the on-screen instructions to install Windows 7 on your computer. Make sure to select the appropriate options, such as language preferences and hard drive to install Windows 7 on.
It is important to note that during the installation process, you may be prompted to enter the product key you obtained with the Windows 7 download. Enter the product key to proceed with the installation. If you don’t have a product key, you can choose the option to install Windows without a key, but you will need to enter a valid product key later to activate Windows.
Now that you have successfully created a bootable USB or DVD and initiated the installation process, you are one step closer to enjoying Windows 7 on your computer. In the next step, we will guide you on how to install Windows 7. Let’s move on to the next section!
Step 8: Install Windows 7
After creating a bootable USB or DVD, you are ready to install Windows 7 on your computer. The installation process involves a few steps, including choosing the installation options, partitioning the hard drive, and configuring initial settings. Follow the steps below to install Windows 7:
- Ensure that your computer is booting from the bootable USB or DVD. If necessary, refer to Step 7 to set the boot order in the BIOS settings.
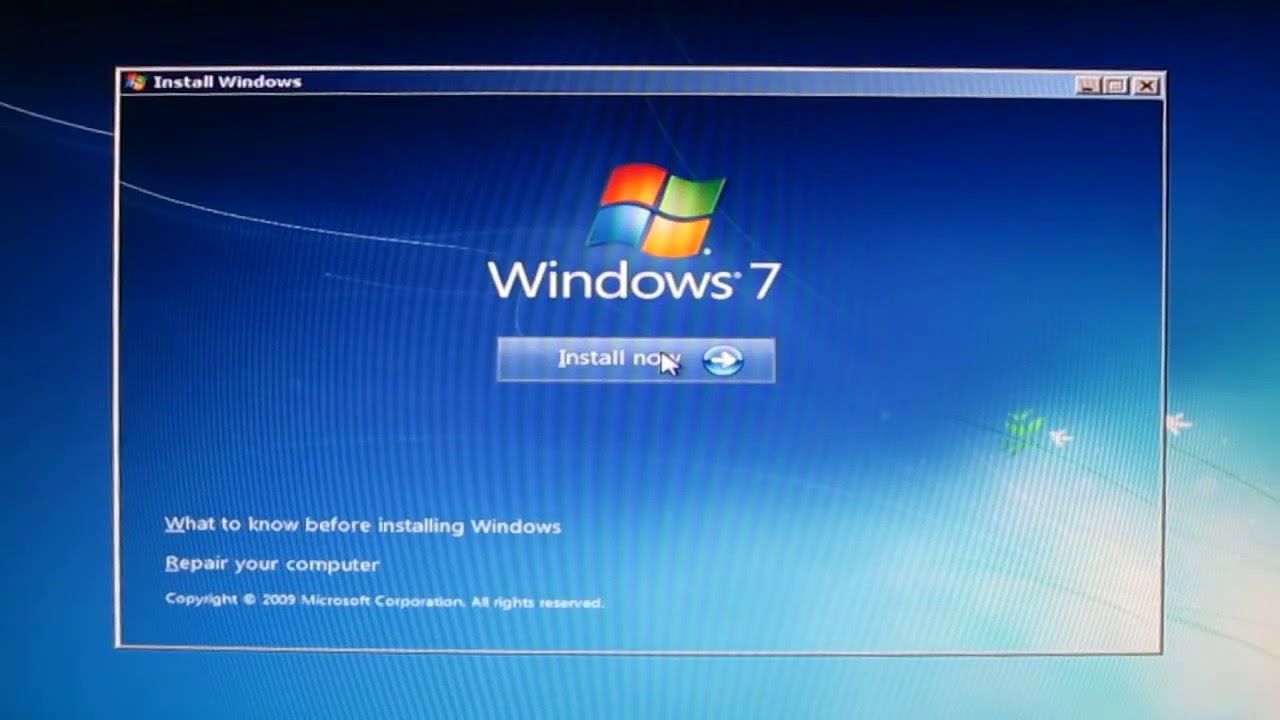
- Wait for the Windows 7 installation screen to appear. Select your language preferences, time, and currency format, and click “Next.”
- Click “Install Now” to begin the installation process.
- Read and accept the license terms by selecting the checkbox and clicking “Next.”
- Choose the installation type. If you are performing a clean installation, select the “Custom (advanced)” option. If you are upgrading from a previous version of Windows, choose the “Upgrade” option.
- Partition your hard drive. If you are performing a clean installation, you can format the existing partitions or create new ones according to your needs. Follow the on-screen instructions to partition your hard drive.
- Select the partition where you want to install Windows 7 and click “Next.” If prompted, confirm the decision to begin the installation. Note that all data on the selected partition will be erased.
- Wait while the installation process copies files and installs Windows 7. Your computer may restart multiple times during this process. Make sure not to interrupt the installation.
- Set up your computer. Follow the on-screen instructions to personalize your settings, including creating a user account, setting a password, and configuring the network.
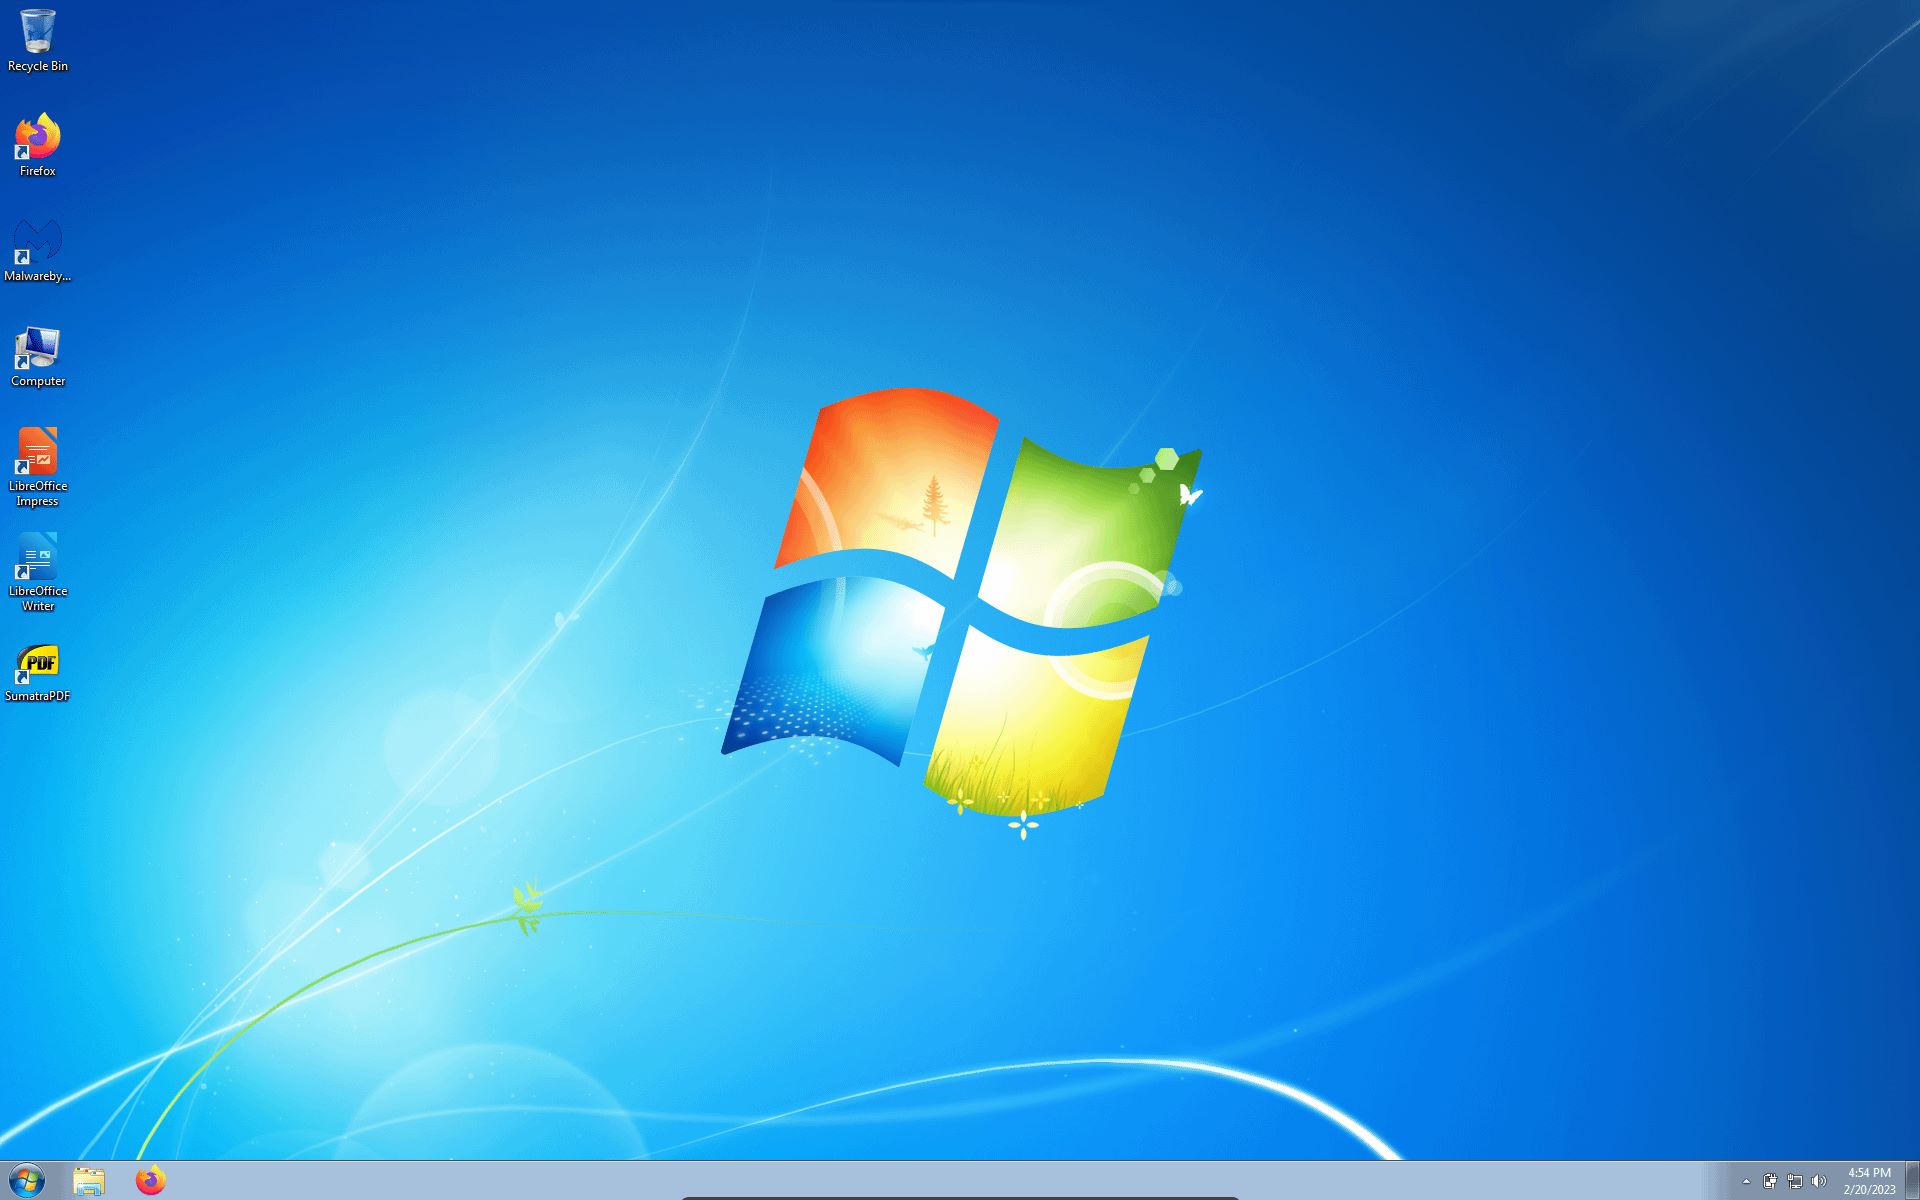
- Wait for the installation to complete. Once the installation is finished, you will see the Windows 7 desktop.
Congratulations! You have successfully installed Windows 7 on your computer. Take some time to explore the features and functionalities of the operating system. You can now move on to the final step: activating Windows 7.
Activation is necessary to validate your copy of Windows 7 and enjoy the full benefits of the operating system. In the next step, we will guide you on how to activate Windows 7. Let’s proceed to the next section!
Step 9: Activate Windows 7
After successfully installing Windows 7 on your computer, the final step is to activate the operating system. Activation is necessary to verify the authenticity of your copy of Windows and ensure that it is properly licensed. Without activation, Windows 7 will have limited functionality and may display notifications prompting you to activate.
Here’s how you can activate Windows 7:
- Click on the “Start” button, right-click on “Computer,” and select “Properties.”
- In the System Properties window, scroll down to the “Windows Activation” section.
- Click on the “Activate Windows now” link.
- Choose whether you want to activate Windows online or by using the automated telephone system.
- If you select to activate online, follow the on-screen instructions and enter the product key when prompted. If you don’t have a product key, you can purchase one online or enter a valid key later.
- If you choose to activate by phone, select the country or region where you are located and follow the instructions to complete the activation process.
- Once the activation is successful, you will receive a confirmation message.
- Restart your computer to apply the changes and complete the activation process.
Activating Windows 7 ensures that you have a genuine and legally licensed copy of the operating system, giving you access to all features and updates. It also helps Microsoft combat piracy and protect users from counterfeit software.
If you encounter any issues during the activation process, make sure you have a stable internet connection or follow the instructions provided for phone activation. In case you are unable to activate Windows 7, consider contacting Microsoft support for further assistance.
Once Windows 7 is activated, you are ready to fully enjoy the features and functionality of the operating system. Take some time to adjust the settings and personalize your computer according to your preferences.
Congratulations on successfully installing and activating Windows 7! Now you can make the most of this powerful operating system for your computing needs.
Conclusion
Congratulations on successfully downloading, installing, and activating Windows 7! By following the steps outlined in this guide, you have obtained a genuine copy of Windows 7 and can now experience its features and functionality to the fullest.
Throughout the process, we emphasized the importance of checking system requirements, backing up your data, choosing the right edition, finding a trusted download source, securing your download, creating a bootable USB or DVD, and finally, installing and activating Windows 7. Following these steps ensures a smooth and secure installation, safeguarding your system and data.
Windows 7 offers a user-friendly interface, improved performance, and a range of features that cater to various user needs. Whether you are using it for personal or professional purposes, Windows 7 provides a stable and reliable operating system experience.
Remember, it is crucial to download Windows 7 from trusted sources and to activate it to validate your copy. Unauthorized downloads or using counterfeit software can result in security vulnerabilities, compromised functionality, and legal consequences.
We hope this guide has been helpful in assisting you with the process of downloading and installing Windows 7. If you have any further questions or encounter any issues, consider reaching out to the official Microsoft support channels for assistance.
Thank you for following this guide, and we wish you a seamless and enjoyable experience with Windows 7!


