Introduction
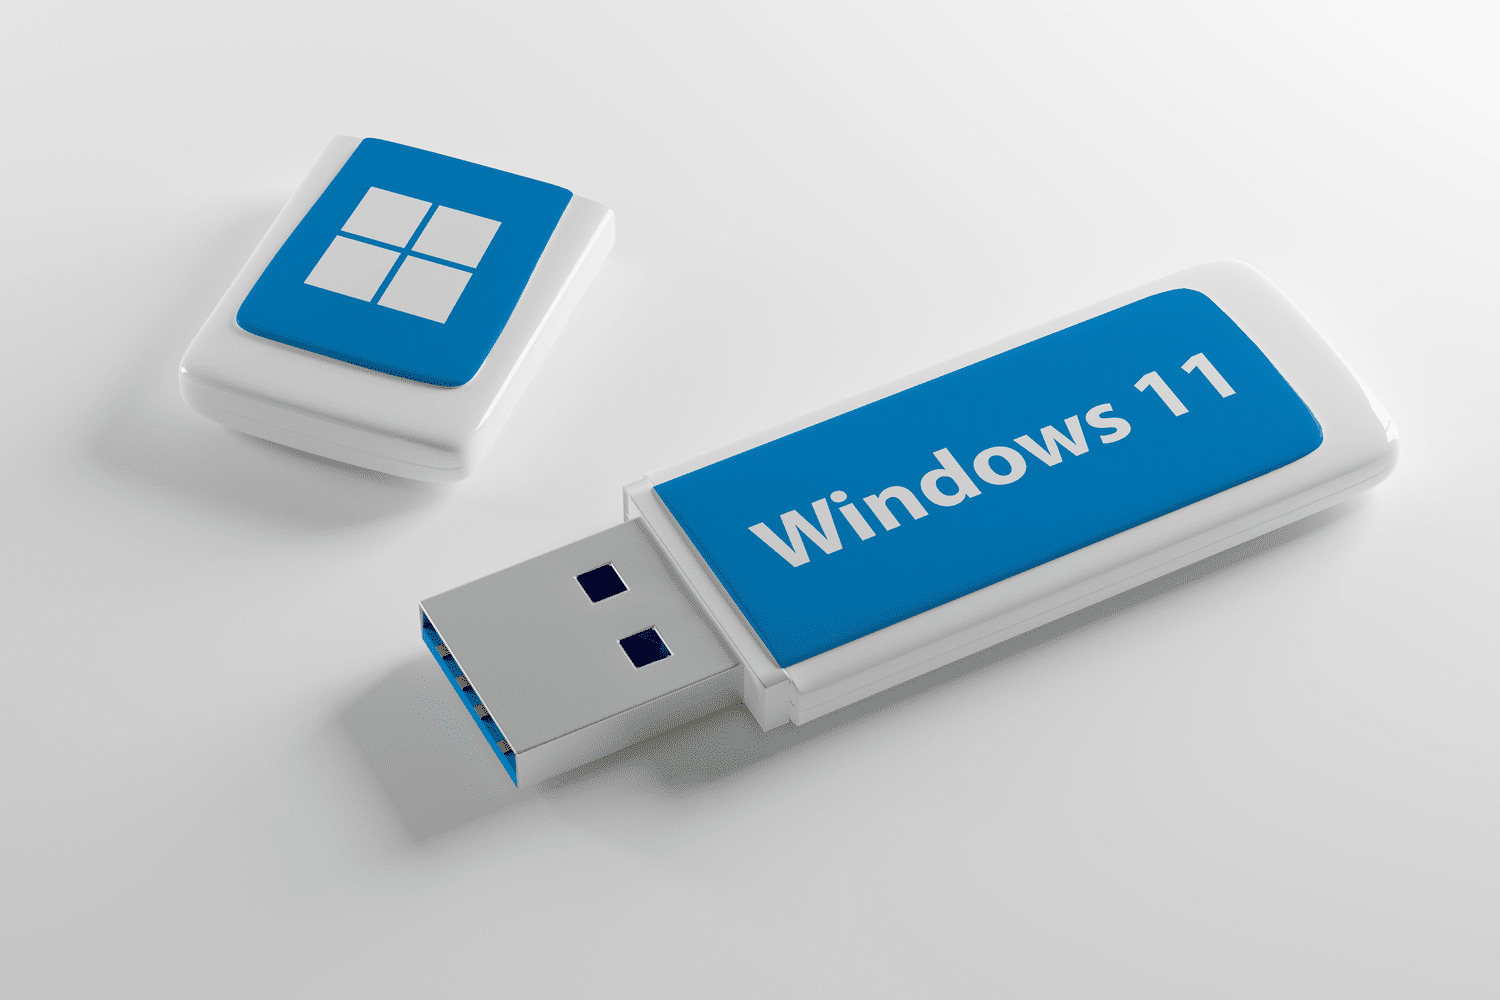
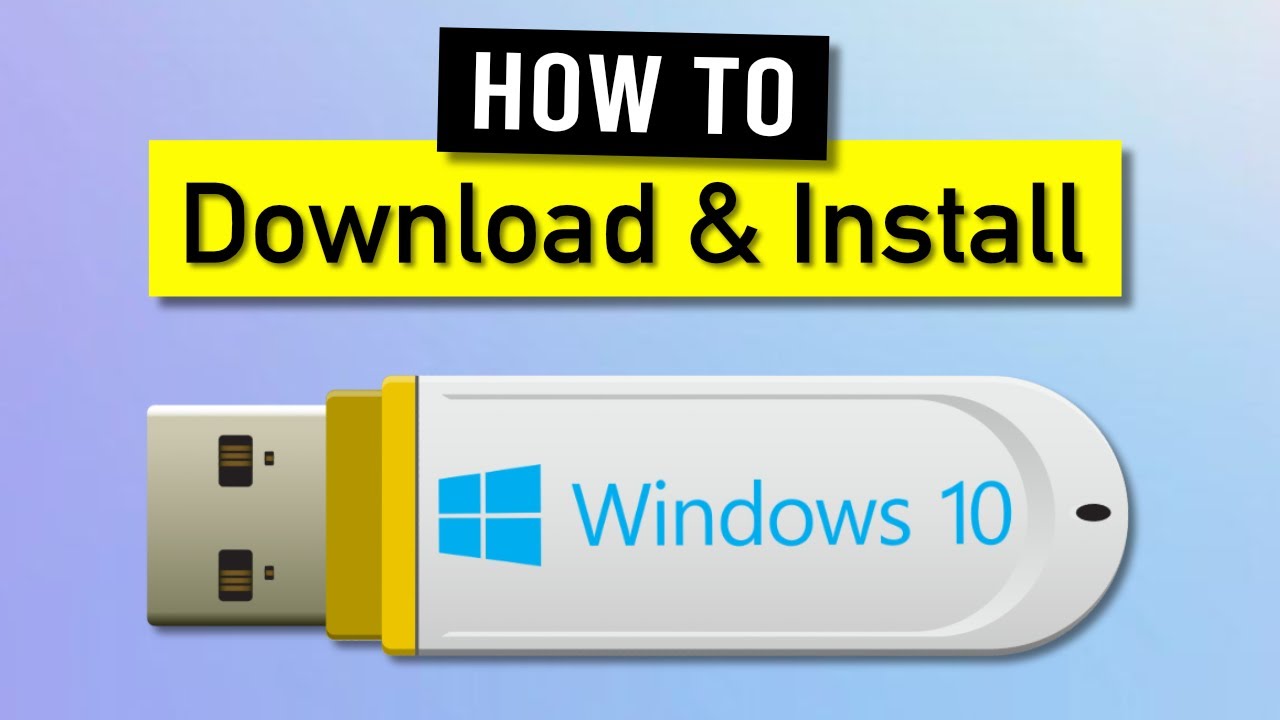
Welcome to our guide on how to download Windows to a USB. In today’s digital age, having a bootable USB drive with a Windows operating system can be incredibly useful. It allows you to easily install Windows on multiple computers, perform clean installations, or even troubleshoot software issues. In this article, we will walk you through the step-by-step process of downloading Windows to a USB drive.
Having a bootable USB drive not only provides convenience but also ensures that you have a portable and reliable solution for Windows installations. Whether you’re a tech enthusiast, an IT professional, or a casual user, having a bootable Windows USB can save you time and effort.
To successfully complete this process, you will need a few things: a Windows ISO file, a USB flash drive with sufficient storage capacity, and a Windows USB/DVD Download Tool (provided by Microsoft). This tool simplifies the process of creating a bootable USB drive and ensures compatibility with various Windows versions.
Please note that the process outlined in this guide is specifically for downloading Windows to a USB drive. It is crucial to back up any important data from the USB drive before proceeding, as the formatting and installation process will erase all existing data.
Whether you’re looking to perform a clean installation of Windows, create a Windows recovery drive, or simply want to have a portable Windows installation, this guide will walk you through the necessary steps. Let’s get started with downloading Windows to a USB drive!
What You Will Need
Before diving into the process of downloading Windows to a USB drive, it’s important to ensure that you have everything you need. Here are the essential items:
- A Windows ISO file: This is a disk image file that contains the full installation package of a specific version and edition of Windows. You can obtain it from the official Microsoft website or other reliable sources. Make sure to choose the appropriate version and edition of Windows that you want to download.
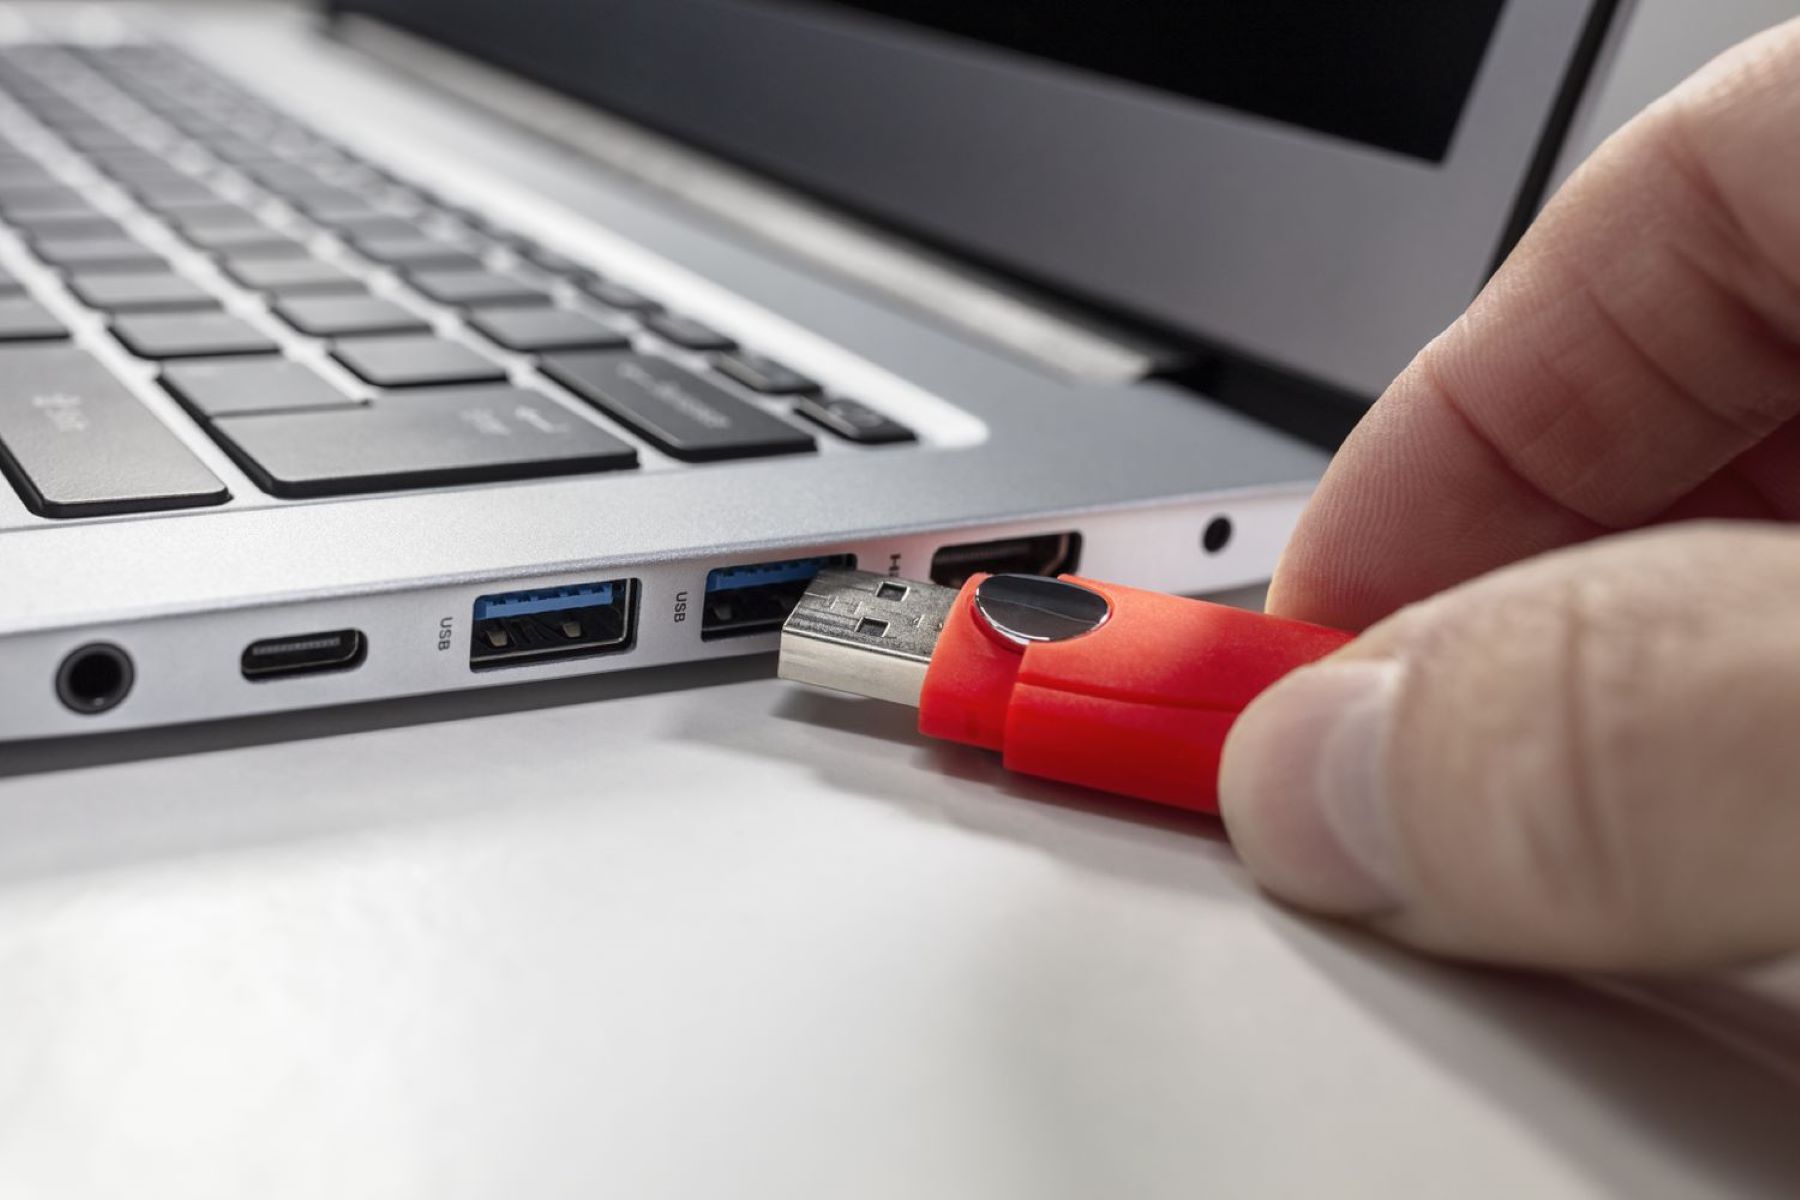
- A USB flash drive: You’ll need a USB drive with sufficient storage capacity to accommodate the Windows installation files. Depending on the version of Windows you are downloading, it’s recommended to have a USB drive with at least 8 GB of space to ensure smooth installation.
- A Windows USB/DVD Download Tool: This is a free tool provided by Microsoft that simplifies the process of creating a bootable USB drive with the Windows ISO file. You can download it from the official Microsoft website.
- A computer or laptop: You’ll need access to a computer or laptop where you can download the Windows ISO file and create the bootable USB drive. Make sure the computer meets the system requirements for the Windows version you are installing.
- A stable internet connection: Since you’ll be downloading the Windows ISO file, you’ll need a reliable and stable internet connection. A slow or unstable connection can result in incomplete or corrupted downloads.
It’s important to note that the availability and system requirements may vary depending on the specific version and edition of Windows you are downloading. So, it’s always a good idea to double-check the official Microsoft documentation for any additional requirements or recommendations.
Once you have gathered all the necessary items, you are ready to proceed with the process of downloading Windows to a USB drive. In the following steps, we will guide you through each stage, ensuring a successful and hassle-free experience.
Step 1: Downloading the Windows ISO file
The first step in downloading Windows to a USB drive is obtaining the Windows ISO file. Follow these steps:
- Open your preferred web browser and navigate to the official Microsoft website or a reliable source that offers Windows ISO downloads.
- Select the appropriate version and edition of Windows that you want to download. Ensure that your selection matches your system requirements and licensing.
- Click on the download link to initiate the download process. You might be prompted to enter your product key or sign in with a Microsoft account, depending on the Windows version you are downloading.
- Choose a location on your computer where you want to save the downloaded Windows ISO file.
- Wait for the download to complete. The time required will depend on your internet connection speed and the size of the Windows ISO file.
Once the download is complete, you will have the Windows ISO file saved on your computer. Ensure that the file is intact and not corrupted. You can verify the integrity of the ISO file using its MD5 or SHA-1 checksum, which is typically provided on the download page or through a third-party checksum utility.
Downloading the Windows ISO file is a crucial step as it serves as the foundation for creating a bootable USB drive. Make sure to keep the downloaded ISO file in a safe location, as you will need it in the subsequent steps of the process.
Step 2: Formatting the USB Drive
Now that you have downloaded the Windows ISO file, the next step is to format the USB drive that you will use to create the bootable drive. To format the USB drive, follow these steps:
- Insert the USB drive into an available USB port on your computer.
- Open the File Explorer (Windows + E) and locate the USB drive under “This PC” or “My Computer”.
- Right-click on the USB drive icon and select “Format” from the context menu. This will open the Format dialog box.
- In the Format dialog box, select the desired file system for the USB drive. For compatibility and best results, it is recommended to choose the “FAT32” file system.
- Give a name to the USB drive, if desired, and ensure that the “Quick Format” option is selected.
- Double-check the formatting options and click on the “Start” button to begin the formatting process.
- Wait for the formatting process to complete. This may take a few minutes, depending on the size of the USB drive.
- Once the formatting is finished, you will receive a confirmation message. Click on “OK” to close the dialog box.
Formatting the USB drive will erase all the data on it, so make sure to back up any important files before proceeding. Additionally, ensure that the USB drive is selected correctly, as formatting the wrong drive may result in irreversible data loss.
With the USB drive now formatted, it is ready to be transformed into a bootable drive in the next step. Formatting the USB drive ensures that it has the necessary file system and structure to host the Windows installation files.
Step 3: Creating a Bootable USB using the Windows USB/DVD Download Tool
Now that you have a formatted USB drive, it’s time to create a bootable USB using the Windows USB/DVD Download Tool. This tool simplifies the process and ensures compatibility with various Windows versions. Follow these steps:
- Download and install the Windows USB/DVD Download Tool from the official Microsoft website.
- Launch the tool and click on the “Browse” button to locate the Windows ISO file you downloaded in step 1. Select the ISO file and click on “Open”.
- Click on the “Next” button to proceed to the next step.
- Choose the “USB device” option as the media type you want to create and click on the “Next” button.
- Select the USB drive from the drop-down menu. Make sure the correct USB drive is selected, as the tool will erase all data on the chosen drive.
- Click on the “Begin copying” button to start creating the bootable USB drive.
- Wait for the Windows USB/DVD Download Tool to copy the Windows installation files to the USB drive. This process may take some time, depending on the size of the ISO file.
- Once the process is complete, you will see a message confirming that the bootable USB drive has been successfully created. Click on the “Finish” button to close the tool.
Creating a bootable USB drive using the Windows USB/DVD Download Tool is a straightforward process. It ensures that the necessary Windows installation files are copied to the USB drive, making it ready for installation on other systems.
Remember to keep the bootable USB drive in a safe place, as it will be used in the next step to install Windows on a computer or laptop.
Step 4: Booting from the USB Drive
With the bootable USB drive created, you can now proceed to boot your computer or laptop from the USB drive to begin the Windows installation process. Follow these steps:
- Make sure your computer or laptop is powered off.
- Insert the bootable USB drive into an available USB port on your computer.
- Turn on your computer or laptop and quickly press the designated key to access the boot menu. This key is typically F12, F11, or Esc, but it varies depending on the manufacturer and model of your computer. Refer to your computer’s manual or the manufacturer’s website for the specific key.
- In the boot menu, use the arrow keys to navigate to the option that corresponds to the USB drive. Use the Enter key to select it.
- The computer will now boot from the USB drive and load the Windows installation files.
- You may be prompted to select the language, time and currency format, and keyboard layout. Choose the appropriate options and click on “Next”.
- Follow the on-screen prompts to proceed with the Windows installation process. You may be asked to enter your product key, accept the license terms, and choose the type of installation (such as custom or upgrade).
- Continue following the instructions and make any necessary choices, such as selecting the installation partition and configuring the network settings.
- Wait for the Windows installation process to complete. This may take some time, depending on your computer’s speed and the complexity of the installation.
- Once the installation is finished, your computer will reboot. Ensure that you remove the bootable USB drive to prevent the computer from booting into it again.
Congratulations! You have successfully booted from the USB drive and initiated the Windows installation process. Follow the on-screen instructions to complete the installation, including setting up user accounts, configuring personal preferences, and installing essential drivers and software.
Remember to keep your product key handy, as you may need it during the installation process. Once the installation is complete, you’ll have a fresh, updated Windows operating system on your computer or laptop.
Step 5: Installing Windows from the USB Drive
After booting from the USB drive, you are now ready to install Windows on your computer or laptop. Follow these steps to complete the installation:
- Once your computer has restarted after booting from the USB drive, you will be presented with the Windows installation setup.
- Select your preferred language, time and currency format, and keyboard input method. Click on “Next” to continue.
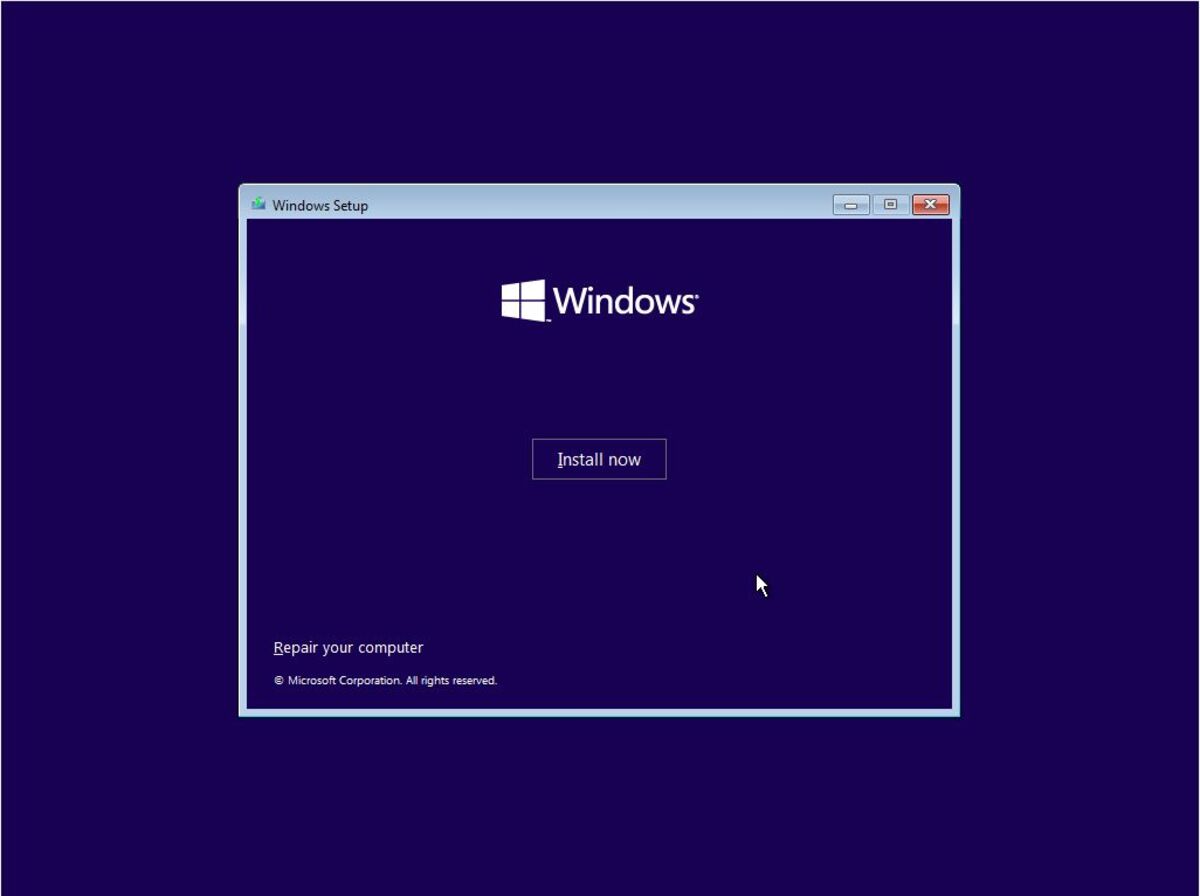
- Click on the “Install now” button to start the installation process.
- If prompted, enter your product key and click on “Next”.
- Read and accept the license terms by checking the box and clicking on “Next”.
- Choose the type of installation you want – “Custom: Install Windows only (advanced)” for a clean installation or “Upgrade: Install Windows and keep files, settings, and applications” if you’re upgrading from a previous version of Windows.
- Select the partition or drive where you want to install Windows. If you’re performing a clean installation, you can format the existing partitions to start fresh.
- Click on “Next” to begin the installation process. Windows will start copying files, expanding them, and installing the necessary components.
- Wait for the installation process to complete. Your computer may restart several times during this process.
- Follow the on-screen prompts to personalize your Windows installation, such as creating a user account, customizing your settings, and choosing privacy options.
- Once the installation is finished, you will be directed to the Windows desktop.
Congratulations! You have successfully installed Windows from the USB drive. Take some time to configure and personalize your settings, install necessary drivers and software, and ensure that your computer is up-to-date with the latest Windows updates.
Remember to safely remove the USB drive from your computer to prevent any disruptions. You can now start exploring and enjoying the features and functionalities of your newly installed Windows operating system.
Conclusion
Downloading Windows to a USB drive provides you with a convenient and portable solution for Windows installations, clean installations, or troubleshooting purposes. Throughout this guide, we have walked you through the step-by-step process of downloading Windows to a USB drive successfully.
First, we discussed the essential items you will need, including a Windows ISO file, a USB flash drive, and the Windows USB/DVD Download Tool. These items ensure that you have the necessary files and tools to create a bootable USB drive.
We then provided detailed instructions for each step of the process. Starting with downloading the Windows ISO file, we guided you through formatting the USB drive to prepare it for the Windows installation files.
Next, we explained how to use the Windows USB/DVD Download Tool to create a bootable USB drive. This tool simplifies the process and ensures compatibility with various versions of Windows.
Finally, we discussed how to boot from the USB drive and install Windows on your computer or laptop. Following these steps allows you to have a fresh, updated Windows operating system ready to use.
Keep in mind that each step is important, and it’s crucial to follow the instructions carefully. Take precautions to back up any important data before formatting the USB drive, and ensure that you have a stable internet connection when downloading the Windows ISO file.
We hope this guide has been helpful in assisting you with downloading Windows to a USB drive. By following these steps, you can have a reliable and portable solution for Windows installations. Enjoy the benefits and functionalities of your newly installed Windows operating system!