Introduction
Welcome to our guide on how to download Netflix movies to a USB drive. If you are a Netflix subscriber, you may have wished to watch your favorite movies or TV shows offline or on a bigger screen. This tutorial will show you how to easily download Netflix content and transfer it to a USB drive, allowing you to enjoy your favorite shows anytime, anywhere.
Streaming services like Netflix have become incredibly popular, offering a vast library of movies, documentaries, and TV series. However, their streaming nature limits access to their content when a stable internet connection is unavailable. By downloading Netflix content to a USB drive, you can take your favorite shows with you on the go, whether you’re on a long flight, commuting, or simply prefer to watch on a larger screen.
Before we delve into the steps to download Netflix movies to a USB drive, let’s clarify a few important points. First, please note that this method is only applicable to Netflix’s desktop app, available for Windows and macOS. Secondly, as Netflix has implemented several security measures to prevent unauthorized downloads, you won’t be able to download all movies and shows. Instead, a selection of titles is available for offline viewing.
Now that we have set the context, let’s jump into the step-by-step guide on how to download Netflix movies to a USB drive. This guide will cover everything from checking compatibility to transferring the downloaded files to a USB drive. Follow these instructions closely, and you’ll be enjoying your favorite Netflix content wherever you go in no time.
Step 1: Check Compatibility
Before diving into the process of downloading Netflix movies to a USB drive, it’s essential to ensure that your device meets the necessary requirements. Here’s what you need:
- A computer or laptop running either Windows 10 or macOS 10.10 or later.
- The latest version of the Netflix app installed on your device.
- A stable internet connection for downloading the content.
- A USB drive with sufficient storage capacity to hold the downloaded movies or TV shows.
Make sure you have met these requirements before proceeding to the next steps.
It’s worth noting that not all movies and TV shows available on Netflix can be downloaded due to licensing agreements with content creators. You’ll need to check if a specific title is available for offline viewing. To do so, simply search for the movie or TV show on the Netflix app and look for the download icon, which resembles a downward arrow.
Additionally, keep in mind that downloaded Netflix content comes with an expiration date. Once you start watching a downloaded title, you generally have a limited time (usually 48 hours) to finish watching it before it expires. After the expiration, you’ll need to download it again if you want to continue watching.
Now that you’ve confirmed your device compatibility and checked the availability of the Netflix content you want to download, you’re ready to move on to the next step: installing the Netflix app.
Step 2: Install the Netflix App
The next step in downloading Netflix movies to a USB drive is to install the Netflix app on your Windows or macOS computer. Here’s how to do it:
- Open the web browser on your computer and visit the official Netflix website (https://www.netflix.com).
- Sign in to your Netflix account with your username and password.
- Once you’re logged in, click on the “Download” tab in the top menu.
- Scroll down and click on the “Get the Windows app” or “Get the Mac app” button, depending on your computer’s operating system.
- The Netflix app will start downloading automatically. Once the download is complete, open the installer file and follow the on-screen instructions to install the app.
After the installation process is complete, launch the Netflix app on your computer. Sign in to your Netflix account if prompted. You’re now ready to proceed to the next step, which is downloading the movies or TV shows.
It’s important to note that you must use the official Netflix app to download content. The browser-based version of Netflix does not support downloading movies or TV shows. Therefore, make sure you have the app installed on your computer to proceed with the next steps.
Now that you have successfully installed the Netflix app, it’s time to move on to the next step: downloading the desired movies or TV shows for offline viewing.
Step 3: Download Movies or TV Shows
Now that you have the Netflix app installed on your computer, it’s time to download the movies or TV shows you want to watch offline. Follow these steps:
- Open the Netflix app on your computer and sign in to your Netflix account if prompted.
- Browse or search for the movie or TV show you want to download.
- Once you’ve found the desired title, click on it to open its details page.
- Look for the download icon, which appears as a downward arrow pointing to a horizontal line. Click on this icon to start the download process.
- Depending on the length and quality of the content, the download time may vary. You’ll see the progress of the download on the screen.
- Repeat these steps for each movie or TV show you want to download. Keep in mind that there may be limitations on the number of titles you can download simultaneously, based on your Netflix subscription plan.
Once the download is complete, the movie or TV show will be available for offline viewing in the “My Downloads” section of the Netflix app. You can find this section by clicking on the menu icon (usually three horizontal lines) in the top left corner of the app and selecting “My Downloads.”
It’s important to note that the downloaded content can only be accessed through the Netflix app and cannot be shared with others or transferred to a different device directly. However, in the next steps, we’ll show you how to move the downloaded files to a USB drive for convenient offline playback on other devices.
With your favorite movies or TV shows downloaded and ready to go, let’s proceed to the next step: converting the downloaded files.
Step 4: Convert the Downloaded Files
Once you have downloaded the movies or TV shows from Netflix, you may need to convert the downloaded files into a compatible format before transferring them to a USB drive. Follow these steps to convert the downloaded files:
- Before proceeding, make sure you have a reliable video converter installed on your computer. There are several free and paid options available, such as HandBrake, Freemake Video Converter, or Any Video Converter.
- Open the video converter software on your computer.
- Click on the “Add Files” or “Import” button in the software to import the downloaded Netflix files you want to convert. You can usually find the downloaded files in the default download location set in your web browser.
- Choose the output format for the converted files. It’s recommended to select a widely supported format, such as MP4, as it ensures compatibility with most devices and media players.
- Adjust any necessary settings, such as resolution, bitrate, or audio quality, according to your preferences. If you’re unsure, you can usually select the default settings recommended by the software.
- Choose the destination folder where you want the converted files to be saved. It’s advisable to create a new folder specifically for the converted Netflix files to keep them organized.
- Click on the “Start” or “Convert” button to begin the conversion process. The time it takes to convert the files depends on the length and size of the original downloads.
- Once the conversion is complete, you will have a converted version of the downloaded Netflix files in the designated output format and location.
Now that you have successfully converted the downloaded files, you’re one step closer to transferring them to a USB drive for offline playback. In the next step, we’ll cover how to select the right USB drive.
Step 5: Pick a USB Drive
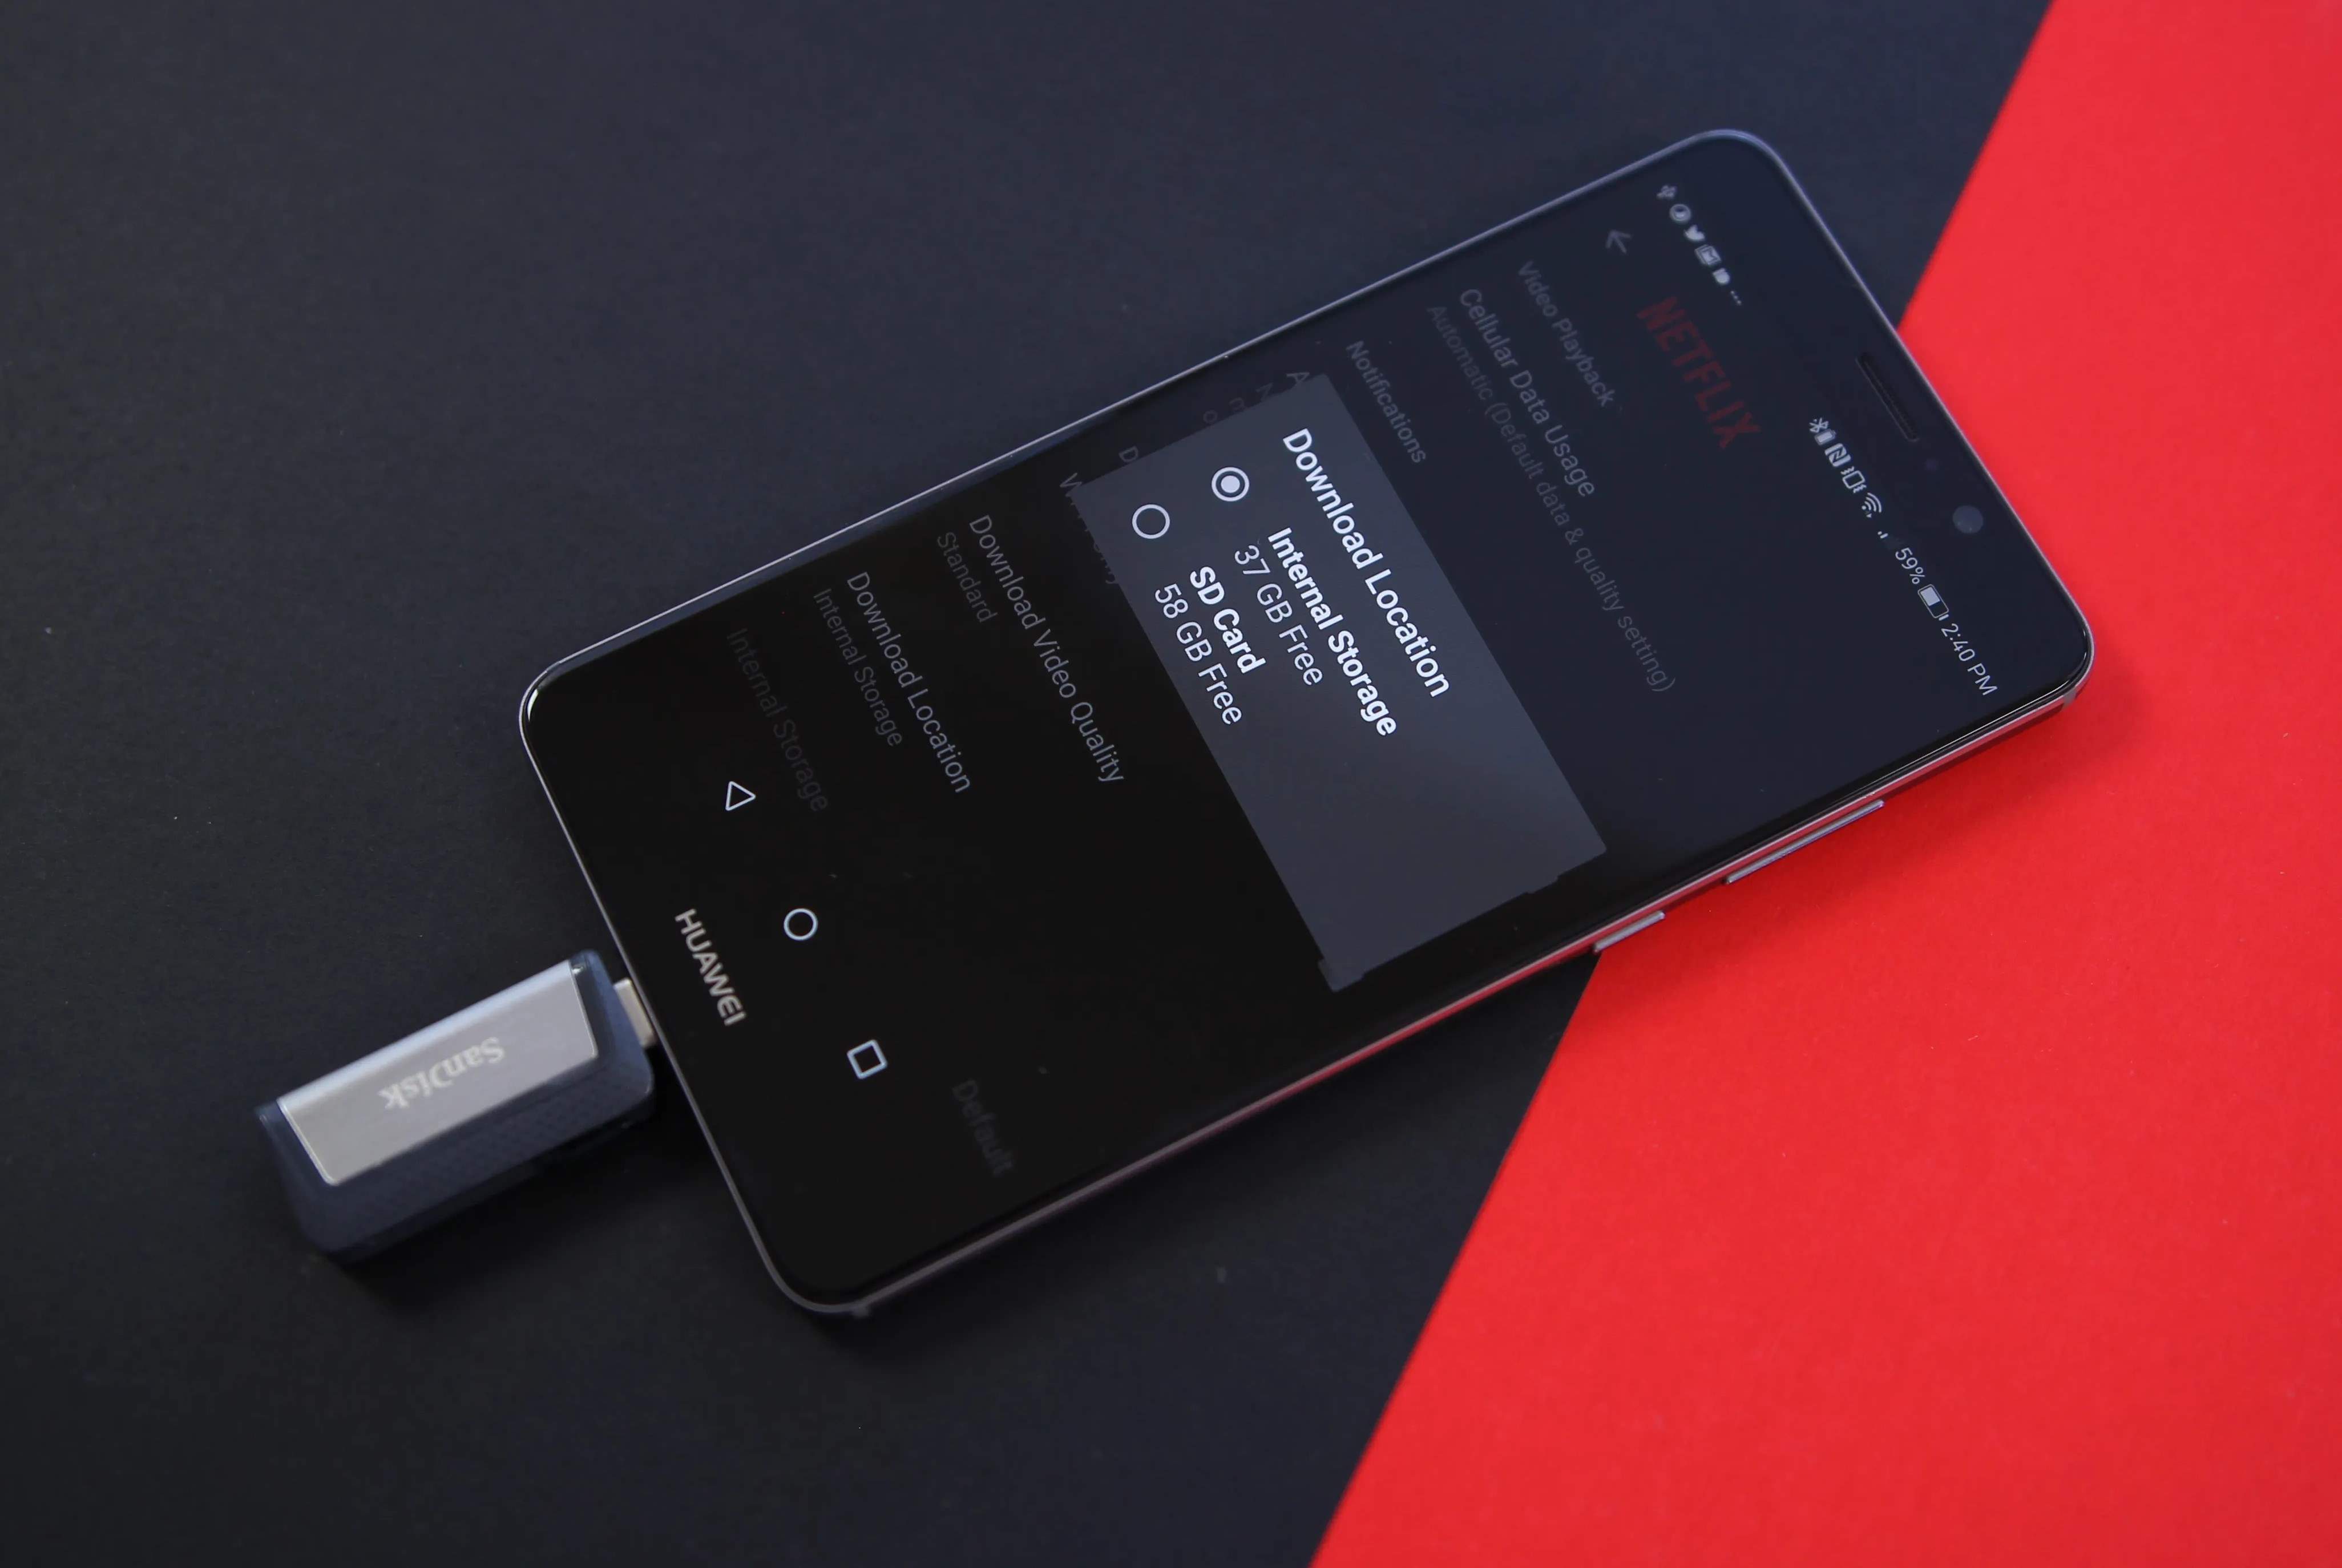
Now that you have converted the downloaded Netflix files to a compatible format, it’s time to select a suitable USB drive to store and play the content. Follow these steps to pick the right USB drive:
- Determine the storage capacity you need for your downloaded Netflix files. The size of the files will depend on the length and quality of the downloaded content. Ensure that the USB drive has enough storage space to accommodate all the files you want to transfer.
- Consider the USB drive’s portability. If you plan to use the USB drive for travel or on-the-go purposes, a small and compact design can be more convenient.
- Check the USB drive’s compatibility with your devices. Ensure that it is compatible with both your computer and the device on which you intend to play the downloaded movies or TV shows. Most USB drives are compatible with a wide range of devices, including computers, smart TVs, gaming consoles, and media players.
- Choose a USB drive from a reputable brand to ensure reliability and quality. Look for USB drives with features like fast transfer speeds and sturdy construction.
- Consider any additional features or specifications that may be important to you, such as password protection, encryption, or high-speed USB 3.0 connections.
- Compare prices and read reviews to find the best USB drive that meets your requirements and fits your budget.
- Once you have selected the USB drive, make sure it is properly formatted and ready for file transfer. Most USB drives come pre-formatted, but if necessary, you can format the drive to the suitable file system (e.g., exFAT or FAT32) using your computer’s Disk Management tool or a dedicated formatting software.
With a suitable USB drive in hand, you’re now ready to transfer the converted Netflix files and enjoy your favorite movies or TV shows offline. In the next step, we’ll cover how to transfer the downloaded files to the USB drive.
Step 6: Transfer the Downloaded Files to USB Drive
Now that you have chosen a compatible USB drive, it’s time to transfer the converted Netflix files onto it. Follow these steps to transfer the downloaded files:
- Connect the USB drive to your computer using an available USB port. Ensure that the USB drive is properly recognized by your computer.
- Open the folder where you saved the converted Netflix files.
- Select the files you want to transfer to the USB drive. You can either select individual files or drag and drop the entire folder containing the converted files.
- Right-click on the selected files and choose the “Copy” option from the context menu. Alternatively, you can use the keyboard shortcut Ctrl+C (Windows) or Command+C (macOS) to copy the files.
- Open the USB drive on your computer. You can usually find it listed as a removable storage device in the “My Computer” or “This PC” window (Windows) or on the desktop (macOS).
- Right-click on the USB drive and select the “Paste” option from the context menu. Alternatively, you can use the keyboard shortcut Ctrl+V (Windows) or Command+V (macOS) to paste the copied files onto the USB drive.
- Wait for the file transfer to complete. The time it takes will depend on the size of the files and the speed of your USB drive.
- Once the transfer is finished, safely eject the USB drive from your computer. On Windows, you can do this by right-clicking on the drive and selecting the “Eject” option. On macOS, you can drag the USB drive icon into the trash can, or use the “Eject” button in Finder.
Now, your downloaded Netflix files are successfully transferred to the USB drive. You can safely disconnect the USB drive from your computer and use it to watch your favorite movies or TV shows on any compatible device that supports USB playback.
With the files securely stored on the USB drive, you have the flexibility to enjoy Netflix content offline at your convenience. In the next step, we’ll discuss how you can play the downloaded movies or TV shows anywhere.
Step 7: Enjoy Netflix Movies Anywhere
Now that you have successfully transferred the downloaded Netflix movies or TV shows to your USB drive, you can enjoy them anywhere, even without an internet connection. Follow these steps to watch Netflix movies on any compatible device:
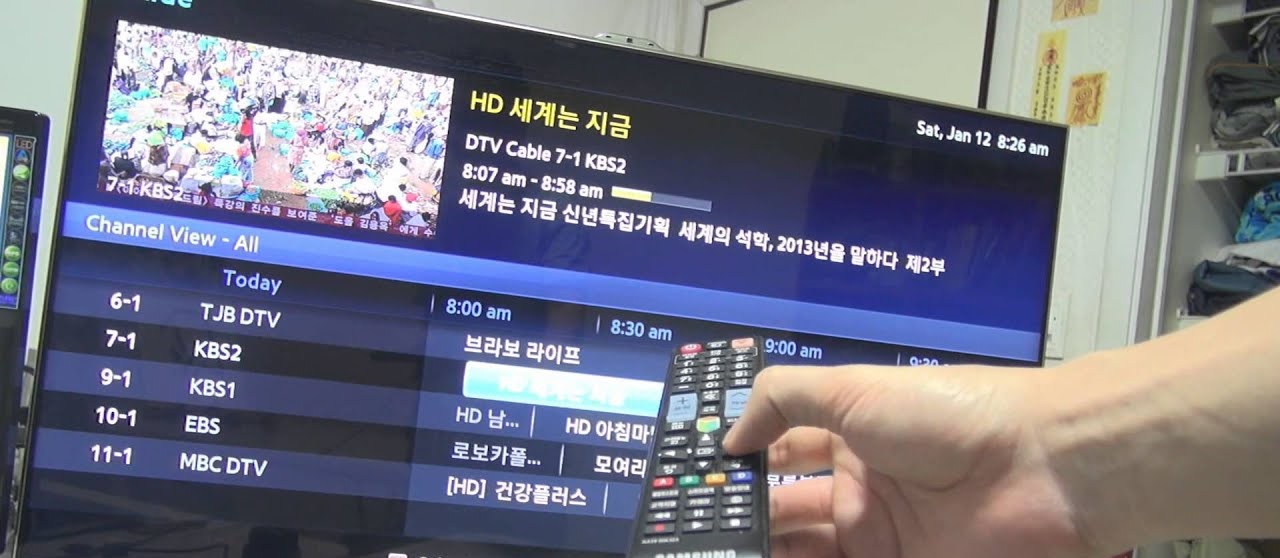
- Insert the USB drive into the USB port of the device on which you want to watch the downloaded content. This can be a smart TV, a media player, a gaming console, or any other device that supports USB playback.
- Using the device’s remote or control panel, navigate to the USB drive or external storage section. This may be listed as “USB,” “External Storage,” or something similar, depending on the device.
- Locate and select the downloaded Netflix files on the USB drive. You should see the file names or thumbnails of the movies or TV shows you transferred.
- Click or press play to start watching the selected title. You can use the device’s media player controls to pause, rewind, fast forward, or adjust the volume as desired.
- Enjoy your favorite Netflix movies or TV shows offline, anywhere you go.
By transferring the downloaded Netflix content to a USB drive, you have the flexibility to watch your favorite shows on a variety of devices with USB playback support. Whether you’re traveling, have limited internet access, or simply prefer a bigger screen for your viewing experience, the USB drive allows you to have your entertainment at your fingertips.
Remember that the downloaded Netflix content has an expiration date. If you don’t finish watching a movie or TV show within the allocated time (usually 48 hours), it will expire and you’ll need to download it again to continue watching.
Now that you have completed all the steps, you have learned how to download Netflix movies to a USB drive, convert the files, transfer them to a USB drive and enjoy your favorite shows offline. Start exploring and watching your downloaded content, whether it’s during a long flight, a road trip, or simply in the comfort of your own home.