Introduction
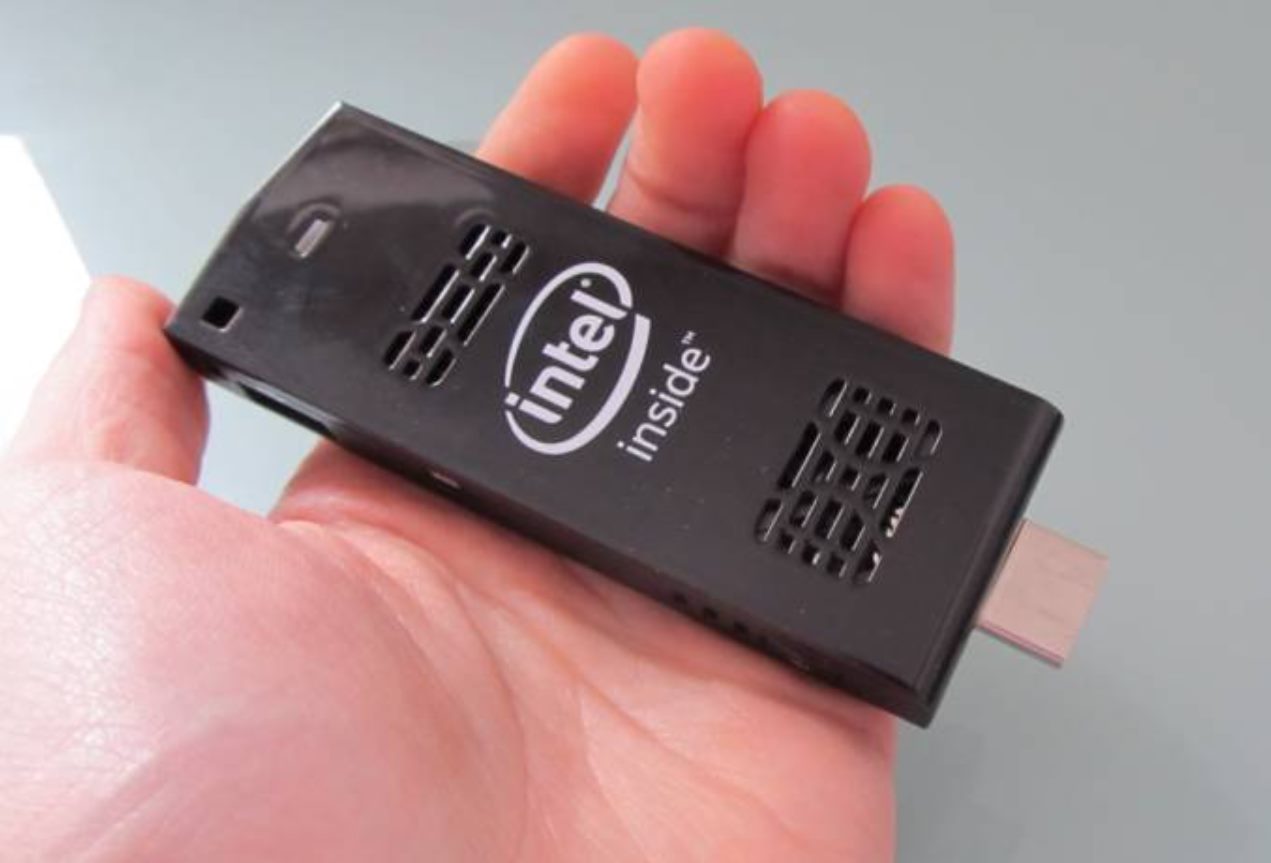
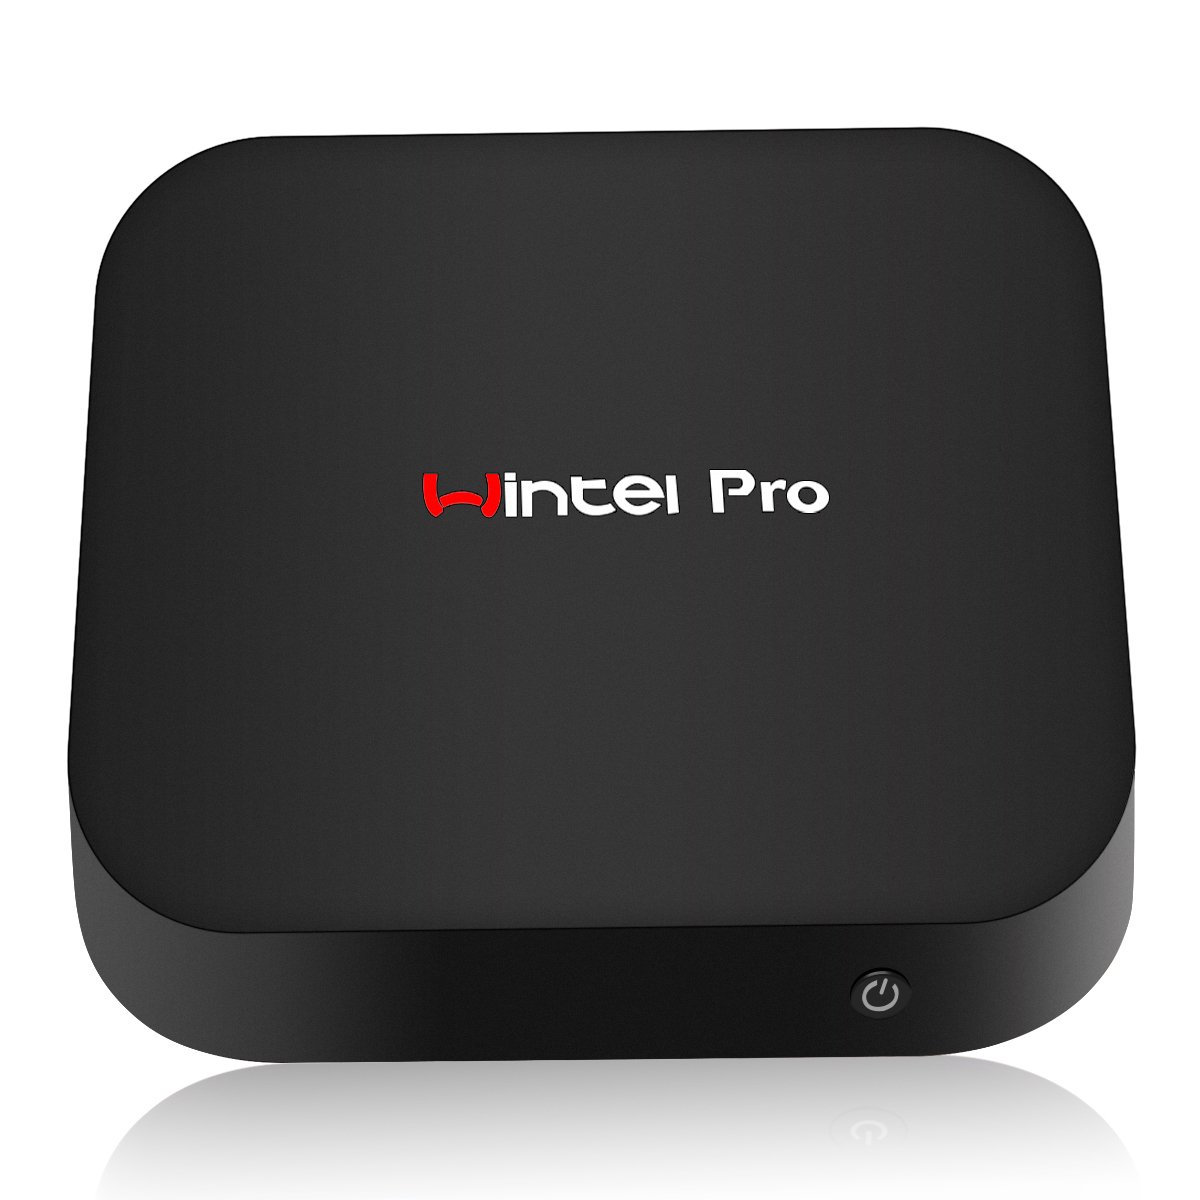
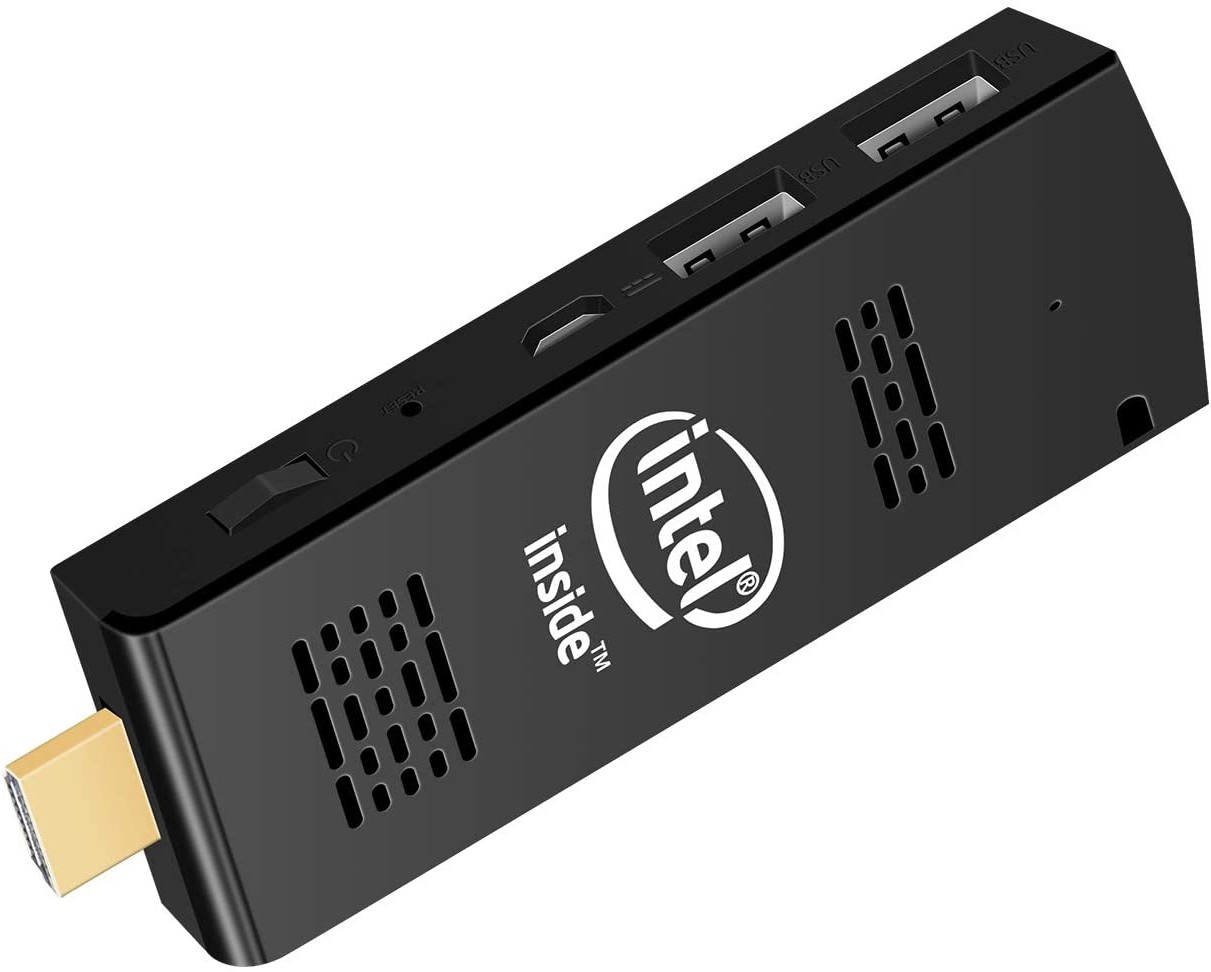
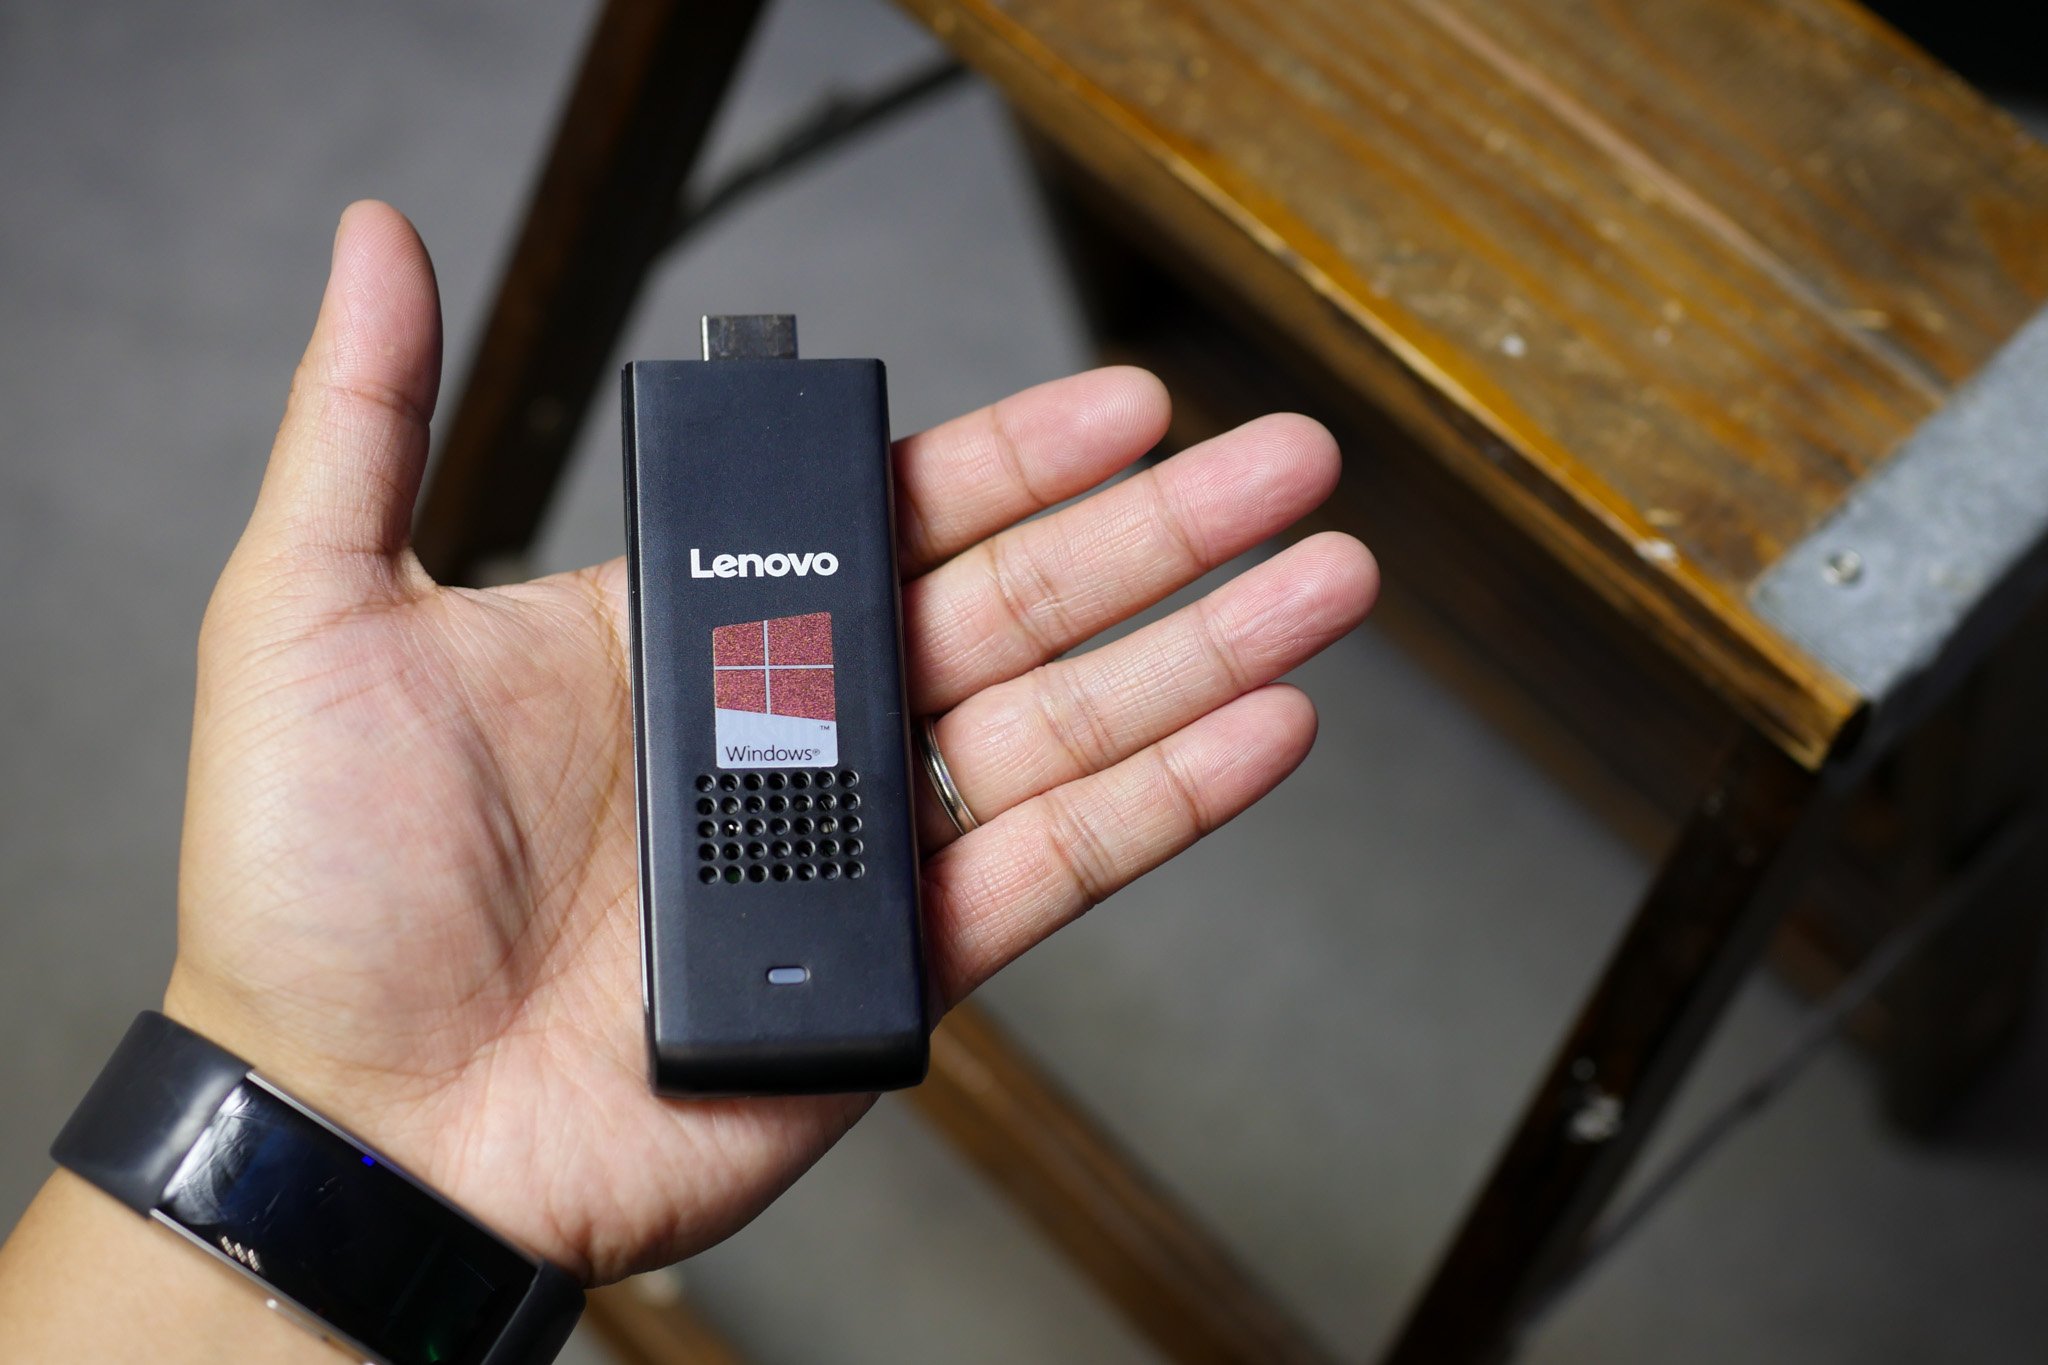
Welcome to the world of Wintel Mini PC Compute Stick! This powerful and compact device is designed to bring the full functionality of a desktop computer to the palm of your hand. However, despite its impressive capabilities, there may come a time when you need to restore the Windows 10 operating system on your Wintel Mini PC Compute Stick. Whether it’s due to a system error, malware infection, or simply wanting a fresh start, this guide will walk you through the process of restoring Windows 10 on your device.
Restoring the Windows 10 operating system on your Wintel Mini PC Compute Stick can help resolve issues and bring your device back to optimal performance. It is also a useful step to take if you plan on selling or donating your device, ensuring that any personal information is securely erased. In this step-by-step guide, we will cover the necessary preparations and walk you through the process of restoring Windows 10 on your Wintel Mini PC Compute Stick.
Please note that restoring Windows 10 will erase all data on your device, so it is crucial to back up any important files before proceeding. Additionally, this guide assumes that you have access to a USB drive and a stable internet connection. Now, let’s dive into the process of restoring Windows 10 on your Wintel Mini PC Compute Stick!
Backup Your Data
Before you proceed with restoring your Windows 10 operating system on your Wintel Mini PC Compute Stick, it is crucial to back up your data to prevent any potential loss. By following these steps, you can ensure that your important files, documents, and personal information are safely stored:
- Identify your important files: Take some time to identify the files and data that are important to you. This may include documents, photos, videos, music, and any other files that you don’t want to lose.
- Transfer your data to an external storage device: Connect an external USB drive or use cloud storage services to transfer your important files. You can simply drag and drop the files onto the external drive or sync them to a cloud storage platform.
- Confirm that your data has been backed up: Once the data transfer is complete, double-check that all your important files are safely stored on the external drive or in the cloud. This will provide peace of mind when you proceed with restoring your Windows 10 operating system.
By taking the time to back up your data, you can ensure that no important files or information are lost during the restoration process. It’s always better to be safe than sorry, and having a backup of your data allows you to easily restore it later.
Now that you’ve successfully backed up your data, you’re ready to move on to the next step: downloading the Windows 10 ISO file.
Download the Windows 10 ISO File
In order to restore the Windows 10 operating system on your Wintel Mini PC Compute Stick, you will need to download the Windows 10 ISO file. This file contains the complete installation package for Windows 10 and will be used to create a bootable USB drive. Follow these steps to download the Windows 10 ISO file:
- Access the Microsoft website: Open your preferred web browser and navigate to the official Microsoft website.
- Go to the Windows 10 download page: On the Microsoft website, locate the “Windows 10” section and click on the “Download” button.
- Select the desired edition: On the Windows 10 download page, you will be presented with the different editions of Windows 10. Choose the edition that matches the one previously installed on your Wintel Mini PC Compute Stick.
- Choose the language and architecture: After selecting the edition, you will be prompted to choose the desired language and architecture (32-bit or 64-bit). Make the appropriate selections and proceed to the next step.
- Initiate the download: Click on the “Download” button to start downloading the Windows 10 ISO file. The file size may vary, so ensure that you have a stable internet connection and enough free space on your device to accommodate the download.
- Verify the downloaded file: Once the download is complete, double-check the integrity of the downloaded file by verifying its checksum or comparing it against the official Microsoft checksum provided on the download page.
By following these steps, you will successfully download the Windows 10 ISO file that is required to restore your operating system on the Wintel Mini PC Compute Stick.
Now that you have the Windows 10 ISO file, the next step is to create a bootable USB drive to initiate the restoration process.
Create a Bootable USB Drive
Creating a bootable USB drive is an essential step to restore the Windows 10 operating system on your Wintel Mini PC Compute Stick. Follow these instructions to create a bootable USB drive:
- Prepare a USB drive: Insert a USB drive with a storage capacity of at least 8GB into your computer. Make sure the USB drive does not contain any important data, as it will be formatted during the process.
- Download a reliable USB creation tool: Search the internet for a reliable USB creation tool. Some popular options include Rufus and Windows USB/DVD Download Tool.
- Open the USB creation tool: Launch the USB creation tool that you have downloaded and installed on your computer.
- Select the Windows 10 ISO file: In the USB creation tool, locate the option to browse for the Windows 10 ISO file. Click on this option and navigate to the location where you saved the downloaded Windows 10 ISO file.
- Choose the USB drive: In the USB creation tool, select the USB drive that you inserted earlier. Ensure that you have selected the correct USB drive, as the tool will format and erase all data on the selected drive.
- Start the creation process: Once you have selected the Windows 10 ISO file and the USB drive, click on the “Create” or “Start” button to initiate the creation process. This process may take some time to complete.
- Confirm the bootable USB drive: After the creation process is finished, the USB drive will be ready to use as a bootable device to restore the Windows 10 operating system on your Wintel Mini PC Compute Stick.
By following these steps, you will successfully create a bootable USB drive that contains the Windows 10 operating system. This bootable USB drive will be essential in the next steps of restoring Windows 10 on your Wintel Mini PC Compute Stick.
Now that you have a bootable USB drive ready, the next step is to boot your Wintel Mini PC Compute Stick from the USB drive.
Boot from the USB Drive
Booting your Wintel Mini PC Compute Stick from the USB drive is a crucial step in the process of restoring the Windows 10 operating system. Follow these steps to successfully boot from the USB drive:
- Insert the bootable USB drive: Ensure that your Wintel Mini PC Compute Stick is turned off. Insert the bootable USB drive that you created in the previous step into one of the available USB ports on the device.
- Power on your device: Press the power button on your Wintel Mini PC Compute Stick to turn it on. As it powers up, pay close attention to the screen for any prompt or message related to the boot options.
- Access the BIOS/UEFI settings: Depending on the manufacturer and model of your Wintel Mini PC Compute Stick, you may need to access the BIOS or UEFI settings to change the boot order and prioritize the USB drive. Typically, you can access these settings by pressing a specific key during the boot process. Common keys include F2, F10, or Delete.
- Change the boot order: Once you are in the BIOS/UEFI settings, navigate to the boot options or boot order section. Change the boot order to prioritize the USB drive as the first boot device. Save the changes and exit the BIOS/UEFI settings.
- Restart your device: After saving the changes in the BIOS/UEFI settings, restart your Wintel Mini PC Compute Stick. It will now boot from the USB drive.
- Follow the on-screen instructions: Upon successful booting from the USB drive, you will be presented with the Windows 10 installation screen. Follow the on-screen instructions to proceed with the restoration process.
By following these steps, your Wintel Mini PC Compute Stick will boot from the USB drive, allowing you to proceed with restoring the Windows 10 operating system. It’s important to note that the exact steps and key combinations may vary depending on your specific device model, so refer to the manufacturer’s documentation if you encounter any difficulties.
Once your device has successfully booted from the USB drive, you can move on to the next step: accessing the recovery options.
Access the Recovery Options
After booting your Wintel Mini PC Compute Stick from the USB drive, it’s time to access the recovery options. These options will allow you to restore the Windows 10 operating system on your device. Follow these steps to access the recovery options:
- Choose your language preferences: On the Windows 10 installation screen, select your preferred language and keyboard layout.
- Select “Repair your computer”: Click on the “Repair your computer” link or button located on the installation screen. This will launch the recovery options.
- Choose “Troubleshoot”: On the recovery options screen, click on the “Troubleshoot” option. This will provide you with additional options to restore your Windows 10 operating system.
- Select “Reset this PC”: Under the “Troubleshoot” menu, click on the “Reset this PC” option. This will allow you to reset your device back to its factory settings.
- Choose between “Keep my files” or “Remove everything”: Depending on your preferences, select either “Keep my files” or “Remove everything.” The former will keep your personal files, while the latter will remove all files and settings on your device.
- Follow the on-screen instructions: Once you have made your selection, follow the on-screen instructions to proceed with the reset process. This may involve confirming your selection, verifying your identity, and waiting for the process to complete.
By following these steps, you will successfully access the recovery options and be ready to restore the Windows 10 operating system on your Wintel Mini PC Compute Stick. It’s important to note that the exact steps and options may vary slightly depending on the version of Windows 10 and the specific device model.
Once the restoration process is complete, you can move on to the next step: reinstalling Windows 10 on your Wintel Mini PC Compute Stick.
Reinstall Windows 10
Now that you have accessed the recovery options and are ready to restore your Wintel Mini PC Compute Stick, it’s time to reinstall the Windows 10 operating system. Follow these steps to successfully reinstall Windows 10:
- Select your operating system: On the recovery options screen, choose the version of Windows 10 that you want to install. This should match the edition you previously had installed on your device.
- Choose your installation type: Next, select the installation type. You can choose between a clean install or an upgrade. A clean install will remove all files and settings, while an upgrade will keep your files and applications intact.
- Follow the on-screen prompts: The installation process will guide you through a series of on-screen prompts. Read each prompt carefully and follow the instructions provided. You may be asked to enter your license key, agree to the terms and conditions, and choose additional settings.
- Wait for the installation to complete: Once you have made all the necessary selections, sit back and wait for the installation process to complete. This may take some time, so be patient.
- Set up Windows 10: After the installation is complete, you will be prompted to set up Windows 10. This includes creating user accounts, choosing privacy settings, and customizing your preferences.
By following these steps, you will successfully reinstall the Windows 10 operating system on your Wintel Mini PC Compute Stick. Once the installation is complete, your device will be back to its original state with a fresh copy of Windows 10.
Now that you have reinstalled Windows 10, the final step is to restore your backed-up data.
Restore Your Data
After reinstalling the Windows 10 operating system on your Wintel Mini PC Compute Stick, it’s time to restore your backed-up data. Follow these steps to successfully restore your data:
- Connect your external storage device: If you backed up your data onto an external USB drive or stored it in the cloud, connect the external storage device to your Wintel Mini PC Compute Stick.
- Transfer your backed-up data: Depending on where you stored your data, you can simply copy and paste the files from the external storage device back onto your device. Alternatively, if you used a cloud storage service, you can download the files from the cloud onto your device.
- Organize and verify your restored data: Once the data transfer is complete, take some time to organize your files and ensure that all the important data you backed up has been successfully restored. Double-check that your files are intact and accessible.
By following these steps, you will successfully restore your backed-up data onto your Wintel Mini PC Compute Stick. This will allow you to regain access to your important files, documents, photos, and any other data you backed up before restoring the operating system.
It’s important to note that restoring your data may require reconfiguring certain applications, such as email clients or productivity software. Make sure to reinstall any necessary software and configure it according to your preferences.
With your data successfully restored, your Wintel Mini PC Compute Stick is now ready for use with a fresh installation of Windows 10 and all your important files at your fingertips.
Conclusion
Restoring the Windows 10 operating system on your Wintel Mini PC Compute Stick might seem like a daunting task, but with the right knowledge and guidance, it can be a straightforward process. By following the steps outlined in this guide, you can successfully restore your device and get it back to optimal performance.
We started by emphasizing the importance of backing up your data before proceeding with the restoration process. This ensures that no important files or information are lost along the way. By identifying your important files and transferring them to an external storage device or cloud storage service, you can confidently proceed with the restoration process knowing that your data is safe.
We then walked you through the process of downloading the Windows 10 ISO file, creating a bootable USB drive, and booting your Wintel Mini PC Compute Stick from the USB drive. These steps are essential for initiating the restoration process and preparing your device for the reinstallation of Windows 10.
You learned how to access the recovery options and choose the appropriate settings to reinstall Windows 10 on your device. This involved navigating through the on-screen prompts and making selections that align with your preferences.
Finally, we discussed the importance of restoring your backed-up data. By connecting your external storage device or downloading your data from the cloud, you can effortlessly transfer your files back onto your device and ensure that your important data is readily accessible.
By following these steps, you have successfully restored the Windows 10 operating system on your Wintel Mini PC Compute Stick. Your device is now refreshed and ready for use with all your important files and settings intact.
Remember, each device may have slight variations in the process, so always refer to the manufacturer’s documentation for specific instructions. As you embark on this restoration journey, we hope you have gained valuable insights and confidence in carrying out the process.
Thank you for choosing our guide to restore Windows 10 on your Wintel Mini PC Compute Stick! We hope your device performs flawlessly and meets all your computing needs.


