Introduction
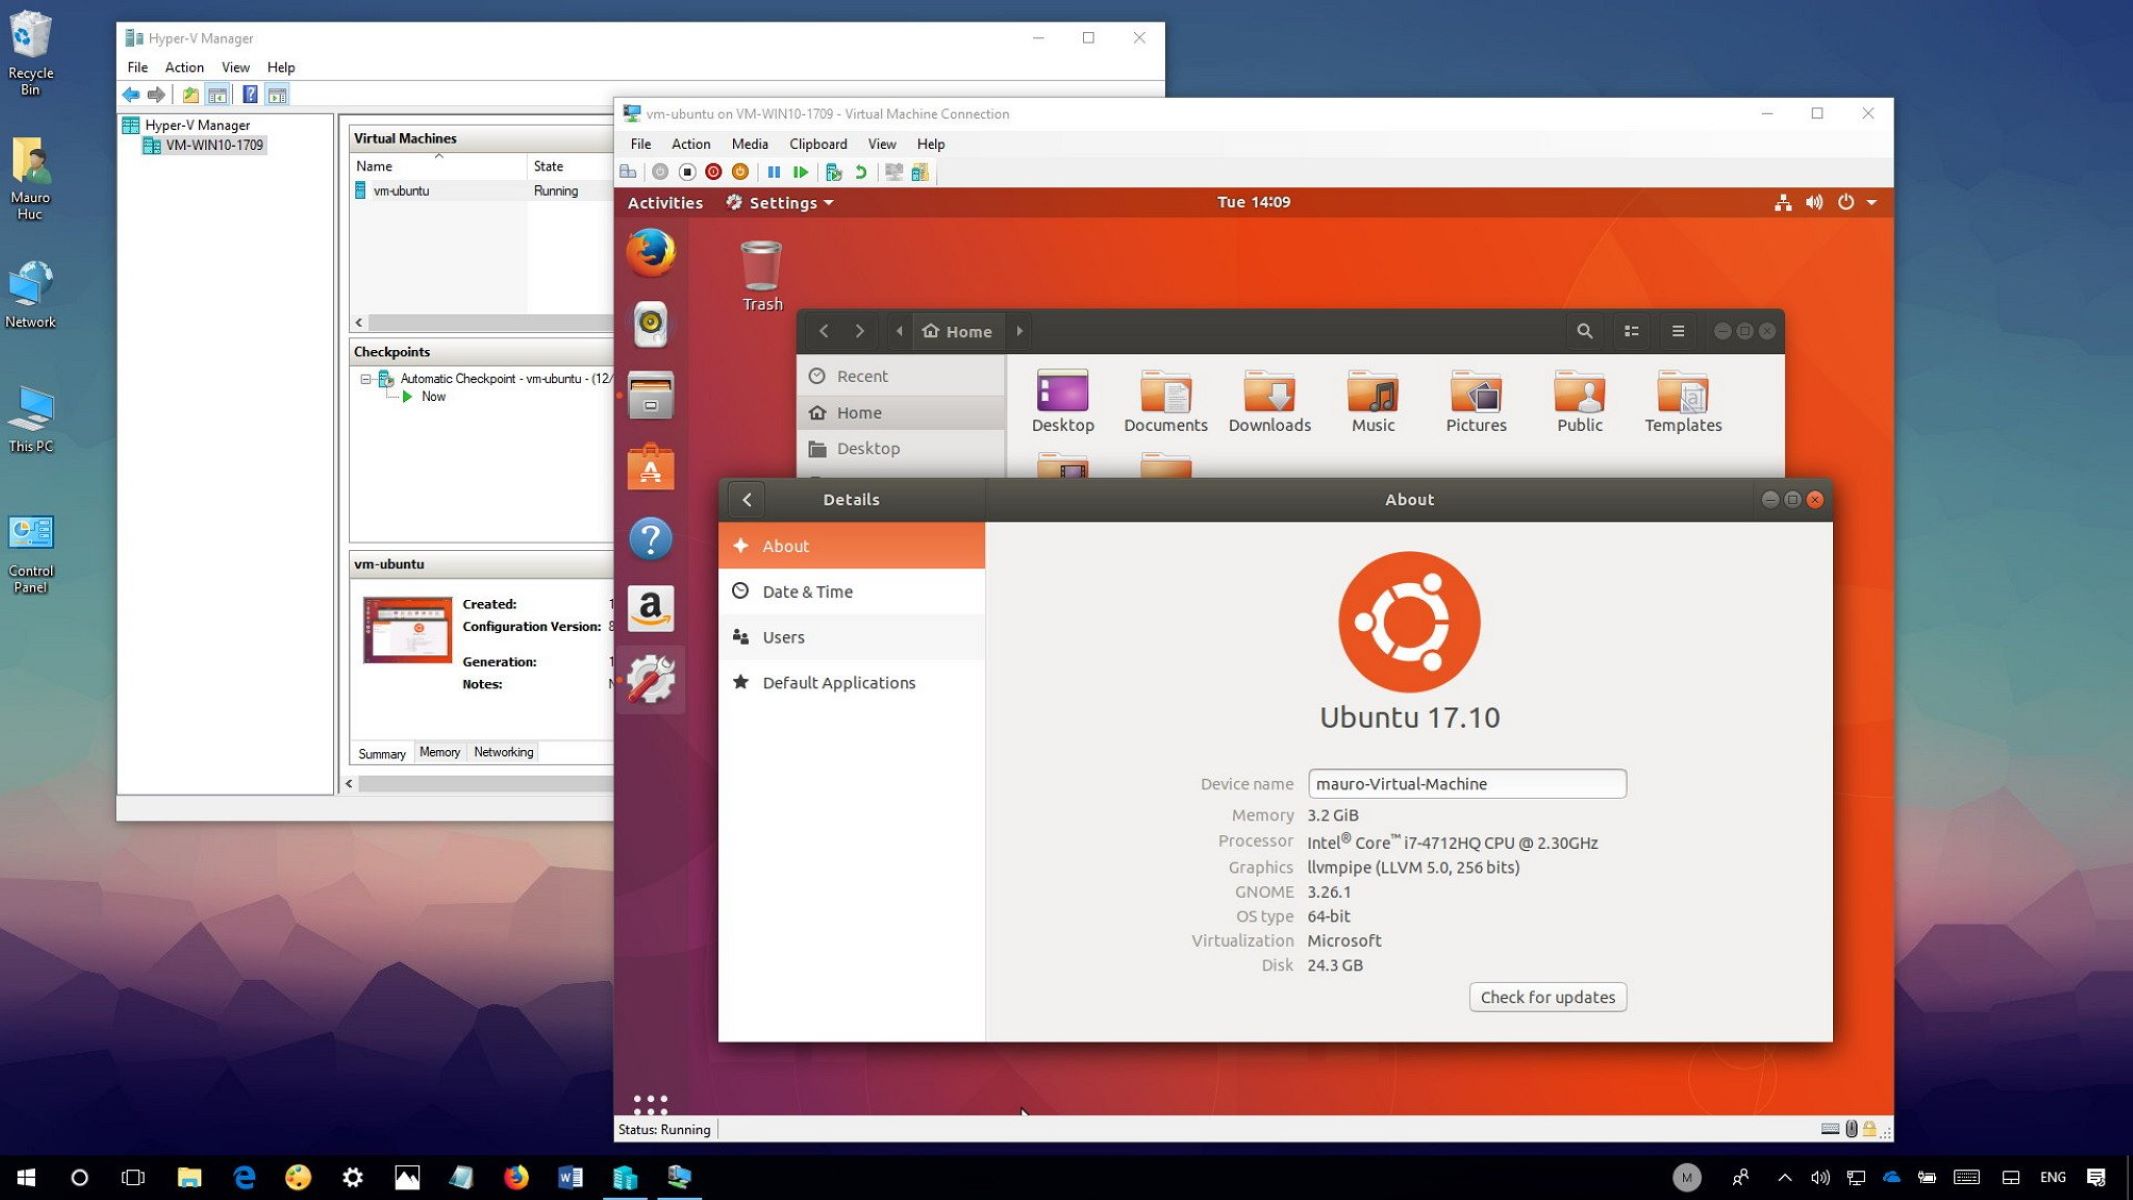
Linux is a popular open-source operating system that offers users a highly customizable and stable platform for various computing needs. While Windows 10 is widely used, some users may find themselves wanting to explore Linux for its flexibility and vast software options. Thankfully, it is possible to install Linux alongside Windows 10, allowing users to enjoy the best of both worlds.
Setting up a dual boot system with Linux and Windows 10 enables you to switch between the two operating systems depending on your needs. Whether you want to dive into the world of coding, develop software, or simply experiment with a new environment, installing Linux on your Windows 10 machine can open up a plethora of possibilities.
In this step-by-step guide, we will walk you through the process of installing Linux on your Windows 10 computer, ensuring that both operating systems can coexist peacefully. Before we dive into the installation process, it is important to familiarize yourself with the system requirements and preparations needed to ensure a smooth installation process.
System Requirements
Before installing Linux on your Windows 10 computer, it is important to ensure that your system meets the necessary requirements. This will help ensure a seamless installation process and optimal performance. Here are the basic system requirements you should consider:
- Processor: A modern Intel or AMD processor with at least 2 cores is recommended. The more powerful the processor, the better the performance you can expect.
- Memory (RAM): Linux distributions typically require a minimum of 2GB of RAM. However, for a smoother experience, it is recommended to have at least 4GB or more.
- Storage Space: Linux distributions require a minimum of 20GB of free disk space. It is advisable to have more space available for software installations, updates, and personal files.
- Graphics Card: Most Linux distributions work well with integrated graphics. However, if you plan to use graphics-intensive applications or play games, a dedicated graphics card is recommended.
- Internet Connection: A stable internet connection is essential for downloading the Linux distribution and updates during the installation process. It is also necessary for software updates and accessing online resources.
- Backup: It is always a good practice to create a backup of your important files and data before installing Linux. This can help avoid potential data loss during the installation process.
It’s important to note that these are general system requirements, and specific distributions may have additional or varying requirements. It’s recommended to check the official documentation or website of the Linux distribution you plan to install for more detailed system requirements.
With your system meeting the required specifications, you can now proceed to the next steps of creating a bootable USB or DVD and disabling Secure Boot on your Windows 10 computer.
Step 1: Create a Bootable USB or DVD
In order to install Linux on your Windows 10 computer, you will need to create a bootable USB or DVD with the Linux distribution of your choice. This will allow you to boot your computer from the USB or DVD and initiate the installation process. Here’s how you can create a bootable USB or DVD:
- Select a Linux Distribution: First, decide which Linux distribution you want to install. There are various popular options available, such as Ubuntu, Fedora, and Linux Mint. Visit the official website of your chosen distribution and download the ISO file.
- Obtain a USB Drive or DVD: Next, you will need a USB drive with a minimum capacity of 4GB or a blank DVD. Make sure the USB drive is empty, as all data on it will be erased during the process. If you prefer using a DVD, ensure that it is writable.
- Download and Use a Bootable USB/DVD Creation Tool: To create a bootable USB or DVD, you can use dedicated software like Rufus, UNetbootin, or Etcher. These tools allow you to easily create a bootable USB or DVD by selecting the ISO file and the USB or DVD drive. Follow the instructions provided by the tool to create the bootable media.
- Set the Boot Priority: After creating the bootable USB or DVD, you need to configure your computer’s boot priority. Restart your computer and access the BIOS settings by pressing a specific key, such as F2 or Del, during the startup process. In the BIOS settings, locate the boot priority settings and set the USB or DVD drive as the first boot option. Save the changes and exit the BIOS.
- Boot from USB or DVD: Insert the bootable USB drive or DVD into your computer and restart it. Your computer should now boot from the USB or DVD drive. If it doesn’t, you may need to press a specific key, such as F12 or Esc, during the startup process to access the boot menu and select the USB or DVD drive.
Once your computer successfully boots from the USB or DVD, you are ready to proceed with the installation of Linux on your Windows 10 computer. The next step is to disable Secure Boot, which we will cover in the following section.
Step 2: Disable Secure Boot
Secure Boot is a security feature in Windows 10 that prevents unauthorized operating systems from being loaded during the boot process. However, since you want to install Linux alongside Windows 10, you will need to disable Secure Boot to allow the Linux installer to boot successfully. Here’s how you can disable Secure Boot:
- Access the BIOS Settings: Restart your computer and enter the BIOS settings by pressing a specific key, such as F2 or Del, during the startup process. The key may vary depending on your computer’s manufacturer, so refer to the documentation or search online for the specific key for your system.
- Find the Secure Boot Option: In the BIOS settings, navigate to the “Security” or “Boot” tab and look for the Secure Boot option. It may be located under a different name, such as “UEFI Boot” or “Boot Mode”.
- Disable Secure Boot: Once you have located the Secure Boot option, change it from “Enabled” to “Disabled”. Save the changes and exit the BIOS settings. The computer will restart.
It’s important to note that the steps to disable Secure Boot can vary depending on your computer’s manufacturer and BIOS version. If you’re unsure about the exact steps, refer to the manufacturer’s documentation or visit their support website for specific instructions related to your computer model.
With Secure Boot disabled, your computer is now ready for the Linux installation process. The next step is to shrink the Windows partition to create space for the Linux installation, which we will cover in the following section.
Step 3: Shrink the Windows Partition
In order to create space for the Linux installation, you will need to shrink the existing Windows partition on your computer. This will allow you to allocate a portion of the hard drive for the Linux operating system. Here’s how you can shrink the Windows partition:
- Open Disk Management: Press
Win + Xon your keyboard and select “Disk Management” from the menu that appears. This will open the Disk Management tool. - Select the Windows Partition: In the Disk Management window, locate the partition that contains your Windows installation. It is usually labeled as “C:\” and is marked as the “Primary” partition.
- Shrink the Partition: Right-click on the Windows partition and select “Shrink Volume…” from the context menu. The tool will calculate the amount of space that can be shrunk from the partition.
- Specify the Shrink Size: In the “Enter the amount of space to shrink in MB” field, enter the desired size for the new partition that will be allocated to Linux. Keep in mind that the size should be large enough to accommodate the Linux distribution you plan to install, as well as any additional software or files you may need.
- Complete the Shrink Process: Click “Shrink” to start the shrinking process. The tool will reconfigure the partition and create unallocated space next to the Windows partition.
It’s important to note that the shrinking process may take some time, depending on the size of the partition and the performance of your computer. Be patient and avoid interrupting the process to prevent any data loss or system instability.
With the Windows partition successfully shrunk, you now have unallocated space on your hard drive that can be used for the Linux installation. In the next step, we will guide you through the process of creating a new partition for Linux.
Step 4: Create a New Partition for Linux
Now that you have successfully shrunk the Windows partition and created unallocated space, it’s time to create a new partition specifically for the Linux operating system. This will ensure that Linux has its own dedicated space on your computer’s hard drive. Here’s how you can create a new partition for Linux:
- Open Disk Management: Press
Win + Xon your keyboard and select “Disk Management” from the menu that appears. This will open the Disk Management tool. - Right-click on the Unallocated Space: In the Disk Management window, locate the unallocated space that you created in the previous step. Right-click on it and select “New Simple Volume…” from the context menu.
- Follow the Wizard: The New Simple Volume Wizard will guide you through the process of creating the new partition. Click “Next” to proceed.
- Specify the Partition Size: In the “Simple volume size in MB” field, enter the size for the Linux partition. Make sure to allocate enough space to accommodate the Linux distribution, as well as any additional software or files you might need.
- Assign a Drive Letter: You can either accept the default drive letter or choose a different one. Select an appropriate drive letter and click “Next” to continue.
- Choose a File System: Select “Format this volume with the following settings” and choose a file system for the Linux partition. Most Linux distributions use the ext4 file system, so it is recommended to select this option.
- Complete the Process: Review the settings and click “Finish” to complete the process. The new partition will be created, and you will now have separate space for Linux on your computer’s hard drive.
With the new partition prepared, you are ready to proceed with the Linux installation. In the next step, we will guide you through the process of downloading a Linux distribution.
Step 5: Download a Linux Distribution
Now that you have prepared your computer by creating a new partition for Linux, it’s time to download the Linux distribution of your choice. There are numerous distributions available, each with its own unique features and software packages. Here’s how you can download a Linux distribution:
- Select a Linux Distribution: Visit the official website of your preferred Linux distribution. Popular options include Ubuntu, Fedora, Linux Mint, and Debian. Browse through the available distributions and choose the one that best fits your needs.
- Download the ISO File: Once you have chosen the Linux distribution, locate the download section on the website. Look for the ISO file, which contains the complete installation image of the distribution. Click on the appropriate link to start the download.
- Choose the Architecture: Linux distributions typically offer both 32-bit and 64-bit versions. Make sure to choose the version that matches your computer’s architecture. Most modern computers use a 64-bit architecture.
- Verify the Download: It is good practice to verify the integrity of the downloaded file to ensure that it hasn’t been corrupted during the download process. Many Linux distribution websites provide checksums or hashes that you can use to verify the downloaded file.
Downloading a Linux distribution may take some time, depending on the size of the ISO file and the speed of your internet connection. While you wait for the download to complete, you can proceed to the next step, which is the actual installation of the Linux distribution on your computer.
Step 6: Install Linux
Now that you have downloaded the Linux distribution and prepared your computer for installation, it’s time to install Linux on your Windows 10 machine. The installation process may vary slightly depending on the distribution you have chosen, but the general steps remain the same. Here’s how you can install Linux:
- Boot from the Bootable USB/DVD: Insert your bootable USB or DVD into your computer, then restart the system. Make sure the USB or DVD drive is set as the first boot option in the BIOS settings. Your computer should now boot into the Linux installation media.
- Choose the Language and Keyboard Layout: Select your preferred language and keyboard layout when prompted. These settings will be used during the installation and when the Linux system is running.
- Start the Installation: Click on the “Install” option to start the installation process. You may also have the option to try the Linux distribution before installing it. Choose the appropriate option based on your preference.
- Follow the Installation Wizard: The installation wizard will guide you through the installation process. You will be prompted to select the installation type, such as installing alongside Windows or using the entire disk. Choose the option that suits your needs and follow the on-screen instructions.
- Configure the Partition: If you chose to install Linux alongside Windows, you will be prompted to choose the partition where Linux will be installed. Select the partition you created in the earlier steps and proceed with the installation.
- Set Up User Account and Password: Create a user account and password for your Linux system. This account will be used to log in to the system after the installation is complete.
- Install Additional Software: Depending on the Linux distribution, you may have the option to install additional software or select software packages during the installation. Choose the desired options and proceed.
- Wait for the Installation to Complete: The installation may take some time to complete. Wait for the progress bar to reach 100% and for any post-installation tasks to finish.
Once the installation is complete, you will be prompted to restart your computer. Remove the USB or DVD from the drive and restart your computer. Your system will now boot into the Linux operating system, which you can enjoy alongside your existing Windows 10 installation.
Congratulations! You have successfully installed Linux on your Windows 10 computer. In the next step, we will guide you through configuring the dual boot options.
Step 7: Configure Dual Boot Options
After successfully installing Linux alongside Windows 10, it’s important to configure the dual boot options. This will allow you to choose which operating system to boot into each time you start your computer. Here’s how you can configure the dual boot options:
- Boot into Linux: Restart your computer and let it boot into the Linux operating system. Once you are in the Linux system, you will need to modify the bootloader configuration.
- Modify Bootloader Configuration: Open the terminal or command prompt and enter the following command:
sudo nano /etc/default/grub - Edit Bootloader Configuration: In the file that opens, locate the line that starts with
GRUB_DEFAULT=. Change the value inside the parentheses to the desired operating system you want to set as the default. This value typically corresponds to the order in which the operating systems are listed in the boot menu, starting from 0. - Save and Exit: Press
Ctrl + Xto exit nano, then pressYto save the changes, and pressEnterto confirm the filename. - Update Grub: Run the following command to update the grub bootloader:
sudo update-grub - Restart Your Computer: After updating the grub bootloader, you can now restart your computer. The boot menu should now show the operating systems available for selection.
- Choose the Operating System: When your computer starts, it will display a boot menu that allows you to select the operating system to boot into. Use the arrow keys to highlight the desired operating system and press
Enterto boot into it.
By configuring the dual boot options, you have the flexibility to switch between Windows 10 and Linux based on your needs and preferences. You can now enjoy the benefits of both operating systems and explore the unique features and capabilities offered by each.
Congratulations! You have successfully configured the dual boot options on your Windows 10 computer. Take some time to familiarize yourself with both operating systems and customize them to suit your workflow. Whether you need to work on Windows-specific applications or dive into the world of Linux, the dual boot setup allows you to have the best of both worlds.
Conclusion
Installing Linux alongside your Windows 10 operating system can provide you with a versatile and powerful computing environment. By following the steps outlined in this guide, you have learned how to create a bootable USB or DVD, disable Secure Boot, shrink the Windows partition, create a new partition for Linux, download a Linux distribution, install Linux, and configure dual-boot options.
Having a dual boot setup allows you to take advantage of the strengths of both Windows 10 and Linux. Windows 10 offers a wide range of software compatibility and familiar user interface, while Linux brings open-source flexibility and a vast software library for developers, enthusiasts, and users looking for greater customization.
Remember to check the system requirements for your chosen Linux distribution before proceeding with the installation. Each distribution may have additional steps or variations in the installation process, so it is always a good idea to consult the official documentation or community forums for any specific instructions or troubleshooting.
With Linux installed alongside Windows 10, you can explore a variety of applications, programming environments, and tools that Linux offers. This includes software development, server management, data analysis, scientific research, and more. Maximize your productivity and unleash your creativity by tapping into the vast ecosystem and robust capabilities of both operating systems.
If you ever decide to remove Linux from your system, you can easily do so by following the reverse steps outlined in this guide or utilizing the built-in tools and options available in Windows 10.
Remember to regularly update both your Windows 10 and Linux installations to ensure that you have the latest security patches, bug fixes, and feature updates for a smooth and secure computing experience.
Enjoy the power and versatility of your dual boot system and make the most out of the benefits offered by both Windows 10 and Linux!


