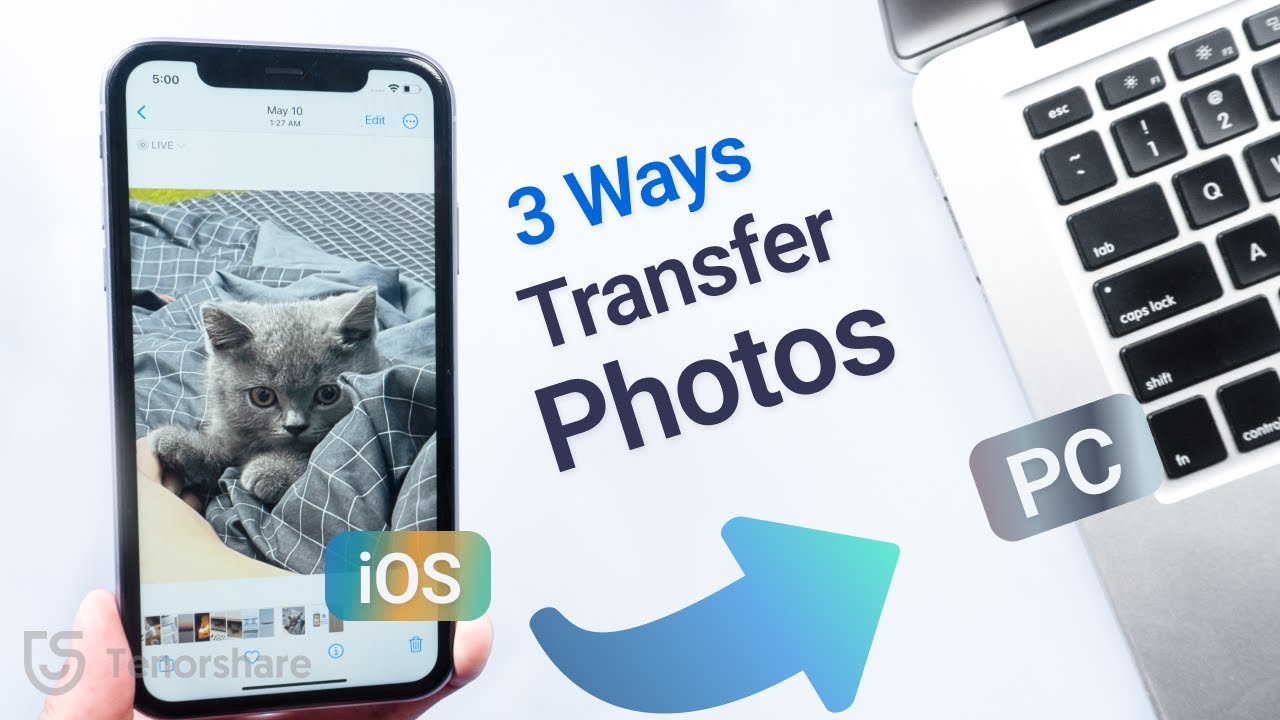
Introduction
Welcome to the digital age, where capturing precious moments on our smartphones has become an integral part of our lives. Whether it’s a stunning landscape, a funny pet video, or an unforgettable family gathering, our phones are filled with a treasure trove of pictures and videos. But what happens when you want to transfer them from your phone to your computer? Fear not, as we’ve got you covered.
In this step-by-step guide, we will explore different methods to download pictures and videos from your phone to your computer. You’ll learn how to connect your phone to your computer, transfer files using a USB cable, and even transfer them wirelessly. With these simple techniques at your disposal, you’ll be able to store, organize, and share your precious memories more conveniently than ever before.
So, whether you’re an aspiring photographer, a social media enthusiast, or just someone who wants to free up space on your phone, let’s embark on this journey of seamless file transfer. Get ready to unlock new possibilities and unleash your creativity as we dive into the world of transferring pictures and videos from your phone to your computer.
Step 1: Connect Your Phone to Your Computer
Before you can transfer pictures and videos from your phone to your computer, you’ll need to establish a connection between the two devices. There are several ways to achieve this, depending on the make and model of your phone, as well as the type of computer you’re using. Let’s explore some common methods:
- USB Cable: The most straightforward way to connect your phone to your computer is by using a USB cable. Most modern smartphones come with a USB cable that can be connected to the USB port on your computer. Simply plug one end of the cable into your phone and the other end into an available USB port on your computer.
- Wireless Connection: Some phones offer the option to connect to your computer wirelessly. This can be done using Wi-Fi, Bluetooth, or a dedicated app. Consult your phone’s user manual or the manufacturer’s website to learn how to enable wireless connectivity.
Once you’ve established a connection between your phone and computer, you’re ready to move on to the next step. Whether you choose to use a USB cable or a wireless connection, make sure both devices are connected and recognized by each other before proceeding. This will ensure a smooth and uninterrupted transfer process.
Now that we have laid the foundation for connecting your phone to your computer, let’s move on to the next step: transferring pictures from your phone to your computer using a USB cable.
Step 2: Transfer Pictures from Phone to Computer using USB Cable
Transferring pictures from your phone to your computer using a USB cable is a convenient and reliable method. Follow these simple steps to transfer your pictures:
- Connect your phone to your computer using the USB cable. Ensure that both devices are properly connected.
- On your computer, navigate to “My Computer” or “This PC” and look for your phone under the devices section. It may be listed as a separate drive or named after your phone model.
- Double-click on the icon representing your phone to open it. You should see folders containing various files and folders, including your pictures and videos.
- Navigate to the folder containing your pictures. This may be labeled as “DCIM” or “Pictures”.
- Select the pictures you want to transfer by either dragging and dropping them to a desired location on your computer or by copying and pasting them.
- Wait for the transfer to complete. The time it takes will depend on the size of the files and the speed of your USB connection.
- Once the transfer is complete, you can disconnect your phone from the USB cable.
It’s important to note that the steps may vary slightly depending on your computer’s operating system and the interface of your phone. However, the general process remains the same.
In some cases, you may need to install device-specific drivers on your computer to establish a successful connection. Check your phone manufacturer’s website for any available drivers or software updates.
Now that you’ve successfully transferred your pictures from your phone to your computer using a USB cable, you can enjoy viewing, editing, and organizing them at your convenience.
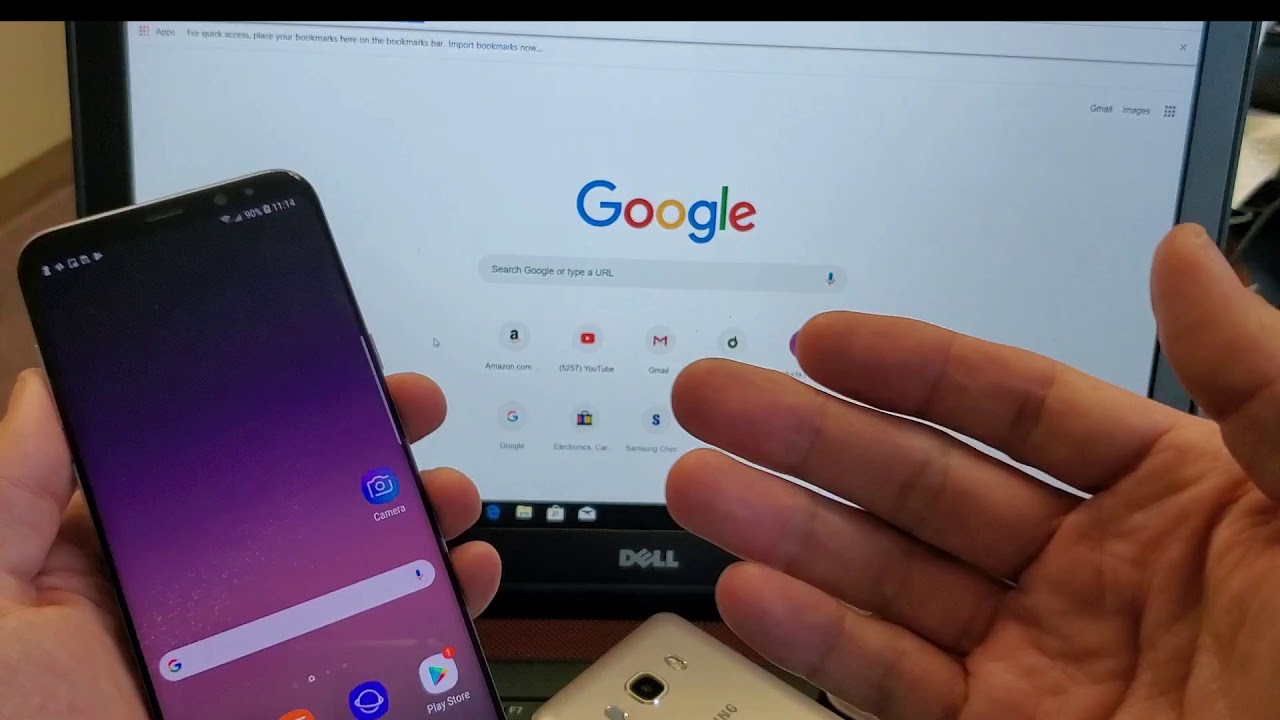
Step 3: Transfer Pictures from Phone to Computer wirelessly
If you prefer a wireless method to transfer pictures from your phone to your computer, there are several options that offer convenience and flexibility. Follow these steps to transfer your pictures wirelessly:
- Ensure that both your phone and computer are connected to the same Wi-Fi network.
- On your phone, go to the App Store or Google Play Store and search for a file transfer app. Some popular options include AirDroid, Pushbullet, and Feem.
- Download and install the file transfer app on your phone.
- Open the app and follow the instructions to set up a connection between your phone and computer. This usually involves creating an account or scanning a QR code.
- Once the connection is established, you can browse the pictures on your phone through the app’s interface.
- Select the pictures you want to transfer and choose the option to download or save them to your computer.
- Wait for the transfer to complete. The time it takes will depend on the size of the files and the speed of your Wi-Fi connection.
- Once the transfer is complete, you can access your pictures on your computer.
Wireless file transfer apps offer additional features such as transferring other types of files, managing notifications, and even texting from your computer. Explore the app’s functionalities to make the most out of this wireless transfer method.
It’s important to note that the steps may vary depending on the specific file transfer app you choose to use. Refer to the app’s documentation or online support for detailed instructions.
Now that you’ve successfully transferred your pictures wirelessly, using a file transfer app, you can enjoy the convenience of transferring files without the need for cables.
Step 4: Download Videos from Phone to Computer using USB Cable
If you have videos on your phone that you want to download and save on your computer, using a USB cable is a reliable method. Follow these steps to transfer your videos:
- Connect your phone to your computer using a USB cable. Make sure both devices are properly connected.
- On your computer, navigate to “My Computer” or “This PC” and locate your phone under the devices section. It may appear as a separate drive or be named after your phone model.
- Double-click on the icon representing your phone to open it. You should see various folders and files, including your videos.
- Navigate to the folder containing your videos. It may be labeled as “DCIM” or “Videos”.
- Select the videos you want to download by dragging and dropping them to a desired location on your computer or by copying and pasting them.
- Wait for the transfer to complete. The time it takes will depend on the size of the video files and the speed of your USB connection.
- Once the transfer is complete, you can safely disconnect your phone from the USB cable.
Keep in mind that the steps might vary slightly based on your computer’s operating system and the user interface of your phone. Nonetheless, the general process remains the same.
For a smooth transfer, ensure that you have enough storage space on your computer to accommodate the size of the video files. If needed, consider transferring the videos to an external hard drive or freeing up space on your computer before starting the transfer process.
Now that you’ve successfully downloaded your videos from your phone to your computer using a USB cable, you can enjoy watching, editing, and sharing them with ease.
Step 5: Download Videos from Phone to Computer wirelessly
If you prefer a wireless method to download videos from your phone to your computer, there are several options available that offer convenience and flexibility. Follow these steps to transfer your videos wirelessly:
- Ensure that your phone and computer are connected to the same Wi-Fi network.
- On your phone, go to the App Store or Google Play Store and search for a file transfer app that supports video transfer. Popular options include AirDroid, Pushbullet, and Feem.
- Download and install the file transfer app on your phone.
- Launch the app and follow the setup instructions to establish a connection between your phone and computer. This usually involves creating an account or scanning a QR code.
- Once the connection is established, navigate to the folder on your phone containing the videos you want to download.
- Select the videos you wish to transfer and choose the option to download or save them to your computer.
- Wait for the transfer to complete. The duration will depend on the size of the video files and the speed of your Wi-Fi connection.
- Once the transfer is finished, you can access and enjoy your videos on your computer.
Wireless file transfer apps offer additional features, such as transferring other types of files and managing notifications. Take some time to explore the app’s capabilities and make the most out of this wireless transfer method.
Be aware that the steps may vary depending on the specific file transfer app you choose to use. Refer to the app’s user guide or online support for detailed instructions.
Now that you’ve successfully downloaded your videos from your phone to your computer wirelessly, you can enjoy watching, editing, and sharing your videos without the need for cables.
Conclusion
Transferring pictures and videos from your phone to your computer is a simple and essential task in today’s digital era. Whether you choose to connect your devices using a USB cable or opt for a wireless method, being able to download and save your media files enhances convenience and allows for better organization and sharing possibilities.
In this guide, we explored step-by-step instructions for connecting your phone to your computer, transferring pictures and videos using a USB cable, and employing wireless transfer methods. Each method offers its own advantages, so you can choose whichever option best suits your needs and preferences.
By following these steps, you can ensure a smooth and seamless transfer process. Just remember to double-check the connections, have sufficient storage space on your computer, and use reliable file transfer apps when going wireless.
Now it’s time to put your newfound knowledge into practice and start enjoying the benefits of having your pictures and videos readily available on your computer. Whether you want to edit and enhance your images, create memorable video montages, or simply free up space on your phone, transferring your media files is a crucial step.
So, go ahead and start transferring your pictures and videos from your phone to your computer. Unleash your creativity, share your memories, and open up new possibilities for enjoying and managing your media collection.