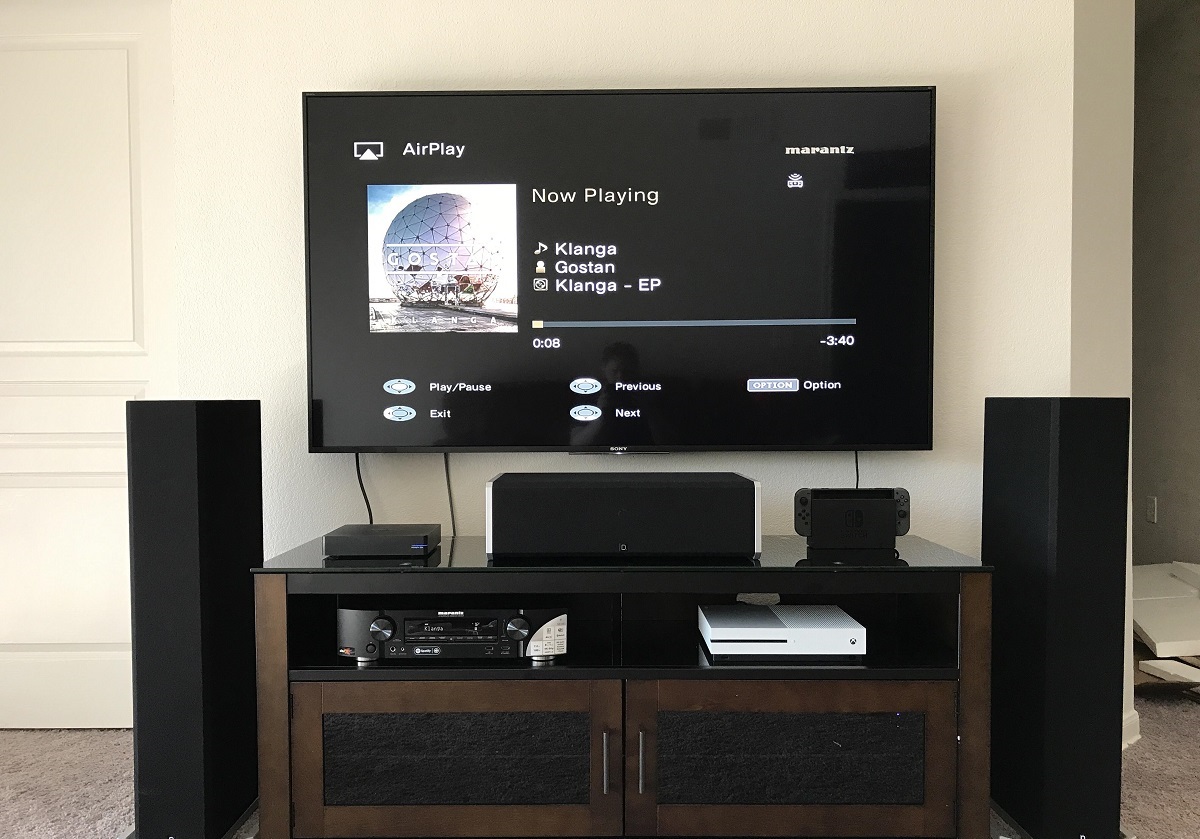
Introduction
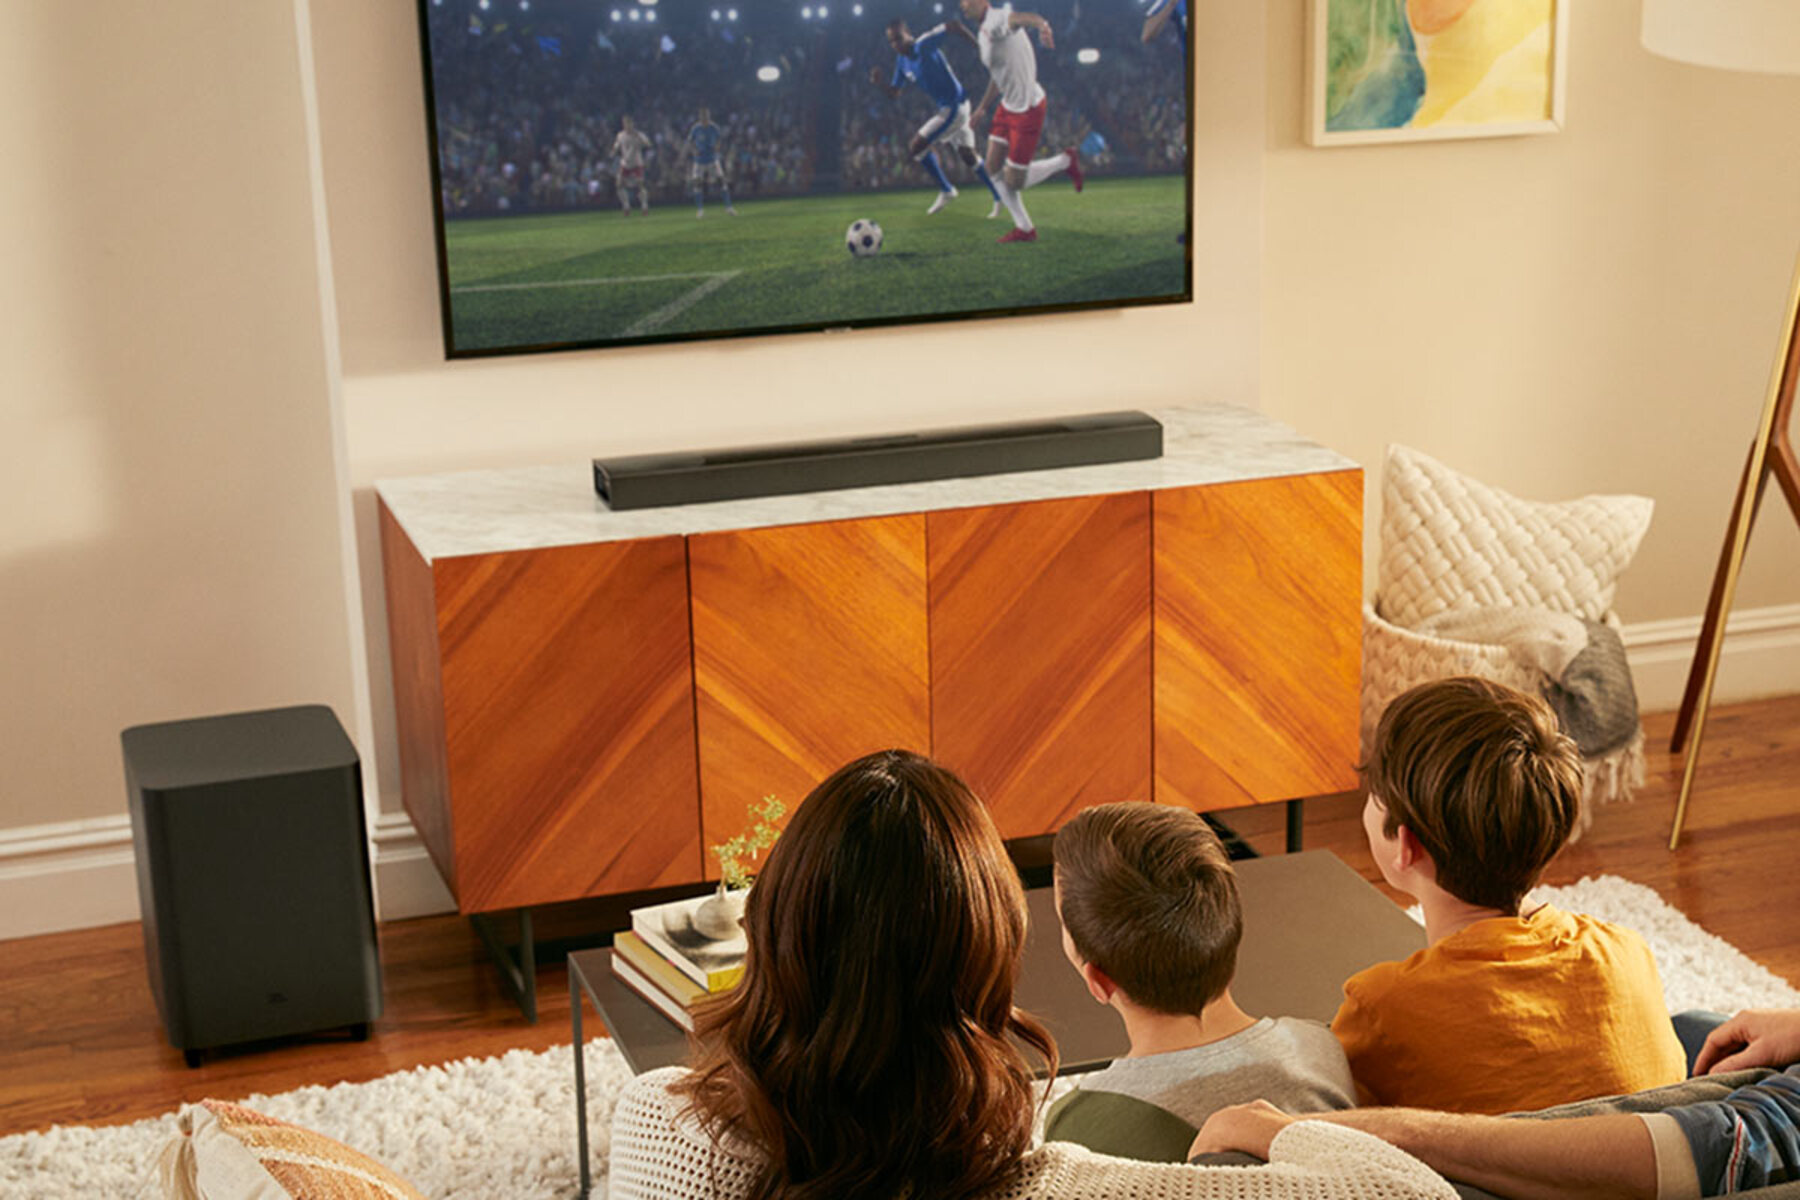
Welcome to the world of immersive audio experience! If you’re looking to enhance your home entertainment system, connecting your surround sound system to your smart TV is a must. By doing so, you can enjoy a cinematic sound experience right in the comfort of your own living room.
In this guide, we will walk you through the process of connecting your surround sound system to your smart TV and help you make the most out of your audio equipment. Whether you’re a tech-savvy enthusiast or a beginner, we’ve got you covered.
Before we delve into the step-by-step instructions, let’s take a moment to understand the components and technologies involved. Surround sound systems consist of multiple speakers strategically placed to create an enveloping audio environment. These systems can range from a simple 2.1 setup with a left and right speaker and a subwoofer to more complex setups with additional speakers for center, rear, and overhead sound.
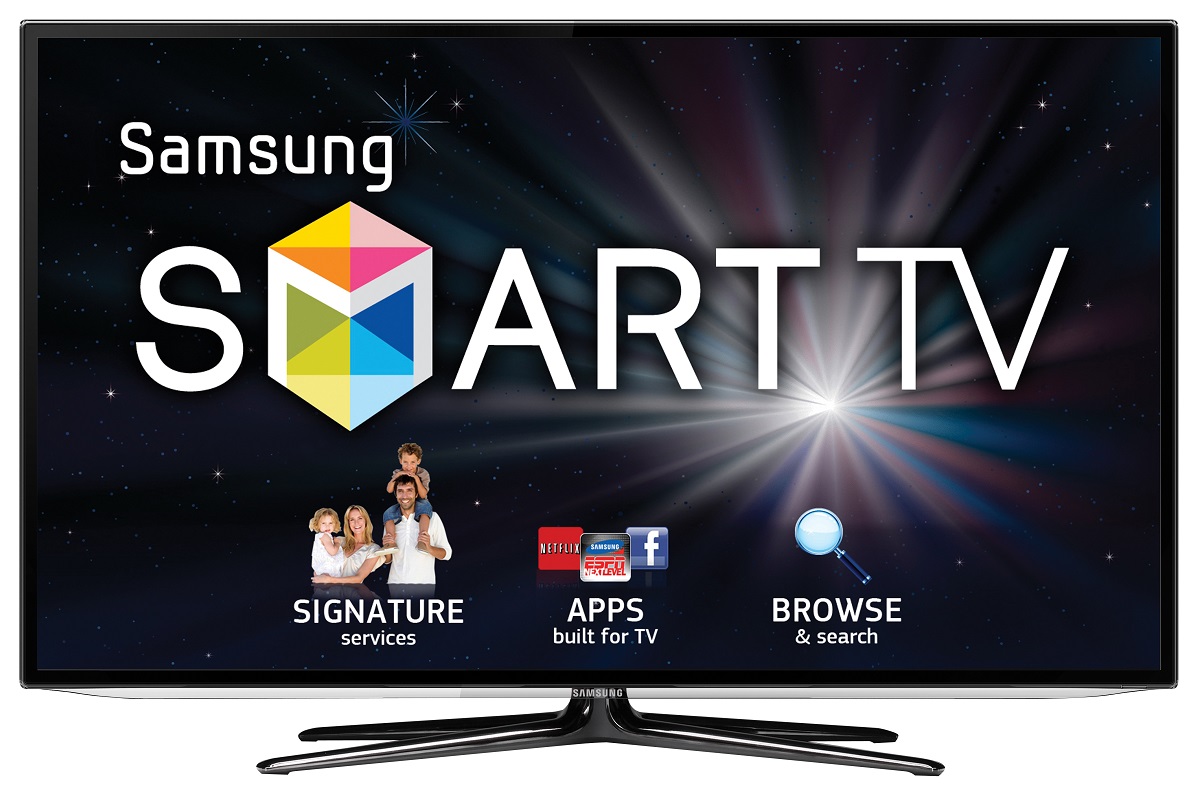
On the other hand, smart TVs have revolutionized the way we consume media. These televisions are equipped with internet connectivity and a range of apps that allow us to stream content from popular platforms like Netflix, Hulu, and Amazon Prime. Additionally, they offer advanced features such as voice control, screen mirroring, and personalized recommendations.
Now that we have a basic understanding of surround sound systems and smart TVs, let’s dive into the process of connecting them. But before we get started, it’s essential to ensure the compatibility and gather the necessary cables and components. So, let’s move on to the next section and check these requirements.
Understanding Your Surround Sound System and Smart TV
Before you begin connecting your surround sound system to your smart TV, it is crucial to have a clear understanding of the components and technologies involved. This will help ensure a smooth and successful setup process.
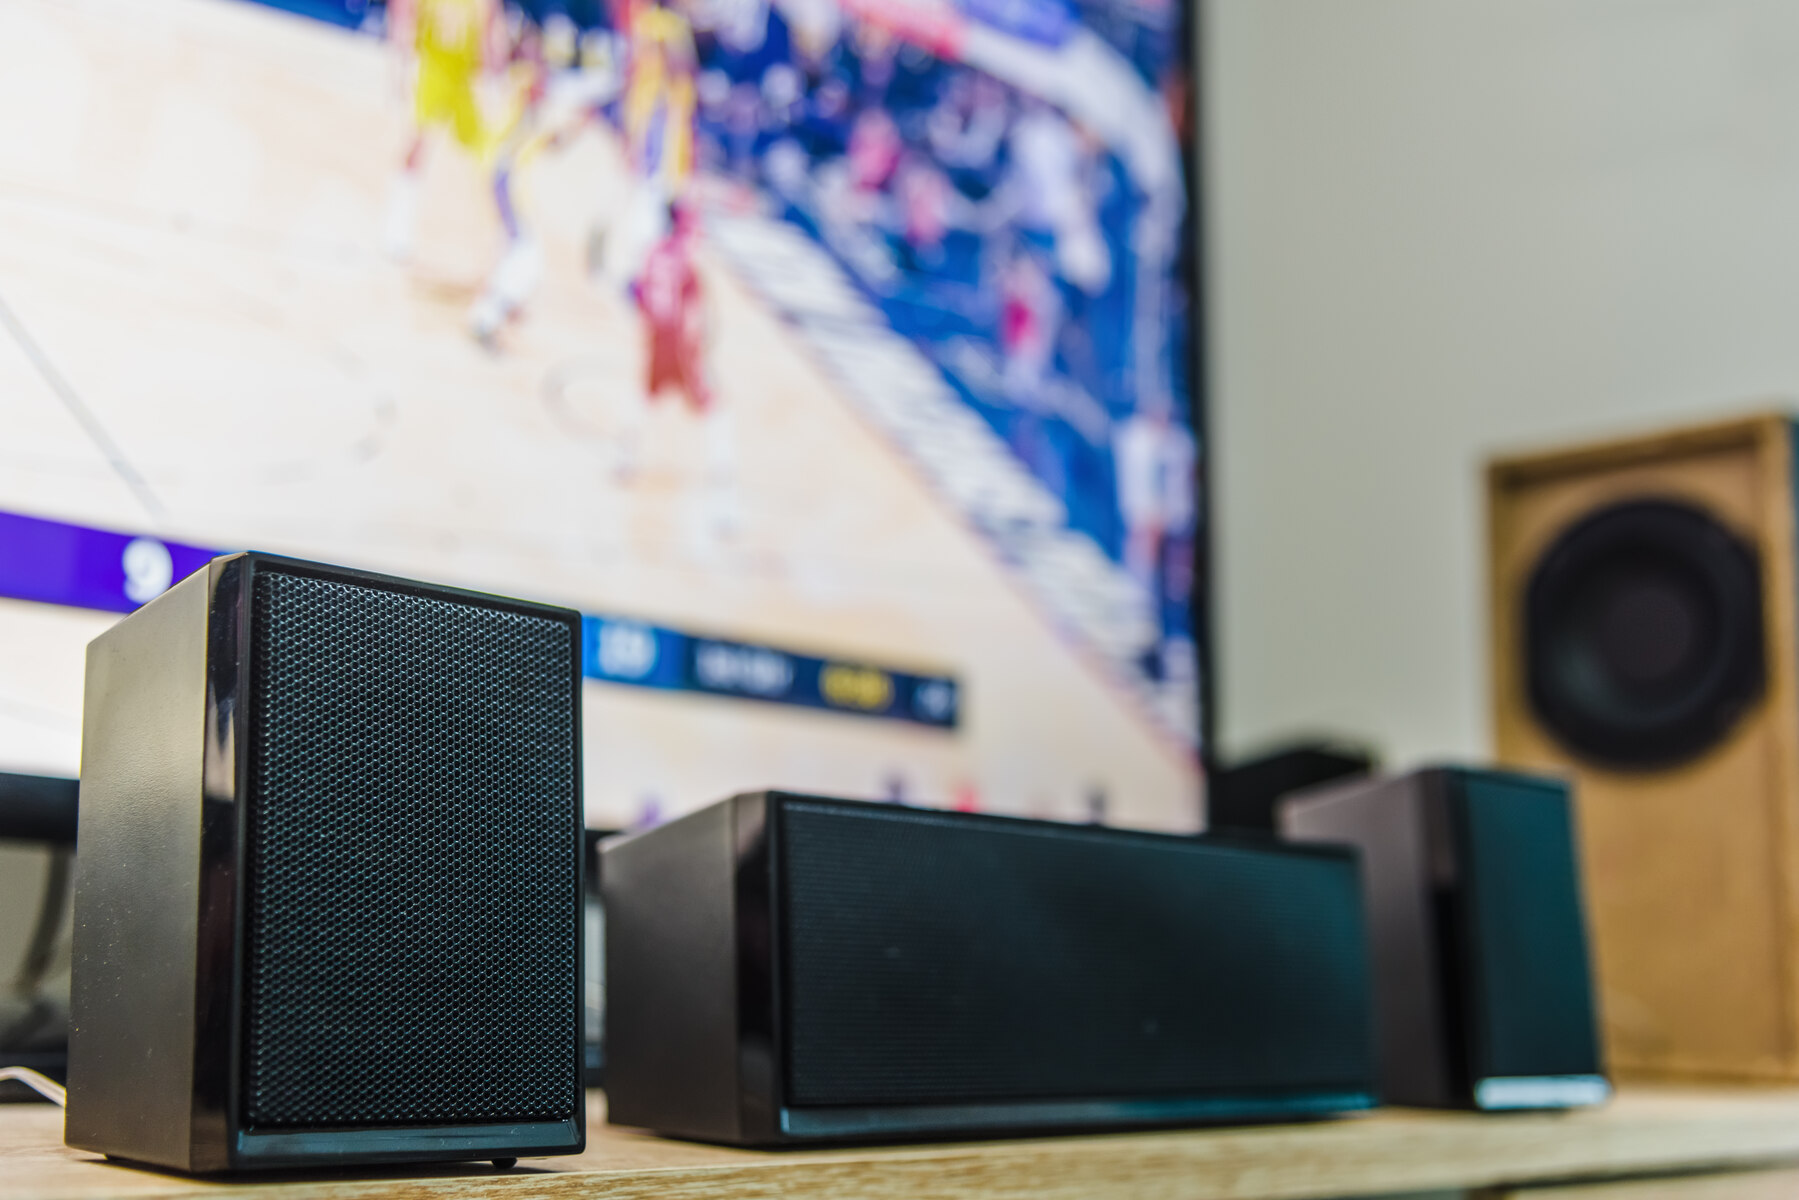
Firstly, let’s take a look at your surround sound system. This audio setup typically consists of multiple speakers, each serving a specific purpose. The most common configuration is the 5.1 setup, which includes a center speaker, two front speakers, two rear speakers, and a subwoofer. More advanced systems can incorporate additional speakers for surround effects or overhead sound.
The center speaker reproduces dialogue and other prominent sounds, ensuring clear and precise audio for on-screen action. The front speakers handle stereo sound and are responsible for creating a wide and immersive soundstage. The rear speakers provide surround sound effects, placing you in the middle of the action. And lastly, the subwoofer delivers deep and powerful bass, adding depth and impact to explosions, music, and other low-frequency sounds.
Now let’s turn our attention to your smart TV. These televisions boast an array of advanced features that go beyond traditional broadcasting. Smart TVs are Internet-enabled devices that allow you to stream content from popular platforms such as Netflix, Hulu, and Amazon Prime. This means you can access a vast library of movies, TV shows, and documentaries with just a few clicks.
In addition to streaming capabilities, smart TVs often come with built-in apps that offer a wide range of functionalities. You can browse the internet, play games, connect to social media platforms, and even control your TV using voice commands or mobile applications.
It’s crucial to note that not all smart TVs are created equal, and different models may have varying audio output options. Some TVs only offer basic stereo output, while others support advanced audio formats such as Dolby Atmos or DTS:X. Understanding the audio capabilities of your smart TV is crucial when connecting it to your surround sound system.
Now that you have a good understanding of your surround sound system and smart TV, it’s time to check the compatibility and connections between the two. Let’s move on to the next section to ensure everything is in order before proceeding with the setup.
Checking Compatibility and Connections
Before you dive into connecting your surround sound system to your smart TV, it’s important to ensure that both devices are compatible and that you have the necessary cables and connectors. This will make the setup process much smoother and prevent any potential issues.
The first step is to check the audio output options on your smart TV. Most modern TVs offer various audio output ports, such as HDMI ARC (Audio Return Channel), optical audio output, or a standard headphone jack. Check the user manual or the TV’s settings menu to locate the available audio output options.
Next, determine the audio input options on your surround sound system. Common input options include HDMI ports, optical audio inputs, and analog audio inputs. Refer to the user manual or the system’s control panel to identify the available inputs.
Now comes the important part – making sure the audio output of your television matches the audio input of your surround sound system. If your TV has an HDMI ARC port and your surround sound system supports HDMI ARC, using an HDMI cable will allow for both audio and video transmission in a single cable. Alternatively, if your TV has an optical audio output and your surround sound system has an optical audio input, an optical audio cable can be used to connect the two.
If your devices do not have matching input and output options, you will need to use additional converters or adapters. For example, if your TV only has a headphone jack and your surround sound system doesn’t have a corresponding input, you may need to use a headphone-to-audio cable converter to establish the connection.
Lastly, ensure that you have the necessary cables and connectors before starting the setup. This includes HDMI cables, optical audio cables, RCA cables, and any other adapters or converters that may be required. It’s always a good idea to have extra cables on hand, just in case.
By thoroughly checking the compatibility between your smart TV and surround sound system and making sure you have the appropriate cables and connectors, you’ll be ready to move on to the next step – actually connecting the two devices. We’ll guide you through the process in the following section.
Connecting Your Surround Sound System to Your Smart TV
Now that you have checked the compatibility and gathered the necessary cables, it’s time to connect your surround sound system to your smart TV. The process may vary depending on the specific models and brands of your devices, but we’ll provide you with a general step-by-step guide.
1. Start by turning off both your surround sound system and your smart TV.
2. Locate the audio output port on your smart TV. It could be an HDMI ARC port, an optical audio output, or a headphone jack.
3. Connect one end of the appropriate cable (HDMI, optical audio, or RCA) to the audio output port on your smart TV.
4. Locate the corresponding audio input port on your surround sound system.
5. Connect the other end of the cable to the audio input port on your surround sound system.
6. Once all the cables are securely connected, turn on your surround sound system and your smart TV.
7. On your smart TV, navigate to the audio settings menu. This can usually be found in the settings or preferences section.
8. Select the audio output option that corresponds to the connection you made in step 3. For example, if you connected an HDMI cable, select HDMI ARC as your audio output.
9. Adjust the audio settings on your smart TV to your preference. This may include adjusting the volume levels, enabling surround sound features, or selecting a specific audio profile.
10. Test the audio by playing a movie, TV show, or music on your smart TV. Make sure the sound is coming from the speakers connected to your surround sound system and that all the speakers are working correctly.
That’s it! You have successfully connected your surround sound system to your smart TV. Enjoy the immersive audio experience as you watch your favorite shows and movies.
Note: If you encounter any issues during the setup process, refer to the user manuals of your devices or consult the manufacturer’s support website for troubleshooting steps specific to your models.
Configuring Audio Settings on Your Smart TV
After connecting your surround sound system to your smart TV, it’s time to fine-tune the audio settings to get the best possible sound experience. Every TV model may have a slightly different interface, but the general steps for configuring audio settings are as follows:
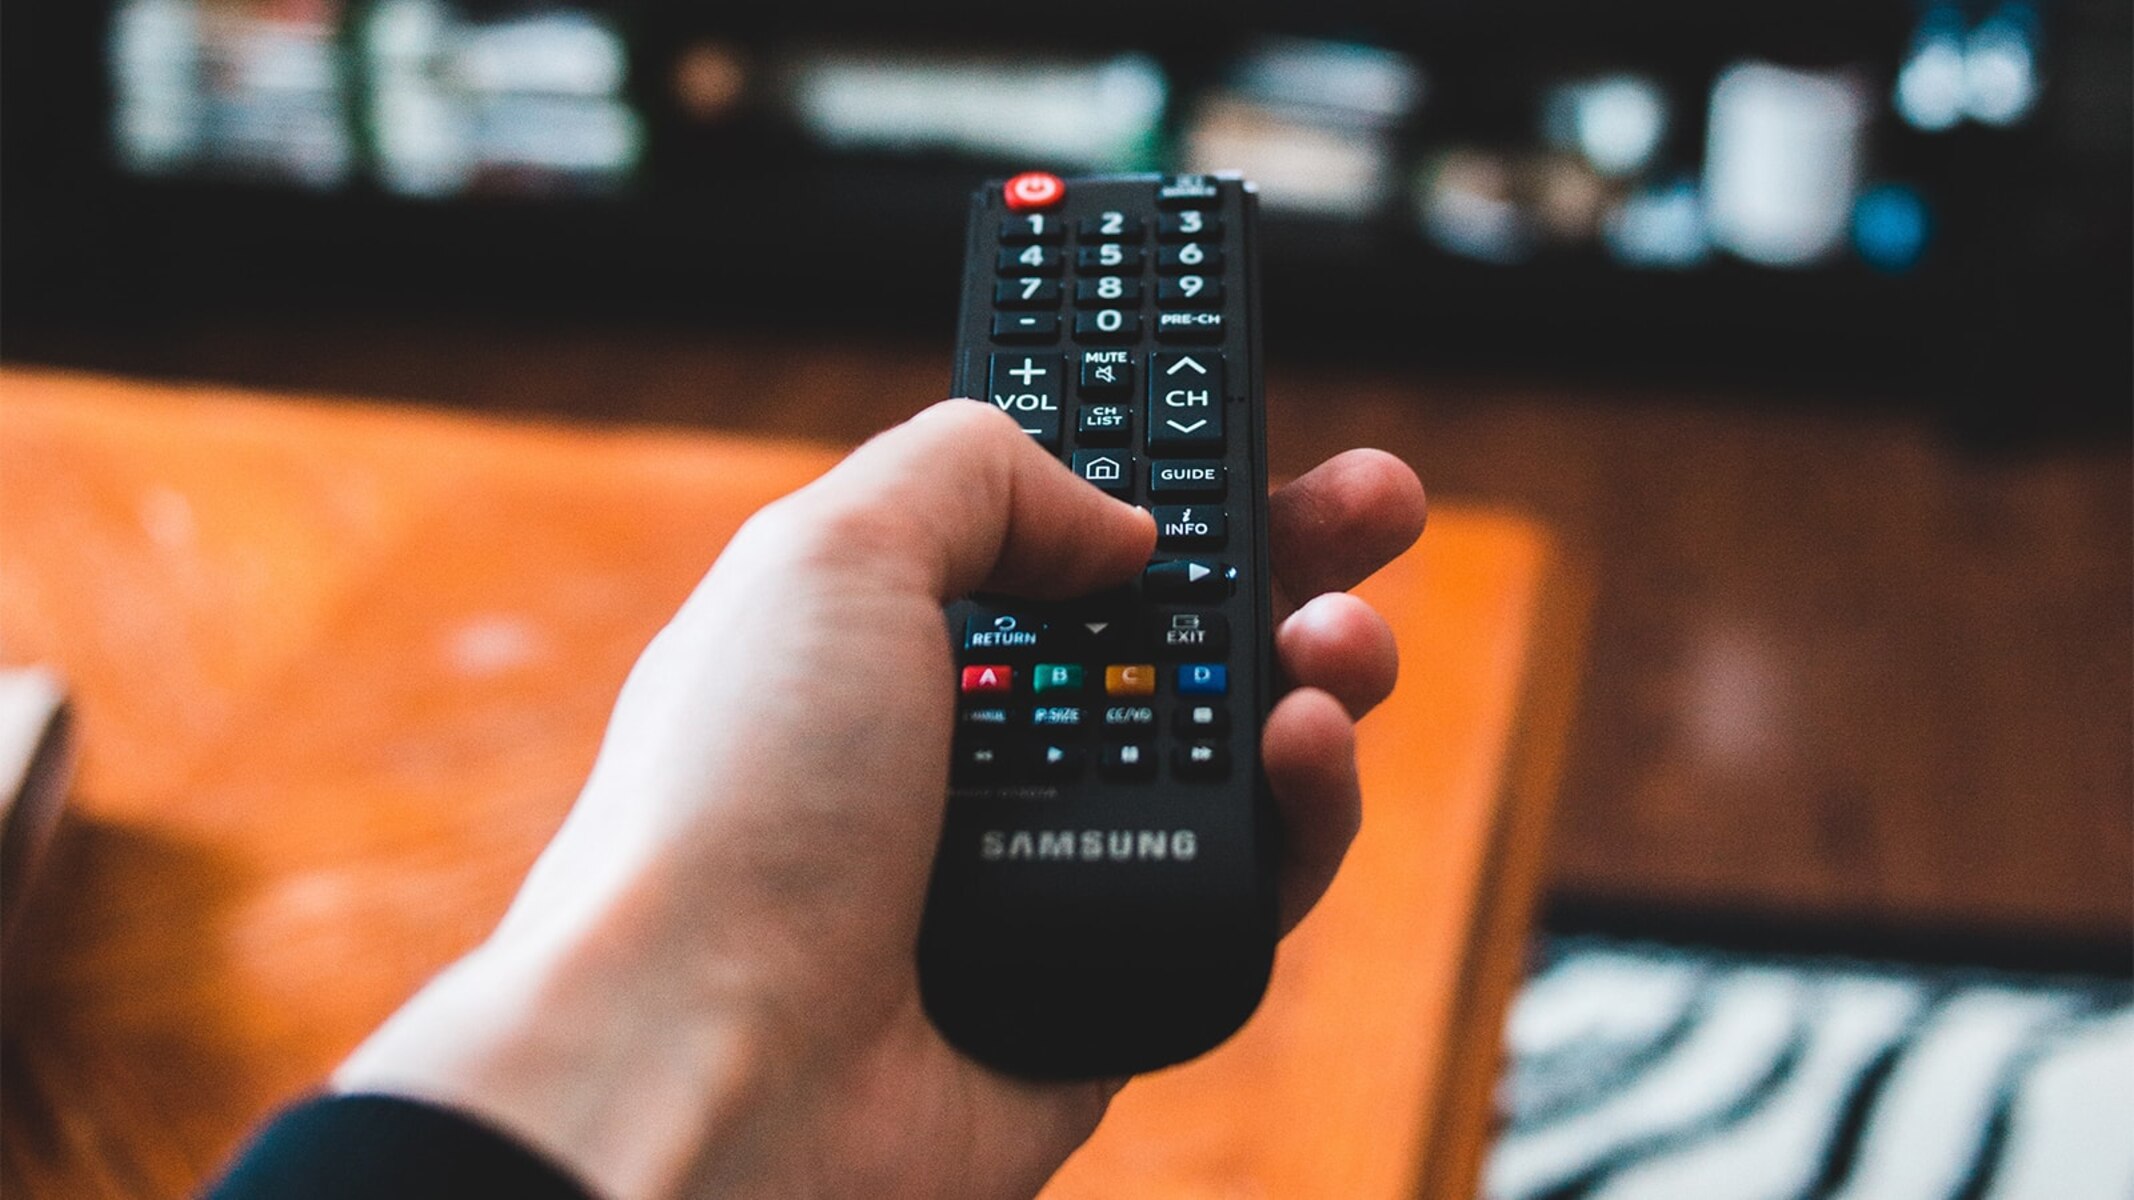
1. Access the settings menu on your smart TV. This is typically done by pressing the menu or settings button on your TV remote.
2. Look for the audio settings or sound options within the settings menu. This could be located under a category such as “Sound,” “Audio,” or “Settings.”
3. Explore the available audio settings and adjust them according to your preference. Here are some common settings you might come across:
- Audio Output: Select the audio output option that matches your connection, such as HDMI ARC, optical audio, or analog output.
- Sound Mode: Choose the sound mode that suits your viewing preference. Options may include Standard, Cinema, Music, Sports, or Game modes.
- Equalizer: Some smart TVs allow you to adjust the equalizer settings to customize the audio frequencies. You can boost or lower specific frequency ranges like bass, midrange, or treble.
- Surround Sound: If your TV offers surround sound support, enable this feature to enhance the immersive audio experience from your surround sound system.
- Volume Leveling: Enable this setting to automatically adjust the volume levels between different TV programs and advertisements, ensuring a consistent audio level.
- Audio Delay: If you notice a delay between the audio and video, you can use this setting to sync them for a better viewing experience.
4. Make adjustments to the individual settings based on your preferences and the capabilities of your surround sound system.
5. As you make changes to the audio settings, test them by playing different types of content to ensure the audio is to your liking. Adjust the settings further if needed.
6. If your smart TV supports audio calibration or setup wizards, consider running them to optimize the audio quality. These features can help fine-tune the sound based on your room’s acoustics.
Remember, the ideal audio settings may vary based on personal preference, room acoustics, and the capabilities of your surround sound system. Experiment with different settings and trust your ears to find the audio configuration that provides the best sound experience for you.
Once you’ve finished configuring the audio settings on your smart TV, you’re ready to sit back, relax, and enjoy a truly immersive home theater experience.
Adjusting Surround Sound System Settings
Now that you have your surround sound system connected to your smart TV and have configured the audio settings on the TV, it’s time to fine-tune the settings on your surround sound system itself. By making adjustments to the system’s settings, you can further enhance the audio experience and customize it to your preferences.
Here are some key settings to consider when adjusting your surround sound system:
- Speaker Placement and Balance: Ensure that each speaker in your surround sound system is properly positioned according to the manufacturer’s guidelines. This includes the left and right front speakers, center speaker, rear speakers, and subwoofer. Check the balance of the speakers to ensure that the sound is evenly distributed across the room.
- Speaker Distance and Level: Adjust the distance and level settings of each speaker to align with the layout of your room. Most surround sound systems have calibration features that can automatically set the appropriate levels and distances for optimal audio performance.
- Sound Modes: Explore the different sound modes available on your surround sound system. These modes are designed to enhance specific types of content, such as movies, music, or gaming. Experiment with different modes to find the one that best suits your preferences and the content you are watching.
- Equalizer Settings: If your surround sound system allows for manual adjustments, consider fine-tuning the equalizer settings to boost or reduce specific frequencies. This can help tailor the audio output to your liking and optimize it for the room acoustics.
- Bass and Treble Adjustments: Some surround sound systems allow you to independently adjust the bass and treble levels. Experiment with these settings to achieve the desired balance and impact of low-frequency sounds (bass) and high-frequency sounds (treble).
- Surround Sound Effects: If your system supports additional sound enhancement features like virtual surround or surround sound expansion, explore these options to widen the soundstage and create a more immersive listening experience.
When adjusting the settings on your surround sound system, take your time and trust your ears. Play different types of content, such as movies, music, and games, and make incremental adjustments to find the settings that deliver the most satisfying audio experience for you.
Remember to refer to the user manual or the manufacturer’s website for specific instructions on adjusting settings for your particular surround sound system model. Each system may have its own unique set of features and settings.
By taking the time to fine-tune your surround sound system settings, you can unlock its full potential and enjoy a truly immersive audio experience that complements the stunning visuals of your smart TV.
Testing and Troubleshooting
Once you have connected and adjusted your surround sound system to your smart TV, it’s crucial to test the setup to ensure everything is working correctly. Testing allows you to identify any issues or areas for improvement. If you encounter any problems, troubleshooting can help you address them effectively.
Here are some steps to consider for testing and troubleshooting your surround sound system and smart TV setup:
- Test Audio Playback: Play different types of content on your smart TV, such as movies, TV shows, or music, to verify that the audio is being output through the surround sound system speakers and that all speakers are functioning as expected.
- Check Channel Identification: Ensure that the audio from each channel is correctly assigned to the corresponding speaker. For example, dialogue should be coming from the center speaker, and surround effects should be coming from the rear speakers.
- Verify Surround Sound Effects: Test the surround sound features of your system to confirm that sound effects are realistically dispersed across the room. Listen for the sense of depth and immersion created by the surround sound technology.
- Adjust Volume Levels: Make sure the volume levels are balanced among the speakers and the subwoofer. Ensure that dialogues are clear and easily understandable, and that sound effects are immersive without overpowering the dialogue or music.
- Address Audio Sync Issues: If you notice any audio delays or synchronization problems between the audio and video, utilize the audio delay settings on your surround sound system or smart TV to fine-tune the synchronization.
- Troubleshoot Connection Problems: If you encounter no sound or distorted audio, check all cable connections to ensure they are secure and properly inserted. Try using different cables or connectors, if available, to rule out any faulty connections.
- Refer to User Manuals and Online Resources: If you encounter persistent issues, consult the user manuals of your surround sound system and smart TV for specific troubleshooting steps. Additionally, you can visit the manufacturer’s support website or seek assistance from online forums or communities for further guidance.
Remember that troubleshooting steps may vary depending on the specific make and model of your surround sound system and smart TV. Be patient and methodical when addressing any issues, and don’t hesitate to reach out to the manufacturer’s support if needed.
By testing and troubleshooting your setup, you can achieve optimal audio performance and make any necessary adjustments to ensure a seamless and immersive home theater experience.
Conclusion
Connecting your surround sound system to your smart TV can take your home entertainment experience to the next level. By following the steps outlined in this guide, you can seamlessly integrate these two powerful audiovisual components and create a truly immersive sound experience in your living room.
We began by understanding the basics of surround sound systems and smart TVs, exploring their functionalities and capabilities. We then moved on to checking compatibility and gathering the necessary cables and connectors for the setup.
Next, we walked through the process of connecting your surround sound system to your smart TV, ensuring that the audio output options on your TV match the audio input options on your surround sound system. We then discussed the importance of configuring the audio settings on your smart TV to optimize the sound output.
Additionally, we highlighted the significance of adjusting the settings on your surround sound system itself, including speaker placement, balance, and sound modes, to further enhance the audio experience.
We also emphasized the importance of testing your setup and troubleshooting any issues you may encounter. Testing the audio playback, verifying channel identification, and addressing audio sync issues are all crucial steps in ensuring the success of your setup.
Finally, we touched on the significance of referring to user manuals and online resources for specific troubleshooting steps and seeking assistance from manufacturer support or online communities if needed.
By following these guidelines and taking the time to configure and fine-tune your surround sound system and smart TV, you can enjoy an exceptional audiovisual experience right in the comfort of your own home.
So, grab your favorite movie or TV show, sit back, and immerse yourself in the captivating world of high-quality surround sound while enjoying the stunning visuals on your smart TV. Get ready to be amazed by the power and depth of sound that only a well-integrated surround sound system can provide!


