Introduction
Welcome to this guide on how to make your Roku work with your surround sound system! If you’re a Roku user looking to enhance your viewing experience by connecting your device to a surround sound system, you’ve come to the right place. Having a surround sound system can take your audio quality to the next level, making your favorite movies, shows, and music sound even better.
Roku is a popular streaming player that allows you to access a wide range of content from various streaming services. While the audio quality from your TV’s built-in speakers may be satisfactory, connecting your Roku to a surround sound system can greatly enhance the immersion and audio clarity.
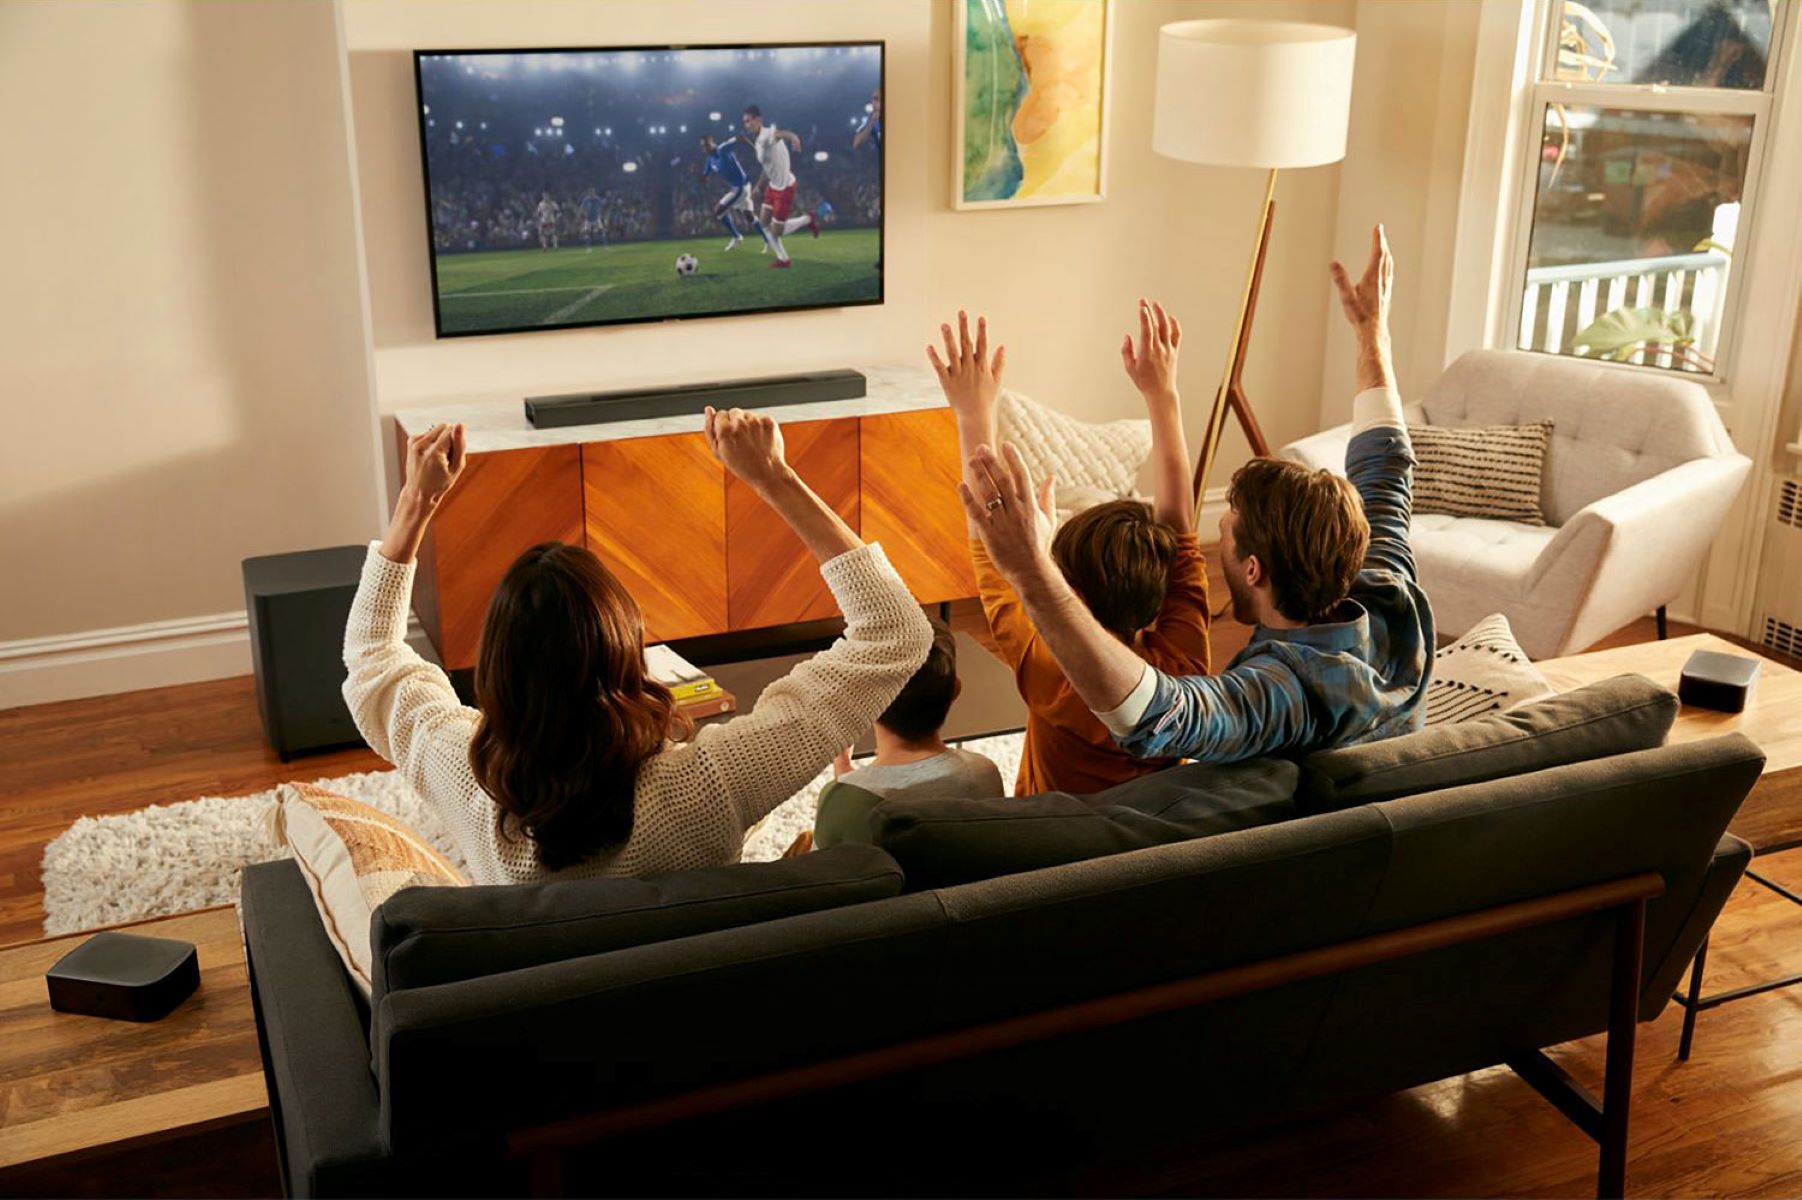
By connecting your Roku device to your surround sound system, you can enjoy a more cinematic experience, with immersive sound that brings movies, sports, and other content to life. Whether you’re watching an action-packed blockbuster or a gripping TV series, the sound effects, dialogue, and music will be amplified and delivered with greater depth and clarity.
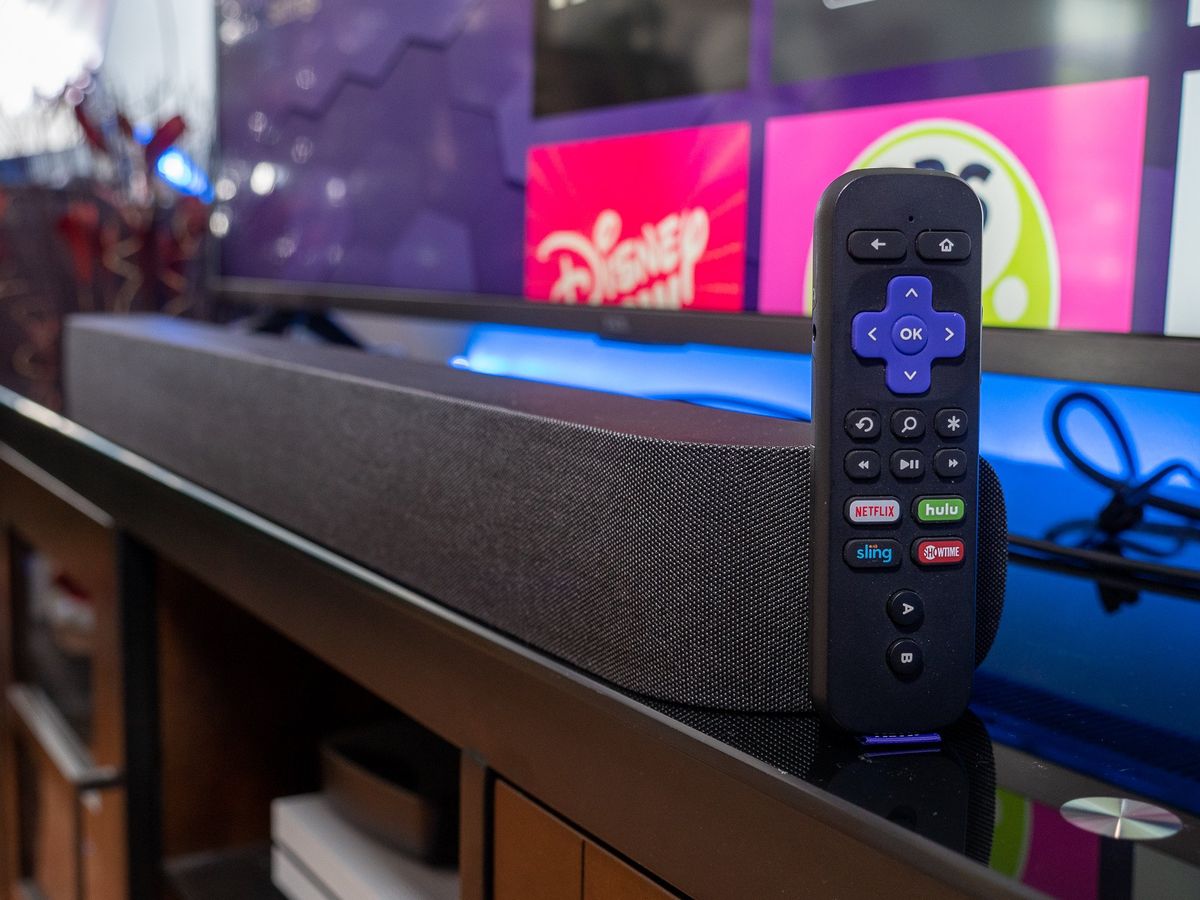
In the following sections, we will guide you through the process of connecting your Roku to your surround sound system. We will cover the necessary steps and provide troubleshooting tips to ensure a seamless setup. Whether you have a traditional home theater setup or a more compact soundbar, we’ve got you covered.
Before we dive into the details, it’s important to note that the specific setup steps may vary depending on the model of your Roku device and the type of surround sound system you have. It’s always a good idea to consult the user manuals for both your Roku device and your surround sound system for detailed instructions.
So, let’s get started and make your Roku work harmoniously with your surround sound system for an incredible audio experience!
Understanding Your Roku Device
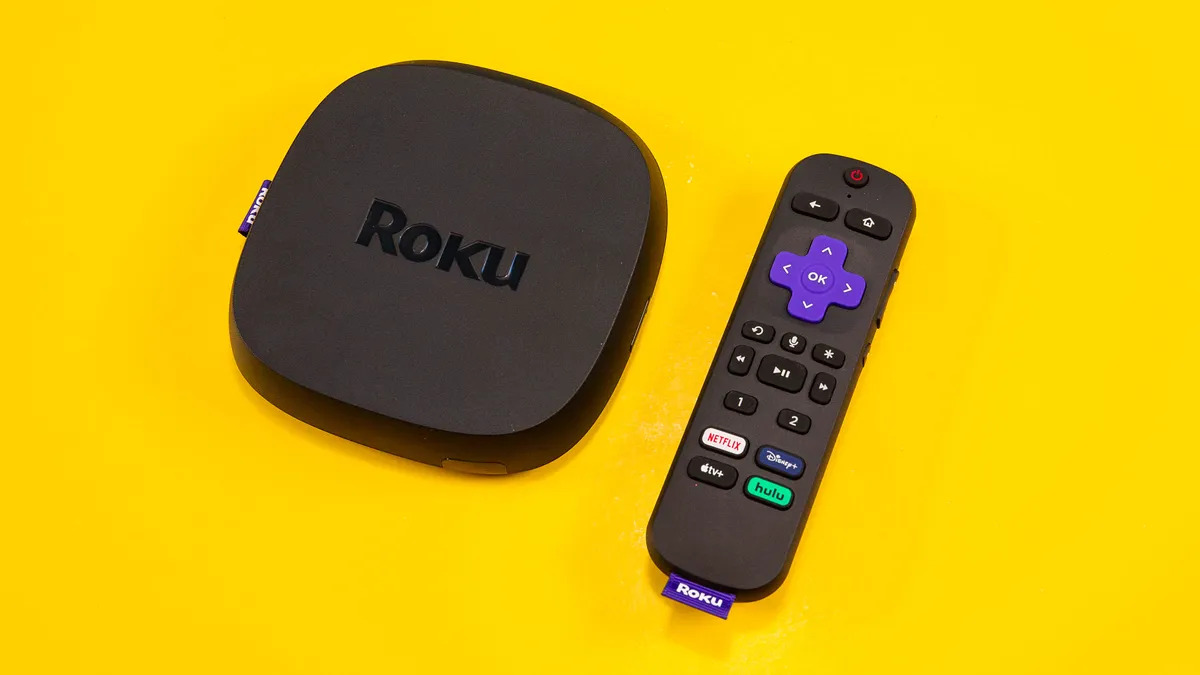
Before we begin the process of connecting your Roku device to your surround sound system, it’s important to have a basic understanding of how your Roku device works. Roku offers a range of streaming players, including the Roku Express, Roku Streaming Stick, Roku Ultra, and more. Each device provides access to various streaming services, such as Netflix, Hulu, Amazon Prime Video, and Disney+.
Roku devices are compact and easy to use. They connect to your TV via an HDMI cable and provide access to thousands of streaming channels through the Roku Channel Store. With a Roku device, you can enjoy streaming content in high-definition or even 4K resolution, depending on the capabilities of your TV.
One of the key features of Roku is its user-friendly interface. The Roku home screen is where you’ll find all your streaming channels, organized in a grid-like layout. You can navigate through the channels using the Roku remote or through the Roku mobile app on your smartphone.
Additionally, Roku devices often come with a variety of connectivity options, such as Wi-Fi and Ethernet, allowing you to connect to the internet seamlessly. This is crucial for streaming high-quality content without any interruptions or buffering issues.
Moreover, Roku devices support various audio formats, including Dolby Audio and DTS Digital Surround. This means that if your surround sound system is compatible with these audio formats, you can enjoy immersive audio while watching movies, TV shows, and more.
While different Roku models may have slight variations in features and capabilities, the basic functionality remains the same. Understanding the capabilities of your specific Roku device will ensure that you can make the most out of your streaming experience when connecting it to your surround sound system.
Now that we have a better understanding of Roku devices, let’s move on to the next step: connecting your Roku device to your TV.
Connecting Your Roku Device to Your TV
Connecting your Roku device to your TV is the first step towards enjoying all the streaming content it has to offer. The process is relatively straightforward and requires just a few simple steps:
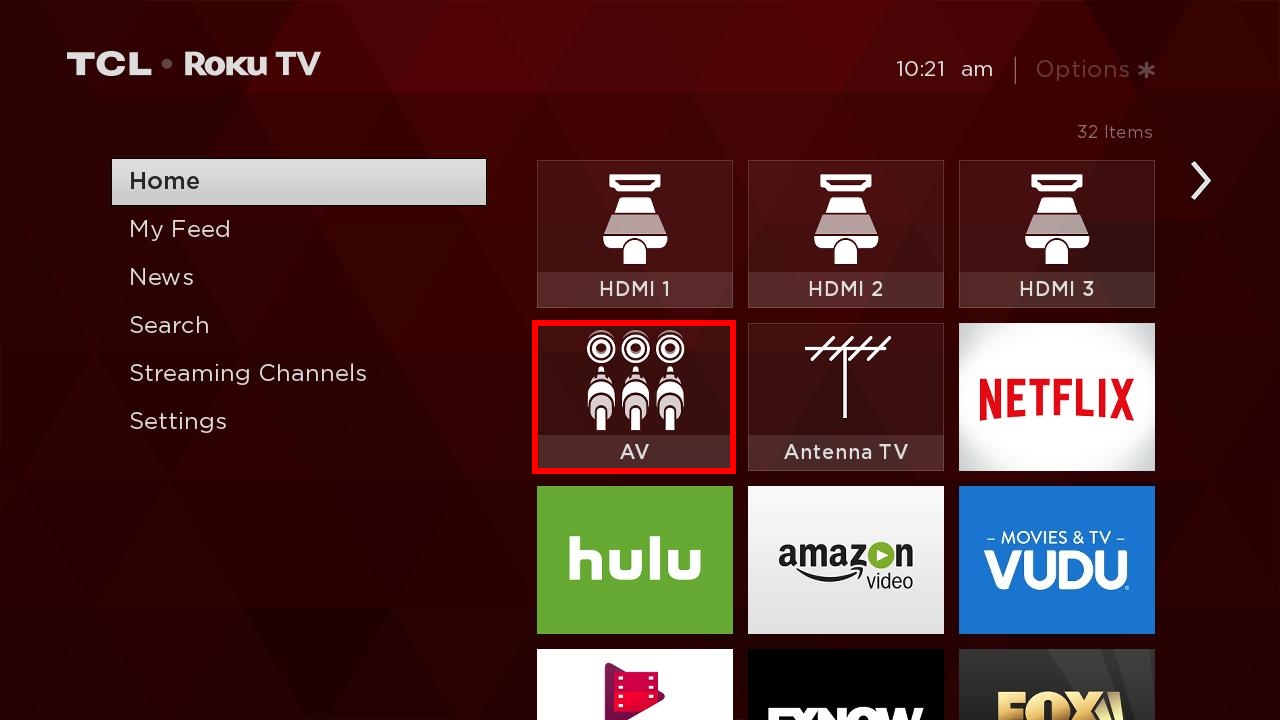
- Identify the available HDMI ports on your TV: Take a look at the back or side of your TV and locate the HDMI ports. These are usually labeled as “HDMI 1,” “HDMI 2,” and so on. Note down which HDMI port you will be using to connect your Roku device.
- Insert one end of the HDMI cable into the HDMI port on your Roku device: Plug one end of the HDMI cable into the HDMI output port on the Roku streaming player. It should fit securely, with the wider side of the HDMI connector facing up.
- Connect the other end of the HDMI cable to the HDMI input port on your TV: Take the other end of the HDMI cable and insert it into the HDMI input port on your TV that you identified earlier. Make sure to select the corresponding HDMI input on your TV using your remote control.
- If necessary, connect the power adapter: Depending on the Roku model you have, you may need to connect the power adapter. Plug one end of the power adapter into the Roku device and the other end into a power outlet. Ensure that the power source is nearby and easily accessible.
- Turn on your TV and select the correct HDMI input: Power on your TV and use the remote control to select the HDMI input that you connected your Roku device to. You should see the Roku logo or home screen appear on your TV.
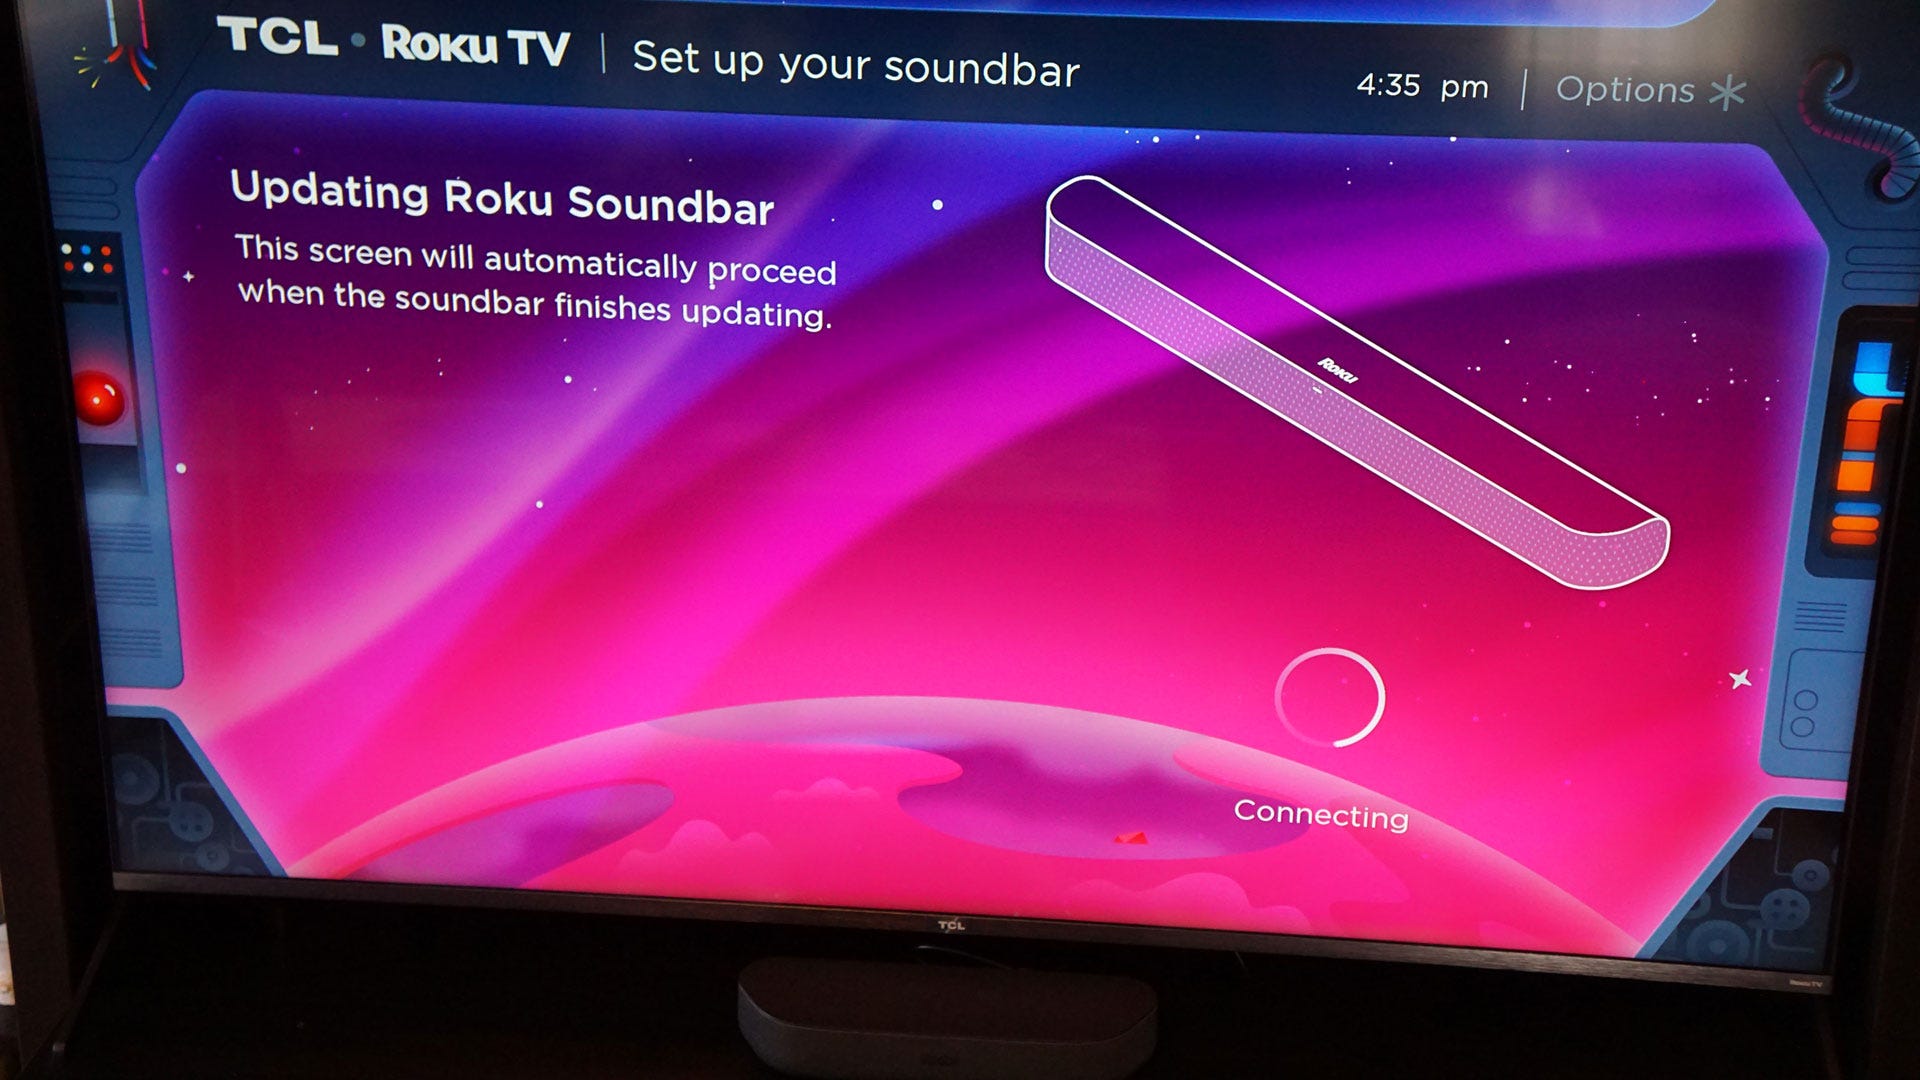
- Follow the on-screen instructions to set up your Roku device: Once your Roku device is connected to your TV, you will need to complete the initial setup process. This typically involves connecting to your Wi-Fi network, signing in to your Roku account, and activating your device by entering a unique code.
After completing these steps, your Roku device should be successfully connected to your TV. You’re now ready to move on to the next step: connecting your Roku device to your surround sound system.
What You Need to Connect your Roku to a Surround Sound System
To connect your Roku device to a surround sound system, you’ll need a few essential components. Here’s a list of what you’ll need:
- Roku device: Of course, you’ll need a Roku streaming player. Ensure that you have a compatible Roku device that supports audio output to a surround sound system. Most Roku models have an HDMI output, which is necessary for connecting to a surround sound receiver or soundbar.
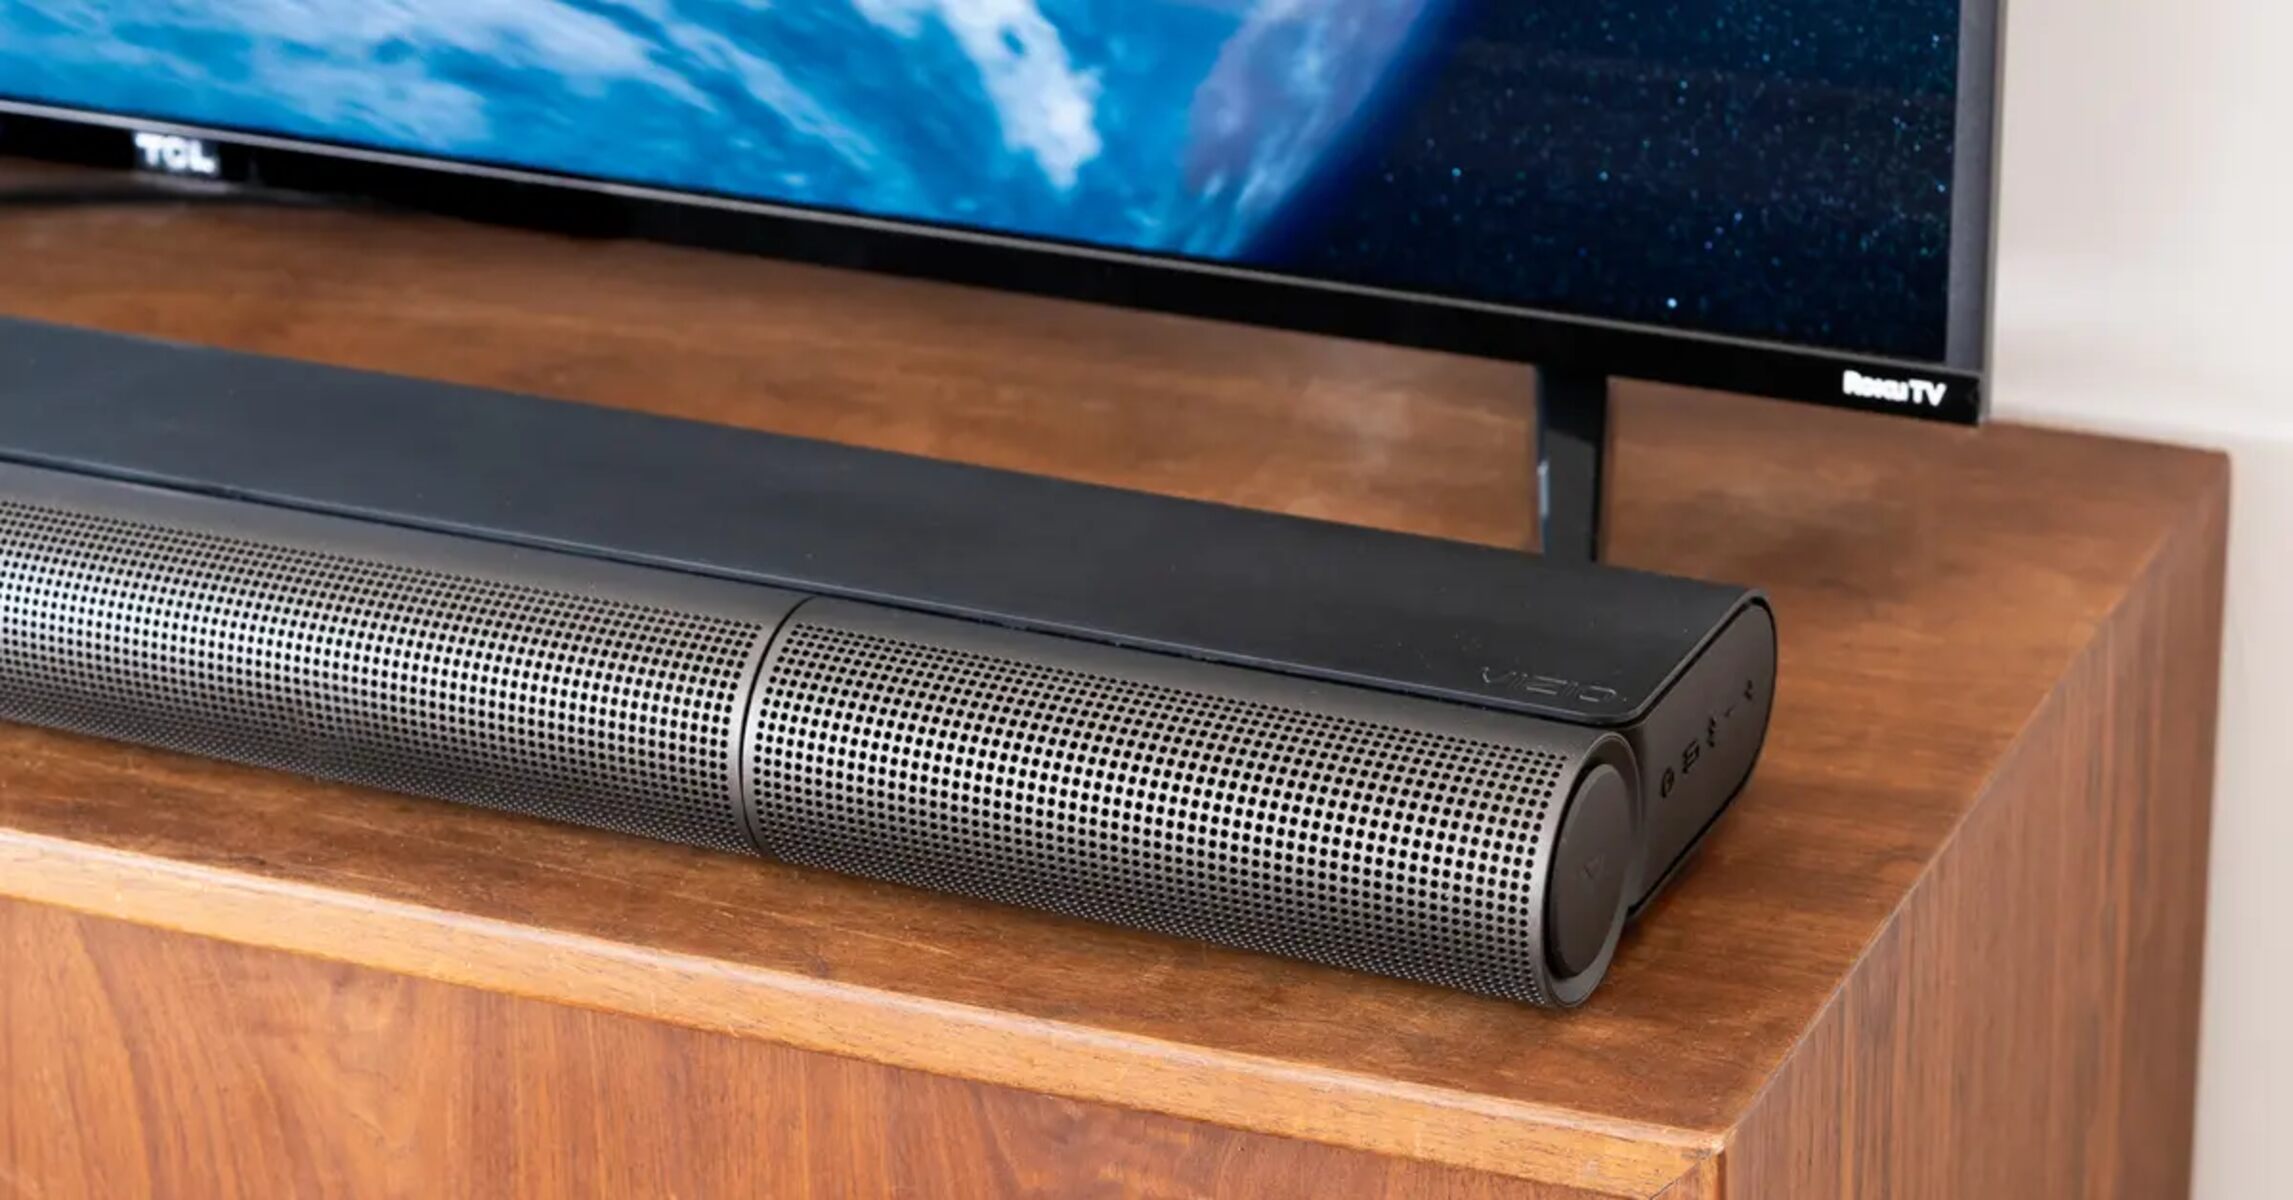
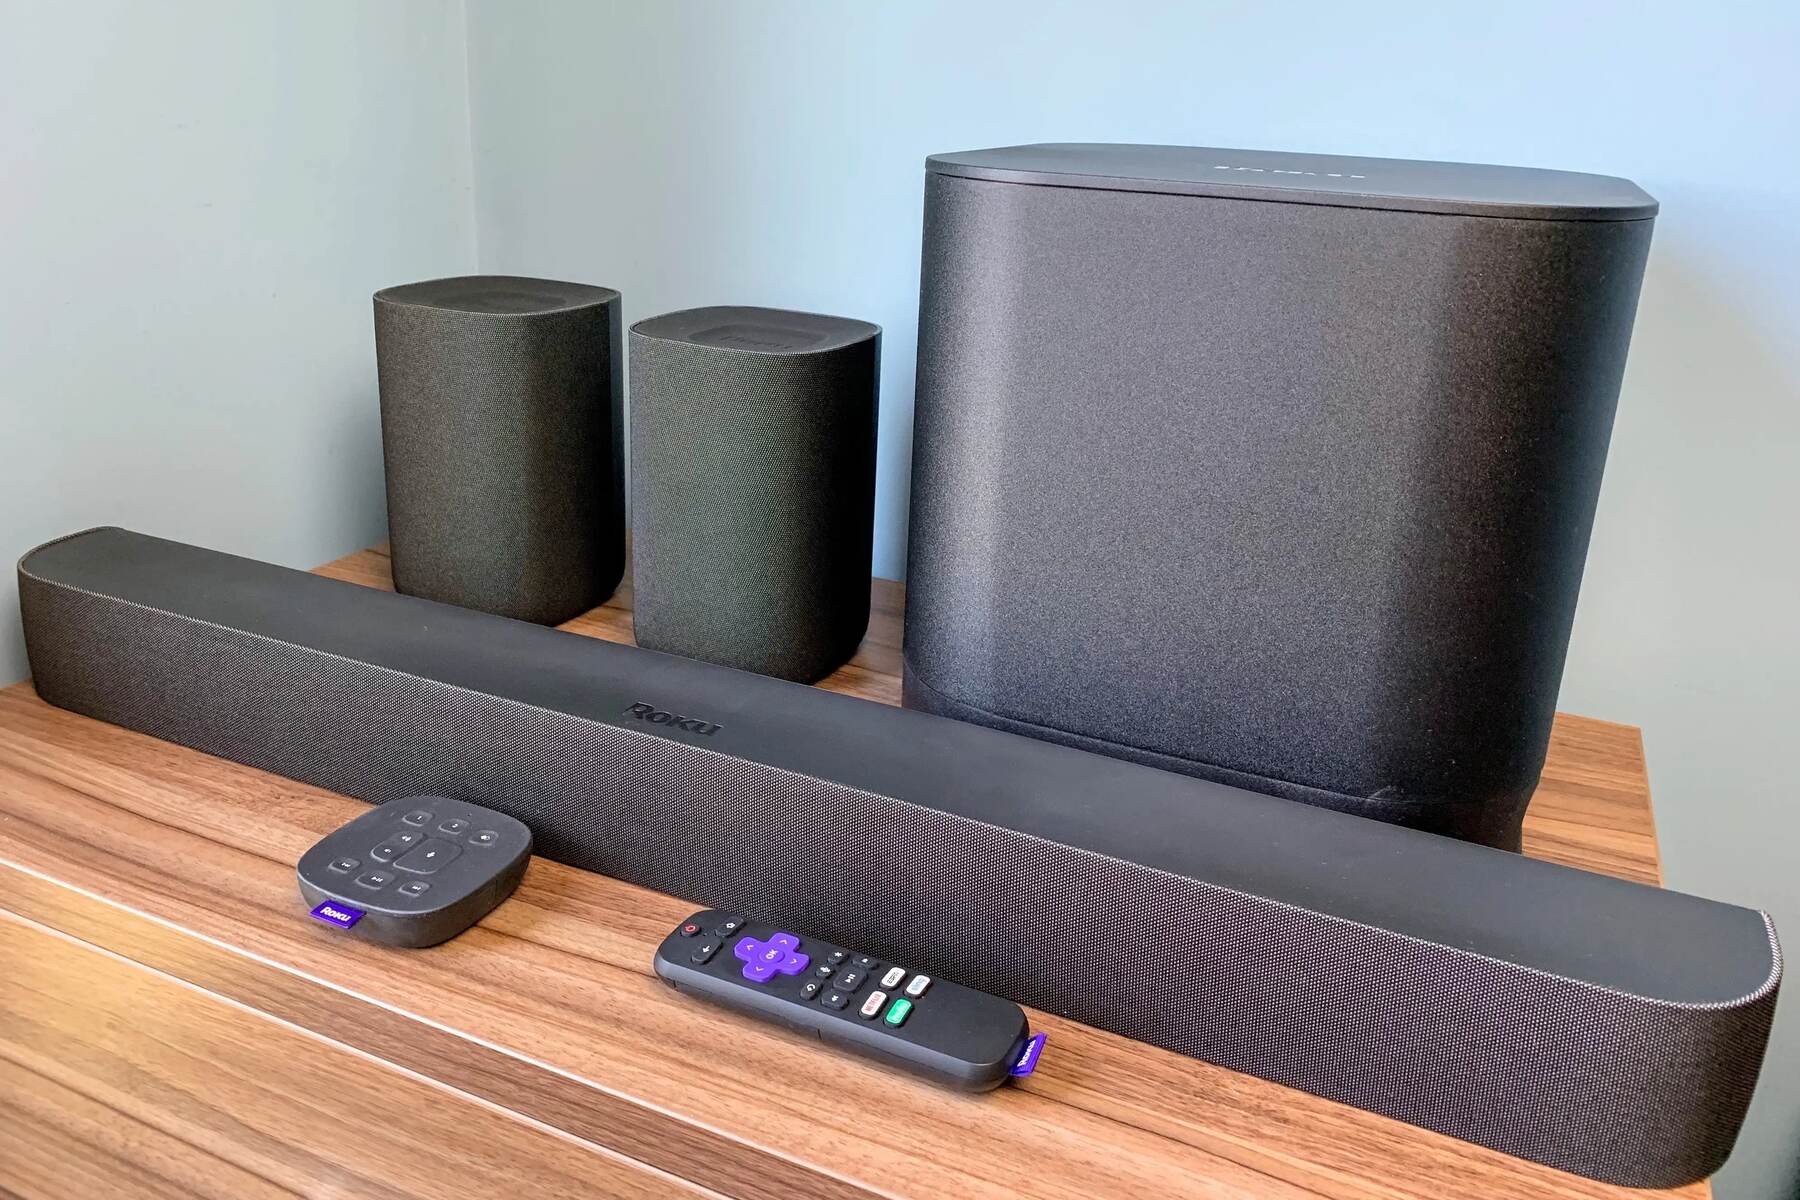
- Surround sound system: You’ll need a surround sound system that includes speakers and a receiver or soundbar. The specific components of your surround sound system may vary, but the basic setup typically includes five speakers (front left, front right, center, rear left, and rear right) and a subwoofer for low-frequency audio.
- HDMI cable: To connect your Roku device to the surround sound system, you’ll need an HDMI cable. Make sure you have a high-speed HDMI cable that supports audio and video transmission.
- HDMI input on the surround sound system: Check if your surround sound system has an available HDMI input. This is where you’ll connect your Roku device to ensure both video and audio signals are transmitted to the surround sound system.
- Additional audio cables (if required): Depending on the specific connections available on your surround sound system and Roku device, you may need additional audio cables. For example, if your surround sound system doesn’t have HDMI inputs, you may need to use an optical audio cable or RCA cables to connect the audio output from your Roku device to the surround sound system.
It’s important to ensure that all the necessary components are available and compatible with each other. Double-check the specifications of your Roku device and surround sound system to confirm the supported connections and audio formats.
Once you have gathered all the required components, you’re ready to proceed to the next section: the step-by-step guide to connecting your Roku to your surround sound system.
Step-by-Step Guide to Connecting Roku to Your Surround Sound System
Now that you have all the components ready, let’s proceed with the step-by-step guide to connecting your Roku device to your surround sound system:
- Ensure your Roku device and surround sound system are powered off.
- Connect one end of the HDMI cable to the HDMI output port on your Roku device.
- Connect the other end of the HDMI cable to an available HDMI input on your surround sound system. Make sure to note which HDMI input you’ve connected the Roku device to.
- If your surround sound system has a HDMI output, connect one end of another HDMI cable to the HDMI output on the surround sound system. Connect the other end of the HDMI cable to an available HDMI input on your TV. This will ensure that video signals from the Roku device are transmitted to the TV.
- Turn on your surround sound system and select the correct HDMI input that corresponds to the Roku device. This input may be labeled as “CBL/SAT,” “DVD,” or “GAME” on the receiver or soundbar.
- Turn on your TV and select the HDMI input that you connected the surround sound system to. This will allow you to see the video output from your Roku device on your TV screen.
- Power on your Roku device and follow the on-screen instructions to set up and configure the device. Make sure to select the correct audio output settings, usually found in the Roku device’s settings menu. Choose “Auto” or “HDMI” if available to ensure that audio is transmitted through the HDMI connection to your surround sound system.
- Test the audio output by playing a movie or TV show on your Roku device. You should hear the sound coming through your surround sound speakers, indicating that the connection is successful.
- Adjust the volume and other settings on your surround sound system to your liking. You may need to consult the user manual for your specific surround sound system to make any necessary adjustments.
By following these steps, you should now have your Roku device successfully connected to your surround sound system. Enjoy the enhanced audio quality and immersive experience while streaming your favorite content!
Troubleshooting Common Issues
While connecting your Roku device to your surround sound system is usually a straightforward process, you may encounter some common issues along the way. Here are a few troubleshooting tips to help you resolve any potential problems:
No sound from surround sound speakers:
- Check the volume settings on your surround sound system and make sure it’s not muted.
- Verify that the HDMI cables are securely connected to both the Roku device and the surround sound system.
- Confirm that the correct HDMI input is selected on both the surround sound system and your TV.
- Ensure that the audio output settings on your Roku device are set to “Auto” or “HDMI” to enable audio transmission through the HDMI connection.
Audio but no video:
- Verify that the HDMI cables are securely connected to both the Roku device, the surround sound system (if applicable), and the TV.
- Check that the correct HDMI input is selected on your TV to display the video from the Roku device.
- If using a soundbar, confirm that the HDMI connection from the Roku device is going through the soundbar and then to the TV.
- Try a different HDMI input on your TV or a different HDMI cable to rule out any potential issues with the connection.
Mismatched audio/video synchronization:
- If there is a delay or sync issue between the video on the TV and the audio from the surround sound speakers, you can try adjusting the audio delay settings on your surround sound system. Consult the user manual for your specific device for instructions on how to make these adjustments.
These troubleshooting tips should help you resolve most common issues related to connecting your Roku device to your surround sound system. However, if you continue to experience difficulties, it may be beneficial to consult the user manuals for your Roku device and surround sound system or reach out to their respective customer support for additional assistance.
Conclusion
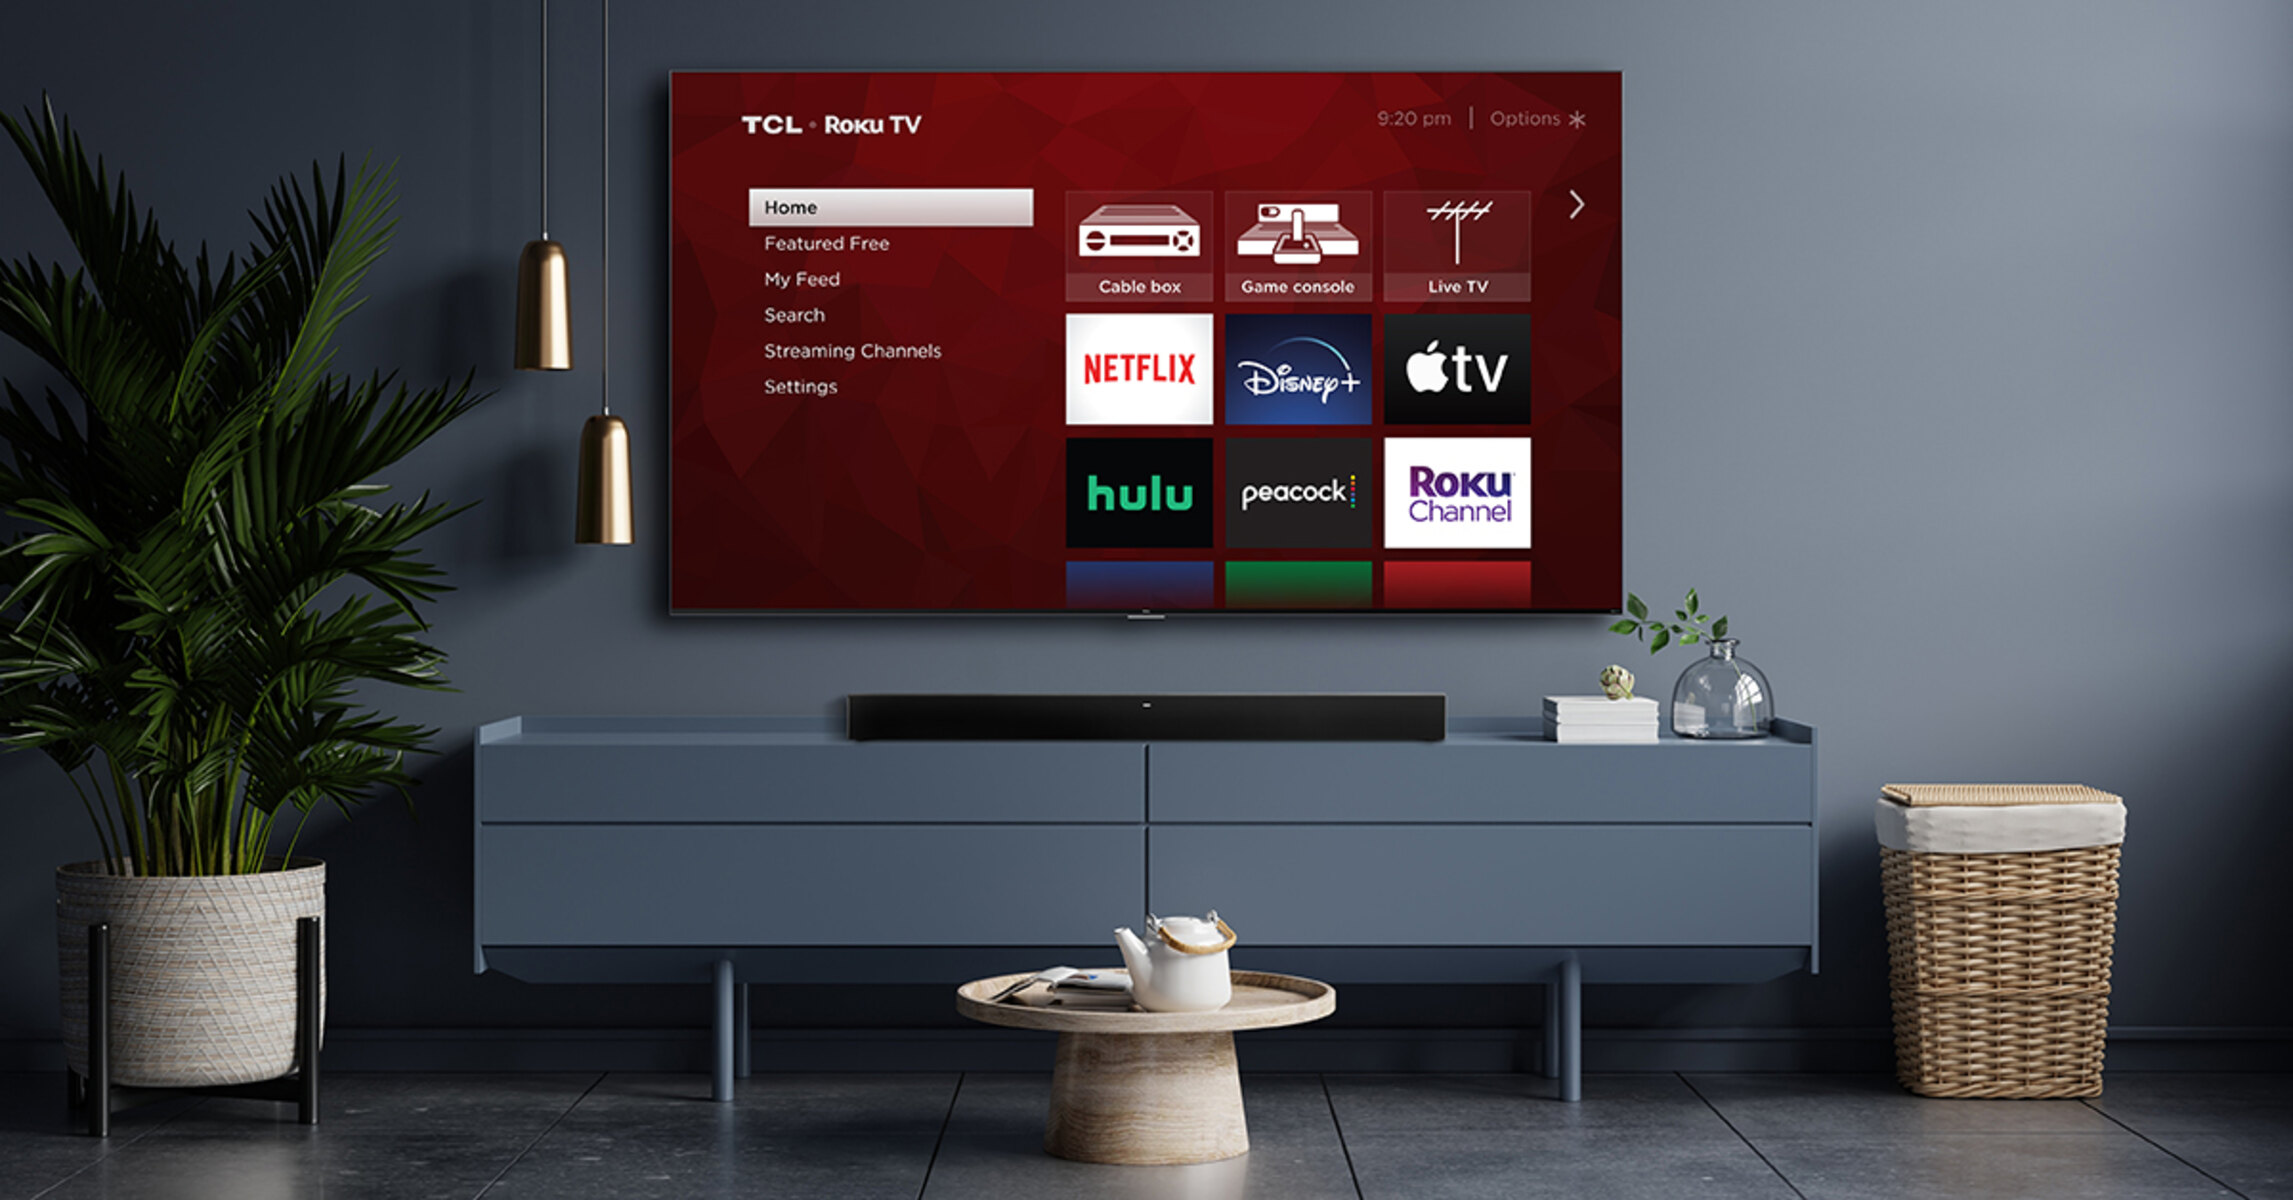
Congratulations! You have successfully learned how to connect your Roku device to your surround sound system. By following the step-by-step guide and troubleshooting tips provided in this article, you can now enjoy a more immersive and superior audio experience while streaming your favorite movies, TV shows, and music.
Connecting your Roku device to a surround sound system allows you to elevate the audio quality, providing a more cinematic and immersive experience. The combination of crystal-clear dialogue, enhanced sound effects, and booming bass will bring your entertainment to life.
Remember to ensure that you have all the necessary components, such as a compatible Roku device, HDMI cables, and a surround sound system with the appropriate inputs. Following the correct setup process, selecting the right audio settings, and troubleshooting any issues will help you achieve optimal results.
Once everything is connected and configured correctly, sit back, relax, and enjoy the magnificent sound as you indulge in your favorite streaming content. Feel the rumble of explosions, the subtleties of whispers, and the exhilarating music scores as if you were in a movie theater.
If you encounter any difficulties during the setup process, refer back to this guide and explore the specific troubleshooting tips provided. Don’t hesitate to consult the user manuals for your Roku device and surround sound system or reach out to customer support for further assistance.
Now, it’s time to dive into your favorite movies and shows, and experience audio like never before with your Roku device seamlessly integrated with your surround sound system. Sit back, relax, and enjoy the sensation of being fully immersed in the world of entertainment.