Introduction
Welcome to our guide on how to place RAM in your computer. RAM, which stands for Random Access Memory, is an essential component that plays a crucial role in the performance of your computer. It serves as temporary storage for data that your system needs to access quickly. Upgrading or replacing RAM is a common practice to enhance a computer’s speed and multitasking capabilities.
In this article, we will walk you through the process of properly placing RAM modules in your computer. We will explain the importance of correct RAM placement, discuss the precautions you should take, and provide you with step-by-step instructions to ensure a successful installation.
Whether you are a novice computer user or a seasoned tech enthusiast, we believe that with our guidance, you will be able to confidently upgrade your computer’s RAM and enjoy improved performance and responsiveness.
Before we delve into the details, it’s essential to understand the basic concept of RAM and its significance in a computer system. This knowledge will help you make informed decisions when upgrading or replacing RAM modules in your computer.
Understanding RAM
RAM, short for Random Access Memory, is a crucial component of any computer system. It is responsible for temporarily storing data that the computer needs to access quickly. When you launch an application or open a file, the data is loaded from the storage device (such as a hard drive or SSD) into RAM for faster access by the processor.
RAM is different from storage devices like hard drives or SSDs in that it provides fast, temporary data access rather than long-term storage. It allows your computer’s processor to quickly retrieve and manipulate data, resulting in smoother multitasking, faster program launches, and improved overall system performance.
RAM operates at much higher speeds than other storage devices, enabling the computer to read and write data at a much faster rate. It is often measured in gigabytes (GB) and determines how much data your computer can hold and access at a given time.
It’s important to note that RAM is volatile, meaning it requires a constant power source to retain data. Unlike storage devices, RAM loses all its stored data when your computer is turned off or experiences a power outage. Once your computer is turned back on, it needs to reload the necessary data into RAM again.
To put it simply, RAM serves as a temporary workspace for your computer’s operating system, applications, and files. The more RAM your computer has, the more data it can store in this workspace, resulting in better performance and responsiveness.
Now that we have a basic understanding of RAM and its role in a computer system, let’s delve into the importance of properly placing RAM modules to ensure optimal performance.
Importance of Proper RAM Placement
Placing RAM modules correctly and securely in your computer is vital for several reasons. The proper placement of RAM ensures optimal performance, stability, and compatibility. Here are a few key reasons why proper RAM placement is important:
- Maximum Performance: Placing RAM in the correct slots and configurations allows your computer to take full advantage of its capabilities. Different motherboard configurations have specific guidelines on how to install RAM for optimal performance. Failure to follow these guidelines may result in reduced speed or even compatibility issues.
- Stability and Reliability: Incorrectly placed RAM modules can lead to system instability, random crashes, or even boot failures. By properly placing the RAM modules, you minimize the chances of these issues and ensure a stable and reliable computing experience.
- Compatibility: Some motherboards have specific slot arrangements and configurations for placing RAM. Installing RAM in the wrong slot or mismatching modules may lead to compatibility issues. It’s essential to consult your motherboard’s manual or manufacturer’s guidelines to ensure you are using the correct slots and configurations for your RAM modules.
- Overheating Prevention: Properly placed RAM modules ensure adequate airflow within your computer’s chassis. This helps prevent overheating issues that could arise from blocked airflow due to poorly positioned RAM.
- Easier Troubleshooting: In case you encounter any issues with your computer’s RAM, proper placement makes troubleshooting easier. By ensuring that the modules are correctly seated and in the recommended slots, you can eliminate incorrect placement as a potential cause of the problem, allowing you to focus on other troubleshooting steps.
By understanding and implementing proper RAM placement techniques, you can maximize your computer’s performance, stability, and compatibility.
Precautions Before Placing RAM
Before you begin the process of placing RAM modules in your computer, it’s crucial to take certain precautions to ensure a smooth and successful installation. Here are some key precautions to keep in mind:
- Power off and unplug your computer: Before working on any internal components, shut down your computer and unplug it from the power source. This step is essential for your safety and to prevent any accidental damage to both the computer and the RAM modules.
- Read the motherboard manual: Each motherboard has specific guidelines for RAM placement. It’s important to consult your motherboard’s manual or visit the manufacturer’s website to familiarize yourself with the recommended slots and configurations. Different motherboards may have different placement requirements, so make sure you follow the instructions specific to your motherboard model.
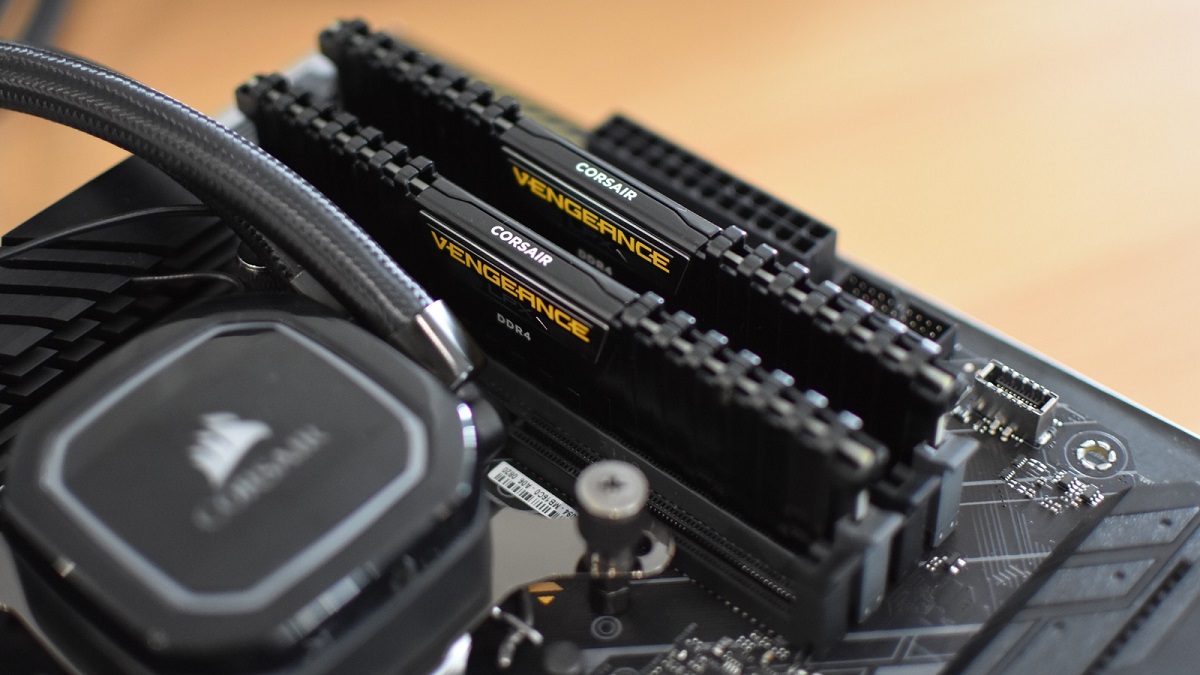
- Check RAM compatibility: Ensure that the RAM modules you are planning to install are compatible with your motherboard. Check the specifications of your motherboard and compare them with the specifications of the RAM modules. Pay attention to factors such as module type (DDR3, DDR4, etc.), speed, and capacity limitations. Using incompatible modules can lead to performance issues or even damage the hardware.
- Handle RAM modules with care: RAM modules are sensitive electronic components. Avoid touching the gold connectors or any other exposed components. Handle the modules by their edges to prevent any potential damage from static electricity or physical mishandling.
- Use an anti-static wrist strap: Before handling the RAM modules, consider using an anti-static wrist strap to discharge any static electricity accumulated in your body. This precaution protects the sensitive electronic components from electrostatic discharge (ESD), which can damage or degrade the performance of the RAM modules.
- Clean the memory slots: Inspect the memory slots in your motherboard and ensure they are clean and free from dust or debris. Use compressed air or a gentle brush to clean the slots if necessary. This step helps in establishing proper contact between the RAM modules and the motherboard.
By following these precautions, you reduce the risk of damage to your computer components and ensure a successful RAM placement process.
Steps to Place RAM
Now that you have familiarized yourself with the importance of proper RAM placement and taken the necessary precautions, let’s walk through the step-by-step process of placing RAM modules in your computer:
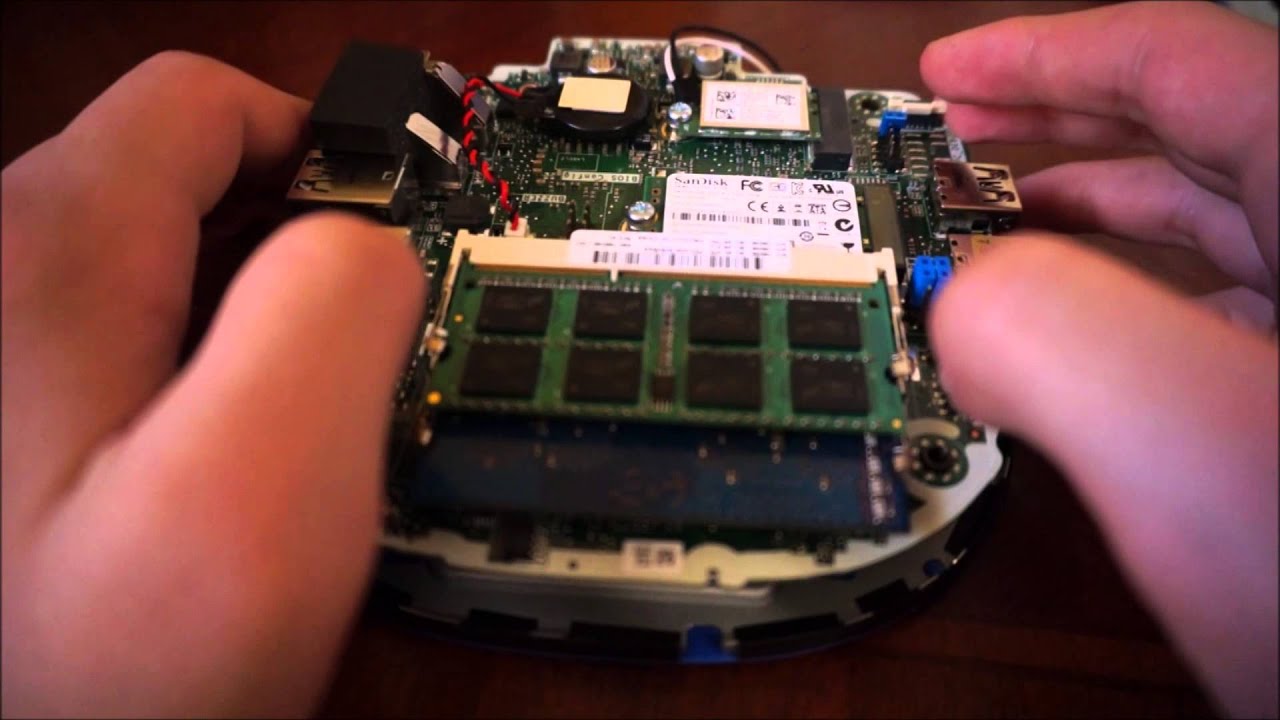
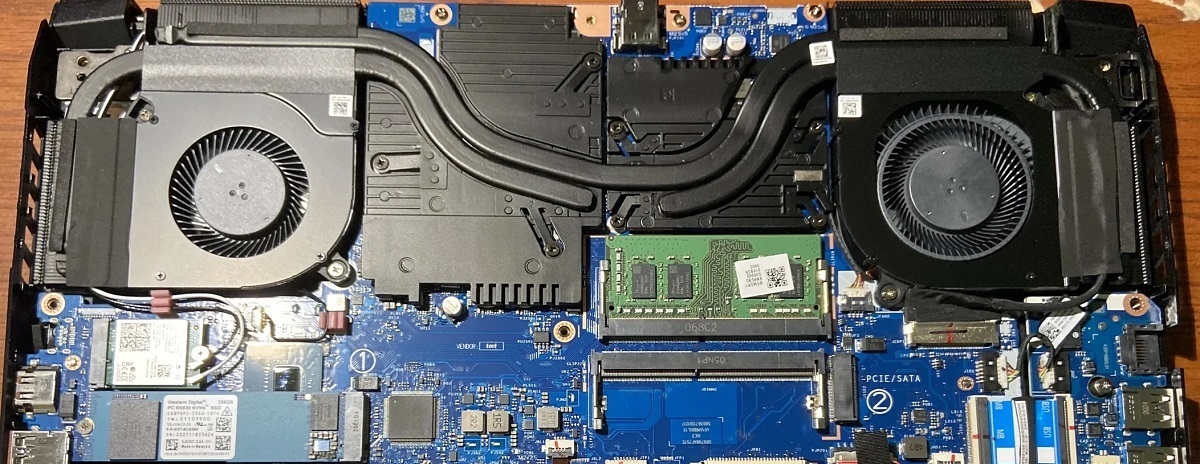
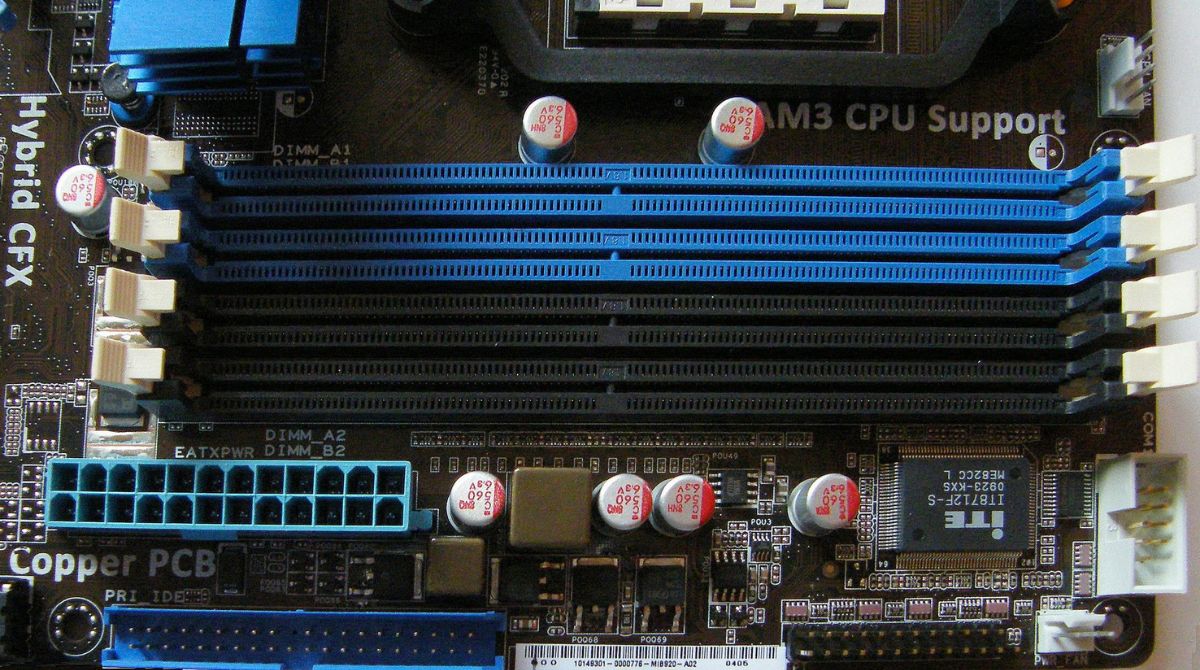
- Locate the RAM slots: Open your computer’s chassis or access panel to access the motherboard. Locate the RAM slots, which are usually long, rectangular slots near the CPU socket.
- Identify the correct slots: Refer to your motherboard manual to identify the correct slots for placing your RAM modules. Most motherboards have multiple slots, and the correct placement configurations will be specified in the manual.
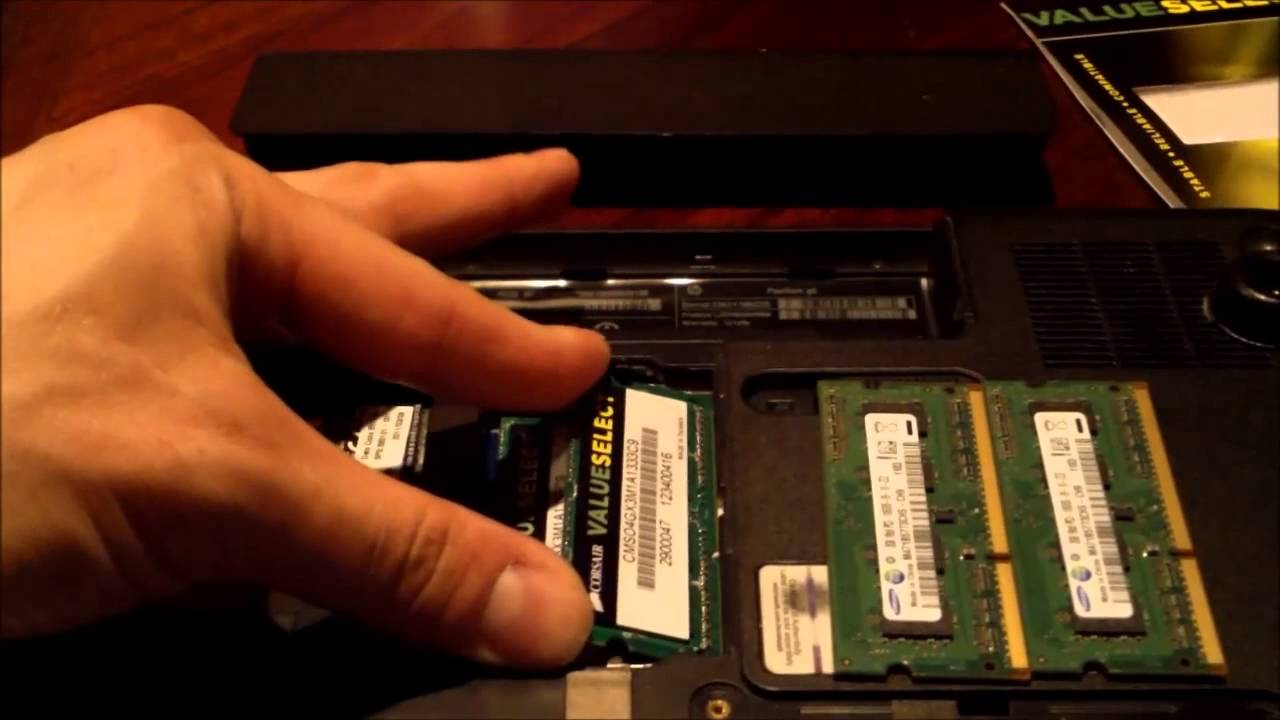
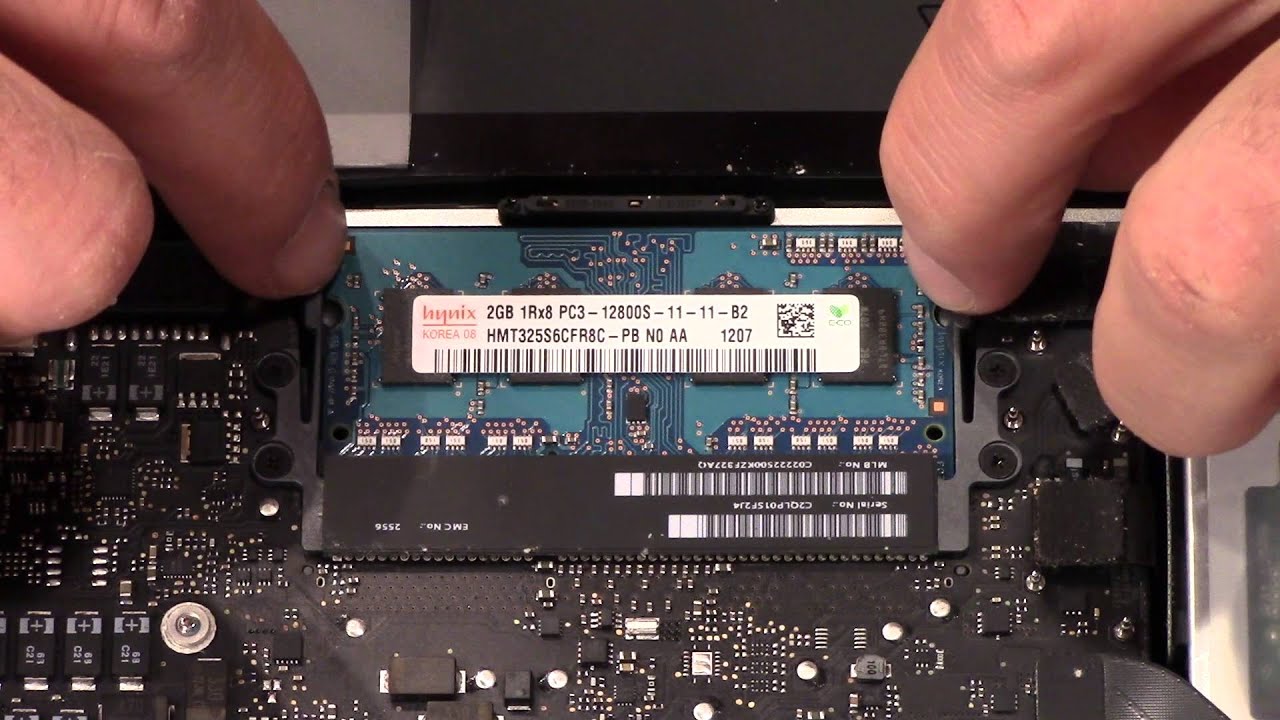
- Prepare the modules: Carefully remove the RAM modules from their packaging. Hold the modules by their edges and avoid touching the gold connectors or exposed components. Ensure that you are using the correct type and capacity of RAM modules for your motherboard.
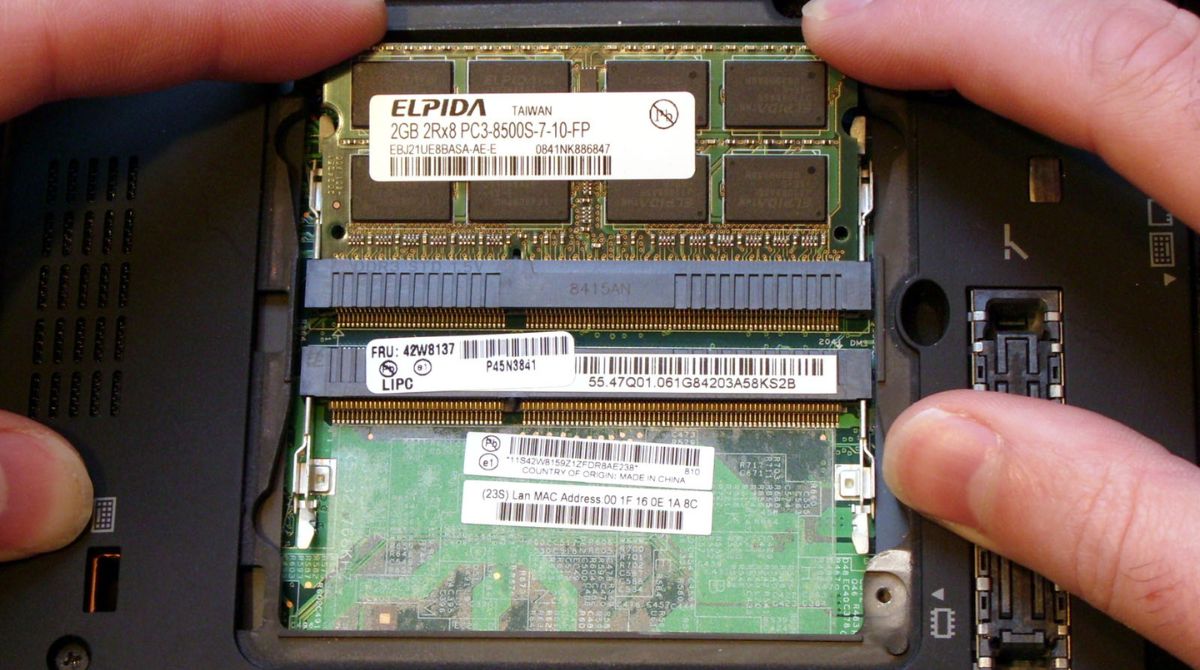
- Align the notches: Examine the RAM module and the slot to identify the notch or notches present. Align the notch on the module with the corresponding notch in the slot to ensure proper orientation.
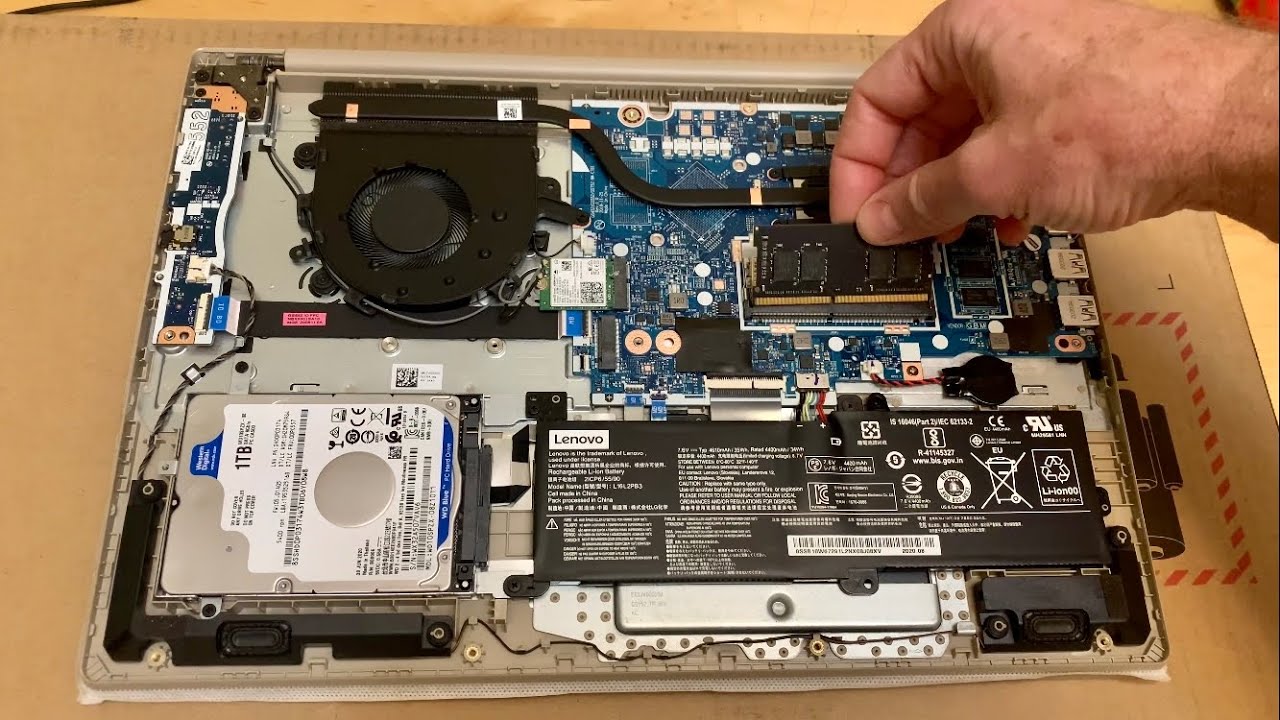
- Insert the RAM module: Gently insert the RAM module into the slot at a 45-degree angle. Apply equal pressure on both ends of the module until it is fully seated in the slot.
- Secure the module: Once the RAM module is fully inserted, carefully push down on the module until the clips on each end click into place. This secures the module and ensures proper contact with the motherboard.
- Repeat for additional modules: If you have multiple RAM modules to install, repeat the above steps for each module, ensuring that you are placing them in the correct slots and following any recommended configurations.
- Close the chassis and power on: Once all the RAM modules are securely in place, close the computer’s chassis or access panel. Reconnect the power cable and any other cables you disconnected earlier. Power on your computer to verify that the RAM installation was successful.
It’s important to note that the above steps are general guidelines. Always refer to your motherboard manual for specific instructions and configurations based on your motherboard model.
With the RAM modules properly placed, you can now enjoy improved performance and responsiveness from your computer.
Testing and Troubleshooting
After placing RAM modules in your computer, it’s essential to perform some tests to ensure they are functioning correctly. Here are some steps you can take to test your RAM and troubleshoot any potential issues:
- Boot your computer: Power on your computer and monitor its startup process. Pay attention to any error messages, unusual behavior, or system instability.
- Check system information: Once your computer has booted, check the system information to verify that the newly installed RAM is detected. In Windows, you can do this by right-clicking on the “Start” button, selecting “System,” and checking the installed RAM size. In macOS, go to the Apple menu, select “About This Mac,” and click on “Memory” to view the installed RAM.
- Run memory diagnostics: To further test your RAM modules, you can use specialized memory diagnostic tools. Windows users can utilize the built-in Windows Memory Diagnostic tool or third-party software like MemTest86. These tools perform comprehensive tests to identify any potential errors or issues with your RAM.
- Reseat RAM modules: If you encounter any instability or errors, try reseating the RAM modules. Power off your computer, open the chassis, remove the modules, and reinstall them, ensuring a secure connection.
- Test individual modules: If you have multiple RAM modules installed, you can test each module individually to identify any faulty modules. Remove all but one module and test your computer’s performance. Repeat this process for each module, noting any differences or issues.
- Check for BIOS updates: Outdated motherboard BIOS can sometimes cause compatibility issues with new RAM modules. Visit your motherboard manufacturer’s website to check for any available BIOS updates and follow their instructions to update the BIOS if necessary.
- Contact technical support: If you continue to experience problems or suspect a defective RAM module, consider reaching out to the manufacturer’s technical support for further assistance. They can provide guidance or arrange for a replacement if needed.
By performing these tests and troubleshooting steps, you can ensure that your newly placed RAM modules are functioning correctly and resolve any issues that may arise.
Conclusion
Congratulations! You have learned how to properly place RAM modules in your computer, understanding their significance, following precautions, and executing the step-by-step process. By correctly placing RAM modules, you can maximize your computer’s performance, stability, and compatibility.
Remember to consult your motherboard manual for specific guidelines and configurations for your RAM placement. Adhering to these guidelines ensures optimal performance and minimizes the risk of potential issues.
After placing the RAM modules, it’s crucial to test your computer to ensure they are functioning correctly. Boot your computer, check system information, and perform memory diagnostics to identify any potential errors or instabilities. If problems persist, consider reseating the RAM modules, testing individual modules, or checking for BIOS updates.
If you encounter any difficulties during the RAM placement process or have concerns about compatibility, it’s always recommended to consult technical support or seek assistance from a professional.
By following the steps and precautions outlined in this guide, you can confidently upgrade or replace RAM modules, enhancing your computer’s performance, responsiveness, and multitasking capabilities.
Enjoy the benefits of your newly placed RAM modules and experience the improved performance of your computer!