Introduction
Welcome to our guide on what to do when replacing RAM! Whether you’re looking to upgrade your computer’s memory or are experiencing issues that may be related to faulty RAM, this step-by-step tutorial will walk you through the process.
RAM, which stands for Random Access Memory, is a critical component in any computer system. It plays a vital role in storing and retrieving data that is actively being used by the operating system and applications. Over time, you may find that your computer requires more RAM to handle resource-intensive tasks or that your existing RAM is causing system errors or crashes.
Before diving into the process of replacing your RAM, it’s essential to understand your computer’s specific needs. This includes assessing how much RAM your computer currently has and determining the maximum amount it can support. By doing so, you can ensure that you purchase the appropriate type and quantity of RAM modules.
In this guide, we’ll provide you with step-by-step instructions on how to replace your RAM safely and effectively. We’ll cover everything from gathering the necessary tools to shutting down your computer, opening the computer case, identifying the RAM slots, removing the old RAM modules, installing the new ones, and verifying the installation.
It’s worth mentioning that while replacing RAM is generally a straightforward process, some computer models may have specific requirements or unique procedures. Therefore, it’s always beneficial to consult your computer’s user manual or the manufacturer’s website for model-specific instructions.
Now that you have a brief overview of what to expect, let’s dive into the details of each step. So, grab your tools, prepare your workspace, and let’s get started!
Assessing Your RAM Needs
Before replacing your RAM, it’s crucial to assess your computer’s specific memory requirements. This involves determining how much RAM your computer currently has, understanding the types of RAM modules that are compatible with your system, and identifying the maximum amount of RAM your computer can support.
To check your computer’s current RAM capacity, you can go to the System Properties on Windows or the About This Mac section on macOS. This will provide you with information about the installed RAM and the available slots for expansion.
Next, you’ll need to determine the type of RAM your computer supports. The most common types are DDR3 and DDR4, although older systems may use DDR2 or even DDR. This information can usually be found in your computer’s user manual or by searching the manufacturer’s website using your computer’s model number. It’s always crucial to ensure that you purchase RAM modules that are compatible with your system.
Another essential factor to consider is the maximum amount of RAM your computer can support. This information can also be found in your computer’s user manual or on the manufacturer’s website. It’s important to note that different operating systems have different RAM limits, so make sure to check the limits for your specific OS version as well.
Once you have determined the appropriate RAM type and the maximum capacity, you can decide how much additional RAM you need. This will depend on your computer usage and the specific tasks you perform. For example, if you use resource-intensive applications like video editing software or complex gaming programs, you may benefit from having more RAM to ensure smooth performance.
Keep in mind that adding more RAM can significantly improve your computer’s multitasking capabilities and overall performance. However, it’s essential to strike a balance depending on your budget and computing needs. While it may be tempting to purchase the maximum amount of RAM supported by your computer, consider if it’s a necessary investment for your specific usage.
By thoroughly assessing your RAM needs, you’ll have a clear understanding of the type and quantity of RAM modules you need to purchase. This will ensure that you make an informed decision and optimize your computer’s performance without overspending.
Gathering the Necessary Tools
Before you begin the process of replacing your RAM, it’s essential to gather the necessary tools. Having the right tools on hand will not only make the task more convenient but also help ensure that you can safely handle the delicate components of your computer.
Here are the tools you will need:
- Screwdriver: Depending on your computer, you may need a Phillips or a Torx screwdriver to remove the screws securing the computer case. Check your computer’s user manual or perform a quick online search to determine the appropriate screwdriver type.
- Anti-static wrist strap: While not essential, an anti-static wrist strap can add an extra layer of protection by preventing static electricity from damaging sensitive computer components.
- Clean, lint-free cloth: It’s helpful to have a clean cloth to wipe away any dust or debris from the RAM slots or modules.
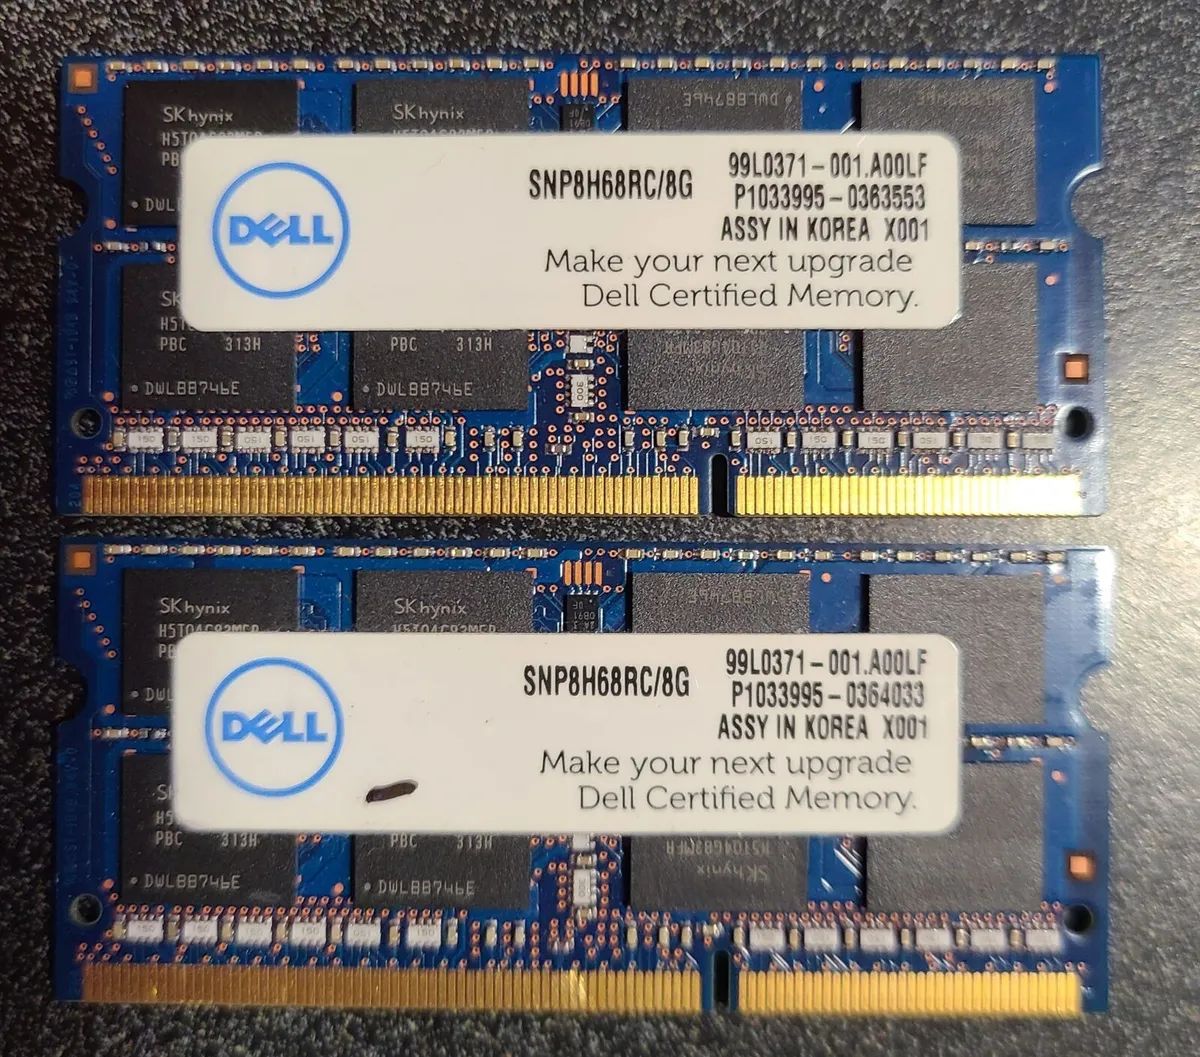
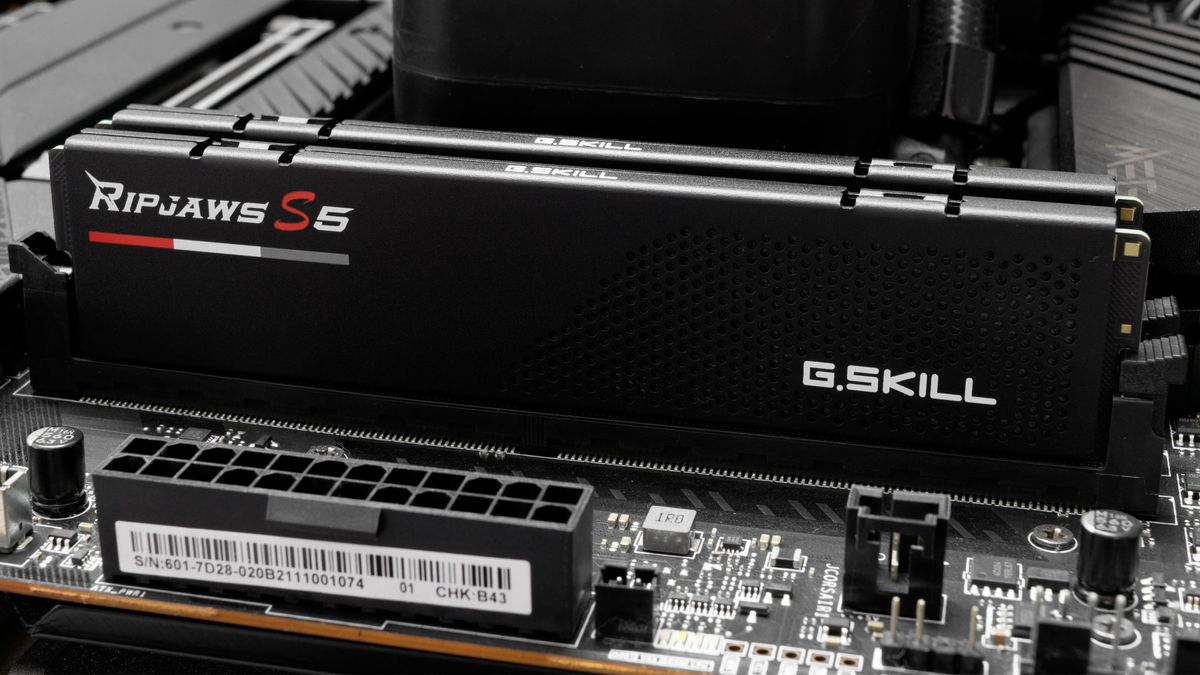
- RAM modules: Of course, you’ll need the new RAM modules that you’ve chosen based on your RAM needs assessment.
It’s worth noting that some RAM modules come with heat spreaders or heat sinks attached. If you’ve opted for modules with these additional cooling features, make sure they fit within the available space inside your computer case without obstructing other components.
Once you have gathered these tools, place them in a clean and organized workspace. It’s important to work in a clutter-free area to minimize the risk of misplacing or damaging any of the components. Additionally, make sure to ground yourself by touching a grounded metal object or using an anti-static wrist strap before handling any computer parts.
By having all the necessary tools ready, you can streamline the process of replacing your RAM and reduce the chance of encountering any issues. So take a moment to ensure you have everything you need before moving on to the next steps.
Shutting Down Your Computer
Before you start working on replacing your RAM, it’s crucial to shut down your computer properly. This step ensures that you can safely handle the internal components without the risk of electrical shock or data loss.
To shut down your computer:
- Save your work: Make sure to save any open documents or projects you’re working on. This will prevent data loss or unsaved changes when you shut down.
- Close all applications: Close any open applications and programs to ensure that they’re not actively accessing the RAM or other system resources.
- Click on Start: On Windows, click on the Start button located at the bottom left corner of the screen. On macOS, click on the Apple menu located at the top left corner of the screen.
- Choose Shut Down: From the Start or Apple menu, select the Shutdown option. This will initiate the shutdown process for your computer.
- Wait for the computer to power off: Give your computer a few moments to complete the shutdown process. You may see a screen indicating that the shutdown is in progress.
- Verify that the computer is powered off: Make sure that the computer is completely turned off. Double-check that the power indicator lights, if any, are no longer illuminated.
It’s important to note that shutting down your computer properly ensures that the RAM is no longer in use and can be safely handled during the replacement process. Additionally, following these steps will help protect your data and prevent any potential damage to your computer or its internal components.
Now that your computer is safely shut down, you’re ready to proceed with the next steps of replacing your RAM.
Opening the Computer Case
Now that your computer is shut down, it’s time to open the computer case. Opening the case will grant you access to the internal components, including the RAM slots.
Here’s how you can open the computer case:
- Unplug the power cord: Before you begin, make sure to unplug the power cord from the wall socket. This will ensure that there is no electrical current flowing through the computer.
- Place the computer on a stable surface: Find a sturdy table or desk to place your computer. Make sure the surface is clean and free from any potential hazards that might cause damage to the computer or its components.
- Locate the screws securing the computer case: Inspect the rear of the computer case and identify the screws that are holding the case in place. These screws may be Phillips or thumbscrews depending on the case design.
- Remove the screws: Using the appropriate screwdriver, carefully remove the screws securing the computer case. Set aside the screws in a safe place so they won’t get lost or mixed up during the process.
- Slide off the computer case: Once the screws are removed, gently slide the computer case cover off the main chassis. Some cases may have latches or clips that you need to release before sliding the case off.
As you open the computer case, you may notice that some cases have a side panel that provides easy access to the internal components, while others require you to remove the entire case cover. Refer to your computer’s user manual or manufacturer’s instructions to determine the specific procedure for your case.
Once the computer case is open, be cautious of any sharp edges or fragile cables inside. Take note of the layout and positioning of the components in the case, as this will help you navigate during the RAM replacement process.
By following these steps, you can safely open your computer case and gain access to the internal components, including the RAM slots. With the case open, you’re now ready to identify the RAM slots in preparation for removing the old RAM modules.
Identifying the RAM Slots
Now that you have successfully opened your computer case, it’s time to identify the RAM slots. The RAM slots are where the memory modules are inserted and connected to the motherboard.
Follow these steps to identify the RAM slots:
- Locate the motherboard: The motherboard is the main circuit board inside your computer case. It’s usually the largest board, and all the major components, including the RAM slots, are connected to it.
- Look for the DIMM slots: The RAM slots are typically called DIMM slots. DIMM stands for Dual Inline Memory Module. The number and position of the slots may vary depending on your computer’s make and model.
- Inspect the RAM slot configuration: Take note of how many RAM slots are available and their configuration. Most motherboards have two to four RAM slots, arranged in a specific pattern. Some motherboards may have additional slots for different types of RAM modules.
- Check for any labels or markings: Some motherboards may have labels or markings next to the RAM slots, indicating the slot numbers or other relevant details. These labels can be helpful for identifying the appropriate slots if you plan to install multiple RAM modules.
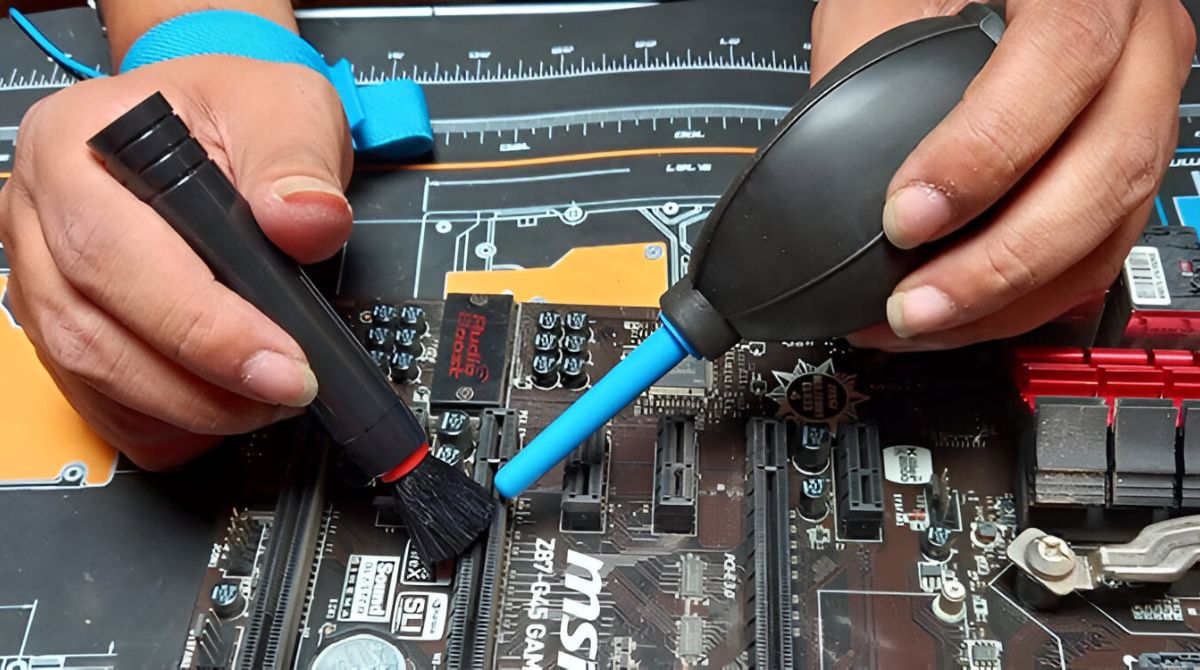
It’s essential to handle the RAM slots with care and avoid touching the gold contacts. These contacts are sensitive and can be easily damaged by fingerprints or static electricity. If you accidentally touch the contacts, use a clean, lint-free cloth to gently wipe them off.
If you’re having difficulty identifying the RAM slots or you’re unsure about the configuration, consult your computer’s user manual or visit the manufacturer’s website for detailed information. They will provide you with the necessary guidance to locate and identify the RAM slots accurately.
Once you have identified the RAM slots, you’re ready to proceed with removing the old RAM modules and replacing them with the new ones. The next section will guide you through the process step by step.
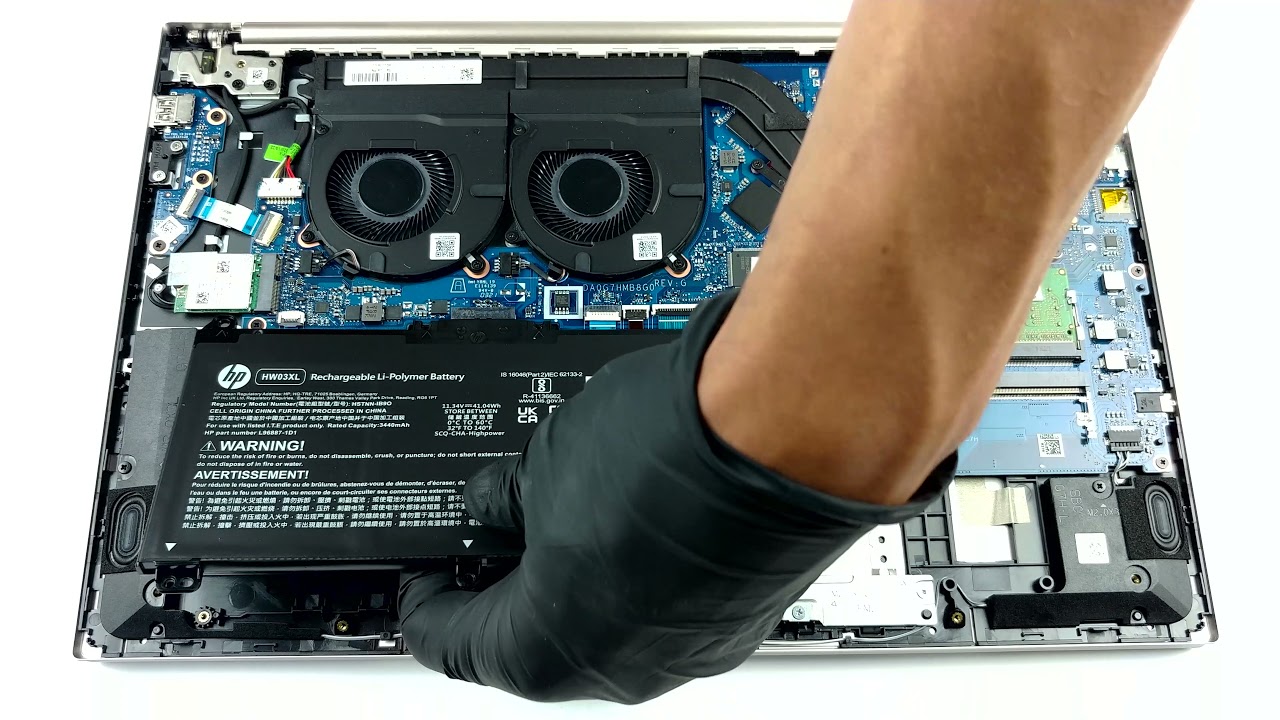
Removing the Old RAM
With the RAM slots identified, it’s time to remove the old RAM modules from your computer. Removing the old RAM is a straightforward process, but it requires careful handling to prevent any damage to the modules or the motherboard.
Follow these steps to remove the old RAM:
- Ensure that the computer is powered off and unplugged: Before working on the internal components, make sure your computer is completely powered off and unplugged from the power source. This ensures your safety and prevents any electrical mishaps.
- Ground yourself: To avoid damaging sensitive components with static electricity, ground yourself by touching a grounded metal object or wearing an anti-static wrist strap.
- Locate the retaining clips or locks: On each side of the RAM module, you’ll find retaining clips or locks that hold the module in place. These clips may be located at the top or bottom of the slot, depending on your motherboard design.
- Release the clips: Gently push or pull the retaining clips away from the sides of the RAM module. This will release the module from its locked position.
- Remove the old RAM module: Once the retaining clips are released, the RAM module should pop up at a slight angle. Carefully grasp the edges of the module and pull it straight out of the slot.
- Repeat for additional RAM modules: If you have more than one RAM module installed, repeat the above steps for each module to remove them all.
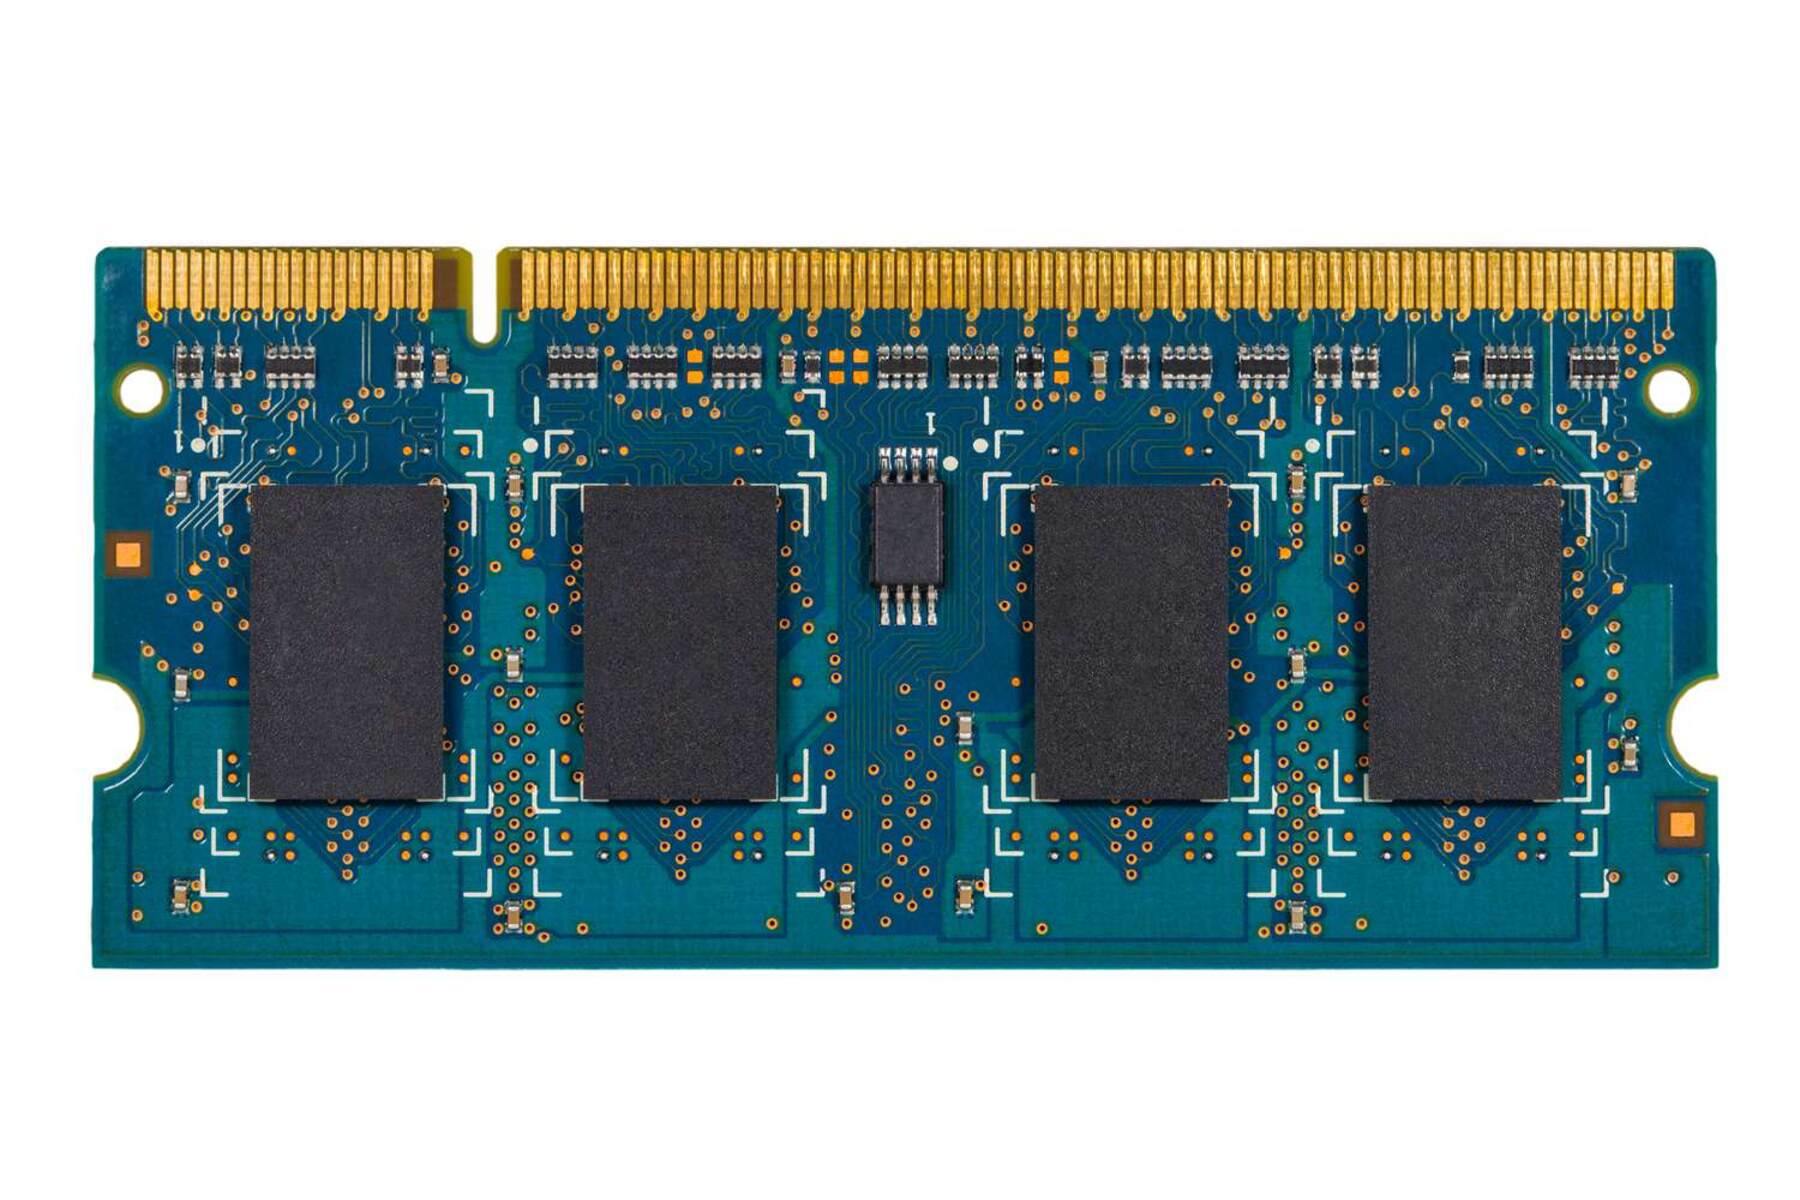
During the removal process, avoid touching the gold contacts on the bottom of the RAM module. These contacts are sensitive, and any damage to them can affect the module’s functionality.
Place the removed RAM modules in an anti-static bag or on a clean, non-conductive surface to protect them from any static electricity or physical damage.
By following these steps, you can safely remove the old RAM modules from your computer. With the old RAM out of the way, you’re now ready to install the new RAM modules in the next section.
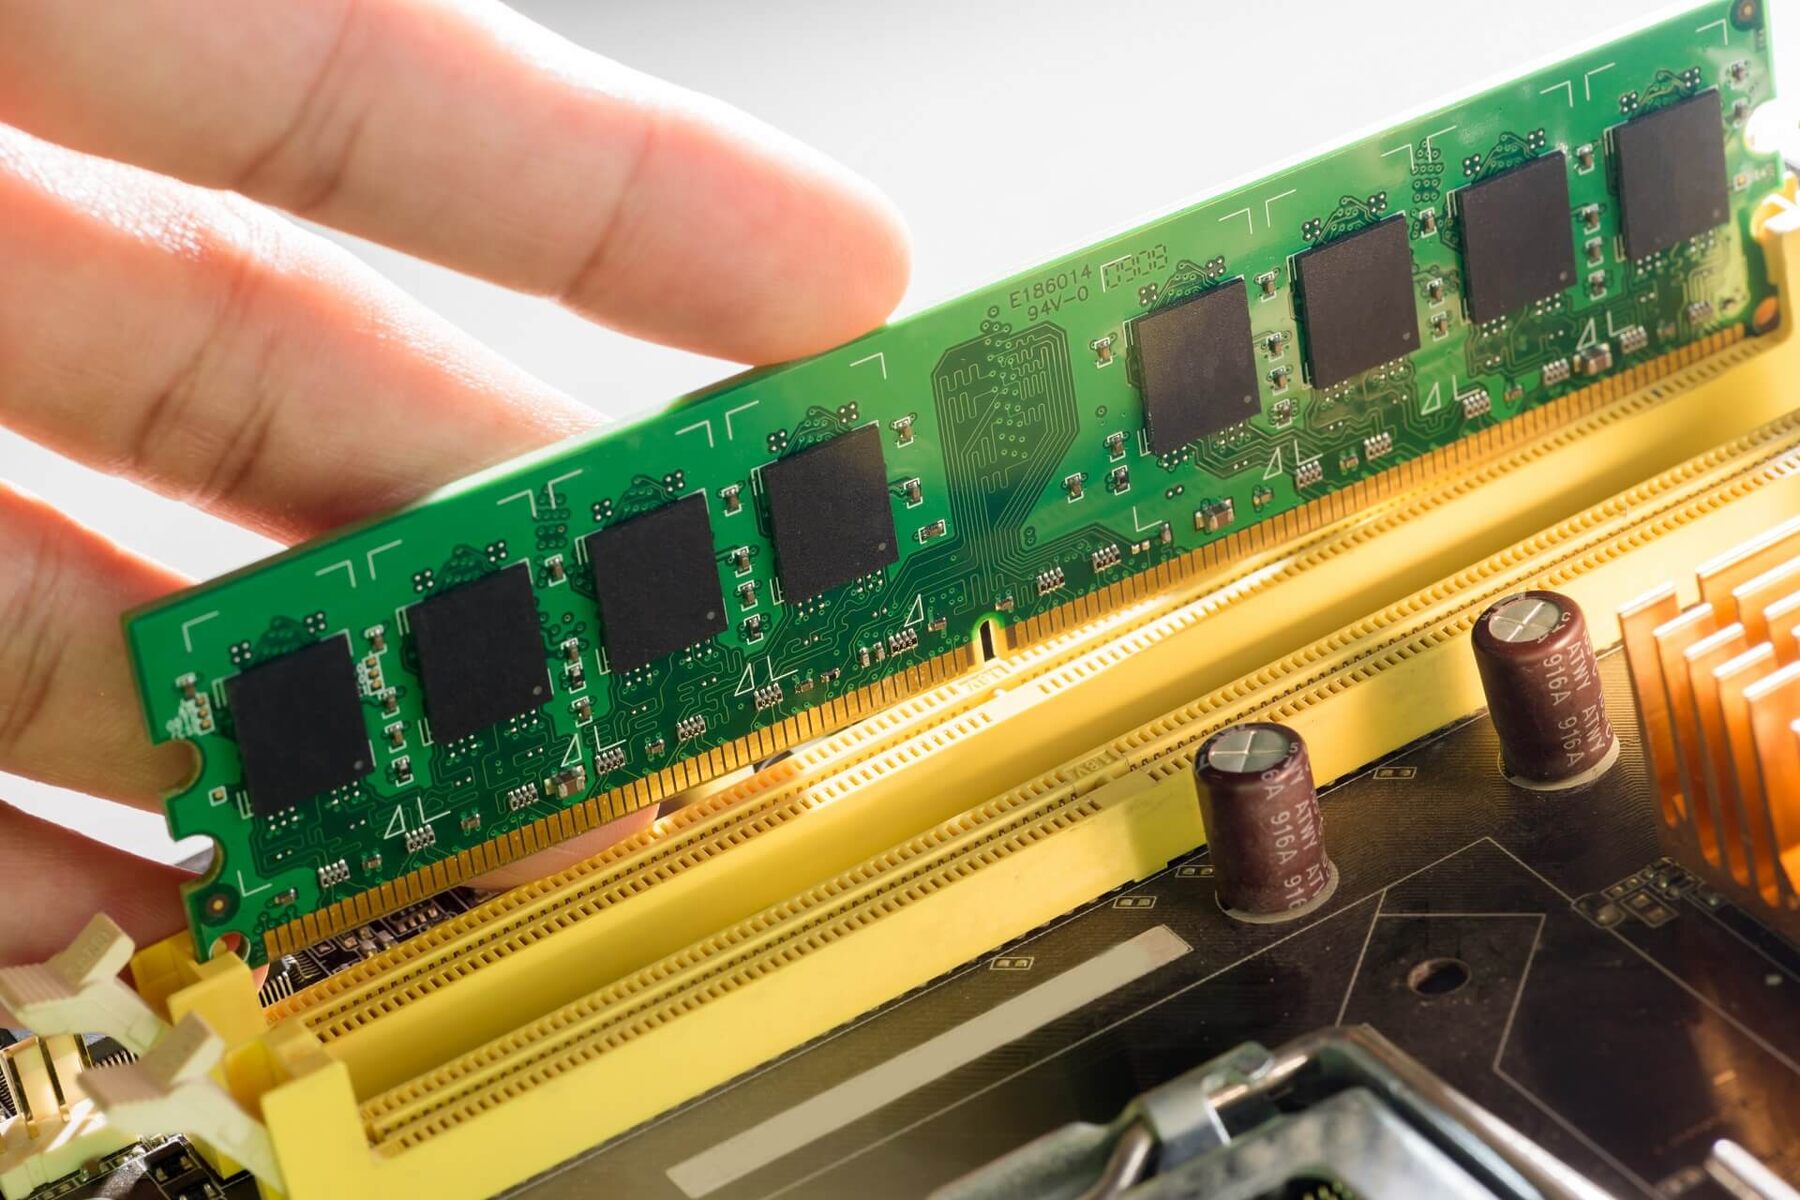
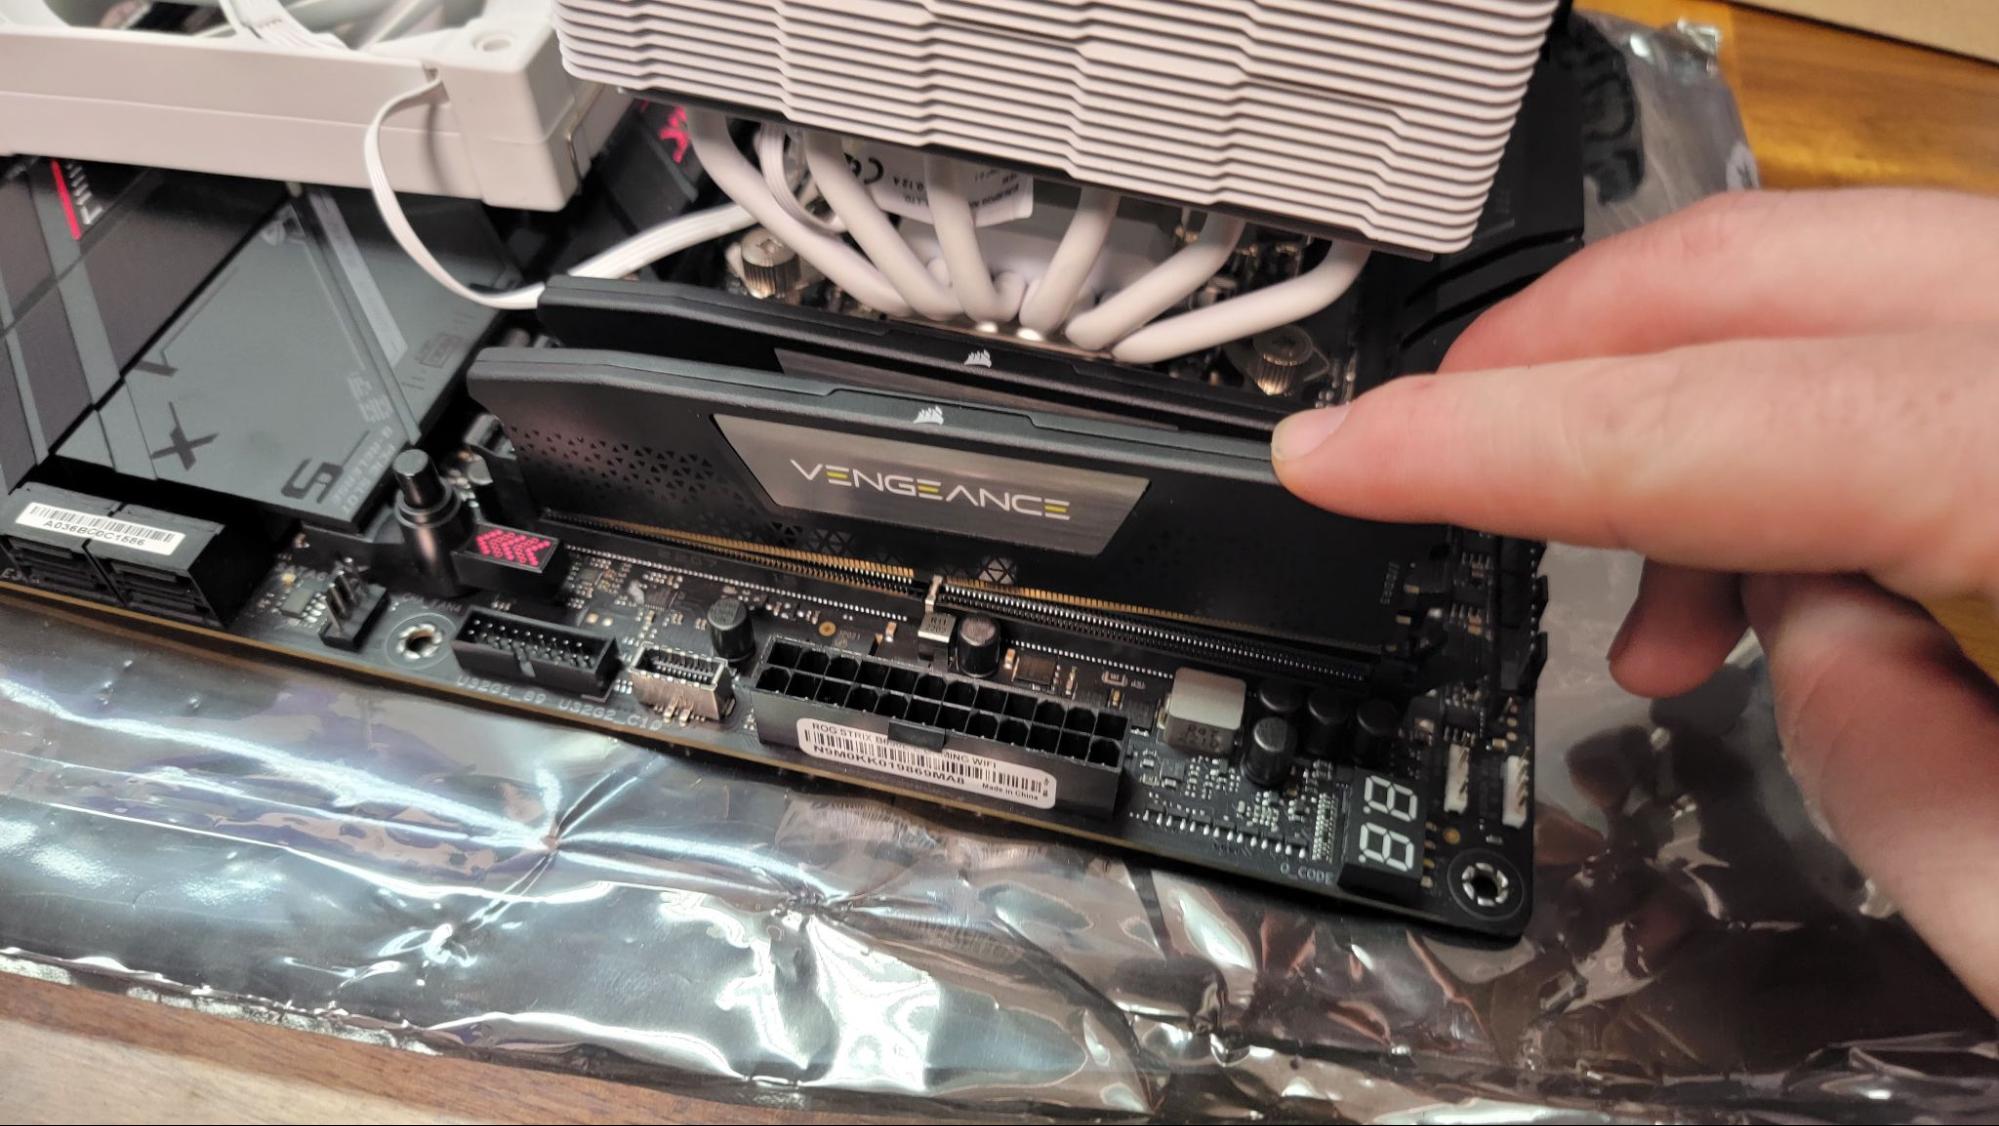
Installing the New RAM
Now that you have removed the old RAM modules, it’s time to install the new ones. Properly installing the new RAM is crucial for optimal performance and stability of your computer.
Follow these steps to install the new RAM modules:
- Ensure that the computer is still powered off and unplugged: Before proceeding, double-check that your computer is completely powered off and disconnected from the power source.
- Ground yourself: To prevent any electrostatic damage, ground yourself by touching a grounded metal object or wearing an anti-static wrist strap.
- Match the RAM module with the slot: Take the new RAM module and ensure that it matches the type, speed, and capacity of the slots in your motherboard. Align the notches on the module with the keys in the RAM slot.
- Insert the RAM module at an angle: Hold the RAM module at a slight angle, approximately a 45-degree angle, and carefully insert it into the RAM slot. Make sure the module is inserted evenly and goes in straight without any forceful pushing or twisting.
- Push down until the clips lock: Apply gentle and even pressure on the top edges of the RAM module, pushing it down into the slot. The retaining clips on each side should automatically snap back into place, securing the module.
- Repeat for additional RAM modules: If you have more than one RAM module, repeat the above steps to install each module, ensuring they are properly seated in the corresponding slots.
It’s important to note that different motherboards may have varying designs for their RAM slots and retaining mechanisms. Make sure to consult your computer’s user manual or the manufacturer’s instructions to ensure you’re installing the RAM modules correctly.
Once the new RAM modules are securely installed, take a moment to visually inspect that they are seated properly and evenly in the slots. Check that the retaining clips on each side are fully closed and securing the modules.
With the new RAM installed, you’re one step closer to improving your computer’s performance. Now, let’s move on to closing the computer case in the next section.
Closing the Computer Case
After successfully installing the new RAM modules, it’s time to close the computer case. Properly closing the case ensures that all the internal components are protected and secured.
Follow these steps to close the computer case:
- Check for any loose cables: Before closing the case, make sure there are no loose cables or connectors that might interfere with the case cover or any internal components. Adjust and secure any cables that may be obstructing the closing process.
- Align the case cover: Gently slide the computer case cover back into position, aligning it with the main chassis. Make sure that the case cover fits snugly and evenly with the rest of the case.
- Secure the case screws: Using the appropriate screwdriver, reinsert and tighten the screws that secure the computer case. Start with the corner screws and gradually work your way around until all the screws are securely fastened.
Make sure not to overtighten the screws, as this could damage the case or strip the screw threads. The screws should be tight enough to hold the case securely, but not so tight that it causes any misalignment or pressure on the components inside.
Once the case is closed and secured, take a moment to visually inspect that everything appears in order. Verify that there are no gaps or misaligned sections of the case, which could indicate that it is not closed properly.
By closing the computer case properly, you ensure that the internal components, including the newly installed RAM modules, are protected from dust, debris, and physical damage. Additionally, it helps maintain the overall stability and integrity of your computer.
With the computer case securely closed, it’s time to move on to the exciting part—powering on your computer with the new RAM! Let’s explore this in the next section.
Powering on Your Computer
Now that you have successfully closed the computer case, it’s time to power on your computer and enjoy the benefits of the newly installed RAM. Powering on your computer ensures that the system recognizes the new RAM modules and allows you to utilize their enhanced performance.
Follow these steps to power on your computer:
- Ensure that the computer is plugged in: Double-check that your computer is securely connected to a power source. Verify that the power cable is properly inserted into both the computer and the wall socket.
- Press the power button: Locate the power button, usually located on the front or top panel of the computer case. Press the power button to turn on your computer.
- Observe the boot process: As your computer powers on, you’ll see the manufacturer’s logo or a startup screen. This indicates that the computer is recognizing the newly installed RAM and is proceeding with the boot process.
- Check the system information: Once your computer finishes booting, you can check the system information to verify that the new RAM modules are properly detected. On Windows, you can access the System Properties by right-clicking on the “This PC” or “My Computer” icon and selecting “Properties.” On macOS, navigate to the “About This Mac” section under the Apple menu.
In the system information, you should see the newly installed RAM modules listed along with their capacity. This confirms that the computer has recognized and properly detected the new RAM. If the system information does not display the new RAM modules or shows an incorrect capacity, double-check that they are correctly installed in the RAM slots. Remove and reinsert them if necessary.
Once you have confirmed that the computer recognizes the new RAM, you’re ready to start enjoying the improved performance and capabilities. The new RAM will allow for smoother multitasking, faster data access, and overall enhanced system responsiveness.
Now that your computer is powered on and running with the upgraded RAM, take a moment to test various applications and tasks to experience the noticeable performance improvements. Enjoy your more efficient and powerful computing experience!
Verifying the New RAM Installation
After powering on your computer with the newly installed RAM, it’s essential to verify that the installation was successful and that the system is functioning correctly. Verifying the new RAM installation ensures that your computer is utilizing the upgraded memory effectively.
Here are a few steps you can take to verify the new RAM installation:
- Check the system information: As mentioned earlier, access the system information on your computer to confirm that the new RAM modules are recognized. Ensure that the total amount of RAM displayed matches the capacity of the newly installed modules.
- Run a memory test: To ensure the stability and functionality of the new RAM, you can run a memory test. There are several software programs available that can perform comprehensive memory tests, such as Memtest86 or Windows Memory Diagnostic. These tools will scan and check for any errors or issues with the RAM.
- Monitor system performance: Keep an eye on your computer’s overall performance and responsiveness. With the upgraded RAM, you should notice improved multitasking capabilities, faster application loading times, and a smoother overall computing experience. Pay attention to any signs of improved performance or stability.
- Test resource-intensive applications: If you regularly use resource-intensive applications or engage in tasks that require significant memory usage, test them after installing the new RAM. Run applications like video editing software, virtual machines, or intense gaming programs to see how your computer handles them with the upgraded RAM.
By following these steps and monitoring your computer’s performance, you can verify that the new RAM installation is successful and that your computer is benefiting from the increased memory capacity. If you experience any issues or notice abnormalities in your system’s performance, double-check that the RAM modules are correctly seated in the slots and that they meet the specifications required by your computer.
If you encounter any problems or feel unsure about the installation, don’t hesitate to consult your computer’s user manual or seek assistance from a knowledgeable technician or support resources provided by the RAM manufacturer.
With the new RAM installation verified and your computer running smoothly, you can now enjoy improved productivity and performance for your everyday computing tasks and resource-demanding activities.
Conclusion
Replacing RAM can be a highly beneficial upgrade for your computer, allowing for improved performance and enhanced multitasking capabilities. By following the steps outlined in this guide, you should now have a good understanding of how to replace RAM and ensure a successful installation.
Assessing your RAM needs is an essential first step, determining the type and quantity of RAM modules required for your computer. Gathering the necessary tools and shutting down your computer properly are crucial for a safe and efficient RAM replacement process.
Opening the computer case and identifying the RAM slots allow you to remove the old RAM modules effectively. Installing the new RAM modules with precision is vital to ensure optimal performance.
After closing the computer case, powering on your computer verifies the new RAM installation, with system information and performance testing confirming the successful upgrade. Remember to monitor your system’s performance and address any issues promptly.
With the new RAM installed and verified, you can enjoy an improved computing experience, with faster response times, smoother multitasking, and better overall performance.
If you encounter any difficulties during the RAM replacement process or have concerns about compatibility, it’s always recommended to refer to your computer’s user manual or seek assistance from a knowledgeable technician or the RAM manufacturer’s support resources.
Congratulations on successfully replacing your RAM! With this upgrade, you’ve taken an important step towards optimizing your computer’s performance and ensuring it meets your current and future needs.