Introduction
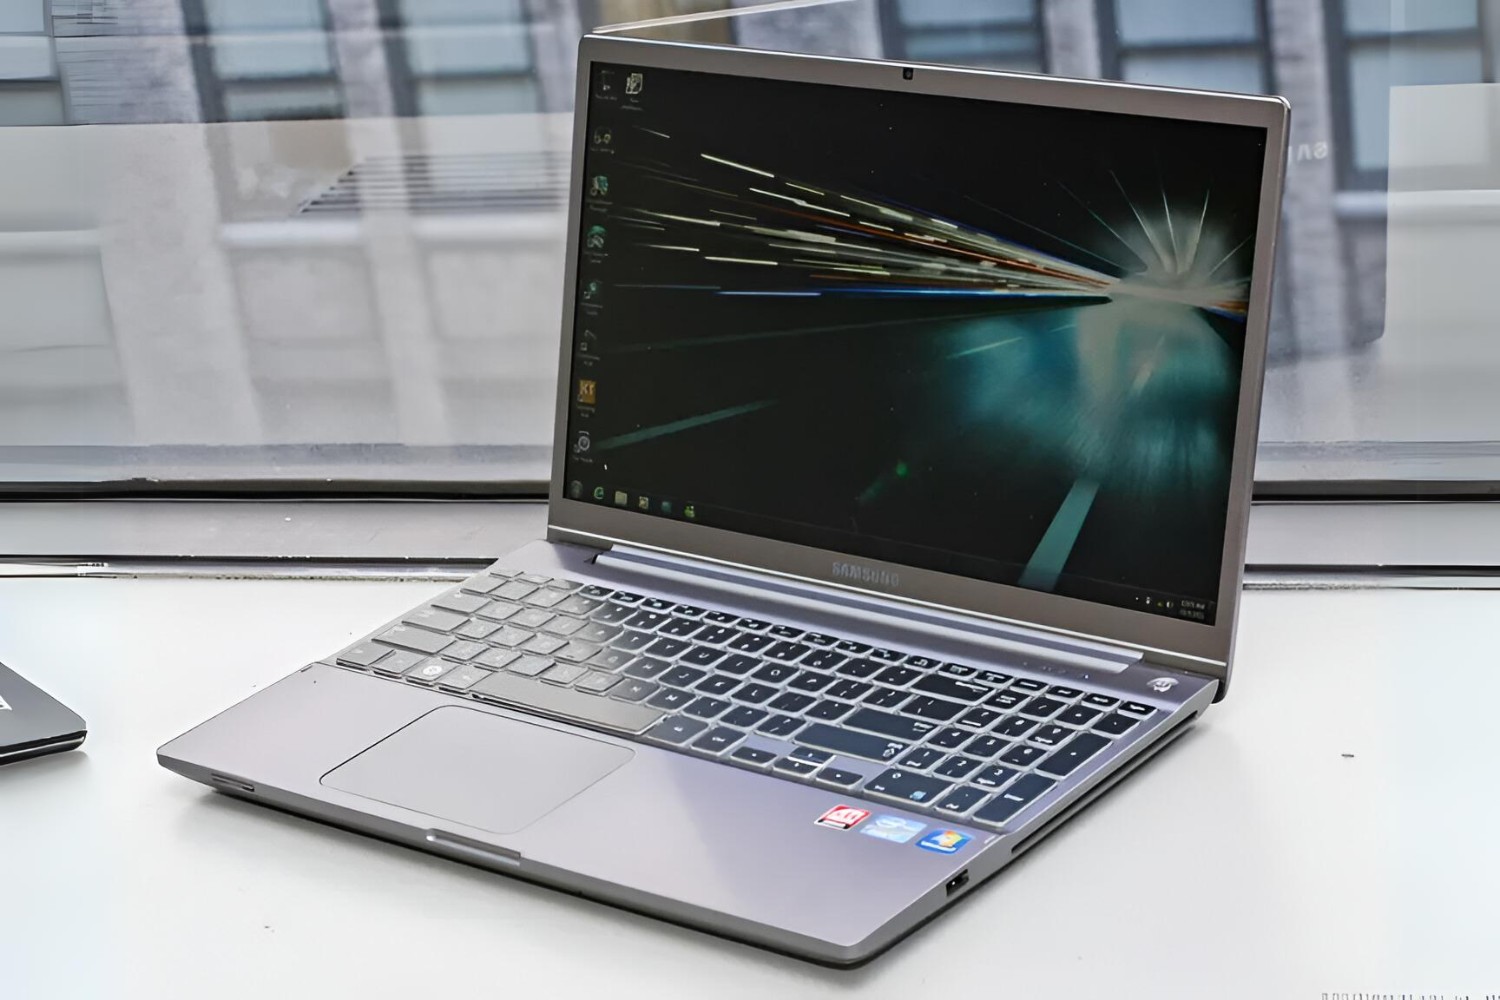
Welcome to this guide on how to upgrade the RAM on your Samsung Ultrabook. If you’re experiencing sluggish performance or frequently encountering memory-related issues, a RAM upgrade can significantly improve your Ultrabook’s speed and responsiveness. This straightforward process can be completed by following the steps outlined below, ensuring you have the necessary tools and taking the appropriate precautions.
Before we dive into the steps, it’s essential to understand the significance of RAM and its role in your Ultrabook’s performance. Random Access Memory (RAM) is a crucial component that temporary stores data. When you open applications or run programs, they are loaded into the RAM, allowing for faster access and retrieval of data. With a higher amount of RAM, your Ultrabook can handle more tasks simultaneously and operate more efficiently.
However, if your Ultrabook has insufficient RAM, it may struggle to juggle multiple programs and result in slow performance, frequent freezing, and crashes. An RAM upgrade provides a quick and cost-effective solution to enhance your Ultrabook’s performance without having to replace the entire device.
It’s important to note that not all Samsung Ultrabooks have upgradable RAM. Before proceeding with this guide, check your Ultrabook’s specifications or consult the manufacturer’s documentation to confirm if your model supports RAM upgrades. Additionally, be aware that any modifications or repairs done to your Ultrabook may void the warranty, so it’s essential to proceed with caution and follow the instructions carefully.
In the following sections, we’ll guide you through the step-by-step process of upgrading the RAM on your Samsung Ultrabook. By following these instructions, you’ll be able to improve your Ultrabook’s performance and enjoy a smoother computing experience. So, let’s get started!
Check Compatibility
Before proceeding with the RAM upgrade for your Samsung Ultrabook, it’s crucial to check the compatibility of the RAM modules you plan to install. Different Ultrabook models have specific requirements for RAM specifications, so it’s essential to ensure that the modules you purchase are compatible with your device.
To check the compatibility, start by identifying the exact model of your Samsung Ultrabook. You can usually find this information on a sticker located on the bottom of your device or in the system information settings. Once you have the model number, refer to the manufacturer’s website or documentation to access the specifications for your specific model.
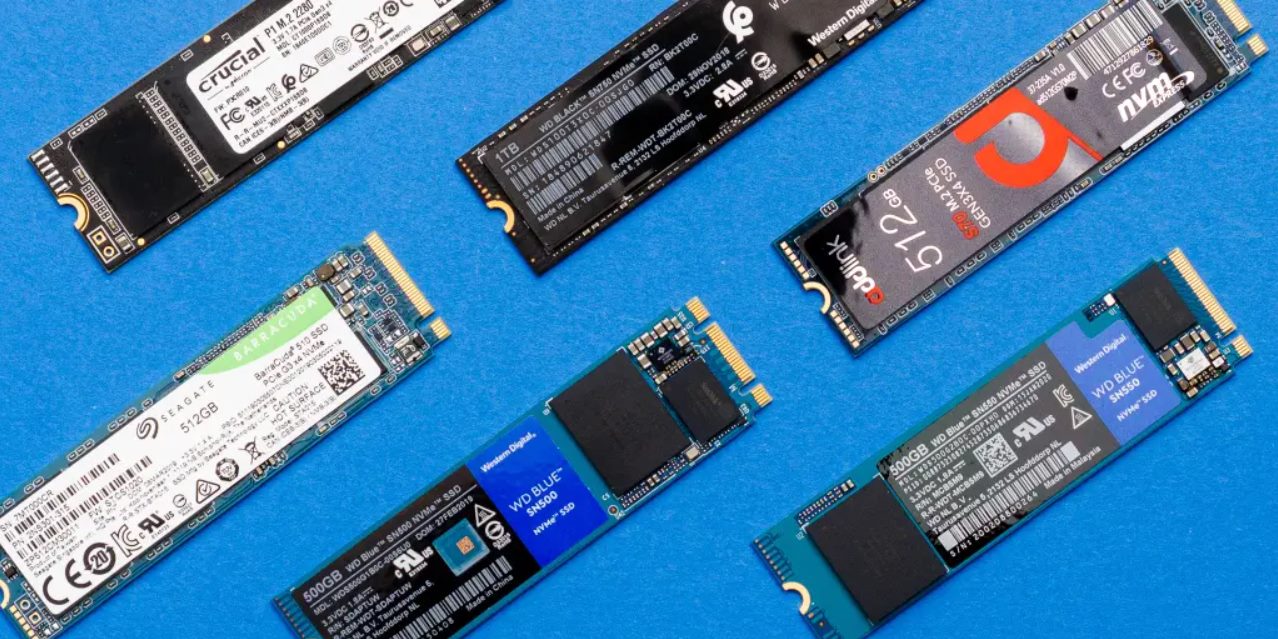
Pay attention to the type, speed, and capacity of the RAM modules that are supported by your Ultrabook. Most Ultrabooks utilize DDR3 or DDR4 RAM, and the supported clock speeds may vary. Additionally, check the maximum RAM capacity supported by your Ultrabook, as some models have limitations on the amount of RAM that can be installed.
After gathering this information, you can cross-reference it with the specifications of the RAM modules you plan to purchase. Ensure that the modules meet the requirements set by your Ultrabook model. It’s also advisable to opt for reputable brands and purchase from reliable sources to guarantee the quality and compatibility of the RAM modules.
In some cases, Ultrabooks may have only one RAM slot that is already occupied by a module. In such instances, you may need to remove the existing module and replace it with a higher-capacity one or add an additional module to increase the overall RAM capacity. Confirm whether your Ultrabook supports single or dual-channel configurations and make the necessary adjustments when selecting the RAM modules.
By carefully checking the compatibility of the RAM modules with your Samsung Ultrabook, you’ll ensure a seamless upgrade process and avoid any potential compatibility issues. Once you have confirmed the compatibility, you can proceed to gather the necessary tools for the upgrade process, which will be covered in the next section.
Gather Tools
To successfully upgrade the RAM on your Samsung Ultrabook, you’ll need to gather a few essential tools. Having the necessary tools readily available will make the process more efficient and help ensure that you can complete the upgrade without any issues. Below is a list of tools you’ll need:
- Philips head screwdriver: You’ll need a Philips head screwdriver to remove and reattach the screws holding the back cover of your Ultrabook in place. Make sure you have a size that fits the screws on your specific model.
- Anti-static wrist strap: While not completely mandatory, an anti-static wrist strap is highly recommended to prevent any damage to the internal components of your Ultrabook. It helps prevent the buildup and discharge of static electricity, which can be harmful to sensitive electronics.
- Container or small bowls: These will come in handy for keeping track of the screws you remove during the process. Placing screws in separate containers or bowls ensures that you can easily identify and reattach them correctly later on.
- Cleaning cloth: It’s a good idea to have a soft cleaning cloth on hand to wipe any dust or debris from the internal components or surfaces of your Ultrabook. Keeping your Ultrabook clean can help optimize its performance and prevent overheating.
- RAM module: Depending on your Ultrabook’s specifications, you’ll need to purchase the appropriate RAM module(s). Ensure that the modules meet the compatibility requirements discussed earlier in this guide.
Before starting the RAM upgrade process, ensure that you have all the necessary tools in place. It’s also advisable to work in a well-lit, clean, and static-free environment to minimize the risk of damage to the internal components.
Once you have gathered the required tools, you are ready to power off and unplug your Ultrabook, which will be covered in the next section.
Power Off and Unplug
Before diving into the actual RAM upgrade process, it’s essential to power off your Samsung Ultrabook and disconnect it from any power sources. This step ensures your safety and prevents accidental damage to the internal components. Follow the steps below to properly power off and unplug your Ultrabook:
- Save your work: Before shutting down your Ultrabook, make sure to save any open documents, projects, or files you may be working on. Closing all applications and saving your progress ensures that you don’t lose any unsaved data during the shutdown process.
- Shut down your Ultrabook: Locate the Power button on your Ultrabook and press it once to initiate the shutdown process. Wait for the operating system to complete the shutdown sequence before proceeding further.
- Unplug all external devices: Disconnect any external devices, such as USB drives, printers, or external monitors, from your Ultrabook. This step ensures that there are no additional power sources or data connections that could interfere with the RAM upgrade process.
- Disconnect the power adapter: Unplug the power adapter from the Ultrabook and the power outlet. This step ensures that there is no electrical current flowing through the device, minimizing the risk of electrical shock during the upgrade process.
- Remove the battery (if applicable): Some Samsung Ultrabook models have built-in non-removable batteries, while others have a removable battery. If your Ultrabook has a removable battery, carefully remove it by following the manufacturer’s instructions. This step ensures that there is no power supply connected to the internal components.
By following these steps, you have successfully powered off your Samsung Ultrabook and disconnected it from any power sources. This precautionary measure ensures your safety and prevents any potential damage to the internal components during the RAM upgrade process. Now that your Ultrabook is powered off and unplugged, you are ready to move on to the next section: opening the back cover.
Open the Back Cover
With your Samsung Ultrabook powered off and disconnected from any power sources, it’s time to open the back cover to gain access to the internal components. Follow the steps below to safely open the back cover of your Ultrabook:
- Locate the screws: Look for the screws securing the back cover of your Ultrabook. These screws are typically located on the bottom or sides, and they may be indicated by small icons or symbols. Use a Philips head screwdriver that fits the screws and carefully unscrew them. Remember to keep track of the removed screws to avoid misplacing them.
- Remove the back cover: Once the screws are removed, gently lift or slide the back cover until it detaches from the Ultrabook’s chassis. Take your time and be cautious not to apply excessive force, as you don’t want to damage any internal components or the cover itself. If you encounter any resistance, double-check for any remaining screws that may be holding the cover in place.
Once you have successfully removed the back cover, you will have a clear view of the internal components of your Samsung Ultrabook, including the RAM slots. It’s crucial to handle the back cover with care and place it in a safe location to avoid any accidental damage or misplacement.
Now that you have opened the back cover of your Ultrabook, you are ready to move on to the next section, where you will learn how to locate the RAM slots and proceed with the RAM upgrade process.
Locate RAM Slots
After successfully removing the back cover of your Samsung Ultrabook, the next step is to locate the RAM slots. The RAM slots are where the RAM modules are inserted and connected to the motherboard. Follow the steps below to identify the location of the RAM slots in your Ultrabook:
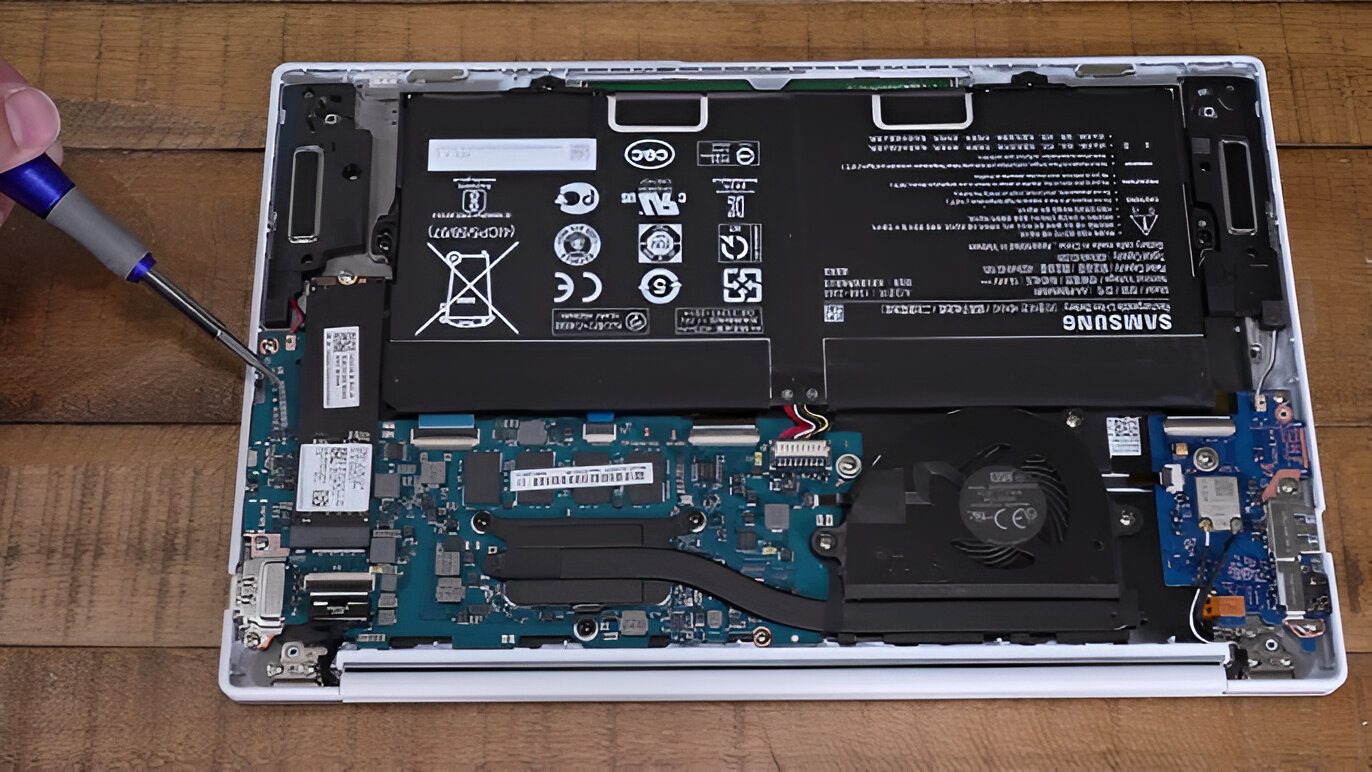
- Observe the internal components: With the back cover off, take a careful look at the internal layout of your Ultrabook. The RAM slots are typically located near the center or towards one of the sides of the motherboard. They are rectangular in shape and may have one or two slots, depending on your Ultrabook model.
- Check for labels or markings: Some Ultrabooks may have labels or markings near the RAM slots indicating the specific slot numbers or the type of RAM supported. These labels can provide valuable information when it comes to installing the new RAM modules correctly. Take note of any labels or markings you find.
- Refer to the user manual: If you’re having trouble locating the RAM slots or need confirmation, refer to the user manual or documentation provided by Samsung. The manual should have illustrations or detailed instructions on the internal components and the location of the RAM slots specifically for your Ultrabook model.
It’s important to handle the internal components with care and avoid touching any exposed circuitry or other sensitive parts. Static electricity can cause damage to these components, so it’s advisable to wear an anti-static wrist strap or touch a grounded metal object to discharge any static charge before proceeding further.
Once you have successfully located the RAM slots in your Samsung Ultrabook, you are ready to move on to the next section, where you will learn how to remove the existing RAM and insert the new RAM modules.
Remove Existing RAM
In order to upgrade the RAM on your Samsung Ultrabook, you will need to remove the existing RAM modules. Follow the steps below to safely remove the old RAM from your Ultrabook:
- Identify the existing RAM modules: Take a close look at the RAM slots and locate the existing RAM modules. They will be inserted vertically into the slots and securely held in place with clips on either side.
- Release the clips: Gently press down on the clips on either side of the RAM module. This will release the module from the slot and cause it to pop up at an angle.
- Remove the old RAM module: With the clips released, carefully pull the RAM module towards you at a slight angle. It should slide out of the slot smoothly. Place the removed RAM module on an anti-static surface or in an anti-static bag to prevent any damage.
- Repeat if necessary: If your Ultrabook has multiple RAM slots and you want to remove additional RAM modules, repeat the process for each module. Make sure to release the clips and remove one module at a time, exercising caution and precision.
Take note of the orientation and position of the old RAM modules as you remove them. This will help when it comes time to install the new RAM modules. It’s also a good idea to keep the old RAM modules in a safe place in case you need to reinstall them in the future.
With the existing RAM modules removed, you are now ready to proceed to the next section, where you will learn how to properly insert the new RAM modules into your Samsung Ultrabook.
Insert New RAM
Now that you have successfully removed the existing RAM modules, it’s time to insert the new RAM modules into your Samsung Ultrabook. Follow the steps below to ensure a proper installation:
- Check the orientation: Take a close look at the notches on the bottom of the new RAM module. These notches are positioned differently on DDR3 and DDR4 modules, ensuring that you insert the RAM correctly. Match the notches on the RAM module with the corresponding slots in the RAM slot.
- Align the RAM module: Holding the RAM module by its edges, carefully align it with the RAM slot. Ensure that the notches on the module match the pins in the slot.
- Insert the RAM module: Gently, but firmly, push the RAM module into the slot at a slight angle. Apply equal pressure on both sides until the module is fully inserted and the clips on each side click into place. The module should be secured in the slot and sit evenly.
- Repeat for additional modules: If you have multiple RAM slots and are installing additional RAM modules, repeat the process for each module. Take note of the number of slots and order of installation as specified in your Ultrabook’s documentation or user manual.
Double-check that the RAM modules are inserted properly and securely in the slots. They should be aligned correctly and sit flush in the slots without any visible gaps. Improper insertion can lead to connection issues and hinder the performance of the RAM.
Now that you have successfully inserted the new RAM modules in your Samsung Ultrabook, you can proceed to the next section, where you will learn how to close the back cover and complete the RAM upgrade process.
Close the Back Cover
After inserting the new RAM modules into your Samsung Ultrabook, it’s time to close the back cover and complete the RAM upgrade process. Follow the steps below to ensure a proper closure:
- Align the back cover: Place the back cover over the Ultrabook’s chassis, taking care to align it properly. Ensure that any cables or connectors are properly tucked inside and not protruding from the edges.
- Press down gently: Starting from one edge, press down firmly but gently on the back cover. Work your way around the edges, ensuring that the cover is securely in place. You may hear or feel a slight click as the clips engage.
- Secure the screws: Once the back cover is in place, use the Philips head screwdriver to reinsert and tighten the screws. Start with one screw and move across, tightening each screw until they are all secure. Avoid overtightening, as it can damage the screws or strip the threads.
It’s important to ensure that the back cover is firmly secured to prevent any shifting or loose components within the Ultrabook. A properly closed back cover not only protects the internal components but also helps maintain the overall integrity of your Ultrabook.
With the back cover securely closed, you have completed the RAM upgrade process for your Samsung Ultrabook. It’s now time to move on to the next section, where you will learn how to power on your device and test the upgraded RAM.
Power On and Test
Now that you have successfully closed the back cover of your Samsung Ultrabook after the RAM upgrade, it’s time to power on your device and test the new RAM. Follow the steps below to ensure a smooth start-up and verify the effectiveness of the RAM upgrade:
- Connect the power adapter: Plug in the power adapter to a power outlet and connect it to your Ultrabook. Ensure that the connection is secure and the power indicator lights up, indicating that it’s receiving power.
- Press the power button: Locate the power button on your Ultrabook and press it to power on the device. It may take a few moments for the Ultrabook to boot up and initialize the new RAM modules.
- Check system information: Once your Ultrabook has finished booting up, navigate to the system information settings to verify the amount of installed RAM. It should reflect the upgraded RAM capacity. This information can typically be found under “System” or “About” in the settings menu.
- Monitor performance: Use your Ultrabook as you normally would for your day-to-day tasks. Open multiple applications, run demanding software, or work on resource-intensive projects to assess the performance improvement brought about by the RAM upgrade. Take note of any improvements in speed, multitasking capability, and overall responsiveness.
If you notice any issues or inconsistencies in performance after the RAM upgrade, double-check the installation to ensure that the modules are properly seated and secured in the RAM slots. If problems persist, consult the manufacturer’s support documentation or seek assistance from a professional technician.
Congratulations! You have successfully powered on your upgraded Samsung Ultrabook and tested the new RAM. Enjoy the improved performance and efficiency that the upgraded RAM brings to your computing experience!