Introduction
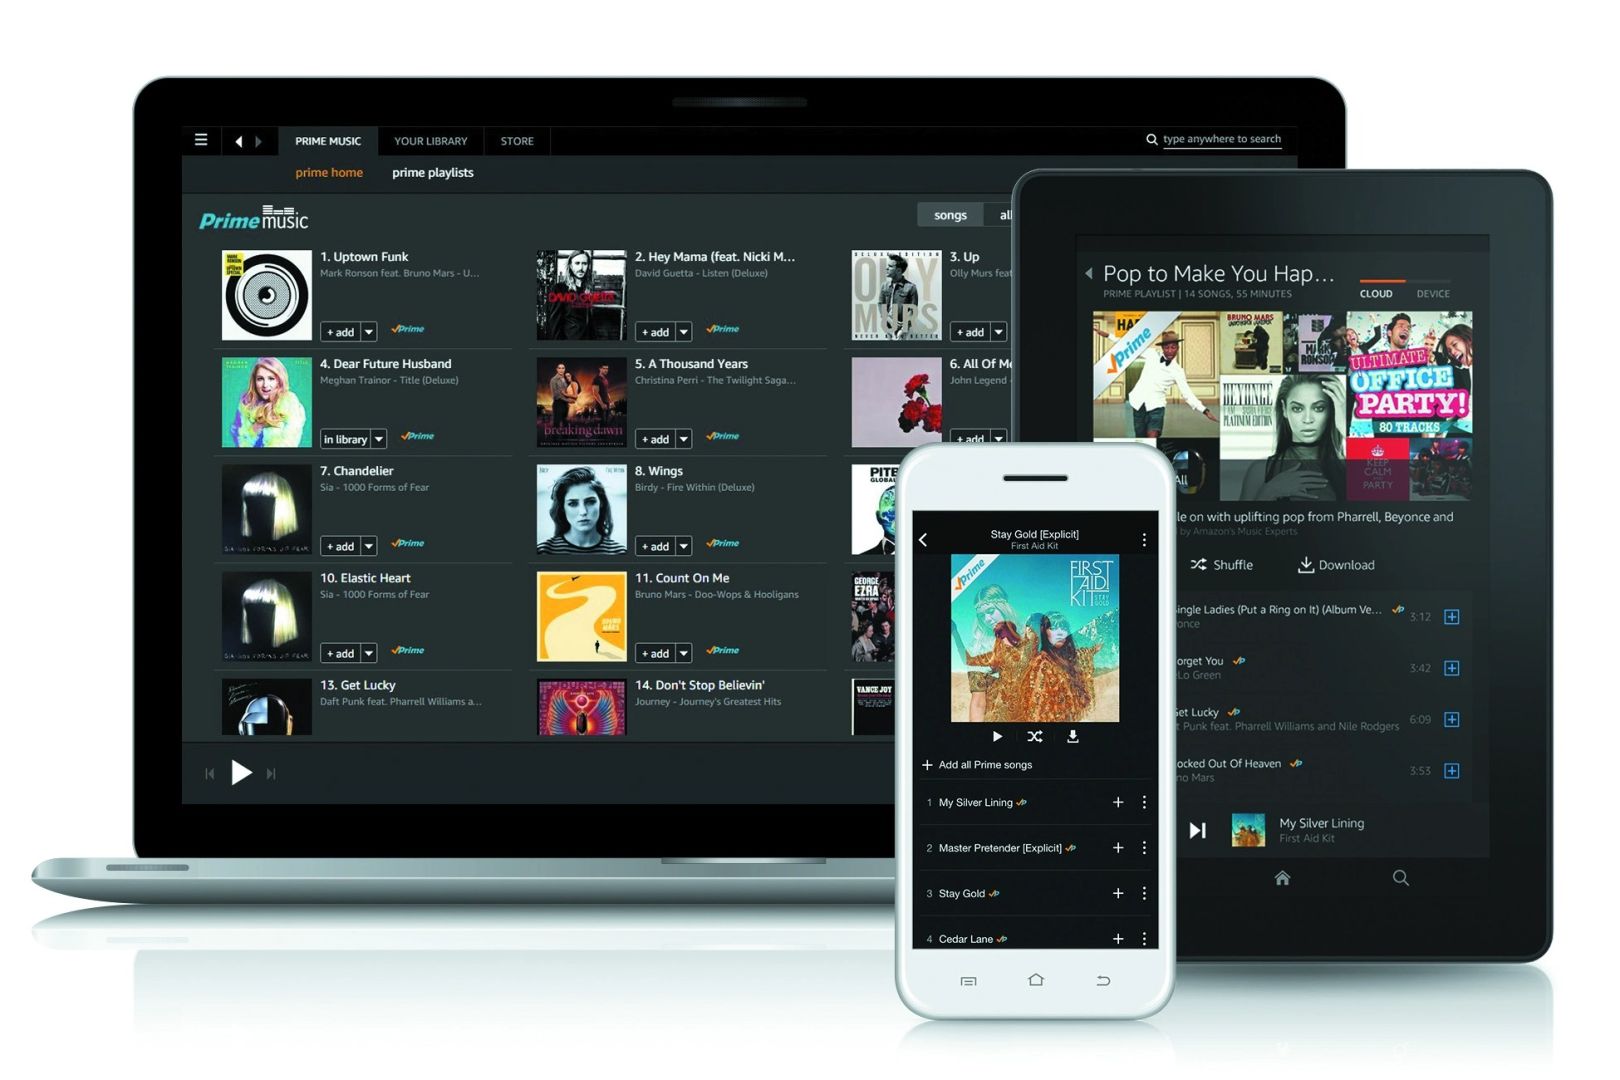
Are you an avid music lover who enjoys listening to your favorite tunes on the go with your iPod? If you’re a subscriber to Amazon Music, you may be wondering how to move your beloved music collection to your iPod for convenient and portable listening. While the process may seem daunting at first, fear not! In this guide, we will walk you through the steps to successfully transfer your Amazon Music to your iPod.
Amazon Music offers a vast library of songs and playlists that can be streamed or downloaded for offline listening. However, due to digital rights management (DRM) restrictions, the downloaded files are not compatible with iPod devices, which use the iTunes platform. But fret not, as there is a way to convert and transfer your Amazon Music to MP3 format, making it compatible with your iPod.
In the following sections, we will provide you with a step-by-step guide on how to move your Amazon Music to your iPod. From installing the Amazon Music app to syncing your music to your iPod via iTunes, we’ve got you covered. So grab your iPod, put on your favorite headphones, and let’s get started!
Step 1: Install the Amazon Music App
The first step in transferring your Amazon Music to your iPod is to install the Amazon Music app on your computer. The app is available for both Windows and macOS operating systems and can be easily downloaded from the Amazon Music website.
To install the Amazon Music app, follow these simple steps:
- Launch your preferred web browser and head to the Amazon Music website.
- Click on the “Download” or “Get App” button to start the download process.
- Once the download is complete, locate the downloaded file and run the installer.
- Follow the on-screen instructions to complete the installation process.
- After the installation is finished, launch the Amazon Music app.
- Sign in to your Amazon Music account using your credentials, or create a new account if you don’t have one already.
Once you have successfully installed and signed in to the Amazon Music app, you will have access to your entire music library, including your purchased songs and playlists. Now that the app is up and running on your computer, it’s time to move on to the next step.
Step 2: Download Music from Amazon Music
Now that you have the Amazon Music app installed and signed in on your computer, you can proceed to download your desired music from the Amazon Music library. The app allows you to download songs, albums, and playlists for offline listening, making it convenient for transferring the music to your iPod.
Here’s how to download music from Amazon Music:
- Open the Amazon Music app on your computer.
- Navigate to the search bar or browse through the available categories to find the music you want.
- Once you have found a song, album, or playlist you’d like to download, simply click on the download button located next to it.
- The app will begin downloading the selected music to your computer’s local storage.
- Repeat the process for any additional music you wish to download.
Downloading your music from Amazon Music allows you to have an offline copy stored on your computer, which will be essential in the following steps when we convert the files to a format compatible with your iPod.
It’s important to note that not all songs on Amazon Music are available for download, as it depends on their licensing and copyright restrictions. However, most songs and albums can be downloaded for offline listening. Once you have downloaded all the desired music from Amazon Music, it’s time to move on to the next step: converting the downloaded files to MP3 format.
Step 3: Convert Amazon Music to MP3
As mentioned earlier, the downloaded music from Amazon Music is not directly compatible with iPod devices. To make the music playable on your iPod, you need to convert the files to a format supported by the iPod, such as MP3. To accomplish this, we’ll be using a third-party software called TunePat Amazon Music Converter.
Follow these steps to convert your Amazon Music to MP3:
- Download and install TunePat Amazon Music Converter on your computer.
- Launch TunePat Amazon Music Converter.
- Click on the “Settings” button to customize the output settings, such as the output format (MP3), output quality, and output folder.
- Return to the main interface of TunePat Amazon Music Converter.
- Click on the “Add” button to import your downloaded Amazon Music files into the software.
- Select the songs or playlists you want to convert to MP3.
- Click on the “Convert” button to start the conversion process.
TunePat Amazon Music Converter will then begin converting your Amazon Music files to MP3 format. The software retains the original audio quality while removing any DRM restrictions applied to the downloaded files. Once the conversion is completed, you will have your Amazon Music in a compatible format that can be transferred to your iPod.
With the music now converted to MP3 format, you’re one step closer to enjoying your Amazon Music on your iPod. Next, let’s move on to the process of transferring the converted music to iTunes.
Step 4: Transfer Converted Music to iTunes
Now that you have successfully converted your Amazon Music to MP3 format, it’s time to transfer the converted music to iTunes. iTunes acts as a central hub for syncing and managing your media library, including music, to your iPod.
Follow these steps to transfer your converted music to iTunes:
- Launch iTunes on your computer.
- Click on the “File” tab located at the top left corner of the iTunes window.
- Select the “Add File to Library” or “Add Folder to Library” option from the dropdown menu.
- A file browser window will appear. Navigate to the folder where your converted Amazon Music files are saved.
- Select the MP3 files you want to add to iTunes and click the “Open” button.
- iTunes will then import the selected MP3 files into your iTunes library.
After following these steps, your converted Amazon Music will be successfully transferred and added to your iTunes library. This means that the music is now ready to be synced with your iPod in the final step.
It’s worth noting that you can create playlists and organize your music within iTunes to make it easier to manage and locate your favorite songs. Once you have transferred your converted music to iTunes, let’s move on to the final step: syncing the music from iTunes to your iPod.
Step 5: Sync Music from iTunes to iPod
Now that you have your converted Amazon Music in iTunes, the final step is to sync the music from iTunes to your iPod. Syncing allows you to transfer the music files from your computer’s iTunes library to your iPod, making it accessible for playback on the device.
Follow these steps to sync music from iTunes to your iPod:
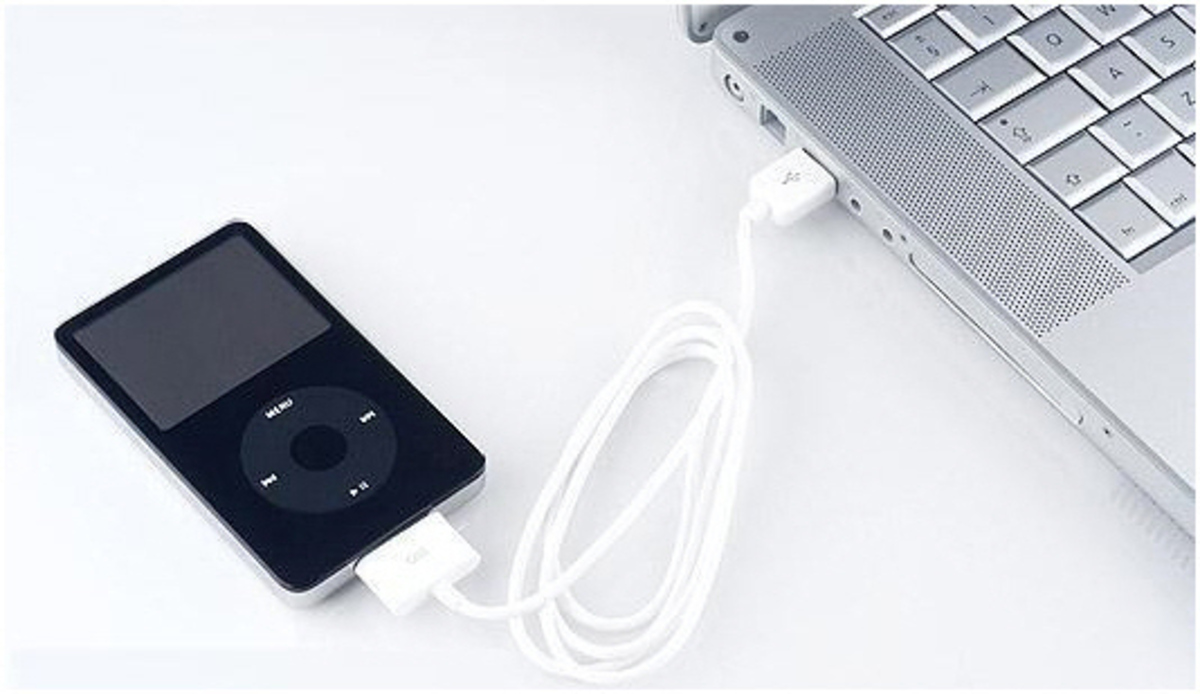
- Connect your iPod to your computer using the USB cable that came with your device.
- iTunes will automatically recognize the connected iPod and display the device icon in the top left corner of the iTunes window.
- Click on the device icon to access the Summary tab for your iPod.
- In the “Settings” section, ensure that the “Sync Music” option is checked.
- Select whether you want to sync your entire music library or specific playlists, artists, albums, or genres by choosing the appropriate option.
- Under the selected option, choose the specific music you want to sync to your iPod.
- Click on the “Apply” or “Sync” button in the bottom right corner of the iTunes window to start the syncing process.
Once the sync is complete, your Amazon Music, now in iTunes, will be transferred to your iPod. You can safely disconnect your iPod from your computer, and you’ll be able to enjoy your favorite tunes from Amazon Music on your iPod wherever you go.
Note that the time it takes to sync your music may vary depending on the size of your music library and the speed of your computer. Make sure to keep your iPod connected to your computer until the sync process is complete to ensure all your music is successfully transferred.
That’s it! You have successfully moved your Amazon Music to your iPod. Now you can take your favorite songs and playlists with you on the go and enjoy your music wherever you are.
Remember, you can always revisit these steps if you want to add new music to your iPod or update your existing library. Enjoy your music-filled adventures with your iPod and Amazon Music!
Conclusion
Transferring your Amazon Music to your iPod may initially seem like a complex process, but by following the steps outlined in this guide, you can seamlessly enjoy your favorite Amazon Music tracks on your iPod wherever you go.
We started by installing the Amazon Music app, enabling us to access our music library on the computer. Then, we downloaded the desired music from the Amazon Music library for offline listening.
After that, we used TunePat Amazon Music Converter to convert the downloaded files to MP3 format, making them compatible with the iPod. This crucial step removed the DRM restrictions and retained the original audio quality.
Next, we transferred the converted music to iTunes, which acts as a central hub for managing our media library. Using iTunes, we imported the MP3 files and organized them within playlists.
Finally, we synchronized the music from iTunes to our iPod, using the USB cable to establish a connection. The synced music was then ready to be listened to on our iPod, providing a portable and convenient way to enjoy our Amazon Music collection.
By following these steps, you can continuously update and expand your music library on your iPod by repeating the process whenever you want to add new tracks.
Now that you have a clear understanding of how to move your Amazon Music to your iPod, it’s time to embark on a musical journey with your favorite tunes in the palm of your hand. Grab your iPod, connect it to iTunes, and enjoy the melodies that accompany you throughout your day!


