Introduction
Are you an avid iPod user looking to transfer your favorite music from your iPod to your Mac? Look no further! In this article, we will guide you through the step-by-step process of downloading music from an iPod to a Mac, ensuring that you can enjoy your cherished songs on your computer without any hassle.
Whether you have switched to a new Mac, rebuilt your iTunes library, or simply want to have a backup of your iPod music, we’ve got you covered. With just a few simple steps, you’ll be able to transfer your music files from your iPod to your Mac and keep all your favorite tunes safe and accessible.
We understand the importance of preserving your music collection, as it holds memories and emotions that are deeply connected to the songs you love. Our instructions are designed to ensure a smooth and seamless process, allowing you to enjoy your iPod music library on your Mac without any limitations.
Before we dive into the step-by-step guide, it’s important to note that we will be using the Mac’s native functionality to download the music from your iPod. This means you won’t need to rely on any third-party software or complex workaround methods.
So, if you’re ready to embark on this music transfer journey, grab your iPod and follow along as we show you how to download music from an iPod to a Mac. Let’s get started!
Step 1: Connect the iPod to the Mac
The first step in downloading music from your iPod to your Mac is to establish a physical connection between the two devices. Follow these simple instructions to connect your iPod to your Mac:
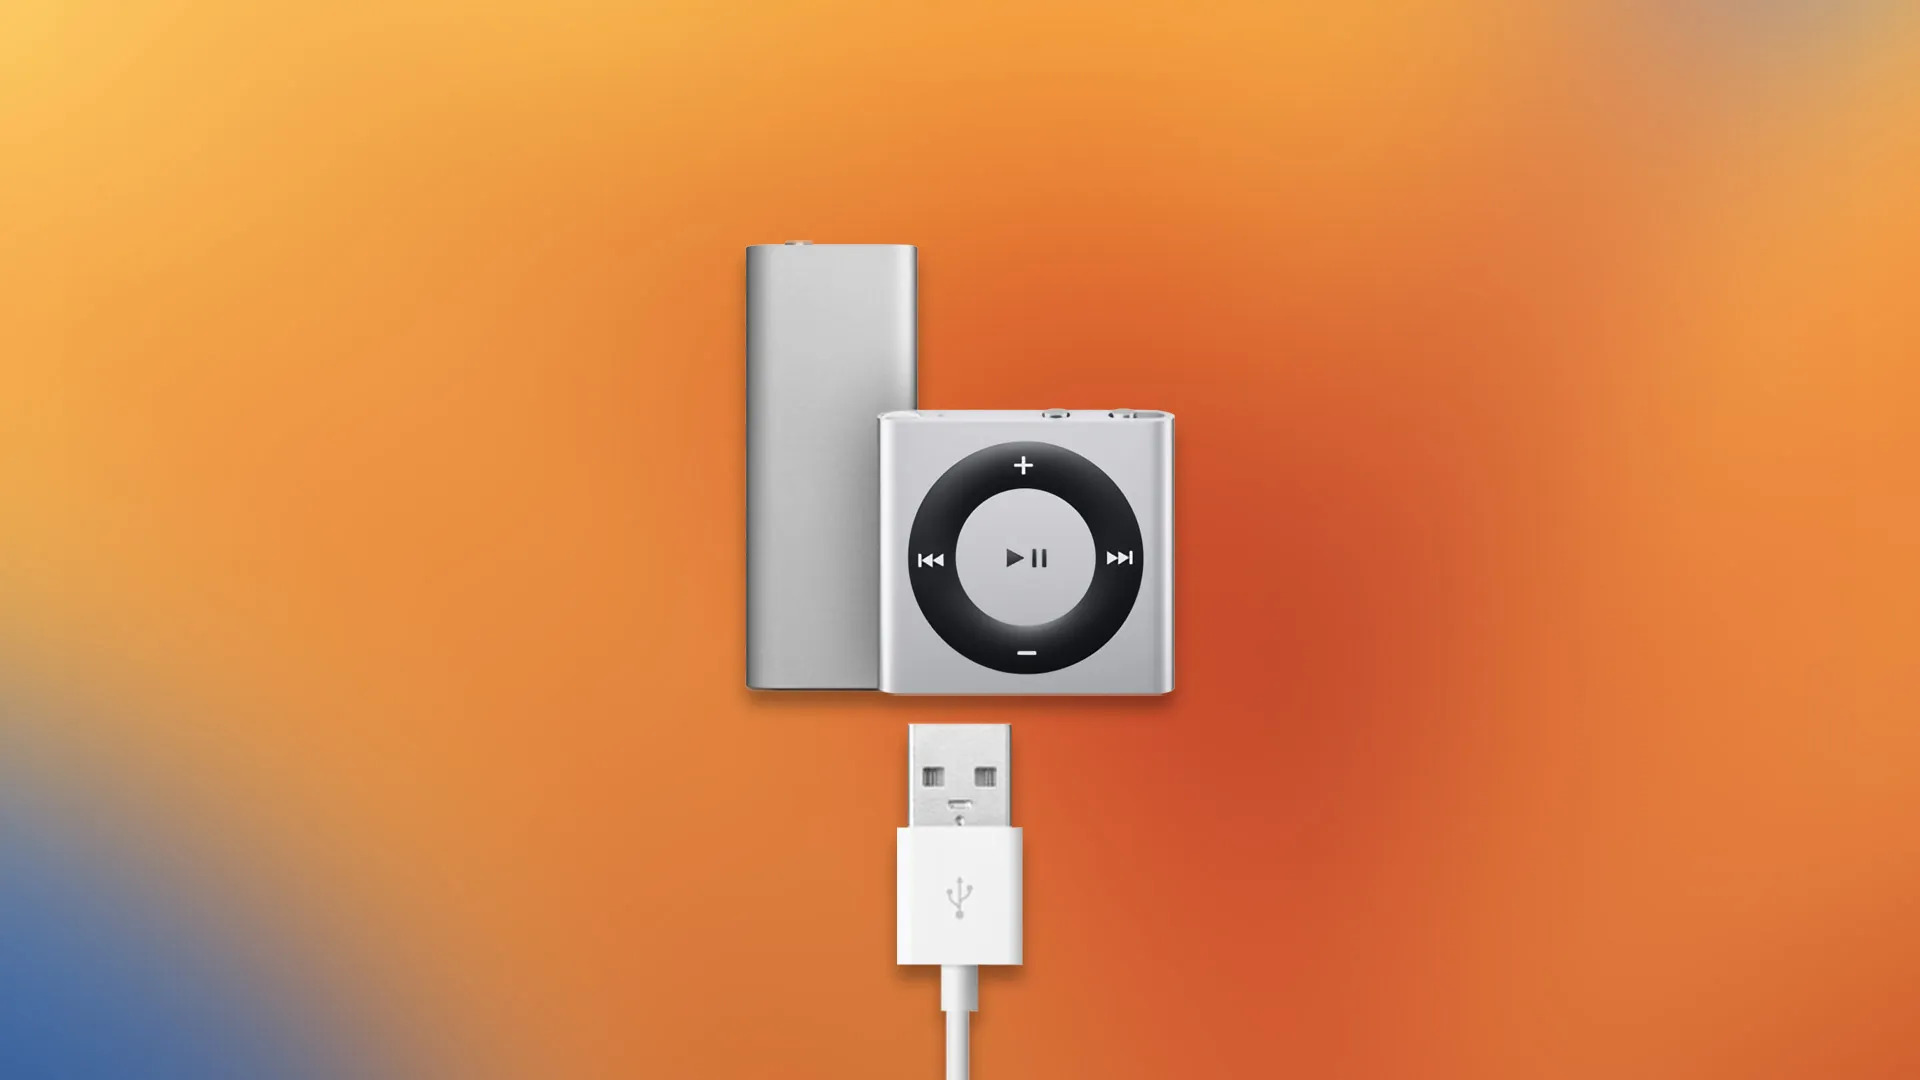
- Locate the charging cable that came with your iPod. It typically has a USB end that connects to your Mac’s USB port.
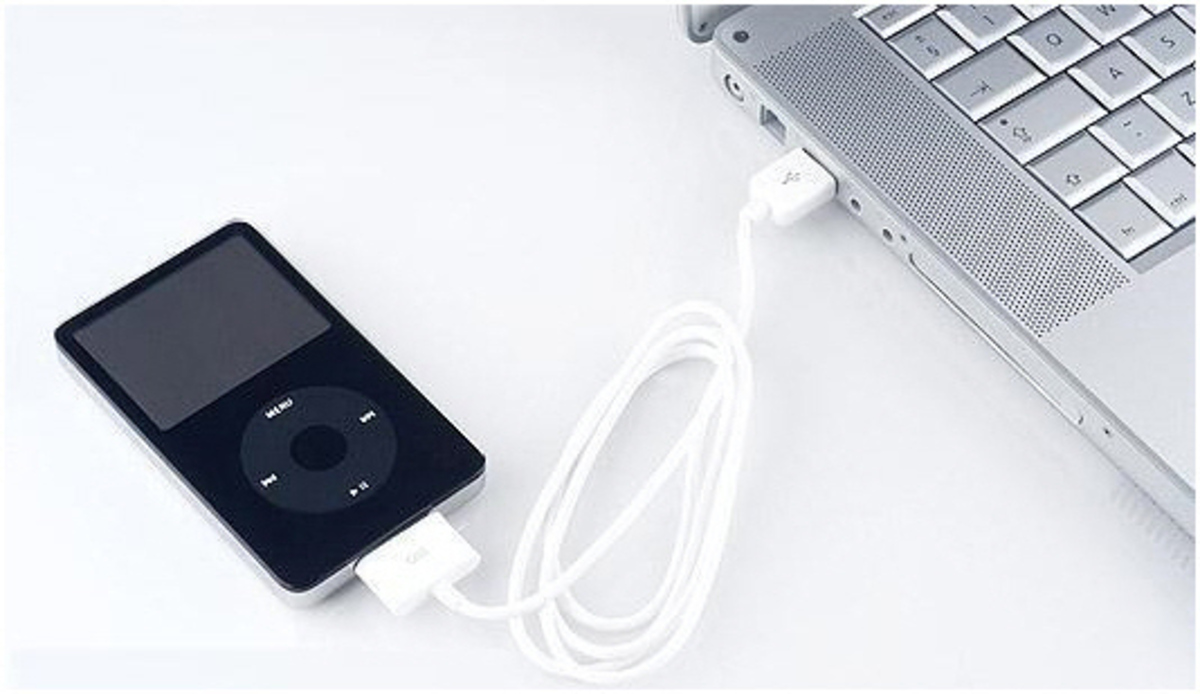
- Connect the USB end of the cable to an available USB port on your Mac.
- Take the other end of the cable, which has a smaller connector, and insert it into the port on your iPod.
- Ensure that the connection is secure by gently tugging on the cable to make sure it doesn’t come loose.
- Your iPod will now be connected to your Mac and ready for the next steps of the music download process.
Keep in mind that depending on the model of your iPod, the charging cable connector may vary. For older iPod models, you may need a 30-pin connector, while newer models may require a Lightning connector.
Once you have successfully connected your iPod to your Mac, you’ll be ready to move on to the next step of the process. By establishing a physical connection, you ensure a stable and reliable transfer of your music files from the iPod to your Mac.
Now that your iPod is connected to your Mac, let’s move on to the next step and enable the iPod as a removable disk on your Mac. This will allow you to access the music files stored on your iPod and transfer them to your computer.
Step 2: Enable the iPod as a Removable Disk
In order to download music from your iPod to your Mac, you need to enable your iPod as a removable disk. This will allow you to access and transfer the music files stored on your iPod. Follow these steps to enable the iPod as a removable disk:
- Open Finder on your Mac by clicking on the Finder icon located in the dock or by pressing Command + Spacebar and typing “Finder” in Spotlight.
- From the Finder menu, click on “Preferences” (or press Command + ,).
- In the Preferences window that appears, select the “Sidebar” tab.
- Scroll down and check the box next to “External disks” under the “Devices” section. This will ensure that your iPod appears as a removable disk in the Finder sidebar.
- Close the Preferences window.
Once you have enabled your iPod as a removable disk, it will be visible in the Finder sidebar, allowing you to easily access its contents. This step is crucial as it allows you to navigate through the iPod’s files and locate the music files you want to download.
Now that you have successfully enabled your iPod as a removable disk, you are ready to proceed to the next step: accessing the music files stored on your iPod. This will allow you to select and transfer the specific songs or albums you want to download to your Mac.
Step 3: Access the iPod’s Music Files
Now that your iPod is recognized as a removable disk on your Mac, you can access its music files and select the ones you want to download. Follow these steps to access the music files stored on your iPod:
- Open a new Finder window by clicking on the Finder icon located in the dock.
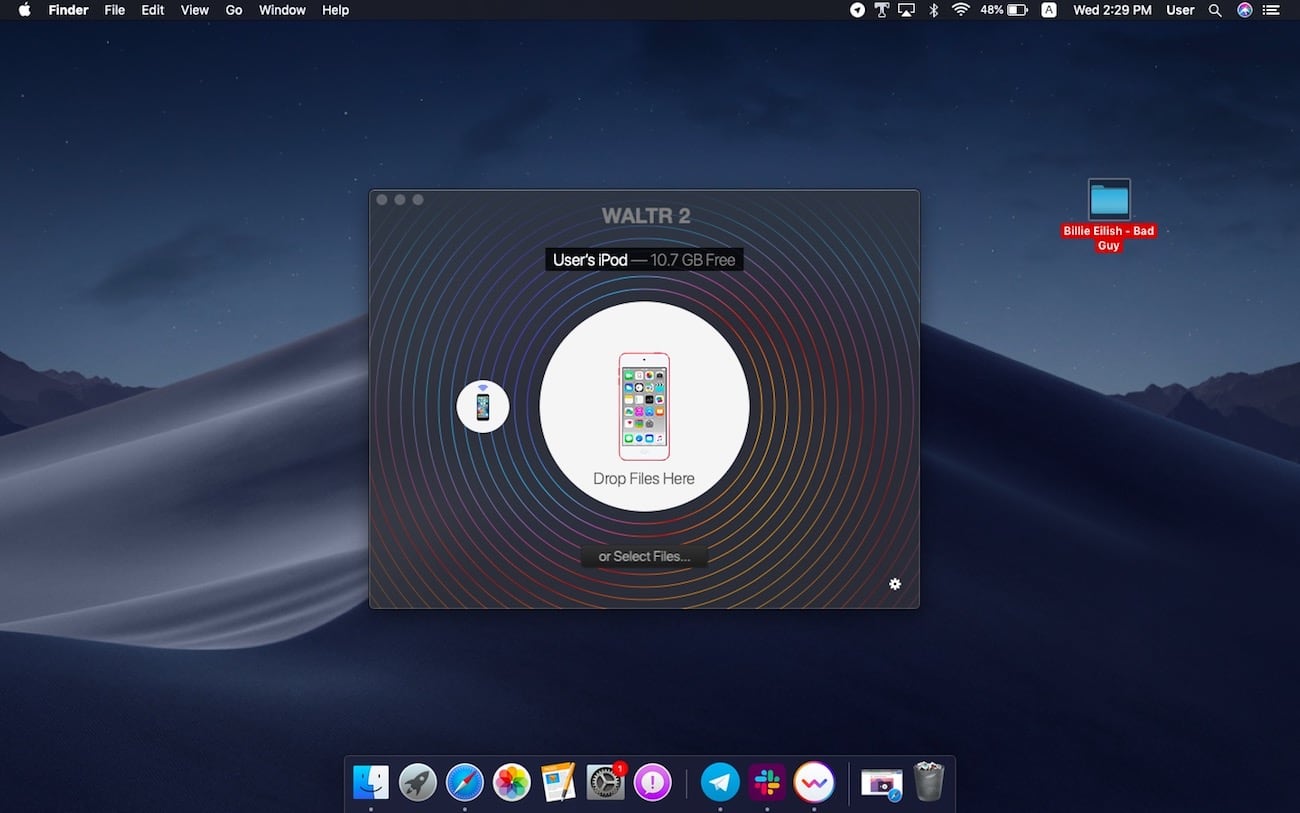
- In the Finder sidebar, you should see your iPod listed under the “Devices” section. Click on your iPod’s name to open it.
- You will now see the contents of your iPod displayed in the Finder window. Look for the “Music” folder and click on it to open it.
- Within the “Music” folder, you will find subfolders organized based on artist names, albums, or playlists, depending on how you have organized your music on your iPod.
- Browse through the subfolders and locate the specific songs or albums that you want to download to your Mac.
By following these steps, you can easily navigate through the files and folders on your iPod to find the exact music files you wish to transfer. This allows you to have control over the selection process and ensures that you only download the songs you desire.
Now that you have accessed the music files on your iPod, it’s time to move on to the next step: transferring the selected music files from your iPod to your Mac. This will enable you to enjoy your favorite tunes on your computer and have a backup of your music library.
Step 4: Transfer the Music Files to the Mac
Now that you have selected the music files you want to download from your iPod to your Mac, it’s time to transfer them. Follow these steps to transfer the music files:
- In the Finder window where you have accessed your iPod’s music files, select the songs or albums you wish to download to your Mac. You can select multiple files by holding down the Command key while clicking on each file.
- Once you have selected the music files, right-click on one of them and choose “Copy” from the context menu. Alternatively, you can press Command + C.
- Navigate to the location on your Mac where you want to save the downloaded music files. This can be your Music folder or any other preferred destination.
- Right-click on the desired location and choose “Paste” from the context menu. Alternatively, you can press Command + V.
The selected music files will now be transferred from your iPod to your Mac. The transfer process may take some time, depending on the number and size of the files you are transferring.
It’s important to note that the music files transferred from your iPod to your Mac will maintain their original format, whether it’s MP3, AAC, or any other audio format. This ensures that the quality and integrity of your music files are preserved.
Now that you have successfully transferred the selected music files to your Mac, you can proceed to the next step: organizing the downloaded music files on your Mac. This will allow you to easily access and enjoy your favorite tunes on your computer.
Step 5: Organize the Downloaded Music on the Mac
Now that you have successfully transferred the music files from your iPod to your Mac, it’s time to organize them for easy access and enjoyment. Follow these steps to organize your downloaded music:
- Open the Finder on your Mac and navigate to the location where you transferred the music files. This is typically the Music folder, but you may have chosen a different location.
- Select the downloaded music files and right-click on them. Choose the “New Folder with Selection” option from the context menu. This will create a new folder with the selected music files.
- Give the folder a descriptive name that represents the content of the music files, such as the name of the artist or the album.
- Once you have created the folder, you can further organize your music by creating subfolders based on different categories, such as genre, year, or mood. This will make it easier to find specific songs or albums in the future.
By organizing your downloaded music files on your Mac, you can quickly locate and enjoy your favorite songs, create playlists, and have a more streamlined music library. This step allows you to have better control and management over your music collection and enhances your overall listening experience.
Now that you have organized your downloaded music on your Mac, you can proceed to the final step: backing up your music files. Creating a backup ensures the safety of your music library and provides a contingency plan in case of any data loss or system failure.
Step 6: Backup Your Music Files on the Mac
After successfully transferring and organizing your downloaded music files on your Mac, it’s essential to create a backup to protect your music library from any potential data loss or system failures. Follow these steps to backup your music files:
- Connect an external storage device, such as a USB flash drive or an external hard drive, to your Mac.
- Open a new Finder window and navigate to the location where you have stored your downloaded music files.
- Select the music files and folders you want to back up by holding down the Command key and clicking on each item.
- Right-click on the selected files and folders and choose the “Copy” option from the context menu. Alternatively, you can press Command + C.
- Open the external storage device in a new Finder window or on your desktop.
- Right-click inside the external storage device window and choose the “Paste” option from the context menu. Alternatively, you can press Command + V.
The selected music files and folders will now be copied to the external storage device, creating a backup of your music library. The time it takes to complete the backup process will depend on the size of the music files and the speed of your external device.
It’s important to regularly update your music library backup to ensure that any changes or additions to your music collection are preserved. By having a backup copy of your music files, you can restore them easily in case of accidental deletion, device failure, or other unforeseen circumstances.
With your music files backed up, you can have peace of mind knowing that your cherished songs are protected and can be easily recovered if needed. Now you can enjoy your favorite tunes on your Mac without worrying about the safety of your music collection.
Congratulations! You have successfully completed all the necessary steps to download music from your iPod to your Mac, organize your music files, and create a backup. You can now fully enjoy your music library on your Mac and have a secure copy of your music files for the future.
Conclusion
Transferring music from an iPod to a Mac can seem like a daunting task, but with the step-by-step guide outlined in this article, it becomes a straightforward process. By following the steps to connect your iPod to your Mac, enable it as a removable disk, access the music files, transfer them to your computer, organize the downloaded music, and create a backup, you can effectively download and manage your music library on your Mac.
Remember, it’s crucial to establish a secure physical connection between your iPod and Mac before proceeding with the transfer. Enabling your iPod as a removable disk allows you to access and select the desired music files for download. By using simple copy and paste commands, you can transfer the selected music files to your Mac quickly.
Organizing your downloaded music on your Mac enhances your music library’s accessibility and makes it easier to find and enjoy your favorite songs. Creating folders and subfolders based on categories like artist, album, genre, or year allows for better organization and ensures a seamless music browsing experience.
Finally, don’t forget to create a backup of your music library to safeguard against any potential data loss or system failures. Regularly updating your backup ensures the safety and availability of your music collection for future use.
Now that you have successfully followed all the steps, you can sit back, relax, and delight in the seamless transfer of your music from your iPod to your Mac. Enjoy the convenience of having your favorite songs readily available on your computer and the peace of mind that your music library is safeguarded.
We hope this guide has been helpful in allowing you to download music from your iPod to your Mac. Feel free to refer back to this article whenever you need to transfer or manage your music files. Happy listening!


