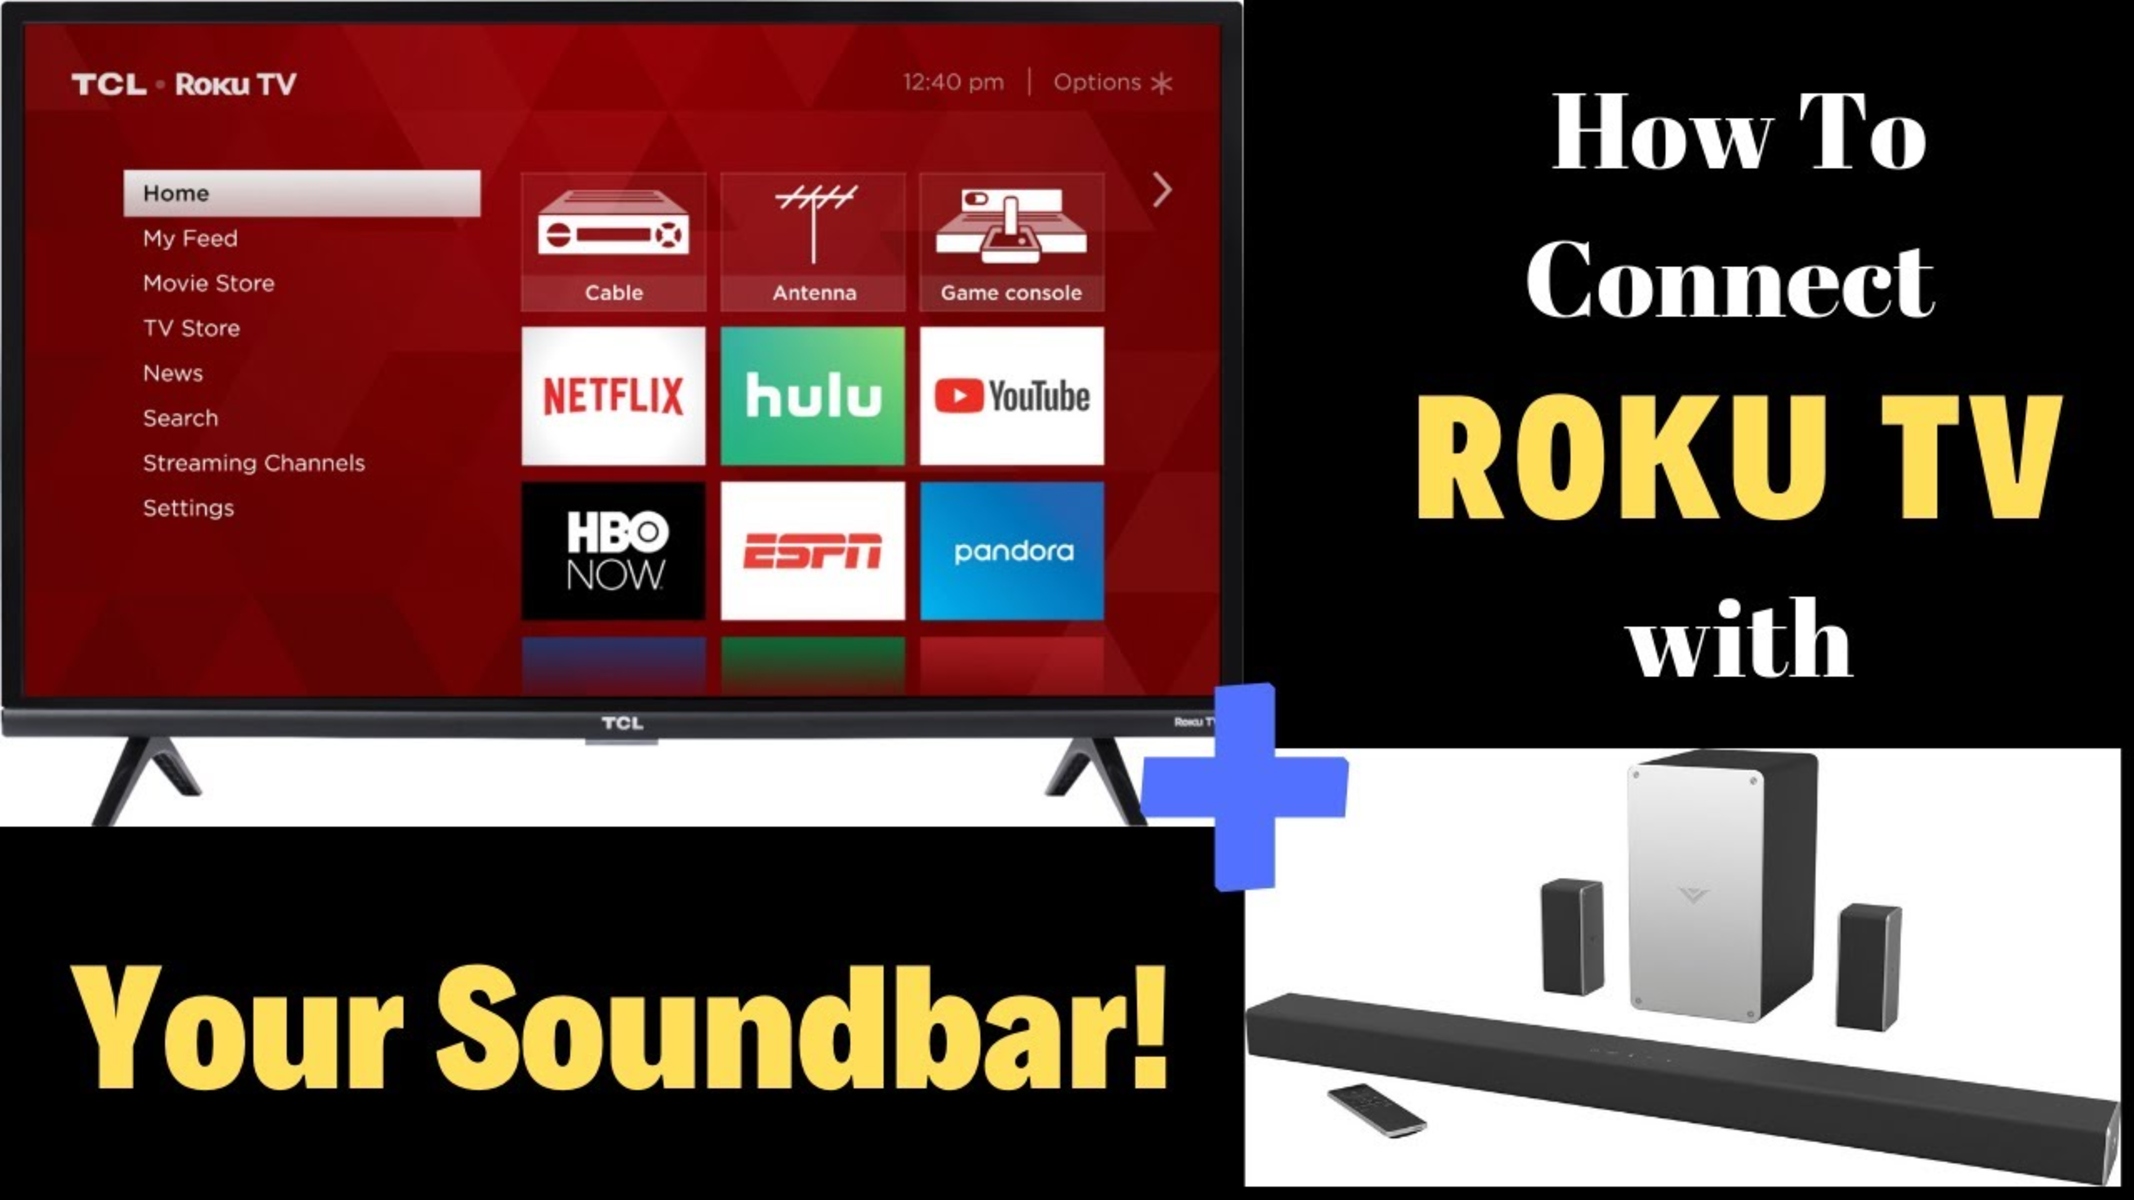
Introduction
Are you looking to enhance your home entertainment experience by connecting your soundbar to your Roku TV? By doing so, you can enjoy high-quality audio that complements the stunning visuals provided by your Roku TV. Connecting a soundbar to your Roku TV is a fairly straightforward process that can greatly enhance your overall viewing experience.
In this article, we will guide you through the steps to connect your soundbar to your Roku TV using an HDMI cable, ensuring that you achieve optimal audio performance. Whether you’re a tech-savvy individual or a beginner, you’ll find this guide simple to follow and implement.
Before we dive into the steps, it’s important to note that the availability and location of HDMI ports may vary depending on the model of your Roku TV and soundbar. Therefore, it’s recommended to consult the user manuals of your devices for specific information.
So, without further ado, let’s get started on connecting your soundbar to your Roku TV using HDMI for an immersive, theater-like audio experience.
Step 1: Check the HDMI ports on your Roku TV and soundbar
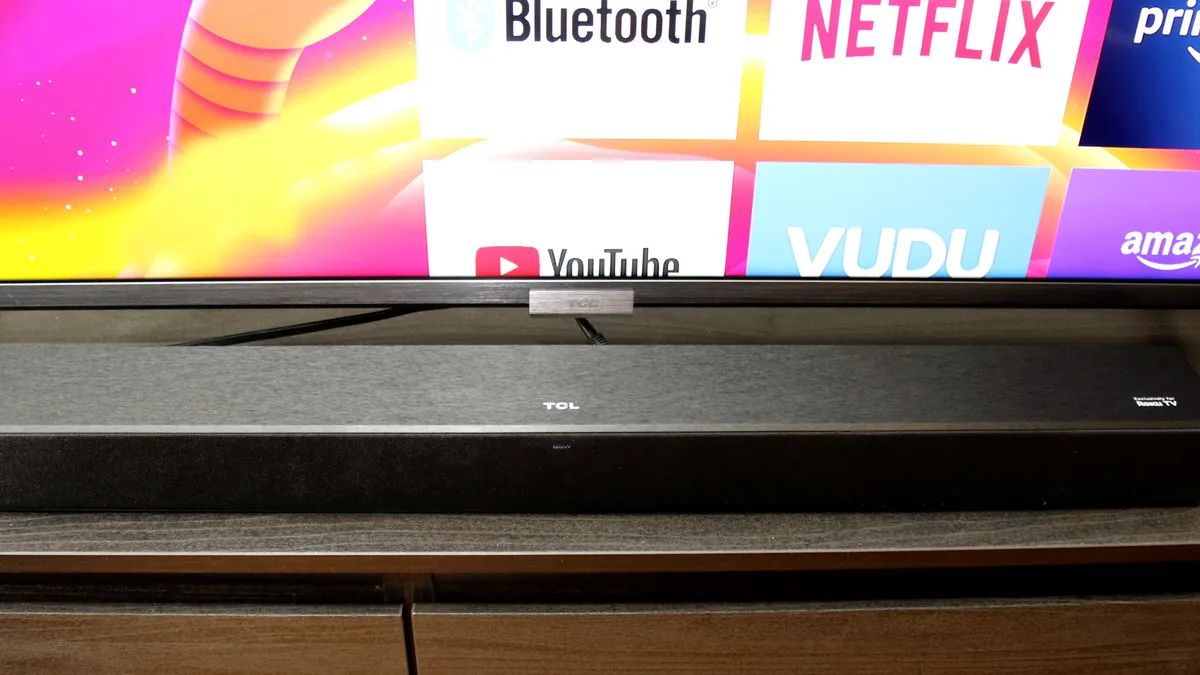
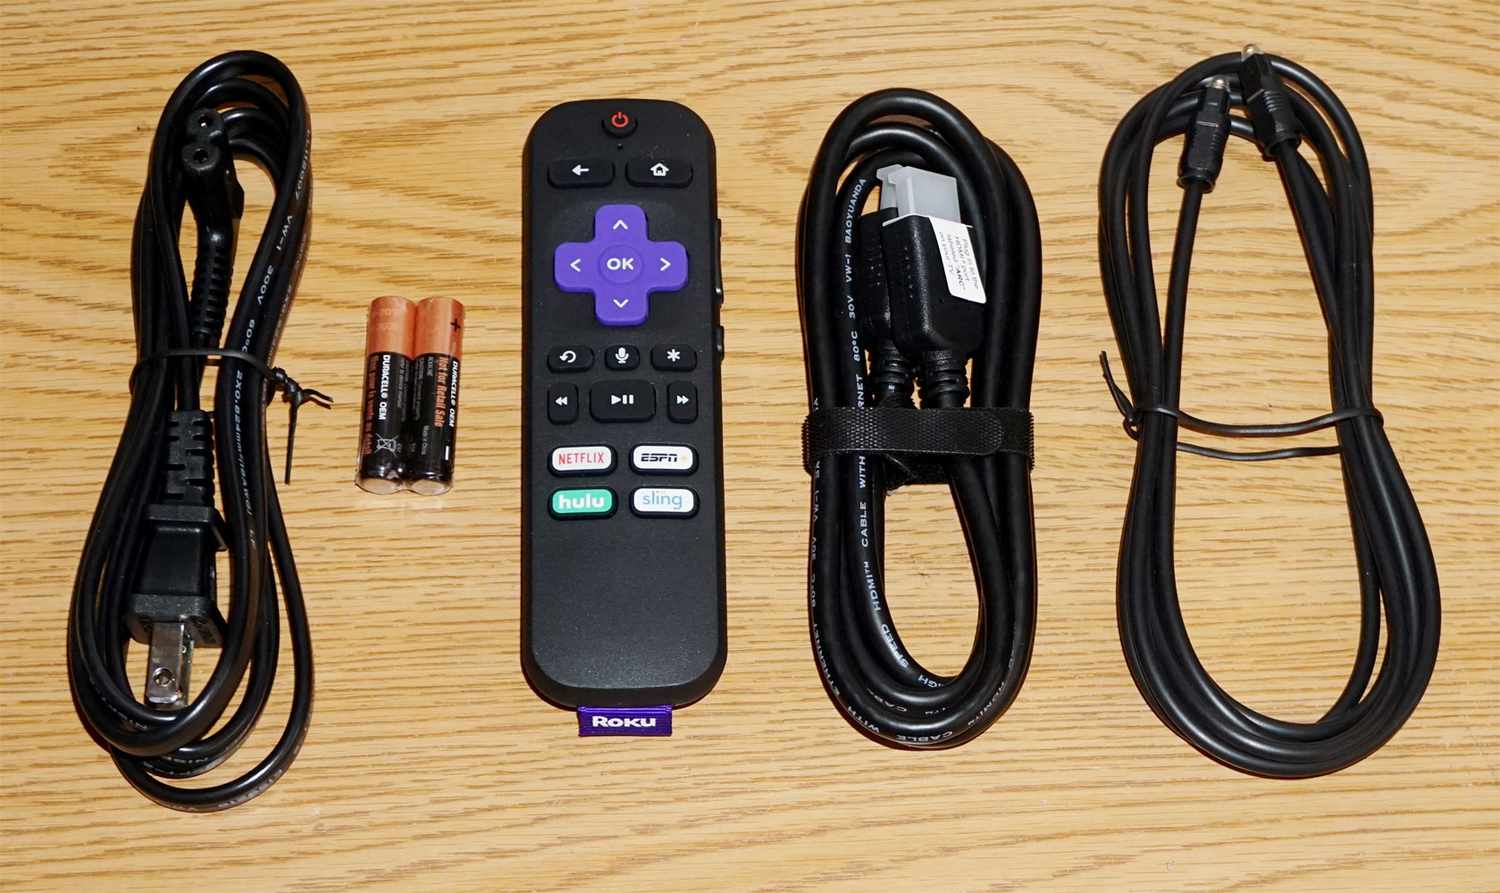
Before connecting your soundbar to your Roku TV, you need to ensure that both devices have HDMI ports available. HDMI (High-Definition Multimedia Interface) is a widely-used audio/video interface that supports high-quality audio and video transmission.
First, locate the HDMI ports on your Roku TV. Most Roku TVs have multiple HDMI ports to accommodate various devices. These ports are usually located on the back or side of the TV. Take note of the HDMI port numbers, as you will need this information for the subsequent steps.
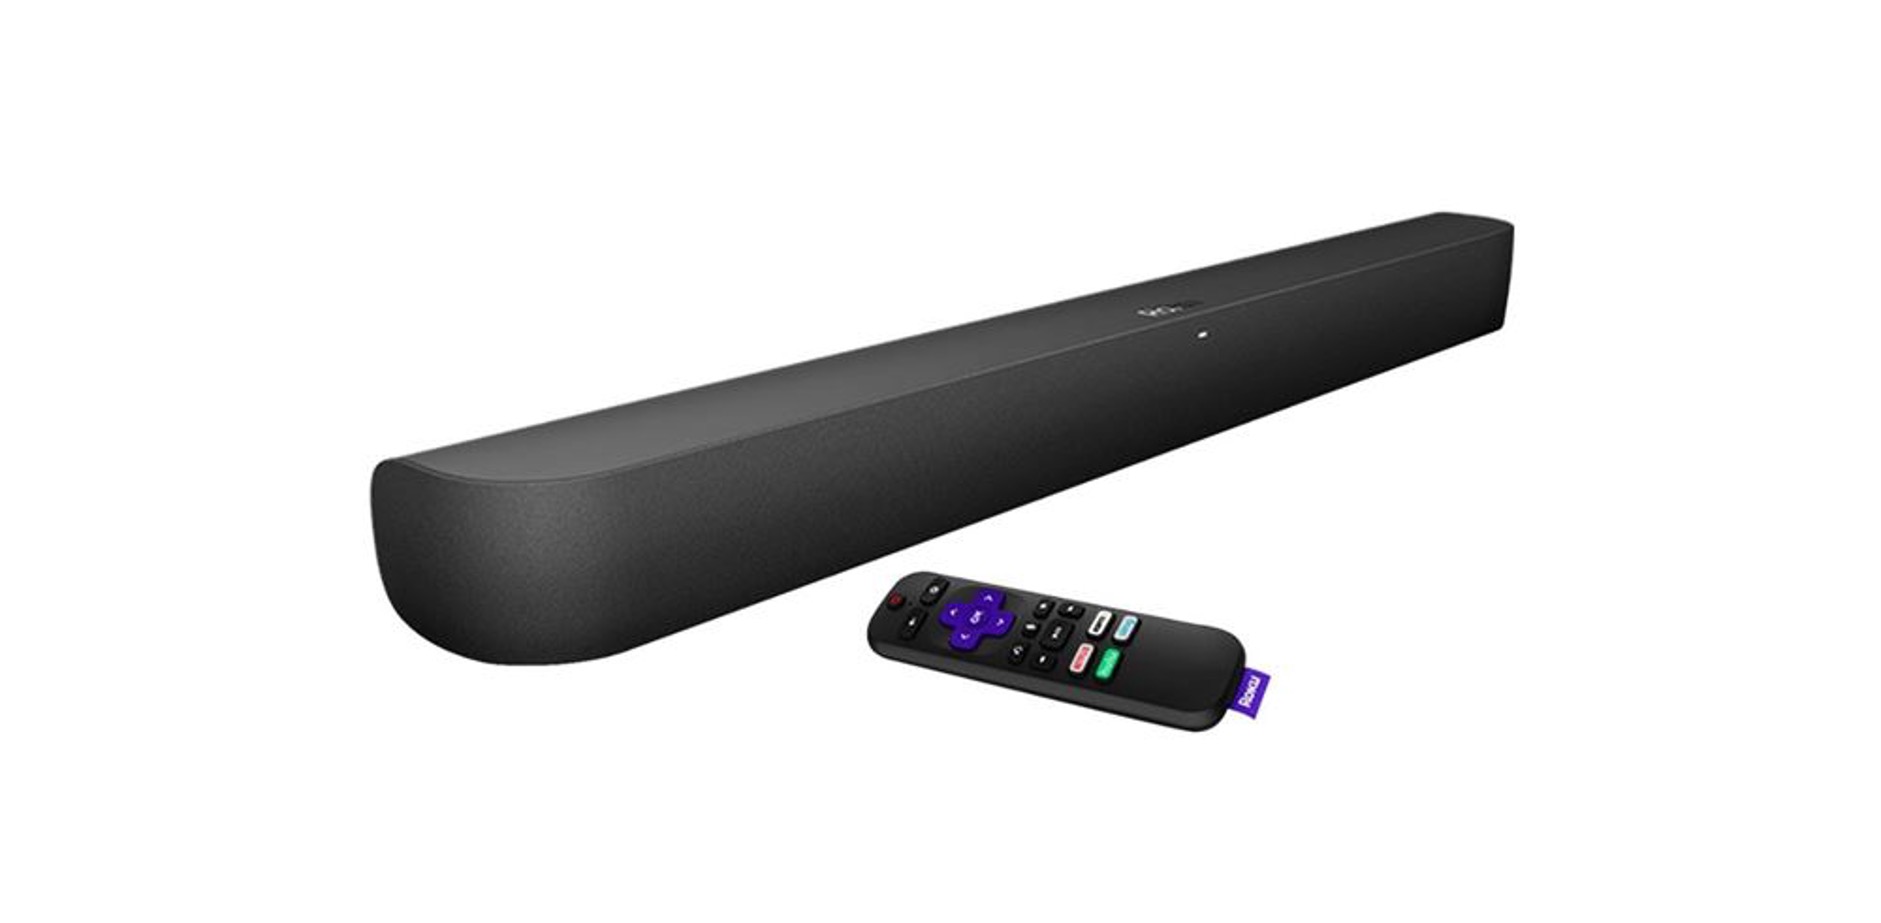
Next, check your soundbar for HDMI ports. Soundbars typically have at least one HDMI input port that allows you to connect external devices. In some cases, soundbars may also have HDMI output ports, which can be used to connect to your Roku TV. Refer to the user manual of your soundbar to locate the HDMI ports and determine their purpose.
Ensure that the HDMI ports on both your Roku TV and soundbar are not damaged or obstructed. Look for any physical damage or debris that may prevent a proper connection. If you notice any issues, it’s recommended to get the ports repaired or use an alternative method of audio connection.
Once you have verified the availability and condition of the HDMI ports on your Roku TV and soundbar, you’re ready to proceed to the next step of connecting the two devices using an HDMI cable.
Step 2: Connect the soundbar to the Roku TV with an HDMI cable
Now that you have confirmed the presence of HDMI ports on both your Roku TV and soundbar, it’s time to connect them using an HDMI cable. This cable will transmit both the video from your Roku TV and the audio from the soundbar, ensuring a seamless and synchronized experience.
Begin by locating the HDMI output port on your Roku TV. This is where you will connect one end of the HDMI cable. The HDMI output port is usually labeled as “HDMI OUT” or “ARC” (Audio Return Channel). Consult the user manual of your Roku TV if you’re having trouble locating the appropriate port.
Next, find the HDMI input port on your soundbar. This is where you will connect the other end of the HDMI cable. The HDMI input port on your soundbar may be labeled as “HDMI IN” or “ARC,” similar to the Roku TV. Again, if you’re unsure, refer to the user manual of your soundbar for clarification.
Now, take the HDMI cable and connect one end to the HDMI output port on your Roku TV. Ensure that the cable is securely plugged into the HDMI port. Avoid applying excessive force to prevent any damage to the port or the cable.
Once the cable is connected to the Roku TV, take the other end of the HDMI cable and plug it into the HDMI input port on your soundbar. Ensure a firm connection, just as you did with the Roku TV.
With the HDMI cable securely connected to both devices, you have successfully established a physical connection between your Roku TV and soundbar. In the next step, we will adjust the sound settings on your Roku TV to optimize the audio output through the soundbar.
Step 3: Adjust the sound settings on your Roku TV
Now that your soundbar is connected to your Roku TV via HDMI, it’s time to configure the sound settings for optimal audio performance. By adjusting the sound settings on your Roku TV, you can ensure that the soundbar is properly recognized and the audio output is optimized.
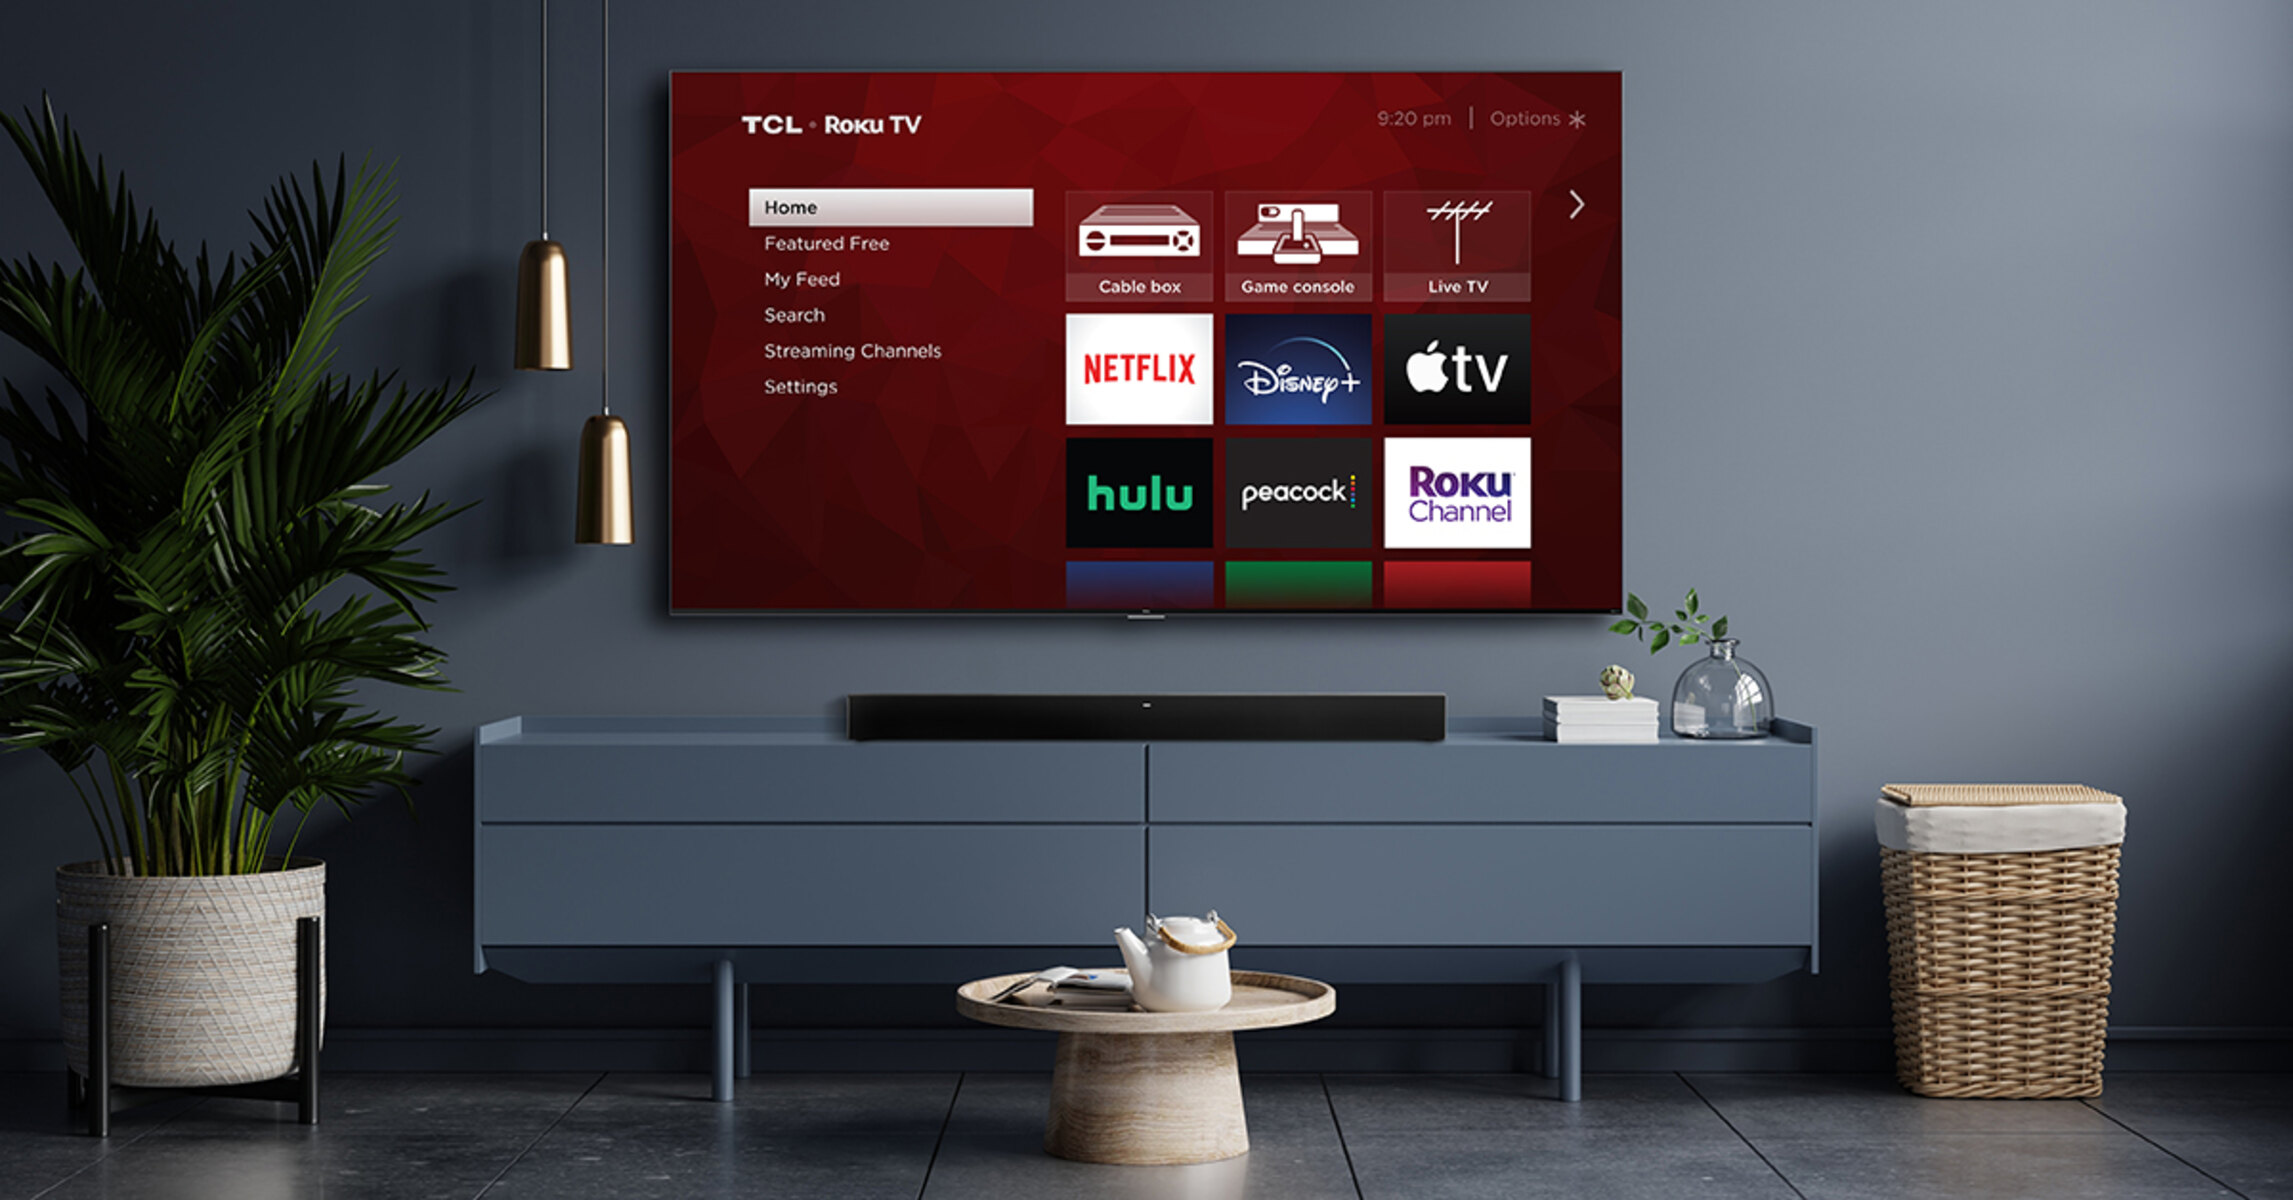
Using your Roku TV remote, navigate to the home screen and select the “Settings” option. This will open the settings menu, where you can access various options for customizing your Roku TV.
Scroll down and select “Audio.” In the audio settings menu, you may find options such as “Audio mode,” “Volume mode,” and “Audio leveling” or similar options, depending on your Roku TV model.
Look for the option to select the audio output format. Choose “HDMI” or “ARC” as the audio output format to ensure that the sound is directed to your soundbar through the HDMI connection.
Some Roku TVs also have options for adjusting the sound level or equalizer settings. If available, you can fine-tune the audio settings according to your preferences or choose preset audio modes like “Movie,” “Music,” or “Sports” for an enhanced audio experience.
Once you have adjusted the sound settings to your liking, navigate to the “Audio output” option and select your soundbar as the preferred audio output device. This step is crucial to ensure that the audio is routed through the soundbar instead of the built-in TV speakers.
After making the necessary sound adjustments and selecting your soundbar as the audio output device, exit the settings menu. Your Roku TV is now configured to deliver audio through the connected soundbar.
In the next step, we will test the audio output from your Roku TV to ensure that it is properly playing through the soundbar.
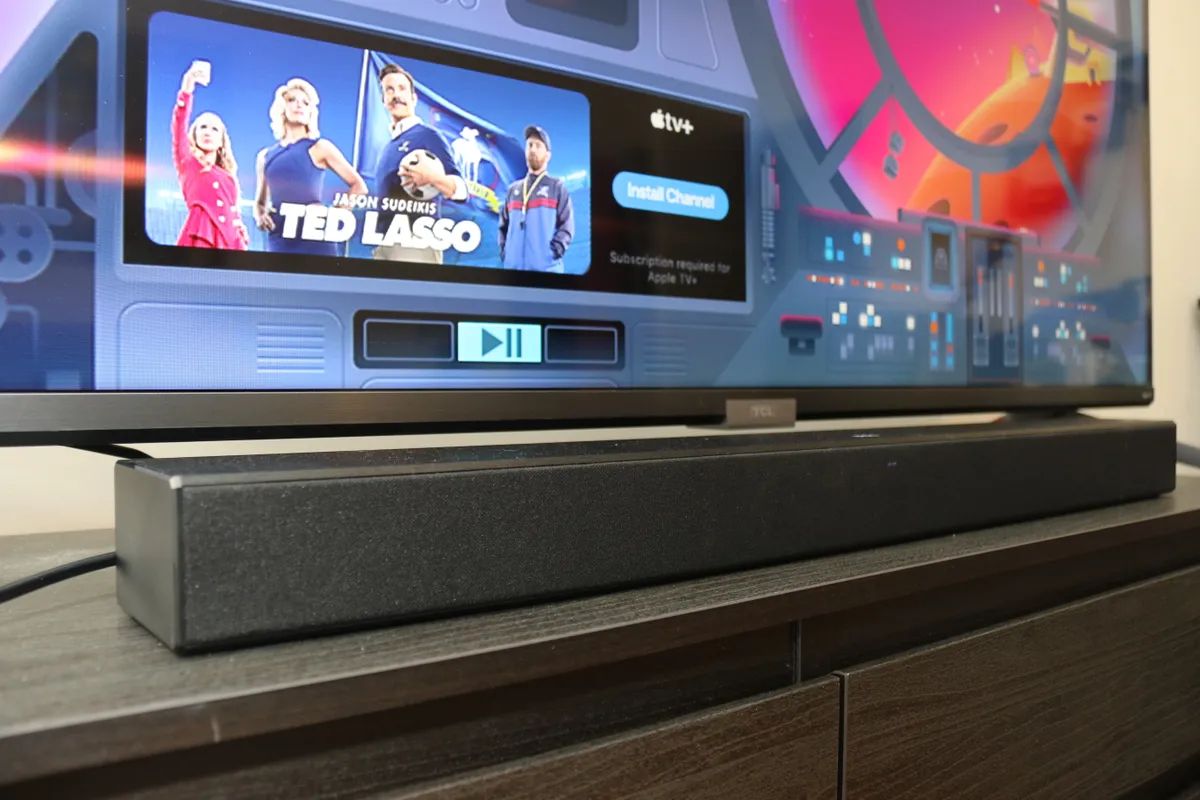
Step 4: Test the audio from your Roku TV through the soundbar
With the soundbar connected to your Roku TV and the sound settings properly adjusted, it’s time to test the audio output to ensure that it is playing through the soundbar.
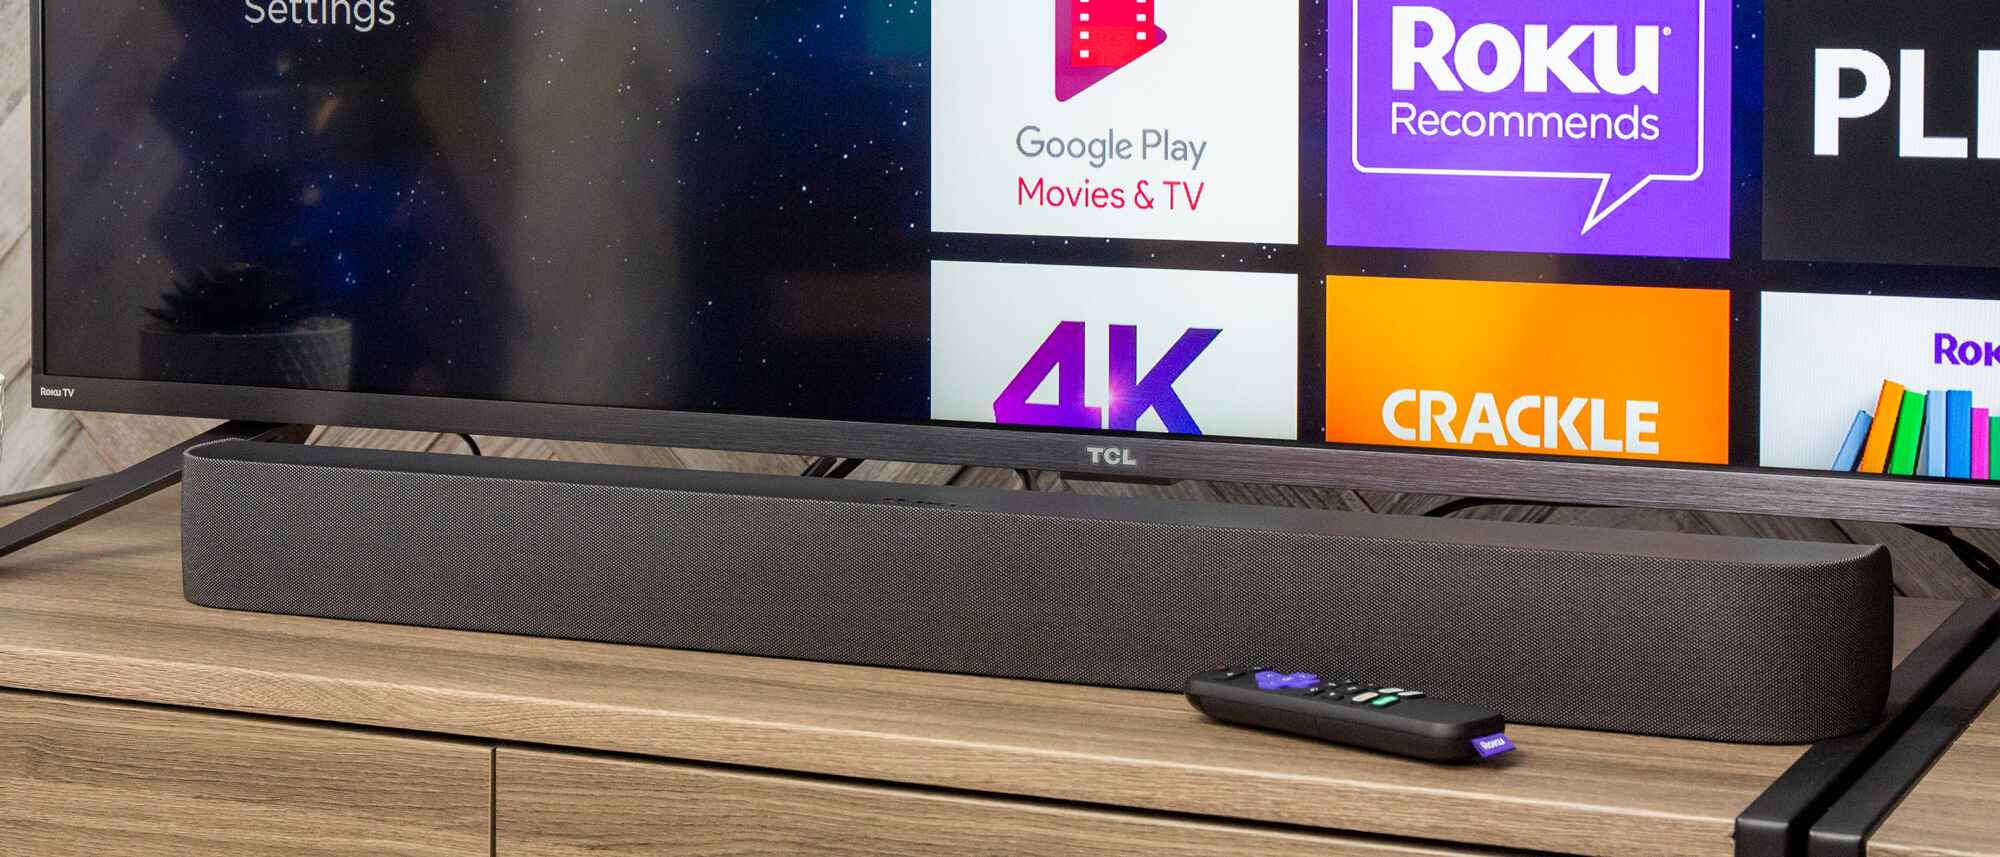
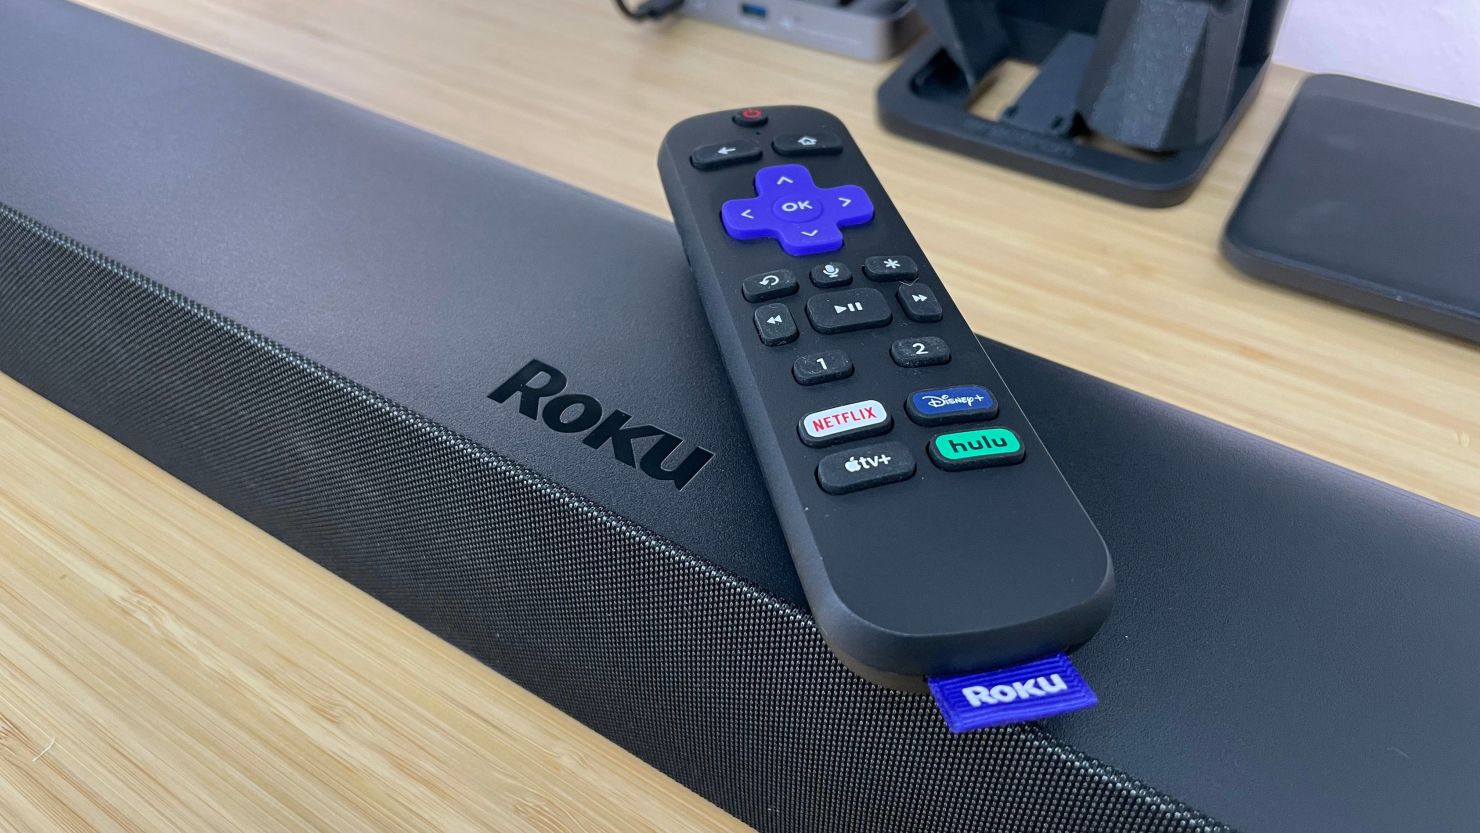
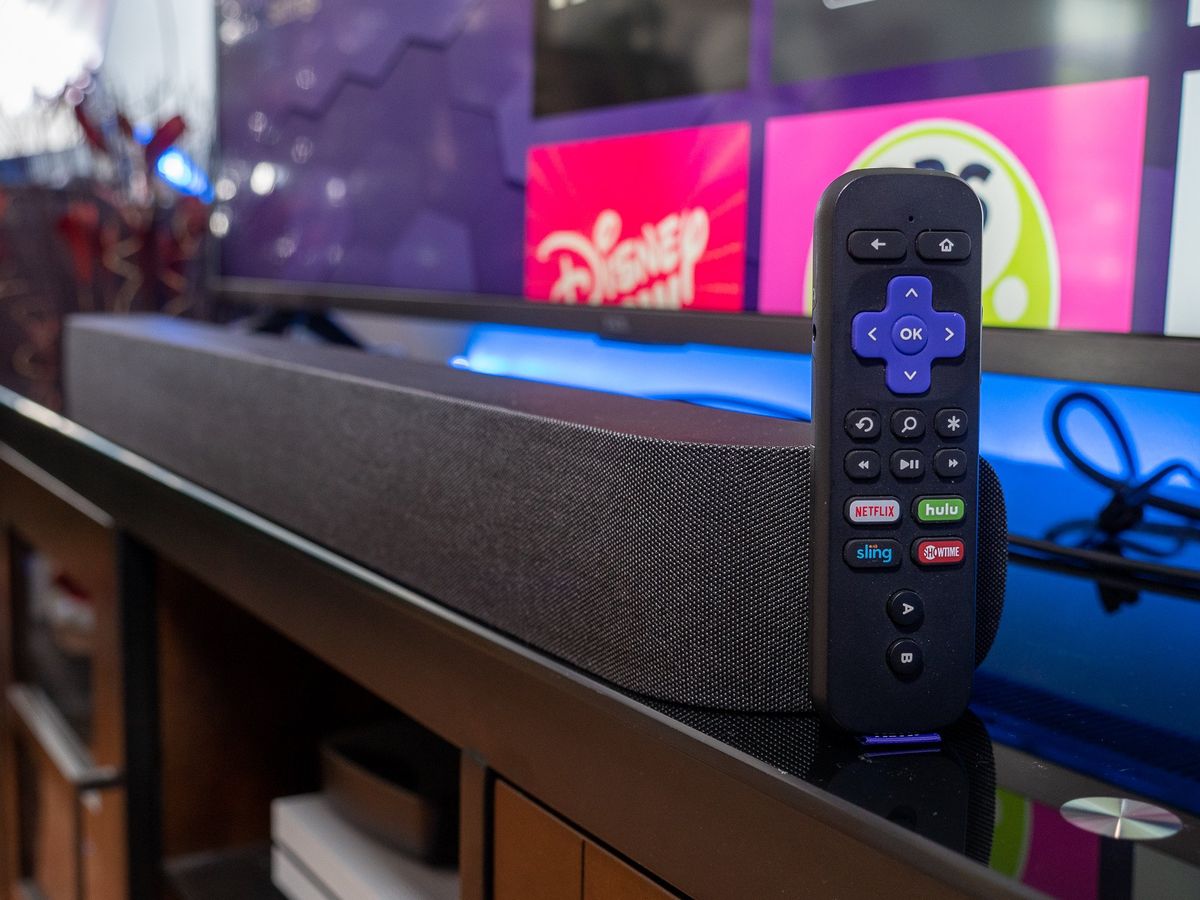
Start by turning on your Roku TV and soundbar. Use the Roku TV remote to navigate to any content that has audio, such as a streaming service or a TV channel.
Play the content and pay attention to the audio. If the audio is playing through the soundbar, you have successfully configured the Roku TV to output sound through the connected soundbar. Enjoy the immersive audio experience that the soundbar provides.
If you’re not hearing any audio through the soundbar, there are a couple of troubleshooting steps you can try:
1. Ensure that the soundbar is powered on and set to the appropriate input source. Use the soundbar remote to select the HDMI input that is connected to your Roku TV.
2. Double-check the HDMI cable connections. Make sure that both ends of the HDMI cable are securely plugged into the appropriate HDMI ports on the Roku TV and soundbar.
3. Verify the sound settings on your Roku TV. Go back to the audio settings menu and confirm that the correct audio output format is selected, and the soundbar is chosen as the preferred audio output device.
4. Restart both the Roku TV and soundbar. Power off both devices and unplug them from the power source. Wait for a few seconds, then plug them back in and power them on again. This can often resolve any temporary issues.
If you have gone through these troubleshooting steps and are still experiencing issues with the audio output, consult the user manuals for your Roku TV and soundbar for further guidance. It’s also a good idea to contact the manufacturer’s customer support for additional assistance.
By following these steps and troubleshooting methods, you can successfully connect your soundbar to your Roku TV and enjoy an enhanced audio experience for your home entertainment setup.
Conclusion
Connecting your soundbar to your Roku TV with an HDMI cable is a simple and effective way to elevate your home entertainment experience. By following the steps outlined in this guide, you can seamlessly integrate your soundbar into your Roku TV setup, ensuring immersive audio that complements the stunning visuals.
Through the process, we learned how to check the HDMI ports on your Roku TV and soundbar to ensure compatibility and proper functioning. We also explored the steps to connect the soundbar to the Roku TV using an HDMI cable, establishing a physical connection for audio transmission.
Adjusting the sound settings on your Roku TV was the next crucial step. By selecting the appropriate audio output format, configuring sound levels, and selecting the soundbar as the preferred audio output device, you can optimize the audio output to suit your preferences.
Finally, we tested the audio output from the Roku TV through the connected soundbar, ensuring that everything is working as intended. In the event of any issues, we provided troubleshooting steps to address common problems and achieve a successful connection.
Remember, the method described in this guide may vary slightly depending on the model and specific features of your Roku TV and soundbar. It’s always advisable to consult the user manuals for your devices for detailed and customized instructions.
By following these steps and troubleshooting methods, you can enjoy a theater-like audio experience in the comfort of your own home. Sit back, relax, and immerse yourself in your favorite movies, TV shows, and music, with crystal-clear sound delivered through your connected soundbar.
So, go ahead and give it a try! Connect your soundbar to your Roku TV and take your home entertainment to new heights.