Introduction
Welcome to this guide on how to switch HDMI on your TCL Roku TV. If you’re looking to connect a device to your TV using an HDMI cable, you’ve come to the right place. HDMI (High-Definition Multimedia Interface) is a popular and widely-used connection for audio and video signals, ensuring high-quality digital transmission.
With your TCL Roku TV, you have the capability to connect various devices such as gaming consoles, Blu-ray players, cable/satellite boxes, and more. By following the simple steps outlined in this guide, you’ll be able to switch to the HDMI input on your TCL Roku TV and start enjoying your favorite content in no time.
Whether you want to stream movies, play games, or watch your favorite TV shows, using the HDMI input will provide you with the best audio and video quality. So, let’s get started and learn how to switch HDMI on your TCL Roku TV.
Step 1: Power On Your TCL Roku TV
The first step in switching HDMI on your TCL Roku TV is to ensure that the TV is powered on. Locate the power button on your TCL Roku TV’s remote or on the TV itself and press it to turn on the TV. Wait for the TV to fully power up before proceeding to the next step.
If you are using a wall outlet to power your TCL Roku TV, make sure that it is plugged in securely and that there is power supply to the outlet. Check the power cord for any damage or fraying and replace it if necessary.
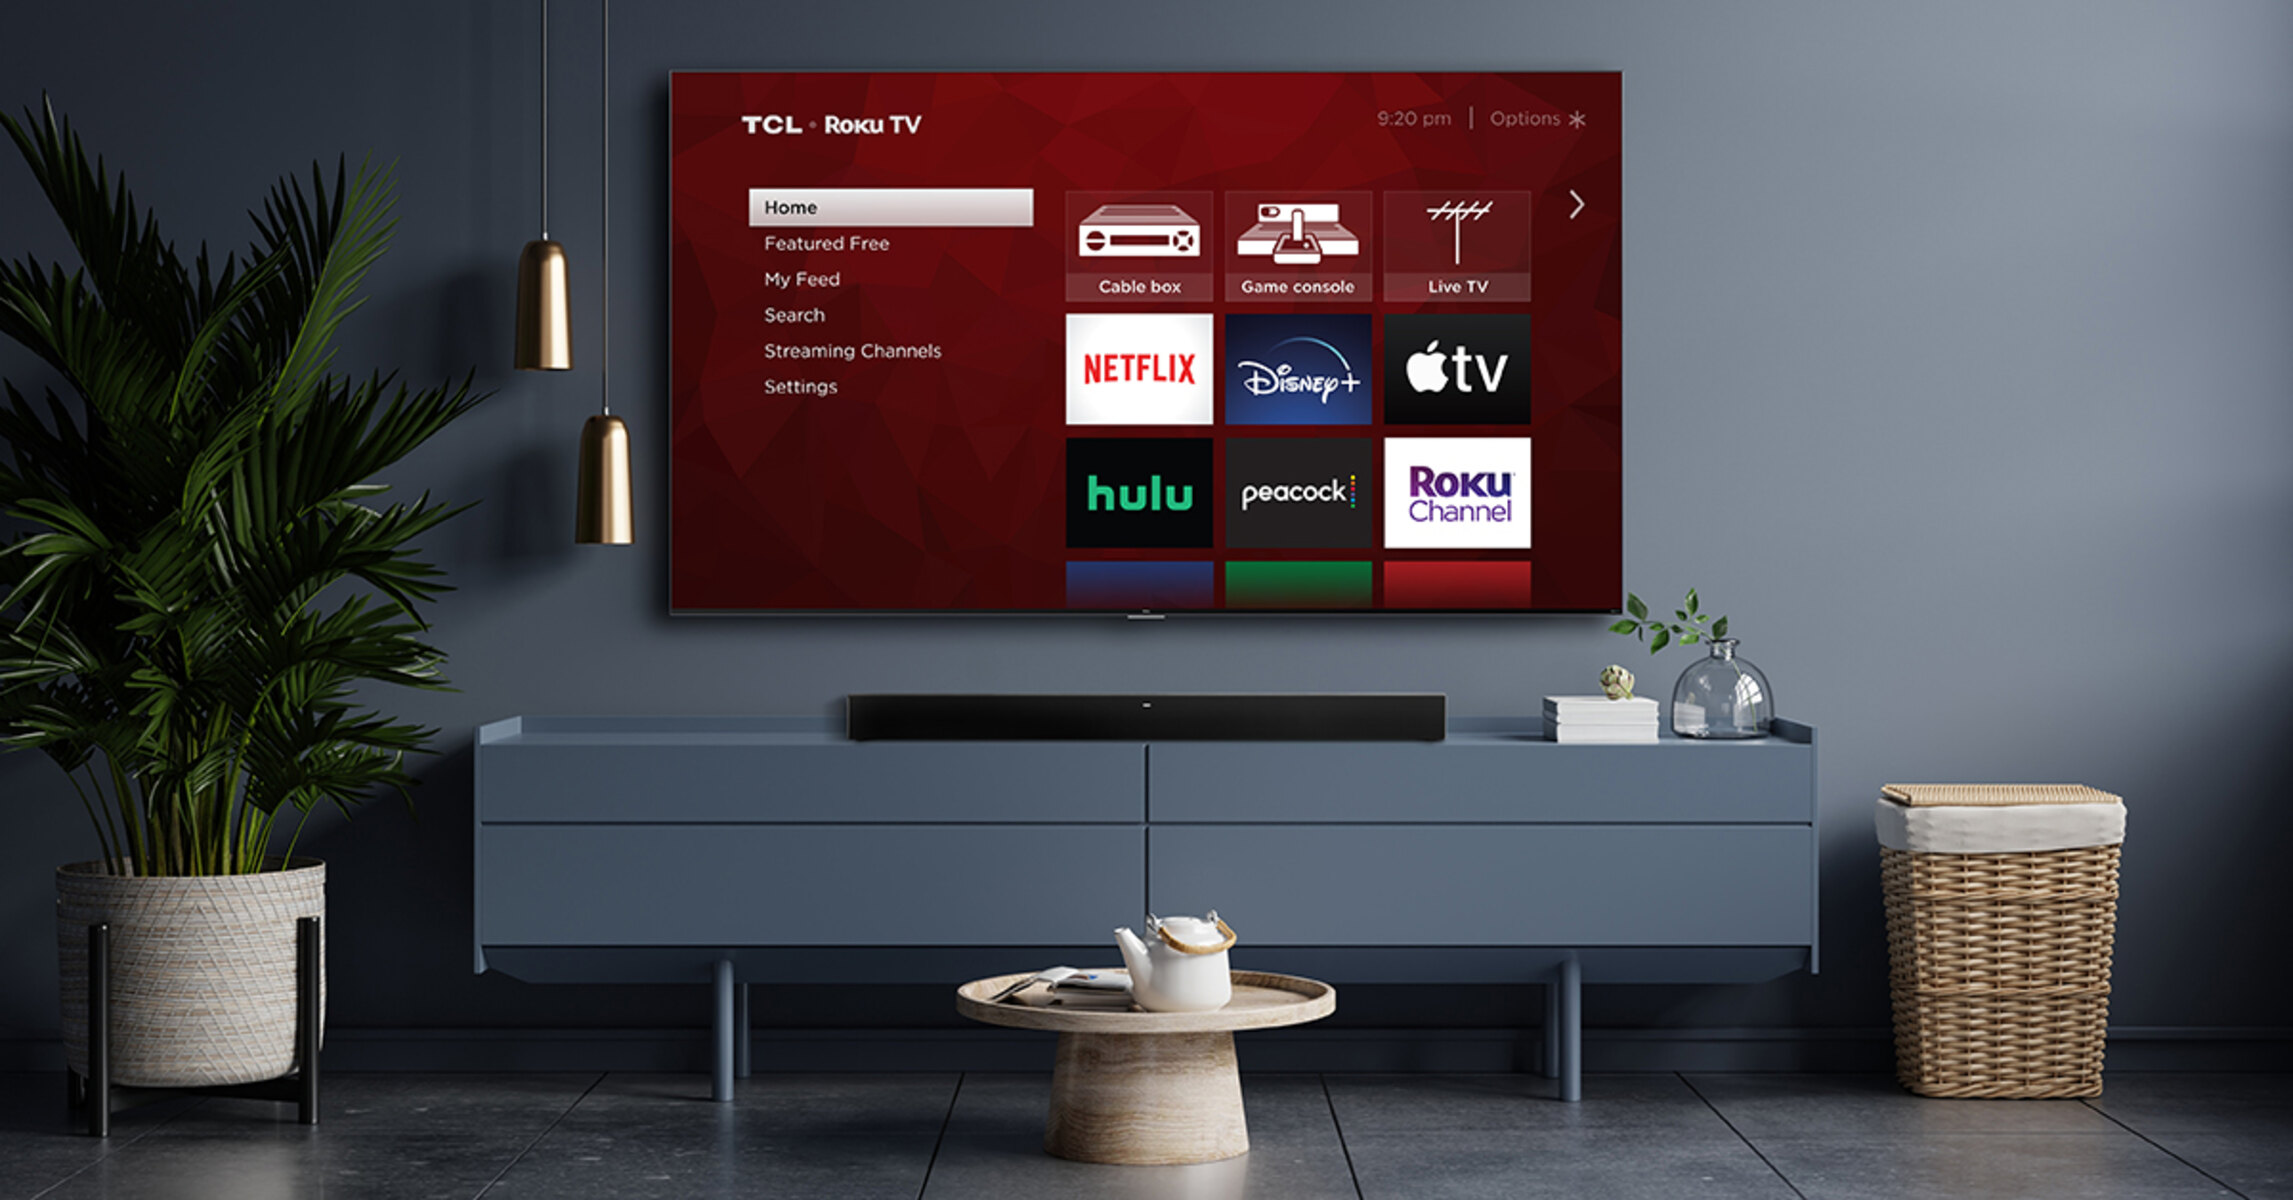
Once the TV is powered on, you will see the TCL Roku TV logo followed by the home screen. If this is your first time setting up the TV, you will need to go through the initial setup process by following the on-screen instructions. This will include connecting to your Wi-Fi network and signing in to your Roku account.
Now that your TCL Roku TV is powered on and ready to go, let’s move on to the next step to switch to the HDMI input.
Step 2: Locate the HDMI Port
To switch the HDMI input on your TCL Roku TV, you first need to locate the HDMI port on the TV. The HDMI port is where you will connect your HDMI cable to your TV. Depending on the model of your TCL Roku TV, the location of the HDMI port may vary.
On most TCL Roku TV models, you will find the HDMI ports on the back or side of the TV. Look for a series of rectangular ports labeled “HDMI” or HDMI 1, HDMI 2, etc. Take note of the HDMI port number that you will be using to connect your device.
If you’re having trouble locating the HDMI port, refer to the user manual that came with your TCL Roku TV. The user manual will have detailed diagrams and instructions on how to find the HDMI ports on your specific model.
It’s important to note that TCL Roku TVs typically have multiple HDMI ports, allowing you to connect multiple devices simultaneously. This means you can have your gaming console, Blu-ray player, and cable/satellite box all connected to different HDMI ports on your TCL Roku TV.
Now that you know where to find the HDMI port, let’s move on to the next step and connect your HDMI device to your TCL Roku TV.
Step 3: Connect Your HDMI Device
Now that you have located the HDMI port on your TCL Roku TV, it’s time to connect your HDMI device. Whether it’s a gaming console, Blu-ray player, cable/satellite box, or any other HDMI-compatible device, the process of connecting it to your TV is straightforward.
Start by taking the HDMI cable and inserting one end into the HDMI port on your device. Make sure it fits securely and is firmly connected. Then, take the other end of the HDMI cable and insert it into the HDMI port on your TCL Roku TV.
It’s essential to ensure that you are connecting the HDMI cable to the correct HDMI port on your TV if you have multiple HDMI ports. Remember the HDMI port number we noted down earlier? Ensure that you are connecting to the corresponding port.
Once the HDMI cable is connected, gently push it in to ensure a snug fit. Be careful not to force it or bend the cable excessively, as this may cause damage to the ports.
After connecting the HDMI cable, make sure that both your TCL Roku TV and the HDMI device are powered on and set to the appropriate channels or inputs. This will allow for proper recognition and communication between the TV and the connected HDMI device.
Congratulations! You have successfully connected your HDMI device to your TCL Roku TV. Now let’s move on to the next step and learn how to switch to the HDMI input on your TV.
Step 4: Switch to HDMI Input
Now that you have connected your HDMI device to your TCL Roku TV, it’s time to switch to the HDMI input and start enjoying your device’s content.
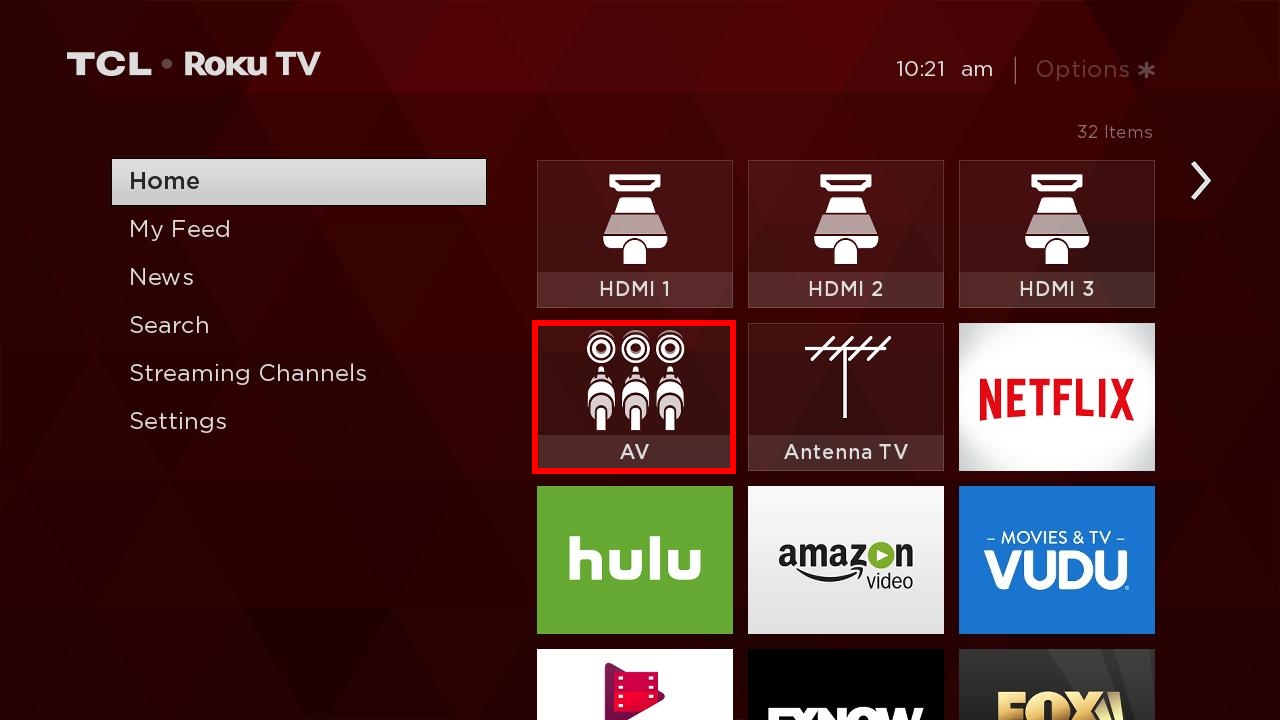
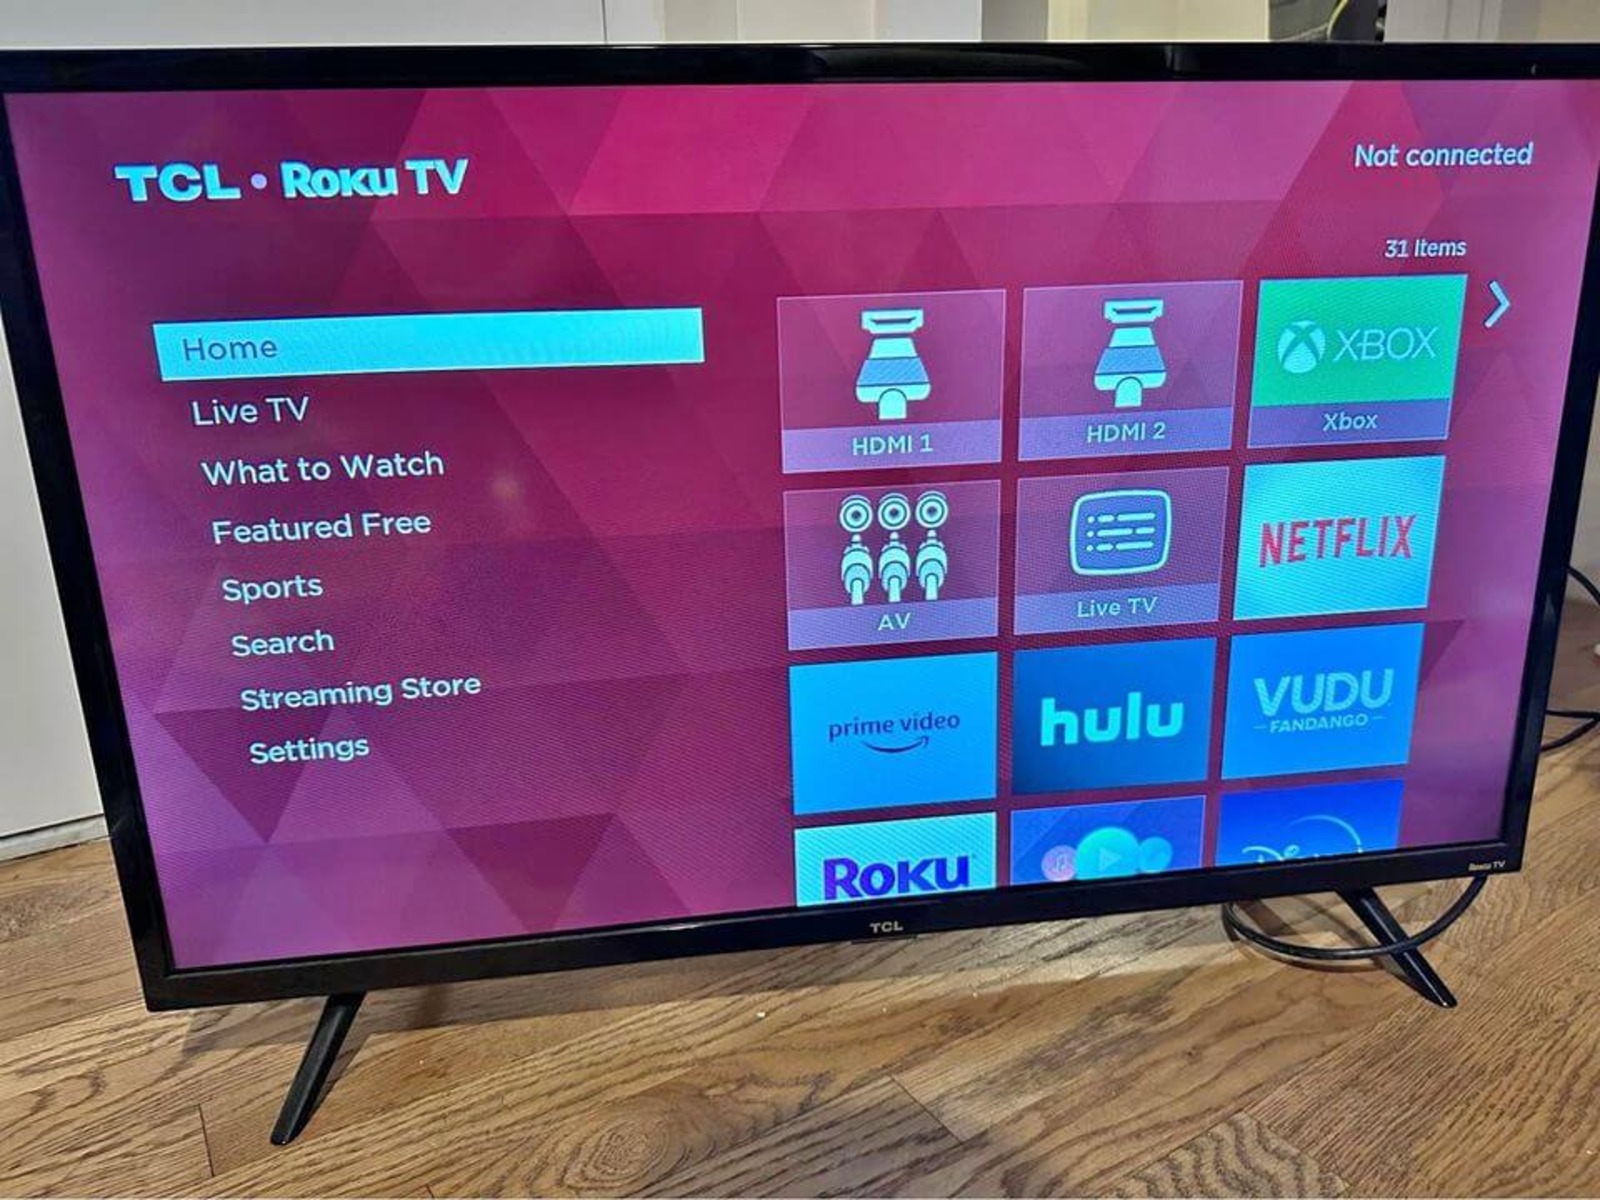
Begin by grabbing your TCL Roku TV remote control. Look for the “Input” or “Source” button, which is often located towards the middle or bottom of the remote. Press this button to access the input selection menu.
On the input selection menu, you will see a list of available input sources. Look for the option that corresponds to the HDMI port where you connected your device. For example, if you connected your device to HDMI 1, select “HDMI 1” from the list.
After selecting the HDMI input, your TCL Roku TV will switch to that input source, and you should see the content from your HDMI device displayed on the screen. If you don’t see the content immediately, wait a few seconds for the TV and the HDMI device to synchronize and establish a connection.
If you have multiple HDMI devices connected to your TCL Roku TV, you can repeat this process to switch between different HDMI inputs. Simply use the “Input” or “Source” button on your remote control to cycle through the available HDMI options until you reach the desired input source.
And that’s it! You have successfully switched to the HDMI input on your TCL Roku TV. Now you can enjoy your favorite movies, games, or any other content from your HDMI device right on your TV screen.
In case you encounter any issues or if the HDMI input is not working properly, make sure to check the HDMI cable connections, ensure that both your TCL Roku TV and the HDMI device are powered on, and try restarting both devices if needed.
Now, let’s move on to the final step and explore how to adjust the HDMI settings if necessary.
Step 5: Adjust HDMI Settings if necessary
After switching to the HDMI input on your TCL Roku TV, you may need to make some adjustments to the HDMI settings to optimize your viewing experience. While the default settings usually work well, certain adjustments can enhance the audio and video quality or address any compatibility issues between your TV and the connected HDMI device.
Access the settings menu on your TCL Roku TV by pressing the “Home” button on your remote control. Navigate to the “Settings” option using the arrow buttons and press the “OK” button to enter the settings menu.
Within the settings menu, locate and select the “Display & Sound” option. Look for the “HDMI” or “HDMI Settings” option and select it to access the HDMI settings menu.
In the HDMI settings menu, you will find a range of options that allow you to customize your HDMI input. This may include options like HDMI mode, audio output, HDMI signal format, and more. Explore these options and make adjustments based on your preferences and the specific requirements of your HDMI device.
For example, if you’re experiencing audio issues, you can check the audio settings and ensure that the correct audio output format is selected. If you’re encountering video display problems, you can experiment with the HDMI signal format to find the optimal setting for your device.
Keep in mind that the available options and settings may vary depending on the model of your TCL Roku TV. Refer to the user manual or on-screen instructions for more detailed information on the HDMI settings specific to your TV model.
Once you have made the necessary adjustments to the HDMI settings, exit the settings menu and return to your HDMI input. You should now experience improved audio and video performance or resolve any compatibility issues that you may have encountered.
Congratulations! You have successfully learned how to adjust the HDMI settings on your TCL Roku TV if necessary.
Before we wrap up, here’s a reminder to periodically check and update the firmware of your TCL Roku TV. Firmware updates can bring new features, improvements, and bug fixes that can enhance the overall performance and compatibility of your TV.
With these steps, you’re now fully equipped to switch HDMI on your TCL Roku TV and enjoy a seamless viewing experience with your HDMI devices.
Conclusion
Switching HDMI on your TCL Roku TV is a simple process that allows you to connect and enjoy various HDMI devices. By following the steps outlined in this guide, you can easily switch to the HDMI input and start enjoying your favorite movies, games, and more on the big screen of your TCL Roku TV.
We began by ensuring that your TCL Roku TV is powered on and ready to go. Then, we located the HDMI port on your TV to prepare for the connection of your HDMI device. Once the HDMI device was connected, we learned how to switch to the HDMI input through the TV’s remote control.
If necessary, we explored how to adjust the HDMI settings on your TCL Roku TV to optimize your viewing experience. These settings can help enhance the audio and video quality or address any compatibility issues you may encounter.
Remember, it’s important to refer to the user manual or on-screen instructions for specific information regarding your TCL Roku TV model, as the location of HDMI ports or available HDMI settings may vary.
Now that you have successfully learned how to switch HDMI on your TCL Roku TV, you can seamlessly connect and enjoy a multitude of HDMI devices. Whether you’re gaming, watching your favorite shows, or experiencing immersive movie nights, the HDMI input on your TCL Roku TV provides a high-quality audio and video experience.
Don’t forget to periodically check for firmware updates for your TCL Roku TV. These updates can bring new features, improvements, and bug fixes that enhance the overall performance and compatibility of your TV.
Thank you for following this guide, and we hope you enjoy your HDMI device on your TCL Roku TV! Happy viewing!