Introduction
Welcome to the world of enhanced audio quality with the Roku Soundbar! Whether you’re a movie enthusiast or a music lover, this device is designed to elevate your entertainment experience to new heights. With its sleek design and powerful sound, the Roku Soundbar is a perfect addition to any home theater setup.
In this article, we will guide you through the process of setting up your Roku Soundbar, step by step. From unboxing the device to connecting it to your TV and getting it connected to the internet, we’ll cover every aspect to ensure that you can start enjoying your favorite movies and music in no time. So, let’s dive in!
Before we get started, it’s important to note that the specific steps and instructions may vary slightly depending on the model of your Roku Soundbar and your TV. However, the general process remains the same, so you’ll still find this article helpful regardless of the specific details of your setup.
Now, without further ado, let’s proceed to the first step: unboxing and connecting your Roku Soundbar.
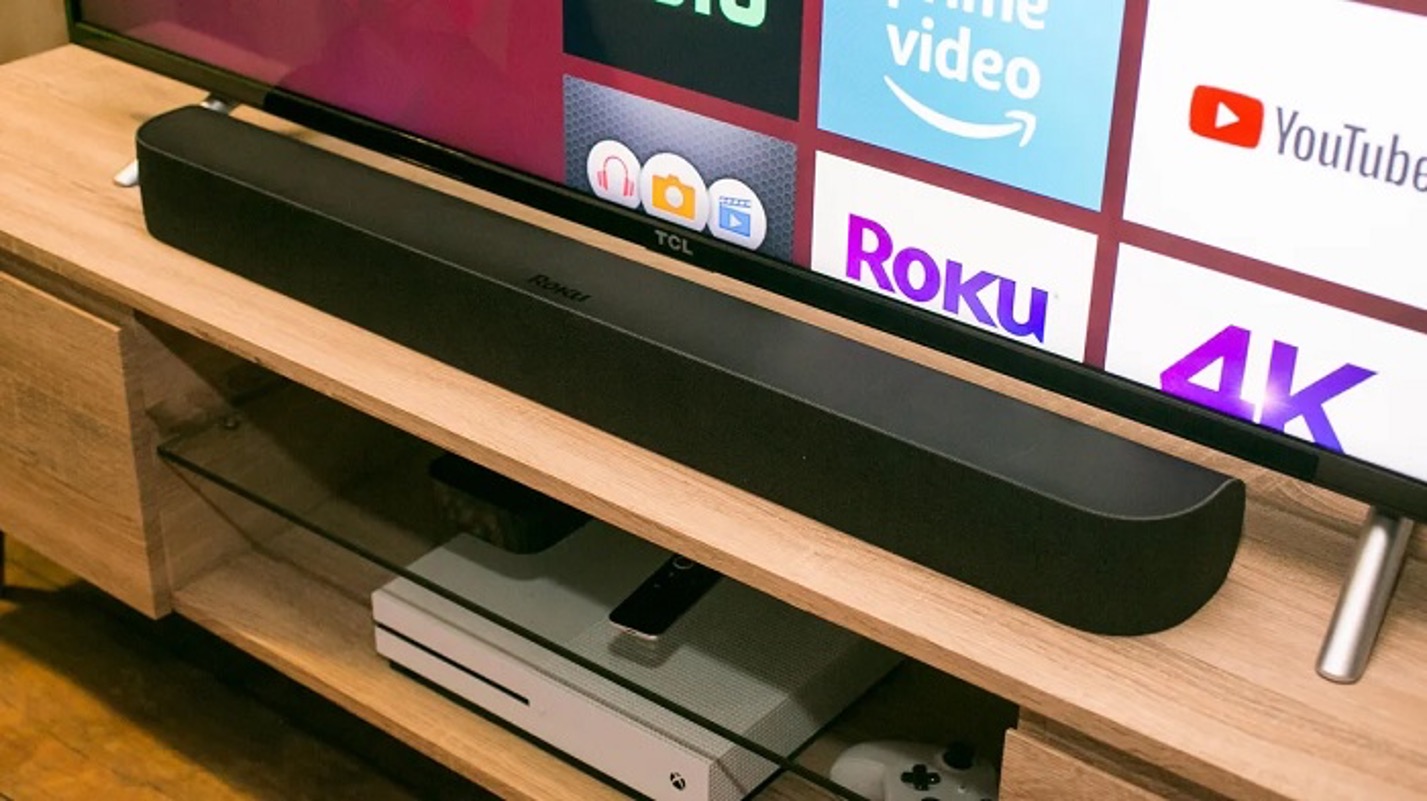
Step 1: Unboxing and Connecting the Roku Soundbar
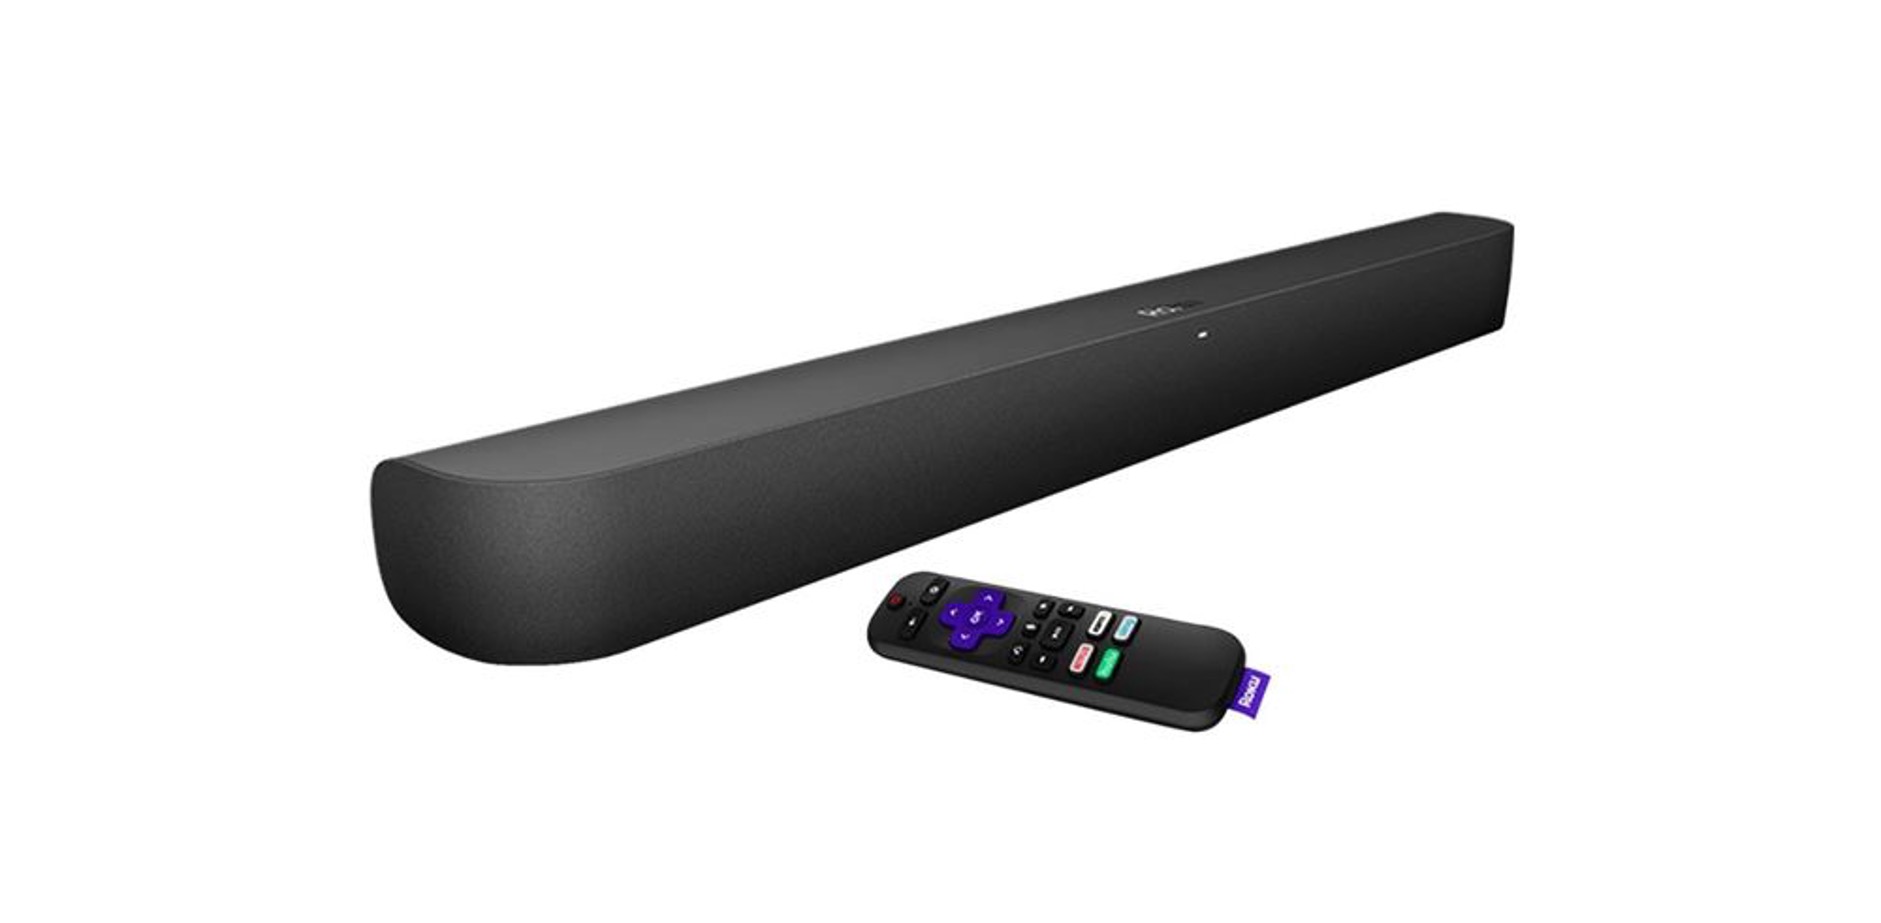
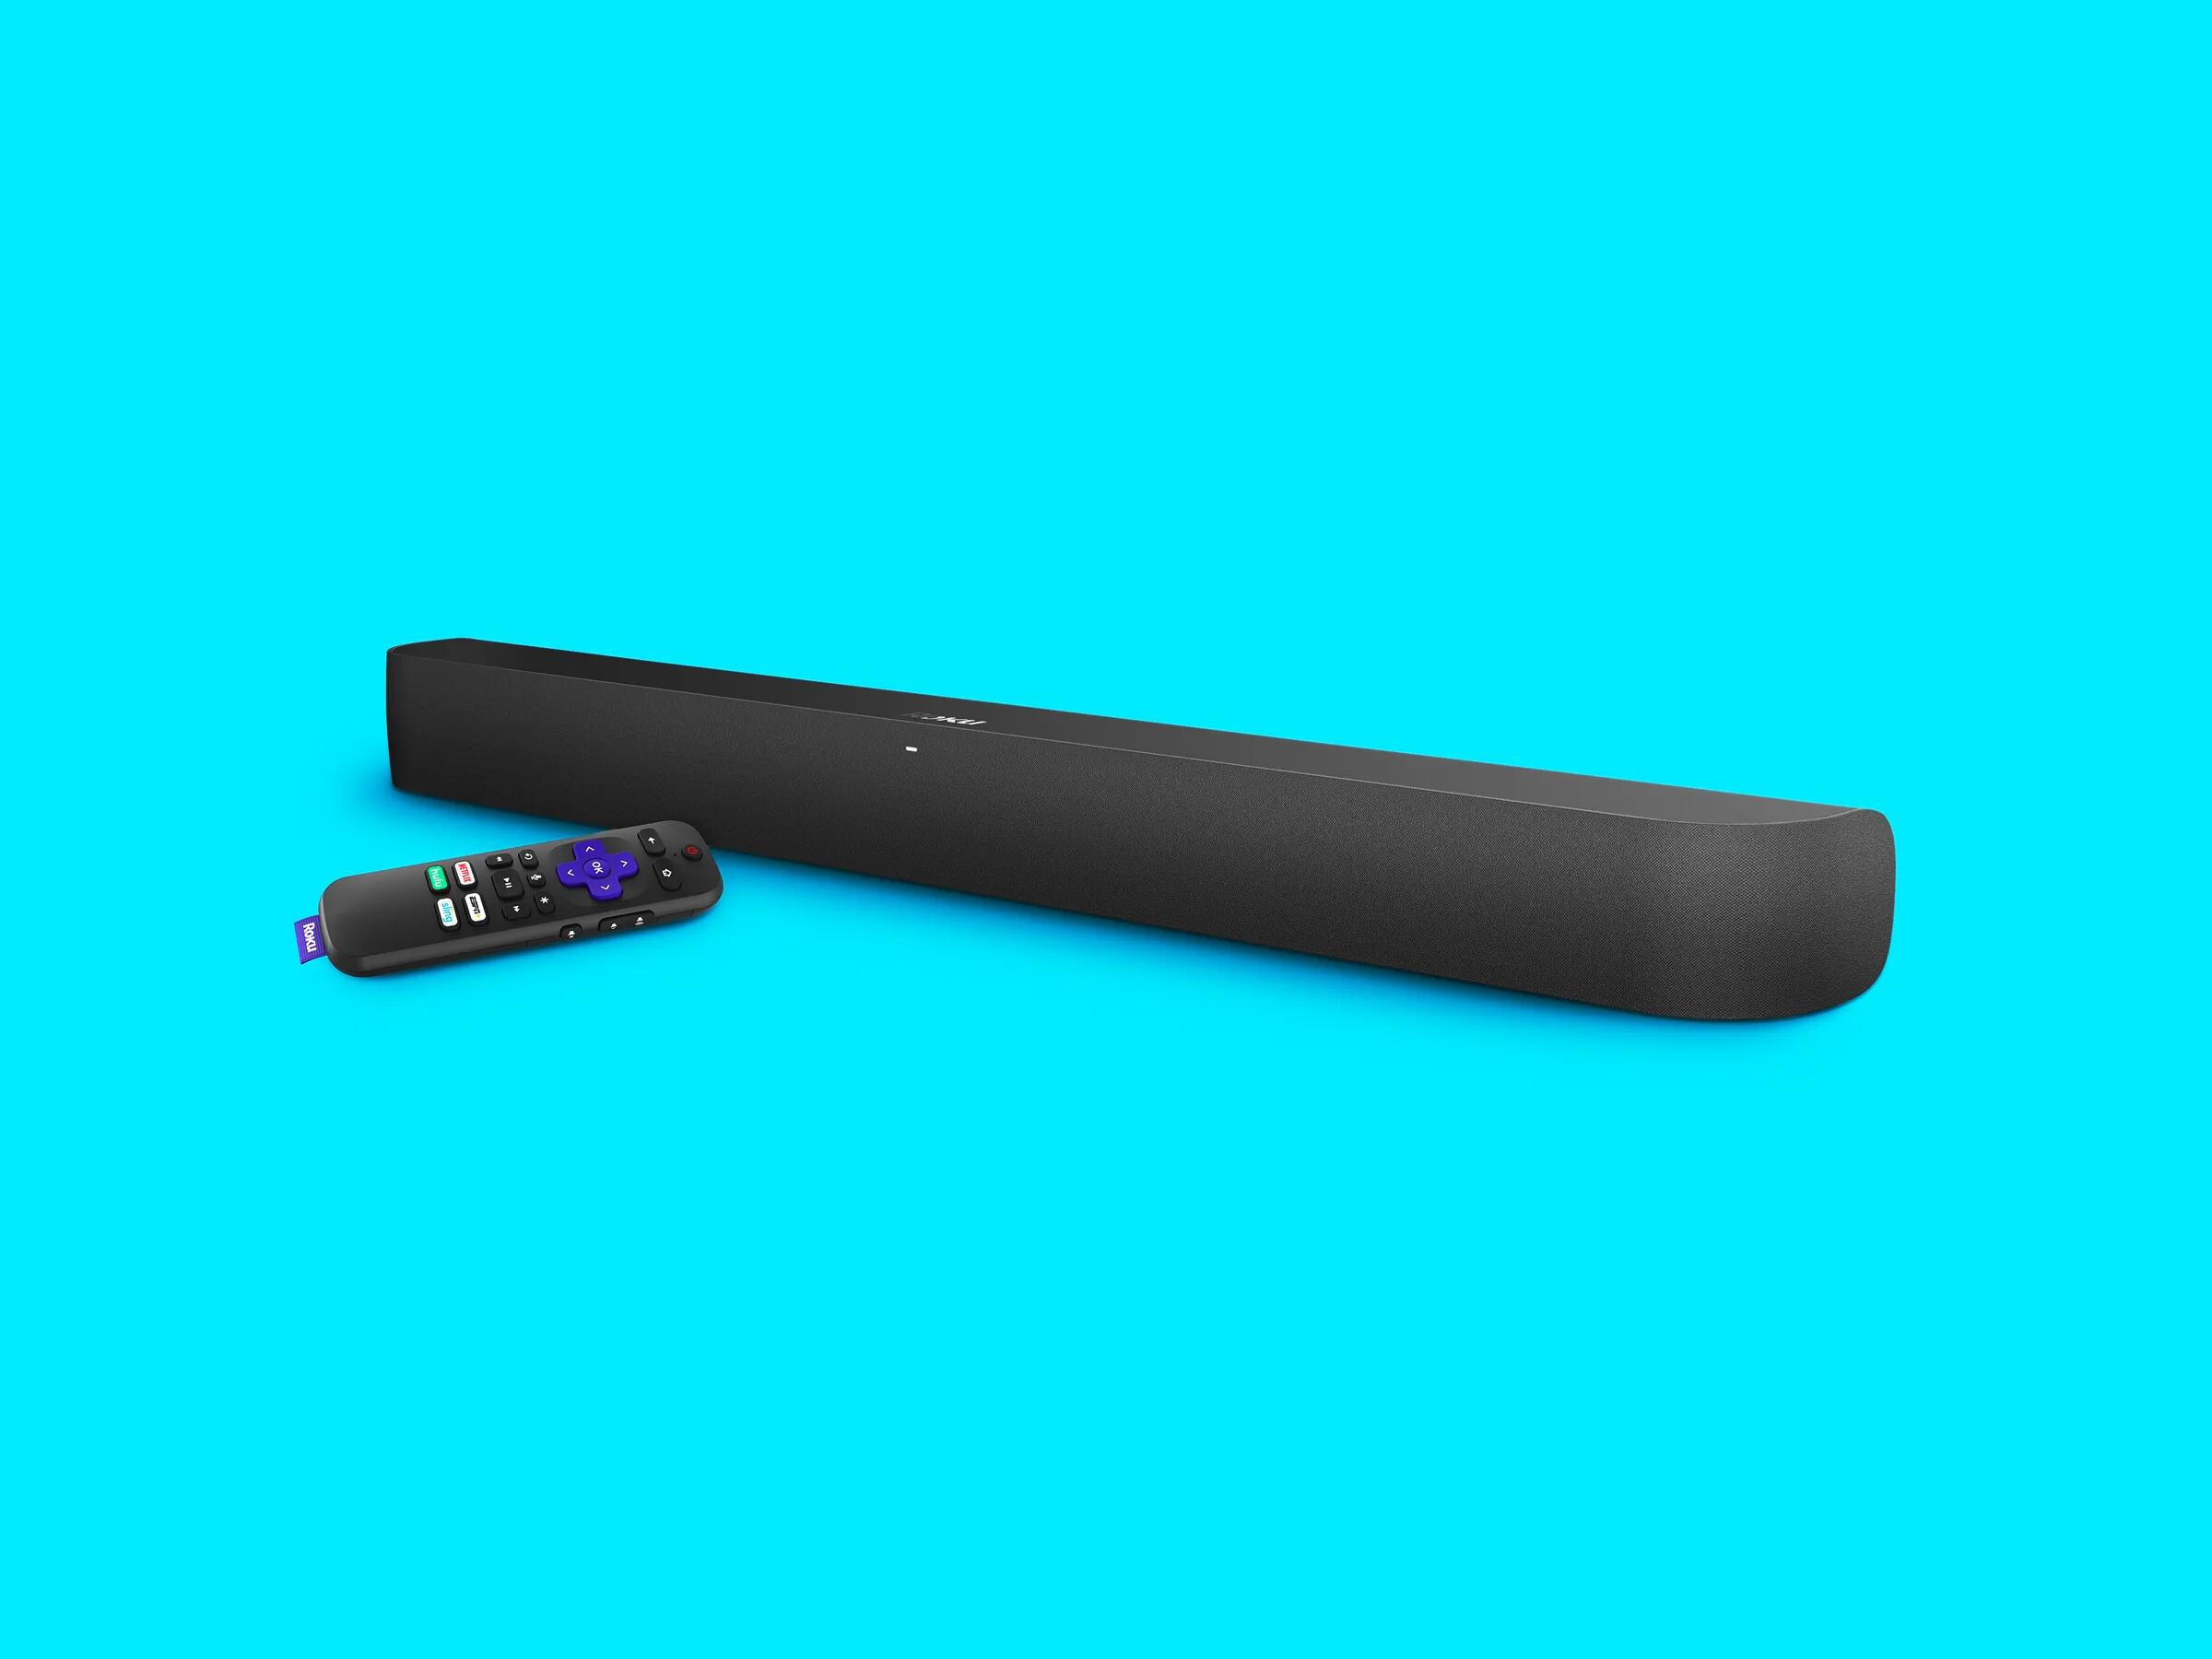
First things first, let’s begin by unboxing your Roku Soundbar. Carefully remove the device from its packaging and take a moment to appreciate its sleek and compact design. Inside the box, you’ll find the Roku Soundbar itself, along with the necessary cables and a remote control.
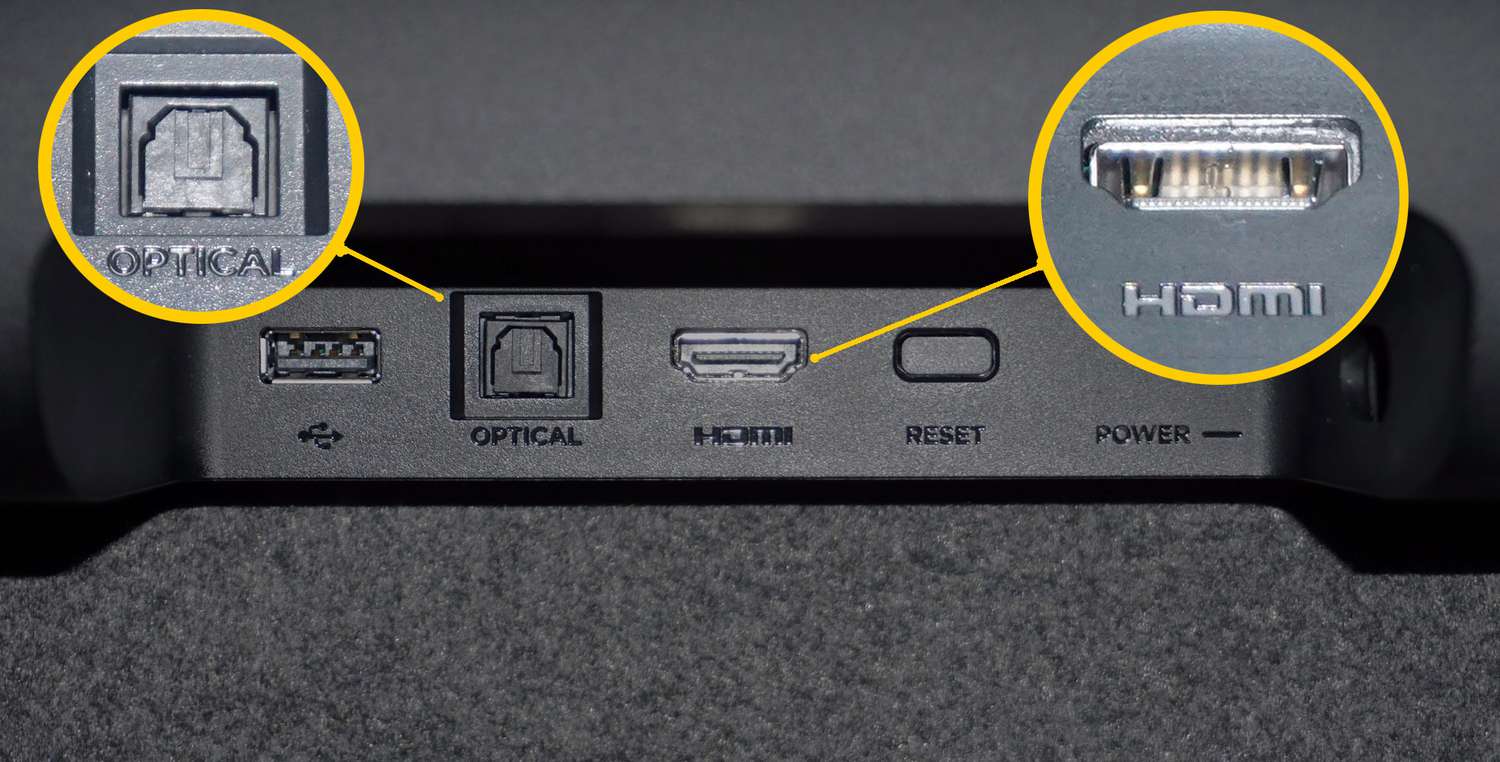
Once you have everything laid out, it’s time to start connecting your Soundbar. Begin by locating an available HDMI port on your TV. Most modern TVs have multiple HDMI ports, so choose one that is convenient for you. Connect one end of the HDMI cable to the HDMI Out port on the back of the Soundbar, and the other end to the HDMI In port on your TV.
Now, if your TV supports HDMI ARC (Audio Return Channel), it’s recommended to use this connection method for the best audio experience. Simply connect the HDMI cable to the HDMI ARC-enabled port on both the Soundbar and the TV. This will allow for two-way communication between the devices and enable features like volume control using your TV remote.
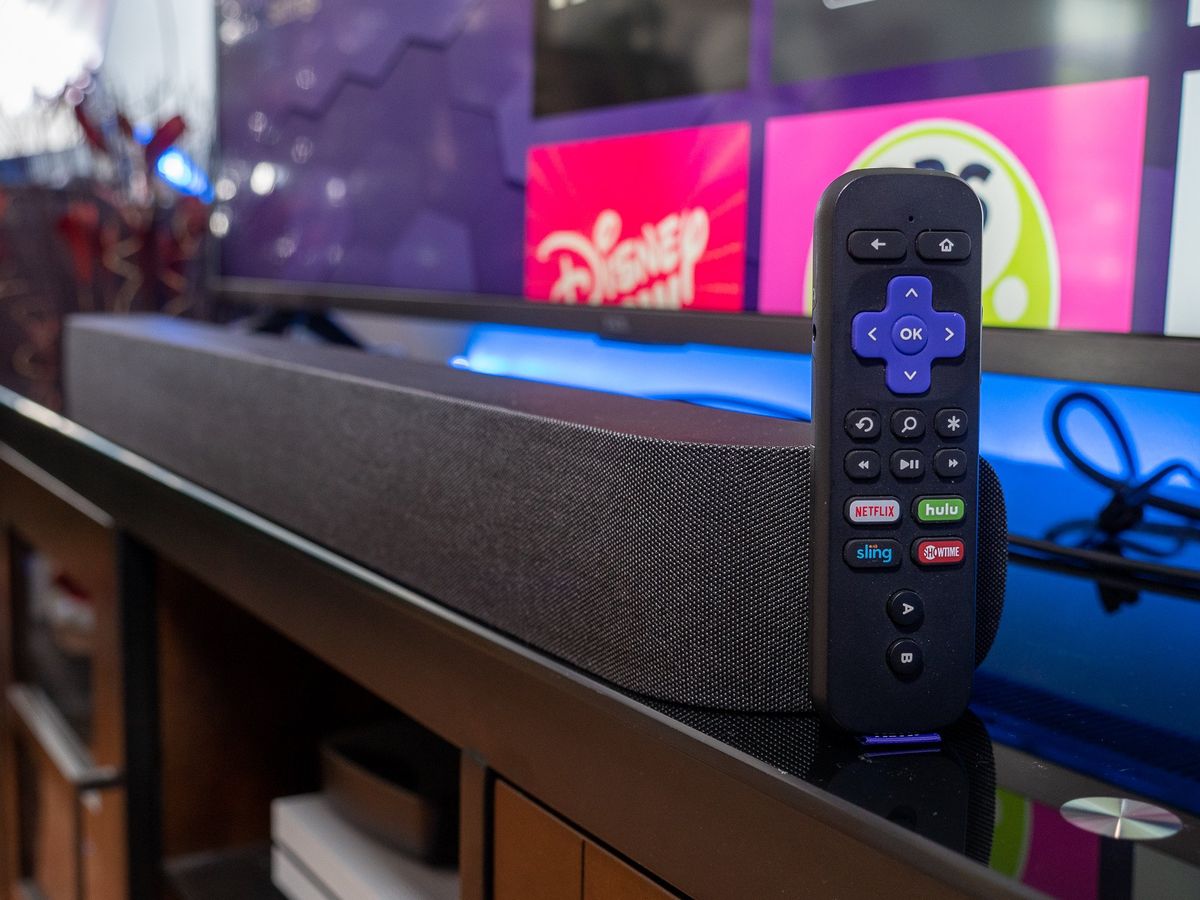
Next, connect the power adapter to the Roku Soundbar and plug it into a power outlet. The Soundbar will turn on automatically, and you’ll see the Roku logo on the display panel. Take the batteries included with the remote control and insert them into the battery compartment.
With the Roku Soundbar connected to both your TV and power, it’s time to move on to the next step: connecting the Soundbar to the internet. This will allow you to enjoy streaming services and access a wide range of audio content.
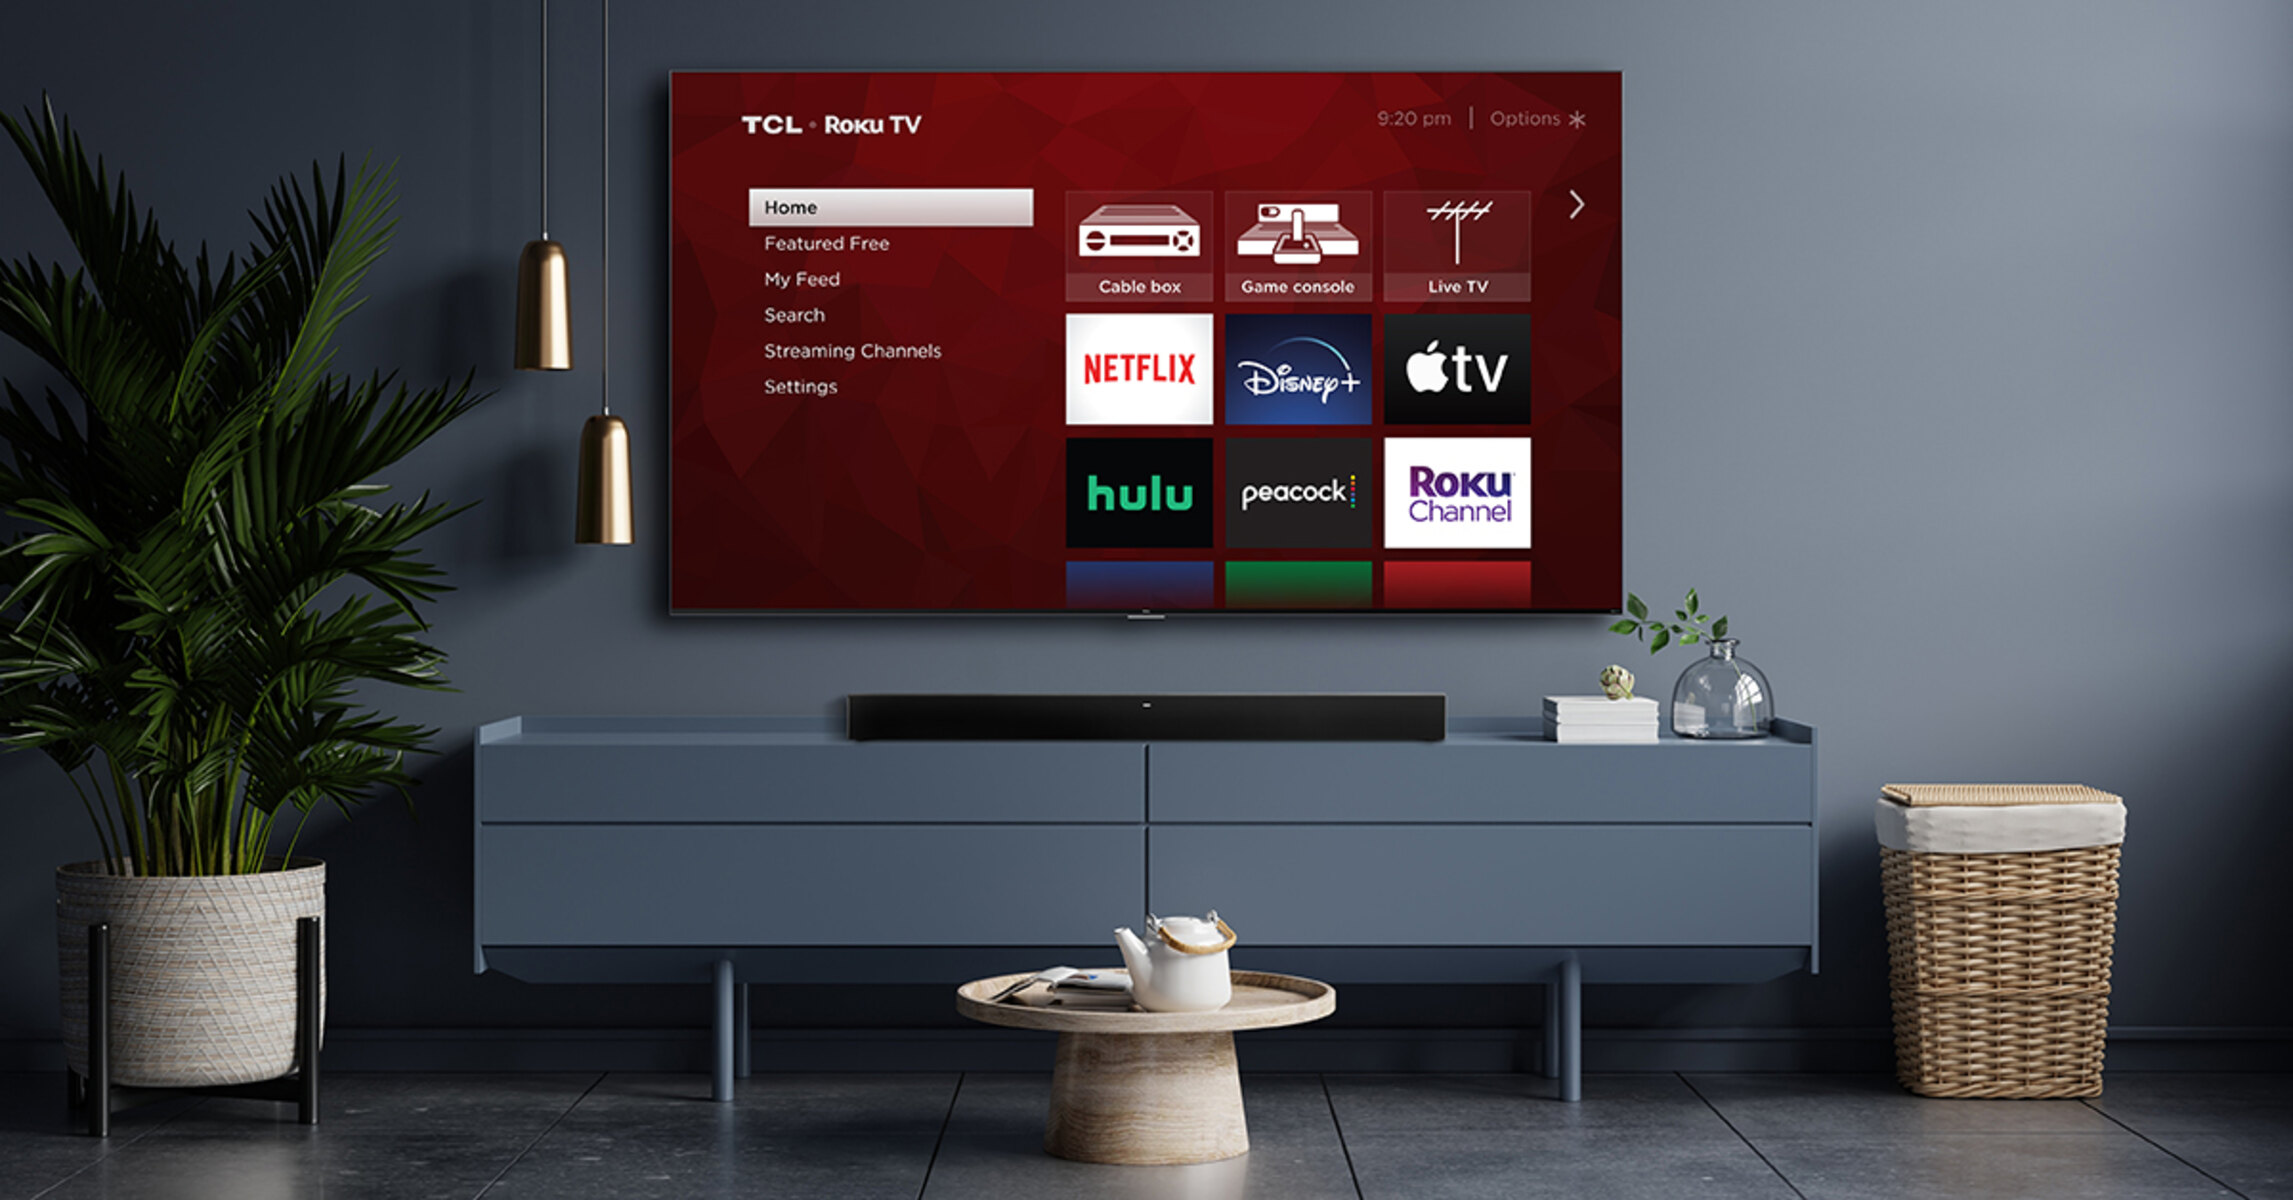
Step 2: Connecting the Soundbar to the TV
Now that you’ve successfully unboxed and connected your Roku Soundbar, it’s time to establish a connection between the Soundbar and your TV. This step is crucial for ensuring that you can enjoy high-quality audio playback from your favorite movies, shows, and music.
To connect the Soundbar to your TV, you have a few options depending on the available ports on your devices. The most common method is to use an HDMI connection. Locate an HDMI input port on your TV and connect one end of an HDMI cable to the HDMI Out port on the Soundbar. Then, insert the other end of the HDMI cable into the HDMI input port on your TV.
If your TV supports HDMI ARC (Audio Return Channel), it is recommended to utilize this feature for better audio integration. Connect the HDMI cable to the HDMI ARC-enabled ports on both the Soundbar and the TV. This will allow you to control the Soundbar volume using your TV remote and streamline the audio transmission between the devices.
In addition to HDMI, you may also have the option to connect the Soundbar to your TV using an optical audio cable or a 3.5mm audio cable. These options are ideal for older TVs or those with limited connectivity options. Simply connect one end of the cable to the corresponding port on the Soundbar and the other end to the respective audio output port on your TV.
Once you’ve made the physical connection between the Soundbar and the TV, it’s important to adjust the audio settings on both devices. Navigate to the audio settings on your TV and select the appropriate audio output settings. Ensure that the audio output is set to the connected Soundbar rather than the TV’s internal speakers.
In some cases, you may also need to enable HDMI ARC or optical audio output on your TV settings to allow for audio transmission to the Soundbar. Consult your TV’s user manual or online resources for specific instructions on adjusting the audio settings.
With the Soundbar successfully connected to your TV and the audio settings configured properly, you are now ready to move on to the next step: connecting the Soundbar to the internet for access to a vast array of streaming content.
Step 3: Connecting the Soundbar to the Internet
In order to unlock the full potential of your Roku Soundbar and access a wide range of streaming services and audio content, it is crucial to connect it to the internet. This step will allow you to stream music, podcasts, and even enjoy online radio stations right from your Soundbar.
To begin, ensure that your Soundbar is powered on and connected to your TV as outlined in the previous steps. Access the Roku home screen by using the Roku remote control that came with the Soundbar. If you haven’t set up your Roku account yet, you will be prompted to do so at this point.
Using the Roku remote, navigate to the “Settings” option on the home screen. From there, select “Network” and then “Wireless” to begin the process of connecting your Soundbar to the internet via Wi-Fi. Choose your Wi-Fi network from the list of available networks and enter the corresponding password when prompted.
If you prefer a wired connection, you can also connect an Ethernet cable from your router to the Ethernet port located on the back of the Soundbar. This method ensures a stable and reliable internet connection, which is particularly beneficial for streaming high-quality audio content.
Once you have successfully connected your Soundbar to the internet, it will automatically download and install any necessary software updates. This ensures that your Soundbar is up to date with the latest features and enhancements.
Now that your Soundbar is connected to the internet, it’s time to proceed to the next step: setting up your Roku account to personalize your streaming experience and gain access to a wide range of streaming services.
Step 4: Setting Up the Roku Account
In order to fully utilize the features and streaming capabilities of your Roku Soundbar, it is necessary to set up a Roku account. This account will allow you to personalize your streaming experience, add your favorite channels, and access a wide range of content.
To begin, turn on your TV and navigate to the Roku home screen using the Roku remote control. If you haven’t already done so, select the option to create a new Roku account. You will be prompted to provide your personal information, including your name, email address, and a unique password.
Make sure to choose a strong password to ensure the security of your Roku account. It is also recommended to enable two-factor authentication for an added layer of security. This will require you to enter a verification code sent to your registered email or mobile device whenever you log in to your Roku account.
Once you have created your Roku account, you will be prompted to link your Roku Soundbar to the account. Follow the on-screen instructions to complete the process. This will allow you to access personalized recommendations, channels, and settings on your Soundbar based on your preferences.
After linking your Soundbar to the Roku account, you will have the option to add your favorite streaming channels to your account. Roku offers a vast selection of channels, including popular streaming services like Netflix, Hulu, and Amazon Prime Video. Browse through the available channels and select the ones you wish to add to your account.
In addition to the popular streaming services, Roku also offers a variety of free channels that provide access to a wide range of content, including news, sports, and entertainment. Explore the Roku Channel Store to discover new channels that cater to your interests.
Once you have added your preferred channels to your Roku account, it’s time to move on to the next step: activating your Soundbar to ensure that it is fully functional and ready for use.
Step 5: Activating the Soundbar
Now that you have set up your Roku account and added your favorite channels, it’s time to activate your Soundbar and ensure that it is ready for use. Activating your Soundbar involves linking it to your Roku account and verifying your activation code.
To begin the activation process, turn on your TV and select the Roku home screen using the remote control. Navigate to the “Settings” option and then select “System”. From there, choose “About” and locate the “Device Activation” option. Follow the on-screen instructions to initiate the activation process.
During the activation, you will be prompted to visit the Roku activation website using a computer or mobile device. Open a web browser and enter the URL provided on the TV screen. You will be asked to enter the activation code displayed on the TV screen.
Once you have entered the activation code, click on the “Submit” or “Activate” button. This will link your Soundbar to your Roku account and complete the activation process. It may take a few moments for the activation to be processed, so be patient.
Once the activation is successful, your Soundbar will be ready to use. You can now start enjoying your favorite streaming channels, music, and other audio content on your Roku Soundbar.
If you encounter any issues during the activation process, double-check that you have entered the correct activation code and ensure that your Soundbar is connected to the internet. If you continue to experience difficulties, refer to the Roku support website or contact customer support for further assistance.
Now that your Soundbar is activated, you can move on to the next step: adjusting the Soundbar settings and optimizing the audio output for an immersive and enhanced listening experience.
Step 6: Adjusting Soundbar Settings and Audio Output
Now that your Roku Soundbar is activated and ready to use, it’s time to adjust the settings and optimize the audio output according to your preferences. The Soundbar offers various settings that allow you to enhance your viewing and listening experience.
Using the Roku remote control, navigate to the “Settings” option on the Roku home screen. From there, select “Audio” to access the Soundbar’s audio settings. Here, you can adjust the volume level, bass, treble, and other audio parameters to achieve the desired sound quality.
Experiment with these settings to find the perfect balance that suits your preferences. Increase the bass for a more impactful low-end response or boost the treble for crisper high frequencies. Take the time to adjust each parameter to your liking and make note of the settings that provide the best audio experience for you.
Additionally, if your Soundbar supports virtual surround sound or other audio enhancement features, you can enable or adjust them in the audio settings. These features can provide a more immersive audio experience, simulating the effect of a multi-speaker setup.
Furthermore, you can also explore the advanced audio settings on your TV to configure the audio output specifically for the connected Soundbar. Check if your TV has options for audio modes, equalizers, or any other audio enhancements that can be customized to further optimize the audio performance of your Soundbar.
Remember to run audio tests and play different types of media content to ensure that the settings you’ve adjusted provide a satisfactory audio experience across various genres, such as movies, music, and sports.
Lastly, keep in mind that room acoustics can greatly impact the sound quality. Consider the placement of the Soundbar in your room, ensuring it is not obstructed by any objects and allowing the sound to propagate freely. Experiment with different placements to find the optimal position that delivers the best sound performance.
With the audio settings adjusted and optimized, you can now sit back, enjoy your favorite content, and indulge in a remarkable audio experience with your Roku Soundbar.
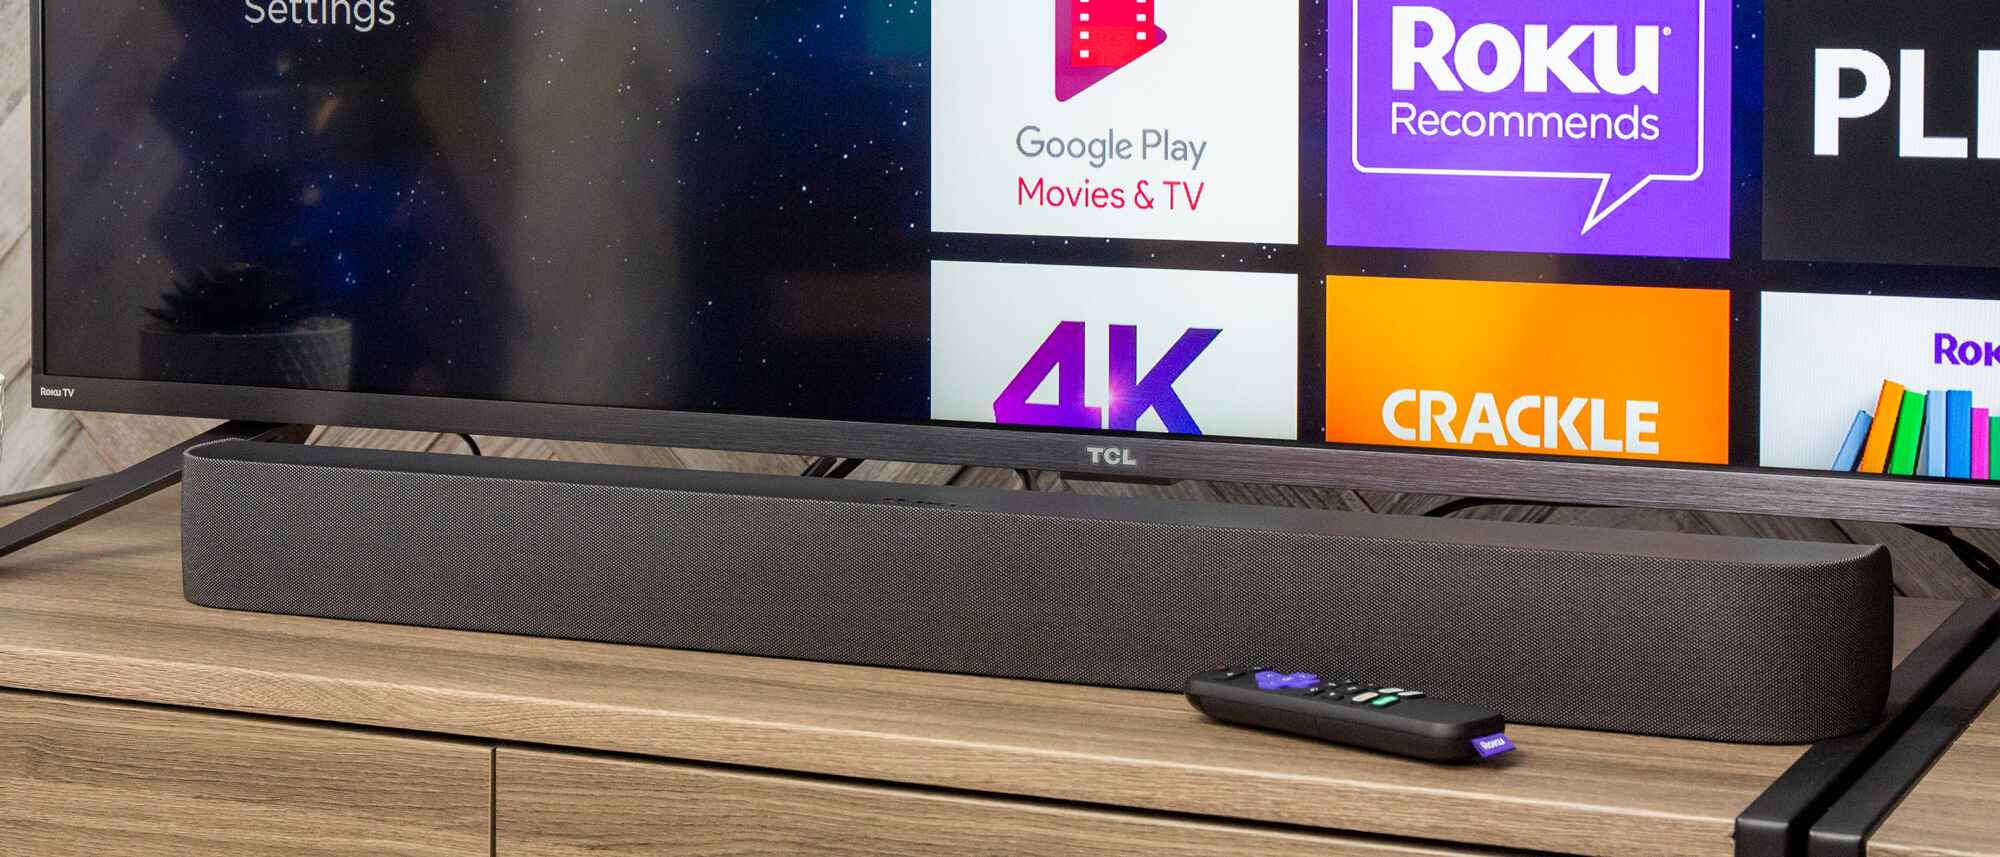
Step 7: Enhancing Soundbar Performance with Roku Features
While the Roku Soundbar already offers outstanding audio performance, you can further enhance its capabilities by exploring the various features and functionalities provided by Roku. These features can take your entertainment experience to new heights and provide added convenience and customization options.
One of the key features of Roku is the vast selection of streaming channels available. From popular streaming services like Netflix and Hulu to niche channels catering to specific interests, you can discover a multitude of content options to suit your preferences. Browse through the Roku Channel Store to find new channels and add them to your account.
Additionally, Roku provides a unified search function that allows you to search for your favorite movies, TV shows, or actors across multiple streaming platforms. Simply enter your search query and Roku will display the available options, making it easier to find and access the content you want to watch.
Roku also offers a feature called “Roku Feed” that enables you to follow movies and TV shows, receiving notifications when new episodes or related content become available. This is a handy feature to stay up-to-date with your favorite shows and never miss an episode.
If you have other Roku devices, such as a Roku streaming stick or a Roku-enabled TV, you can create a multi-room audio setup by linking them together. This allows you to play synchronized audio across different rooms, immersing yourself in a seamless audio experience throughout your home.
Furthermore, Roku offers a remote control app for smartphones and tablets, allowing you to control your Soundbar and access additional features through your mobile device. This can enhance convenience and provide an alternate control option if you misplace the physical remote.
Lastly, Roku allows you to personalize your Soundbar experience by creating multiple user profiles. This is especially useful if multiple household members share the same Roku account. Each user can have their own profile with customized channel lineups, preferences, and recommendations.
Explore these Roku features and make the most out of your Soundbar. Whether it’s discovering new channels, using the unified search function, or creating user profiles, these features can greatly enhance your overall streaming and audio experience.
Step 8: Troubleshooting Common Issues
While the setup and activation process for the Roku Soundbar is typically straightforward, you may encounter some common issues along the way. Here are a few troubleshooting tips to help you resolve any potential problems:
1. No sound or low sound: Ensure that the volume on the Soundbar, TV, and streaming device is turned up. Check the audio settings on both the Soundbar and the TV to confirm that the correct audio output is selected. Also, verify that the cables are securely connected and undamaged.
2. Remote control issues: If the remote control is not functioning properly, check that the batteries are inserted correctly and have sufficient charge. If needed, replace the batteries. You can also try resetting the remote by removing the batteries, pressing all the buttons for a few seconds, and then reinserting the batteries.
3. Connectivity issues: If your Soundbar is not connecting to the internet, ensure that your Wi-Fi network is functioning properly. Check the password and network settings on both the Soundbar and your wireless router. If using a wired Ethernet connection, confirm that the cable is securely connected and undamaged.
4. Software updates: If your Soundbar is not performing optimally, check for any available software updates. Navigate to the “Settings” menu on the Roku home screen and select “System” followed by “Software Update.” If an update is available, follow the on-screen instructions to download and install it.
5. Sound synchronization issues: If you notice that the audio is out of sync with the video, adjust the sound delay settings on your Soundbar or TV. Refer to the user manual or online resources for instructions on how to adjust the audio synchronization settings.
6. HDMI-ARC issues: If you are using the HDMI-ARC connection and experiencing issues, ensure that your TV and Soundbar both support HDMI-ARC and that the HDMI cable is securely connected. You may also need to enable HDMI-ARC in the TV’s settings.
If you are still experiencing issues after attempting these troubleshooting steps, it is recommended to consult the Roku support website or contact customer support for further assistance. They can provide specific guidance based on your Soundbar model and help resolve any persistent issues.
By troubleshooting common issues, you can ensure that your Roku Soundbar continues to deliver exceptional audio performance and a seamless streaming experience.
Conclusion
Congratulations! You have successfully set up your Roku Soundbar and are now ready to immerse yourself in a remarkable audio experience. Through the step-by-step process outlined in this guide, you unboxed and connected the Soundbar, connected it to your TV and the internet, set up your Roku account, activated the Soundbar, adjusted the audio settings, explored Roku features, and troubleshooted common issues.
The Roku Soundbar offers superior audio quality, allowing you to enjoy your favorite movies, shows, and music with enhanced sound clarity and depth. By connecting it to your TV and the internet, you have unlocked a world of streaming possibilities, accessing a wide range of content and channels to cater to your preferences.
Remember to explore the various features offered by Roku, such as personalized channel recommendations, unified search, multi-room audio, and user profiles. These features provide additional convenience and customization options to enhance your overall streaming experience.
If you encounter any difficulties along the way, refer back to the troubleshooting section for guidance on resolving common issues. Additionally, don’t hesitate to reach out to Roku support or consult their online resources for further assistance.
Now that you have completed the setup process and familiarized yourself with the various features and functionalities of your Roku Soundbar, it’s time to sit back, relax, and enjoy a truly immersive audio experience. Grab some popcorn, dim the lights, and get ready to indulge in your favorite entertainment content like never before!