Introduction
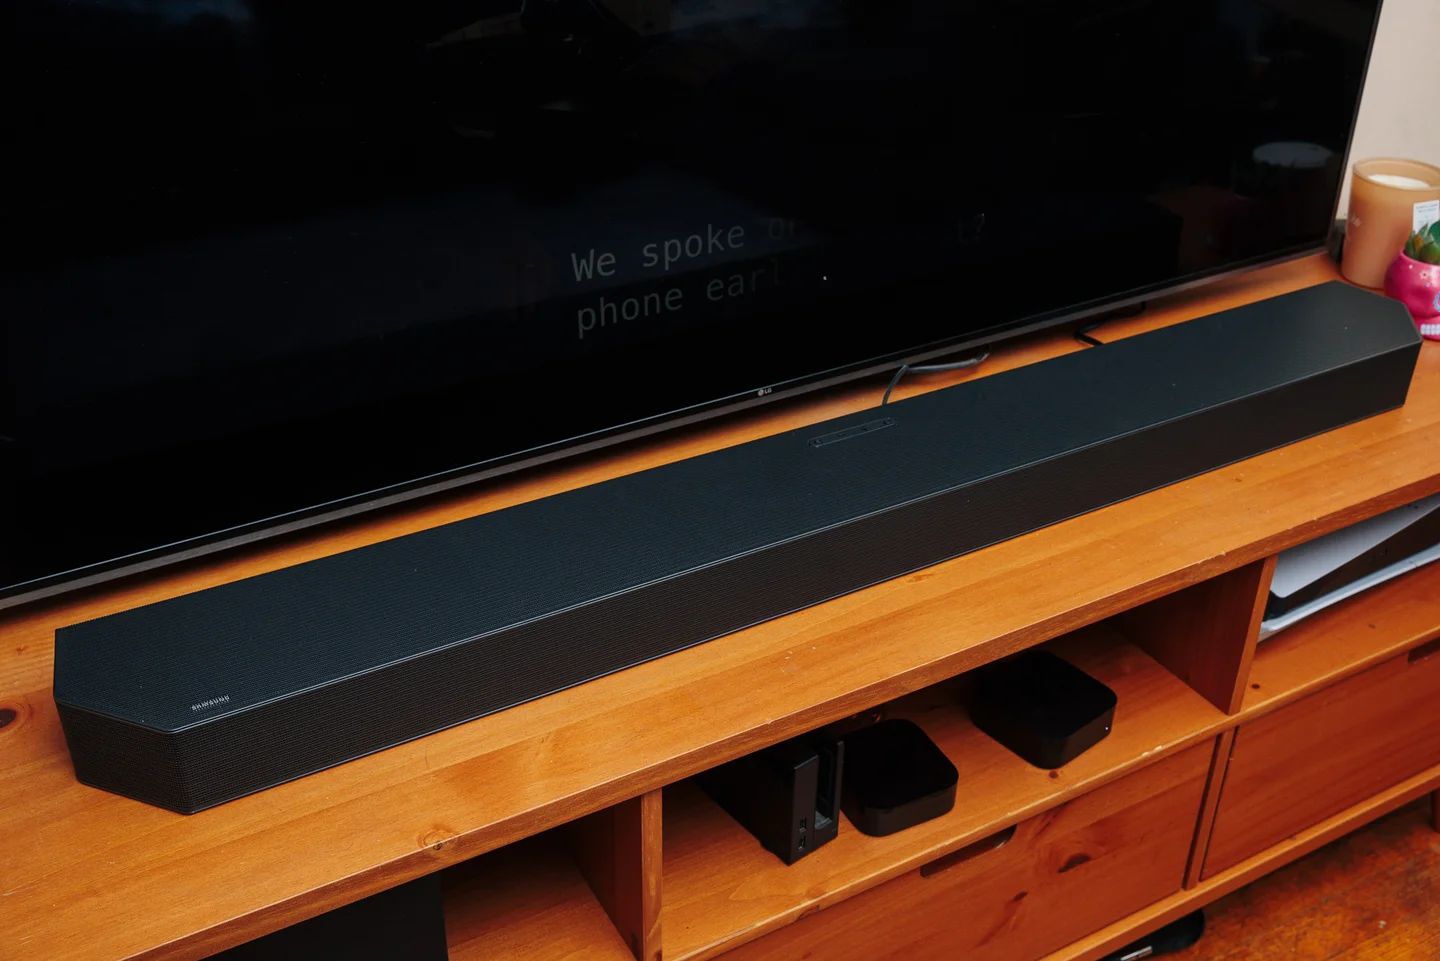
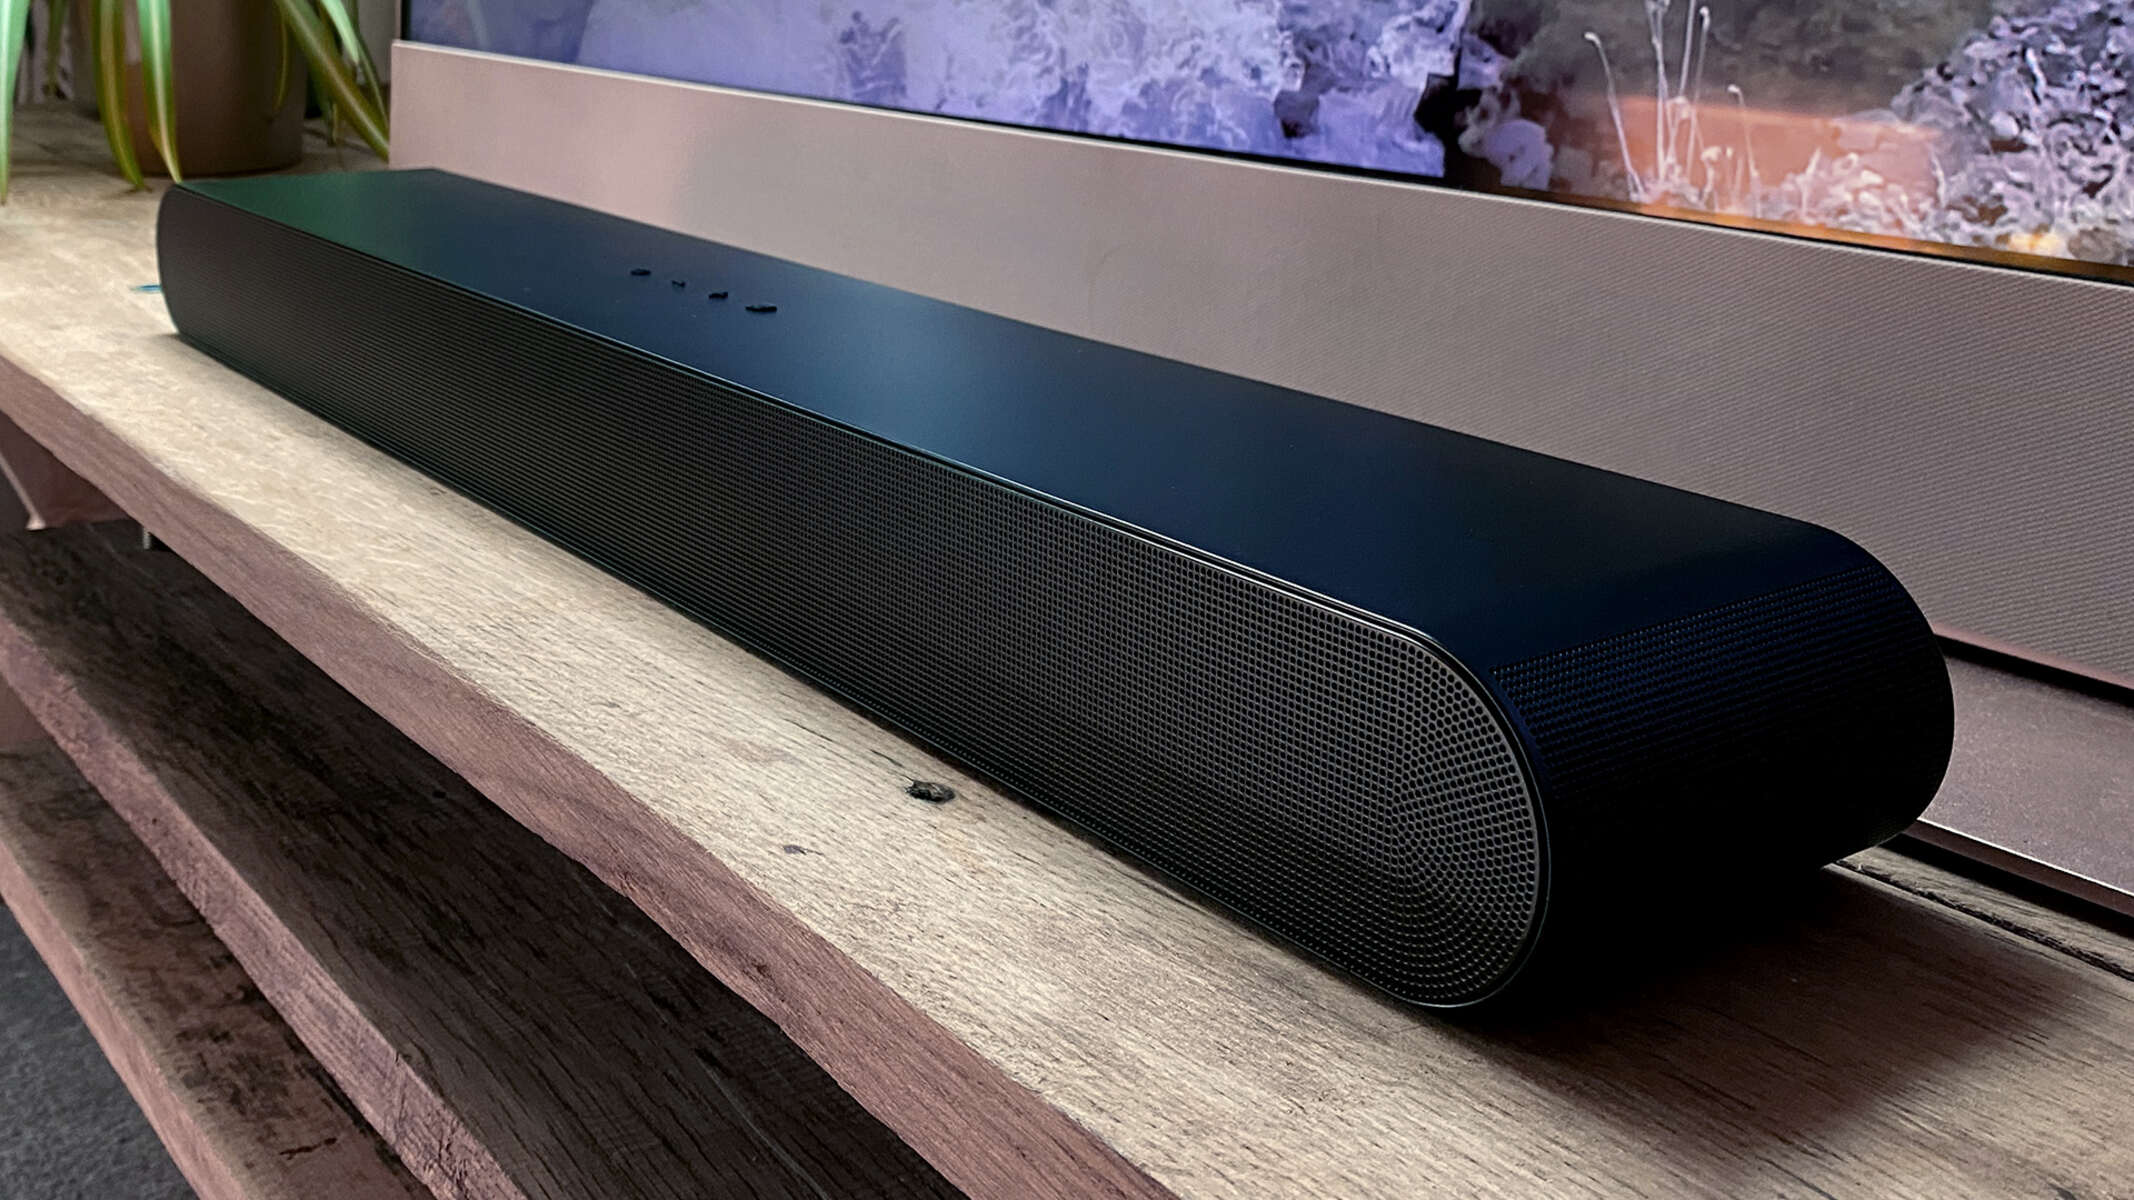
Welcome to the creative and dynamic world of Samsung soundbars! These sleek and stylish audio devices are designed to enhance your home entertainment experience by delivering superior sound quality. While connecting your soundbar to your TV might be a straightforward process, you may be wondering how to take advantage of its Wi-Fi capabilities.
With Wi-Fi connectivity, your Samsung soundbar opens up a whole new realm of possibilities. You can stream your favorite music wirelessly, access online content, control your soundbar using your smartphone, and much more. By connecting your soundbar to Wi-Fi, you can enjoy a seamless and hassle-free audio experience.
But don’t worry, setting up your Samsung soundbar with Wi-Fi is easier than you might think. In this article, we will guide you through a step-by-step process to connect your Samsung soundbar to Wi-Fi. Whether you’re a tech-savvy individual or just starting with smart devices, our instructions will help you get your soundbar online in no time.
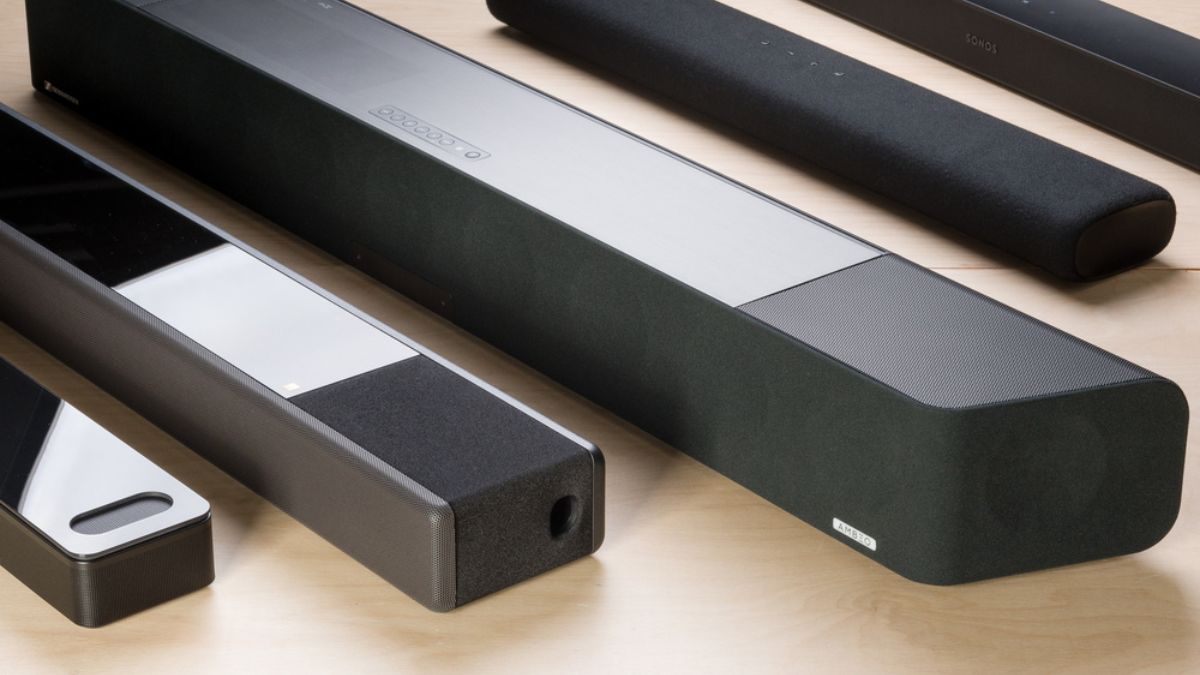
Before we dive into the steps, it’s important to ensure that your soundbar is compatible with Wi-Fi. Most modern Samsung soundbars come equipped with Wi-Fi capabilities, but it’s always a good idea to check the product specifications or user manual to confirm. Once you’ve confirmed compatibility, you’re ready to proceed with the setup process.
So, grab your phone or tablet, get ready to explore the world of wireless audio, and let’s get started on connecting your Samsung soundbar to Wi-Fi!
Step 1: Ensure your soundbar is compatible with Wi-Fi
Before you begin the process of connecting your Samsung soundbar to Wi-Fi, it is essential to make sure that your soundbar is equipped with Wi-Fi capabilities. While most modern Samsung soundbars come with built-in Wi-Fi, it’s always a good idea to double-check the product specifications or user manual to confirm this.
If your soundbar is not Wi-Fi capable, you may need to consider upgrading to a model that supports wireless connectivity. Having a Wi-Fi-enabled soundbar allows you to enjoy the convenience and versatility of wireless audio streaming, online content access, and seamless integration with other smart devices.
If your soundbar does have Wi-Fi capabilities, make sure it is powered off and disconnected from the power source before proceeding to the next step. It is important to start the setup process with a clean slate to ensure a smooth and successful connection.
Once you’ve determined that your Samsung soundbar is compatible with Wi-Fi and have powered it off, you’re ready to move on to the next step of the setup process. In the following steps, we will guide you through the process of connecting your soundbar to Wi-Fi using the Samsung SmartThings app. Let’s get started!
Step 2: Connect your soundbar to a power source
Before you can start connecting your Samsung soundbar to Wi-Fi, you need to ensure it is properly connected to a power source. This is a crucial step to power up your device and make it ready for the setup process.
Locate the power cable that came with your soundbar and plug one end into the power port on your soundbar. Then, plug the other end into a nearby electrical outlet or power strip. Ensure that the power outlet is easily accessible and in close proximity to your soundbar for convenience.
Once you have securely connected your soundbar to the power source, turn it on using the power button located either on the soundbar itself or on the remote control. You should see the power indicator light up, indicating that your soundbar is receiving power.
It is important to note that different soundbar models may have slightly different power connection methods. Some soundbars may have an integrated power cable, while others may have a detachable or AC adapter-style connection. Refer to the user manual for your specific soundbar model for detailed instructions on how to connect it to a power source.
After connecting your soundbar to a power source and turning it on, give it a few moments to initialize. During this time, the soundbar will go through a startup sequence and self-calibration process. You may see a display or LED lights on the front panel of the soundbar indicating the status.
Once your soundbar has properly powered up, you’re one step closer to connecting it to Wi-Fi. In the next step, we will guide you through the process of downloading the Samsung SmartThings app, which is essential for setting up the connection. Let’s move on!
Step 3: Download the Samsung SmartThings app
To proceed with the setup and connect your Samsung soundbar to Wi-Fi, you will need to download the Samsung SmartThings app. The SmartThings app is a versatile and user-friendly tool that allows you to control and manage your Samsung smart devices, including your soundbar.
Here’s how you can download the Samsung SmartThings app:
- Open the app store on your mobile device. The app store is typically pre-installed on your device and can be accessed from your home screen.
- In the search bar, type “Samsung SmartThings” and press enter or search.
- Select the official Samsung SmartThings app from the search results.
- Tap on the “Install” or “Get” button to begin the download and installation process. The app will start downloading, and the progress will be displayed on your screen.
- Once the download is complete, tap on the app icon to open it.
If you already have the Samsung SmartThings app installed on your device, ensure that it is updated to the latest version. Keeping the app up-to-date will ensure optimal compatibility with your soundbar and access to the latest features and enhancements.
It’s important to note that the Samsung SmartThings app is available for both Android and iOS devices. You can download and install it on your smartphone or tablet, depending on your preference and the device you frequently use for controlling your smart devices.
By downloading the Samsung SmartThings app, you’re taking a significant step towards unlocking the full potential of your soundbar. In the next step, we will guide you on connecting your phone or tablet to Wi-Fi, which is crucial for the setup process. Let’s move on to step 4!
Step 4: Connect your phone or tablet to Wi-Fi
Before you can proceed with connecting your Samsung soundbar to Wi-Fi, it is important to ensure that your phone or tablet is connected to a stable Wi-Fi network. This step is crucial as it will enable your device to communicate with the soundbar and establish a wireless connection.
Follow these steps to connect your phone or tablet to Wi-Fi:
- Unlock your phone or tablet and access the settings menu. This can usually be done by tapping on the gear icon located on your home screen or app drawer.
- In the settings menu, locate and tap on “Wi-Fi” or “Connections”.
- The Wi-Fi settings page will display a list of available networks in your area. Tap on the network you want to connect to. If your home network is hidden, you may need to enter the network name manually.
- If the network is secured with a password, you will be prompted to enter it. Carefully enter the password using the on-screen keyboard and tap “Connect” or “Join”.
- Your phone or tablet will now attempt to connect to the selected Wi-Fi network. Once the connection is established, you will see a Wi-Fi icon displayed in the status bar at the top of your device’s screen.
Ensure that you have a stable and strong Wi-Fi signal on your phone or tablet before proceeding to the next step. Weak or unstable Wi-Fi signal can hinder the setup process and cause connectivity issues with your soundbar.
By successfully connecting your phone or tablet to Wi-Fi, you are now ready to proceed with the next step of connecting your Samsung soundbar to Wi-Fi using the Samsung SmartThings app. In step 5, we will guide you through the process of opening the SmartThings app on your device. Let’s move forward!
Step 5: Open the Samsung SmartThings app
With your phone or tablet successfully connected to Wi-Fi, it’s time to open the Samsung SmartThings app. This powerful application will serve as your control center for connecting and managing your Samsung soundbar and other smart devices.
Follow these steps to open the Samsung SmartThings app:
- Locate the SmartThings app icon on your device’s home screen or app drawer. It has a blue and white icon with the word “SmartThings” displayed on it.
- Tap on the app icon to launch the Samsung SmartThings app. The app will open and display the main dashboard, where you can view and control all your connected devices.
If you cannot find the SmartThings app on your device, check to ensure that you have successfully downloaded and installed it from the app store. If you have the app installed but cannot locate it, you can try using the search function on your device to locate the app.
After opening the SmartThings app, it may prompt you to log in or create an account. If you already have an account, enter your credentials and log in. If you don’t have an account, follow the on-screen instructions to create one. An account allows you to access additional features and benefits of the SmartThings ecosystem.
Once you have successfully logged in or created an account, you are now ready to proceed to the next step: adding your Samsung soundbar to the SmartThings app. In step 6, we will guide you through the process of adding your soundbar to the app. Let’s keep the setup process going!
Step 6: Add your soundbar to the app
Now that you have the Samsung SmartThings app open on your phone or tablet, it’s time to add your Samsung soundbar to the app. This step will allow the app to recognize and establish a connection with your soundbar, enabling you to control it through the app and access its smart features.
Follow these steps to add your soundbar to the SmartThings app:
- On the main dashboard of the SmartThings app, tap on the “Add Device” or the “+” icon. It is usually located at the top or bottom of the screen.
- A list of available devices will appear. Scroll through the list or use the search function to find and select “Soundbar” or “Audio” under the “Add a Device” section.
- The app will now guide you through a step-by-step process to add your soundbar. Follow the on-screen prompts and instructions carefully.
- In most cases, the app will search for nearby compatible devices automatically. Make sure your soundbar is powered on and in close proximity to your phone or tablet for a seamless connection.
- Once the app detects your soundbar, select it from the list of available devices to proceed with the setup process.
During this process, the SmartThings app may prompt you to grant certain permissions or access to your soundbar. Follow the on-screen instructions and make sure to grant the necessary permissions for a smooth setup experience.
After successfully adding your soundbar to the SmartThings app, it will be displayed on the main dashboard of the app. You can now control and configure your soundbar settings directly from the app, giving you convenient access to personalized audio preferences and smart features.
In the next step, we will guide you through connecting your soundbar to Wi-Fi through the SmartThings app. Let’s proceed to step 7 and complete the setup process!
Step 7: Connect your soundbar to Wi-Fi through the app
Now that your Samsung soundbar is successfully added to the SmartThings app, it’s time to connect it to your Wi-Fi network. By establishing this connection, you’ll be able to enjoy the full benefits of a wireless soundbar experience, including streaming music, accessing online content, and controlling your soundbar with ease.
Follow these steps to connect your soundbar to Wi-Fi through the SmartThings app:
- Open the SmartThings app on your phone or tablet and navigate to the device dashboard where your soundbar is listed.
- Tap on the soundbar device to access its settings and control page.
- Look for Wi-Fi or Network settings within the soundbar settings menu. The location and wording may vary depending on your soundbar model.
- Select the option to connect to a Wi-Fi network. The app will display a list of available Wi-Fi networks in your area.
- Choose your Wi-Fi network from the list and enter the password if prompted.
- The app will attempt to establish a connection between your soundbar and the selected Wi-Fi network. This process may take a few moments.
- Once the connection is successful, the SmartThings app will display a confirmation message, indicating that your soundbar is now connected to Wi-Fi.
- Test the connection by playing some audio through your soundbar to ensure it’s working correctly.
It’s important to have a stable and reliable Wi-Fi signal during this process to ensure a successful connection. If you experience any issues, try moving your soundbar closer to the Wi-Fi router or resetting the router to improve the signal strength.
With your soundbar now connected to Wi-Fi through the SmartThings app, you have completed the setup process. Congratulations! You can now enjoy the convenience and flexibility of a wireless audio experience.
In the next step, we’ll provide some final tips to ensure you make the most out of your newly connected soundbar. Let’s move on to step 8!
Step 8: Enjoy your wireless soundbar experience
Congratulations! You have successfully connected your Samsung soundbar to Wi-Fi and are now ready to enjoy a seamless and immersive wireless audio experience. Here are some final tips to help you make the most out of your newly connected soundbar:
1. Explore the SmartThings app: Take some time to navigate through the SmartThings app and explore its features. You can customize sound settings, create audio presets, and access additional smart features for an enhanced audio experience.
2. Stream music wirelessly: Connect your favorite music streaming apps to your soundbar and enjoy streaming high-quality music wirelessly. Control your music directly from the SmartThings app, or use voice commands with compatible virtual assistants.
3. Access online content: Some Samsung soundbars come with built-in apps that allow you to access popular streaming services, internet radio, and podcasts. Discover a world of entertainment at your fingertips.
4. Control with voice commands: If your soundbar supports voice control, take advantage of this feature to control your soundbar using popular virtual assistants like Amazon Alexa or Google Assistant. Simply use voice commands to play music, adjust volume, and more.
5. Create a multi-room audio setup: If you have multiple Samsung soundbars or other Samsung smart speakers, you can create a multi-room audio setup using the SmartThings app. Play synchronized audio throughout your home for a truly immersive experience.
6. Stay updated: Keep your soundbar firmware up-to-date by regularly checking for updates through the SmartThings app. Firmware updates can bring performance improvements, bug fixes, and new features to enhance your audio experience.
7. Experiment with sound modes and settings: Play around with different sound modes and settings available on your soundbar to find the perfect audio configuration for your preferences. Adjust bass, treble, equalizer settings, and more to achieve the best sound quality.
With these tips in mind, you’re all set to take full advantage of your wireless soundbar. Enjoy a captivating audio experience filled with rich, high-quality sound and seamless connectivity. Sit back, relax, and immerse yourself in a world of entertainment.
Conclusion
Congratulations on successfully connecting your Samsung soundbar to Wi-Fi! You have taken a significant step towards enjoying a seamless and immersive wireless audio experience. With Wi-Fi connectivity, you can now stream music, access online content, and control your soundbar with ease.
Throughout this guide, we have walked you through the step-by-step process of setting up your soundbar with Wi-Fi using the Samsung SmartThings app. From ensuring compatibility and connecting to a power source to downloading the app, adding your soundbar, and connecting it to Wi-Fi, you have followed a comprehensive and user-friendly process.
By connecting your soundbar to Wi-Fi, you can now explore the features and benefits offered by the SmartThings app. Customize your sound settings, stream your favorite music wirelessly, access online content, and control your soundbar using your smartphone or voice commands with compatible virtual assistants.
Remember to stay updated by regularly checking for firmware updates through the SmartThings app. This will ensure you have the latest features and enhancements for your soundbar.
Enjoy experimenting with different sound modes and settings to optimize the audio experience to your preferences. You can create a personalized multi-room audio setup with multiple Samsung soundbars or speakers through the SmartThings app to surround yourself with captivating sound throughout your home.
Now, it’s time to sit back, relax, and immerse yourself in a world of exceptional audio quality and wireless convenience. Get ready to transform your home entertainment experience with your newly connected Samsung soundbar.
Thank you for following this guide, and we hope you enjoy your wireless soundbar experience to the fullest!