Introduction
Welcome to our guide on how to clear up RAM on your Mac. As you use your Mac for various tasks, the random access memory (RAM) can get cluttered and overloaded, leading to decreased performance and sluggishness. This can be frustrating, especially when you’re working on important projects or trying to run resource-intensive applications.
Fortunately, there are several steps you can take to free up RAM on your Mac and optimize its performance. In this article, we will walk you through various methods and techniques that will help you clear up RAM and get your Mac running smoothly again.
Before we dive into the specific steps, it’s important to understand what RAM does and why it’s essential for your Mac’s overall performance. RAM is a crucial component that temporarily stores data and instructions that your computer needs to perform tasks. When certain applications or processes require more memory than what’s available, your Mac may become slow or even freeze.
By effectively managing and clearing up RAM on your Mac, you can improve its speed, responsiveness, and overall performance. Let’s explore the various methods you can employ to achieve this.
Now that we understand the importance of maintaining optimal RAM performance, let’s move on to the practical steps you can take to clear up RAM on your Mac. Remember, by following these steps regularly, you can help ensure that your Mac performs at its best and you can work efficiently without any slowdowns or disruptions.
Restart your Mac
One of the easiest and most effective ways to clear up RAM on your Mac is by restarting it. Restarting your Mac will close all running processes and applications, freeing up RAM in the process.
When your Mac starts up again, it will load only the necessary system processes and applications, leaving more available RAM for your tasks. This can help improve the overall performance and responsiveness of your Mac.
To restart your Mac, simply click on the Apple menu in the top left corner of your screen, and select Restart. Alternatively, you can press the power button and choose Restart from the options that appear.
It’s recommended to restart your Mac at least once a week or whenever you notice a significant slowdown in performance. This will help clear out any accumulated temporary files and refresh the system, allowing your Mac to run more smoothly.
In addition to restarting your Mac regularly, it’s also a good idea to shut it down completely overnight or when you’re not using it for an extended period of time. By turning off your Mac, you give it a chance to rest and clear out any cached data, which can further optimize its RAM usage.
Remember, restarting your Mac is a simple yet powerful technique to clear up RAM and improve performance. Make it a habit to restart your Mac regularly, and you’ll notice a significant difference in its speed and responsiveness.
Close unnecessary apps
Another effective way to clear up RAM on your Mac is by closing unnecessary apps. Running multiple applications simultaneously can consume a significant amount of RAM, leading to performance issues. By closing unused or unnecessary apps, you can free up valuable memory and optimize your Mac’s performance.
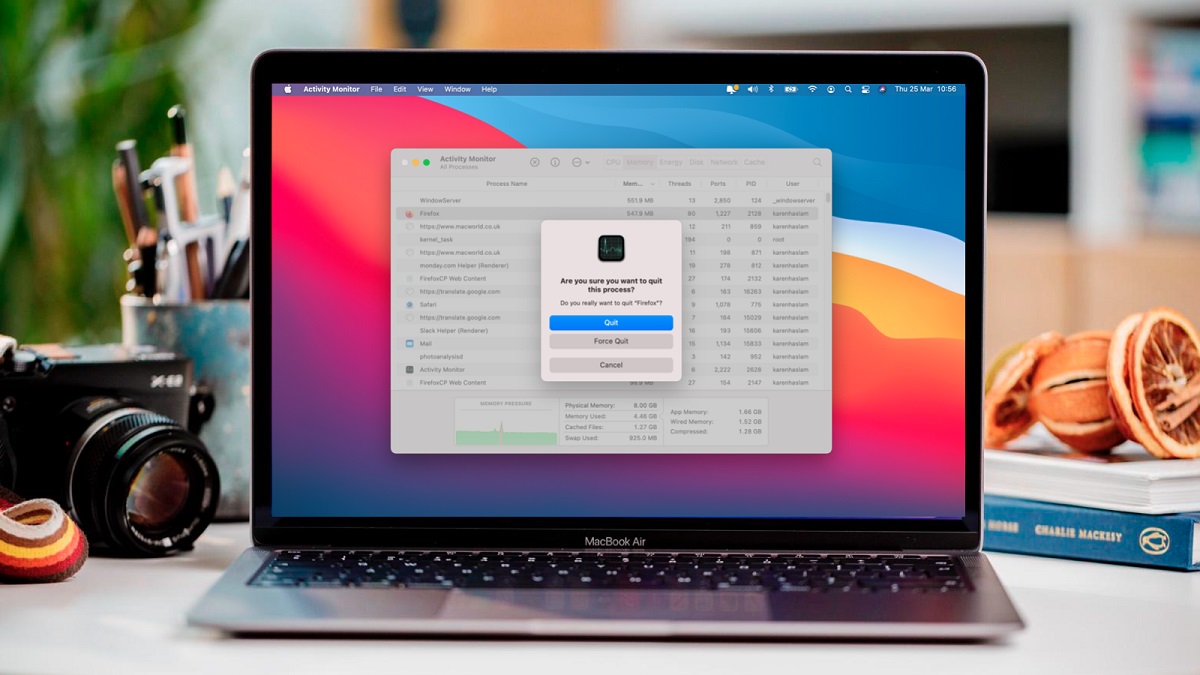
To close an app on your Mac, simply click on its window and then click on the “X” button in the top left corner, or use the keyboard shortcut Command + Q. Alternatively, you can right-click on the app’s icon in the Dock and select “Quit”.
It’s a good practice to regularly assess which apps you truly need open and close the ones that are not being actively used. This includes apps running in the background or hidden in the menu bar, such as chat clients, music players, or backup software. Closing these apps will not only free up RAM but also reduce CPU usage and save battery life.
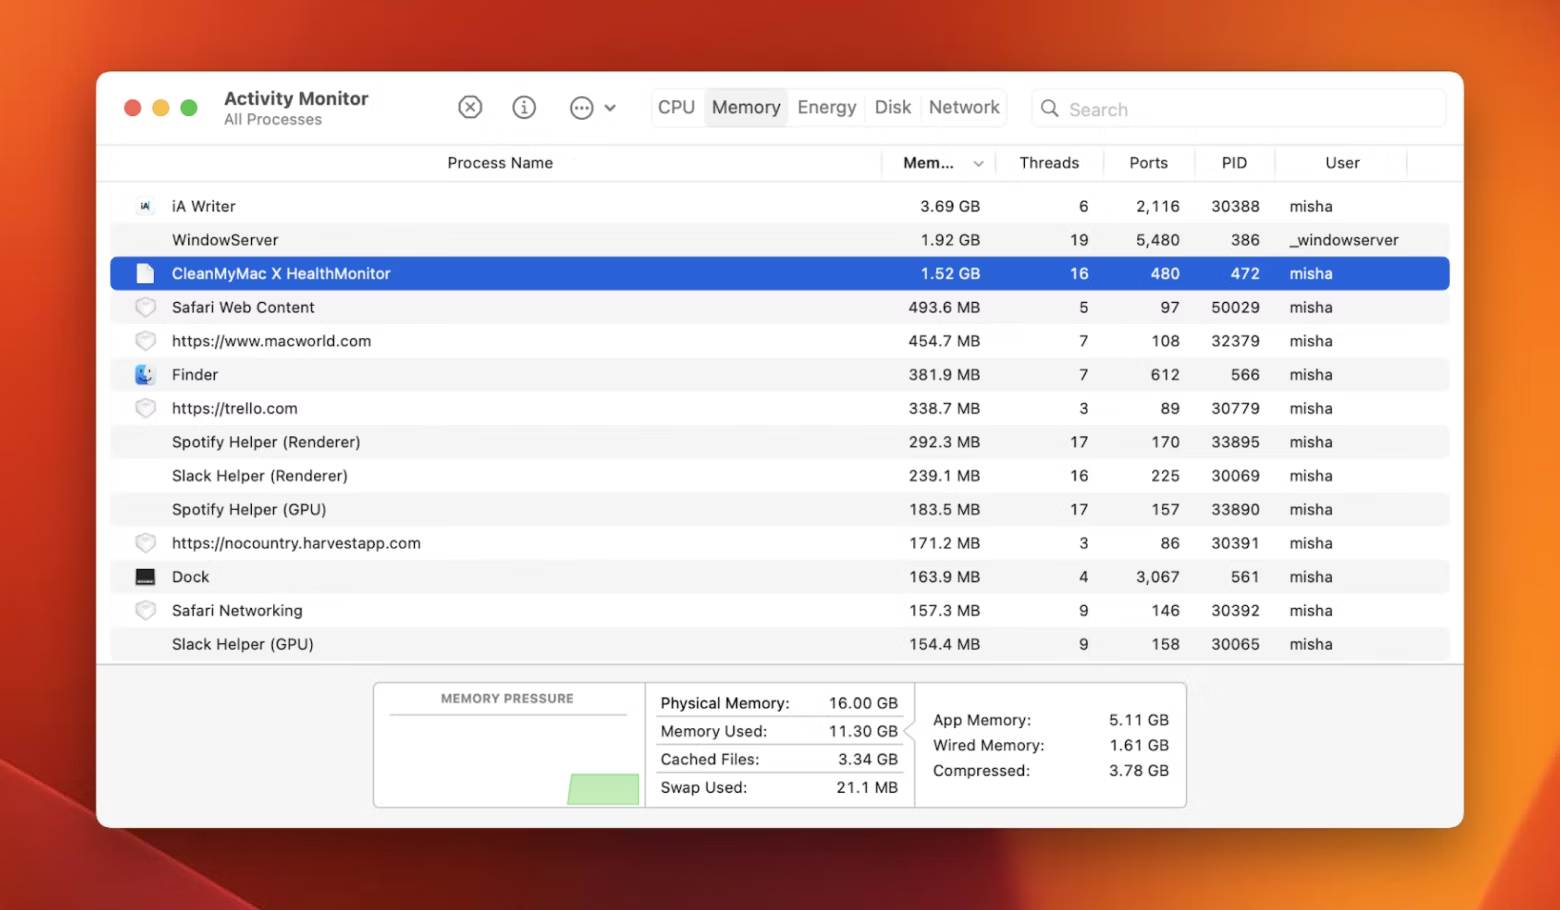
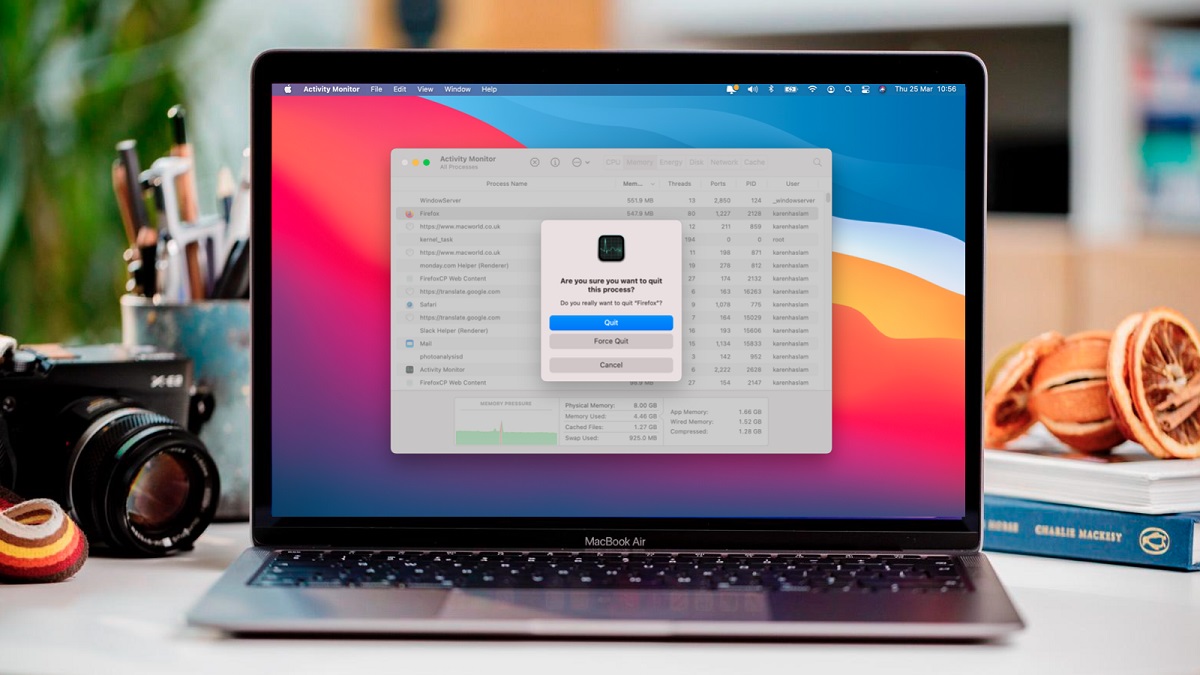
If you’re unsure which apps are using the most RAM, you can use the Activity Monitor utility to check their resource usage. Launch Activity Monitor by going to Applications > Utilities > Activity Monitor, or by searching for it using Spotlight. In the Activity Monitor window, click on the “Memory” tab to see a list of running processes and their corresponding memory usage.
Identify apps that are using a significant amount of RAM and evaluate if you can close them without affecting your workflow. You may also consider using alternatives that are lighter on resources or finding ways to optimize the performance of memory-intensive apps.
Closing unnecessary apps is a simple yet effective strategy to free up RAM on your Mac. By being mindful of the apps you have open and regularly closing those that you don’t need, you can ensure that your Mac’s memory is allocated efficiently and that it operates at its best.
Disable startup items
One of the reasons why your Mac may be slow to start up or have limited available RAM is due to the number of startup items that launch when you log in. These startup items can include applications, utilities, menu bar items, and other background processes that consume valuable resources.
Disabling unnecessary startup items can help reduce the load on your Mac’s RAM and improve its overall performance. Here’s how you can manage your startup items:
1. Go to the Apple menu and select “System Preferences.”
2. Click on “Users & Groups.”
3. Select your user account from the list on the left, then click on the “Login Items” tab.
4. You will now see a list of applications and processes that launch at startup. Evaluate which items are necessary and which ones you can disable.
5. To disable a startup item, select it from the list, then click on the “-” (minus) button below the list. This will remove it from the startup items.
Remember, not all startup items are essential for the functioning of your Mac. Be selective and only keep the ones that are necessary for your daily workflow. Disabling unnecessary startup items will not only free up RAM but also reduce the load on your Mac’s system resources.
In addition to managing startup items through the System Preferences, you can also check for applications that have their own options for starting at login. Some applications, like Dropbox or Skype, have settings within their preferences to enable or disable automatic startup.
By disabling unnecessary startup items, you can declutter your Mac’s startup process and allocate more available RAM for your tasks. This can significantly improve the speed and efficiency of your Mac, especially during startup and initial system operation.
Clear memory-hogging browser tabs
If you’re a heavy internet user and have multiple tabs open in your web browser, it can quickly consume a significant amount of RAM. Each tab requires memory to store the webpage data and scripts, and having too many open can leave your Mac with limited resources. Clearing memory-hogging browser tabs is a good way to free up RAM and improve performance.
Here are a few strategies to help you manage your browser tabs:
1. Close unnecessary tabs: Take a moment to assess which tabs you actually need and close the ones that you’re no longer using. It’s easy to accumulate a large number of open tabs, but each one adds to the memory usage. Close any tabs that you don’t need at the moment.
2. Use a tab management extension: Consider installing a tab management extension for your browser, such as OneTab or Tab Wrangler. These extensions allow you to consolidate multiple tabs into a single tab or save them for later, reducing the memory footprint of your browser.
3. Enable tab discarding: Some browsers have built-in features that automatically discard unused tabs to free up memory. For example, Google Chrome has a feature called “Tab Discarding” that can be enabled through the browser’s experimental features. This feature automatically unloads tabs that haven’t been used for a while, saving precious RAM.
4. Optimize memory usage: Check if your browser has settings or extensions that can optimize memory usage. For example, Firefox has a setting called “Content Process Limit” which allows you to limit the number of processes your browser uses, reducing memory consumption.
Remember, clearing memory-hogging browser tabs regularly can help improve the performance of your Mac by freeing up RAM. By being mindful of the number of tabs you have open and utilizing tab management techniques, you can optimize your browsing experience and ensure that your Mac has enough resources for other tasks.
Manage login items
Every time you log in to your Mac, there may be certain applications or processes that automatically launch. These login items can consume valuable system resources, including RAM. Managing your login items can help optimize your Mac’s performance and free up memory.
Here’s how you can manage your login items:
1. Go to the Apple menu and select “System Preferences.”
2. Click on “Users & Groups.”
3. Select your user account from the list on the left, then click on the “Login Items” tab.
4. You will now see a list of applications and processes that launch when you log in. Evaluate which items are necessary and which ones you can disable.
5. To disable a login item, uncheck the box next to it. This will prevent it from automatically launching at startup.
It’s important to note that not all login items are essential for your Mac’s functioning. Some applications may have added themselves to the login items list without your knowledge. Be selective and only keep the login items that you need for your daily workflow.
Managing your login items can have a significant impact on your Mac’s performance. By disabling unnecessary login items, you can reduce the amount of memory and system resources consumed during startup, allowing your Mac to boot up faster and operate more efficiently.
In addition to managing login items through the System Preferences, you can also check if there are any application-specific settings that control automatic startup. Some applications may have their own options to enable or disable automatic launching at login. Adjust these settings accordingly to further optimize your Mac’s performance.
Regularly reviewing and managing your login items is a proactive approach to ensure that your Mac’s resources are utilized efficiently. By minimizing the number of applications that launch at startup, you can free up valuable memory and create a smoother and more responsive user experience.
Remove unnecessary cache files
Cache files are temporary data files that are created by various applications and stored on your Mac. While cache files can help improve the performance of certain apps by storing frequently accessed data, they can accumulate over time and take up valuable disk space, including RAM.
To clear out unnecessary cache files on your Mac, follow these steps:
1. Go to Finder and click on the “Go” menu in the top menu bar.
2. Hold down the Option key to reveal the “Library” option, then click on it.
3. Inside the Library folder, look for folders named “Caches” or “Cache”. These folders contain cache files from various applications.
4. Open each of these cache folders and delete the contents. Be cautious not to delete any important system files or folders.
Please note that the Library folder is hidden by default in macOS. If you’re unable to find it using the method above, you can also access it by opening Finder, clicking on “Go” in the menu bar, selecting “Go to Folder”, and typing “~/Library” (without quotes).
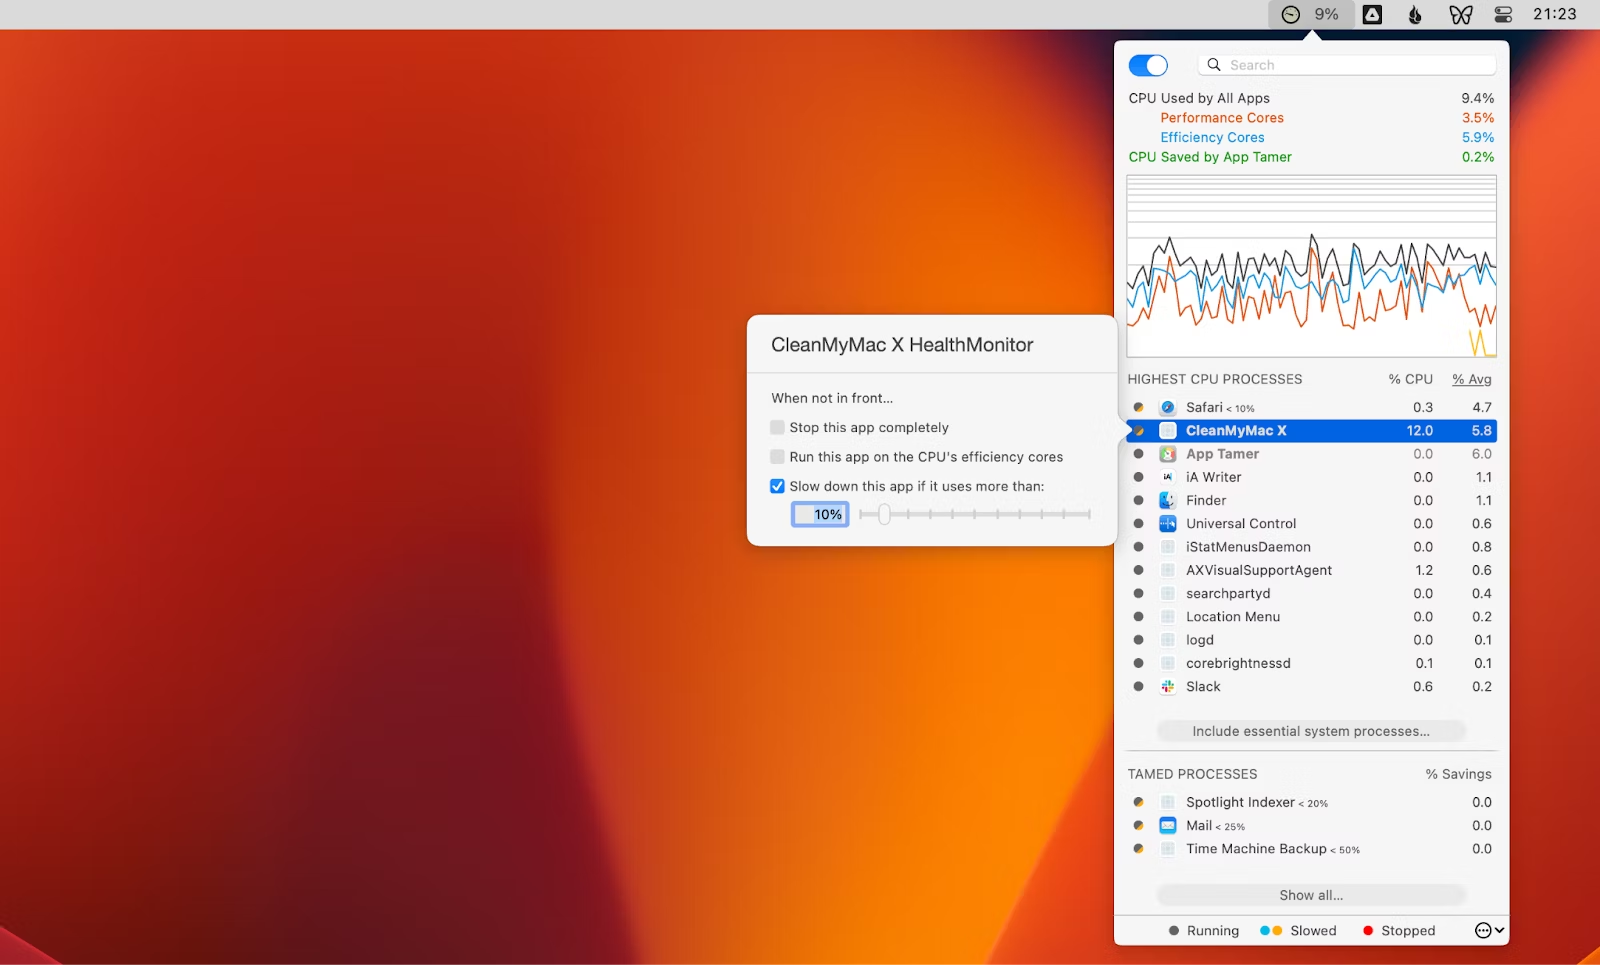
In addition to manually deleting cache files, you can also use third-party utilities like CleanMyMac or CCleaner to automate the process and ensure that all unnecessary cache files are removed.
Regularly clearing out cache files can help free up disk space and improve the overall performance of your Mac. It’s particularly beneficial if you notice that certain applications or processes are taking up an excessive amount of memory. By removing unnecessary cache files, you allow your Mac to allocate its resources more efficiently, including RAM.
However, it’s worth mentioning that cache files also serve a purpose in speeding up the operation of applications. Deleting cache files for all applications indiscriminately may result in slower performance when those applications need to generate new cache files. It’s recommended to use caution and only delete cache files that are not essential or serving any useful purpose.
By periodically removing unnecessary cache files, you can help optimize your Mac’s performance and ensure that it has enough available RAM for your tasks. This, in turn, will result in a smoother and more responsive user experience.
Use Activity Monitor to identify memory-hogging processes
Activity Monitor is a built-in utility on macOS that provides a detailed overview of the processes and resource usage on your Mac. By using Activity Monitor, you can identify memory-hogging processes that may be consuming a significant amount of RAM and causing performance issues.
Here’s how you can use Activity Monitor to identify memory-hogging processes:
1. Launch Activity Monitor by going to Applications > Utilities > Activity Monitor, or by searching for it using Spotlight.
2. In the Activity Monitor window, click on the “Memory” tab. This will display a list of processes and their corresponding memory usage.
3. Sort the processes by memory usage by clicking on the “Memory” column header. This will help you identify the processes that are consuming the most memory.
4. Take note of the processes that have a high memory usage. These are the ones that could be causing performance issues on your Mac.
5. Evaluate whether these processes are necessary or if they can be closed. If they are essential, you may consider finding ways to optimize their memory usage. If they are non-essential, you can close them to free up RAM.
Activity Monitor also provides additional information about each process, such as CPU usage, energy impact, and disk activity. This information can help you gain insights into how processes are impacting your Mac’s performance.
In addition to identifying memory-hogging processes, Activity Monitor can also help you monitor CPU usage, disk activity, and network activity. This makes it a valuable tool for diagnosing and troubleshooting performance issues on your Mac.
Remember to regularly monitor Activity Monitor to keep an eye on resource usage and ensure that your Mac’s memory is being utilized efficiently. By identifying and addressing memory-hogging processes, you can free up RAM and improve the overall performance of your Mac.
Disable visual effects
macOS includes various visual effects and animations that enhance the user experience but can also consume significant system resources, including RAM. Disabling or reducing these visual effects can help free up memory and improve the overall performance of your Mac.
Here’s how you can disable visual effects on your Mac:
1. Go to the Apple menu and select “System Preferences.”
2. Click on “Accessibility.”
3. In the left sidebar, select “Display.”
4. Check the box next to “Reduce motion” to minimize visual effects and animations.
Disabling the “Reduce motion” option will reduce the occurrence of animations and parallax effects when moving windows and opening applications. This can help conserve memory usage and make your Mac feel more responsive.
In addition to reducing motion, there are other visual effects you can disable or minimize to further optimize your Mac’s performance:
– In the “Accessibility” preferences, you can also check the box next to “Increase contrast” to reduce transparency and make UI elements more distinct. This can reduce the memory required to render transparent elements.
– Go to “System Preferences” > “Dock” and uncheck the box next to “Magnification.” This will disable the zoom-in effect when you hover over icons in the Dock, freeing up memory resources.
– In the “System Preferences” > “Mission Control,” you can uncheck the box next to “Show dashboard as a space” to disable the Dashboard feature. The Dashboard uses memory to display widgets, so disabling it can free up valuable resources.
Disabling or reducing visual effects on your Mac can help optimize its memory usage and improve performance, especially if you’re working with limited RAM. By minimizing unnecessary animations and effects, your Mac can allocate more resources to essential tasks, resulting in a smoother and more efficient user experience.
Remember, some users enjoy the visual effects macOS offers and find value in them. It’s up to your personal preference and the specific needs of your Mac as to which visual effects you choose to disable or reduce.
Upgrade your RAM
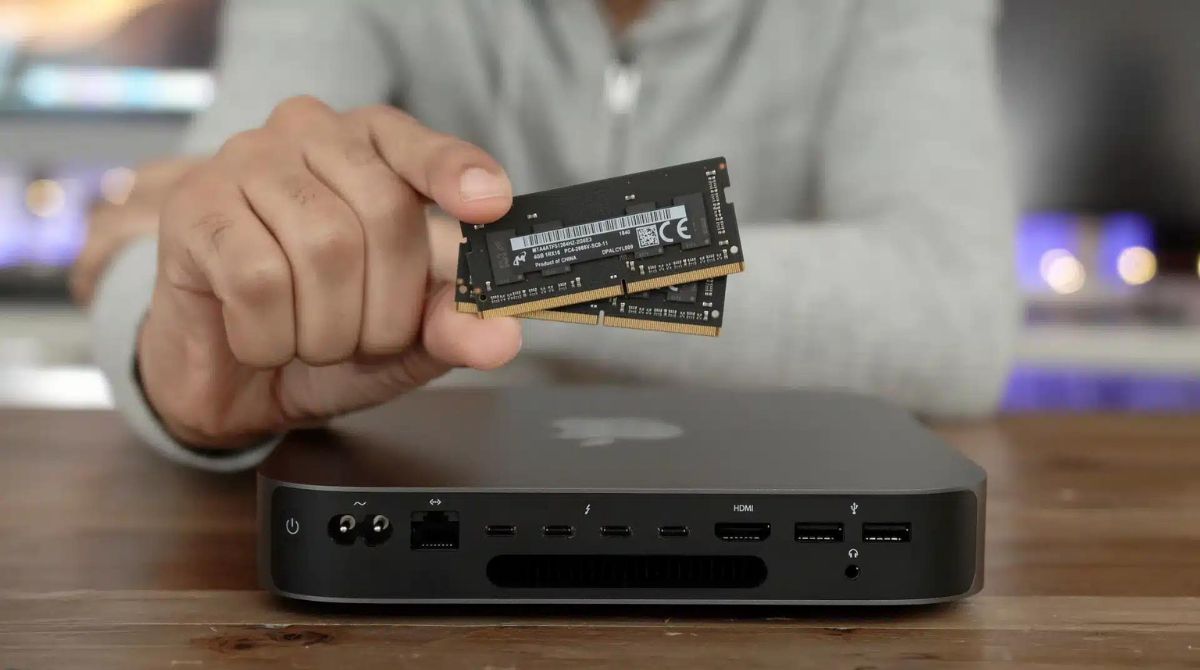
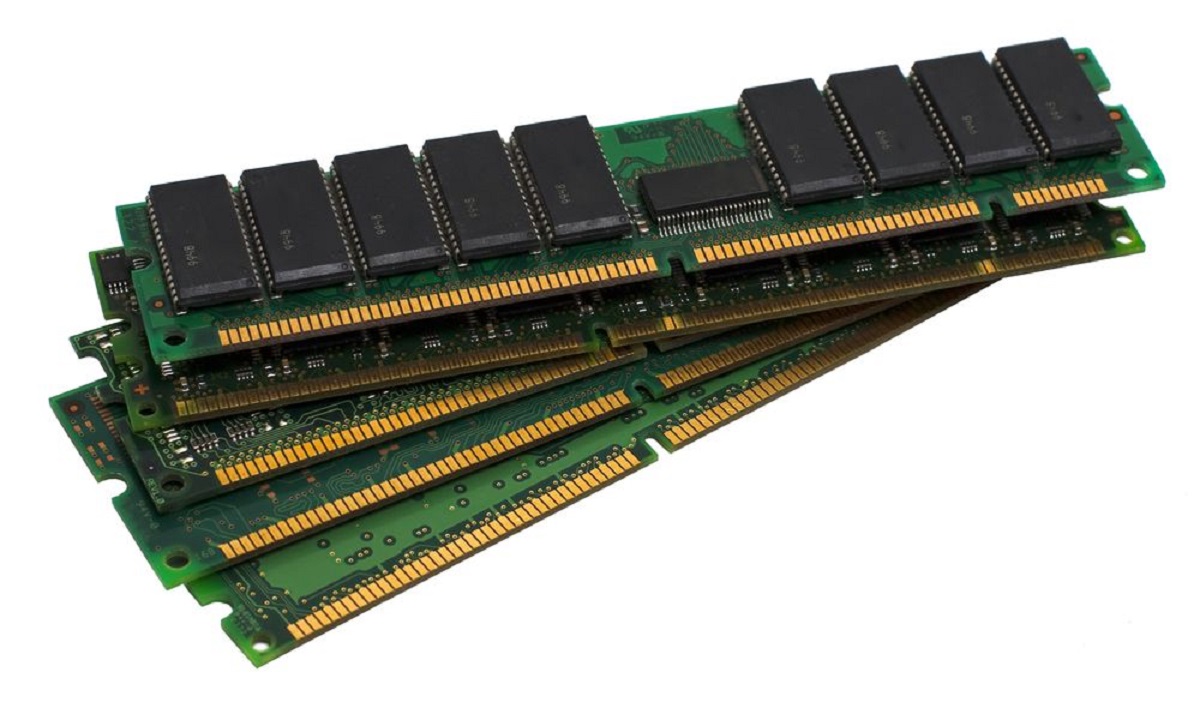
If you find that your Mac is consistently running out of available RAM and experiencing slowdowns, upgrading the RAM can be a viable solution. RAM is a hardware component that determines how much data your Mac can store and access at any given time. By increasing the amount of RAM in your Mac, you can significantly improve its performance and multitasking capabilities.
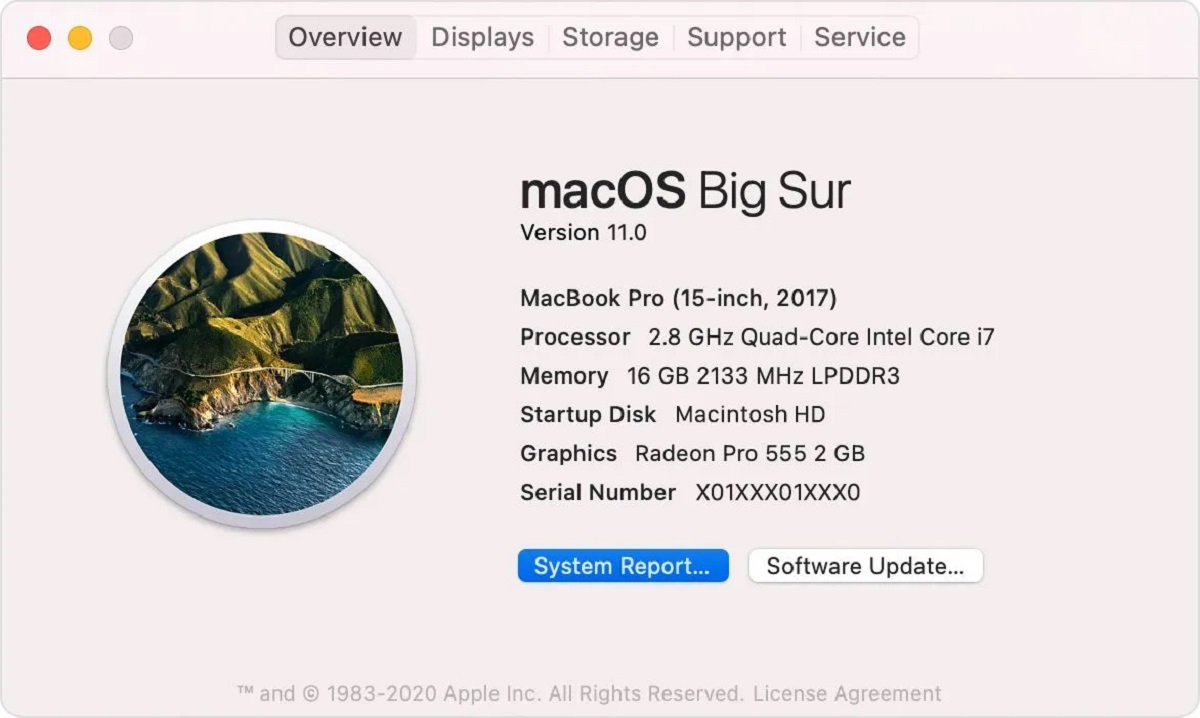
Before upgrading your RAM, it’s important to check the maximum amount of RAM your Mac supports and what type of RAM it requires. You can find this information by going to the Apple menu > About This Mac > System Report > Memory.
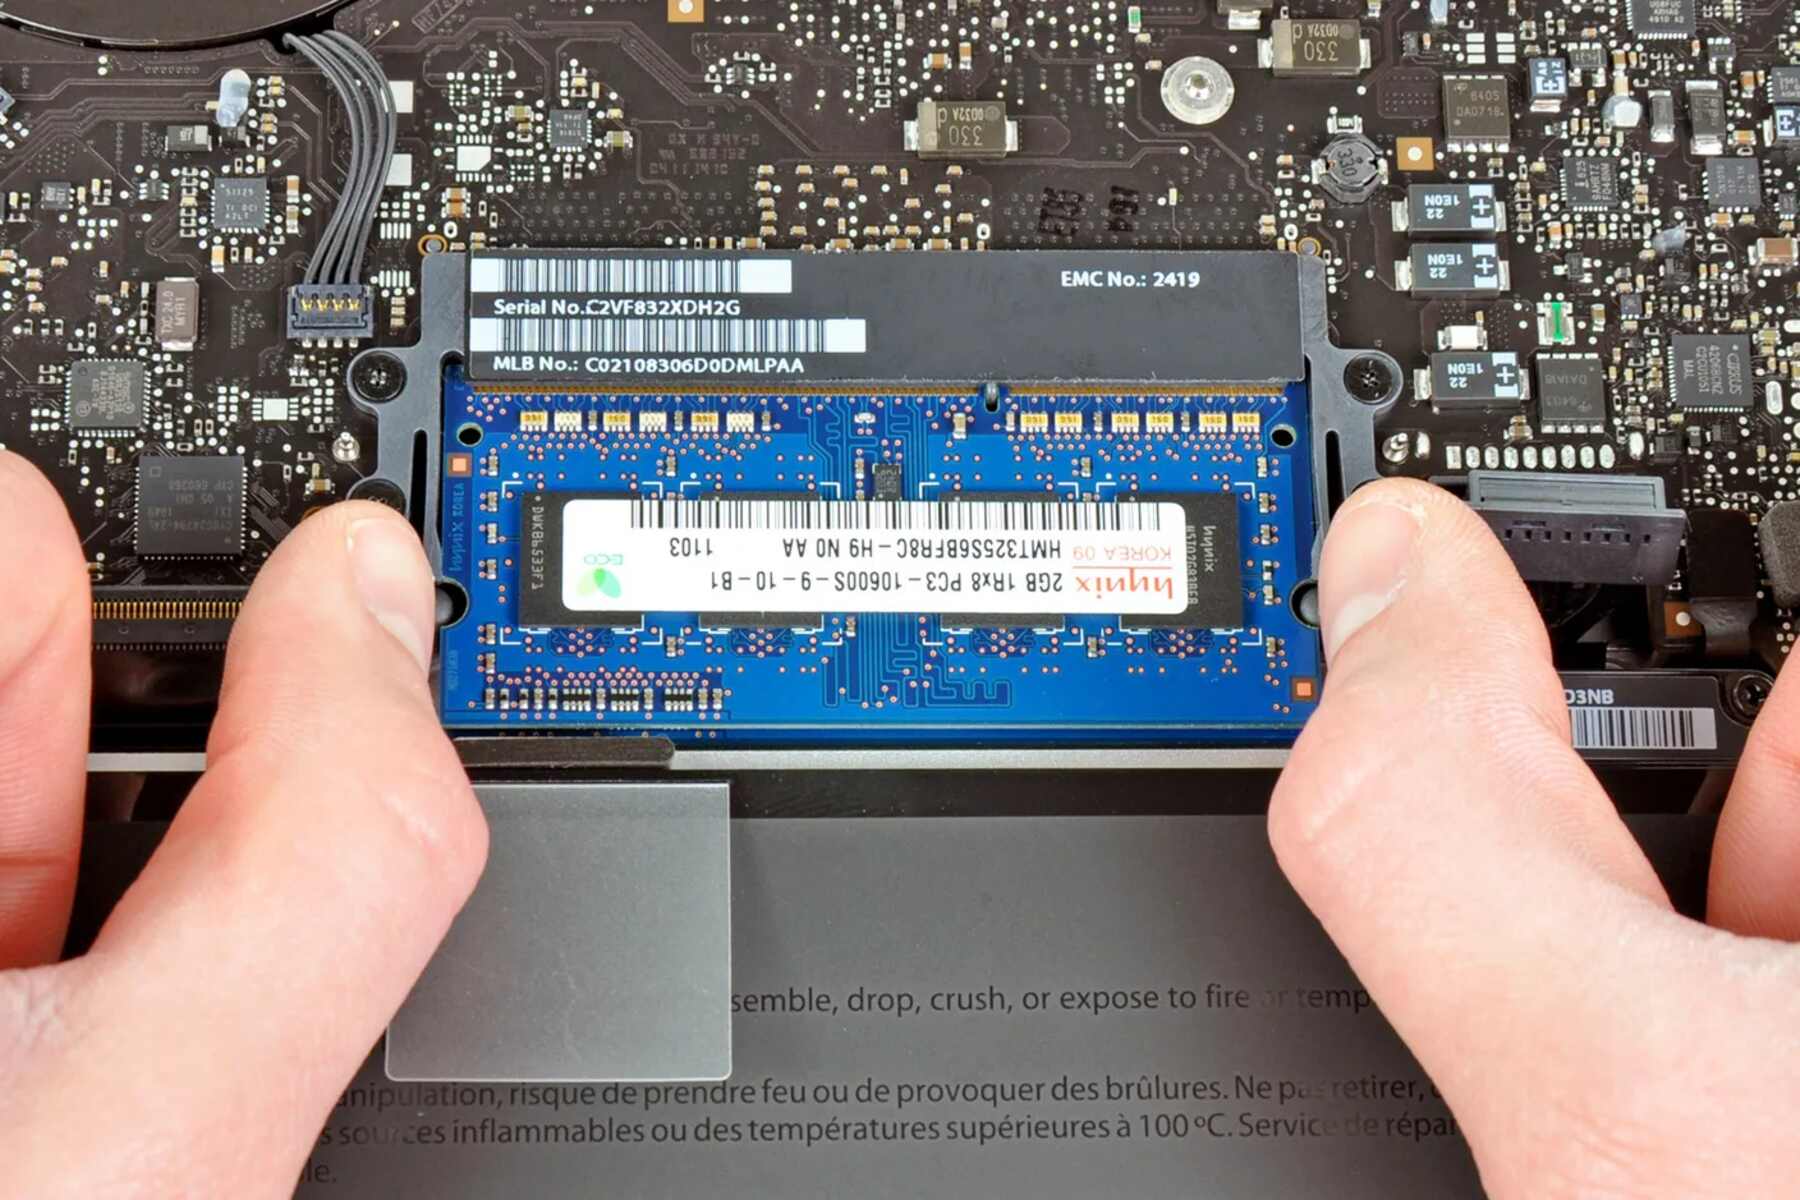
Upgrading the RAM involves physically replacing the existing memory modules in your Mac with higher-capacity ones. While the process varies depending on the specific Mac model, it generally involves opening the Mac, removing the existing RAM modules, and inserting the new ones in their place.
If you’re not familiar with hardware upgrades, it’s recommended to consult the official Apple documentation or seek assistance from a professional to ensure a successful installation.
Upgrading your RAM can provide several benefits, including:
1. Enhanced multitasking: With more RAM, your Mac can handle running multiple applications simultaneously without experiencing a significant decrease in performance.
2. Faster performance: Additional RAM allows your Mac to store and access data more efficiently, resulting in faster response times and reduced lag.
3. Improved productivity: By upgrading your RAM, you can work with larger files and run memory-intensive applications more smoothly, boosting your overall productivity.
4. Future-proofing: As software and applications become more demanding, having a higher amount of RAM can ensure that your Mac remains capable of handling the latest technologies and updates.
RAM upgrades can be a cost-effective way to breathe new life into older Mac models or improve the performance of current ones. However, it’s important to consider other factors that can affect your Mac’s performance, such as the processor, storage type, and overall system optimization.
If you’re unsure about upgrading your RAM or want to explore other options, it’s advisable to consult with a trusted technical expert who can provide tailored recommendations based on your specific needs and Mac model.
Remember, upgrading your RAM is a hardware-based solution and may require an investment of both time and money. Assess your needs, do thorough research, and consult with professionals to determine if upgrading your RAM is the right choice for you.
Conclusion
Managing and optimizing the RAM on your Mac is essential for maintaining its performance and ensuring a smooth user experience. By following the techniques outlined in this guide, you can effectively clear up RAM and maximize its available resources.
Restarting your Mac regularly can help refresh the system and free up memory. Closing unnecessary apps, disabling startup items, and clearing memory-hogging browser tabs are all effective ways to declutter RAM usage. Managing login items and removing unnecessary cache files can also help optimize memory allocation.
Activity Monitor is a powerful tool for identifying memory-hogging processes and monitoring system resources. By analyzing and taking action against processes that consume excessive memory, you can free up RAM and improve overall performance.
Additionally, disabling visual effects and considering a RAM upgrade are impactful strategies to optimize your Mac’s RAM utilization. Disabling unnecessary animations and effects conserves memory, while upgrading your RAM increases the available resources for multitasking and running resource-intensive applications.
Remember, each Mac model and user’s needs are unique, so it’s important to evaluate which techniques are most suitable for your specific situation. Regular maintenance and monitoring of your Mac’s RAM usage can lead to a smoother and more efficient computing experience.
By implementing the practices mentioned in this guide, you can ensure that your Mac’s RAM is allocated effectively and that it operates at its best. Whether you’re a casual user looking to optimize performance or a power user needing maximum productivity, efficiently managing your Mac’s RAM will contribute to a more enjoyable and productive computing experience.


