Introduction
Welcome to the world of MacBook laptops! As a proud owner, you know that your MacBook is a powerful and versatile machine, capable of handling a wide range of tasks. One crucial component that contributes to its performance is the Random Access Memory (RAM). RAM plays a vital role in dictating how smoothly your MacBook operates and handles multiple applications simultaneously.
Whether you’re a student, a professional, or an avid creative, understanding the importance of RAM and knowing the right amount of memory for your MacBook is crucial. In this article, we’ll dive into the world of MacBook RAM, discussing everything from checking your current RAM to upgrading options and considering factors that impact your decision. By the end, you’ll have all the information you need to make an informed choice about the RAM for your MacBook.
Before we proceed, it’s important to note that RAM is different from the permanent storage capacity of your MacBook, such as the hard drive or the solid-state drive (SSD). RAM is a type of temporary memory that stores data that your MacBook needs to quickly access while running applications. The more RAM you have, the more programs your MacBook can efficiently handle at once.
So, let’s get started on this journey to demystify MacBook RAM and discover the perfect memory configuration for your specific needs.
MacBook RAM Overview
Before we delve into the world of MacBook RAM, it’s important to understand the basics. The RAM of your MacBook is essentially the temporary storage area where your operating system and applications store data that they need to access quickly. Think of it as a workspace that allows your MacBook to efficiently handle multiple tasks and applications simultaneously.
When you open an application or a file on your MacBook, it gets loaded into the RAM. The more RAM your MacBook has, the more data it can hold, allowing for faster and smoother performance. Having adequate RAM is crucial for heavy multitasking, running resource-intensive software, and handling complex tasks like video editing or graphic design.
MacBook RAM comes in different types and configurations depending on the model. The older MacBook models may have DDR2 or DDR3 RAM, while the newer models are equipped with DDR4 RAM. Additionally, the RAM modules in MacBook laptops are soldered to the motherboard, which means they cannot be upgraded or replaced.
It’s important to note that the amount of RAM in your MacBook is not the only factor that determines its performance. A MacBook with a fast processor and SSD storage can still deliver excellent performance even with a relatively lower amount of RAM. However, if you frequently use memory-intensive applications or engage in multitasking, having sufficient RAM is imperative to maintain optimal performance.
Now that you have a basic understanding of MacBook RAM, let’s move on to the next section, where we’ll learn how to check the current RAM in your MacBook and gather the necessary information before considering a RAM upgrade.
How to Check Your Current MacBook RAM
Before you decide to upgrade your MacBook’s RAM, it’s important to know the current amount of memory installed in your device. Checking your MacBook’s RAM is a simple process that requires just a few steps. Follow the instructions below to determine your current RAM configuration:
-
Click on the Apple logo in the top-left corner of your screen, and select “About This Mac” from the drop-down menu.
-
A window will appear displaying an overview of your MacBook’s specifications. Click on the “Memory” tab.
-
Here, you will find information about the total amount of RAM installed in your MacBook, the type of RAM, and the number of available slots for further upgrades.
By following these steps, you’ll have a clear understanding of your current MacBook RAM configuration, which will serve as a foundation for deciding whether an upgrade is necessary to meet your specific needs.
Keep in mind that not all MacBook models allow for RAM upgrades. For example, the MacBook Air and some MacBook Pro models have soldered RAM that cannot be upgraded. If this is the case with your MacBook, it’s essential to carefully consider your RAM requirements when purchasing a new laptop to ensure it meets your future needs.
Now that we have identified your MacBook’s current RAM configuration, let’s proceed to the next section, where we will delve deeper into RAM specifications and understand what they mean for your device’s performance.
Understanding RAM Specifications
When it comes to RAM specifications, there are several key factors to consider in order to ensure compatibility and optimal performance for your MacBook. Let’s take a closer look at these specifications:
-
Type of RAM: There are different types of RAM, such as DDR2, DDR3, and DDR4. It is important to know the specific type supported by your MacBook to ensure compatibility when upgrading.
-
Speed: RAM speed, measured in megahertz (MHz), determines how fast the data can be transferred to and from the memory. Higher RAM speeds generally result in better performance. However, it’s essential to check your MacBook’s maximum supported RAM speed to avoid compatibility issues.
-
Capacity: The capacity of your MacBook’s RAM refers to the amount of memory it can hold. It is crucial to choose a RAM capacity that suits your usage requirements. For basic tasks like web browsing and document editing, 8GB of RAM is usually sufficient. However, for more demanding tasks like video editing, graphic design, or gaming, 16GB or more may be necessary.
-
Number of Modules: MacBook laptops typically have a specific number of RAM slots, which determines the number of RAM modules that can be installed. It’s important to know how many slots your MacBook has and the number of modules it currently contains when considering an upgrade.
-
Timing Latency: RAM timing latency refers to the amount of time it takes for the RAM to respond to a request. Lower latency numbers result in faster performance. However, the impact of timing latency on real-world performance is minimal compared to other factors.
Understanding these RAM specifications will help you make an informed decision when upgrading your MacBook’s memory. It’s essential to ensure that any new RAM modules you purchase are compatible with your MacBook model and meet your specific performance requirements.
In the next section, we’ll discuss the RAM upgrade options available for different MacBook models to help you determine the best course of action.
RAM Upgrade Options for Different MacBook Models
Upgrading the RAM in your MacBook can be a cost-effective way to improve overall performance and enhance your user experience. However, it’s important to note that not all MacBook models allow for RAM upgrades. Let’s explore some of the RAM upgrade options available for different MacBook models:
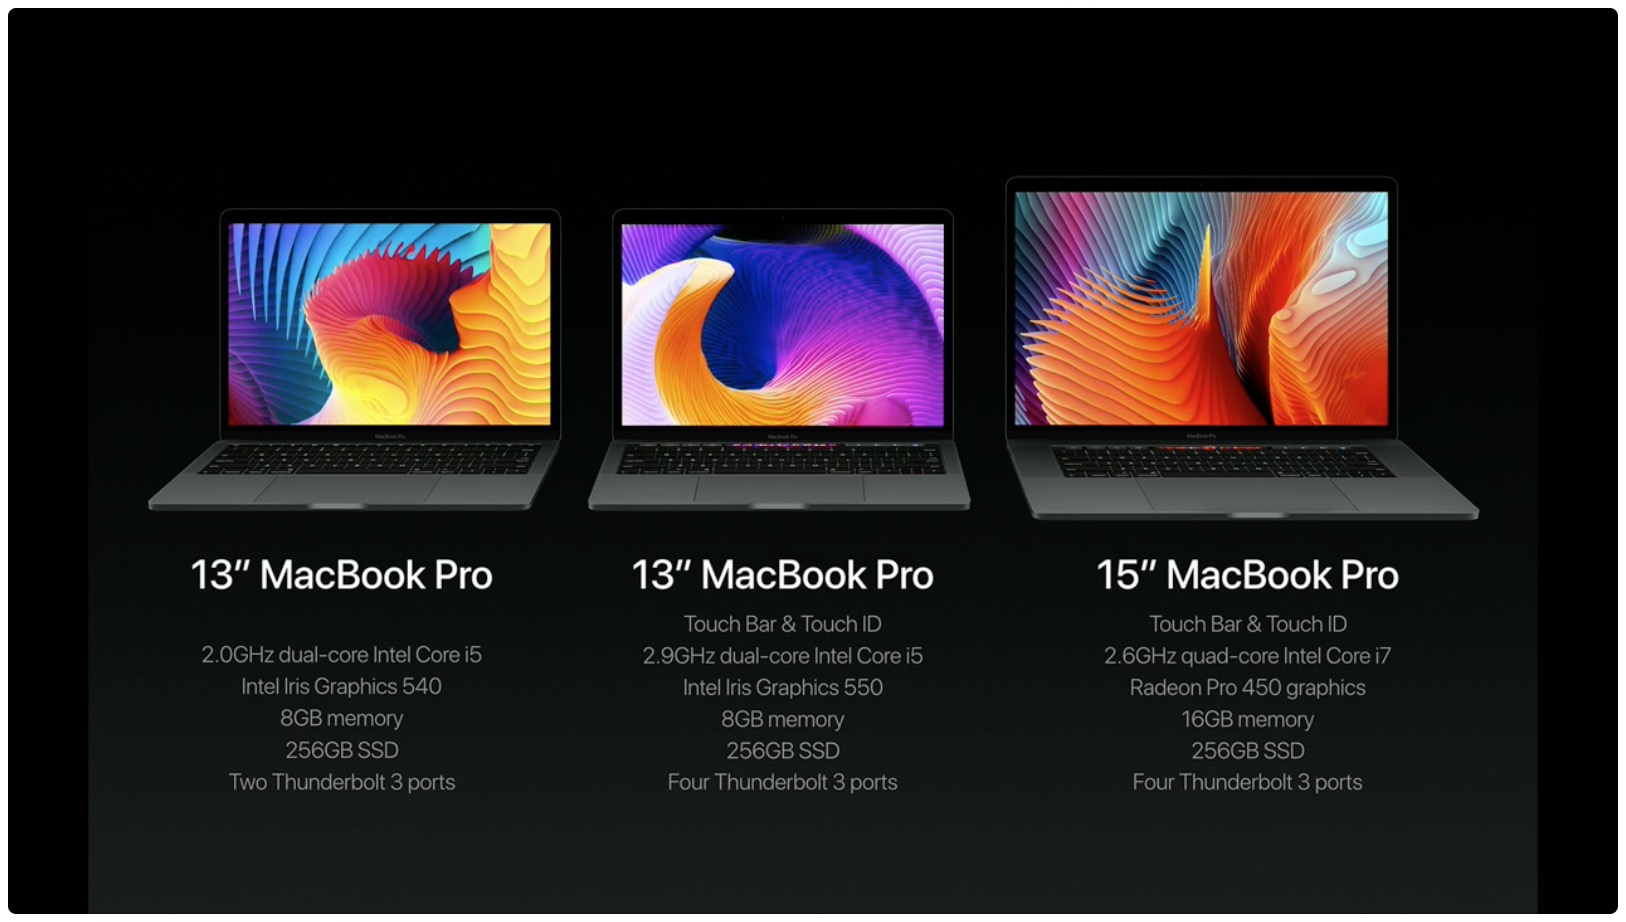
MacBook Pro:
The MacBook Pro offers various RAM configurations depending on the year and model. Some MacBook Pro models have soldered RAM, meaning the memory is permanently attached to the motherboard and cannot be upgraded. However, certain models, particularly those released before 2012, feature user-upgradable RAM. These models typically allow for RAM upgrades up to 16GB or even 32GB, depending on the specific model and year.
MacBook Air:
The MacBook Air, known for its slim and lightweight design, generally does not support RAM upgrades. Most MacBook Air models have soldered RAM, making it non-upgradable. When purchasing a MacBook Air, it is crucial to choose a model with sufficient RAM to meet your current and future needs.
MacBook:
Many newer MacBook models, particularly the MacBook released in 2015 and later, have soldered RAM, making it non-upgradable. However, some older MacBook models, like the MacBook (Late 2008) and MacBook (Mid 2009), do offer upgradable RAM options. It’s important to research your specific MacBook model to determine its upgradeability.
iMac:
Unlike laptops, many iMac models do allow for RAM upgrades. These upgrades often involve accessing the easily accessible RAM slots located under the rear panel of the iMac. Upgrading the RAM in your iMac can significantly enhance multitasking capabilities and overall system performance.
Mac mini:
The RAM in Mac mini models can be upgraded by accessing the RAM slots located at the bottom of the device. Upgrading the RAM in your Mac mini can be a cost-effective way to boost performance and accommodate your growing computing needs.
Before attempting a RAM upgrade, it’s important to take note of your specific MacBook model and its compatibility with RAM upgrades. Additionally, it’s recommended to consult official Apple documentation or seek professional assistance to ensure a seamless and successful upgrade process.
Now that we’ve explored the RAM upgrade options for different MacBook models, let’s move on to the next section, where we’ll discuss the factors you should consider when choosing RAM for your MacBook.
Factors to Consider When Choosing RAM for Your MacBook
Choosing the right RAM for your MacBook requires careful consideration of various factors to ensure compatibility and optimal performance. Let’s take a look at the key factors you should consider when selecting RAM for your MacBook:
-
Compatibility: Ensure that the RAM you choose is compatible with your specific MacBook model. Consider the type of RAM (DDR2, DDR3, DDR4), speed, and capacity recommendations provided by the manufacturer.
-
Maximum Supported RAM: Check the maximum amount of RAM supported by your MacBook model. While some models have fixed RAM limits, others may support higher capacities with certain firmware updates.
-
Usage Requirements: Assess your usage requirements. If you primarily use your MacBook for light tasks such as browsing the web and word processing, 8GB of RAM should suffice. However, if you engage in memory-intensive activities such as video editing or running virtual machines, consider opting for 16GB or more for a seamless experience.
-
Budget: Determine how much you are willing to invest in upgrading your MacBook’s RAM. Prices can vary depending on the capacity and type of RAM you choose. Consider your budget and strike a balance between performance and cost.
-
Futureproofing: Consider your future needs when selecting RAM. If you plan to keep your MacBook for several years, opting for a higher capacity RAM module can ensure smoother performance as software and applications become more demanding over time.
-
Brand and Quality: Choose reputable brands and quality RAM modules from trusted sources. This will ensure reliability, compatibility, and long-term performance for your MacBook.
-
Warranty: Consider RAM modules that come with a warranty. This will provide you with peace of mind and protection against any potential manufacturing defects.
By considering these factors, you can make an informed decision when selecting the right RAM for your MacBook. Remember to refer to your MacBook’s specifications and consult official documentation or seek expert advice if you are unsure about compatibility or installation procedures.
In the next section, we’ll discuss the recommended RAM configurations based on different MacBook use cases to help you further narrow down your choices.
Recommended RAM for Different MacBook Use Cases
Choosing the right amount of RAM for your MacBook depends on your specific use cases and the level of performance you require. Here are some recommended RAM configurations based on different MacBook use cases:
-
Everyday Use: If you primarily use your MacBook for everyday tasks such as web browsing, email, word processing, and multimedia consumption, 8GB of RAM should be sufficient to provide a smooth and responsive experience.
-
Media Editing and Creative Work: If you frequently work with media editing software like Adobe Photoshop, Illustrator, or Final Cut Pro, or engage in graphic design or 3D modeling, opt for 16GB or more of RAM. This ensures optimal performance and faster render times.
-
Programming and Development: Developers who work with resource-intensive development environments, virtual machines, or database management systems can benefit from 16GB or more of RAM. This allows for seamless multitasking and faster code compilation.
-
Gaming: For Mac gamers, 16GB of RAM is generally sufficient to run most games smoothly. However, if you play graphically demanding games or run virtual reality (VR) applications, consider opting for 32GB of RAM for optimal performance.
-
Video Editing and Production: Video editing professionals working with 4K or higher-resolution footage and complex editing timelines should aim for 32GB or more of RAM. This ensures smooth playback, faster rendering, and efficient handling of large files.
-
Virtual Machines and Emulators: If you frequently use virtual machines or emulators to run multiple operating systems or test different software configurations simultaneously, 16GB or more of RAM is recommended to ensure smooth performance without hindered virtualization.
Remember that the above recommendations are general guidelines and can vary based on specific software requirements and the complexity of your projects. It’s always beneficial to consult the software’s recommended system requirements for more accurate RAM recommendations.
Now that you have an idea of the recommended RAM configurations for different MacBook use cases, let’s move on to the next section, where we’ll discuss how to install RAM in your MacBook.
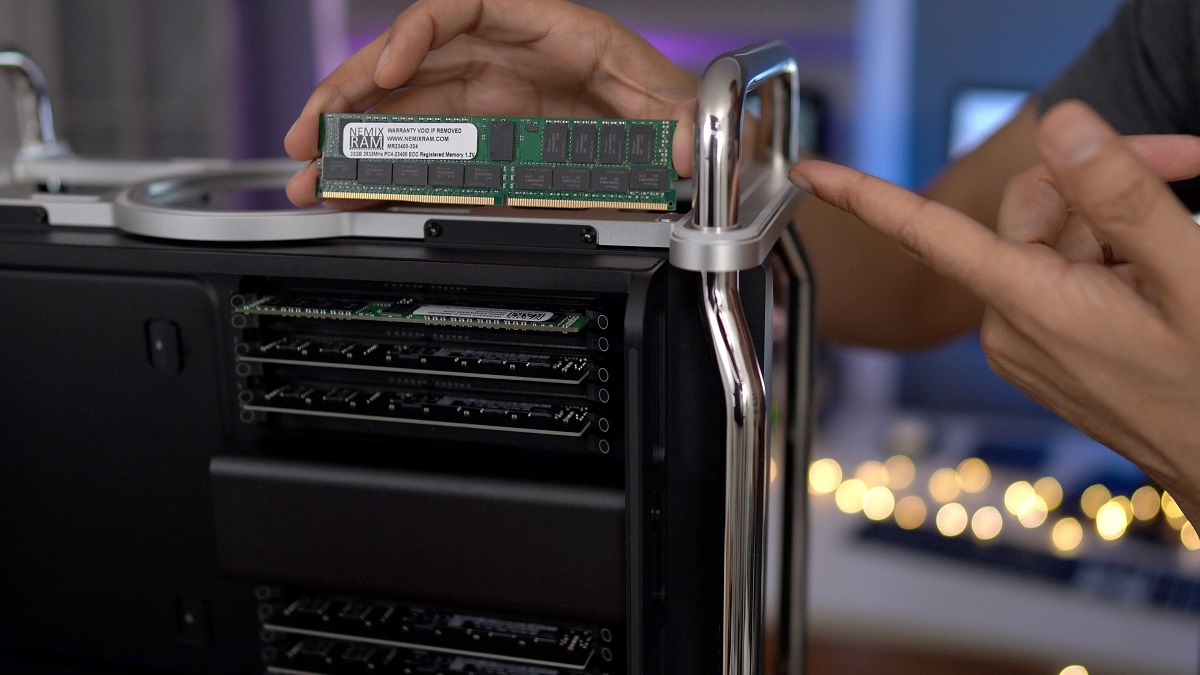
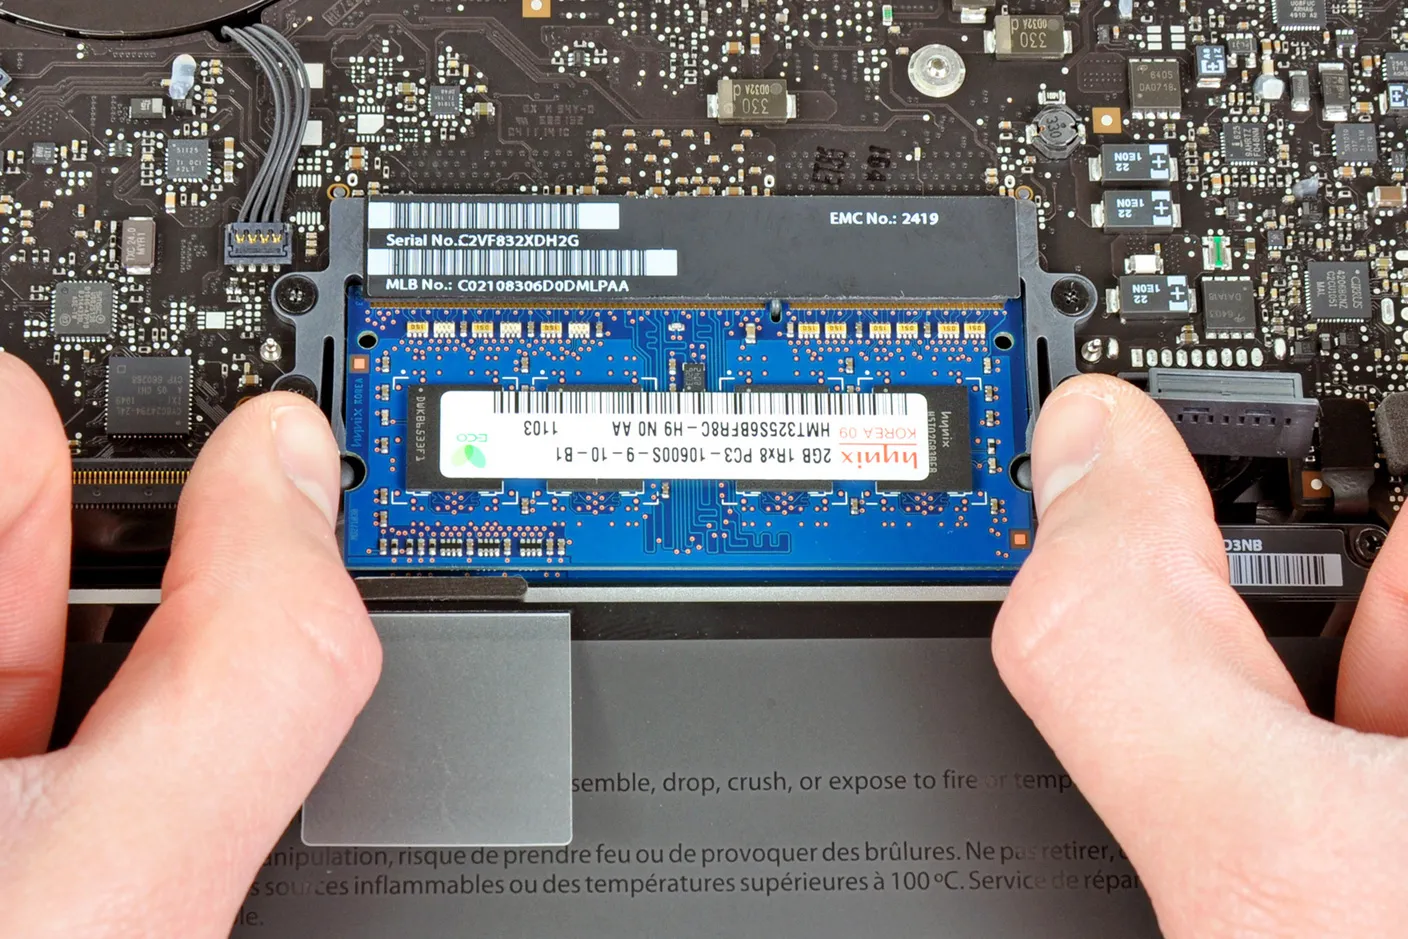
How to Install RAM in Your MacBook
If you’ve decided to upgrade the RAM in your MacBook, installing the new memory modules is a straightforward process. Here’s a step-by-step guide on how to install RAM in your MacBook:
-
Before starting, ensure that you have the correct RAM modules that are compatible with your MacBook model and meet your desired specifications.
-
Power off your MacBook and disconnect any connected cables or peripherals.
-
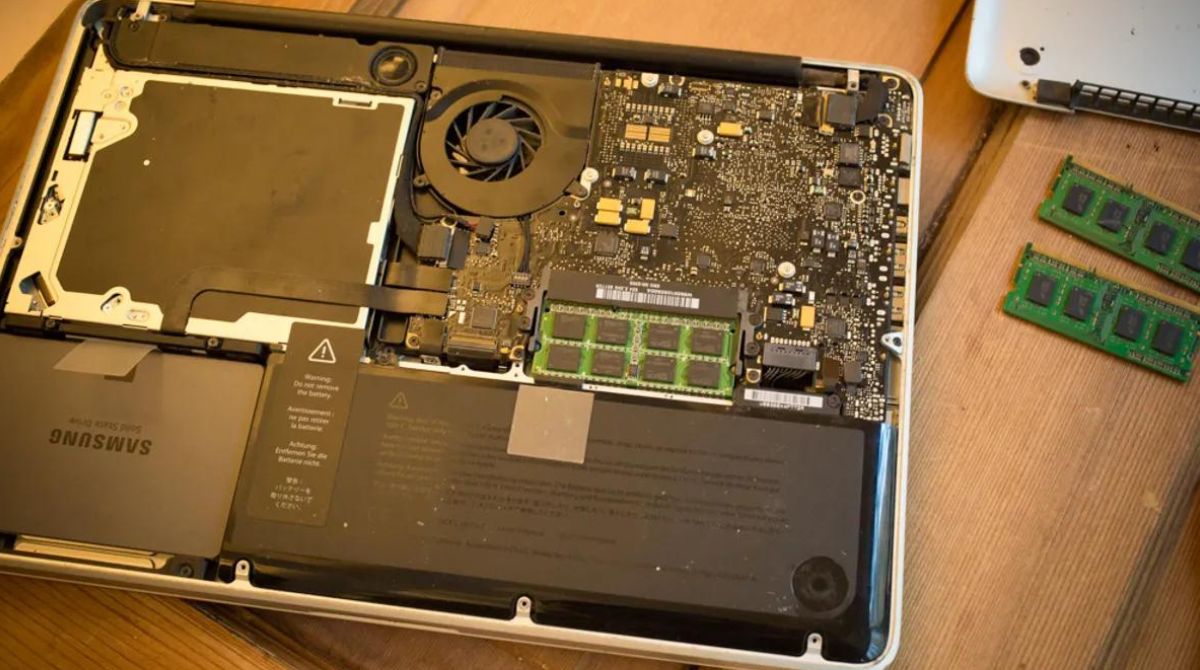
Use the appropriate screwdriver to remove the bottom panel of your MacBook, exposing the internal components. Refer to your MacBook’s user manual or consult online resources for specific instructions on removing the bottom panel.
-
Locate the RAM slots, typically positioned near the center or edge of the MacBook’s logic board. Note the number of available slots and any modules already installed.
-
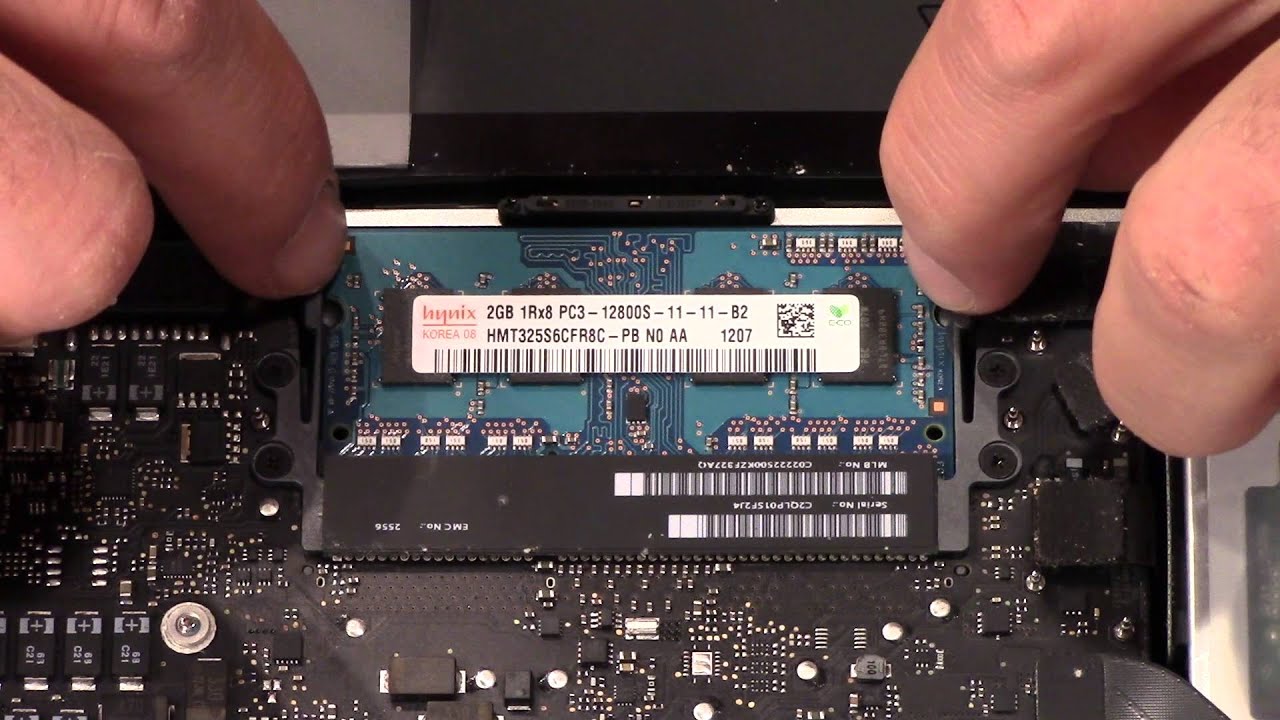
Gently release the clips securing the RAM module(s) already installed (if any) by carefully pushing them outward. The module(s) should pop up at a slight angle.
-
Remove the existing module(s) by pulling them straight out of the slot(s) with equal pressure on both ends. Place them aside in an anti-static bag or on an anti-static surface.
-
Align the notch(es) on the new RAM module(s) with the corresponding slot(s) in the MacBook. Press the module(s) firmly and evenly until they are fully seated in the slot(s).
-
Once the module(s) are in place, gently push them down until the clips click or lock into position, securing the RAM modules in place.
-
Carefully replace the bottom panel of your MacBook and secure it with the appropriate screws, ensuring they are tightened but not overly tightened.
-
Connect the power cable and any peripherals, and power on your MacBook.
-
To verify that the RAM has been successfully installed, go to “About This Mac” and check the newly installed RAM’s details under the “Memory” tab.
It’s important to handle the RAM modules with care, ensuring that you do not touch the gold contacts or expose them to static electricity. If you’re uncomfortable with performing the installation yourself, it’s recommended to seek professional assistance from an authorized service provider or an experienced technician.
Now that you are familiar with the process of installing RAM in your MacBook, let’s move on to the next section, where we’ll discuss some tips for optimizing RAM usage on your MacBook.
Tips for Optimizing RAM Usage on Your MacBook
Optimizing RAM usage is essential to ensure your MacBook performs efficiently and maximizes available memory resources. Here are some tips to help you optimize RAM usage on your MacBook:
-
Close unnecessary applications: Quit applications that you’re not actively using. This frees up RAM for other applications and reduces memory load on your MacBook.
-
Manage startup items: Limit the number of applications that launch automatically when you start your MacBook. This prevents unnecessary RAM usage at startup.
-
Utilize Activity Monitor: Launch the Activity Monitor utility built into macOS to identify RAM-hungry processes. You can monitor memory usage, identify applications consuming excessive resources, and take appropriate action to optimize performance.
-
Use browser extensions and add-ons mindfully: Excessive browser extensions and add-ons can consume substantial amounts of RAM. Disable or remove unnecessary extensions to conserve memory.
-
Clear cache and temporary files: Regularly clear cache and temporary files produced by applications and web browsers. This helps free up valuable disk space and can indirectly improve RAM performance.
-
Maintain an organized desktop: Keep your desktop clutter-free. Large numbers of files and folders on the desktop can consume RAM, so store files in organized folders instead.
-
Monitor memory-intensive applications: Keep an eye on applications that utilize significant memory resources, such as video editing software or virtual machines. Consider closing them when not in use to free up RAM.
-
Upgrade to an SSD: If your MacBook still uses a traditional hard drive, consider upgrading to a solid-state drive (SSD). SSDs are faster and can help improve overall system performance, including RAM-related tasks.
-
Keep your macOS updated: Regularly update your macOS to the latest version. Apple often releases performance optimizations and bug fixes that can enhance RAM management.
-
Restart your MacBook periodically: Restarting your MacBook clears temporary caches and releases system resources, including RAM. This can help refresh your system and improve overall performance.
By following these tips, you can optimize RAM usage on your MacBook and ensure that your system operates smoothly, even during resource-intensive tasks. Remember that optimizing RAM usage is an ongoing process, and periodically reviewing your usage patterns and implementing these practices will contribute to a better overall experience.
Now that you’re armed with these helpful tips, let’s conclude the article with a brief summary of what we’ve covered.
Conclusion
In conclusion, understanding MacBook RAM and its significance is crucial for optimizing the performance of your device. By knowing the current RAM configuration of your MacBook, you can make informed decisions about upgrading to enhance its capabilities.
We explored the different MacBook models and their RAM upgrade options, taking into account factors like compatibility, usage requirements, and budget. It’s important to choose RAM modules that are compatible with your MacBook model and meet your specific needs, whether you’re a casual user, a creative professional, a developer, or a gamer.
We also discussed how to install RAM in your MacBook, providing step-by-step instructions to facilitate a successful upgrade process. It’s crucial to follow proper handling procedures and seek professional assistance if needed.
To optimize RAM usage on your MacBook, we shared several valuable tips, including closing unnecessary applications, managing startup items, monitoring memory-intensive processes, and maintaining an organized desktop. These practices will help ensure efficient RAM utilization and enhance overall system performance.
Remember, upgrading the RAM in your MacBook is just one aspect of enhancing its overall performance. Factors such as the processor, storage, and software optimizations also play vital roles in delivering a seamless computing experience.
We hope this comprehensive guide has equipped you with the knowledge and insights to choose, install, and optimize RAM for your MacBook. By making informed decisions and implementing these tips, you can unleash the full potential of your MacBook and enjoy a faster, more efficient computing experience.