Introduction
Welcome to this guide on how to replace the RAM in your MacBook Pro! If you’re experiencing slow performance or you simply need more memory to handle demanding tasks, upgrading your RAM can provide a significant boost to your laptop’s performance. In this article, we will walk you through the process of replacing the RAM in your MacBook Pro.
Upgrading the RAM on your MacBook Pro is a cost-effective way to improve your device’s multitasking capabilities and overall speed. It allows you to run more applications simultaneously, handle resource-intensive tasks like video editing and 3D rendering, and experience a smoother performance during everyday use.
Before we dive into the step-by-step process, it’s important to note that replacing the RAM in your MacBook Pro may void your warranty. If your device is still covered by warranty, you should consider consulting with an authorized service provider or Apple support for assistance. However, if your warranty has expired or you feel confident in your technical skills, let’s get started!
Throughout this guide, we highly recommend following the instructions carefully and taking necessary precautions to avoid any damage to your MacBook Pro. Make sure to back up your important files and create a safe working environment by using an ESD mat and wrist strap to prevent static electricity discharge.
Now that we have the basics covered, let’s move on to the next section, where we will discuss the necessary preparations before diving into the RAM replacement process.
Preparing for the Upgrade
Before you begin replacing the RAM in your MacBook Pro, it’s important to gather the necessary tools and prepare your workspace. Here are the steps to get started:
- Check compatibility: Ensure that the new RAM modules you are planning to install are compatible with your specific MacBook Pro model. Check the documentation or consult the manufacturer’s website for the recommended RAM specifications.
- Backup your data: It’s crucial to back up all your important files and documents to an external hard drive or the cloud, as any unforeseen errors during the upgrade process could potentially lead to data loss.
- Power down and disconnect: Before you begin, make sure to power down your MacBook Pro and disconnect it from the power source. This eliminates the risk of electric shock and prevents any accidental damage to the internal components.
- Gather the necessary tools: You will need a set of small screwdrivers, preferably Phillips and Torx drivers, to remove the bottom case and handle the internal screws. Additionally, an anti-static wrist strap and an ESD mat are essential to avoid damaging the sensitive electronic components.
- Create a clean and organized workspace: Find a clean, well-lit area to work on your MacBook Pro. Use a soft cloth or a grounding mat to protect the surface of your laptop. Keep all the screws and components organized in separate containers or compartments to ensure easy reassembly later.
- Ground yourself: To prevent static electricity from damaging the internal components, wear an anti-static wrist strap and connect it to a grounded metal object or use an ESD mat on your work surface.
By following these preparation steps, you will ensure a smooth and efficient RAM replacement process. Once you have completed these initial steps, you are ready to proceed to the next section, which covers the removal of the bottom case of your MacBook Pro.
Removing the Bottom Case
Now that you have prepared your workspace, it’s time to remove the bottom case of your MacBook Pro. This will provide you access to the internal components, including the existing RAM modules. Follow these steps carefully:
- Ensure the MacBook Pro is powered off: Make sure your device is completely powered off before proceeding. This will prevent any accidental damage to the internal components and ensure your safety.
- Flip over your MacBook Pro: Turn your MacBook Pro upside down, so the bottom side is facing upwards.
- Locate the screws: Look for the screws that secure the bottom case to the laptop. They are typically located near the corners and edges of the MacBook Pro.
- Using the correct screwdriver: Take your Phillips or Torx screwdriver, depending on the type of screws used, and carefully undo each screw in a counterclockwise direction.
- Remove the bottom case: Once all the screws are removed, gently lift the bottom case to detach it from the MacBook Pro’s body. Be cautious not to force it, as there may be clips or connectors still holding it in place.
- Set aside the bottom case: Place the removed bottom case in a safe and clean location, ensuring that it won’t get scratched or damaged.
Now, with the bottom case removed, you have access to the internal components of your MacBook Pro, including the existing RAM modules. In the next section, we will guide you on identifying and removing the old RAM modules from your laptop.
Identifying and Removing the Old RAM
With the bottom case of your MacBook Pro removed, it’s time to identify and remove the old RAM modules. Follow these steps carefully:
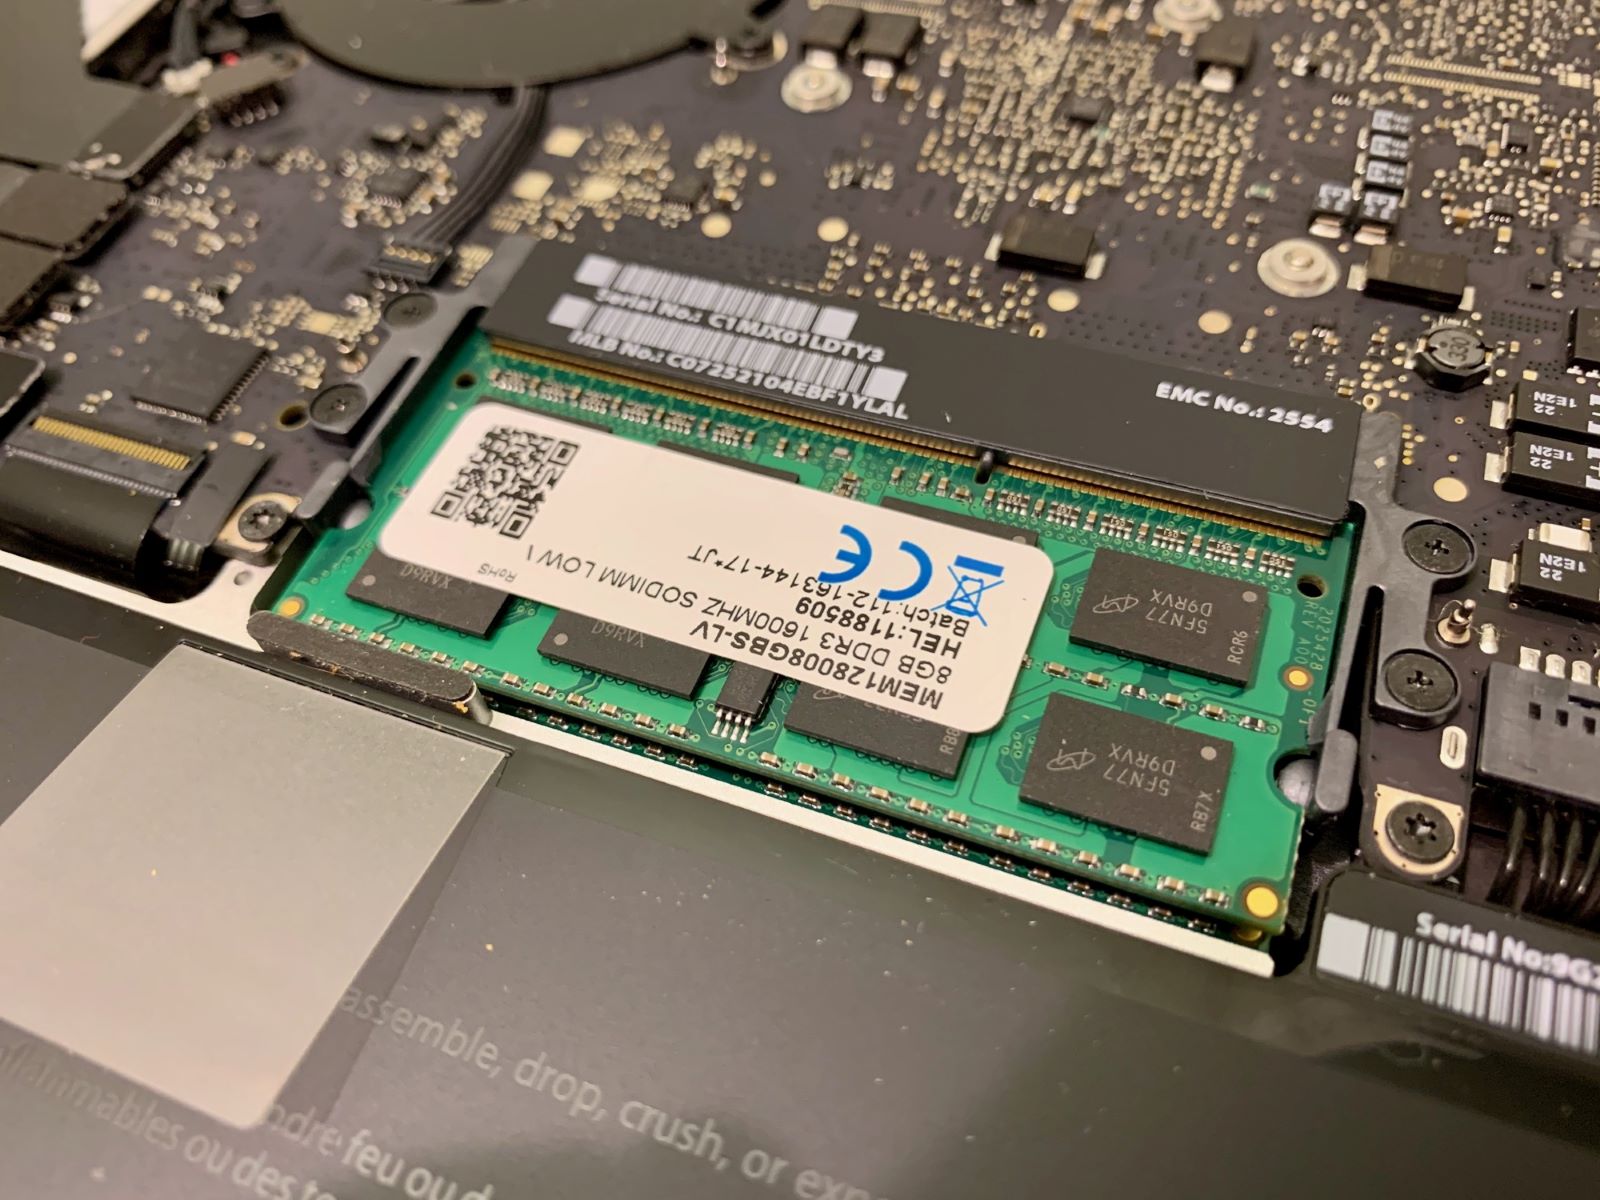
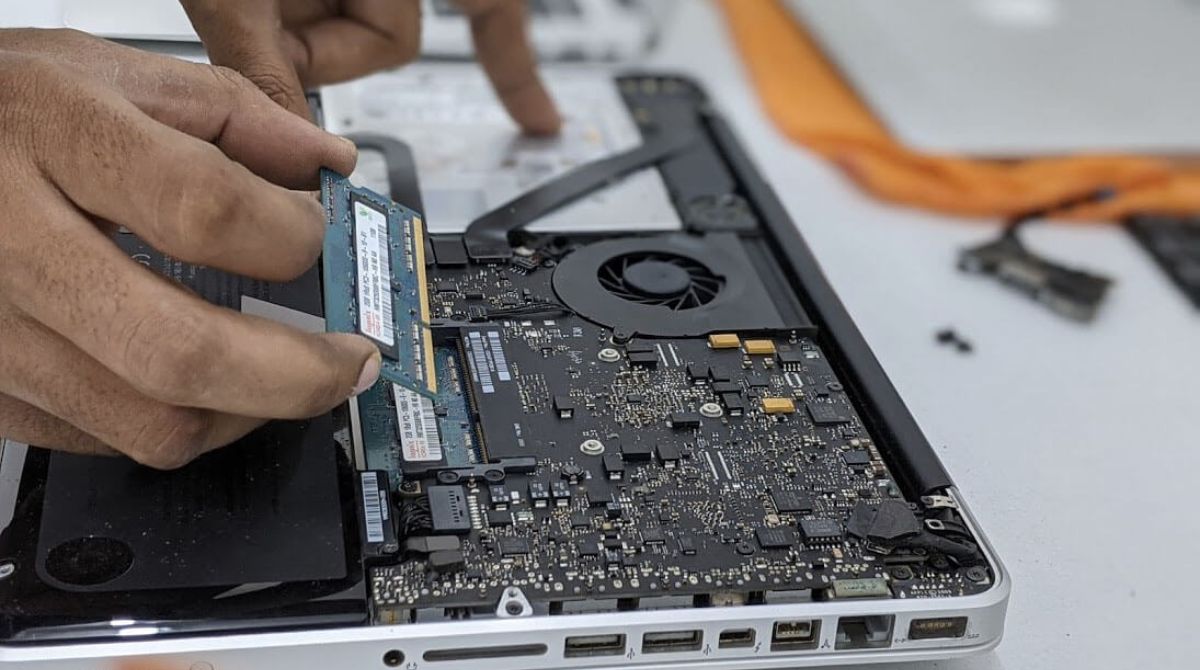
- Locate the RAM slots: Look for the black rectangular slots on the motherboard of your MacBook Pro. These are where the RAM modules are installed.
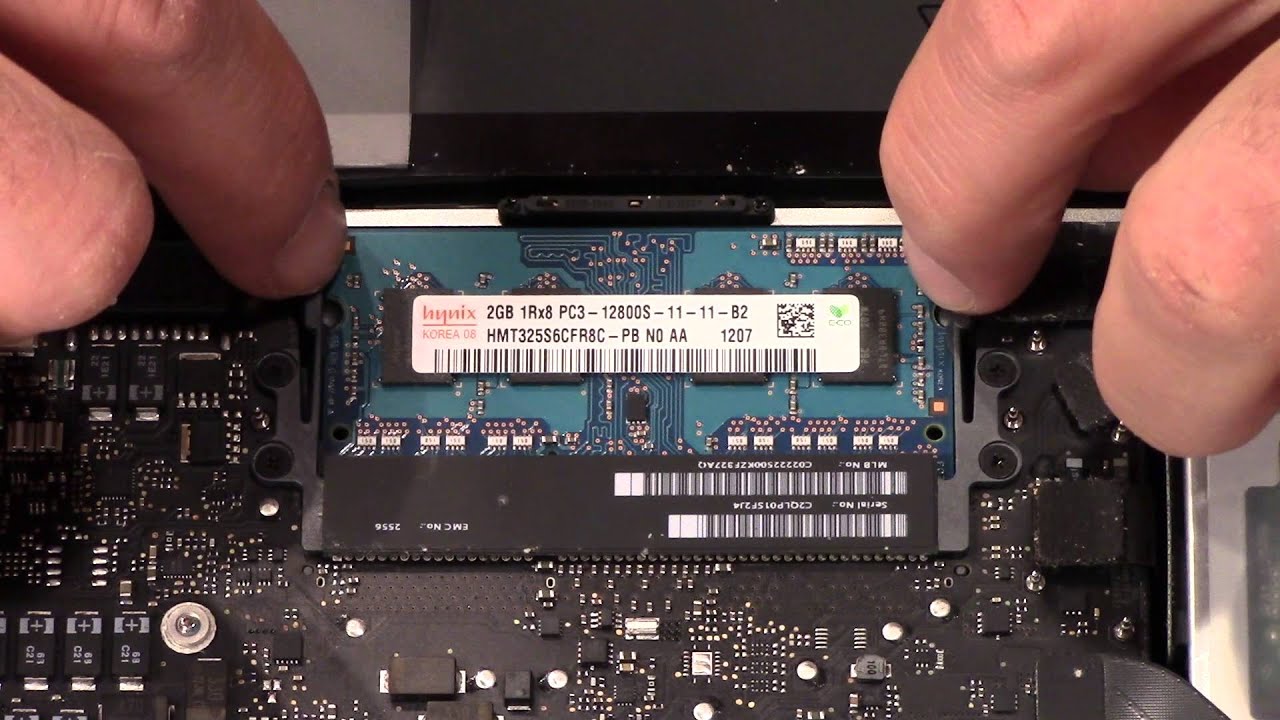
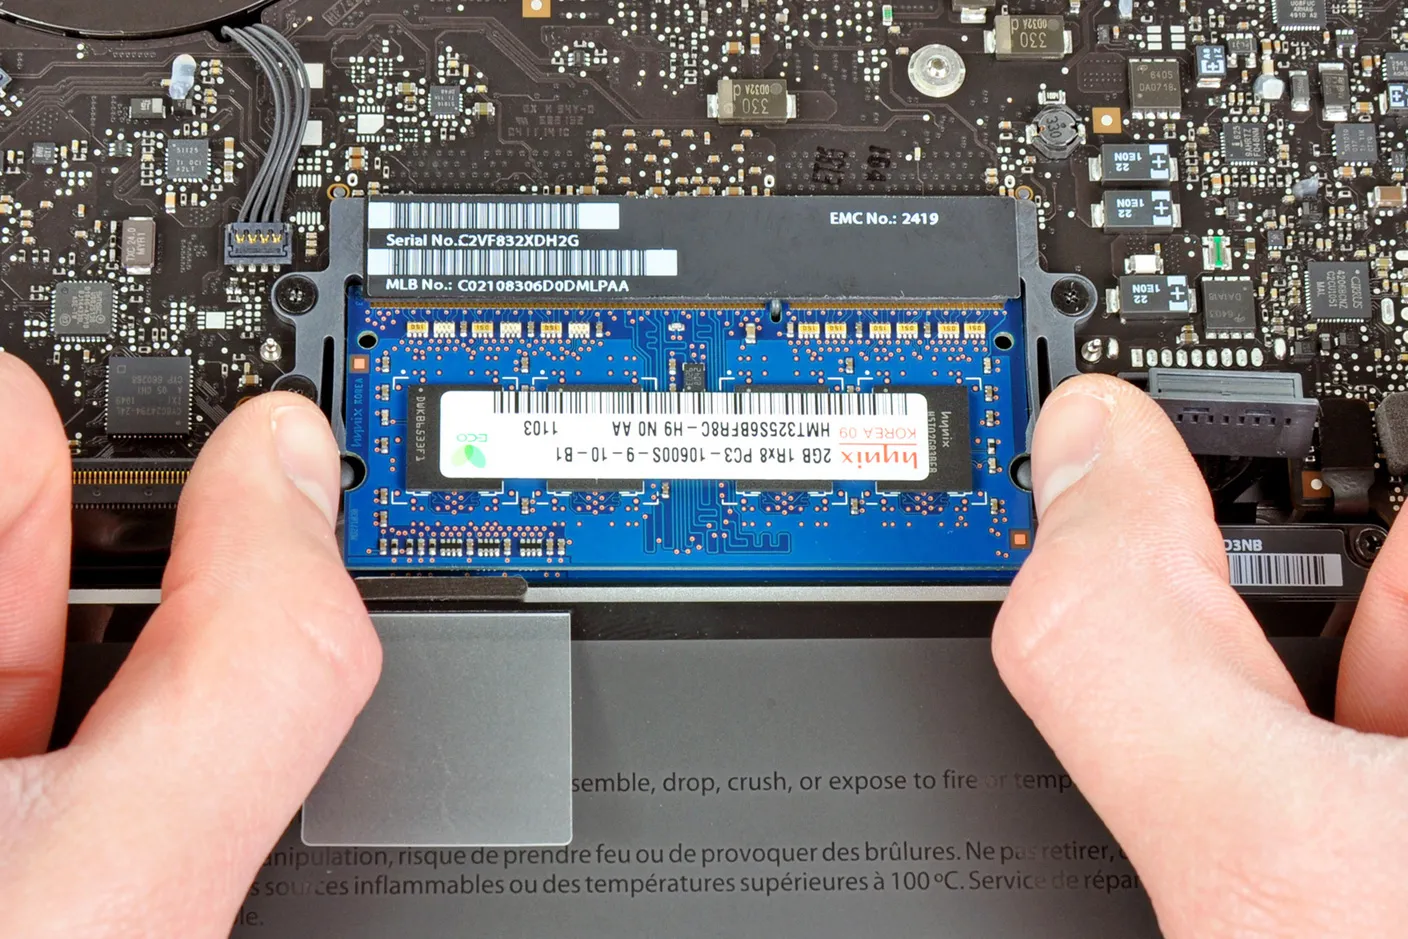
- Inspect the existing RAM: Take a close look at the RAM modules already installed. Note their capacity, type, and speed. You can find this information on the labels or engraved on the RAM itself.
- Release the retaining clips: On each side of the RAM module, there are small metal clips that hold it in place. Use your fingers or a small tool to gently push these clips away from the module, allowing it to pop up at a slight angle.
- Remove the old RAM: Once the retaining clips are released, carefully pull the RAM module out of the slot, ensuring that you maintain an even and firm grip on the sides. Be gentle and avoid touching the gold contacts on the module, as this can cause static discharge or damage.
- Repeat for additional RAM modules: If your MacBook Pro has multiple RAM slots, repeat the process for each module, ensuring that you release the retaining clips and remove the modules one at a time.
- Set aside the old RAM: Place the removed RAM modules in an anti-static bag or on an ESD mat to prevent any static electricity damage. It is essential to handle them with care to avoid any damage as well.
By following these steps, you have successfully identified and removed the old RAM modules from your MacBook Pro. In the next section, we will guide you on inserting the new RAM modules into the slots.
Inserting the New RAM
With the old RAM modules removed from your MacBook Pro, it’s time to insert the new RAM modules. Follow these steps carefully:
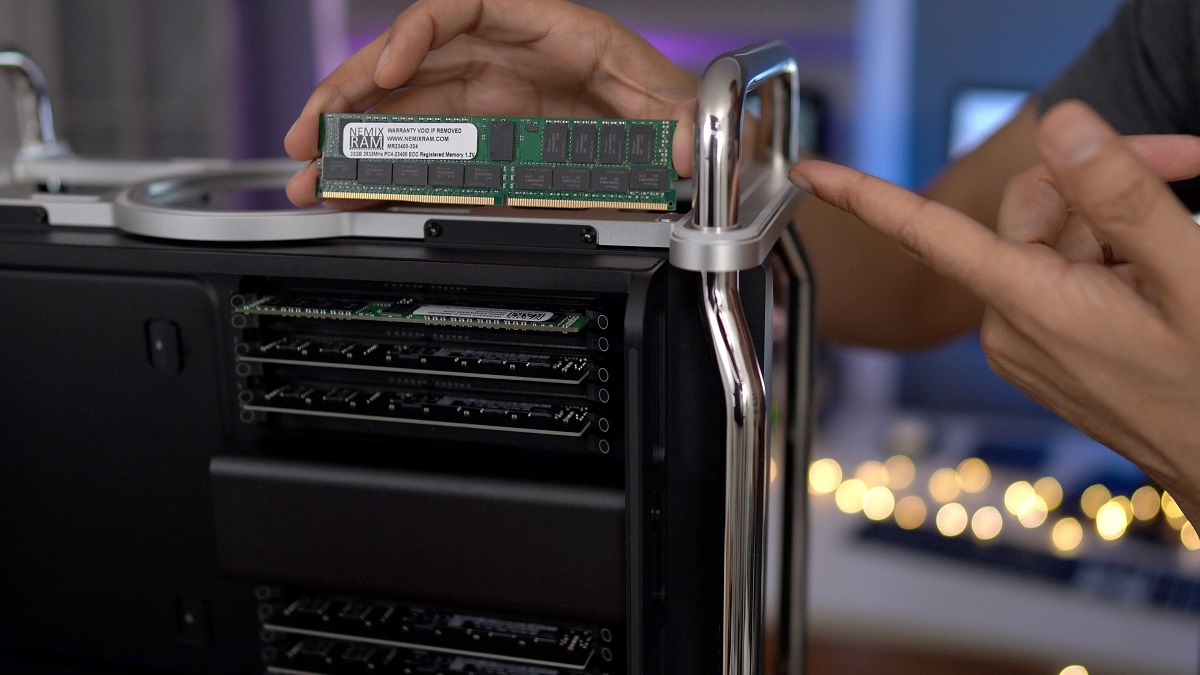
- Check the orientation: Take a look at the notches on the bottom edge of the new RAM module. These notches should align with the notch in the RAM slot of your MacBook Pro. This ensures the proper orientation and prevents the module from being inserted incorrectly.
- Align the RAM module: Hold the new RAM module at a slight angle, aligning the notch with the slot. Make sure the gold contacts on the module are facing downwards and away from you.
- Insert the RAM module: Once the RAM module is aligned, carefully push it down into the slot, applying even and firm pressure on both ends. You should feel a slight click when the module is properly seated.
- Repeat for additional RAM modules: If you have multiple RAM modules, repeat the process for each module, making sure to align and insert them one at a time.
- Confirm proper installation: After inserting the RAM modules, double-check that they are fully seated in the slots and securely locked in place. Ensure that the retaining clips on the sides of the slots are in the closed position.
By following these steps, you have successfully inserted the new RAM modules into your MacBook Pro. In the next section, we will guide you on reassembling the bottom case and testing your MacBook Pro after the RAM upgrade.
Reassembling and Testing the MacBook Pro
Now that you have inserted the new RAM modules into your MacBook Pro, it’s time to reassemble the bottom case and test your laptop to ensure everything is working properly. Follow these steps carefully:
- Align the bottom case: Take the bottom case you set aside earlier and position it over the MacBook Pro’s body. Make sure the screw holes on the case align with the screw holes on the laptop.
- Secure the screws: Using the screwdriver, tighten the screws in a clockwise direction to secure the bottom case back onto the MacBook Pro. Start with the corners and work your way around, ensuring that each screw is securely tightened but not over-tightened.
- Power on your MacBook Pro: Once the bottom case is secured, connect your MacBook Pro to the power source and press the power button to turn it on.
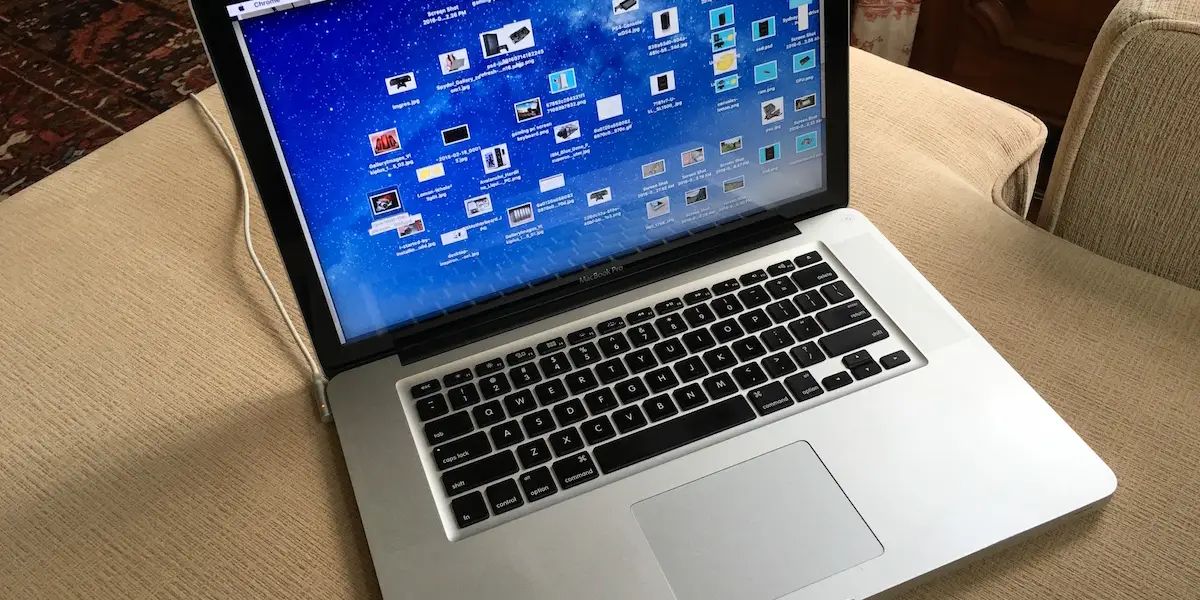
- Check the RAM upgrade: After your MacBook Pro boots up, go to the Apple menu and click on “About This Mac.” In the pop-up window, navigate to the “Memory” tab to verify that the new RAM modules are recognized and displaying the correct capacity. This confirms that the RAM upgrade was successful.
- Run a test: To ensure that the new RAM is functioning properly, open multiple applications or perform tasks that previously caused your MacBook Pro to slow down or struggle. Observe if there is an improvement in overall performance and multitasking capabilities.
- Monitor for stability: Over the next few days, keep an eye on your MacBook Pro’s performance and stability. If you encounter any issues, such as frequent crashes or unusual behavior, it may indicate a problem with the RAM upgrade. In such cases, consider seeking professional assistance.
By following these steps, you have successfully reassembled your MacBook Pro and tested the RAM upgrade. Enjoy the enhanced performance and improved multitasking capabilities that come with the increased memory capacity!
Conclusion
Congratulations! You have successfully replaced the RAM in your MacBook Pro, improving its performance and allowing for smoother multitasking. Upgrading your RAM is a cost-effective way to breathe new life into your laptop and handle more demanding tasks without experiencing slowdowns.
Throughout this guide, we have covered the steps to prepare for the upgrade, remove the bottom case, identify and remove the old RAM, insert the new RAM modules, and reassemble the laptop. It’s essential to follow each step carefully to ensure a successful and risk-free RAM replacement process.
After completing the upgrade, remember to verify that the new RAM modules are recognized and functioning correctly by checking the “Memory” tab in the “About This Mac” section. Additionally, it’s crucial to monitor your MacBook Pro for stability and performance over the following days to ensure everything runs smoothly.
If at any point you encounter difficulties during the RAM replacement process or experience issues afterwards, it is recommended to seek assistance from a professional or reach out to Apple support.
With your MacBook Pro’s new RAM, you can now enjoy improved speed, enhanced multitasking, and a more responsive computing experience. Whether you use your laptop for work, creativity, or entertainment, the RAM upgrade will undoubtedly enhance your overall productivity and satisfaction.
Thank you for using this guide, and best of luck with your newly upgraded MacBook Pro!