Introduction
Welcome to this guide on how to check your RAM on a Mac computer. RAM, which stands for Random Access Memory, is an essential component of your computer system that plays a crucial role in determining its performance and multitasking capabilities. By understanding how much RAM your Mac has and how it’s being utilized, you can better optimize your computer for smooth and efficient operations.
Whether you’re experiencing sluggishness, freezing, or simply want to keep an eye on your system resources, knowing how to check your RAM on a Mac is a valuable skill. By doing so, you can identify if you need to upgrade your RAM, troubleshoot performance issues, or make informed decisions when running resource-intensive apps or tasks.
In this guide, we will explore various methods to check the RAM on your Mac and provide you with insights on understanding your RAM’s capacity, usage, and speed. We will also provide tips on optimizing your Mac’s RAM usage to enhance overall system performance and productivity.
Before we dive into the details, it’s important to note that different Mac models may require different steps to access RAM information. Therefore, make sure to consult the appropriate methods based on your specific Mac model or operating system version.
So, without further ado, let’s get started and learn how to check your RAM on a Mac!
Why should you check your RAM on Mac?
Checking your RAM on a Mac is important for several reasons. Here are a few key benefits of regularly monitoring your RAM usage:
- Performance Optimization: RAM is a crucial factor in determining your Mac’s overall performance. By checking your RAM, you can identify if your computer has sufficient memory to handle the tasks and applications you use regularly. Insufficient RAM can lead to sluggishness, freezing, and reduced efficiency. By knowing your RAM usage, you can take steps to optimize performance and ensure smooth multitasking.
- Troubleshooting: If you’re experiencing slow performance or crashes, checking your RAM can help you identify if inadequate memory is the culprit. By monitoring RAM usage, you can determine if a specific application or process is consuming excessive memory, causing your system to slow down. This information is invaluable for troubleshooting and resolving performance issues.
- Upgrade Decisions: Checking your RAM capacity on a Mac allows you to assess whether an upgrade is necessary. If you frequently use resource-intensive applications such as video editing software or virtual machines, you may require additional memory to ensure smooth operations. Monitoring your RAM usage gives you insights into how close your computer is to its maximum capacity and helps you make informed decisions when considering a RAM upgrade.
- Resource Allocation: By understanding your Mac’s RAM usage, you can allocate your system resources more effectively. If you frequently run multiple applications simultaneously, monitoring your RAM usage helps you identify any bottlenecks and allocate memory accordingly. It allows you to prioritize critical processes and close unnecessary apps to optimize your Mac’s performance.
Overall, regularly checking your RAM on a Mac empowers you to understand your computer’s current and potential performance capabilities. It enables you to troubleshoot issues, make informed upgrade decisions, and optimize resource allocation for smoother and more efficient operations.
How to check the RAM on your Mac
There are different methods available to check the RAM on your Mac, depending on the information you want to access. Let’s explore a few of the most commonly used methods:
1. Checking RAM usage in Activity Monitor
Activity Monitor is a built-in utility on your Mac that provides detailed information about your system’s performance, including RAM usage. Here’s how to check your RAM usage using Activity Monitor:
- Open Spotlight by pressing Command + Spacebar and type “Activity Monitor.” Press Enter to open the utility.
- In the Activity Monitor window, click on the Memory tab.
- You’ll see a bar graph indicating your RAM usage, with details such as Memory Used, App Memory, Wired Memory, Compressed, and Cached Files.
- By monitoring these values, you can get an idea of how your RAM is being utilized and if any applications are consuming excessive memory.
2. Using Terminal to check RAM on Mac
If you prefer using the command line interface, you can check your RAM on a Mac using Terminal. Here’s how:
- Open Spotlight and type “Terminal.” Press Enter to launch the application.
- In the Terminal window, type the command
top -l 1 | grep PhysMemand press Enter. - You’ll see the output displaying your Total Memory, Free Memory, Used Memory, and Wired Memory.
- These values reflect the current status of your RAM, providing insights into its usage.
3. Checking RAM capacity and type on Mac
If you want to find out the capacity and type of RAM installed on your Mac, follow these steps:
- Click on the Apple menu in the top-left corner of your screen and select About This Mac.
- In the Overview tab, click on the System Report button.
- In the left sidebar, navigate to Hardware > Memory.
- You’ll find information about your RAM, including the Total Capacity, Type, and Speed.
With these methods, you can easily check your RAM usage, capacity, and other relevant information on your Mac. Understanding these details helps you optimize your system’s performance, troubleshoot issues, and make informed decisions regarding your RAM needs.
Checking RAM usage in Activity Monitor
Activity Monitor is a built-in utility on your Mac that provides comprehensive information about your system’s performance, including RAM usage. By monitoring your RAM usage in Activity Monitor, you can gain valuable insights into how your Mac is utilizing its memory resources. Here’s how to check your RAM usage using Activity Monitor:
- Open Spotlight by pressing Command + Spacebar and type “Activity Monitor.” Press Enter to launch the utility.
- In the Activity Monitor window, click on the Memory tab at the top.
- You’ll see a variety of information related to your Mac’s RAM usage.
- The Memory Used section displays the total amount of memory currently in use by your system.
- Underneath that, you’ll find the App Memory section, which shows the memory used by the currently active applications.
- The Wired Memory section indicates memory that is actively in use and cannot be compressed or swapped to disk.
- The Compressed section displays the amount of memory that has been compressed to save space.
- The Cached Files section shows the amount of memory being used to store recently accessed data for quick retrieval.
- In the bottom-right corner of the Activity Monitor window, you can view a handy visual representation of your RAM usage in the form of a colored bar graph.
By monitoring the various sections in Activity Monitor, you can track how your Mac is utilizing its memory resources and identify any possible issues. For example, if you notice that your Memory Used is consistently close to the maximum capacity or that certain applications are using excessive amounts of memory, it may be a sign that you need to upgrade your RAM or optimize your system’s performance.
Additionally, Activity Monitor allows you to sort the list of processes by memory usage, making it easier to identify which applications or processes are consuming the most memory. This information can be invaluable when troubleshooting performance issues or closing resource-intensive applications to free up memory for other tasks.
Overall, Activity Monitor provides a comprehensive view of your Mac’s RAM usage, enabling you to make informed decisions about optimizing your system’s performance and effectively managing your memory resources. By regularly checking your RAM usage in Activity Monitor, you can ensure that your Mac is running smoothly and efficiently.
Using Terminal to check RAM on Mac
If you prefer using the command line interface, you can check your RAM on a Mac using Terminal. Terminal provides a quick and efficient way to access system information, including RAM usage. Here’s how:
- To open Terminal, press Command + Spacebar to open Spotlight, type “Terminal,” and press Enter.
- In the Terminal window, type the command
top -l 1 | grep PhysMemand press Enter. - You’ll see the output displaying various details about your Mac’s RAM.
- The Total Memory value indicates the total amount of RAM installed in your Mac.
- The Free Memory value represents the amount of available memory that is not currently in use.
- The Used Memory value shows the total amount of memory being actively used.
- The Wired Memory value represents memory that is currently in use and cannot be swapped to disk.
By monitoring these values, you can get a glimpse into how your Mac is utilizing its memory resources. If you notice that the Used Memory is consistently high and the Free Memory is low, it may indicate that your system is under heavy memory usage or that certain applications are consuming excessive memory.
Using Terminal to check your RAM on a Mac is particularly useful for advanced users and technical troubleshooting. It allows you to quickly access specific memory-related information and have a clear understanding of your system’s resource usage.
Moreover, Terminal provides flexibility in customizing the output to suit your specific needs. By utilizing different arguments and options, you can extract more detailed information about memory usage or combine the command with other system monitoring tools, allowing for a deeper analysis of your Mac’s performance.
However, it’s important to note that using Terminal might be daunting for users who are not familiar with the command line interface. In such cases, it’s recommended to use other graphical interfaces like Activity Monitor for a more user-friendly and visual representation of RAM usage.
Overall, Terminal provides a powerful and efficient way to check your RAM on a Mac. It allows you to access vital memory-related information and gain insights into your system’s resource utilization, making it a valuable tool for advanced users and troubleshooting scenarios.
Checking RAM capacity and type on Mac
If you want to find out the capacity and type of RAM installed on your Mac, there are built-in methods to provide you with this information. Here’s how to check the RAM capacity and type on a Mac:
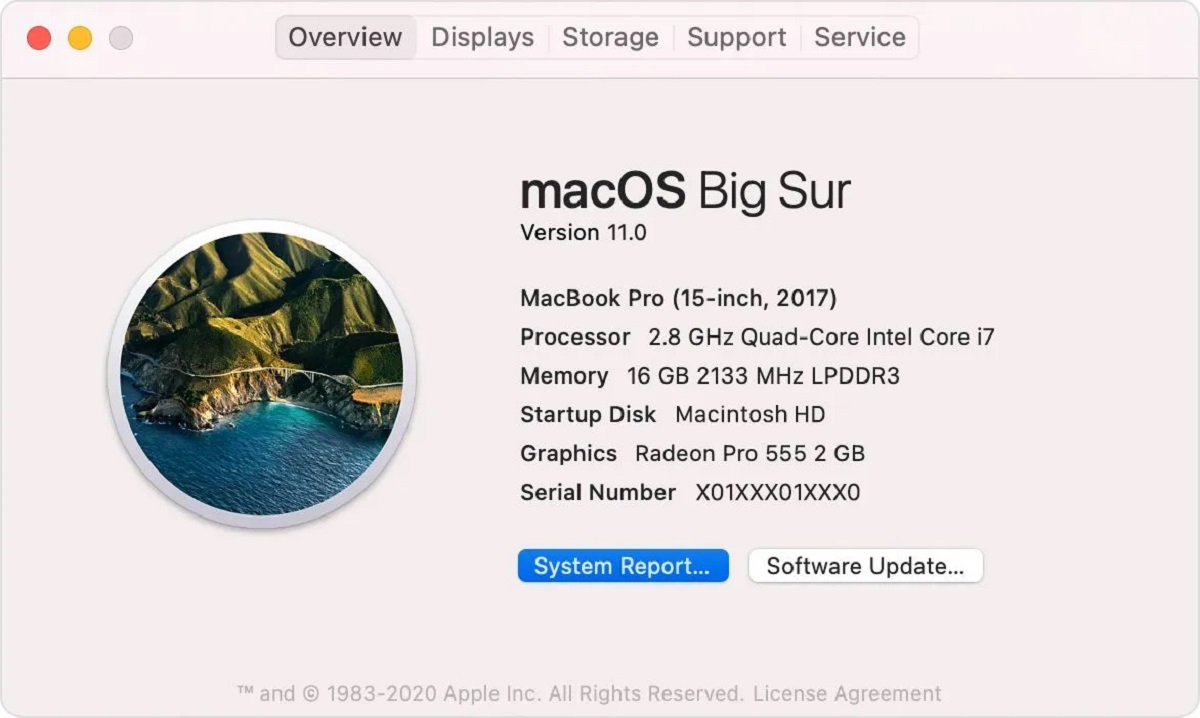
- Click on the Apple menu in the top-left corner of your screen and select About This Mac from the dropdown menu.
- In the Overview tab, you’ll see an overview of your Mac, including the basic specifications.
- Click on the System Report… button, which opens a new window with detailed information about your Mac’s hardware.
- In the left sidebar of the System Report window, navigate to Hardware > Memory.
- In the right pane, you’ll find information about your RAM, including the Total Capacity, Type, and Speed.
- The Total Capacity displays the overall capacity of your installed RAM modules in gigabytes (GB).
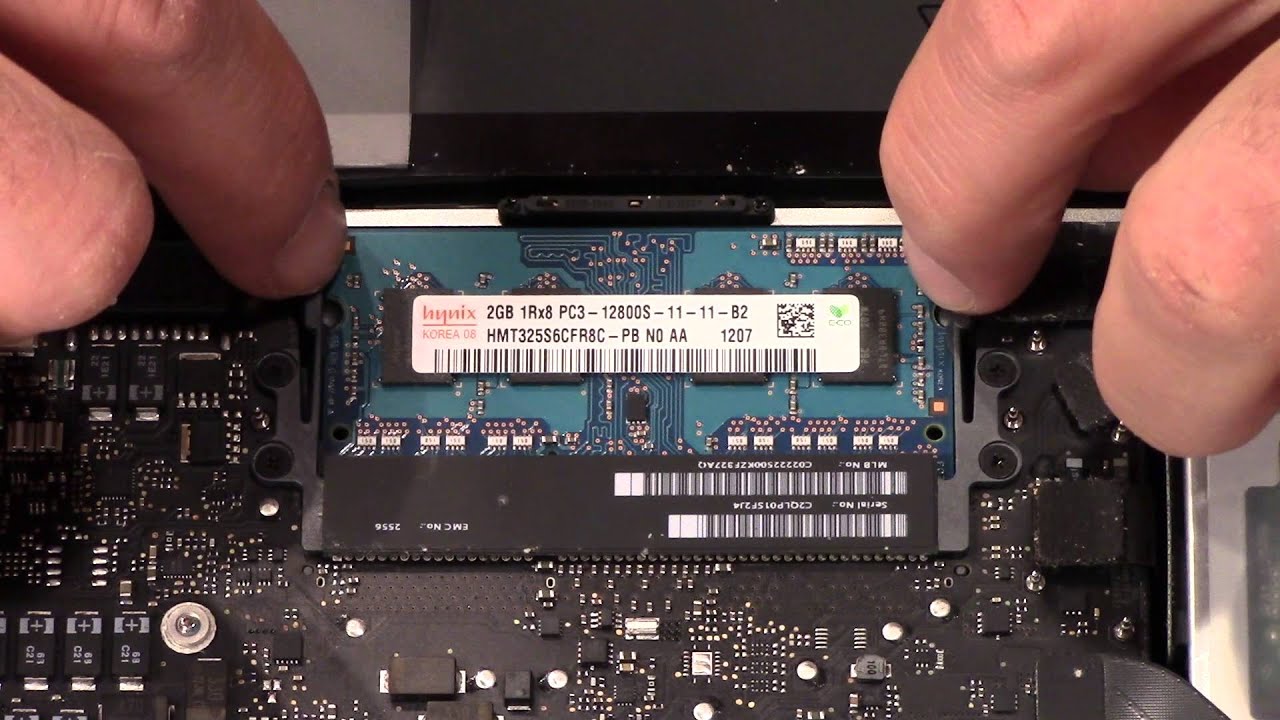
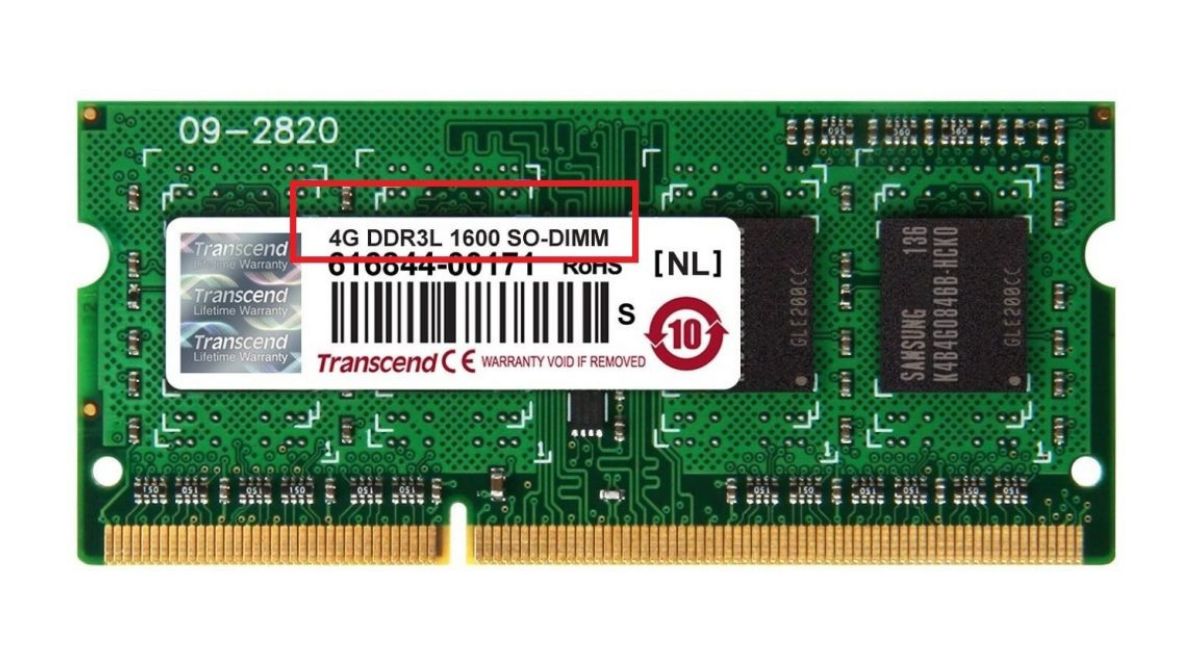
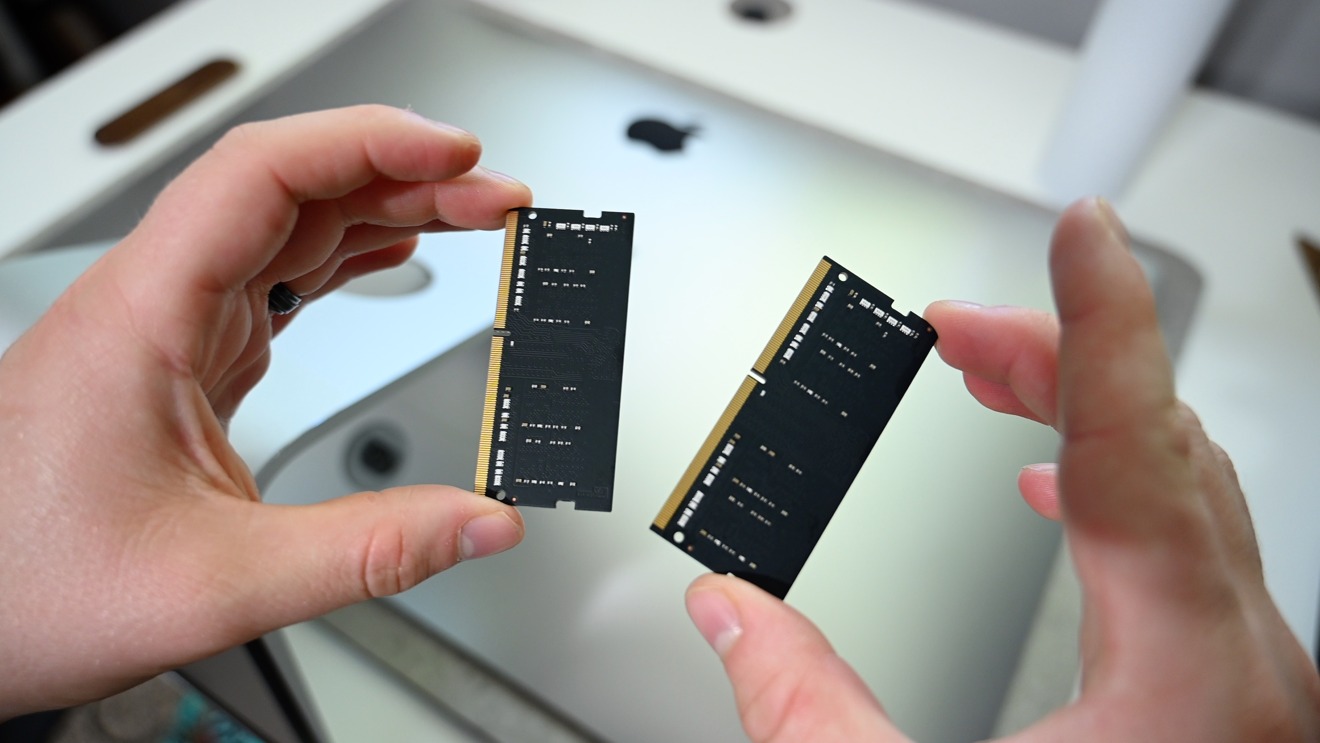
- The Type indicates the specific type of RAM module(s) present in your Mac, such as DDR3 or DDR4.
- The Speed represents the operating speed of your RAM in megahertz (MHz).
- You can also find additional details about the number of memory slots used, the maximum memory capacity supported by your Mac, and other technical information.
By checking the RAM capacity and type on your Mac, you can determine how much memory your computer can handle and what specific RAM modules are compatible for upgrades or replacements.
Knowing the RAM capacity is particularly useful when considering whether to upgrade your Mac’s memory. If you find that you frequently run memory-intensive applications or your current RAM is maxed out, you may benefit from increasing the capacity to improve performance and multitasking capabilities.
Understanding the RAM type is essential when purchasing new RAM modules. Macs have specific requirements for memory compatibility, so you need to ensure that any upgrades or replacements you make are compatible with your computer’s specifications.
Additionally, the RAM speed information allows you to assess the performance of your installed modules. It can be helpful if you’re troubleshooting performance issues or comparing it to the specifications of newer memory options.
Overall, checking the RAM capacity and type on your Mac provides you with essential information for future upgrades, troubleshooting, and ensuring optimal performance. The detailed hardware report allows you to make informed decisions when it comes to upgrading or replacing your Mac’s memory modules.
Checking RAM speed on Mac
Checking the speed of your RAM on a Mac can give you valuable information about the performance and capabilities of your computer’s memory. By understanding the RAM speed, you can assess the efficiency of your system and make informed decisions when it comes to upgrading or optimizing your Mac’s memory. Here’s how to check the RAM speed on a Mac:
- Click on the Apple menu in the top-left corner of your screen and select About This Mac from the dropdown menu.
- In the Overview tab, you’ll see an overview of your Mac’s specifications.
- Click on the System Report… button to open the System Information window.
- In the left sidebar of the System Information window, navigate to Hardware > Memory.
- In the right pane, you’ll find detailed information about your installed RAM modules.
- Look for the Speed column, which indicates the operating speed of your RAM in megahertz (MHz).
- The RAM speed determines how quickly data can be accessed and transferred within the memory modules, affecting overall system performance.
- The higher the RAM speed, the faster data can be read from and written to the memory, resulting in improved multitasking and application performance.
- It’s important to note that the RAM speed is determined by the specific RAM modules installed in your Mac, and different models may have different maximum supported speeds.
- While checking the RAM speed is valuable for understanding your system’s performance capabilities, it’s not common for users to upgrade or change the speed of their RAM individually.
- Mac systems are designed to optimize performance with the installed RAM speed, and it’s recommended to consult with a professional or refer to your Mac’s documentation before attempting any RAM upgrades.
By checking the RAM speed on your Mac, you can better understand its performance capabilities and make informed decisions about optimizing or upgrading your system’s memory. While it’s not usually necessary to modify the RAM speed individually, having this knowledge can help you troubleshoot performance issues, compare specifications for future upgrades, or ensure compatibility when adding additional memory modules.
Remember that RAM speed is just one factor that contributes to overall system performance. It’s crucial to consider other components, such as the processor and storage drive, as they all work together to deliver a smooth and efficient computing experience.
Tips for optimizing your Mac’s RAM usage
Optimizing your Mac’s RAM usage can greatly improve overall system performance, ensuring a smoother and more efficient computing experience. Here are some tips to help you optimize your Mac’s RAM usage:
- Close unnecessary apps: Running multiple applications simultaneously can put a strain on your RAM. Close any apps that you’re not actively using to free up memory resources.
- Manage startup items: Reduce the number of apps that launch automatically when you start your Mac. This helps conserve memory and improves system startup time. Go to System Preferences > Users & Groups > Login Items to manage startup items.
- Use lightweight alternatives: Consider using lightweight or web-based versions of resource-intensive applications. For example, use web-based productivity tools instead of memory-intensive desktop applications.
- Clear caches: Regularly clear temporary files and caches on your Mac. Caches can consume a significant amount of memory over time. You can use tools like Onyx or CleanMyMac to clean caches and other unnecessary files.
- Disable visual effects: Disable or reduce the usage of visual effects, such as animations and transparency, as they require additional memory resources.
- Manage browser tabs and extensions: Limit the number of open tabs in your web browser and uninstall unnecessary extensions. Browsers and their extensions can consume a significant amount of memory, especially if you have many tabs open at once.
- Monitor memory-intensive processes: Use Activity Monitor or similar tools to identify memory-intensive processes. If a particular application or process is consuming excessive memory, consider quitting or restarting it to free up resources.
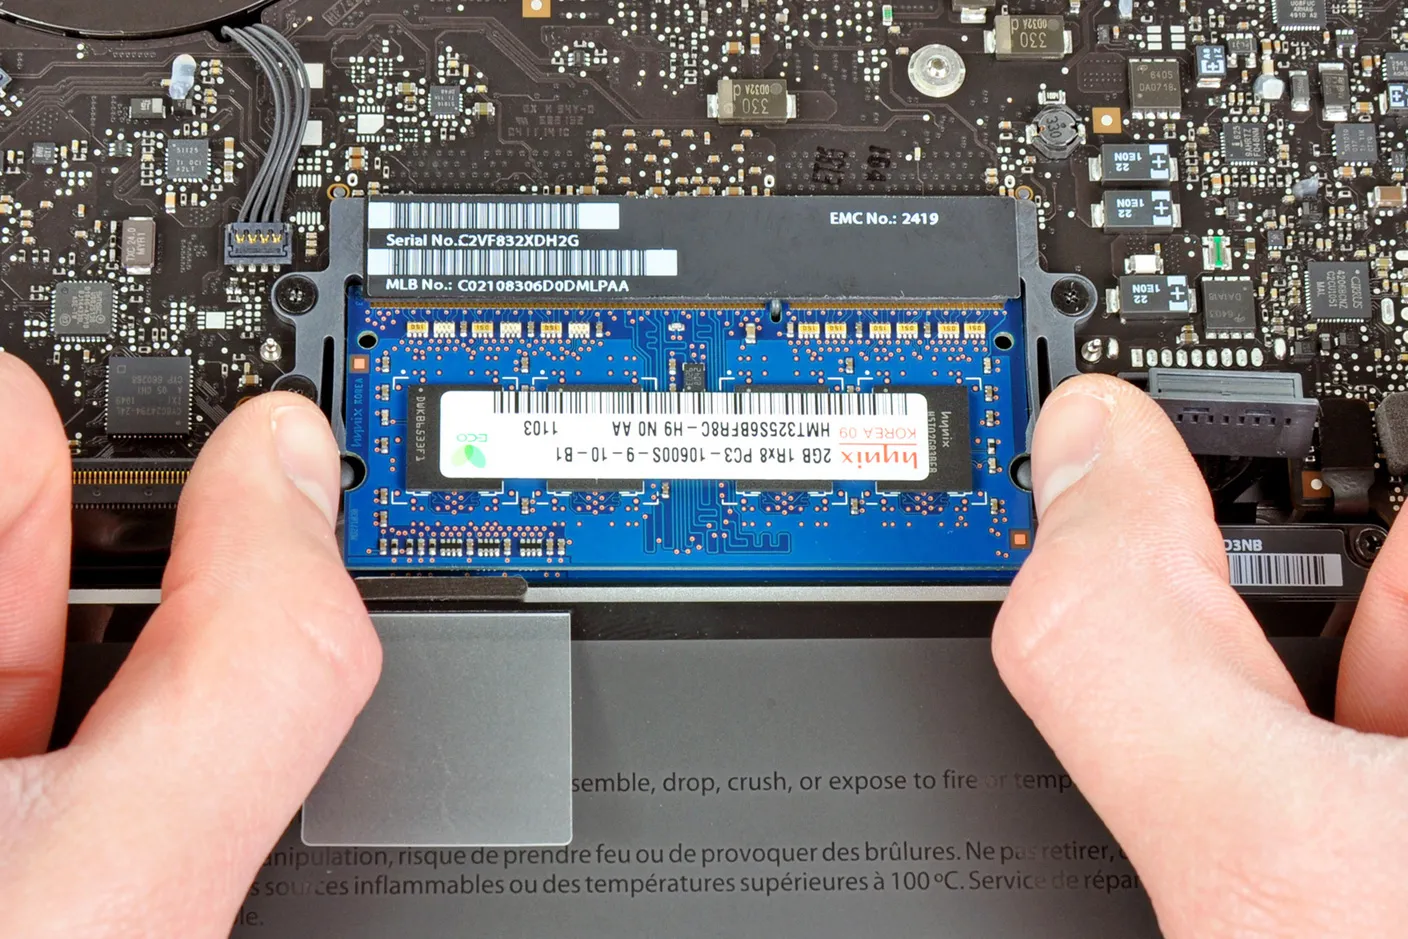
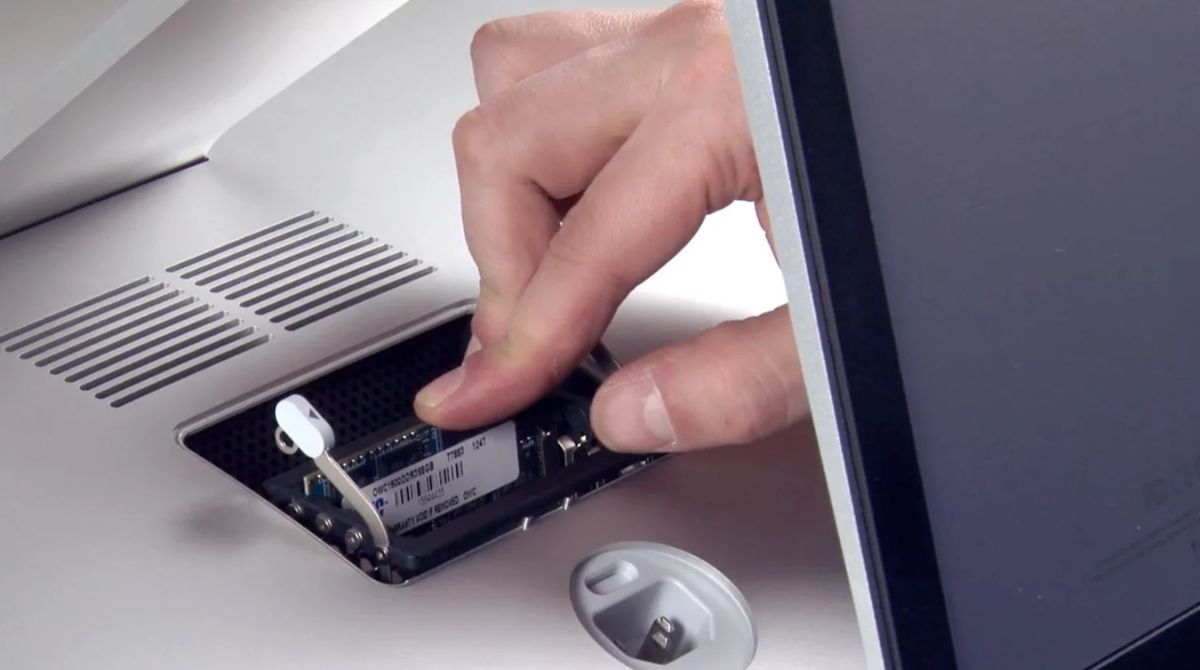
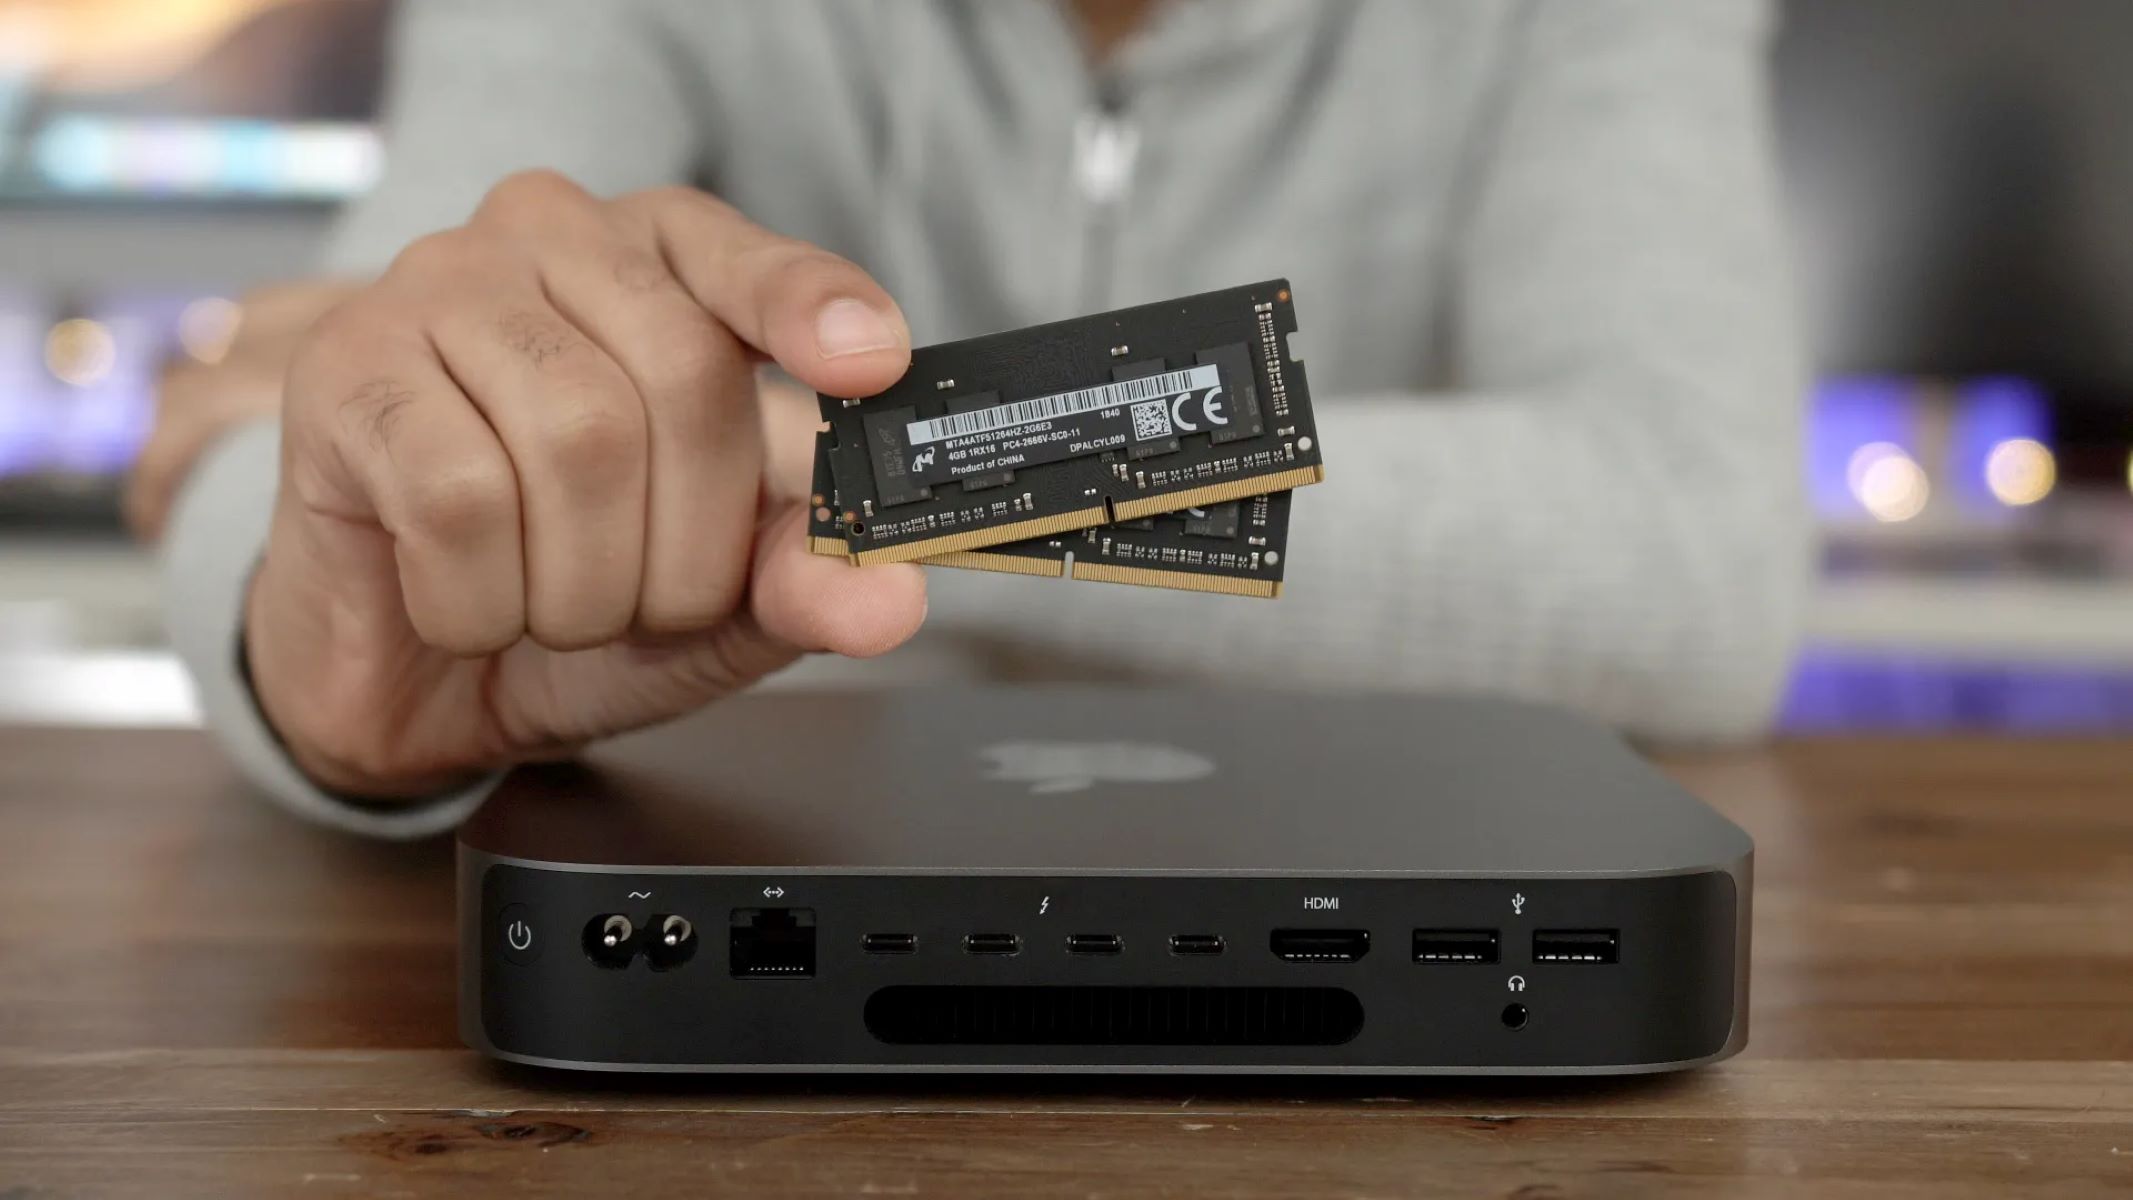
- Upgrade your RAM: If your Mac regularly runs out of memory or struggles with multitasking, upgrading your RAM may be a viable solution. Consult your Mac’s documentation or seek professional assistance to determine the maximum supported RAM capacity and compatible modules for your specific model.
- Keep your Mac updated: Regularly update your macOS and applications to benefit from performance improvements and bug fixes that can optimize memory usage.
By implementing these tips and adopting good memory management practices, you can effectively optimize your Mac’s RAM usage and enhance its overall performance. Remember that optimizing RAM is a continuous process, and it’s important to periodically monitor your system’s resource usage and adjust accordingly.
Conclusion
Checking your RAM on a Mac is a valuable skill that allows you to understand and optimize your computer’s performance. By monitoring your RAM usage, capacity, type, and speed, you can make informed decisions about upgrading your memory, troubleshooting performance issues, and optimizing resource allocation.
In this guide, we explored different methods for checking the RAM on your Mac. Whether you use Activity Monitor to monitor RAM usage, Terminal for command-line access to RAM information, or system settings to view RAM capacity and type, each method provides valuable insights into your Mac’s memory resources.
We also provided tips for optimizing your Mac’s RAM usage, including closing unnecessary apps, managing startup items, clearing caches, disabling visual effects, and upgrading your RAM when necessary. By following these tips, you can ensure that your Mac’s memory is being used efficiently, resulting in improved performance and multitasking capabilities.
Remember, your Mac’s RAM is a vital component that plays a significant role in overall system performance. Regularly checking and optimizing your RAM usage will help you maintain a smooth and efficient computing experience. Whether you’re a casual user or a power user, understanding your Mac’s RAM will empower you to make the most of your computer’s capabilities and enhance your productivity.
So go ahead, check your RAM, optimize your Mac’s memory usage, and unlock the full potential of your computer.